Featured
How To Calibrate Health O Meter Scale
Published: September 7, 2023
Learn how to calibrate your Health O Meter scale with this featured guide. Ensure accurate measurements for your health and fitness journey.
Introduction
Welcome to this comprehensive guide on how to calibrate your Health O Meter Scale. With its sleek design and advanced features, the Health O Meter Scale is a popular choice for individuals who are conscious of their health and fitness goals. However, like any other measuring device, it is essential to ensure that your scale remains accurate and reliable.
Calibrating your Health O Meter Scale is a crucial step in maintaining its precision. Over time, factors such as temperature variations, transportation, or general wear and tear can affect the accuracy of the scale’s readings. Calibrating your scale regularly will help you to get accurate weight measurements, ensuring you are on track with your health journey.
In this guide, we will walk you through the step-by-step process of calibrating your Health O Meter Scale. By following these instructions and investing a few minutes of your time, you will be able to keep your scale in optimal working condition.
Before we dive into the calibration process, it is important to note that Health O Meter scales have various models, and the calibration procedure can slightly differ between them. Make sure to consult your user manual or the manufacturer’s website for any specific instructions related to your model.
Now, let’s explore why calibrating your Health O Meter Scale is necessary and the materials you will need to successfully perform the calibration.
Understanding Health O Meter Scale
Before we delve into the calibration process, it’s important to have a good understanding of how the Health O Meter Scale works. The Health O Meter Scale is a digital weighing scale designed to measure an individual’s weight accurately. It utilizes advanced technology to provide precise and reliable weight readings.
Health O Meter scales are equipped with a high-precision strain gauge sensor system. This system consists of specialized sensors that measure the amount of deflection caused by the weight placed on the scale surface. The deflection is then converted into an electrical signal, which is displayed as the weight reading on the scale’s digital screen.
The digital display of the Health O Meter Scale is typically clear and easy to read, allowing users to quickly and accurately monitor their weight. Some models also come with additional features such as body mass index (BMI) calculation, memory storage, and even connectivity options to sync with fitness apps or smart devices.
These scales are designed to accommodate a wide range of weight capacities, from a few pounds to several hundred pounds, depending on the specific model. Health O Meter scales are built with durability in mind, utilizing high-quality materials to ensure long-lasting performance.
It’s worth noting that even with the advanced technology and precision engineering of the Health O Meter Scale, it is still susceptible to outside factors that can affect its accuracy. Temperature changes, bumps or drops during transportation, and normal wear and tear can all impact the scale’s readings. This is where regular calibration becomes essential in maintaining the scale’s accuracy and reliability.
Now that we have gained a good understanding of the Health O Meter Scale, let’s explore the reasons why calibrating this device is crucial for accurate weight measurements.
Reasons for Calibrating Health O Meter Scale
Calibrating your Health O Meter Scale is vital for several reasons. Here are the main reasons why regular calibration is important:
- Accuracy: Over time, the performance of the scale can drift, resulting in inaccurate weight readings. Calibrating your Health O Meter Scale ensures that it is accurately measuring your weight, providing you with reliable data for tracking your progress and achieving your health goals.
- Consistency: Consistency is key when it comes to tracking your weight. By calibrating your scale, you can ensure that it consistently provides accurate readings, allowing you to monitor your weight fluctuations effectively and make informed decisions regarding your health and fitness routine.
- Reliability: A calibrated scale enhances the reliability of the measurements by eliminating any potential errors or discrepancies. This is particularly important if you are using your Health O Meter Scale for medical purposes, weight management programs, or other professional applications where precision is crucial.
- Validation: Some individuals may prefer to cross-reference their scale’s readings with other measuring devices or medical professionals. By regularly calibrating your Health O Meter Scale, you can validate its accuracy and confidently compare its readings with other measurement methods.
- Prolonged Lifespan: Calibrating your scale can also contribute to its longevity. By addressing any calibration issues promptly, you can prevent potential malfunctions or breakdowns and extend the lifespan of your Health O Meter Scale.
Now that we understand the importance of calibration, let’s move on to the materials you will need to perform the calibration process successfully.
Materials Needed for Calibration
Before you begin the calibration process for your Health O Meter Scale, it’s essential to gather the necessary materials. Here are the main items you will need:
- Calibration Weights: You will require calibration weights to ensure the accuracy of your scale. These weights are specifically designed for calibration purposes and are available in various sizes and weights. It is important to use weights that are appropriate for your scale’s weight capacity. Check the user manual or manufacturer’s website to determine the recommended calibration weight.
- Soft, Clean Cloth: You will need a soft, clean cloth to wipe down the scale’s surface. This will help remove any dust, debris, or contaminants that could interfere with the calibration process or affect the accuracy of the measurements.
- Non-abrasive Cleaning Solution: In case your scale’s surface requires more than just a dry cloth to remove stubborn stains or residue, a non-abrasive cleaning solution can come in handy. Make sure to choose a mild cleaning solution that is safe to use on the scale’s surface.
- User Manual or Manufacturer’s Guidelines: It’s always a good idea to have the user manual or manufacturer’s guidelines on hand. These resources will provide specific instructions and any additional tools or information needed for your particular model of Health O Meter Scale.
By having these materials ready, you will ensure a smooth and successful calibration process for your Health O Meter Scale. Now that we have prepared the necessary materials, let’s move on to the step-by-step calibration process.
Step 1: Preparing the Scale
Before you begin the calibration process for your Health O Meter Scale, it’s important to properly prepare the scale for calibration. Follow these steps to ensure your scale is ready:
- Clean the Scale: Start by cleaning the scale’s surface using a soft, clean cloth. This will remove any dust, debris, or substances that could affect the calibration process or the accuracy of the measurements. If needed, you can use a non-abrasive cleaning solution to tackle stubborn stains or residue, following the manufacturer’s guidelines for safe cleaning.
- Determine the Weight Capacity: Check your user manual or the scale itself to identify its weight capacity. It’s important to know the maximum weight the scale can handle to ensure you use the appropriate calibration weights for accurate results.
- Find a Suitable Location: Place the scale on a flat, stable surface. Avoid placing it on uneven or carpeted areas as this can affect the scale’s accuracy. Ensure there are no objects or obstructions nearby that could interfere with the calibration process or cause the scale to be unbalanced.
- Temperature Stabilization: Allow the scale to adjust and reach a stable temperature. Extreme temperature variations can impact the scale’s accuracy, so it’s important to let the scale acclimate to the room temperature before proceeding with calibration.
By taking these initial steps to prepare the scale, you are setting the foundation for an accurate calibration process. Once the scale is cleaned, positioned correctly, and at a stable temperature, you can proceed to the next step, which is resetting the scale to zero.
Step 2: Resetting the Scale to Zero
After preparing your Health O Meter Scale, the next step in the calibration process is to reset the scale to zero. This step ensures that any previous measurements or changes in weight are eliminated, providing a clean slate for the calibration process. Follow these steps to reset your scale to zero:
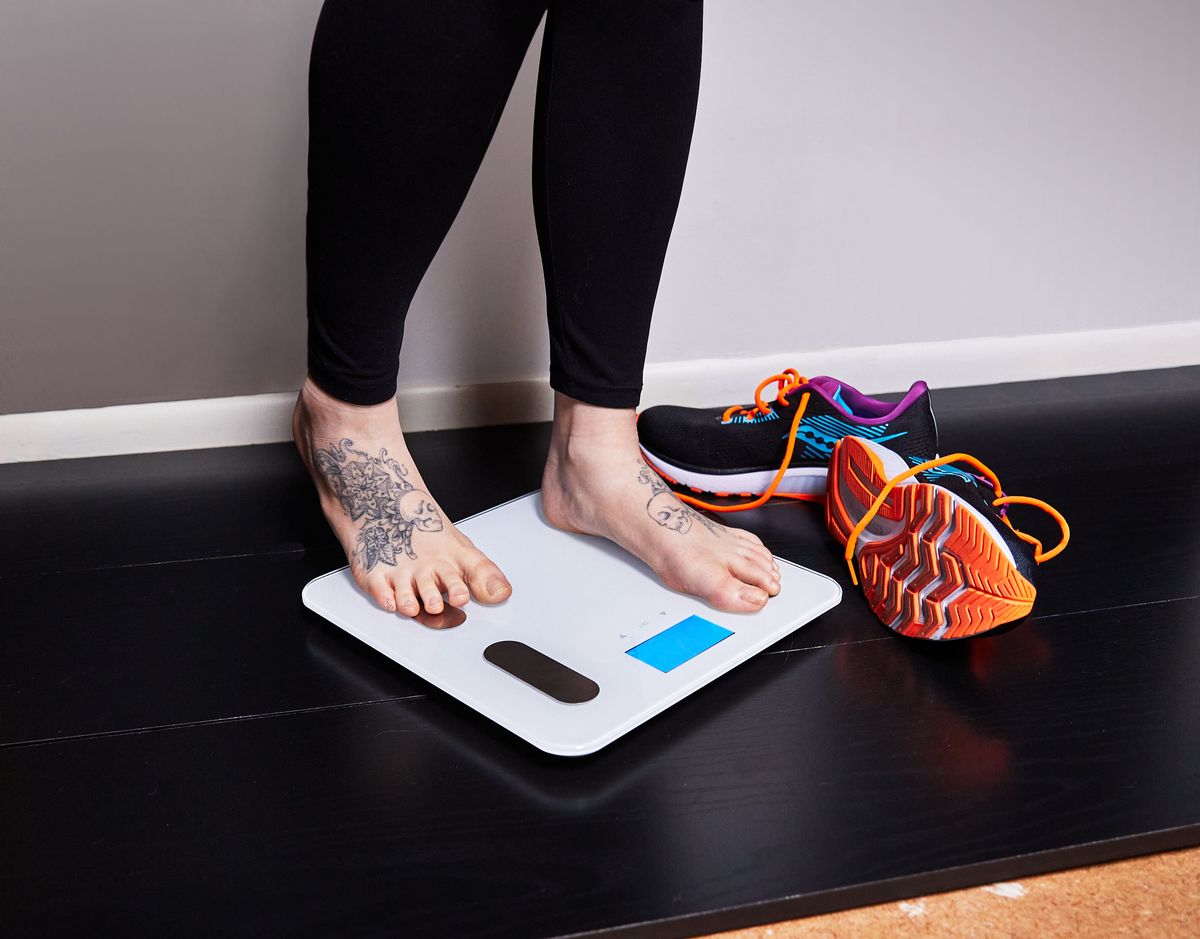
- Step on the Scale: Step onto the scale with both feet, ensuring that your weight is evenly distributed. Keep your posture straight and avoid leaning or shifting your weight to one side.
- Wait for the Display: As you stand on the scale, wait for the display to stabilize and show your current weight reading. It’s important to note that the displayed weight may not be accurate at this stage since we are resetting the scale.
- Press the Reset or Tare Button: Locate the reset or tare button on your Health O Meter Scale. This button is usually labeled and is often positioned near the display or control panel. Press and hold the reset or tare button for a few seconds until the display shows zero. Release the button once the reset is complete.
- Ensure Zero Reading: After releasing the reset or tare button, check the display to ensure that the weight reading is now zero. This confirms that the scale has been successfully reset.
By following these steps, you have reset your Health O Meter Scale to zero. This step is essential as it eliminates any previous measurements or weight changes, providing a baseline for the calibration process. With the scale reset, you are now ready to proceed to the next step, which involves placing calibration weights on the scale.
Step 3: Placing Calibration Weights on the Scale
Once you have reset your Health O Meter Scale to zero, it’s time to proceed with the next step of the calibration process: placing calibration weights on the scale. Follow these steps to accurately place the calibration weights:
- Refer to the User Manual: Consult your user manual or manufacturer’s guidelines to determine the recommended calibration weight for your specific Health O Meter Scale model. This information will ensure that you use the correct weight for accurate calibration.
- Select the Calibration Weight: Locate the calibration weight that matches the recommended weight for your scale. It’s important to use the appropriate weight to ensure accurate calibration results.
- Place the Calibration Weight: Gently place the calibration weight on the center of the scale’s surface. Ensure that the weight is centered and evenly distributed to maintain balance.
- Stabilize the Reading: Allow the scale to stabilize and display the weight reading. This may take a few seconds, depending on your scale model. Ensure that the weight reading remains steady without any significant fluctuations.
- Record the Weight: Once the scale’s display has stabilized, record the weight reading provided by the calibration weight. This recorded weight will help you verify the accuracy of the scale during the subsequent steps of the calibration process.
- Remove the Calibration Weight: After recording the weight reading, carefully remove the calibration weight from the scale’s surface. Take care not to disrupt or move the scale during this process.
By following these steps, you have successfully placed the calibration weight on your Health O Meter Scale and recorded the weight reading. With this information in hand, you are ready to move on to the next step, which involves adjusting the scale for accurate calibration.
Step 4: Adjusting the Scale
After placing the calibration weight on your Health O Meter Scale and recording the weight reading, it’s time to proceed with the next step of the calibration process: adjusting the scale. Follow these steps to make the necessary adjustments:
- Compare the Weight: Compare the weight reading displayed on the scale to the recorded weight from the calibration weight. If the scale reading matches the recorded weight, no adjustment is needed, and your scale is already accurately calibrated. However, if there is a discrepancy, continue to the next steps.
- Locate the Calibration Mechanism: Refer to your user manual or manufacturer’s guidelines to identify the calibration mechanism on your Health O Meter Scale. This mechanism could be in the form of a knob, button, or slider that allows you to adjust the scale’s readings.
- Follow the Calibration Instructions: Depending on your specific Health O Meter Scale model, there may be different instructions for calibrating. Follow the recommended procedure outlined in the user manual or manufacturer’s guidelines to make the necessary adjustments. This may involve turning the calibration knob, pressing specific buttons, or using other provided tools.
- Make Incremental Adjustments: When adjusting the scale, it’s crucial to make incremental adjustments. This means making small changes and closely monitoring the scale’s readings after each adjustment. This will help you find the optimal setting for accurate calibration.
- Repeat the Process if Needed: If the initial adjustment does not align the scale’s reading with the recorded weight from the calibration weight, repeat the adjustment process. Make gradual adjustments and check the scale’s readings after each adjustment until it matches the desired weight.
By following these steps and making the necessary adjustments, you can ensure that your Health O Meter Scale provides accurate weight readings. Once you have adjusted the scale, it’s time to verify the accuracy during the next step of the calibration process.
Step 5: Verifying Accuracy
After adjusting your Health O Meter Scale to ensure accurate calibration, the next step is to verify its accuracy. Verification helps confirm that the scale is now providing precise weight measurements. Follow these steps to verify the accuracy of your scale:
- Reset the Scale: Begin by resetting the scale to zero, as you did in Step 2. This ensures that any residual weight readings are eliminated, providing a clean starting point for the verification process.
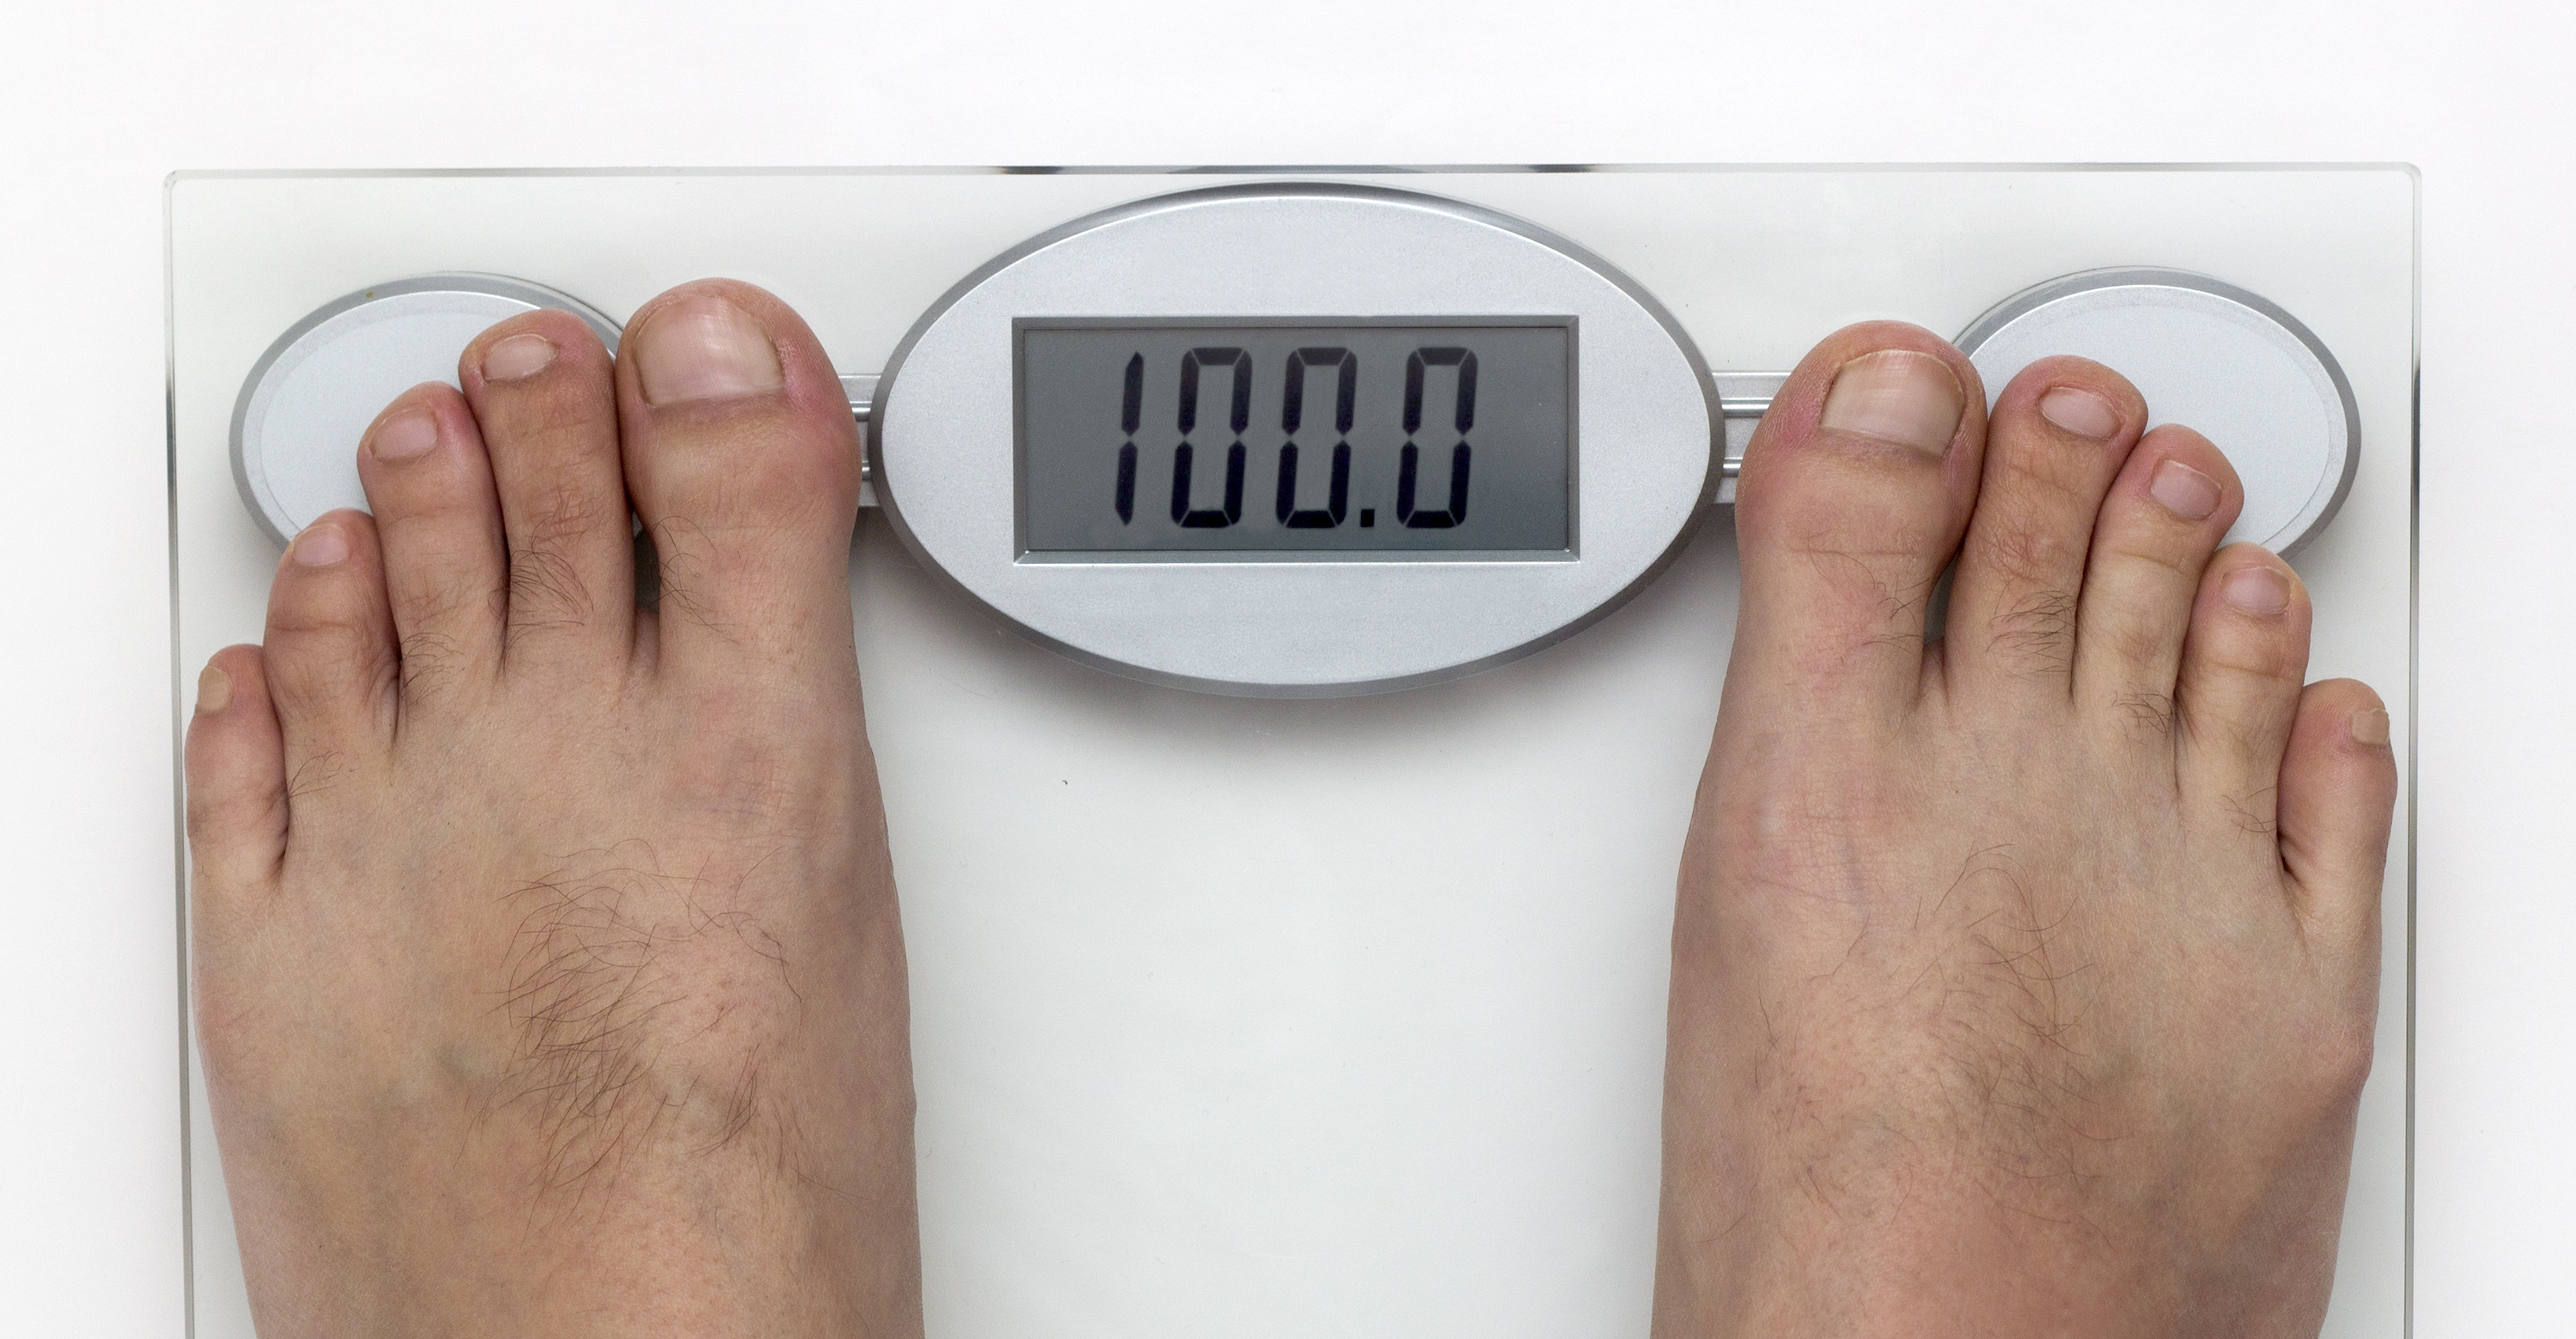
- Step on the Scale: Step onto the scale with both feet, ensuring your weight is evenly distributed. Maintain a straight posture and avoid leaning or shifting your weight.
- Check the Readings: Observe the scale’s display as it stabilizes to show your current weight reading. Compare this reading to your known weight, which can be obtained from another calibrated scale or by consulting with a medical professional.
- Evaluate the Accuracy: Compare the scale’s reading to your known weight. If there is a minimal difference between the two, within an acceptable margin of error, you can consider the scale to be accurately calibrated. If there is a significant discrepancy, however, you may need to repeat the calibration process and make further adjustments.
- Repeat the Verification: For added assurance, it is recommended to repeat the verification process multiple times, taking note of any variations in the weight readings. This will help you determine the consistency and reliability of the scale.
By following these steps and verifying the accuracy of your Health O Meter Scale, you can have confidence in its ability to provide precise weight measurements. Once you are satisfied with the accuracy, you can proceed to the final step to finalize the calibration.
Step 6: Finalizing the Calibration
After verifying the accuracy of your Health O Meter Scale, it’s time to finalize the calibration process. This step ensures that all adjustments have been made correctly and that the scale is now calibrated to provide accurate weight measurements. Follow these steps to complete the finalization:
- Document the Calibration: It’s important to document the calibration process, including the date of calibration and any notes or observations you made during the process. This documentation will serve as a reference for future calibration efforts and help track the history of your scale’s accuracy.
- Secure the Calibration: If your Health O Meter Scale has a calibration lock or seal, ensure it is properly secured to prevent accidental adjustment or tampering. This will help maintain the accuracy of the calibration over time.
- Regularly Repeat Calibration: Calibration is not a one-time process. To ensure consistent accuracy, it’s recommended to repeat the calibration periodically. The frequency of calibration will depend on factors such as usage, environmental conditions, and manufacturer recommendations. Consult your user manual or the manufacturer’s guidelines for specific instructions on how often to calibrate your scale.
- Maintain Proper Care: To prolong the lifespan and accuracy of your Health O Meter Scale, it’s important to maintain proper care. Clean the scale regularly using a soft, clean cloth and a non-abrasive cleaning solution, if necessary. Avoid placing heavy objects on the scale, as it can affect its performance and accuracy. Additionally, store the scale in a safe and stable location when not in use.
By following these steps to finalize the calibration, you can ensure that your Health O Meter Scale is accurately calibrated and ready to provide precise weight measurements. Regularly repeating the calibration process and maintaining proper care will help you continue to benefit from accurate and reliable weight readings.
Conclusion
Calibrating your Health O Meter Scale is an essential task to maintain accurate and reliable weight measurements. By following the step-by-step process outlined in this guide, you can ensure that your scale remains in optimal working condition and provides precise weight readings.
We started by understanding the Health O Meter Scale and its advanced technology for weight measurement. We then explored the reasons why calibrating the scale is necessary, including accuracy, consistency, reliability, validation, and prolonged lifespan.
Next, we gathered the materials needed for the calibration process, including calibration weights, a soft cloth, non-abrasive cleaning solution, and the user manual or manufacturer’s guidelines. We then proceeded with the step-by-step instructions, starting with preparing the scale, resetting it to zero, placing calibration weights, adjusting the scale, verifying accuracy, and finalizing the calibration.
After completing the finalization step, it is important to document the calibration, seal or lock the calibration settings (if applicable), and repeat the calibration periodically for ongoing accuracy. Proper care and maintenance of the scale will also contribute to its longevity and accurate performance over time.
Remember, calibration is not a one-time process, and regular calibration ensures consistent accuracy. Depending on your usage and the manufacturer’s recommendations, consider calibrating your Health O Meter Scale at regular intervals to maintain its precision.
By following these guidelines and incorporating regular calibration into your routine, you can trust that your Health O Meter Scale will provide accurate weight measurements. Whether you are tracking your weight for personal health goals, medical purposes, or professional applications, a calibrated scale is a valuable tool in your journey towards a healthier you.