Featured
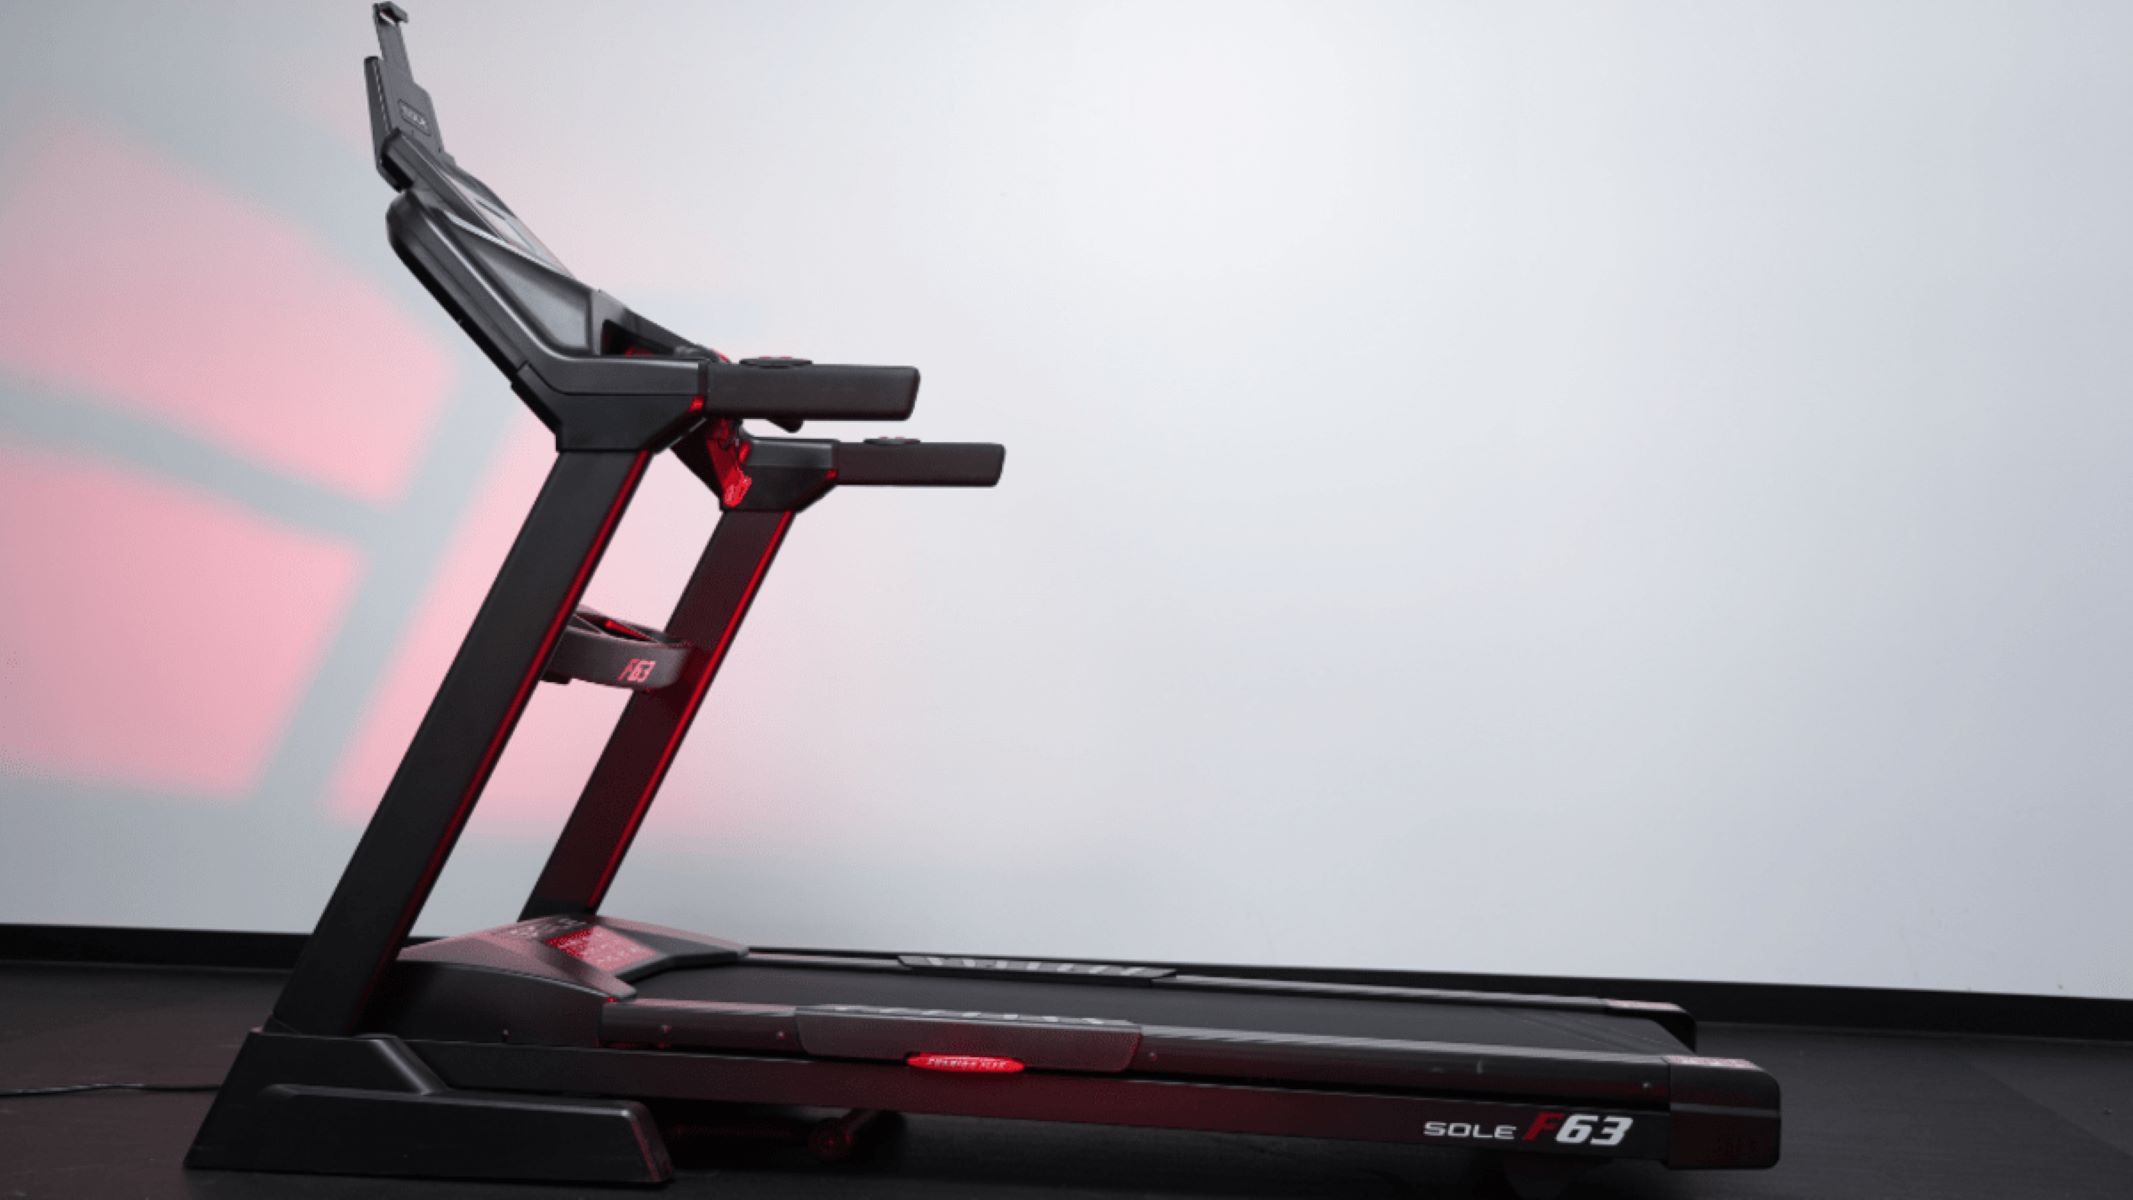
How To Disassemble Sole F63 Treadmill
Modified: August 18, 2023
Learn the step-by-step process of disassembling the Sole F63 treadmill in this comprehensive guide. Get featured tips and instructions to easily dismantle your treadmill.
Introduction
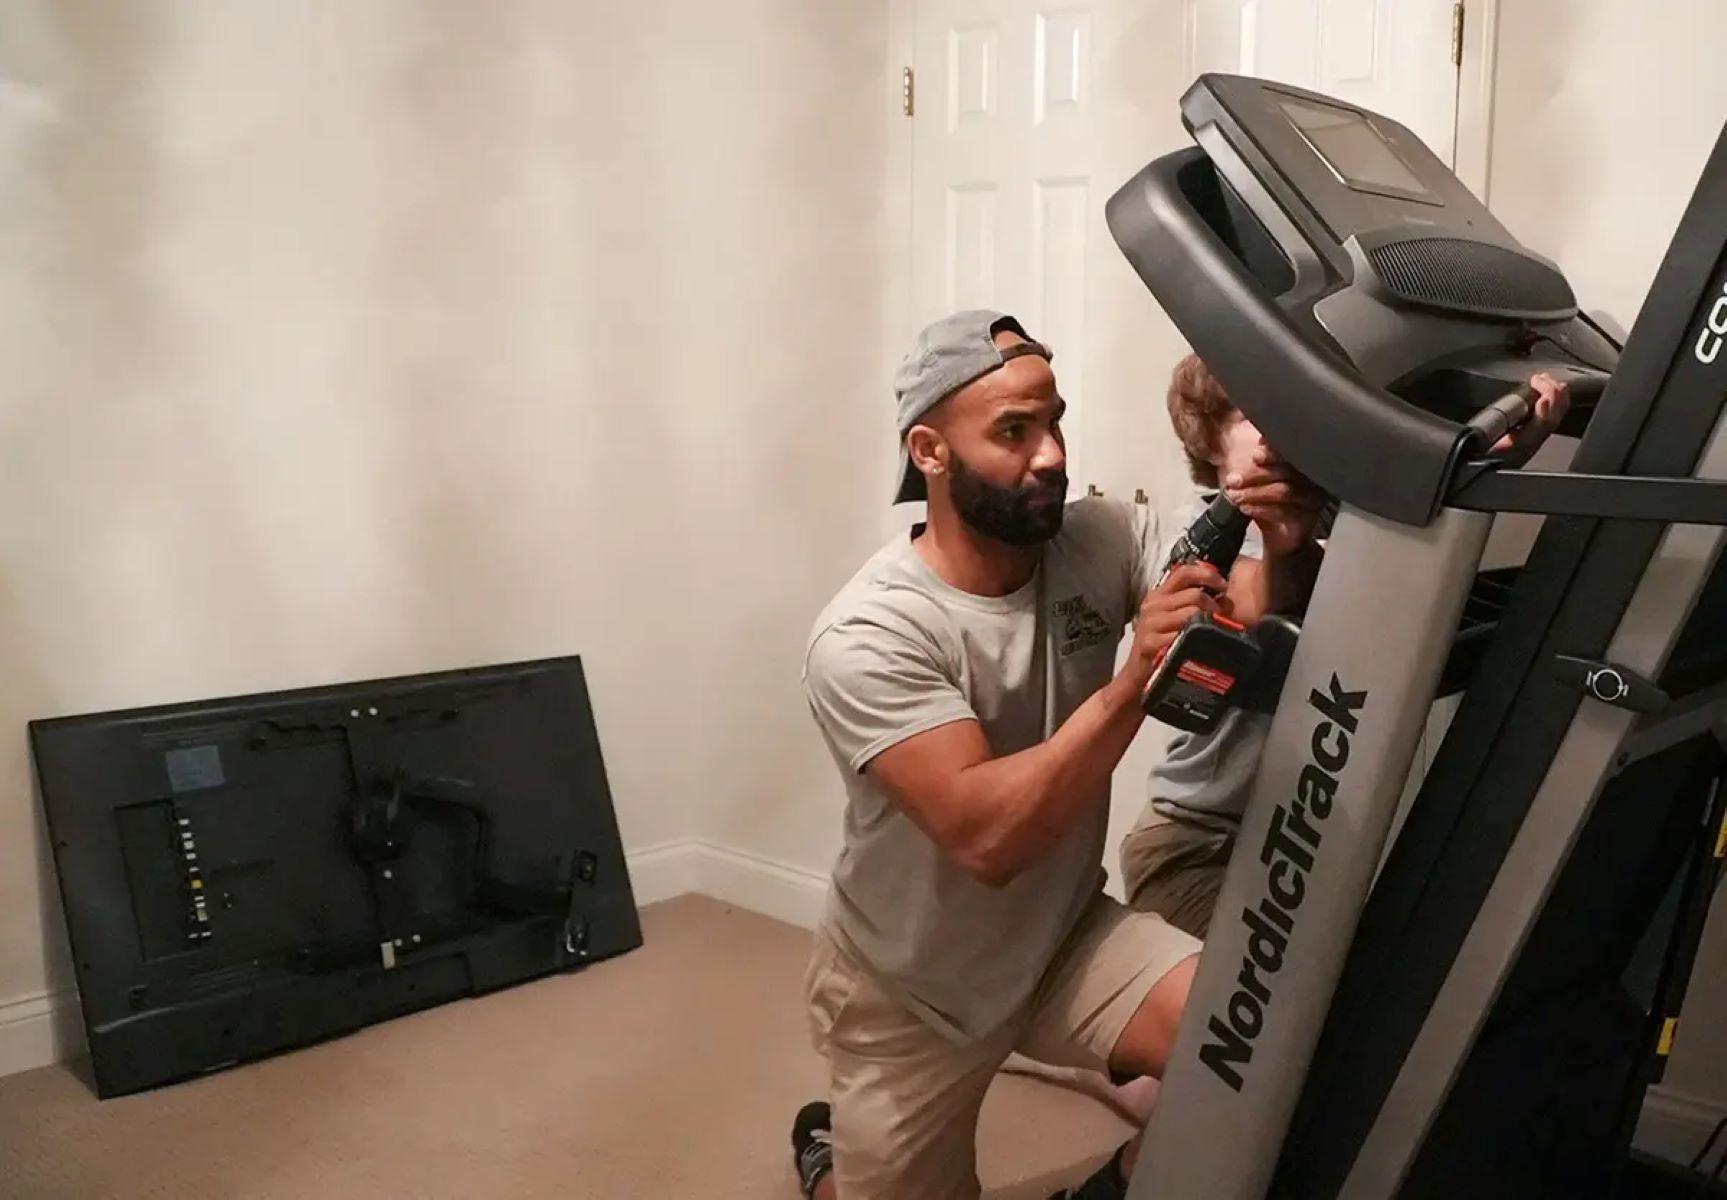
Disassembling a Sole F63 Treadmill may seem like a daunting task, but with the right tools and a step-by-step guide, it can be a straightforward process. Whether you’re looking to transport your treadmill to a new location, repair a specific component, or simply gain a deeper understanding of how it works, taking apart the machine can be a valuable skill to have.
However, it’s important to note that disassembling a treadmill should only be done if you have the necessary knowledge and experience. If you’re unsure or uncomfortable with the process, it’s always best to consult a professional technician or the manufacturer’s guide. Safety is paramount, so make sure to follow all recommended precautions and guidelines throughout the disassembly process.
In this guide, we will walk you through the steps required to disassemble a Sole F63 Treadmill. From removing the console to disassembling the frame, we’ll cover everything you need to know to successfully take apart your treadmill. So gather your tools and let’s get started!
Tools and Materials Needed
Before you begin the disassembly process, it’s essential to gather the necessary tools and materials. Having everything on hand will ensure a smoother and more efficient disassembly. Here are the tools and materials you’ll need:
- Hex wrench set
- Phillips screwdriver
- Adjustable wrench
- Pliers
- Tape measure
- Protective gloves
- Allen wrench
- Socket wrench
- Marker or pen
- Blanket or soft surface
Make sure you have all of these tools and materials nearby before you start disassembling your Sole F63 Treadmill. Having the right tools will make the process much easier and prevent any unnecessary damage to the machine.
Additionally, it’s a good idea to have the owner’s manual or manufacturer’s guide readily available. This will provide specific instructions and diagrams that may be helpful during the disassembly process.
Once you have all of the tools and materials prepared, you’re ready to move on to the next step and begin the disassembly of your Sole F63 Treadmill.
Step 1: Preparation
Before diving into the disassembly process, it’s important to properly prepare the area and ensure your safety. Here are the key steps to take:
- Find a spacious and well-lit area: Choose a location where you have enough room to work comfortably and safely. Clear out any obstacles or furniture that may hinder your movement.
- Turn off and unplug the treadmill: Disconnect the power cord from the outlet to prevent any accidental starting or electrical accidents.
- Wear protective gloves: Ensure you have a pair of protective gloves on hand to safeguard your hands from any sharp edges or potential injuries during the disassembly process.
- Prepare a blanket or soft surface: Lay down a blanket or soft surface nearby to lay the treadmill parts on as you disassemble them. This will prevent any scratches or damage to the components.
Once you’ve completed these preparations, you’re ready to move on to the next step of disassembling your Sole F63 Treadmill.
Step 2: Removing the Console
The console is the control panel of the Sole F63 Treadmill, and it needs to be removed first. Follow these steps:
- Locate the screws: Look for the screws that are securing the console to the treadmill frame. They are typically located at the bottom of the console or on the sides.
- Use the appropriate tool: Use a Phillips screwdriver or the specific tool recommended by the manufacturer to remove the screws.
- Set the screws aside: Once the screws are removed, set them aside in a safe place to avoid misplacing them.
- Carefully detach the console: Gently lift the console away from the treadmill frame. Be cautious of any attached wires or cables.
- Disconnect the wiring: If there are any wires or cables connecting the console to the treadmill, carefully disconnect them by removing the connectors. Take note of their placement or take pictures to ensure proper reconnection later.
Now that you’ve successfully removed the console, you can set it aside or follow the manufacturer’s instructions for further disassembly or repair. With the console out of the way, you’re ready to move on to the next step.
Step 3: Detaching the Handlebars
The handlebars of the Sole F63 Treadmill are another component that needs to be detached. Follow these steps to remove them:
- Locate the attachment points: Identify where the handlebars are attached to the treadmill frame. They are typically connected near the console or on the sides of the frame.
- Check for any securing mechanisms: Look for screws, bolts, or clamps that are holding the handlebars in place.
- Use the appropriate tool: Depending on the type of securing mechanism, use the necessary tool, such as a wrench or screwdriver, to loosen and remove the screws or bolts.
- Detach the handlebars: Once the securing mechanisms are removed, gently lift the handlebars away from the treadmill frame. Be cautious of any attached wires or cables.
- Disconnect the wiring: If there are any wires or cables connected to the handlebars, carefully disconnect them by removing the connectors. Take note of their placement or take pictures to ensure proper reconnection later.
After detaching the handlebars, set them aside or follow any further instructions provided by the manufacturer for handling or repairing this component. With the handlebars removed, you’re ready to proceed to the next step of disassembling your Sole F63 Treadmill.
Step 4: Disconnecting the Wiring
During the disassembly process of the Sole F63 Treadmill, it’s important to disconnect the wiring properly to ensure the safety of the components and prevent any damage. Follow these steps:
- Identify the wiring connections: Take a close look at the wires and cables that are connected to various parts of the treadmill, such as the motor, console, or sensors.
- Trace the wires: Trace the path of each wire to determine its origin and destination. This will help you understand how the different components of the treadmill are interconnected.
- Disconnect the connectors: Once you’ve identified the connectors, carefully detach them. Depending on the type of connectors used, you may need to squeeze, twist, or gently pull them apart.
- Label or take pictures: To ensure proper reconnection later, label the connectors or take clear pictures of their placement. This will save you time and confusion when you’re putting the treadmill back together.
- Secure loose wiring: If there are any loose wires or cables, use zip ties or clips to secure them. This will prevent them from tangling or getting damaged during the disassembly process.
By disconnecting the wiring carefully and organizing it properly, you’ll be able to disassemble the remaining components of your Sole F63 Treadmill more easily. With the wiring disconnected, it’s time to move on to the next step.
Step 5: Removing the Motor Cover
The motor cover of the Sole F63 Treadmill houses the motor that powers the machine. Removing the motor cover allows you to access and work on the motor if needed. Follow these steps to remove the motor cover:
- Locate the motor cover: Identify where the motor cover is situated on the treadmill. It is typically located at the front or back of the machine, near the base.
- Check for any securing mechanisms: Look for screws or bolts that are securing the motor cover in place. These can often be found on the sides or underneath the cover.
- Use the appropriate tool: Depending on the type of securing mechanisms, use the necessary tool, such as a screwdriver or wrench, to loosen and remove the screws or bolts.
- Gently lift the motor cover: Once the securing mechanisms are removed, carefully lift the motor cover away from the treadmill frame. Be cautious of any attached wires or cables.
- Disconnect the wiring (if necessary): If there are any wires or cables connected to the motor cover, carefully disconnect them by removing the connectors. Take note of their placement or take pictures to ensure proper reconnection later.
After removing the motor cover, set it aside in a safe place. This will allow you to access and work on the motor, if required, or move on to the next step of disassembling your Sole F63 Treadmill.
Step 6: Detaching the Motor and Belt
The motor and belt are integral components of the Sole F63 Treadmill. During the disassembly process, you’ll need to detach them. Here’s how:
- Locate the motor and belt assembly: Find the motor and belt assembly, which is typically located underneath the treadmill deck.
- Disconnect the belt: There may be tension knobs or screws that secure the belt in place. Loosen these and carefully remove the belt from the motor and front roller.
- Unplug the motor wires: Locate the wires connected to the motor and unplug them. Take note of their placement or take pictures to ensure proper reconnection later.
- Remove the motor: Depending on the design of your treadmill, you may need to unscrew or remove additional components to access and detach the motor. Use the appropriate tools and follow the manufacturer’s instructions for this step.
- Set aside the motor and belt: Once the motor is detached, carefully set it aside in a safe place. Also, store the belt in a clean and secure location to prevent any damage.
With the motor and belt detached, you can continue with the disassembly process of other components. Follow the next steps in this guide to further dismantle your Sole F63 Treadmill.
Step 7: Removing the Roller and Deck
The roller and deck are essential components of the Sole F63 Treadmill that provide support and smooth movement. To continue with the disassembly process, you’ll need to remove them. Follow these steps:
- Disconnect the rear roller: Locate the rear roller, which is typically positioned at the back of the treadmill deck. Look for any securing mechanisms, such as bolts or screws, that hold the roller in place. Use the appropriate tool to remove these and detach the rear roller.
- Remove the front roller: The front roller is usually attached to the motor. Depending on your treadmill’s design, you may need to disconnect any mounting brackets or belts connecting the roller to the motor. Refer to the manufacturer’s instructions for guidance on removing the front roller.
- Detach the treadmill deck: The deck is the surface on which the running belt is placed. Look for any screws or bolts that secure the deck to the treadmill frame. Use the appropriate tool to remove them and carefully lift the deck away from the frame.
Once the roller and deck are removed, place them in a secure location to prevent any damage. You can now move on to the next step of disassembling your Sole F63 Treadmill.
Step 8: Disassembling the Frame
The frame of the Sole F63 Treadmill is the main structure that holds all the components together. Disassembling the frame provides access to other parts for repair or transportation purposes. Follow these steps to disassemble the frame:
- Locate the frame connection points: Examine the treadmill frame carefully and identify any screws, bolts, or connectors that hold the frame together.
- Use the appropriate tool: Depending on the type of connectors used, use the necessary tool, such as a wrench, screwdriver, or Allen wrench, to loosen and remove the screws or bolts.
- Dismantle the frame: Start by removing the larger frame pieces, such as the front and rear sections. Then, proceed to remove any additional smaller parts, such as side panels or crossbars, by disconnecting their connectors or removing screws.
- Keep track of the disassembled parts: As you dismantle the frame, carefully organize and store the parts in a secure place. You can use labeled bags or containers to ensure the components don’t get misplaced.
Ensure you follow the manufacturer’s instructions and recommended order of disassembly for the frame to avoid any damage. By disassembling the frame, you are one step closer to fully taking apart your Sole F63 Treadmill.
Step 9: Disconnecting the Power Cord
Disconnecting the power cord is an essential step in the disassembly process of the Sole F63 Treadmill. This ensures the safety of both the user and the machine. Follow these steps to disconnect the power cord:
- Locate the power cord: Identify where the power cord is connected to the treadmill. It is typically located at the back of the machine, near the base.
- Follow the cord to the outlet: Trace the power cord from the treadmill to the wall outlet. This will help you locate the connection point and any additional junctions or extensions.
- Unplug the power cord: Once you’ve located the connection point, simply unplug the power cord from the outlet. Ensure you pull on the plug itself and not the cord to prevent any damage.
- Secure the power cord: After the power cord is disconnected, it’s important to secure it to prevent any tripping hazards or accidental damage. You can use zip ties or cord organizers to bundle and secure the cord neatly.
By disconnecting the power cord, you have effectively cut off the electrical supply to the treadmill. This will allow you to proceed with the final steps of disassembling your Sole F63 Treadmill safely and with peace of mind.
Step 10: Removing the Transport Wheels
The transport wheels on the Sole F63 Treadmill make it easier to move the machine from one location to another. To complete the disassembly process, you’ll need to remove these wheels. Follow these steps:
- Locate the transport wheels: The transport wheels are typically positioned at the base of the treadmill frame, usually on the front or back.
- Check for any securing mechanisms: Look for bolts or screws that are holding the transport wheels in place. These can often be found on the axle or the wheel itself.
- Use the appropriate tool: Depending on the type of securing mechanisms, use the necessary tool, such as a wrench or socket wrench, to loosen and remove the bolts or screws.
- Detach the transport wheels: Once the securing mechanisms are removed, gently pull the transport wheels away from the treadmill frame. Be careful not to strain or damage any connected parts.
- Set aside the transport wheels: Once removed, set the transport wheels aside in a safe place. You can store them with other disassembled components or keep them separately for easier reassembly later.
By removing the transport wheels, you’re making the treadmill more compact and easier to handle during transportation or storage. With the wheels taken off, you’re ready to proceed to the final steps of disassembling your Sole F63 Treadmill.
Step 11: Disassembling Other Components
In addition to the major components mentioned in the previous steps, there may be other smaller parts that need to be disassembled from the Sole F63 Treadmill. Follow these general guidelines when disassembling other components:
- Consult the manufacturer’s instructions: The manufacturer’s guide or owner’s manual may provide specific instructions on how to disassemble other components of your treadmill. Refer to these resources for guidance.
- Identify the additional components: Take a thorough look at your treadmill and identify any other parts that can be disassembled, such as handrail supports, sensor brackets, or decorative covers.
- Locate the securing mechanisms: Determine how these additional components are secured to the treadmill frame. Look for screws, bolts, or clips that are holding them in place.
- Use the appropriate tools: Depending on the type of securing mechanisms, use the necessary tools to loosen and remove them. This may include screwdrivers, wrenches, or Allen keys.
- Carefully remove the components: Once the securing mechanisms are removed, gently detach the additional components from the treadmill frame. Take care not to force or break any connections.
- Organize and store the disassembled parts: As you remove each component, organize and store them in a secure place. You can use labeled bags or containers to keep track of the smaller parts.
Remember to take your time and follow the manufacturer’s instructions to ensure a smooth disassembly process. By disassembling all the necessary components, you can transport, store, or repair your Sole F63 Treadmill more easily.
Conclusion
Disassembling the Sole F63 Treadmill may seem like a complex task, but by following the step-by-step guide provided, you can successfully take apart the machine. Remember to prioritize safety throughout the process and refer to the manufacturer’s instructions for specific guidance.
By preparing the necessary tools and materials, disconnecting the wiring and power cord, and removing components such as the console, handlebars, motor, belt, roller, deck, and transport wheels, you can disassemble the treadmill effectively. Additionally, disassembling the frame and any other components will make it easier for transportation, storage, or repair purposes.
Make sure to keep the disassembled parts organized and stored in a secure place, label connectors, and take pictures as a reference for reassembly. If you’re unsure about any step or encounter difficulties during the process, it’s always best to seek professional assistance.
Now that you have successfully disassembled your Sole F63 Treadmill, you can use the knowledge gained to repair specific components, transport the treadmill to a new location, or gain a deeper understanding of its inner workings. Remember to exercise caution and patience during the reassembly, ensuring all components are properly connected and secured.
Disassembling a treadmill can be a valuable skill to have, allowing you to maintain and extend the lifespan of your equipment. Enjoy the benefits of your disassembled treadmill and the knowledge you’ve gained throughout the process!