Featured
How To Record A Treadmill Run On Strava
Modified: January 2, 2024
Learn how to record your treadmill run on Strava with our featured tutorial. Start tracking your indoor workouts and sharing them with the Strava community now!
Introduction
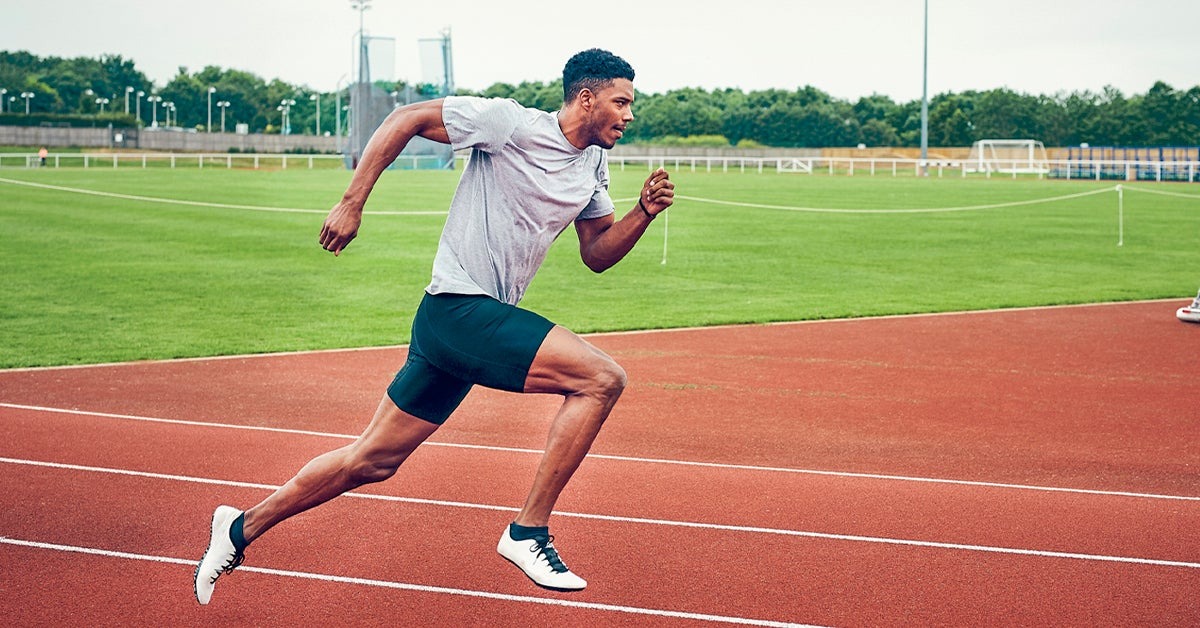
Welcome to the world of Strava, where you can track and record your running activities and share them with a community of runners from around the globe. While many runners enjoy exploring the great outdoors, there are times when hitting the treadmill is the only option. But don’t worry, you can still log your treadmill runs on Strava and keep track of your progress.
In this article, we will guide you through the steps on how to record a treadmill run on Strava. Whether you’re training for a race, trying to improve your fitness, or just enjoy running indoors, Strava can help you stay motivated and connected.
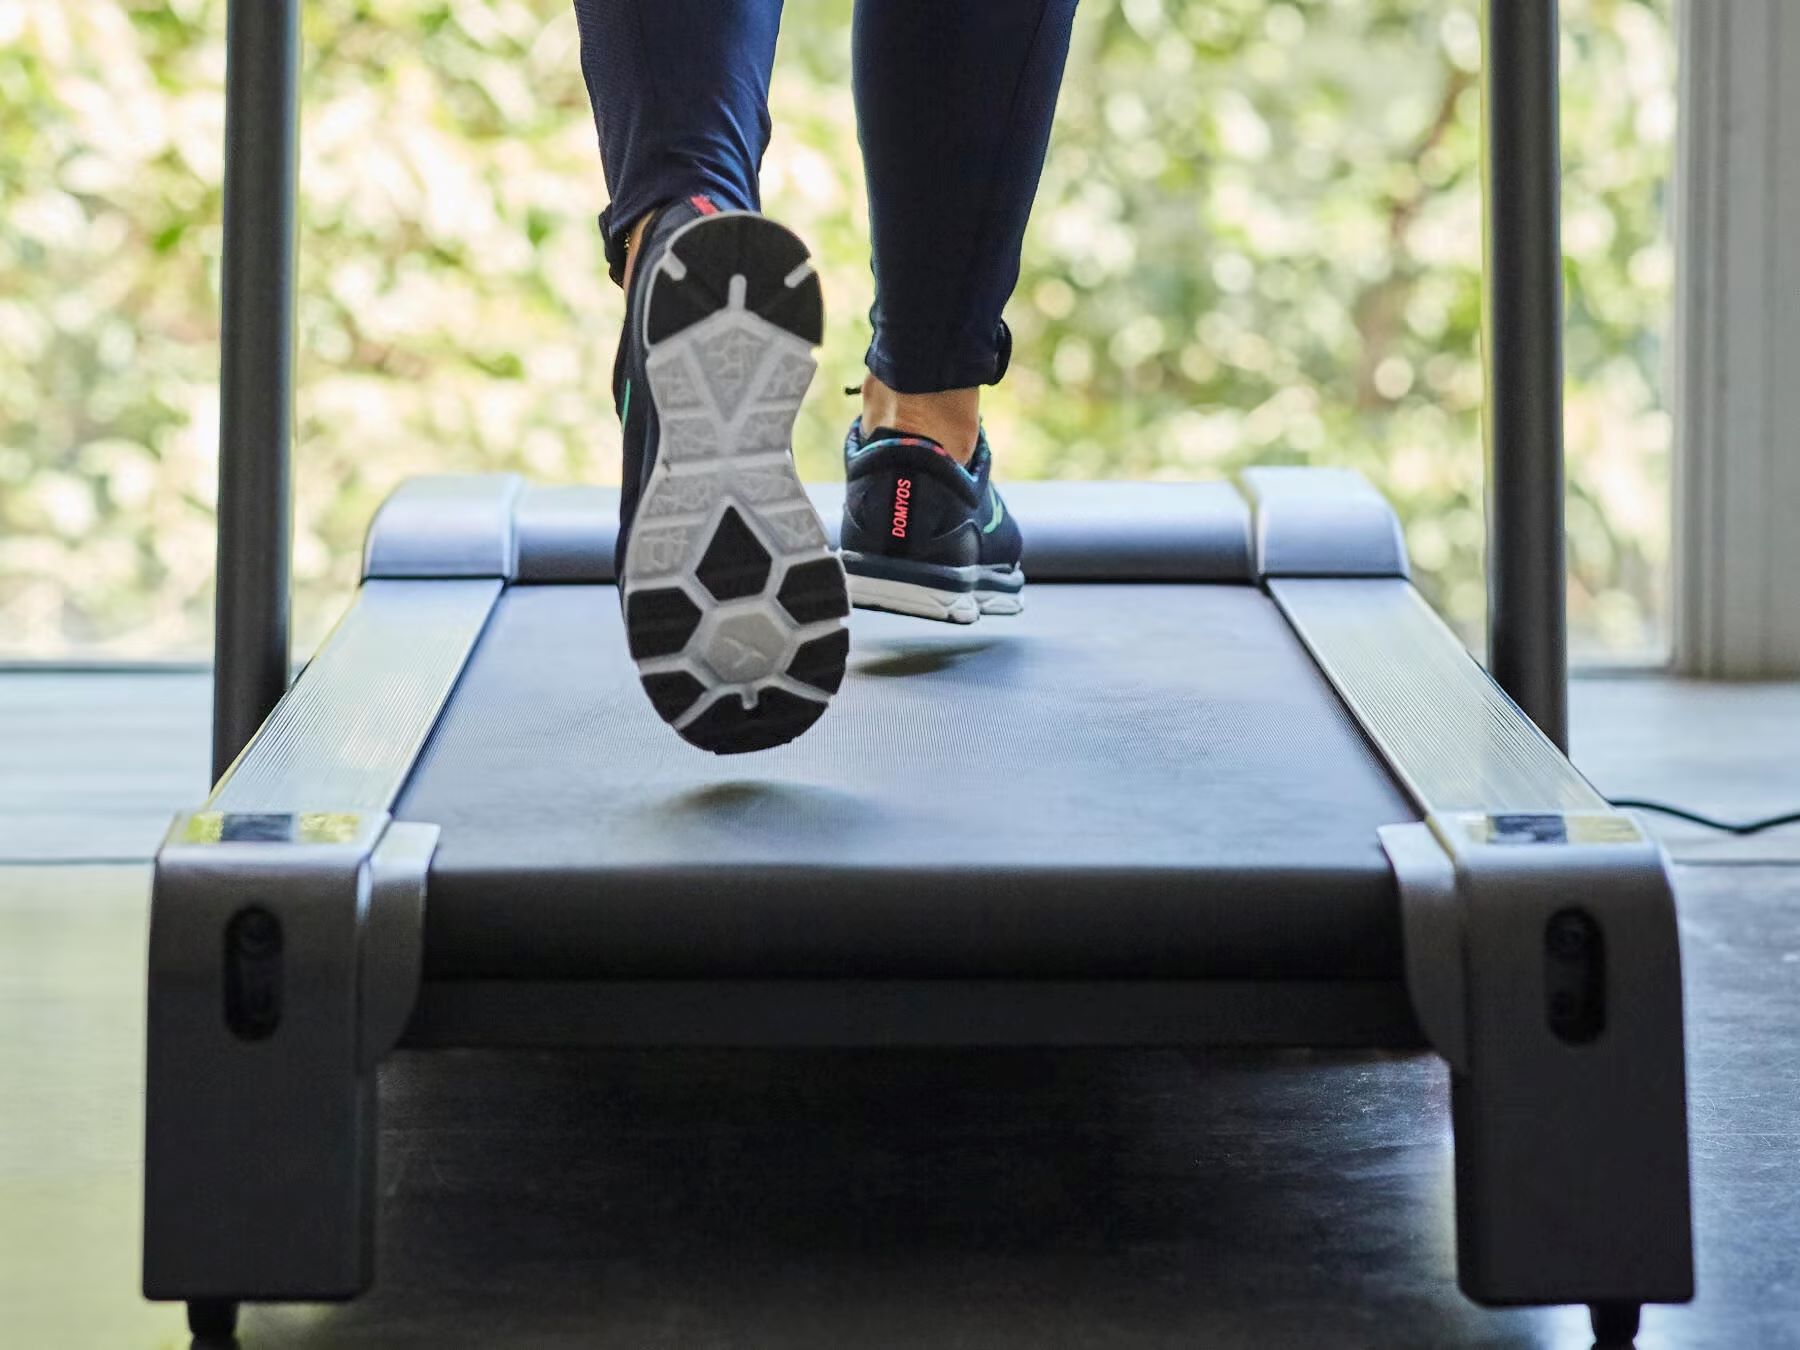
Before we begin, it’s important to note that Strava does not directly connect with treadmill consoles. Instead, you’ll need to utilize other devices or apps to record your treadmill runs. Don’t worry, we’ll show you how to make the most of your treadmill sessions.
Now, let’s dive into the steps to connect your treadmill runs to Strava and make the most of your indoor workouts.
Step 1: Connect Your Treadmill to Strava
While your treadmill may not have a direct integration with Strava, there are several ways to connect your treadmill runs to the platform.
1. Use a GPS-enabled device: If your treadmill has built-in GPS capabilities, you can use it to track your runs directly on Strava. Simply start recording your run on your treadmill and make sure the GPS function is enabled. Once your run is complete, sync your device with your Strava account, and your treadmill run will be uploaded.
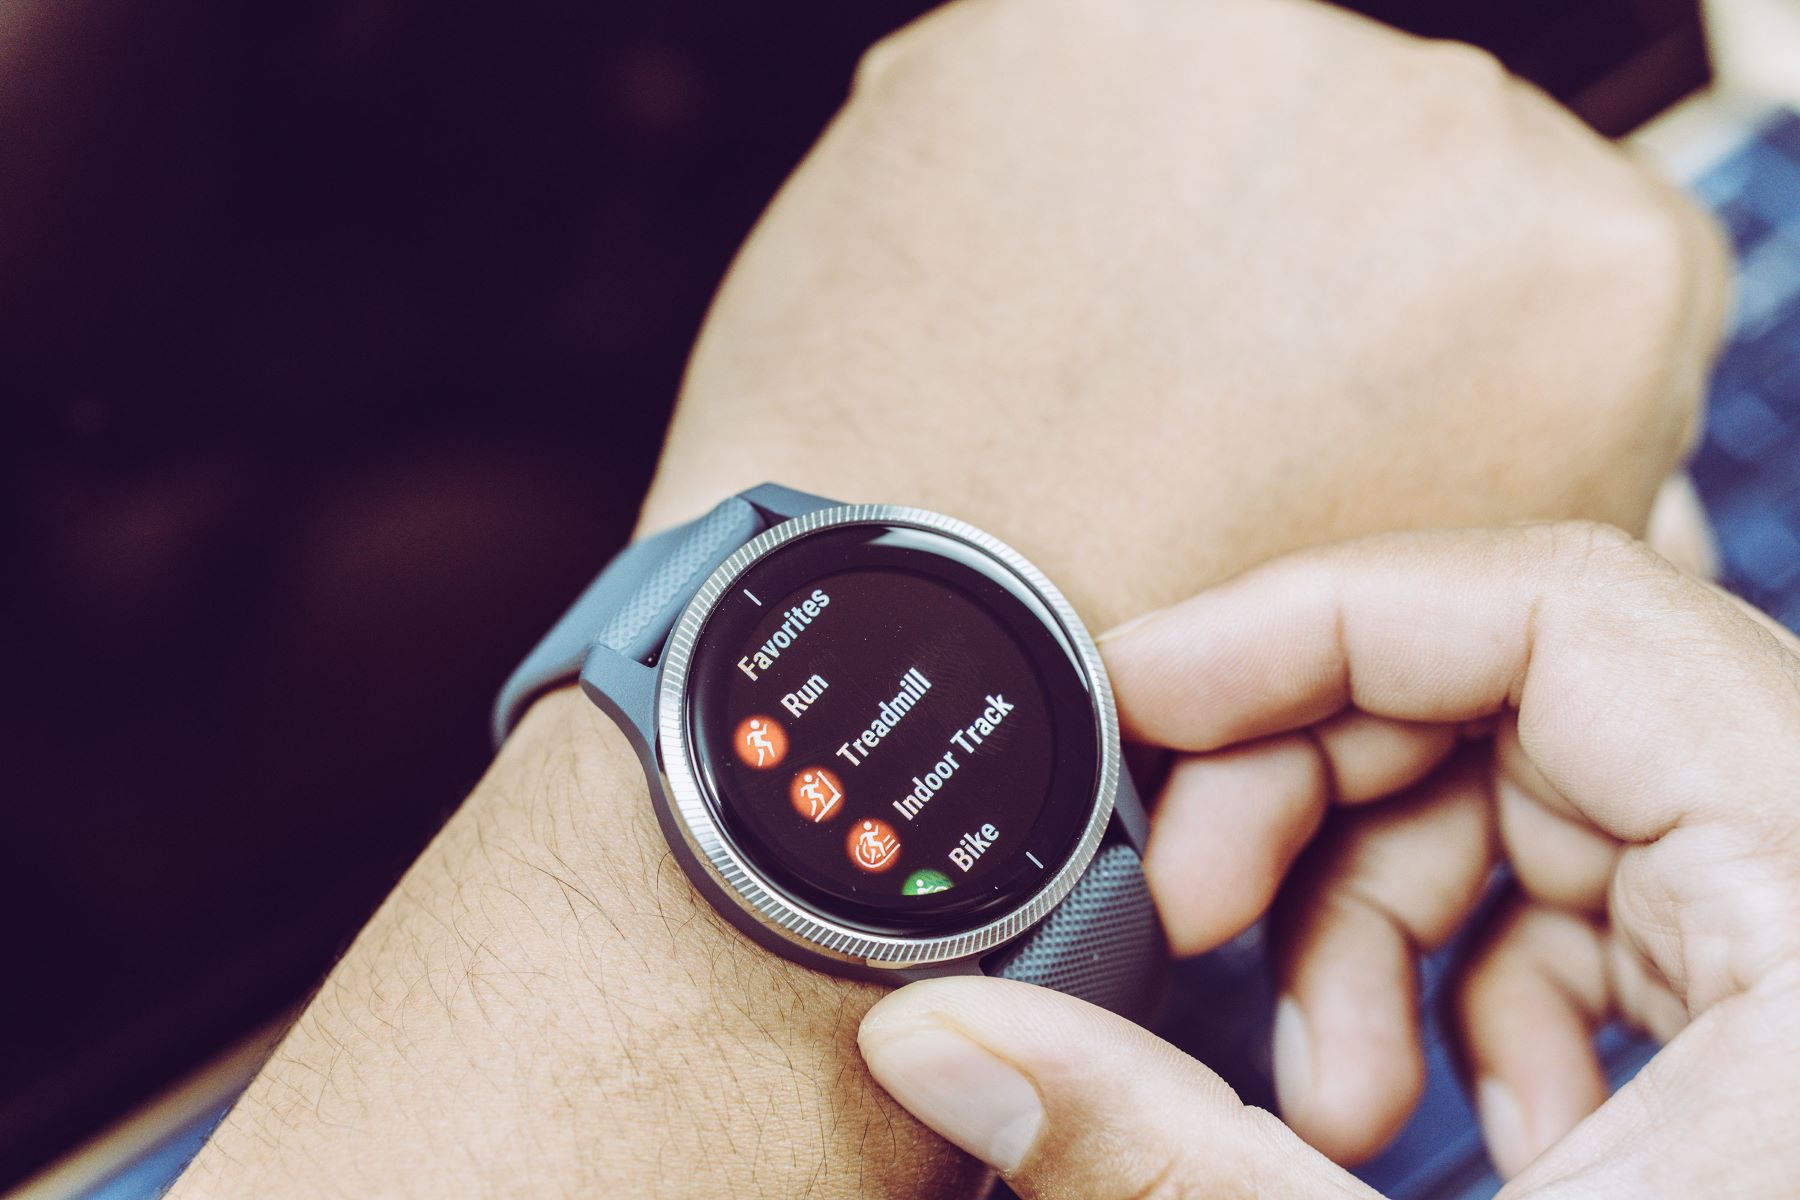
2. Use a running watch: If your treadmill doesn’t have GPS, you can still track your runs using a GPS-enabled running watch. Simply wear the watch while running on the treadmill, and it will record your distance, pace, and other metrics. Once your run is complete, sync the watch with your Strava account, and your treadmill run will be recorded on the platform.
3. Use a smartphone app: If you don’t have a GPS-enabled device or a running watch, you can rely on a smartphone app to track your treadmill runs. There are several apps available, such as the Strava app itself, which can track your runs using your phone’s GPS. Simply start the app, select the running activity, and begin your treadmill run. Once you finish, save the activity and sync it with your Strava account.
4. Manually enter your treadmill run: If you don’t have access to any tracking devices or apps, you can manually enter your treadmill run details on Strava. Go to the Strava website or app, click on the “Upload” button, and select “Manual Entry”. Fill in the required information, such as distance, duration, and effort level, and save your treadmill run.
By following the above methods, you can easily connect your treadmill runs to Strava and keep track of your progress and achievements. Now that you’ve connected your treadmill to Strava, let’s move on to the next step of choosing the right tracking device.
Step 2: Choose the Right Tracking Device
When it comes to recording your treadmill runs on Strava, using the right tracking device is crucial to ensure accurate and reliable data.
1. GPS-enabled Running Watch: If you’re serious about tracking your runs, investing in a GPS-enabled running watch is a great option. These watches use GPS technology to precisely track your distance, pace, and other important metrics. Look for a watch that has compatibility with Strava, allowing you to seamlessly upload your treadmill runs to the platform.
2. Smartphone Apps: If you prefer using your smartphone to track your runs, there are several apps available that are compatible with Strava. These apps utilize your phone’s GPS to track your distance and pace. Some popular apps include the Strava app itself, Nike Run Club, Runkeeper, and Runtastic. Make sure to choose an app that suits your needs and preferences.
3. Foot Pod or Wearable Tracker: If you want to track your treadmill runs without relying on GPS, you can consider using a foot pod or wearable tracker. These small devices attach to your running shoes or clothing and measure your foot movements to calculate distance and pace. Some of these devices can be connected to Strava, allowing you to upload your treadmill runs directly to the platform.
4. Heart Rate Monitor: In addition to tracking your distance and pace, monitoring your heart rate during treadmill runs can provide valuable insights into your cardiovascular fitness. Many GPS-enabled running watches also come with built-in heart rate monitors, or you can opt for a separate heart rate monitor that connects to your tracking device or smartphone app.
Consider your budget, running goals, and preferences when selecting a tracking device. Look for devices that offer accurate data, easy compatibility with Strava, and additional features that align with your needs. With the right tracking device in hand, you can now move on to the next step of recording your treadmill run on Strava.
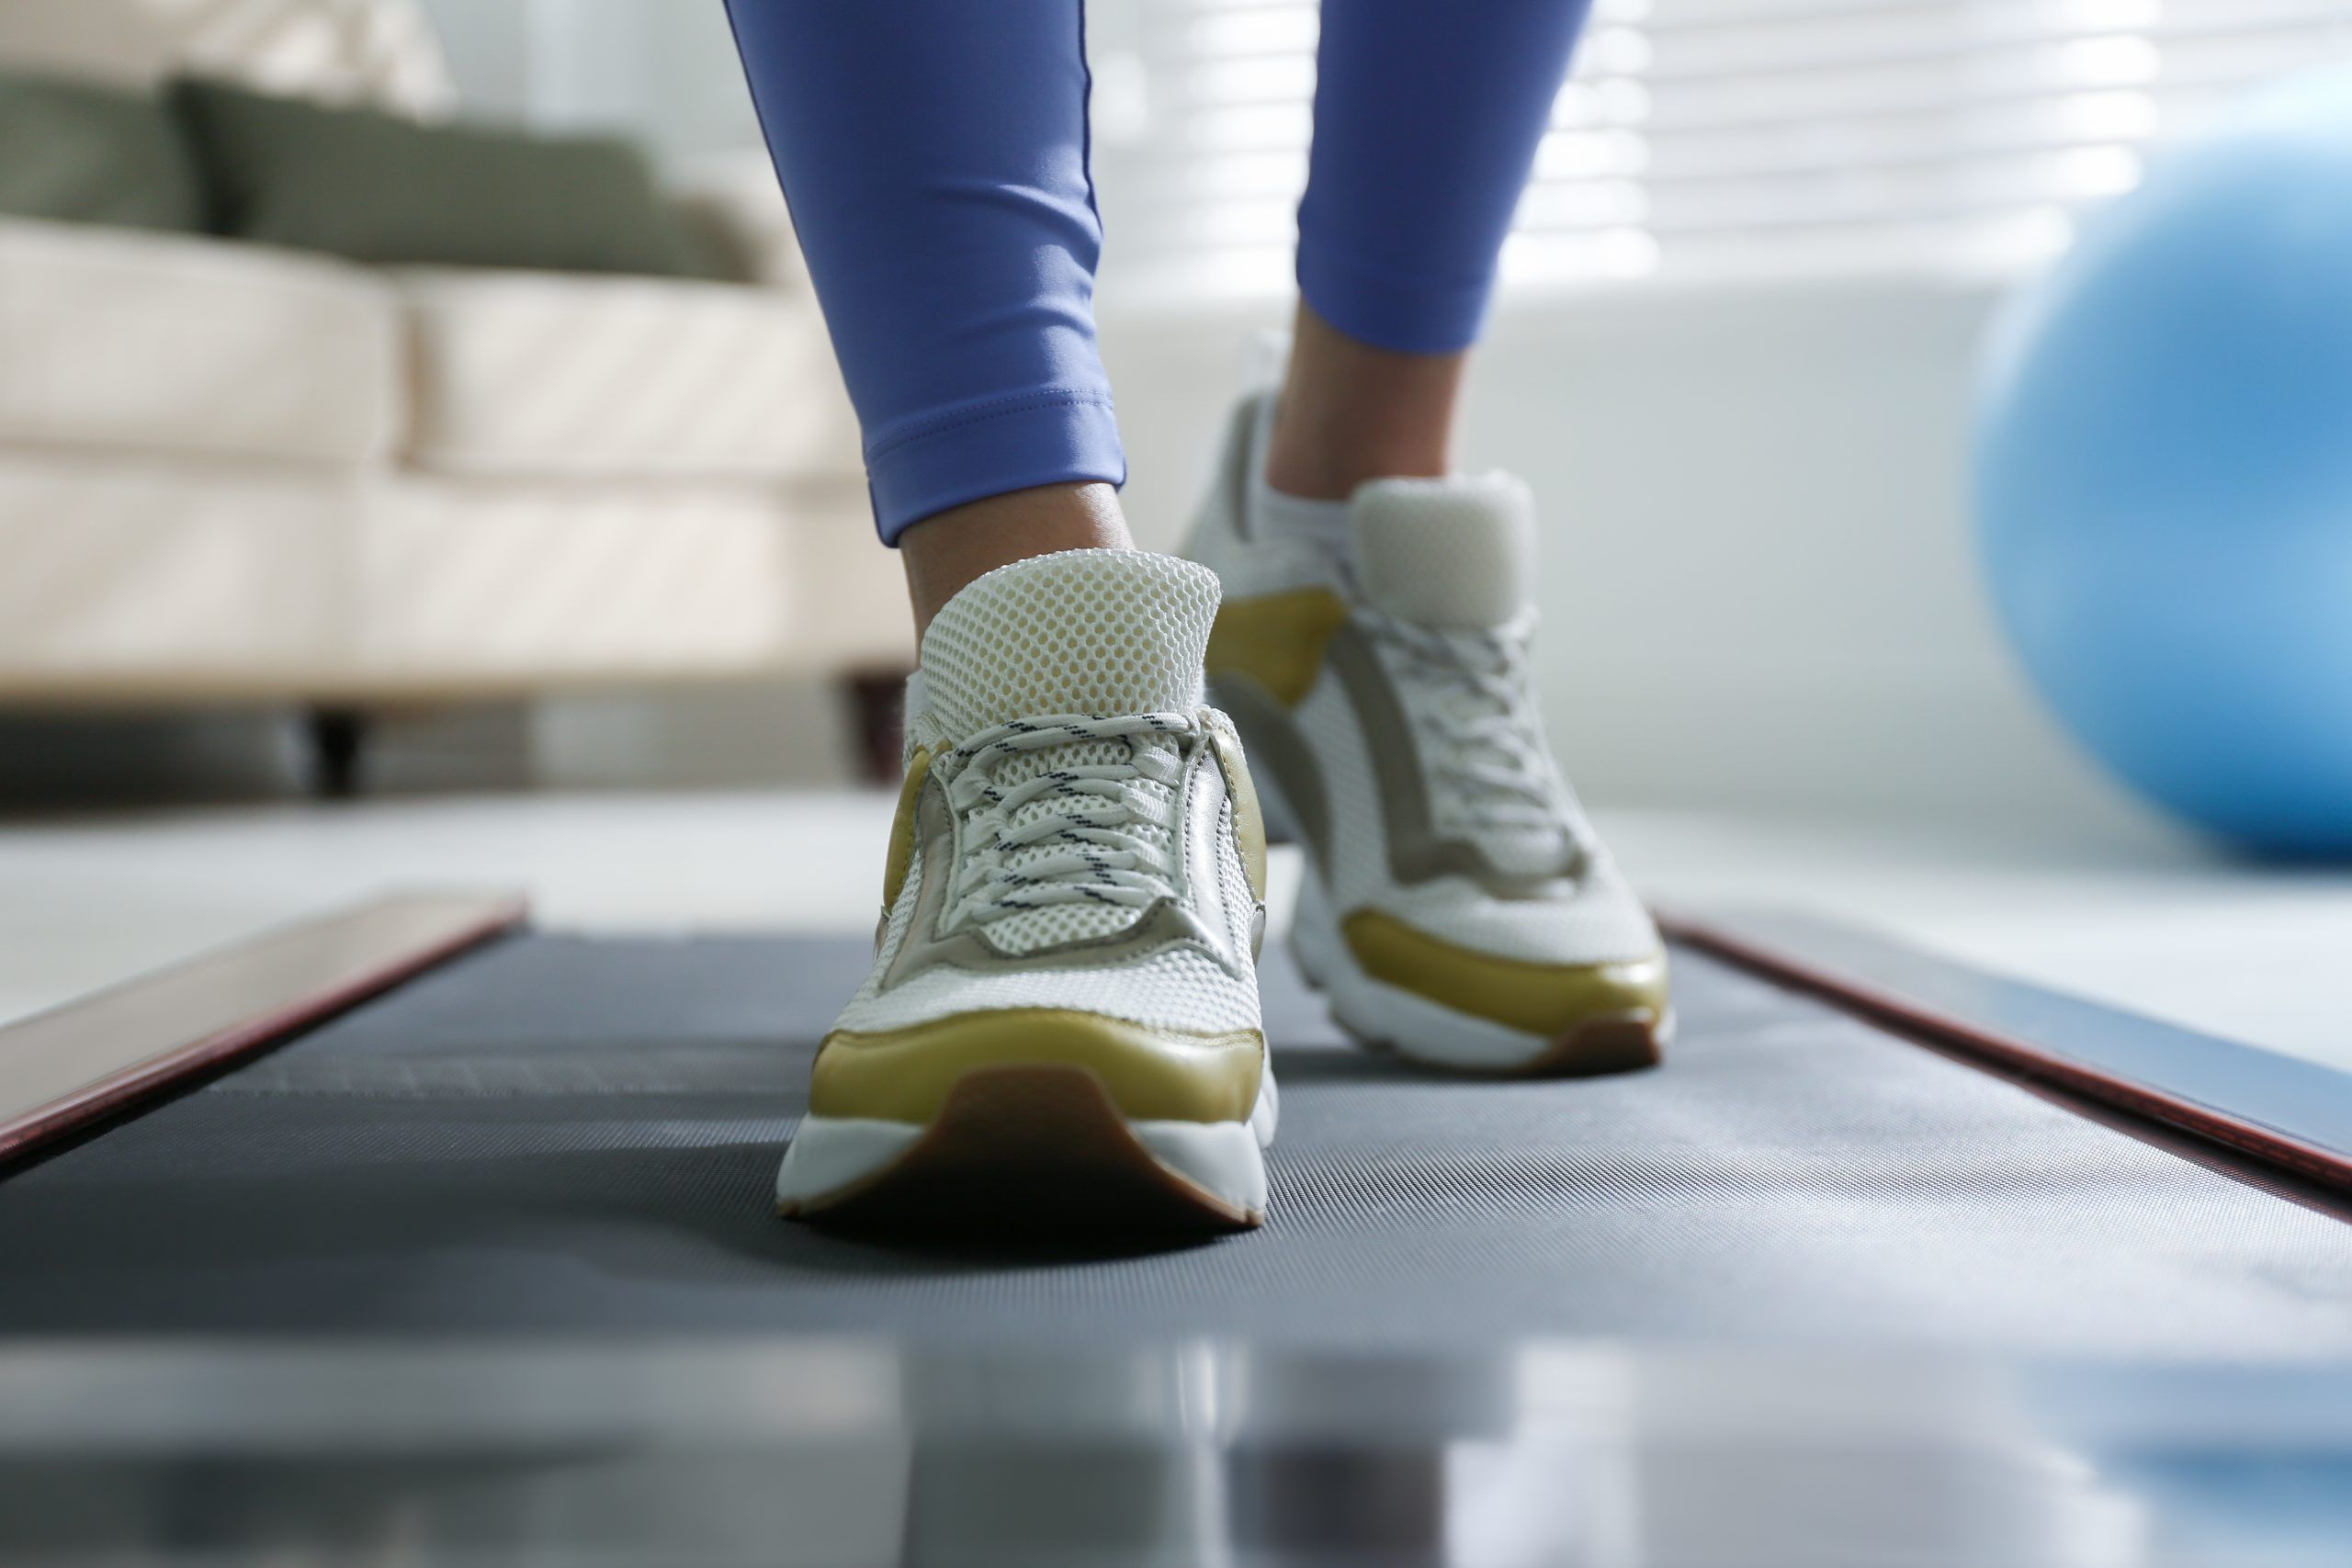
Step 3: Start Recording Your Treadmill Run
Now that you have chosen the right tracking device, it’s time to start recording your treadmill run on Strava. Follow these steps to ensure a seamless recording process:
1. Prepare your tracking device: If you’re using a GPS-enabled running watch, make sure it’s fully charged and connected to your Strava account. If you’re using a smartphone app, open the app and ensure that your GPS and data connection are turned on.
2. Position your tracking device: Properly position your tracking device to ensure accurate data capture. If using a running watch, wear it securely on your wrist. If using a smartphone app, carry your phone in a secure armband or pocket to minimize movement and interference during your run.
3. Start the recording: On your tracking device or smartphone app, select the running activity and start the recording. If using a GPS-enabled running watch, wait for it to acquire GPS signal before you start running.
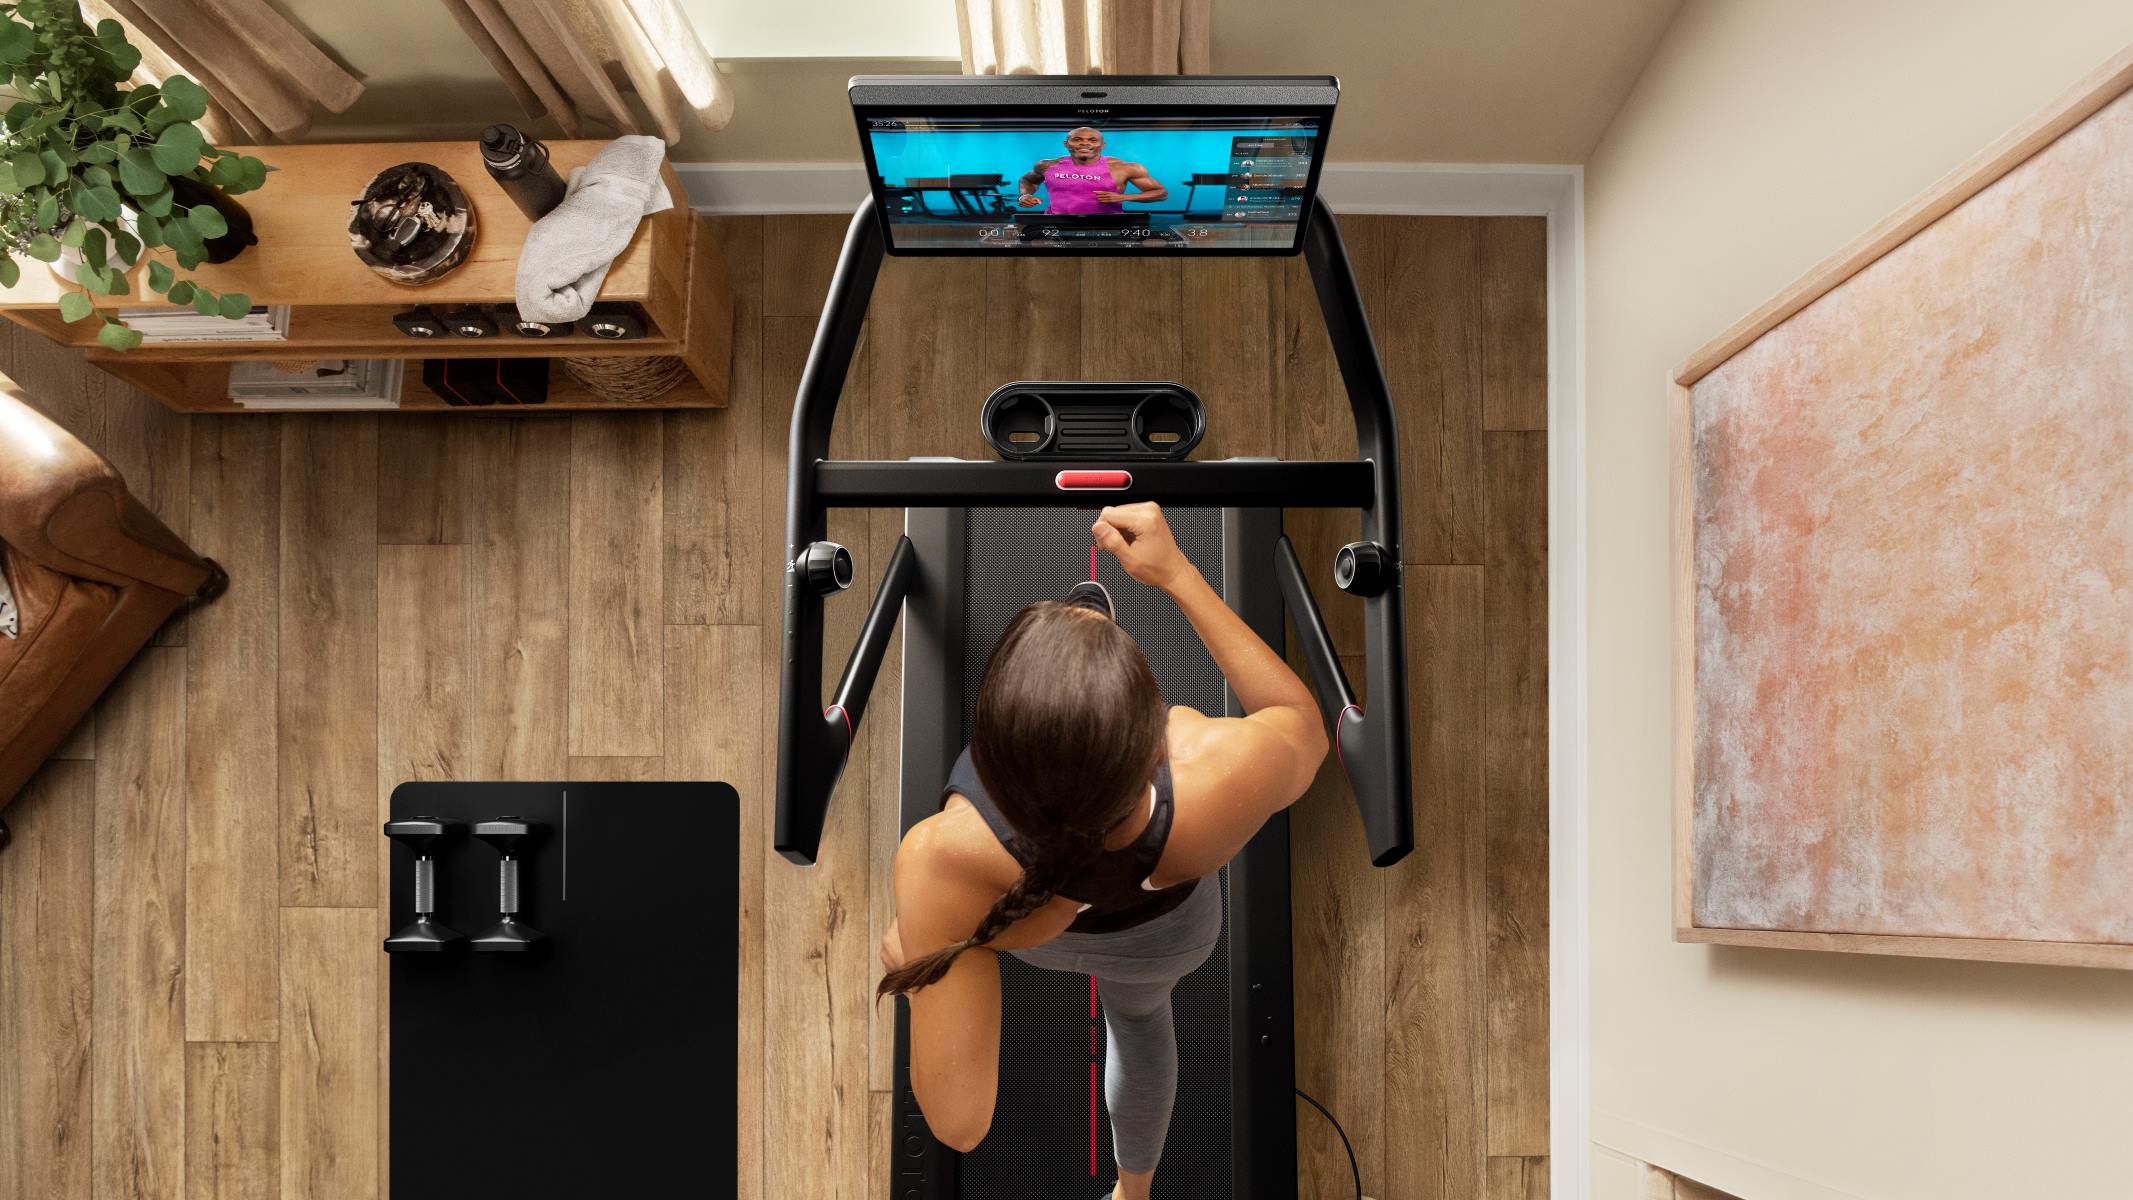
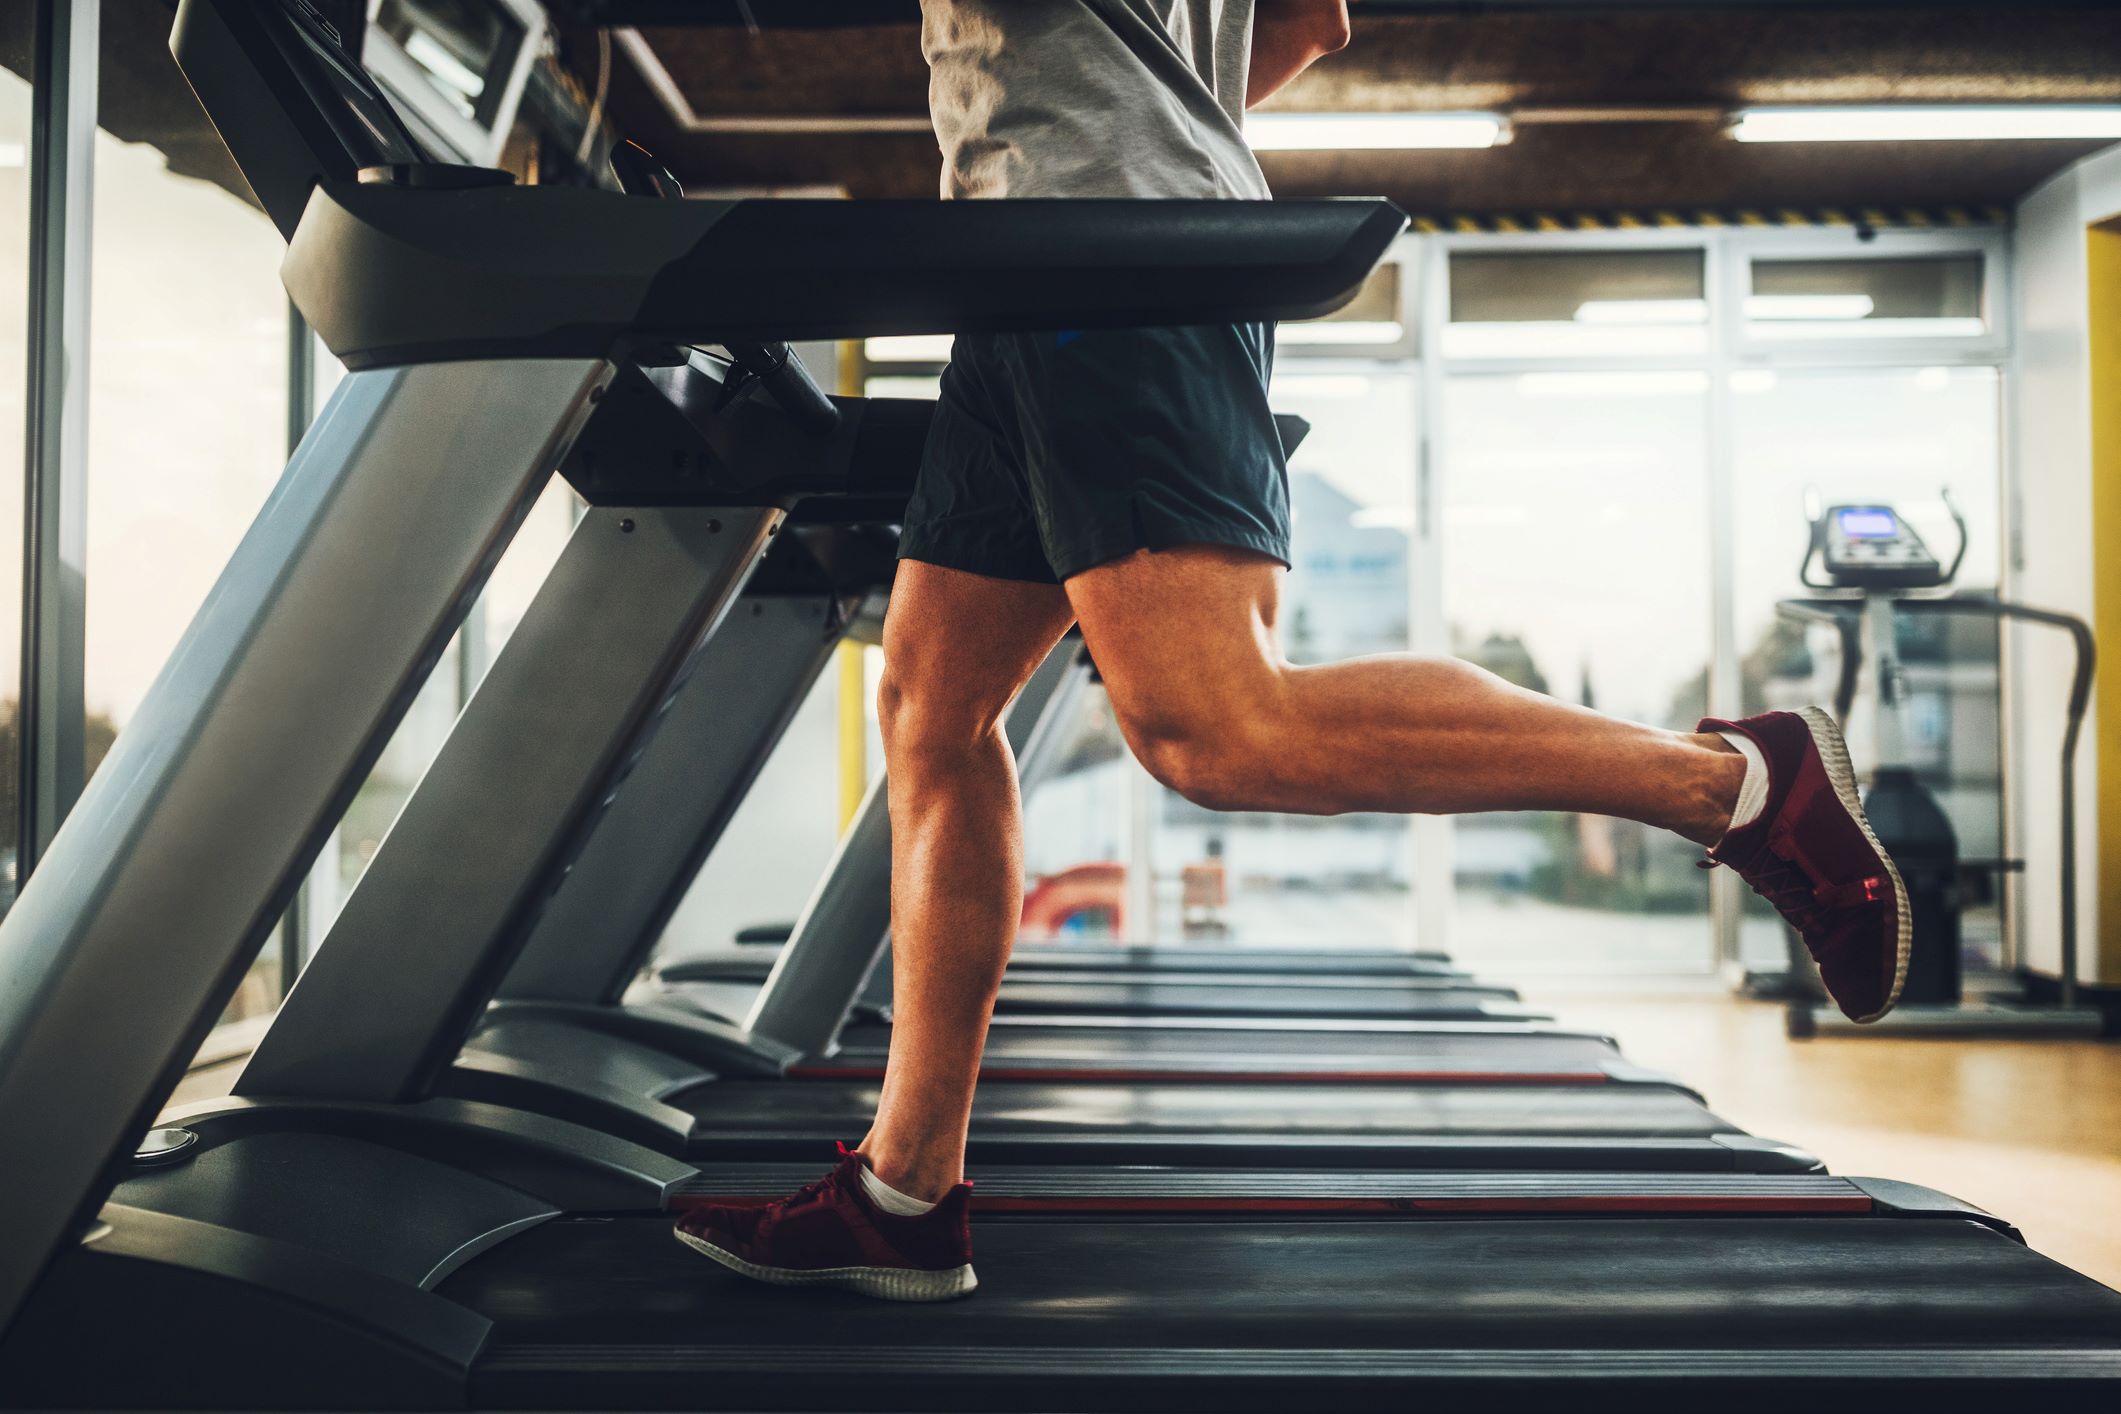
4. Begin your treadmill run: Once the recording has started, hop onto your treadmill and begin your run. Make sure to warm up properly before increasing your pace. Focus on maintaining good form and staying on track with your chosen speed or incline settings.
5. Track your progress: During your treadmill run, periodically check your tracking device or smartphone app to monitor your distance, pace, and other relevant metrics. This will help you stay motivated and on target with your goals.
6. End the recording: Once you have completed your run, stop the recording on your tracking device or smartphone app. Take a moment to cool down and stretch before moving on to the next step.
By following these steps, you can easily record your treadmill run on Strava using your chosen tracking device. Remember to stay consistent with your recording process and ensure that you are using the tracking device that works best for you. Now that you have recorded your treadmill run, let’s move on to the next step of reviewing and uploading your run data to Strava.
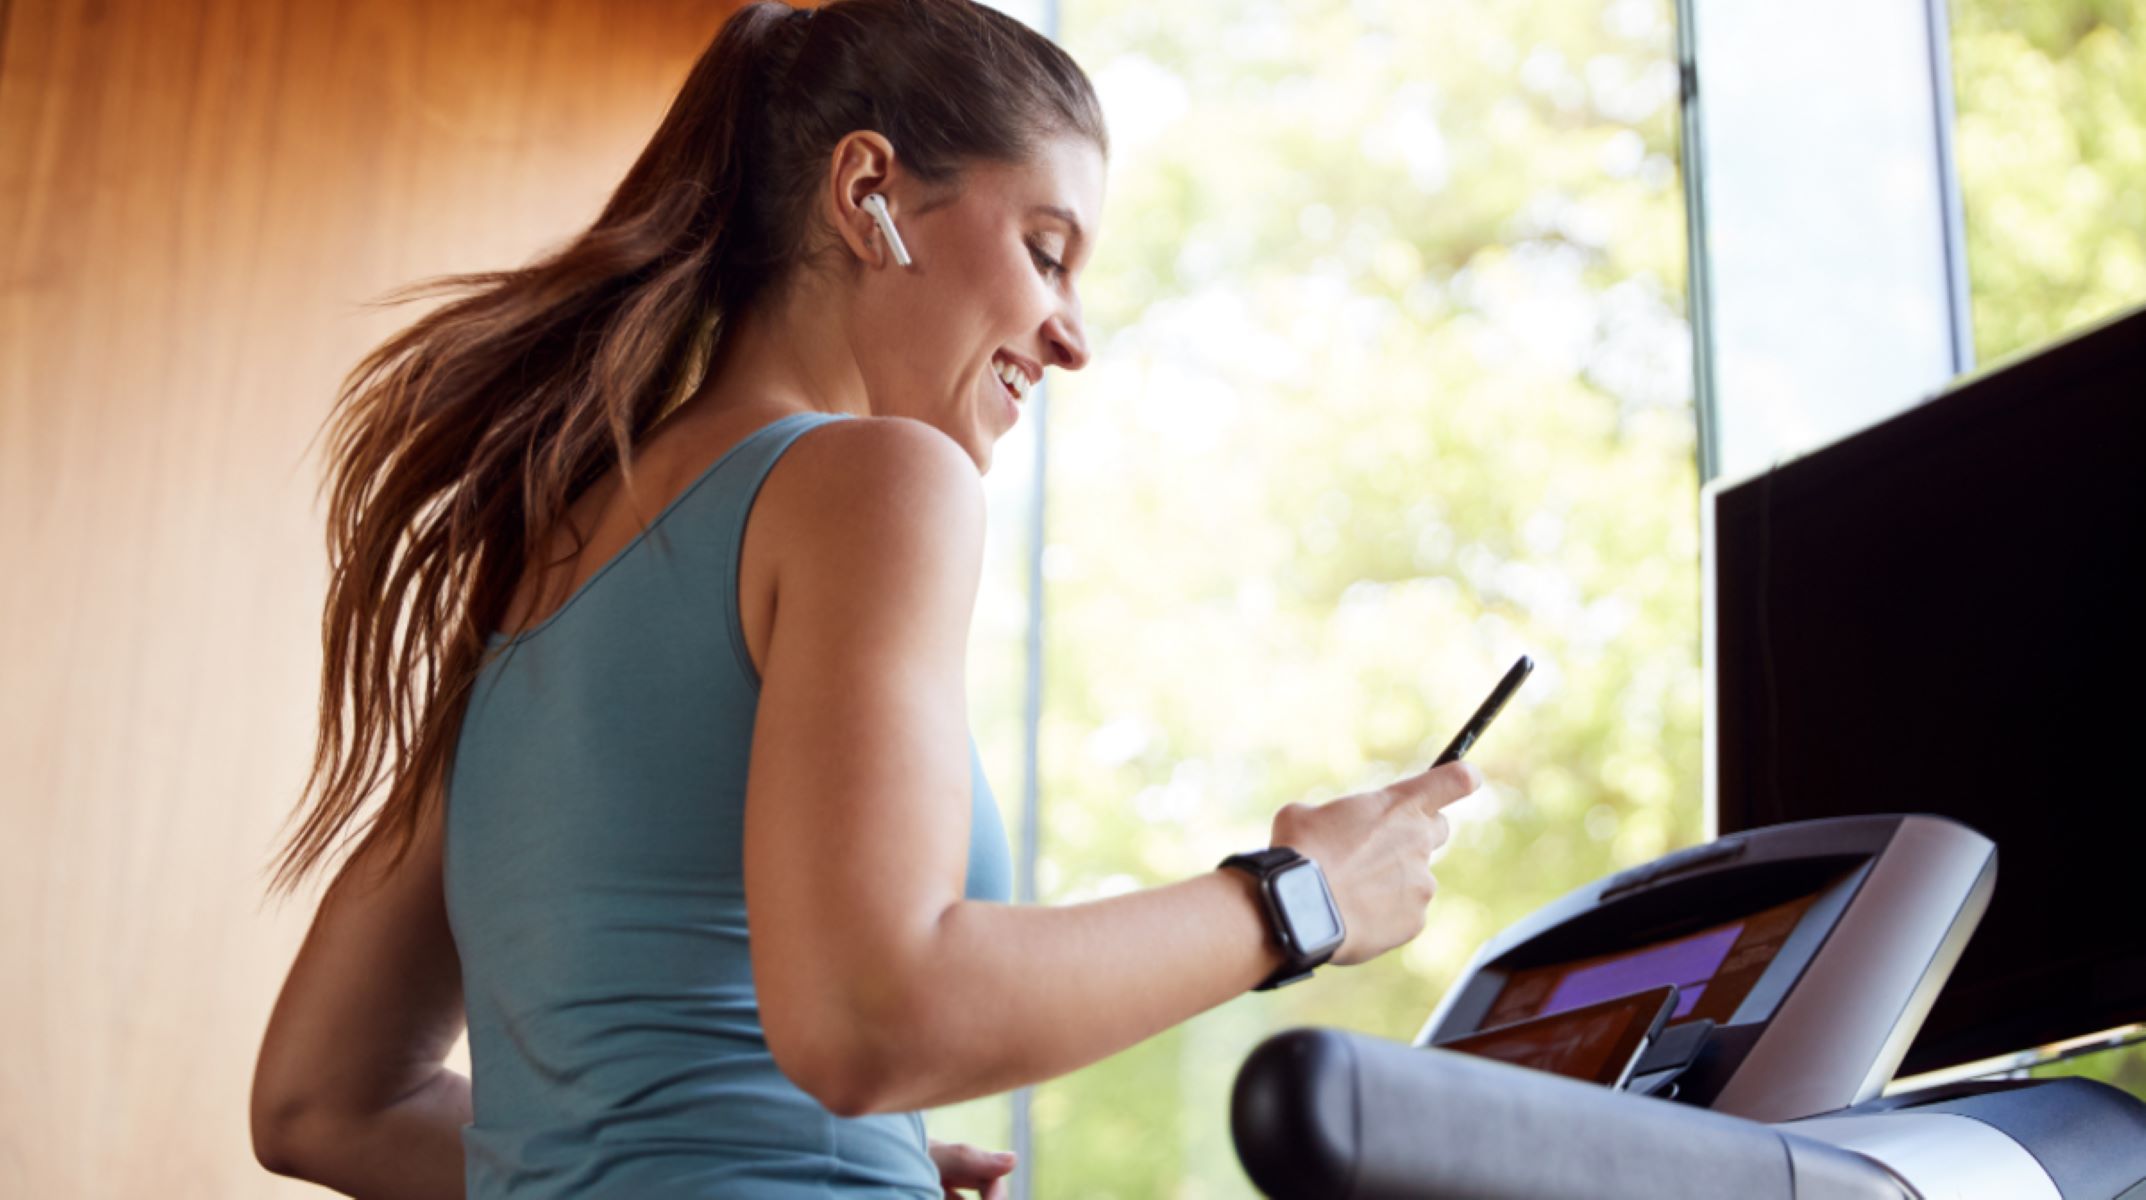
Step 4: Review and Upload Your Run Data
After completing your treadmill run and stopping the recording on your tracking device or smartphone app, it’s time to review and upload your run data to Strava. Follow these simple steps to ensure a smooth process:
1. Review your run data: Take a moment to review the data captured during your treadmill run. Check the distance, pace, duration, and any other relevant metrics. Ensure that the data aligns with your expectations and accurately reflects your performance on the treadmill.
2. Sync your tracking device/app: If you used a GPS-enabled running watch, follow the manufacturer’s instructions to sync your device with your computer or smartphone. If you used a smartphone app, make sure you have a stable internet connection before proceeding.
3. Connect with Strava: Navigate to the Strava website or app and log into your account. Look for the option to upload your activity or sync your tracking device. Follow the prompts and select the appropriate activity file to upload.
4. Confirm the details: Once the file is successfully uploaded, Strava will display a summary of your treadmill run. Take a moment to review the details and make any necessary adjustments, such as tagging the run as a treadmill activity.
5. Add additional details: If desired, you can add additional details to your treadmill run on Strava. This can include things like a title, description, notes about the run, or even photos. Make your run more engaging and meaningful by sharing your experiences or thoughts.
6. Save and share your run: Once you are satisfied with the details, save your treadmill run on Strava. You can choose to keep it private or share it with your followers and the Strava community. Sharing your achievements can help foster a sense of accountability and motivation.
By following these steps, you can easily review and upload your treadmill run data to Strava. Make sure to take the time to review the captured data for accuracy and add any additional details that enhance your run’s story. Now that your treadmill run is uploaded, let’s move on to the next step of customizing your treadmill run on Strava.
Step 5: Customize Your Treadmill Run on Strava
Now that your treadmill run is uploaded to Strava, you can customize it to make it more engaging and personalized. Follow these steps to add a personal touch to your treadmill run:
1. Add a title: Choose a descriptive and catchy title for your treadmill run. This could include details like the date, duration, or any significant milestones you achieved during the run.
2. Write a description: Share your thoughts, experiences, or insights about the run in the description box. You can discuss how you felt during the run, highlight any challenges you faced, or simply express your overall satisfaction with the workout.
3. Tag relevant gear: If you have specific gear that you used during the treadmill run, consider tagging it. This could include shoes, clothing, or any accessories that played a role in your performance.
4. Add photos: If you captured any photos during your treadmill run, you can upload and attach them to your Strava activity. This adds a visual element to your run and allows others to get a glimpse into your workout.
5. Leave kudos and comments: Engage with other runners in the Strava community by leaving kudos and comments on their activities. This not only shows support but also helps to foster connections and motivation among fellow runners.
6. Explore segments and challenges: Strava offers a variety of segments and challenges that you can participate in. Look for relevant segments or challenges related to treadmill running and consider taking part. This can add an element of competition and drive you to push yourself further.
7. Track your progress: Regularly review your treadmill runs on Strava to track your progress over time. Look for improvements in your pace, distance, and overall performance. Celebrate your achievements and set new goals based on your progress.
By customizing your treadmill run on Strava, you can not only make it more personal but also connect with other runners and gain motivation from the community. Take advantage of the features and tools Strava offers to enhance your running experience. Congratulations on customizing your treadmill run! Now it’s time to wrap up and reflect on your journey.
Conclusion
Congratulations! You have successfully learned how to record a treadmill run on Strava. By following these steps, you can now track your indoor runs, stay motivated, and connect with a community of runners.
Remember, while your treadmill may not have a direct integration with Strava, there are various ways to connect your runs to the platform. Utilize GPS-enabled devices, running watches, smartphone apps, or manually enter your run data. Choose the method that works best for you.
Make sure to select the right tracking device that suits your needs and preferences. Whether it’s a GPS-enabled running watch, a smartphone app, a foot pod, or a wearable tracker, accurate data is crucial in monitoring your progress.
When recording your treadmill run, take advantage of additional features provided by Strava. Customize your run by adding titles, descriptions, and photos. Engage with other runners by leaving comments and giving kudos. Participate in segments and challenges to push yourself further.
Regularly review and track your progress on Strava to see your improvement over time. Celebrate your achievements and set new goals based on your performance. Strava provides a platform not only for tracking your runs but also for building a community and finding motivation from other runners.
So, lace up your shoes, hop on the treadmill, and make the most of your indoor runs. Connect with Strava, record your runs, and join a global community of passionate runners. Strive for your personal best, stay motivated, and enjoy every step of your running journey.
Happy running!