Featured
How To Set Up Triathlon Transition Area
Published: September 17, 2023
Learn how to set up a seamless triathlon transition area with our featured guide, packed with expert tips and tricks. Transform your race experience today!
Introduction
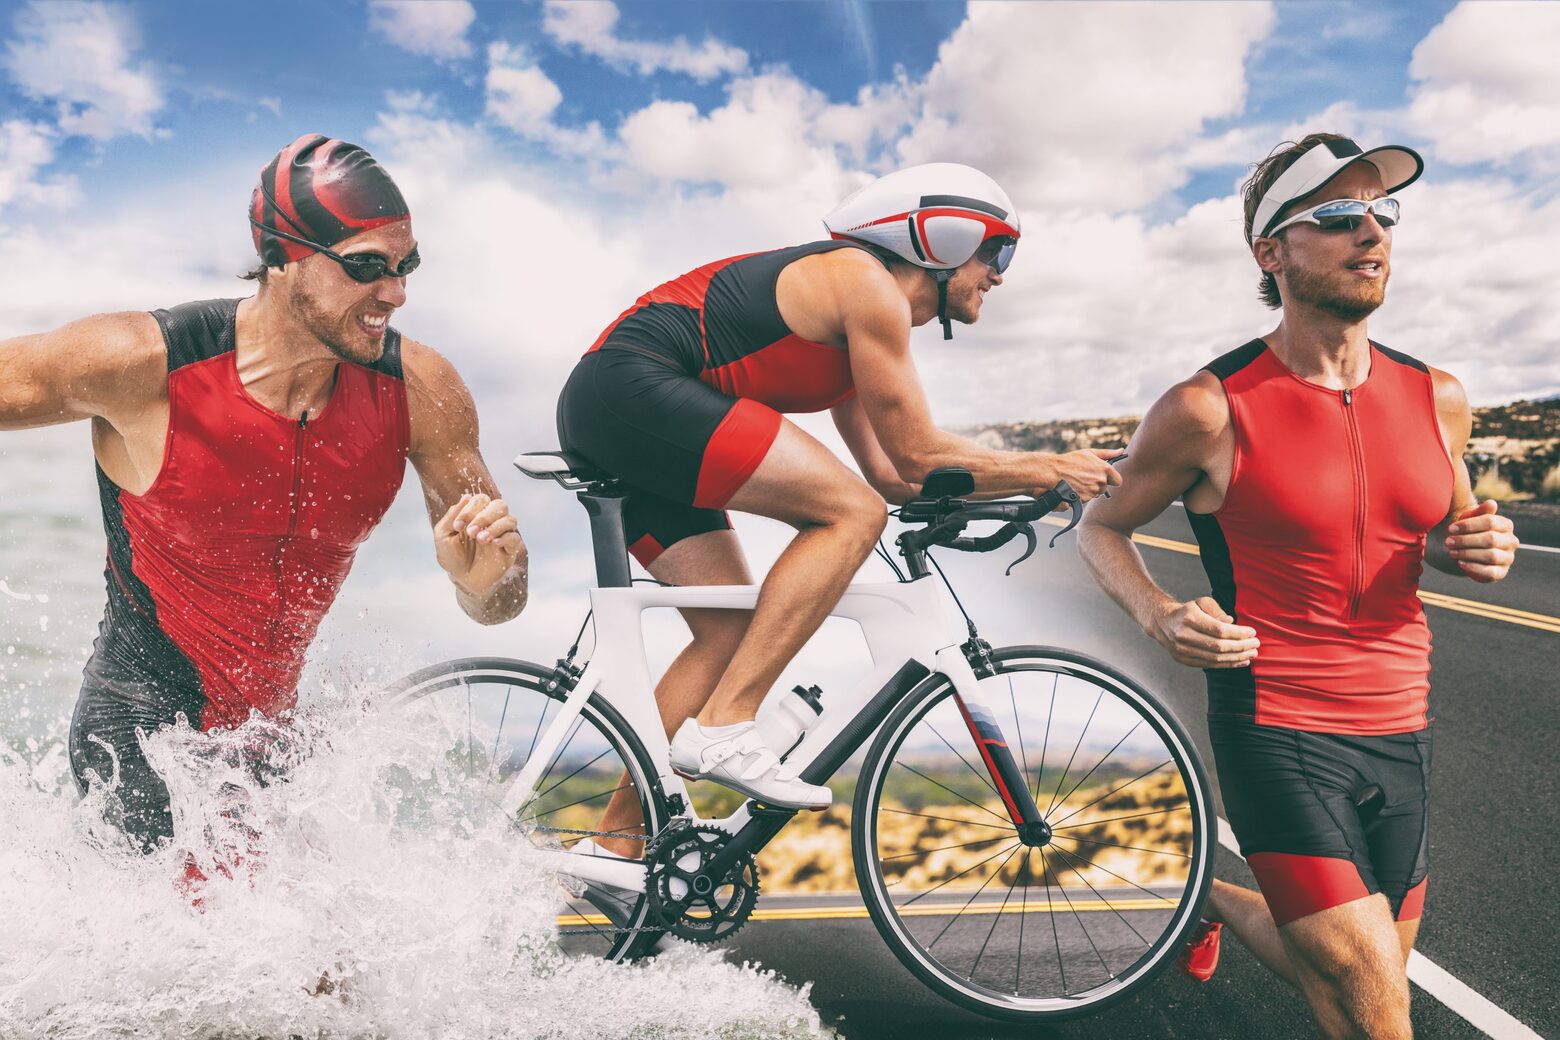
Welcome to the exciting world of triathlon! As an aspiring triathlete, one of the key elements you’ll need to master is the art of setting up your transition area. The transition area is where you transition from one discipline to another during the race – from swimming to biking, and then from biking to running. Having a well-organized and efficient transition area can shave off valuable seconds or even minutes from your overall race time.
In this article, we will guide you through the process of setting up your triathlon transition area, helping you optimize your race day performance. Whether you’re a beginner or a seasoned triathlete, these tips and strategies will ensure that you have everything you need at your fingertips, making your transition seamless and stress-free.
Before we dive into the steps, it’s worth mentioning that setting up a transition area is a personal process, and what works for one athlete may not work for another. Feel free to adapt and modify these steps to suit your race preferences and requirements.
Now, let’s get started with Step 1: Selecting a transition area location.
Step 1: Selecting a transition area location
Choosing the right location for your triathlon transition area is crucial for a smooth and efficient race. Here are a few key factors to consider when selecting your transition area location:
- Proximity to the swim start: Opt for a location that is as close to the swim start as possible. This will minimize the distance you have to run from the water to your transition area, saving you valuable time. Familiarize yourself with the race course map and choose a spot that is strategically positioned in relation to the swim start.
- Easy navigation: Look for landmarks or distinctive features that can help you locate your transition area quickly. This can be a tree, a banner, or a prominent spot on the racecourse. Clear visibility will not only simplify finding your transition area but also serve as an invaluable mental cue during the race.
- Avoid high traffic areas: While it may be tempting to choose a transition area location close to the bike mount or dismount line, these areas tend to get congested with a lot of athletes. Consider selecting a spot slightly away from these high traffic zones to reduce the chances of confusion or collisions during the transitions.
- Stable ground: Ensure that the spot you choose for your transition area is relatively flat and stable. Avoid areas with loose gravel or uneven surfaces that may pose a tripping hazard. Also, consider the weather conditions on race day – if it’s likely to rain, choose a location that won’t turn into a mud pit.
- Proximity to bike exit: If possible, position your transition area closer to the bike exit. This will save you time and energy when you’re transitioning from the swim to the bike leg. As you exit the water and run towards your transition area, you’ll appreciate having a shorter distance to cover before reaching your bike.
Remember, these are general guidelines to help you choose an optimal transition area location. Feel free to adapt them to your race circumstances and personal preferences. In the next step, we’ll discuss gathering the necessary equipment for your transition area setup.
Step 2: Gathering necessary equipment
Once you’ve chosen the perfect location for your triathlon transition area, it’s time to gather all the necessary equipment that you’ll need during the race. Here are the essential items you should have at your transition area:
- Triathlon race bag: A dedicated race bag will help you keep all your gear organized and easily accessible. Look for a bag with multiple compartments and pockets to store your items separately.
- Swim gear: Include your swim cap, goggles, and wetsuit (if applicable) in your transition area. Make sure they are easily reachable, as you’ll need them as soon as you exit the water.
- Bike equipment: Your bike, helmet, cycling shoes, and any bike accessories such as water bottle, bike computer, or race number should be ready in your transition area. Ensure that your helmet is properly fastened and your cycling shoes are positioned for quick and easy access.
- Run gear: Keep your running shoes, hat/visor, race belt with bib number, and any other accessories you’ll need for the run leg of the race within reach. Consider attaching your race number to your race belt to save time in transition.
- Towel: Having a towel in your transition area serves multiple purposes. Use it to dry off after the swim, wipe away any sand or dirt, and create a clean and organized space to set up your gear.
- Extra clothing: Depending on the weather conditions, you may need additional clothing such as a lightweight jacket or arm warmers. Consider having them handy in case you need to layer up during the race.
- Nutrition and hydration: Stock up on energy gels, bars, fluids, and electrolyte drinks to sustain your energy throughout the race. Have them neatly arranged and easily accessible to grab on the go.
- First aid kit: It’s always a good idea to have a small first aid kit in your transition area in case of any minor injuries or ailments that may arise during the race.
- Extra gear: Depending on personal preference, you might want to include additional items such as a race watch, sunglasses, sunscreen, and a race-specific checklist to ensure you haven’t missed anything.
Ensure that all your equipment is in good condition, properly adjusted, and ready for quick transitions. Organize your gear in a logical order that aligns with the race flow. In the next step, we’ll discuss how to set up the bike rack in your transition area.
Step 3: Setting up the bike rack
Setting up the bike rack in your triathlon transition area is a critical step to ensure your bike is secure and easily accessible during the race. Follow these guidelines to set up your bike rack:
- Locate your assigned bike rack: Find the designated bike rack area based on your race number or the instructions provided by the race organizers. Familiarize yourself with the layout of the transition area to avoid confusion on race day.
- Position your bike correctly: When placing your bike on the rack, position it with the front wheel facing outwards. This makes it easier for you to grab the handlebars and smoothly roll your bike out of the transition area. Make sure your bike is securely mounted on the rack to avoid any accidental knocks or falls.
- Leave enough space: Be mindful of the space between your bike and the adjacent bikes. Leave enough room to easily remove your bike without disturbing the surrounding athletes. It’s a good practice to stagger your bike with the ones next to you, creating a more organized and efficient setup.
- Attach your bike number: Securely attach your bike number to the front of your handlebars or the seat post. This is essential for race officials to identify your bike throughout the event. Make sure it is clearly visible and doesn’t obstruct any of the bike’s essential components.
- Check tire pressure: Before race day, ensure that your tires are properly inflated and in good condition. It’s a good idea to bring a portable bike pump to the transition area to adjust the tire pressure if needed.
- Place equipment strategically: Clip your cycling shoes onto the bike pedals or position them near your bike for quick and easy access. Roll up your socks and stuff them inside your shoes to save time during the transition. If you’re using any bike accessories such as a water bottle or a bike computer, make sure they are securely attached to the bike and within reach.
- Double-check everything: Take a moment to visually inspect your bike setup. Confirm that everything is in place and properly assembled. This will give you peace of mind knowing that your bike is race-ready and won’t encounter any issues during the transitions.
By following these steps, you can set up an efficient and organized bike rack in your transition area. Now that your bike is ready to go, we’ll move on to Step 4: Arranging your gear in the transition area.
Step 4: Arranging your gear
Once you have set up the bike rack, it’s time to organize your gear in the transition area. Proper arrangement of your gear ensures that you can quickly find what you need during transitions. Here’s how to arrange your gear effectively:
- Use a transition mat: Place a small transition mat or towel on the ground near your bike to create a designated space for your gear. This helps keep your gear clean and prevents it from getting trampled upon by other athletes.
- Separate your swim gear: Keep your swim cap, goggles, and wetsuit (if applicable) in one corner of your transition area. Arrange them neatly so they’re easily accessible when you come out of the water.
- Position your cycling shoes: Place your cycling shoes near the edge of the transition mat, with the heels facing towards the bike. This allows for quick and easy entry into your shoes after the swim leg.
- Organize your run gear: Arrange your running shoes, hat/visor, and race belt with bib number in another corner of the transition area. Ensure that your running shoes are well-laced and ready to slip on.
- Set up your nutrition and hydration: Keep your energy gels, bars, fluids, and electrolyte drinks within reach. Position them in a clear and organized manner so that you can grab them without hesitation during transitions.
- Utilize small bags or pouches: Consider using small bags or pouches to keep your gear and accessories separated and easily identifiable. For example, use one bag for your swim gear, another for your run gear, and a separate one for your nutrition items. This helps you locate the items you need quickly and efficiently.
- Arrange additional clothing: If you anticipate needing extra clothing during the race, neatly fold and place them in a designated area of your transition mat. This ensures easy access in case you decide to layer up or change into dry clothing during the transitions.
- Keep it clutter-free: Ensure that your transition area remains clutter-free and well-organized. Avoid spreading out your gear too much, as it can create confusion and waste valuable time during transitions.
Remember, everyone has their own preference when it comes to organizing their gear in the transition area. Experiment with different setups during training sessions to determine what works best for you. With your gear arranged and ready to go, we can move on to Step 5: Organizing your nutrition and hydration.
Step 5: Organizing your nutrition and hydration
Properly organizing your nutrition and hydration is crucial for maintaining energy levels and ensuring optimal performance during a triathlon. Here’s how you can effectively organize your nutrition and hydration in your transition area:
- Plan your race day nutrition: Before race day, determine your fueling strategy based on your training and personal preferences. Calculate the amount of fluids, energy gels, bars, or other nutrition items you’ll need for each leg of the race.
- Prep your bottles and nutrition packs: Fill your water bottles or hydration pack with the desired fluid and attach them securely to your bike. Ensure that the bottles are easy to reach and the caps are open and ready for consumption.
- Organize your nutrition items: Lay out your energy gels, bars, or other snacks neatly within your transition area. Consider using a small pouch or pocket to keep them separated and easily identifiable.
- Create a fueling plan: Determine when and how often you’ll consume your nutrition during the race. Some athletes prefer to consume small amounts at regular intervals, while others may opt for larger quantities at specific points in the race. Plan your fueling strategy according to your personal needs.
- Position your nutrition for easy access: Place your nutrition items in a spot where you can grab them quickly and effortlessly during transitions. They should be within arm’s reach, allowing you to fuel up efficiently without wasting time.
- Consider packaging: If you’re using energy gels or other individually packaged items, consider partially opening the packaging or tearing off the top for easier and quicker consumption during the race.
- Practice your fueling during training: Practice your nutrition and hydration strategy during your training sessions. This will help you fine-tune your plan, identify any issues, and determine the best approach for maximizing your energy levels without causing any stomach discomfort.
- Stay hydrated: Along with your planned nutrition, make sure you have sufficient hydration options available. Proper hydration is key to maintaining performance and preventing dehydration during the race. Sip fluids regularly and drink according to your thirst levels.
By organizing your nutrition and hydration in your transition area, you set yourself up for success during the race. Remember to practice your fueling strategy during training to ensure it works well for you. With your nutrition and hydration ready, we can move on to Step 6: Creating a clear flow for transitions.
Step 6: Creating a clear flow for transitions
Creating a clear flow for transitions in your triathlon is essential for a smooth and efficient race experience. Here are some key considerations to help you establish a seamless transition flow:
- Mental visualization: Before race day, mentally walk through each transition. Visualize the steps you will take, the order in which you will perform them, and the smooth flow from one discipline to another. This mental rehearsal helps familiarize yourself with the process, reducing the chances of confusion or mistakes.
- Establish a routine: Develop a routine for each transition that you can practice and follow on race day. Having a consistent routine creates familiarity and muscle memory, allowing you to efficiently move through the transitions without wasting time.
- Practice your transitions: Devote specific training sessions to practicing your transitions. Set up a mock transition area, simulate race scenarios, and time yourself to identify areas for improvement. The more you practice, the smoother and faster your transitions will become.
- Minimize gear changes: Aim to have everything you need for each discipline at your transition area. Minimize gear changes by having your swim gear, cycling gear, and running gear ready and easily accessible. This reduces the time spent searching for items and ensures a seamless transition from one discipline to the next.
- Focus on simplicity: Keep your transition area clutter-free and organized. Minimize the number of unnecessary items and distractions to avoid confusion during transitions. Each item should have a designated place, making it easy to locate and grab without wasting precious seconds.
- Position yourself strategically: Consider your exit point from each discipline and position yourself accordingly in your transition area. For example, if the bike mount line is on the left, position your cycling shoes and helmet on the left side of your bike to allow for a smooth and efficient mount.
- Practice equipment handling: Practice mounting and dismounting your bike, putting on your shoes, and handling your gear with ease. Familiarize yourself with any specific techniques or tricks that can save you time during transitions.
- Stay focused and composed: As you move through the transitions, remain calm and composed. Stay focused on the present moment and the task at hand. Avoid rushing or panicking, as it can lead to mistakes or accidents. Keeping a clear mind will enable you to execute your transitions smoothly.
Transitions are a vital part of any triathlon, and fine-tuning your transition flow can make a significant difference in your overall race time. Practice, visualize, and refine your routine to optimize your transitions. With a clear flow established, we can move on to Step 7: Marking your gear and area.
Step 7: Marking your gear and area
Marking your gear and area in the triathlon transition zone is essential to ensure that you can easily locate your belongings during the race. Follow these tips to effectively mark your gear and area:
- Use a transition towel: Place a brightly colored towel on the ground to mark the boundaries of your transition area. This not only helps you easily spot your area but also creates a visual cue for other athletes to avoid encroaching on your space.
- Attach unique identifiers: To distinguish your gear from others, consider attaching unique identifiers such as colorful ribbons, stickers, or tags. These markers can be placed on your bike, helmet, swim cap, or other gear items. Just make sure they don’t interfere with the functionality of the equipment.
- Personalize your equipment: Add personal touches to your gear to make it easily recognizable. For instance, customize your bike with decals or wrap the handlebars with a distinctive tape. This makes it easier to spot your bike in a sea of similar ones.
- Use a brightly colored race belt: Attach your race number to a brightly colored race belt. This not only serves as a convenient way to display your number during the run leg but also makes it easier for you to find your run gear and transition smoothly.
- Consider chalk or spray markers: Some triathlons provide chalk or spray markers for athletes to mark their transition area. Use these tools to draw a unique symbol or design on the ground near your gear. This helps you quickly find your spot even in a crowded transition area.
- Communicate with fellow athletes: Coordinate with nearby athletes and mutually agree on marking techniques. This can help ensure that everyone respects each other’s space and minimizes the chances of misplacements or conflicts during the race.
- Take a mental snapshot: Before the race begins, take a mental snapshot of your gear and its location. This mental image will come in handy when you’re moving quickly through transitions and need to locate your items without wasting time.
- Revisit your gear during transitions: As you enter and exit your transition area, take a quick glance to ensure that your gear is in place and hasn’t been inadvertently moved or tampered with. Also, check that your unique identifiers are intact and easily identifiable.
By marking your gear and area, you minimize the chances of confusion and ensure that you can quickly locate your belongings during transitions. These simple yet effective strategies can make your transition experience smoother and more efficient. With your gear and area marked, we can move on to Step 8: Preparing for a smooth transition.
Step 8: Preparing for a smooth transition
Preparing for a smooth transition in your triathlon involves careful planning and attention to detail. Follow these essential steps to ensure a seamless transition:
- Arrive early: Get to the race venue early to give yourself ample time to set up your transition area. This allows you to avoid last-minute rushing and provides a stress-free environment for preparation.
- Check your gear: Before the race, double-check your gear to ensure everything is in working order. Confirm that your bike is properly tuned, your tires are adequately inflated, and all essential components are securely fastened.
- Follow the race instructions: Make sure you’re familiar with the race rules and instructions provided by the organizers. This includes knowing the specific time you need to be present at the transition area, any specific gear placement requirements, and the designated entry and exit points.
- Visualize your transitions: Take a few moments to mentally visualize each transition. Picture yourself moving smoothly and efficiently from one discipline to the next, going through the motions without hesitation or confusion.
- Warm up: Engage in a dynamic warm-up routine that prepares your body for the physical demands of the race. Stretch, perform light exercises, and do some short practice runs or bike rides to get your muscles warmed up and ready to perform.
- Stay organized: As you prepare your gear, ensure that everything is neatly arranged and easily accessible. Mentally walk through the order in which you will need each item and make any necessary adjustments to optimize your transition flow.
- Stay relaxed: Maintain a calm and focused mindset. Take deep breaths, practice mindfulness techniques, or use visualization exercises to keep anxiety at bay. Being relaxed during the preparation phase sets the tone for a smooth and composed race experience.
- Review your race plan: Revisit your race plan, including your pacing strategy and nutrition/hydration plan. Familiarize yourself with the key milestones of the race and mentally rehearse how you will execute your plan.
- Stay hydrated: Drink enough fluids leading up to the race to ensure you’re well-hydrated. However, be mindful not to overhydrate, as this can lead to discomfort or the need for unnecessary bathroom breaks during the race.
- Listen to announcements: Pay attention to any pre-race announcements or instructions given by race officials. This ensures you’re aware of any last-minute changes or important information that may affect your transition preparations.
By following these steps, you’ll be well-prepared for a seamless transition. Remember to remain calm, focused, and confident in your abilities. The key is to trust your training and stay present in the moment. Now that you’re prepared for a smooth transition, we can move on to Step 9: Practicing your transition routine.
Step 9: Practicing your transition routine
Practicing your transition routine is crucial for executing fast and efficient transitions during a triathlon. By rehearsing the specific steps involved in each transition, you can improve your muscle memory and optimize your overall race performance. Use the following guidelines to practice your transition routine:
- Set up a mock transition area: Find a suitable location where you can recreate your transition area setup. Use cones, towels, or other markers to mimic the layout and dimensions of the actual transition area.
- Rehearse pre-race preparations: Begin your practice session by going through the pre-race preparations you would typically undertake on the day of the race. This includes setting up your gear, arranging your nutrition, and mentally preparing yourself for the race ahead.
- Simulate race conditions: Incorporate elements of the swim leg, bike leg, and run leg into your practice session to simulate race conditions. Put on your swim gear, run to your bike, mount your bike, and transition into the run. Include brief intervals of high-intensity effort to replicate the demands of race pace.
- Focus on speed and efficiency: Emphasize speed and efficiency during each transition. Practice smoothly transitioning between disciplines, minimizing wasted movements and eliminating any unnecessary delays. Challenge yourself to perform each transition faster with each practice session.
- Time each transition: Use a stopwatch or a timer to measure the duration of each transition. This provides a benchmark for improvement and helps you identify areas where you can save valuable seconds.
- Evaluate your technique: Take note of any technique-related issues or areas for improvement during each transition. Are you struggling with your wetsuit? Are your shoe laces consistently getting tangled? Identify these challenges and develop strategies to overcome them.
- Practice specific scenarios: Consider practicing transitions in various scenarios, such as wet or sandy conditions, to prepare for unexpected challenges. This will enhance your adaptability and ensure that you’re prepared for any situation on race day.
- Seek feedback: Ask a training partner, coach, or fellow triathlete to observe your transition routine and provide feedback. Outside perspectives can often identify areas for improvement that you may have overlooked.
- Repeat and refine: Regularly incorporate transition practice into your training routine. The more you repeat and refine your transition routine, the more comfortable and confident you’ll become in executing swift and efficient transitions during the race.
Remember, transitions are a crucial part of triathlon racing, and consistent practice is key to mastering them. By devoting time and effort to practicing your transition routine, you’ll be able to execute seamless transitions on race day, giving you a competitive edge. With your transition routine practiced and perfected, you’re well-prepared to conquer your next triathlon.
Conclusion
Setting up your triathlon transition area is an essential aspect of race preparation. By following the steps outlined in this guide, you can optimize your transition area for efficiency and ensure a smooth race experience.
From selecting the ideal location for your transition area to organizing your gear and nutrition, each step plays a crucial role in enhancing your performance. By practicing your transition routine and visualizing each transition, you can build confidence and execute seamless transitions on race day.
Remember, everyone has their own preferences and strategies when it comes to setting up their transition area. It’s important to adapt these guidelines to fit your personal needs and race requirements. Experiment with different setups during training sessions to find what works best for you.
Ultimately, an efficient transition area allows you to save valuable time and energy during the race. By practicing and refining your transitions, you’ll have a competitive advantage and the ability to focus on your performance in each leg of the triathlon.
So, whether you’re a novice triathlete or an experienced competitor, pay attention to the details of your transition area setup, organize your gear effectively, and practice your transitions diligently. With proper planning and preparation, you’ll be well-equipped to tackle the challenges of the triathlon transitions and achieve your race day goals.