Featured
How To Cut Workout Shirts
Published: August 12, 2023
Learn the featured technique of cutting workout shirts with our step-by-step guide to create stylish and unique designs. Transform your old shirts into trendy workout attire today!
Introduction
When it comes to workout gear, comfort and style go hand in hand. And what better way to achieve both than by cutting your old workout shirts into trendy, customized pieces? Whether you’re looking to revamp your wardrobe or simply want to add a personal touch to your workout attire, this article will guide you through the steps of cutting workout shirts to achieve your desired style.
By giving your old workout shirts a new lease on life, you not only save money but also contribute to a more sustainable fashion approach. Instead of tossing those worn-out shirts into the bin, why not get creative and turn them into fashionable pieces that reflect your unique style?
In this article, we will walk you through the step-by-step process of cutting workout shirts, providing helpful tips and tricks along the way. From choosing the right shirt to creating a crop top, we’ve got you covered. So, grab your scissors and let’s get started on this DIY fashion adventure!
Materials Needed
Before you embark on your workout shirt cutting journey, it’s important to gather all the necessary materials. Here’s a list of what you’ll need:
- Workout shirt: Choose an old shirt that you no longer wear or one that you want to give a fresh new look.
- Scissors: Make sure to use sharp fabric scissors for clean and precise cuts.
- Measuring tape or ruler: This will help you determine the length you want for your shirt.
- Chalk or fabric marker: These will be used to mark the desired cutting lines on the shirt.
- Sewing machine or needle and thread (optional): If you want to secure the edges or make adjustments, having a sewing machine or needle and thread handy can be useful.
Once you have gathered these materials, you’re ready to begin transforming your workout shirt into a stylish and personalized garment. Remember, creativity is key, so feel free to experiment with different designs and cuts to achieve the look you desire!
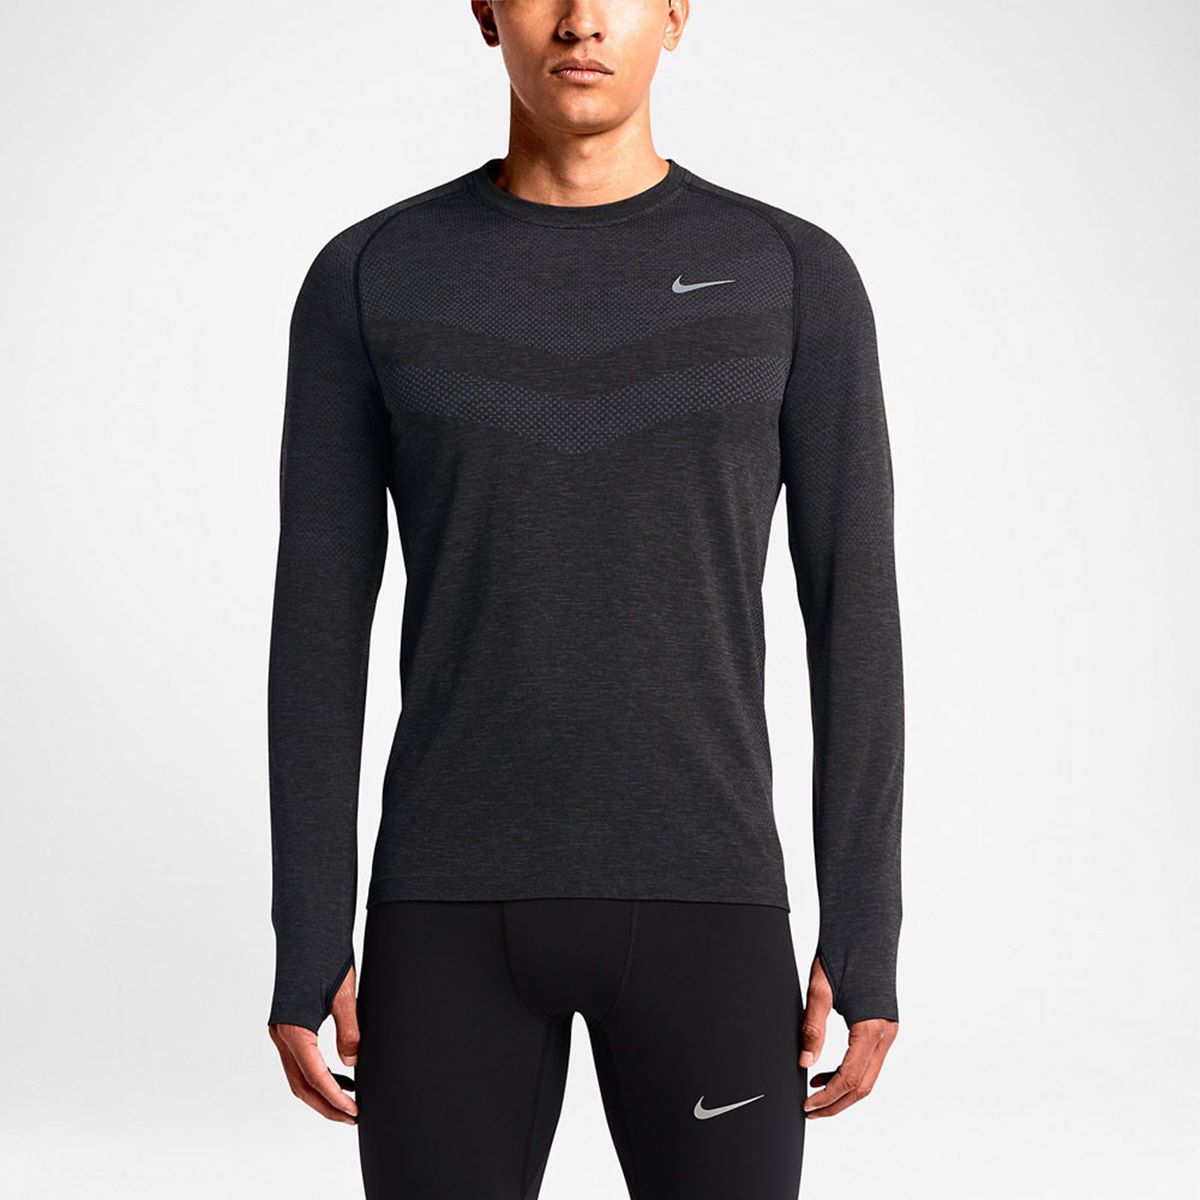
Step 1: Choose the Workout Shirt
The first step in cutting a workout shirt is selecting the right one to transform. Look through your wardrobe and choose a shirt that you no longer wear or one that could use a new lease on life. Consider the fabric, color, and fit of the shirt to ensure it will work well with the style you have in mind.
Keep in mind that certain fabrics may be easier to cut than others. Stretchy fabrics like cotton jersey or polyester blends are often more forgiving and allow for clean cuts without fraying. Avoid shirts with heavy embellishments, excessive seams, or awkward placement of logos or patterns, as these can make the cutting process more challenging.
Additionally, consider the fit of the shirt. A looser-fitting shirt will provide more fabric to work with and allow for different cutting options, such as crop tops or off-the-shoulder styles. A fitted shirt, on the other hand, can be transformed into a more form-fitting crop top or a tank top with well-defined lines.
Once you have chosen the shirt, make sure it is clean and free from any wrinkles or creases. This will make it easier to work with and ensure precision in your cutting.
Remember, the choice of the workout shirt is the foundation of your transformation. So take your time in selecting the perfect shirt that aligns with your vision and desired style!
Step 2: Mark the Desired Length
Now that you have your workout shirt selected, it’s time to determine the length you want for your new garment. Whether you’re aiming for a cropped look or a longer style, marking the desired length is crucial for achieving the desired outcome.
To begin, put on the shirt and look in the mirror to visualize how you want it to fall on your body. Consider factors like personal preference, fashion trends, and the intended use of the shirt. For example, if you’re looking to create a crop top, you might want to mark a few inches above your natural waistline. On the other hand, if you prefer a longer style, consider marking the length that complements your body shape and proportions.
Once you have a clear idea of the length, use a measuring tape or ruler to ensure accuracy. Start at the shoulder line or collarbone and measure down to the desired length. Make a small mark with chalk or a fabric marker at the measurement point on both sides of the shirt.
Next, lay the shirt flat on a surface and use the ruler or measuring tape to connect the marks on either side. This will create a straight cutting line. Use the fabric marker or chalk to trace along the ruler or measuring tape, ensuring a clear and visible line.
Double-check your markings before moving on to the next step. Taking the time to accurately mark the desired length will help you achieve a well-proportioned and stylish result.
Step 3: Cut the Bottom Hem
With the desired length marked, it’s time to start cutting! The first area to tackle is the bottom hem of your workout shirt. Cutting off the hem will give your garment a more raw and edgy look.
Begin by using sharp fabric scissors to carefully cut along the marked line at the bottom of the shirt. Take your time and make sure to cut straight and smoothly across. If there are side seams or any other obstructions, gently navigate around them to maintain a clean line.
As you cut, hold the fabric taut with one hand to prevent any bunching or fabric shifting. This will ensure that you achieve a neat and even cut. Remember, it’s always better to start with a longer shirt and make additional adjustments later if needed, rather than cutting off too much the first time. You can always trim it shorter later on!
Once you have completed the cut, take a moment to examine the edge and make sure it is clean and free from any jagged or uneven areas. If necessary, trim off any stray threads or uneven portions to achieve a polished finish.
Trimming the bottom hem is a simple yet effective step that instantly transforms the overall look of your workout shirt. This step sets the foundation for the rest of the cutting process, so take your time and ensure that the bottom edge is to your liking before moving on to the next steps.
Step 4: Cut the Sleeves (Optional)
Now comes the fun part – customizing the sleeves of your workout shirt. Cutting the sleeves is an optional step, but it can add a unique and stylish touch to your transformed garment.
If you prefer sleeveless or tank top styles, you can skip this step. However, if you want to create a different sleeve length or shape, follow these guidelines:
Start by putting on the shirt and determining the desired sleeve length. For short sleeves, mark the desired length along the sleeves, keeping in mind the proportions and symmetry. If you want to go for a sleeveless style, mark where you want the sleeve to end.
Once the desired length is marked, carefully cut along the line, making sure to maintain an even and symmetrical shape on both sides. Again, use sharp fabric scissors and hold the fabric taut to achieve clean cuts.
If you prefer a more unconventional look, you can experiment with different sleeve shapes, such as raglan or off-the-shoulder styles. To achieve these styles, be confident in your cuts and let your creativity guide you.
Remember that cutting the sleeves is a personal choice based on your desired style and comfort. Take your time and ensure that the sleeve length and shape are to your liking before proceeding.
Once you have completed cutting the sleeves, step back and admire the new silhouette of your workout shirt. This step truly showcases your personal flair and adds a touch of individuality to your custom-designed garment.
Step 5: Create a Crop Top (Optional)
If you’re looking to embrace the latest trends and take your workout shirt to the next level, creating a crop top is a great option. This step allows you to transform your shirt into a fashionable and versatile piece that can be worn both inside and outside the gym.
Start by putting on the shirt and marking the desired length for the crop top. Consider your personal style and comfort when deciding how much skin you want to show. For a subtle crop, you can mark just above the natural waistline. If you prefer a more daring look, consider marking higher on the torso.
Once you have marked the length, take off the shirt and lay it flat on a surface. Use fabric scissors to carefully cut along the marked line. It’s important to cut straight and smoothly to achieve clean edges.
If you prefer a more polished look, you can fold the bottom edge of the crop top inward and sew a straight stitch along the fold. This will give the cropped edge a finished look and prevent fraying.
Remember, creating a crop top is all about showcasing your personal style. You can experiment with different lengths and variations, such as asymmetrical cuts or adding a twist to the front of the shirt. Let your creativity run wild and have fun with this step!
Once you have completed cutting and possibly sewing the crop top, try it on to see how it fits. Make any necessary adjustments to the length or fit until you are satisfied with the final result. Now you have a trendy and customized crop top that is ready to make a statement during your workout sessions or social outings!
Step 6: Finish the Edges
After cutting and shaping your workout shirt, it’s important to finish the edges to prevent fraying and give your garment a polished look. Though this step is optional, it can add that extra touch of professionalism to your DIY project.
One way to finish the edges is by using a sewing machine. Set your machine to a zigzag stitch or an overlock stitch if available. Carefully sew along the cut edges, encasing them in the stitches to prevent fraying. This method provides a clean and secure finish.
If you don’t have access to a sewing machine, you can finish the edges using a needle and thread. Thread the needle and sew a simple running stitch along the cut edges, ensuring that the stitches are close together. This will help prevent fraying and reinforce the edges.
Another option is to use fabric glue or fray check. Apply a thin line of fabric glue or fray check along the cut edges, making sure to cover the raw edges completely. Allow the glue to dry according to the product instructions. This method provides a quick and easy way to finish the edges without sewing.
Regardless of the method you choose, be sure to treat all the cut edges, including the bottom hem and sleeves. This will result in a clean and polished finish, giving your workout shirt a professional look.
Take your time with this step and ensure that all the edges are neatly finished. This attention to detail will elevate the quality and longevity of your garment, making it last through countless workouts and adventures.
Step 7: Try on and Adjust
Now that you have completed the cutting and finishing process, it’s time to try on your transformed workout shirt. Putting it on will give you a better sense of how the final garment looks and fits on your body.
When trying on the shirt, pay attention to the overall fit and length. Take note of any areas that may need further adjustments or alterations. For example, if the sleeves are too long, you can trim them further or create a rolled-up cuff for a different look. If the shirt feels too loose or baggy, you can take it in along the side seams or create a knot at the hem to add some shape.
Be open to experimenting with different styling options as well. You can tuck the shirt into high-waisted workout leggings or pair it with your favorite joggers or shorts. Play around with different accessories to elevate the overall look, such as a statement belt or layered necklaces.
If you’re not entirely satisfied with how the shirt fits or how it looks on you, don’t worry! Remember that this is a creative process, and it often takes some trial and error to achieve the desired result. Feel free to make additional cuts or adjustments until you are happy with the outcome.
Lastly, now that you’ve tried on the shirt and made any necessary adjustments, take a moment to appreciate your work and how you’ve transformed an old workout shirt into a refreshed and personalized garment. You’ve not only saved money but also contributed to a more sustainable approach to fashion by giving new life to an existing piece.
So go ahead, model your new workout shirt in front of the mirror, strike a pose, and embrace your unique style!
Conclusion
Cutting your workout shirts to create customized and trendy pieces is a fun and creative way to refresh your wardrobe. By following the step-by-step process outlined in this article, you can transform your old shirts into stylish and personalized workout attire.
Remember to start by choosing the right shirt, considering the fabric, fit, and potential for cutting. Then, mark the desired length and cut the bottom hem to give your shirt a new look. If desired, you can proceed with cutting the sleeves to further customize the garment. Creating a crop top is another option, allowing you to stay on-trend and flaunt your unique style.
After cutting, take the time to finish the edges to prevent fraying and give your shirt a polished appearance. This step can be accomplished through sewing, using fabric glue, or fray check, depending on your preferences and resources.
Lastly, try on the shirt and make any necessary adjustments to ensure the fit and style are to your liking. Embrace the creative process and don’t be afraid to experiment with different cuts, lengths, and styling options to make your workout shirt truly unique.
By repurposing and customizing your old workout shirts, you not only save money but also contribute to a more sustainable fashion approach. So grab your scissors, unleash your creativity, and enjoy the transformation process. With each cut, you’re creating a one-of-a-kind garment that reflects your personality and style.
Get ready to rock your new custom-designed workout shirts with confidence and pride during your workouts and beyond!