Featured
How To Make Your Own Athletic Wear
Modified: January 22, 2024
Learn how to create your own athletic wear with our featured tutorial. Get ready to hit the gym in style and comfort with your custom-made activewear.
Introduction
Are you tired of spending a small fortune on athletic wear that never quite fits your style or body shape? Why not take matters into your own hands and create your own custom athletic wear? Not only will you have complete control over the design and fit, but you’ll also save money in the process.
In this article, we will guide you through the process of making your own athletic wear. Whether you’re a seasoned seamstress or a complete beginner, we’ll provide you with all the necessary steps to create high-quality sportswear that is tailored to your unique needs.
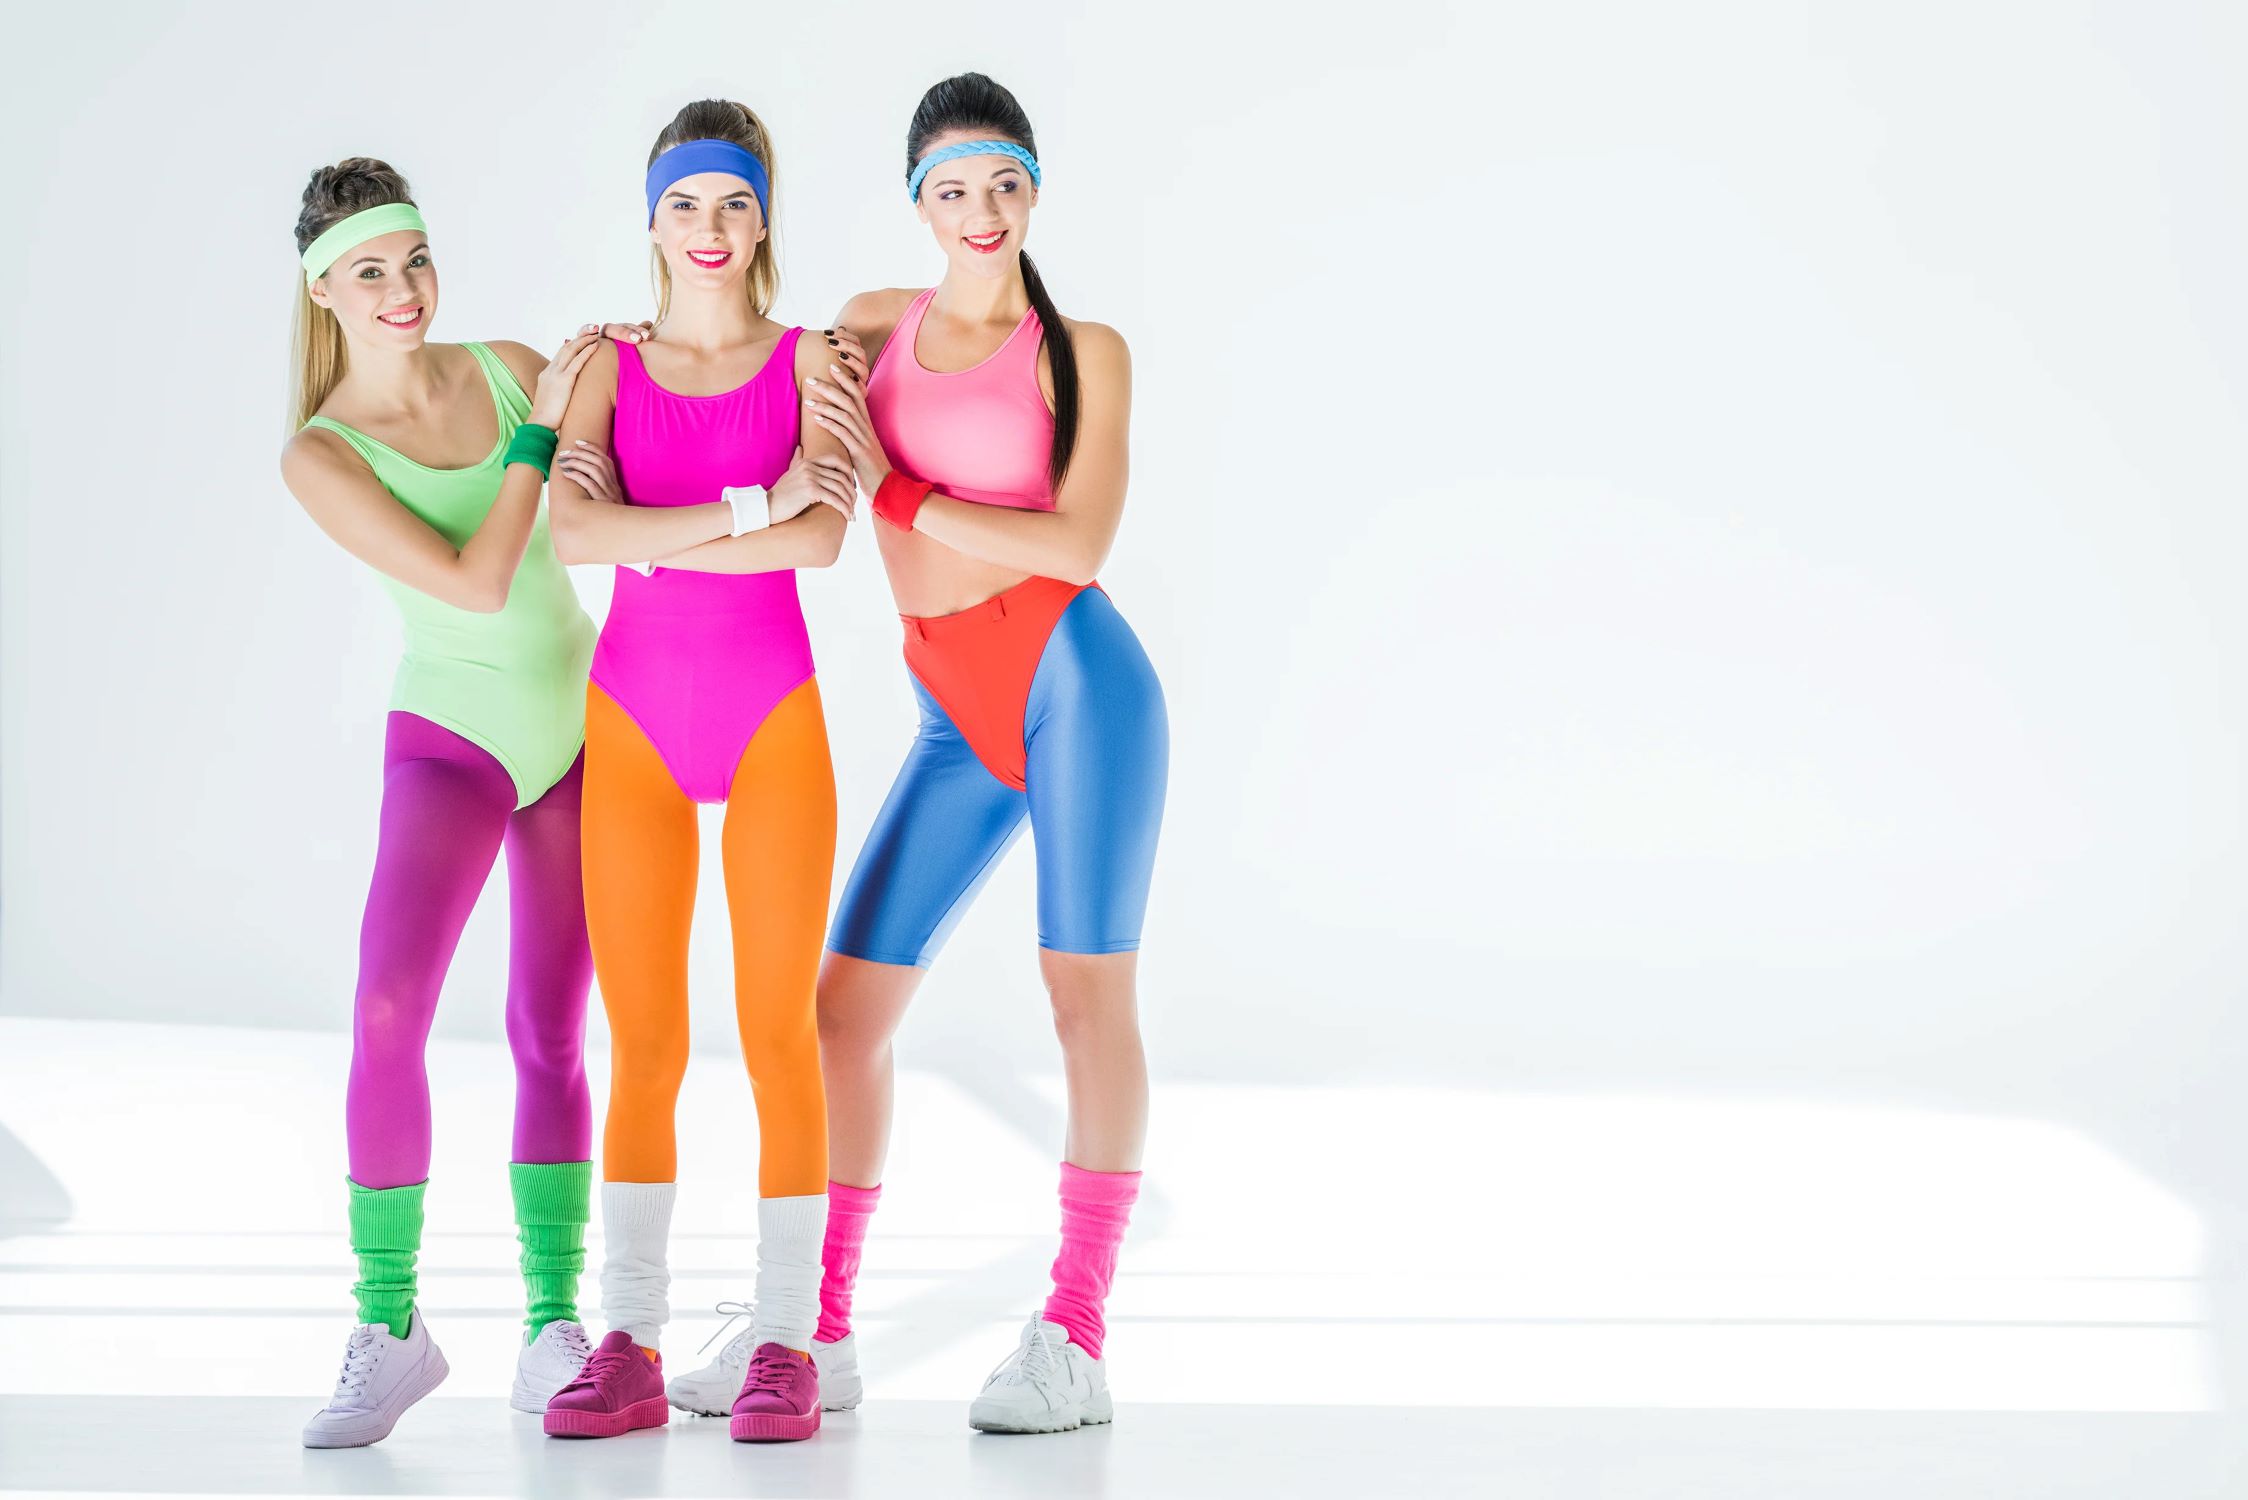
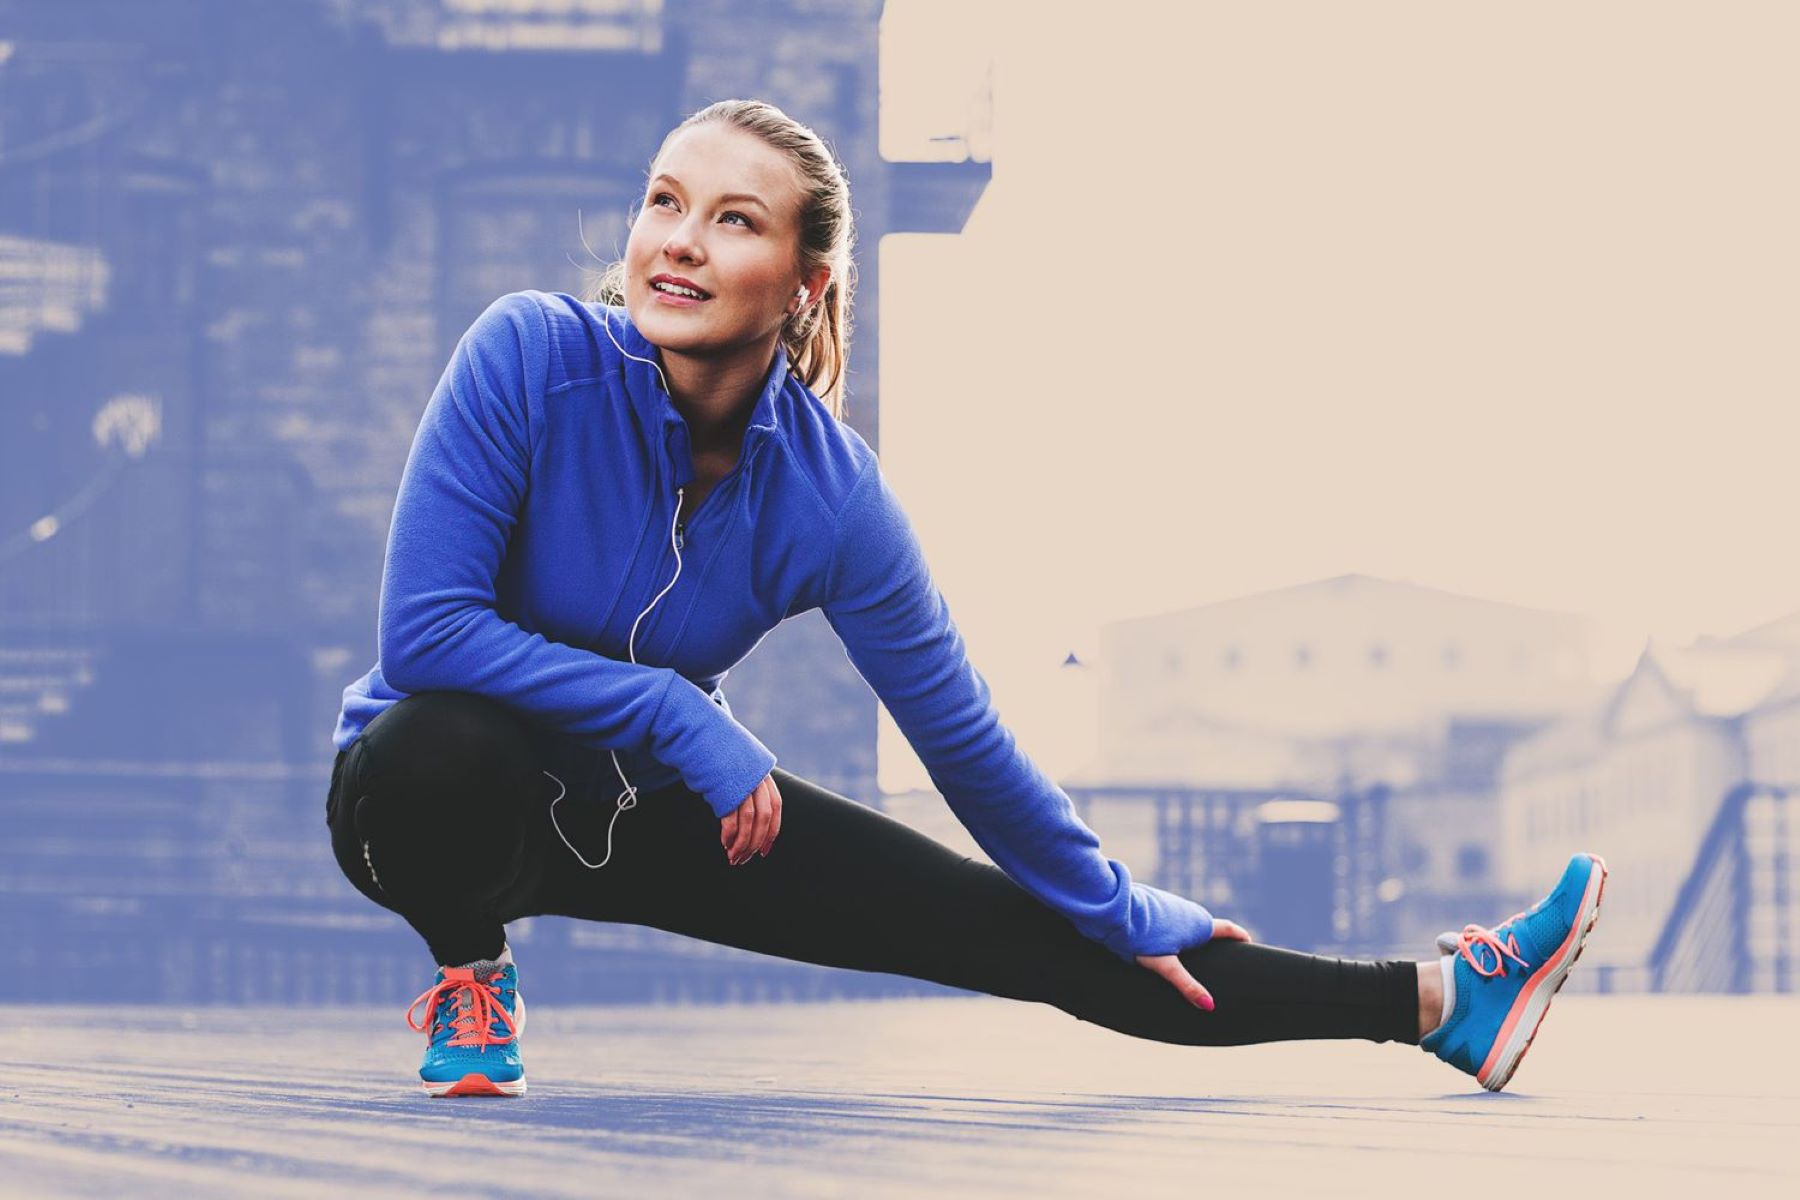
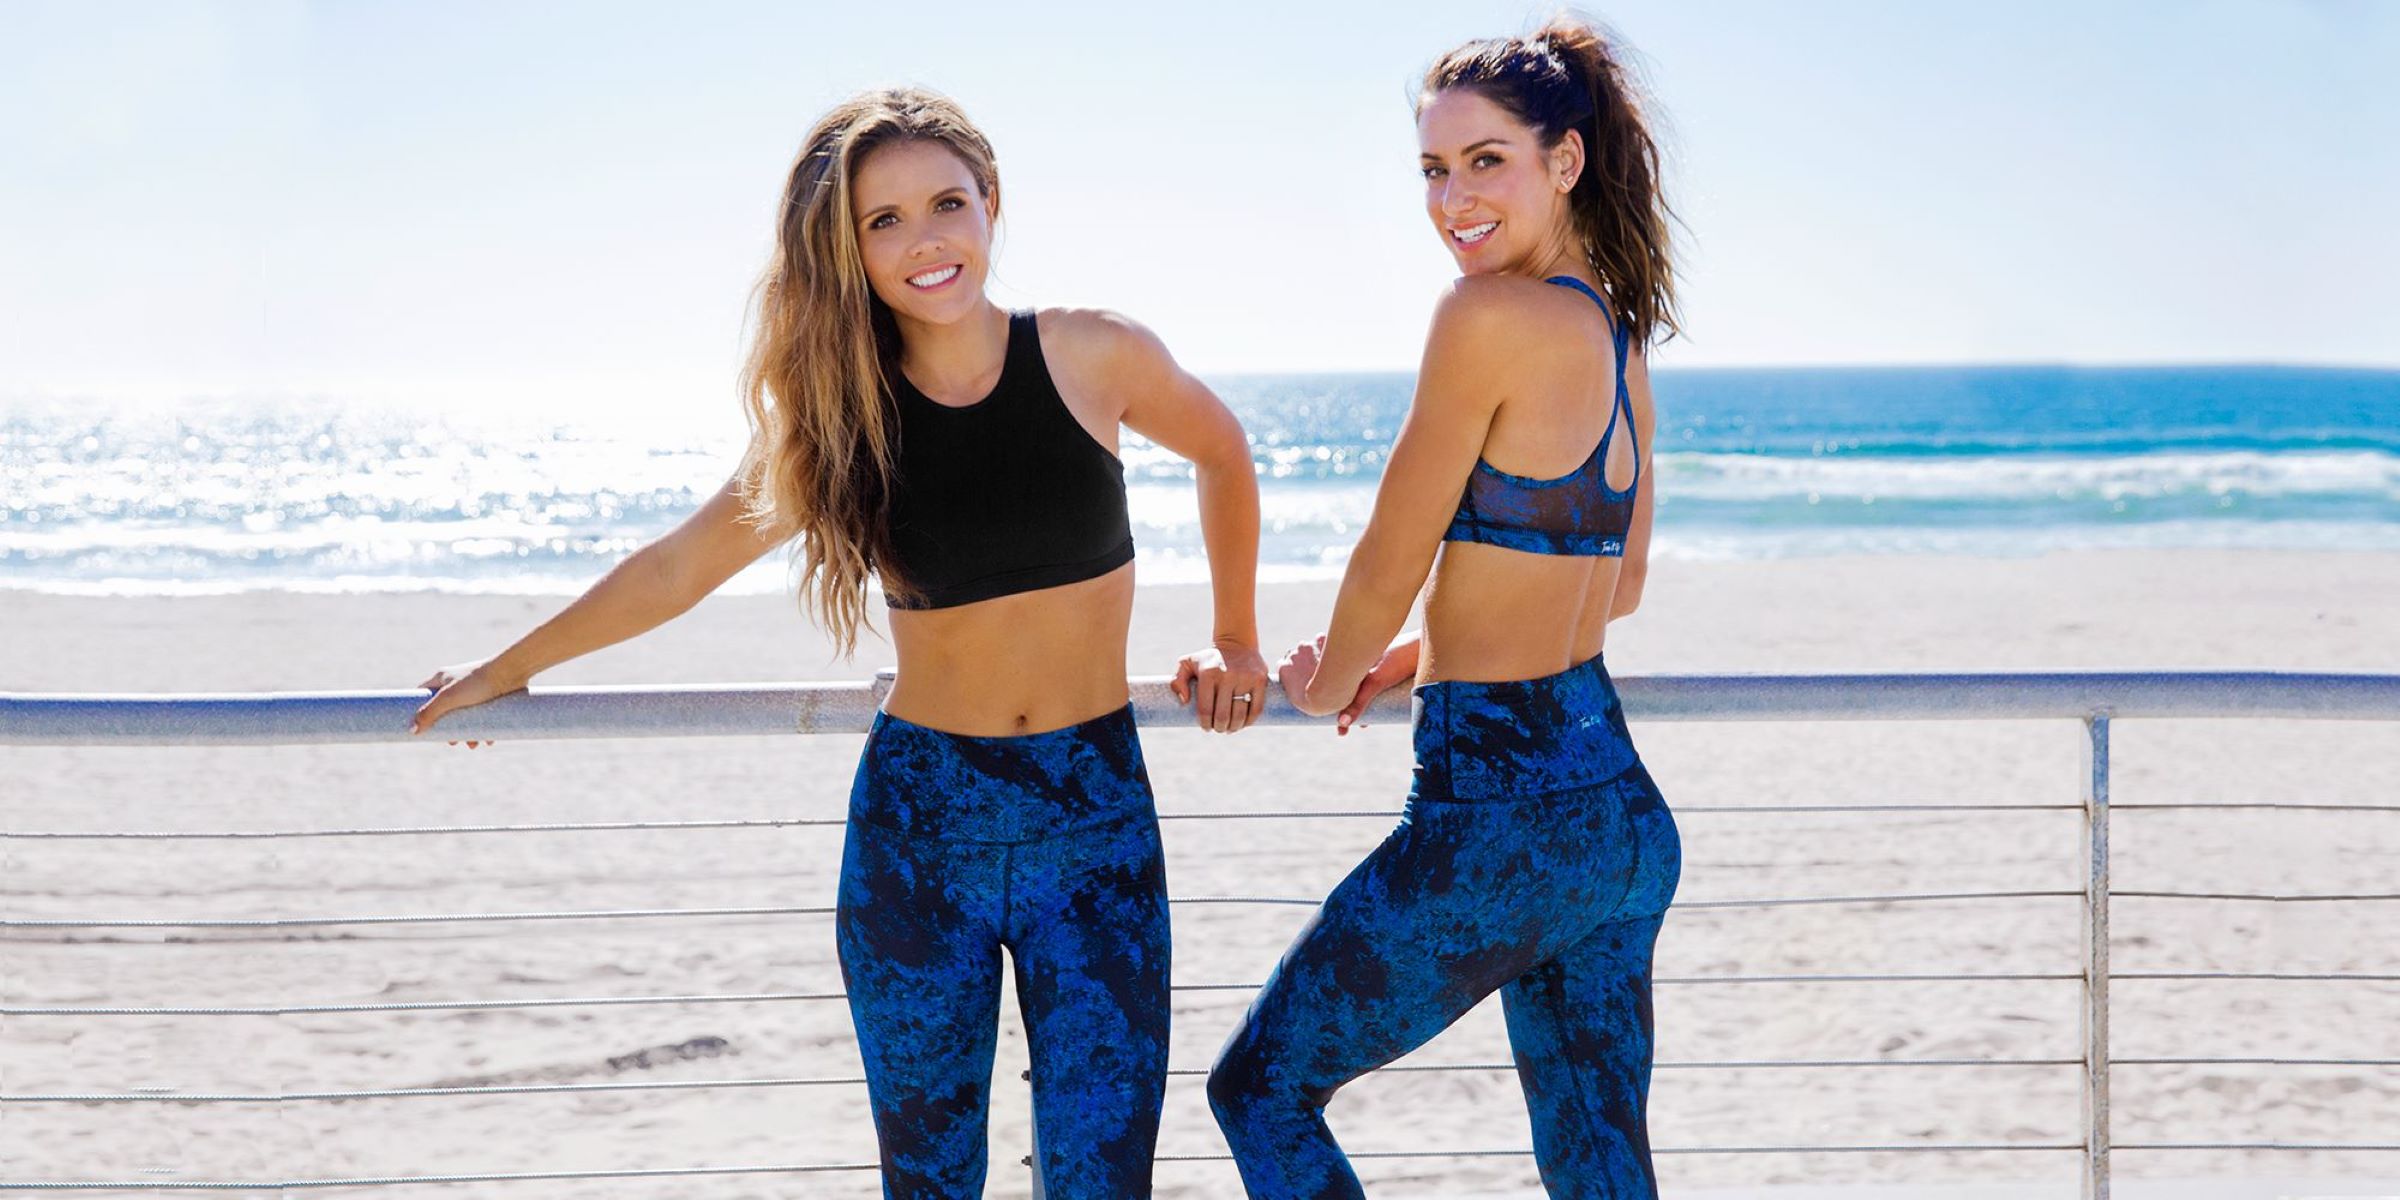
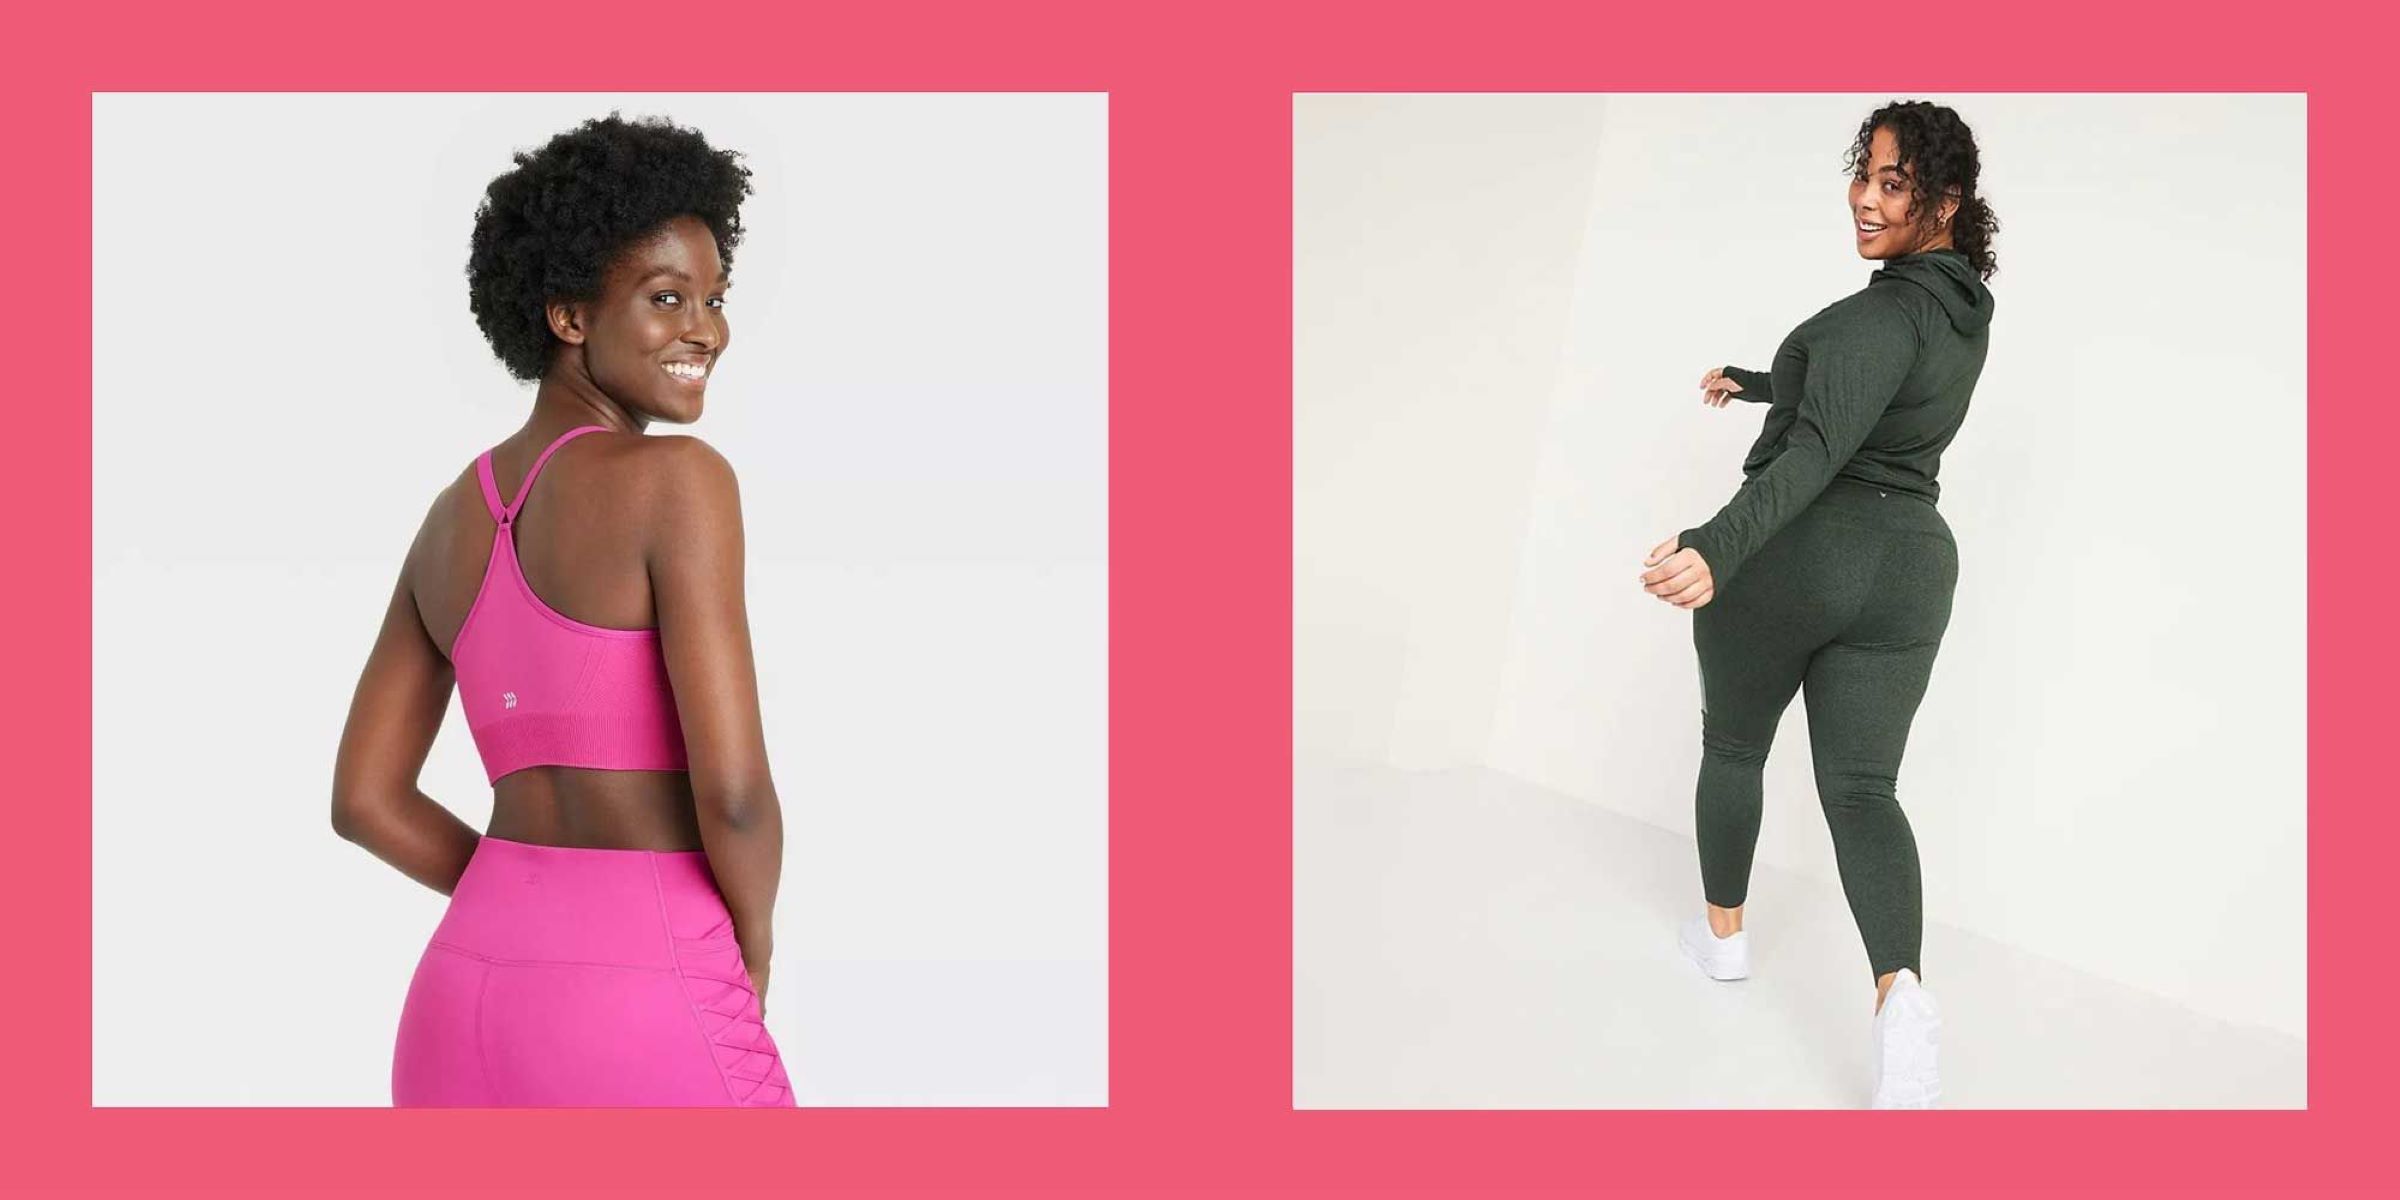
Imagine the satisfaction of wearing a stylish and well-fitting sports bra, leggings, or a workout top that you crafted with your own hands. Whether you’re into running, yoga, or weightlifting, having the perfect workout attire can make all the difference in terms of performance and confidence.
Before we dive into the details, let’s talk about the key elements to consider when making your own athletic wear. First and foremost, choosing the right fabric is crucial. You need a material that is durable, breathable, and moisture-wicking to keep you comfortable during your workouts.
The next important step is taking accurate body measurements. This ensures that your athletic wear fits you like a glove and provides the necessary support and flexibility required for your specific activities.
Once you have your measurements, you can either draft your own pattern or choose from the myriad of patterns available online or in sewing stores. Working with a pattern saves time and ensures consistent results, especially if you’re a beginner.
After selecting a pattern, it’s time to cut and mark the fabric. Precision is key here, so take your time to ensure accuracy. Once everything is ready, it’s time to bring the garment to life through sewing.
As you progress, feel free to add your personal touch by incorporating details and embellishments that reflect your style. Think fun prints, contrast stitching, or even functional features like pockets.
Finally, it’s crucial to fit and adjust your custom athletic wear to ensure a perfect fit. Don’t be afraid to make alterations if necessary, as this will guarantee optimal comfort and performance.
In the following sections, we’ll delve into each step in more detail, providing you with all the guidance you need to successfully create your own athletic wear. So, let’s get started on this exciting journey to crafting sportswear that is as unique as you are!
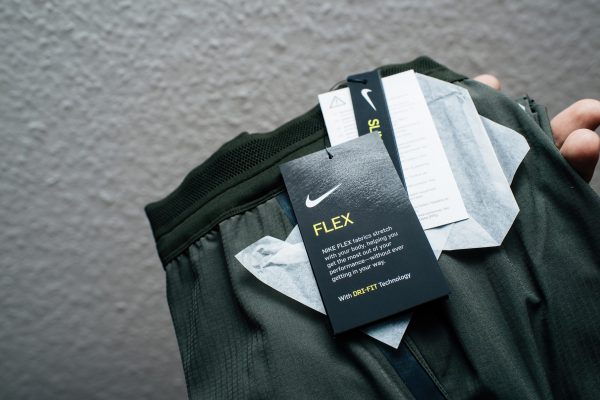
Choosing the Right Fabric
When it comes to making your own athletic wear, choosing the right fabric is paramount. The fabric you select will determine the comfort, performance, and durability of your finished garment. Here are some factors to consider when choosing the perfect fabric for your athletic wear:
- Moisture-wicking: Look for fabrics that are designed to wick away moisture from the body. Fabrics like polyester blends, nylon, or technical fabrics with moisture-wicking properties are ideal for athletic wear as they keep you dry and comfortable during intense workouts.
- Stretch and recovery: Athletic wear should have excellent stretch and recovery properties to allow for a full range of motion and maintain its shape over time. Fabrics like spandex blends, lycra, or elastane provide the necessary stretch for activities like yoga, running, or weightlifting.
- Breathability: Workouts can make you work up a sweat, so it’s important to choose a fabric that allows air to circulate and keep your body cool. Look for fabrics with mesh or perforated textures, or those specifically designed for breathability.
- Durability: Your athletic wear will undergo frequent washing and intense activities, so it needs to stand the test of time. Fabrics like nylon or polyester blends are known for their durability and resistance to wear and tear.
- Compression: Compression fabrics provide support and enhance performance by improving blood flow and reducing muscle fatigue. Consider fabrics with compression properties if you’re into sports that require added support, like high-impact workouts or running.
- UV protection: If you enjoy outdoor activities, consider fabrics that offer UV protection to shield your skin from harmful rays. Look for fabrics with UPF (Ultraviolet Protection Factor) ratings for added sun protection.
It’s also worth mentioning that you can find a variety of specialty athletic fabrics specifically designed for different purposes. For example, if you’re into swimming, look for chlorine-resistant fabrics, and for winter sports, consider fabrics with insulation properties.
When shopping for fabric, don’t forget to consider your personal preferences as well. Choose colors, prints, and textures that inspire and motivate you to hit the gym or go for a run. Remember, your custom athletic wear should reflect your personal style and make you feel good while working out.
By carefully selecting the right fabric, you’ll lay the foundation for creating athletic wear that is not only functional but also comfortable and stylish. So take your time, do some research, and choose the fabric that suits your unique needs and preferences.
Taking Accurate Body Measurements
One of the key aspects of creating well-fitting athletic wear is taking accurate body measurements. Proper measurements will ensure that your custom-made garments fit you perfectly, providing the necessary support and comfort for your workouts. Here’s a step-by-step guide on how to take accurate body measurements:
- Get a flexible measuring tape: Invest in a soft and flexible measuring tape specifically designed for taking body measurements. Avoid using a metal tape measure, as it may give inaccurate readings.
- Wear form-fitting clothing: To get accurate measurements, it’s important to wear form-fitting clothing or be in your undergarments. Baggy clothes can distort your body shape and lead to incorrect measurements.
- Measure the chest/bust: Wrap the measuring tape around the fullest part of your chest or bust, ensuring it stays parallel to the ground. Make sure the tape is snug but not too tight, and take note of the measurement in inches or centimeters.
- Measure the waist: Locate your natural waistline, which is typically the narrowest part of your torso. Wrap the tape measure around your waist, making sure it’s level and snug but not constricting. Record the measurement.
- Measure the hips: Find the widest part of your hips, which is usually a few inches below your waist. Wrap the measuring tape around this area, keeping it parallel to the ground. Take note of the measurement.
- Measure the inseam: For leggings or pants, you’ll need the inseam measurement. Stand straight with your feet slightly apart and measure from the crotch to the desired length, typically the ankle or the floor.
- Measure the thigh, arm, and calf: If your workout wear requires specific measurements for the thigh, arm, or calf, wrap the tape measure around these areas to get accurate readings.
It’s important to keep in mind that your body measurements may change over time, so it’s a good idea to revisit them periodically. Additionally, if you’re between sizes, always go with the larger measurement for a more comfortable fit that allows for movement.
Remember, taking accurate measurements is the foundation for creating well-fitting athletic wear. Invest the time in getting them right, and you’ll be rewarded with customized garments that fit you perfectly and make you feel confident during your workouts.
Drafting or Choosing a Pattern
Once you have your body measurements, it’s time to move on to the next step in creating your own athletic wear: drafting or choosing a pattern. This step will largely depend on your skill level, time constraints, and personal preferences. Here are two options to consider:
- Drafting your own pattern: If you have experience in pattern drafting or are feeling adventurous, you can create your own custom pattern based on your body measurements. This allows for complete control over the design and fit of your athletic wear. You can find tutorials, books, or online resources that guide you through the process of drafting patterns for various types of sportswear.
- Choosing a pre-made pattern: For those who prefer a more straightforward approach or are new to sewing, choosing a pre-made pattern is a great option. There are numerous commercial patterns available that cater specifically to athletic wear, ranging from leggings and sports bras to tank tops and jackets. These patterns come in different sizes and often include detailed instructions to help you navigate the sewing process.
When selecting a pattern, consider the different style options and variations available. For example, if you’re making leggings, decide if you want a high waist or a regular waistband, if you prefer a cropped length or full length, and if you want any additional design features like side panels or a hidden pocket. By choosing a pattern that aligns with your vision, you’ll be on your way to creating athletic wear that suits your personal style.
Regardless of whether you choose to draft your own pattern or use a pre-made one, it’s crucial to carefully read and follow the instructions provided. Pay attention to the cutting layout, seam allowances, and any specific techniques required. Taking the time to understand the pattern will greatly increase your chances of success and ensure that your finished garment turns out just as you imagined.
Remember, the pattern serves as a guide, but don’t be afraid to make adjustments or modifications as needed. Fit is key when it comes to athletic wear, so feel free to tailor the pattern to suit your unique body shape and preferences. By choosing or creating the right pattern, you’ll be well on your way to crafting customized athletic wear that perfectly fits your needs and style.
Cutting and Marking the Fabric
Once you have your chosen pattern in hand, it’s time to move on to the next step: cutting and marking the fabric. This step is crucial to ensure accurate and precise construction of your athletic wear. Here’s a guide to help you navigate this process:
- Gather your materials: Before cutting into your fabric, make sure you have all the necessary tools on hand. This includes a fabric cutting tool (such as scissors or a rotary cutter), fabric weights or pins, and a marking tool (such as chalk or fabric markers).
- Prepare your fabric: Lay your fabric flat on a clean and smooth surface, ensuring it’s wrinkle-free. If needed, press the fabric with an iron using the appropriate heat setting for the fabric type to eliminate any creases or wrinkles.
- Layout your pattern pieces: Follow the instructions provided with your selected pattern to lay out the pattern pieces on the fabric. Take note of any grainlines, fold lines, or directional prints that need to be aligned or avoided.
- Secure your pattern: Once the pattern pieces are in place, use fabric weights or pins to secure them to the fabric. This will prevent shifting during the cutting process and ensure accurate and consistent pieces.
- Mark your pattern: Use a marking tool, such as chalk or fabric markers, to transfer any necessary markings from the pattern onto the fabric. This includes notches, darts, pleats, or any other details that aid in the construction process. Take care to mark accurately, but also choose a marking tool that will easily wash or fade away without leaving residue on the fabric.
- Cut with precision: With your fabric securely in place and pattern markings transferred, it’s time to cut the fabric. Use sharp fabric scissors or a rotary cutter to carefully cut along the outline of each pattern piece. Take your time and cut accurately to ensure clean edges and precise fits.
As you cut each piece, make sure to pay attention to any pattern markings or notches that will aid in aligning and sewing the pieces together. Double-check that you have cut all the required pieces for your garment to avoid any missing components during the sewing process.
Remember, accuracy is key when cutting and marking the fabric. Take your time, follow the instructions provided with your pattern, and double-check your work before moving on to the next step. With careful cutting and precise marking, you’ll set yourself up for a successful and satisfying sewing experience.
Sewing the Garment
Now that you have carefully cut and marked your fabric, it’s time to bring your custom athletic wear to life through sewing. Whether you’re using a sewing machine or sewing by hand, follow these steps to ensure a successful construction process:
- Prepare your sewing machine: If you’re using a sewing machine, make sure it is set up with the appropriate needle, thread, and stitch settings for the fabric you’re working with. Take the time to understand your machine’s functions and practice sewing on scrap fabric to ensure smooth and consistent stitches.
- Start with the essential seams: Begin by sewing the main seams of your garment, such as the side seams or shoulder seams, according to the instructions provided in your pattern. Align the fabric pieces with right sides together and secure with pins or clips before sewing.
- Follow the sewing sequence: Refer to the instructions included with your pattern for the recommended sewing sequence. This will guide you through the step-by-step process of assembling your garment. Pay attention to any specific techniques or details mentioned to ensure proper construction.
- Use appropriate seam finishes: Consider the type of fabric you’re working with and choose appropriate seam finishing techniques to prevent fraying and increase the durability of your garment. Options include using a zigzag stitch, serging the edges, or using bias binding.
- Try on for fit: As you progress through sewing the garment, it’s important to periodically try it on to check the fit. This will allow you to make any necessary adjustments before completing the final construction. Remember that fit is key for athletic wear, ensuring comfort and optimal performance.
- Pay attention to details: Take the time to sew any additional details or design elements specified in your pattern, such as pockets, zippers, or decorative topstitching. These details can elevate the look and functionality of your garment, so don’t rush through them.
Throughout the sewing process, it’s important to maintain consistent stitch lengths, backstitch at the beginning and end of each seam, and take your time to ensure accuracy and precision. If you encounter any difficulties or have questions, refer to sewing references, online tutorials, or seek guidance from experienced sewers to help troubleshoot any issues.
Remember, sewing the garment is where your hard work and planning come together. Enjoy the process, take pride in your craftsmanship, and soon you’ll have a high-quality custom-made athletic wear piece that you can proudly wear during your workouts.
Adding Details and Embellishments
Now that you have sewn the main structure of your athletic wear, it’s time to add those special details and embellishments that will make your garment truly unique and personalized. Here are some ideas to help you enhance the aesthetics and functionality of your custom-made sportswear:
- Contrast stitching: Consider using contrasting thread colors for topstitching or decorative stitching. This can add visual interest and highlight certain design elements of your garment, such as seams or panel lines.
- Functional features: Think about incorporating functional elements that can enhance the usability of your athletic wear. This could include adding pockets for storing small essentials like keys or a media pocket for your smartphone or music player.
- Reflective accents: If you often exercise outdoors, consider adding reflective details to your garment to increase visibility in low-light conditions. Sew on reflective patches or use reflective trims to ensure you stay safe and visible during your workouts.
- Elastic or drawstring waistbands: Opt for an adjustable waistband by using elastic or drawstrings. This allows you to customize the fit of your bottoms to ensure comfort and flexibility during different types of workouts.
- Prints and patterns: Have fun with the fabrics you choose for your athletic wear. Look for bold prints, vibrant colors, or unique patterns that resonate with your personal style. This can add an extra dose of energy and motivation to your workout attire.
- Mesh or cut-out panels: Consider incorporating breathable mesh or stylish cut-out panels into your design. This not only adds visual interest but also enhances ventilation, keeping you cool and comfortable during intense workouts.
- Logo or monogram: Personalize your athletic wear by adding a logo or monogram. You can create a custom heat-transfer vinyl or embroidery design that represents your brand or personal identity. It’s a simple yet impactful way to make your sportswear truly your own.
When adding details and embellishments, it’s important to strike a balance between style and functionality. Ensure that the additional elements you incorporate support the overall performance and comfort of your athletic wear, without sacrificing the aesthetics.
Remember to follow the instructions provided in your pattern or adapt them as needed when adding these special details. Take your time, plan out the embellishments carefully, and use techniques that suit your skill level and equipment.
By adding thoughtful details and embellishments to your athletic wear, you’ll transform your garments from basic to extraordinary. So let your creativity soar and infuse your unique personality into every stitch and accent of your custom-made sportswear.
Fitting and Adjusting the Fit
Getting the perfect fit is crucial when it comes to athletic wear. Even with accurate measurements and careful construction, there may be instances where some adjustments need to be made to ensure optimal comfort and performance. Here’s a guide on fitting and adjusting the fit of your custom-made sportswear:
- Try it on: Once you have completed the main construction of your garment, take the time to try it on. Pay attention to how the fabric feels against your skin, the range of motion it allows, and any areas of discomfort or restriction.
- Check the fit: Assess whether the garment fits properly in key areas such as the bust, waist, hips, and any other areas specific to your design. Look for any excess fabric, tightness, or areas that need more ease.
- Make adjustments: Pin or mark areas that require adjustment. This could mean taking in or letting out seams, adjusting the length of the garment, or tweaking proportions for a more flattering fit.
- Consider the activity: Think about the specific movements and activities you’ll be engaging in while wearing your athletic wear. Ensure that the garment allows for ample freedom of movement and support in the areas needed for your particular workout or sport.
- Address comfort issues: If you notice any discomfort, such as rubbing or chafing, consider adding extra layers of fabric, adjusting the positioning of the seams, or using softer materials in those areas.
- Test it out: Wear your adjusted garment during a trial workout or try performing the specific activities you plan to engage in while wearing it. This will allow you to assess the fit and make any additional modifications if necessary.
- Seek professional help if needed: If you’re unsure about making fitting adjustments on your own or if you encounter complex fit issues, consider reaching out to a professional seamstress or tailor. They can provide expert guidance and assistance in achieving the perfect fit.
Remember, fitting and adjusting the fit is an ongoing process. Don’t hesitate to make multiple fittings and adjustments to achieve that ideal fit you desire. Taking the time to ensure a proper fit will not only enhance your comfort and confidence but also improve your overall performance during workouts.
Keep in mind that fit preferences can vary from person to person, so trust your instincts and make adjustments that align with your comfort and style preferences. Your custom-made athletic wear should feel like a second skin and empower you to move with ease and confidence.
Finishing Touches and Care Instructions
As you near the completion of your custom-made athletic wear, it’s time to add those finishing touches that will elevate your garments and ensure they last for the long run. Here are some important considerations for adding the final touches and caring for your sportswear:
- Hemming: Finish the raw edges of your garment by hemming them. Depending on the fabric and design, you can opt for various hemming techniques such as using a narrow hem, zigzag stitch, or a rolled hem.
- Pressing: Give your finished garment a final press with an iron, using the appropriate heat setting for the fabric. Pressing not only removes any remaining wrinkles but also helps to set the seams and give your garment a professional and polished look.
- Add final details: Consider adding any final details such as labels, tags, or other embellishments that add a personal touch to your custom-made athletic wear. These details can help showcase your brand or simply add a touch of style and uniqueness.
- Labeling and storage: Label your finished garment with care instructions, including washing instructions, fabric content, and any specific handling requirements. This ensures that you’ll be able to care for your sportswear properly and maintain its quality over time. Store your garments in a cool, dry place to prevent damage and keep them ready for your next workout.
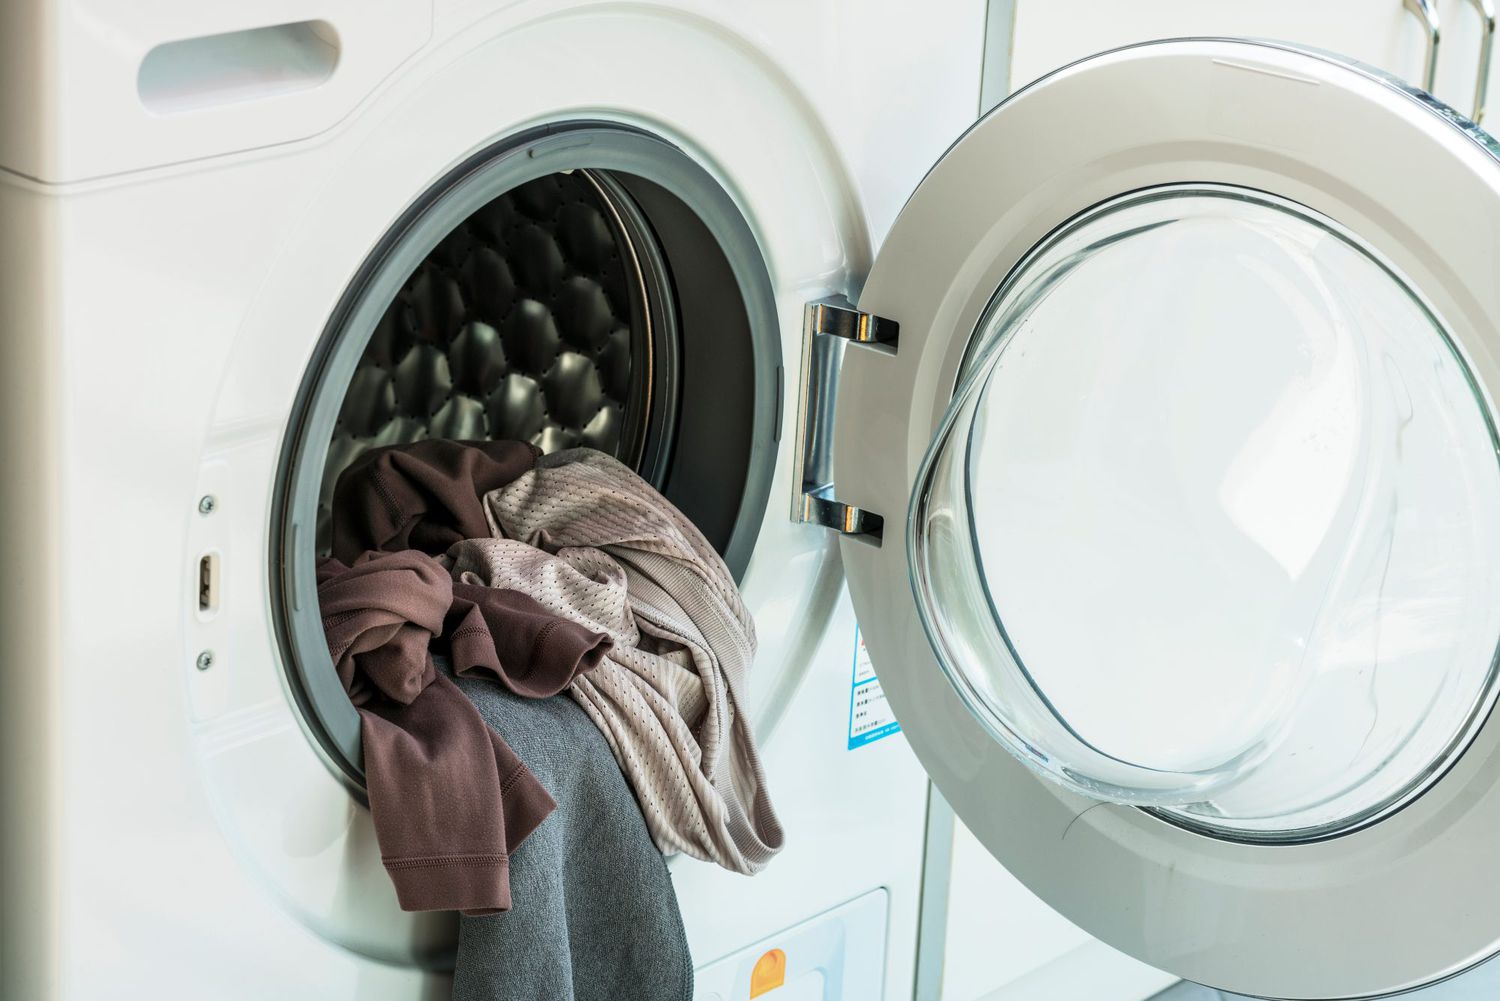
- Care for your sportswear: Follow the care instructions provided with your fabric to ensure that your athletic wear remains in its best condition. Typically, athletic wear needs to be washed in cold water, and it’s recommended to avoid using fabric softeners that can reduce the garment’s moisture-wicking properties. Gentle machine washing or hand-washing and air-drying are often the best methods to preserve the longevity of your sportswear.
- Maintain and repair: As with any clothing, your athletic wear may need occasional maintenance or repairs. Keep an eye out for loose seams, pilling, or any wear and tear. Promptly address any issues to prevent further damage and extend the lifespan of your custom-made sportswear.
By giving attention to these finishing touches and properly caring for your sportswear, you’ll ensure that your garments remain in excellent condition and retain their functionality over time. Remember, high-quality athletic wear that is well-crafted and well-maintained can provide you with many satisfying workouts in the future.
Conclusion
Congratulations on taking the journey to create your own custom athletic wear! By following the steps outlined in this article, you have gained the knowledge and skills necessary to design, sew, and personalize your sportswear to meet your unique needs and style preferences. The process of making your own athletic wear allows you to have complete control over the fit, fabric, and design, ensuring that your garments are truly tailored to your body and workout requirements.
From choosing the right fabric and taking accurate measurements to drafting or selecting a pattern, cutting and marking the fabric, sewing the garment, and adding those special finishing touches, each step has contributed to the creation of high-quality athletic wear that reflects your individuality.
Remember, as with any new skill, practice makes perfect. Don’t be discouraged if your first attempt isn’t exactly as you envisioned. Keep experimenting, learning, and refining your techniques. With time, you’ll become more proficient and be able to create even more stunning and functional sportswear that is uniquely yours.
As you embark on your journey of making your own athletic wear, let your creativity soar and embrace the joy of creating something with your own hands. Enjoy the process, and most importantly, have fun wearing the final products of your hard work during your workouts.
So go ahead, take on the challenge, and create athletic wear that not only meets your needs but also celebrates your personal style. Your custom-made sportswear will not only help you feel comfortable and confident while exercising, but it will also be a testament to your skills and creativity.
Happy sewing, and may your homemade athletic wear journey be filled with satisfaction and success!