Featured
How To Put Treadmill Down
Published: August 12, 2023
Learn how to put your treadmill down with ease using our featured step-by-step guide. Get expert tips and avoid any injuries.
Introduction
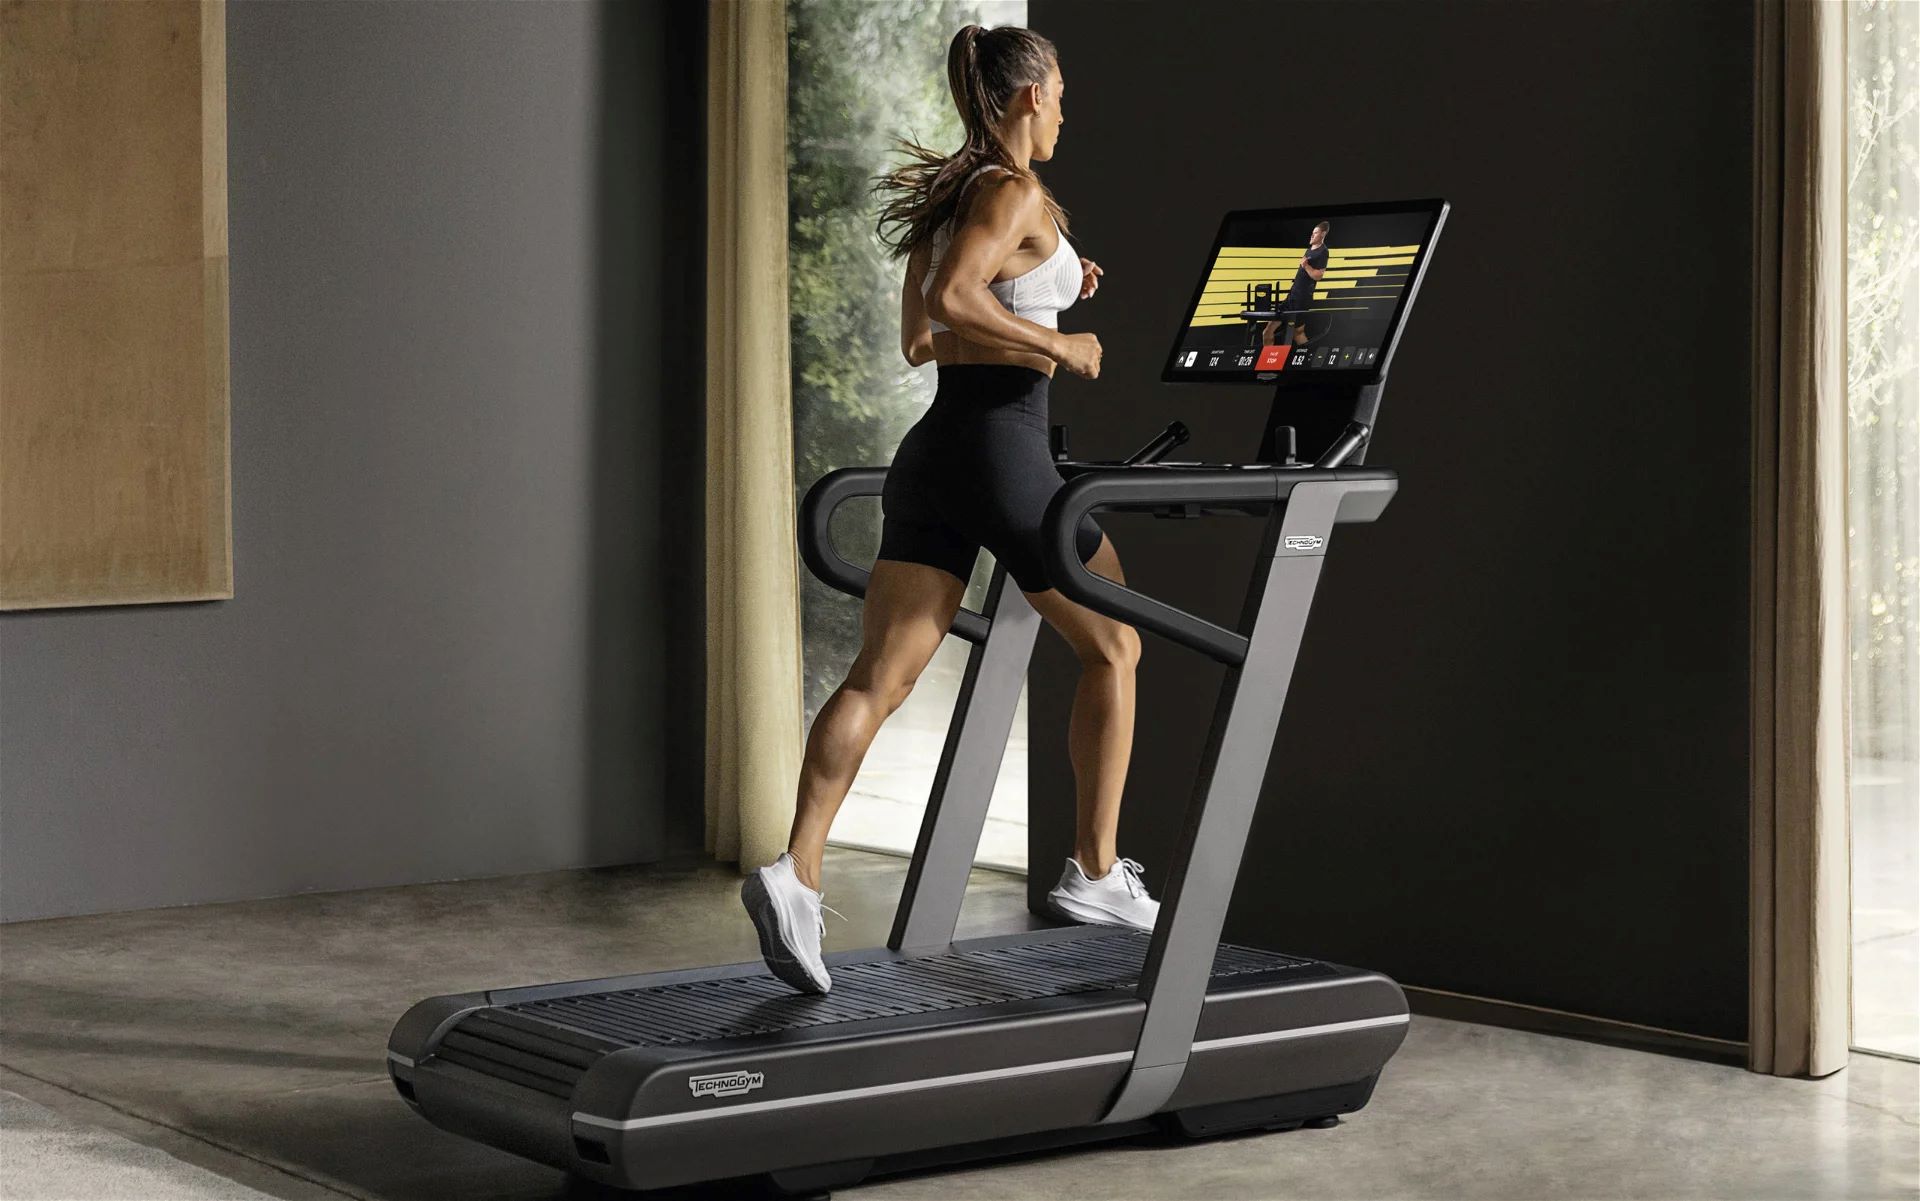
Bringing a treadmill into your home can be a game-changer for your fitness routine. However, there may come a time when you need to put the treadmill down for various reasons—whether it’s for a renovation, to create space, or simply to move it to a different location. Whatever the reason may be, knowing how to properly put a treadmill down is crucial to ensure its safety and preserve its functionality.
Putting a treadmill down requires some careful steps to avoid any damage to the equipment or injury to yourself. In this article, we will guide you through the process of safely and effectively putting a treadmill down. We will cover everything from clearing the space to securely storing the treadmill once it’s down.
It’s important to note that this guide applies to manual treadmills as well as motorized ones. However, the process may vary slightly depending on the specific model and manufacturer’s instructions. Always refer to the owner’s manual for your particular treadmill to ensure you follow the correct procedures.
Remember, putting down a treadmill involves handling bulky and heavy equipment, so it’s essential to take precautions and enlist the help of another person when required. With the right steps and careful execution, you can safely put your treadmill down and continue enjoying the benefits of having a versatile workout machine in your home.
Step 1: Clearing the Space
Before you begin the process of putting your treadmill down, it’s important to clear the space around it. This step will help ensure a smooth and safe transition. Here’s how to do it:
- Remove any obstacles: Take a close look at the area where your treadmill is located and identify any potential obstacles that need to be removed. Clear away any furniture, equipment, or other items that may hinder the process.
- Clear the path: Ensure that there is a clear and unobstructed path from the current location of the treadmill to its intended spot. This will make it easier to maneuver the equipment without any hindrances.
- Protect the flooring: If your treadmill is placed on carpet or any delicate flooring surface, consider using a protective mat or sheet to prevent any damage or marks during the movement process. This extra layer of protection can save you from potential repair costs later on.
- Measure the space: Take measurements of the area where you plan to move the treadmill. Ensure there is ample space for the equipment to fit comfortably without causing any obstructions. This step is especially crucial if you are relocating the treadmill within your home or to a different room.
- Secure loose cables: If there are any loose cables or wires along the path or near the treadmill, make sure to secure them properly to avoid tripping hazards during the moving process. Tape down or tie up any loose cables to keep them out of the way.
By clearing the space effectively, you will have a smooth and obstacle-free path for putting the treadmill down. This step is essential to ensure the safety of both yourself and the equipment. Once you’ve completed this step, you can proceed to the next stage of the process.
Step 2: Disconnecting the Power
Before you start handling the treadmill, it’s crucial to disconnect the power supply to ensure your safety. Here’s how to disconnect the power properly:
- Unplug the treadmill: Locate the power cord of the treadmill and unplug it from the electrical outlet. This will ensure that the treadmill is completely disconnected from the power source.
- Remove the safety key: Most motorized treadmills come with a safety key that is inserted into the console to activate the machine. Remove this safety key to prevent any accidental activation or movement during the process of putting the treadmill down.
- Turn off any switches or buttons: Check if your treadmill has any additional power switches or buttons. Turn them off to ensure that no power is being supplied to the machine.
By disconnecting the power, you eliminate the risk of accidental movement or harm when handling the treadmill. This step is essential for your safety as well as the protection of the equipment itself. Once you have completed this step, you can proceed to the next stage of the process.
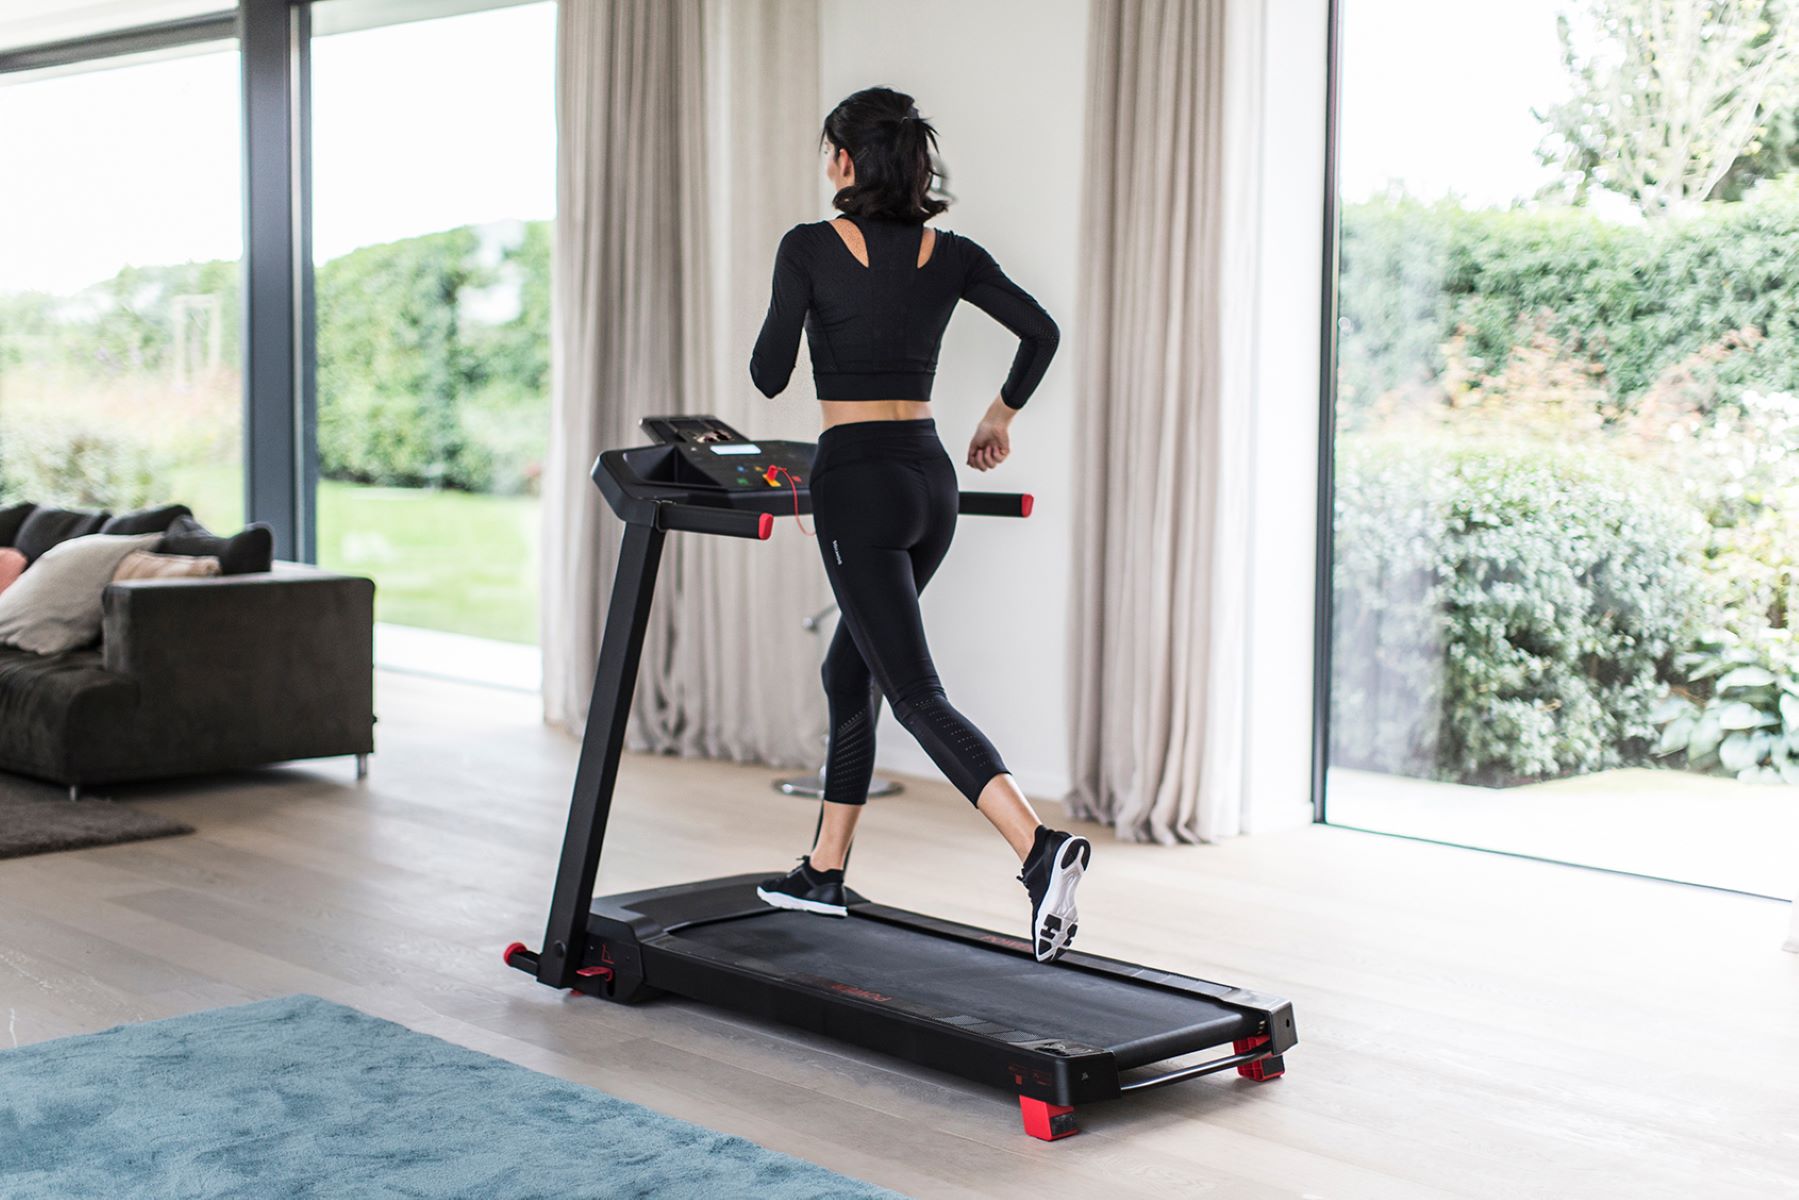
Step 3: Folding the Treadmill
If your treadmill is foldable, this step will guide you through the process of properly folding it for easy transport or storage. Here’s what you need to do:
- Refer to the owner’s manual: Each treadmill model has its own specific instructions for folding. Consult the owner’s manual to understand the correct procedure for your particular treadmill.
- Clear the area around the treadmill: Make sure there are no objects obstructing the folding mechanism or the folding parts of the treadmill. Clear any loose items from the top surface as well.
- Release the deck lock or safety latch: Locate the deck lock or safety latch, typically positioned near the hinges of the treadmill. Release this lock to allow the deck to fold upwards.
- Fold the deck: Gently lift the deck to fold it towards the console or handlebars. Follow the specific instructions in your owner’s manual to ensure a proper fold.
- Secure the folded position: Some treadmills have a locking mechanism to secure the folded position. Engage this lock to prevent the deck from unfolding during movement.
By properly folding the treadmill, you reduce its overall size, making it easier to transport and store. Make sure to follow the manufacturer’s instructions to avoid any damage to the treadmill or injury to yourself. Once you have successfully folded the treadmill, you can proceed to the next step in the process.
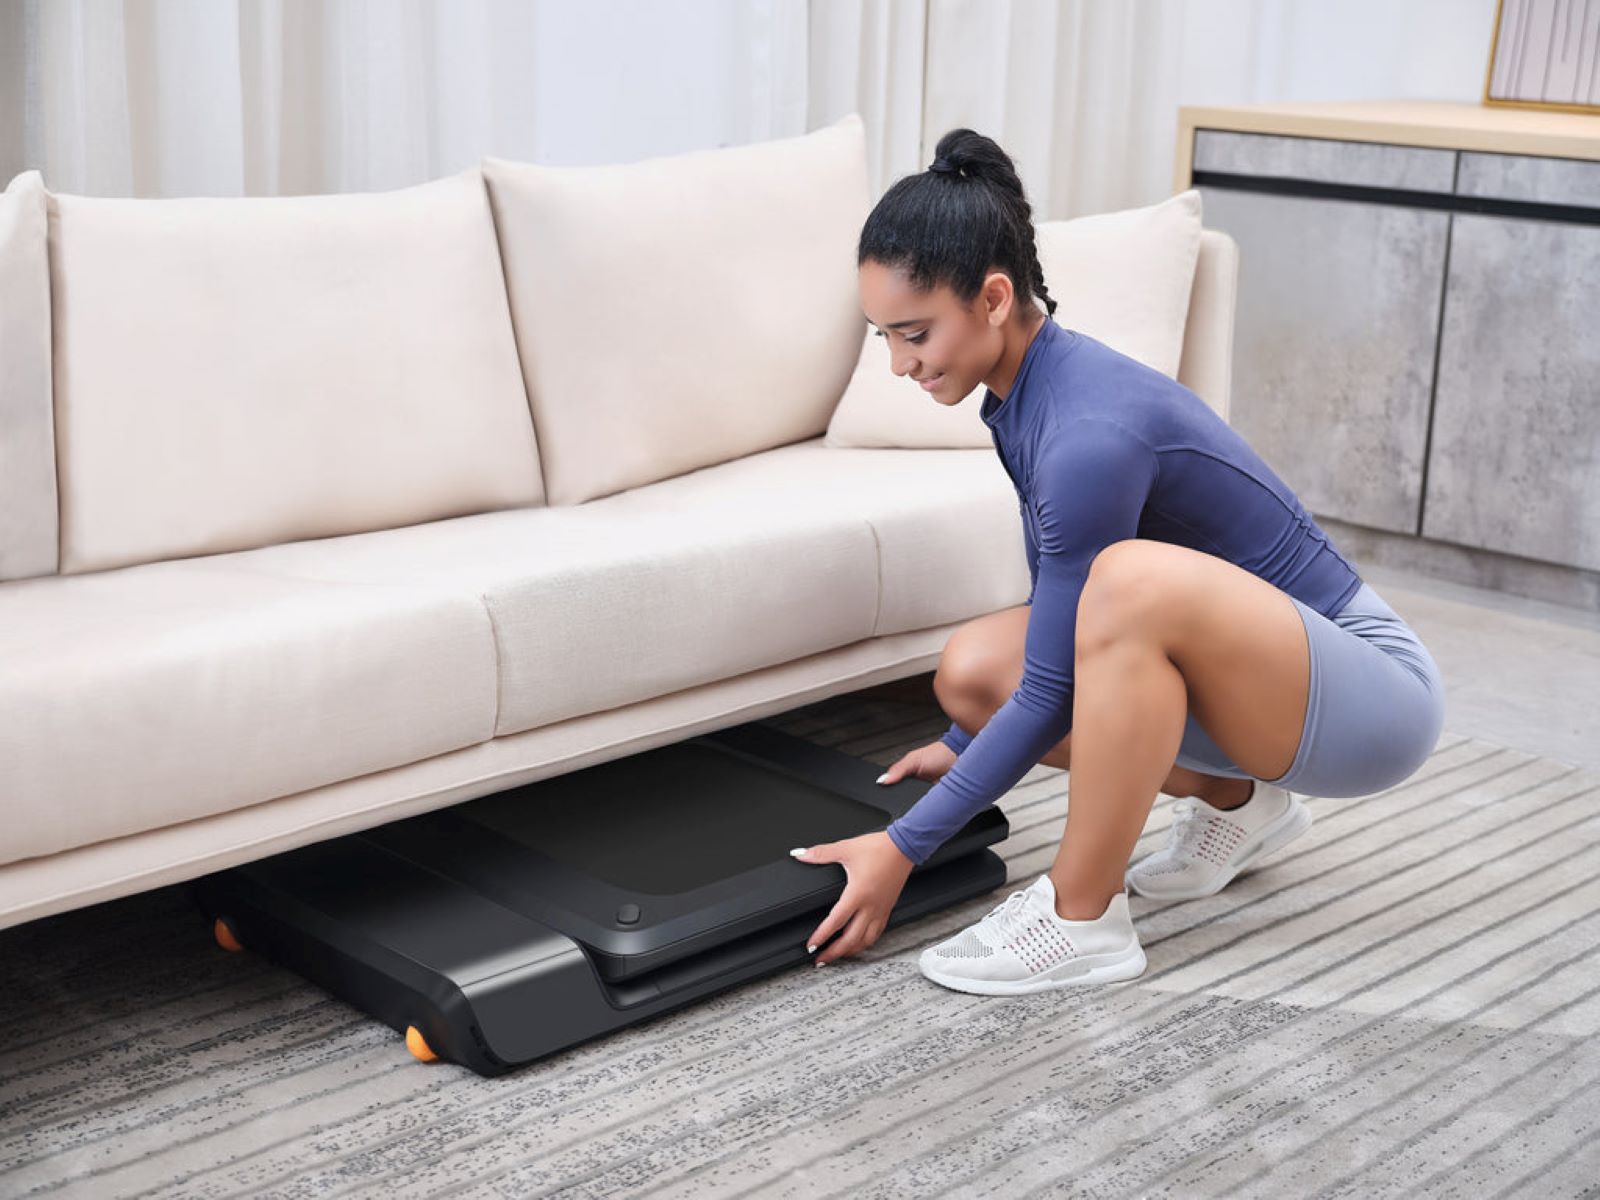
Step 4: Lowering the Treadmill
Once you have successfully folded your treadmill, the next step is to carefully lower it to the ground. Follow these steps to ensure a safe and controlled descent:
- Position yourself properly: Stand in front of the folded treadmill with your feet shoulder-width apart. Keep your back straight and your knees slightly bent to maintain stability and prevent any strain on your body.
- Hold onto the handles: If your treadmill has handlebars, use them for added stability and control during the lowering process. Gripping the handles firmly will help you maintain a steady grip as you lower the treadmill.
- Lower with control: Slowly begin to lower the treadmill, using your leg muscles to control the descent. Avoid sudden or jerky movements that could cause the treadmill to slip or fall out of your grasp.
- Use a partner if necessary: If your treadmill is particularly heavy or you feel uncomfortable lowering it on your own, consider enlisting the help of a partner. This will ensure that the treadmill is lowered safely and with minimal risk.
- Lower to the ground: Lower the treadmill until it is completely on the ground or in the desired storage position. Take your time and ensure that it is secure and stable before letting go.
By following these steps, you can safely lower your folded treadmill to the ground without risking injury or damage. Remember to take your time and maintain control throughout the process. Once the treadmill is safely lowered, you can proceed to the next step in the process.
Step 5: Securing the Treadmill
After lowering the treadmill to the ground, it’s important to secure it to prevent any accidental movement or damage. Follow these steps to properly secure your treadmill:
- Engage the safety locks: If your treadmill has safety locks or mechanisms specifically designed to secure the folded position, make sure to engage them. These locks will prevent the treadmill from unfolding or moving during storage or transportation.
- Use straps or bungee cords: Consider using straps or bungee cords to secure the treadmill further. Wrap the straps or cords around the folded treadmill and attach them to nearby support structures or anchor points. This will add an extra layer of security and prevent any chance of movement.
- Check for stability: Give the treadmill a gentle shake or two to ensure it is stable and securely in place. If you notice any wobbling or instability, readjust and tighten the straps or cords until the treadmill feels firm and secure.
- Protect the console and display: If your treadmill has a console or display panel, consider covering it with a protective cloth or plastic wrap to prevent any dust or debris from accumulating and affecting its functionality.
Taking the time to properly secure your treadmill will give you peace of mind knowing that it is safely stored or ready for transportation. These steps will help preserve the condition of the treadmill and prevent any accidental damage. Once you have secured the treadmill, you can proceed to the final step of the process.
Step 6: Storing the Treadmill
Now that you have safely secured your treadmill, it’s time to find an appropriate storage location. Follow these steps to ensure the proper storage of your treadmill:
- Select a suitable storage area: Choose a location that is cool, dry, and free from extreme temperatures or humidity. Avoid storing the treadmill in areas prone to moisture or direct sunlight, as these conditions can cause damage to the equipment over time.
- Consider vertical storage: If you have limited space, consider storing the treadmill in a vertical position. This can help save valuable floor space and make it easier to maneuver around the storage area. Ensure that the treadmill is securely positioned and supported to avoid any accidental tipping or falling.
- Utilize storage hooks or racks: If available, use storage hooks or racks to hang and store the folded treadmill. This method can be especially useful for vertical storage and can help keep the treadmill off the ground, minimizing the risk of any potential damage.
- Protect against dust and debris: Consider using a treadmill cover or a large sheet to protect the equipment from dust and debris while in storage. This will keep your treadmill clean and in good condition for future use.
- Follow the manufacturer’s guidelines: Refer to the owner’s manual or manufacturer’s instructions for any specific guidance on storing your particular treadmill model. They may have additional recommendations or precautions that you should follow.
Proper storage of your treadmill is crucial to maintain its longevity and functionality. Following these steps will help ensure that your treadmill remains in good condition until the next time you’re ready to use it. With the treadmill safely stored, you’ve successfully completed the process of putting it down.
Conclusion
Putting a treadmill down may seem like a daunting task, but by following the proper steps, you can do it safely and effectively. From clearing the space to securing and storing the treadmill, each step plays a crucial role in the process. By following these guidelines, you can ensure the safety of both yourself and your equipment, while also preserving its functionality for future use.
Remember to always consult the owner’s manual for your specific treadmill model, as different treadmills may have unique features or instructions. Taking the time to understand the manufacturer’s recommendations will help you navigate the process smoothly.
During the process of putting a treadmill down, it’s important to prioritize safety. Enlist the help of a partner if necessary, and use proper lifting techniques to avoid strain or injury. Take your time and remain aware of your surroundings to prevent accidents.
Properly storing your treadmill after putting it down is essential for its longevity. Choose a suitable storage location, protect it from dust and debris, and follow any manufacturer guidelines for long-term storage.
With these steps in mind, you can confidently and successfully put your treadmill down when needed. Whether you’re creating more space in your home or temporarily moving it, following these guidelines ensures a smooth process and allows you to get the most out of your treadmill for years to come.