Featured
How To Assemble A Treadmill
Modified: October 25, 2023
Learn how to put together a featured treadmill with our step-by-step guide. Get your home gym up and running in no time!
Introduction
Getting a treadmill can be a fantastic investment for your health and fitness. Whether you prefer walking, jogging, or intense running, having a treadmill at home allows you to exercise at your convenience, regardless of the weather outside. However, setting up a treadmill can seem like a daunting task, especially if you’ve never done it before. But fear not! In this guide, we will take you through the step-by-step process of putting together a treadmill, making the whole process a breeze.
Before we dive into the details, it’s important to note that every treadmill model may have slightly different assembly instructions. It’s crucial to refer to your specific model’s manual for accurate instructions. That being said, most treadmills follow a similar assembly process, and this guide will provide you with a general overview.
Putting together a treadmill involves a few key steps, including unboxing the treadmill, assembling the frame, attaching the console and handlebars, installing the treadmill belt, connecting the power cord, and finally, adjusting and testing the treadmill. Throughout the process, we will also discuss essential safety precautions and maintenance tips to ensure a safe and long-lasting treadmill experience.
By the end of this guide, you’ll have all the necessary knowledge and confidence to assemble your treadmill, helping you embark on your fitness journey from the comfort of your own home. So, let’s get started with step one: unboxing the treadmill!
Step 1: Unboxing the Treadmill
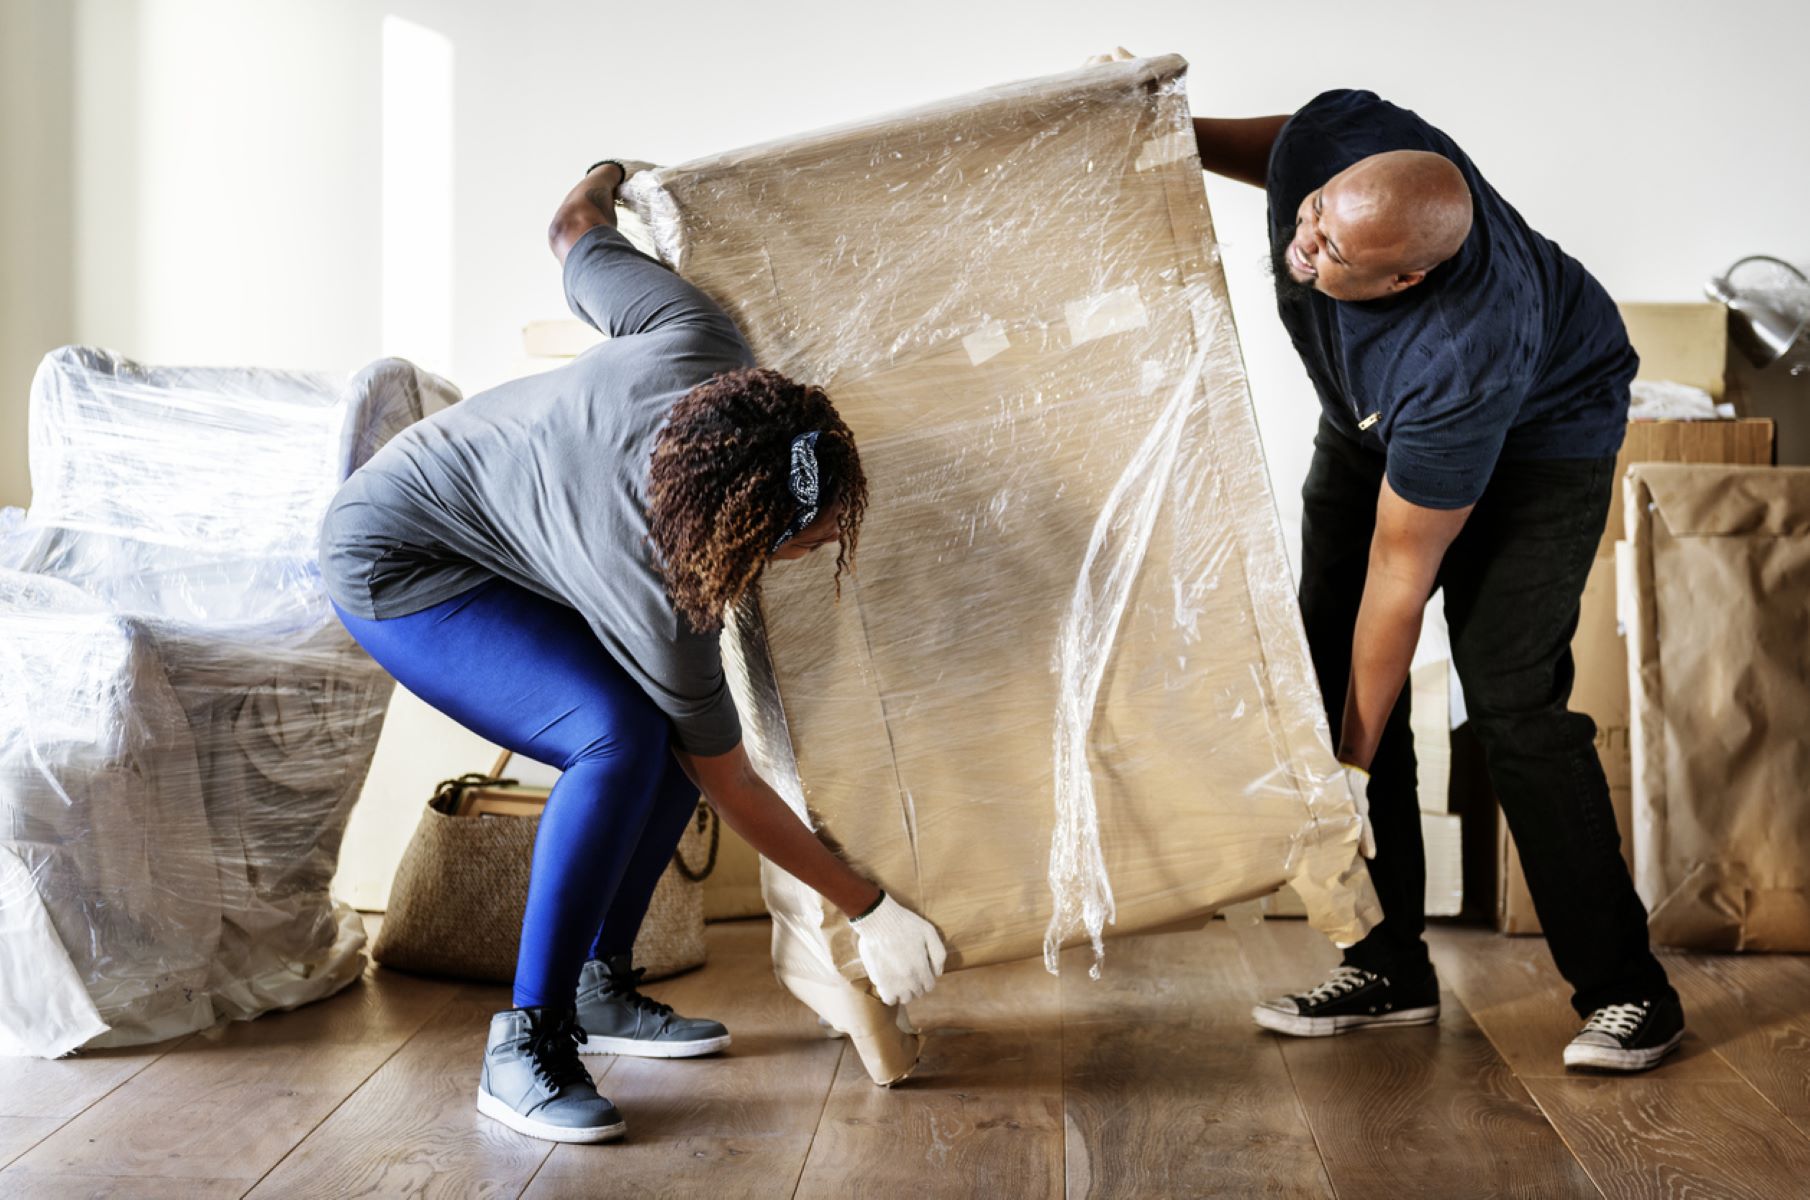
Before you begin assembling your treadmill, the first step is to carefully unbox it. It’s crucial to handle the components with care to avoid any damage. Here’s a step-by-step guide on how to unbox your treadmill:
- Locate a spacious area: Find a suitable location in your home where you plan to set up your treadmill. Ensure there is enough room for the treadmill to be fully assembled and for you to move comfortably around it.
- Gather the necessary tools: Check the manual or the box to see if any tools are required for the assembly process. Common tools that might be needed include a screwdriver, Allen wrench, or adjustable wrench.
- Remove the packaging: Begin by removing any plastic wrap or tape securing the box. Carefully open the box, avoiding using sharp objects that could damage the treadmill parts inside.
- Inspect the contents: Take a moment to inspect the components and make sure everything is included as per the manual. Common parts that should be present include the frame, console, handlebars, treadmill belt, and various screws and bolts.
- Remove protective materials: Many treadmills come with protective materials to shield the components during shipment. Remove any foam padding, plastic covers, or cardboard pieces from the frame and other parts.
- Set aside the manual: Keep the instruction manual in a safe place where you can easily refer to it during the assembly process. This will be your go-to resource for detailed instructions and diagrams.
Unboxing your treadmill sets the stage for the assembly process. It’s important to take your time and follow the instructions provided in the manual. By thoroughly inspecting the components and removing any protective materials, you’ll be ready to move on to the next step: assembling the frame.
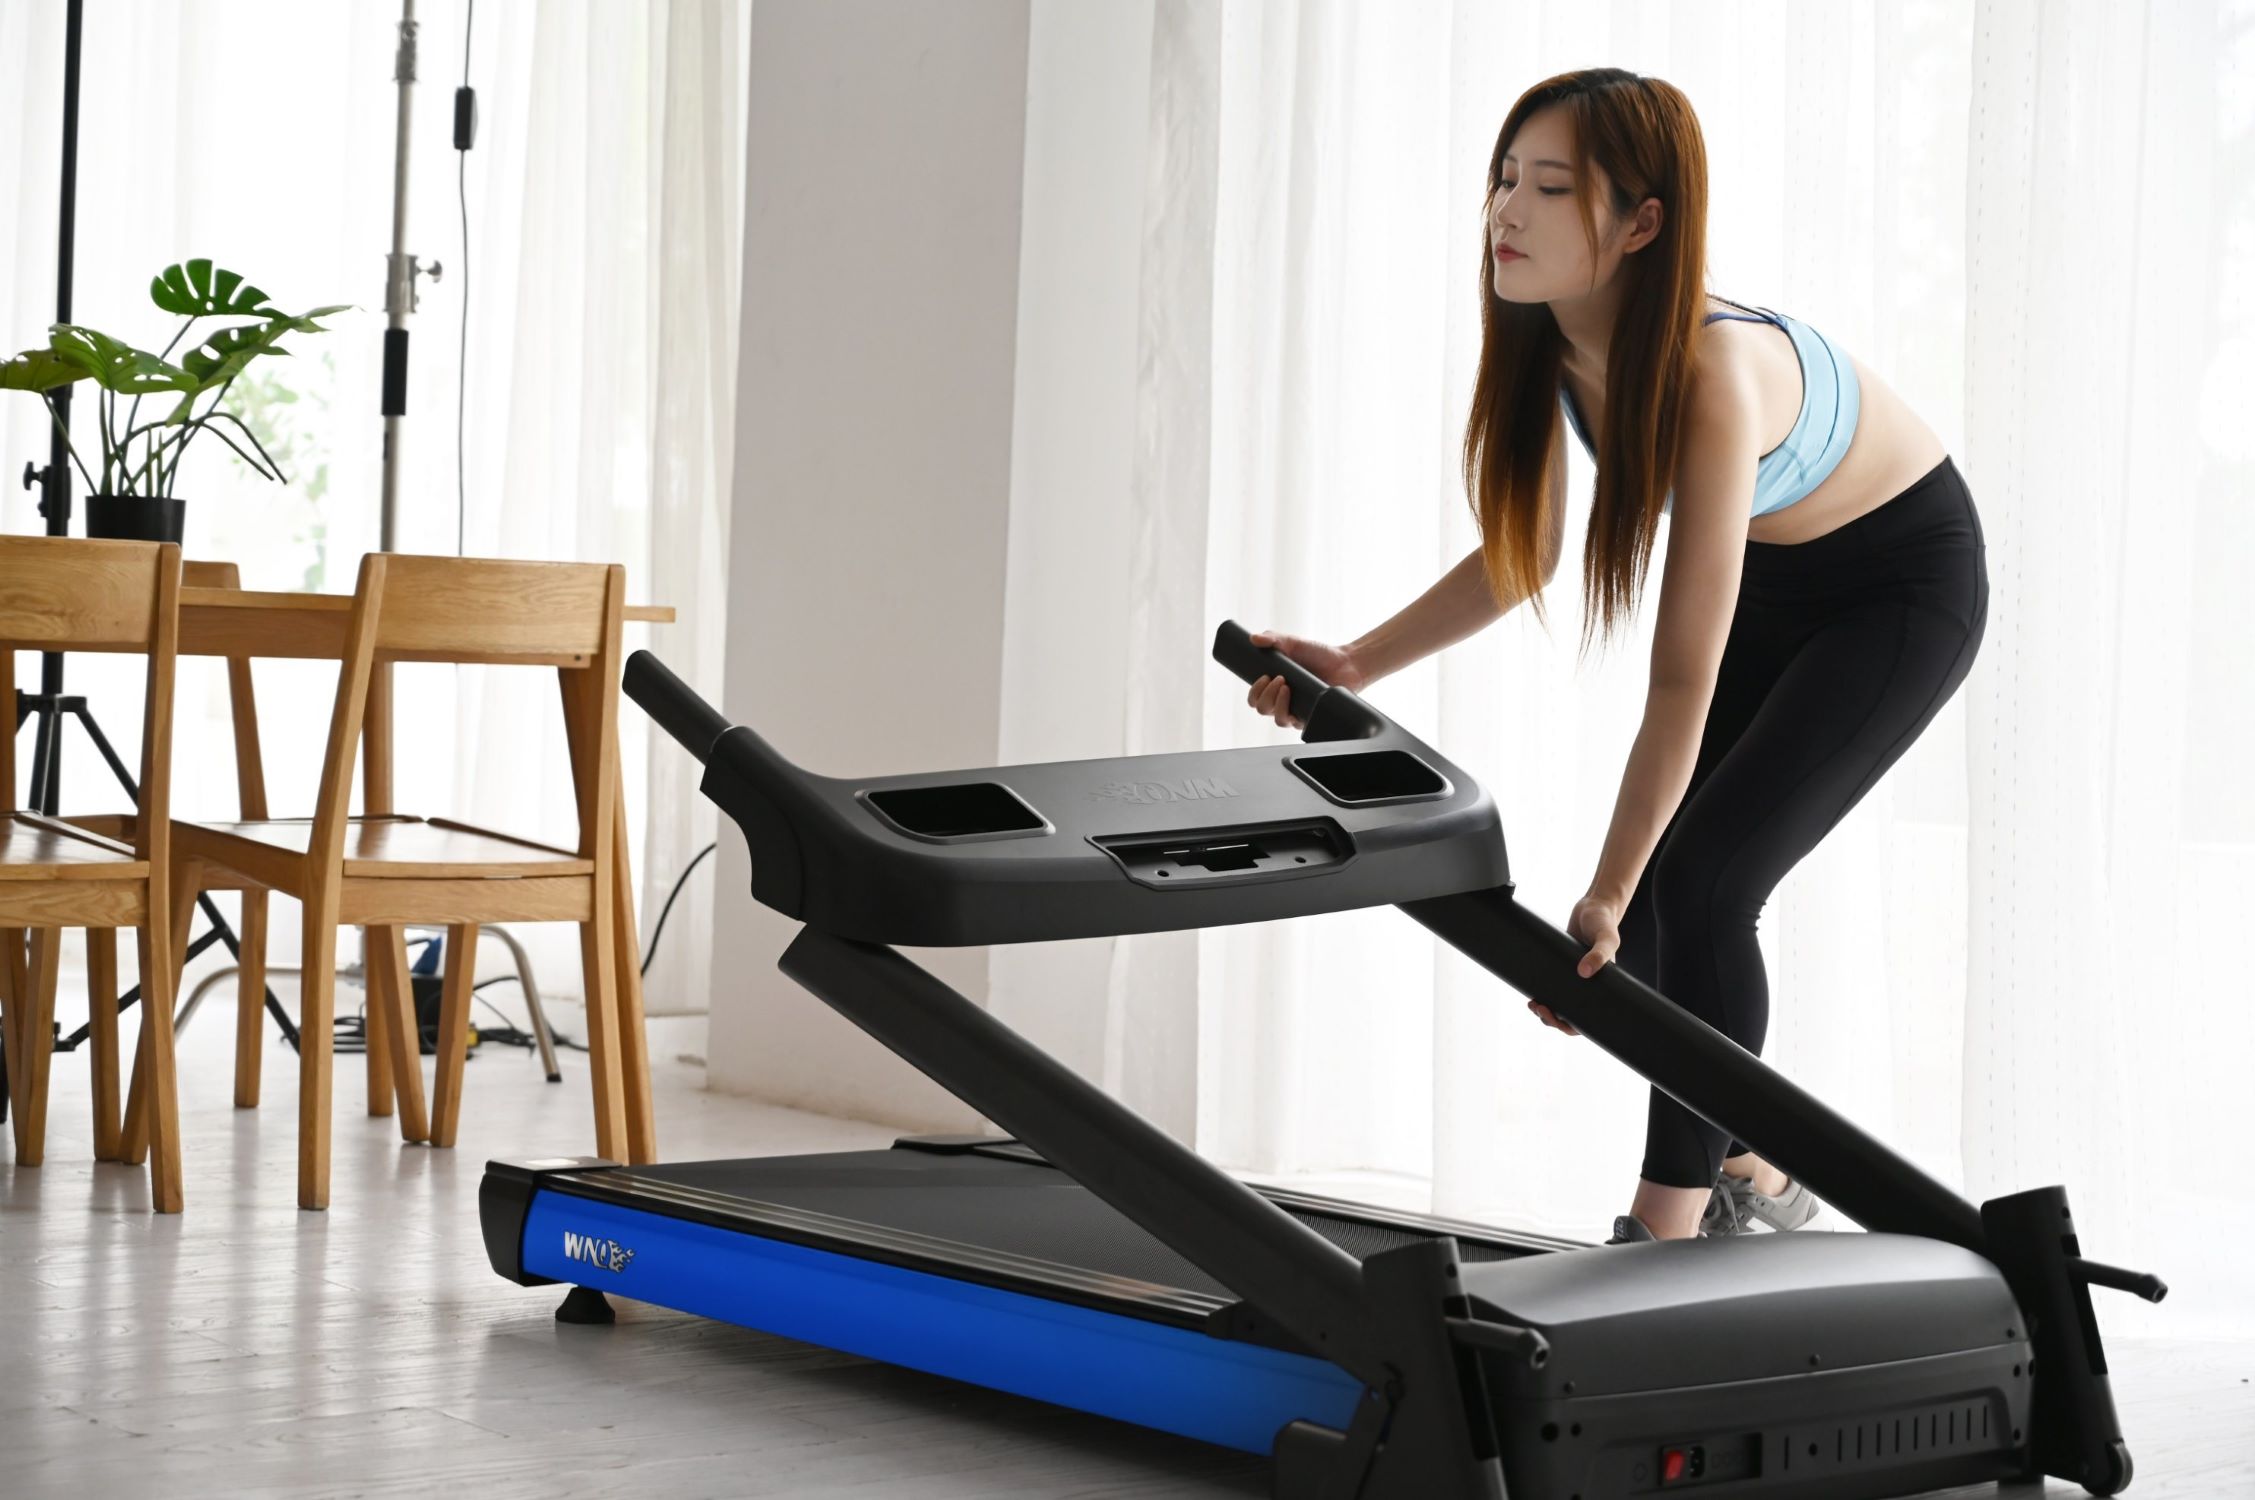
Step 2: Assembling the Frame
With the treadmill components unboxed and ready, it’s time to move on to assembling the frame. This step involves connecting the main structure of the treadmill, which will provide stability and support during your workouts. Follow these guidelines to assemble the frame of your treadmill:
- Refer to the manual: Before you begin, consult the instruction manual for detailed instructions specific to your treadmill model. Different models may have slight variations in the assembly process.
- Lay out the parts: Lay out all the frame components in an organized manner, making it easier to identify and assemble each part.
- Attach the base and uprights: Start by attaching the base or platform of the treadmill to the uprights or side rails. Secure them using the provided screws or bolts. Use the appropriate tools, such as a screwdriver or an Allen wrench, as specified in the manual.
- Tighten the screws: Once the base and uprights are attached, double-check that they are aligned correctly. Tighten all the screws securely to ensure stability and prevent any wobbling during use.
- Attach the front and side rails: Next, attach the front and side rails to the base and uprights. Follow the specific instructions in the manual, as this may require aligning and sliding the rails into place or securing them with screws or bolts.
- Secure the console support: If your treadmill has a console support bar, attach it to the uprights following the instructions provided.
As you assemble the frame, pay attention to details and ensure that all the components are securely attached. Taking the time to carefully tighten screws and bolts will result in a stable and safe treadmill. Once the frame is fully assembled, you’re ready to move on to the next step: attaching the console and handlebars.
Step 3: Attaching the Console and Handlebars
Once you have successfully assembled the frame of your treadmill, the next step is to attach the console and handlebars. This step is crucial as it establishes the control center of your treadmill and allows you to monitor your workout progress. Follow these steps to attach the console and handlebars:
- Consult the manual: Before you begin, refer to the instruction manual for your specific treadmill model. The manual will provide detailed instructions on how to attach the console and handlebars properly.
- Identify the console components: Lay out the console parts and familiarize yourself with their names. This will make it easier to follow the instructions and identify the correct attachment points.
- Attach the console support: If your treadmill has a separate console support or bracket, securely attach it to the designated location on the treadmill frame using the provided screws or bolts.
- Connect the console: Carefully connect the console to the console support or designated attachment point. Ensure that the connection is secure and stable.
- Attach the handlebars: If your treadmill has handlebars, align them with the console support or designated points. Use the provided screws or bolts to firmly attach the handlebars to the frame.
Once the console and handlebars are securely attached, take a moment to check their stability. Gently shake the treadmill to ensure that the console and handlebars do not wobble. If they do, double-check the attachment points and tighten any loose screws or bolts.
Attaching the console and handlebars is a critical step as it allows you to control and monitor your workout. Following the manual instructions carefully will ensure that everything is properly connected and functional. Once you have successfully attached the console and handlebars, you’re ready to move on to the next step: installing the treadmill belt.
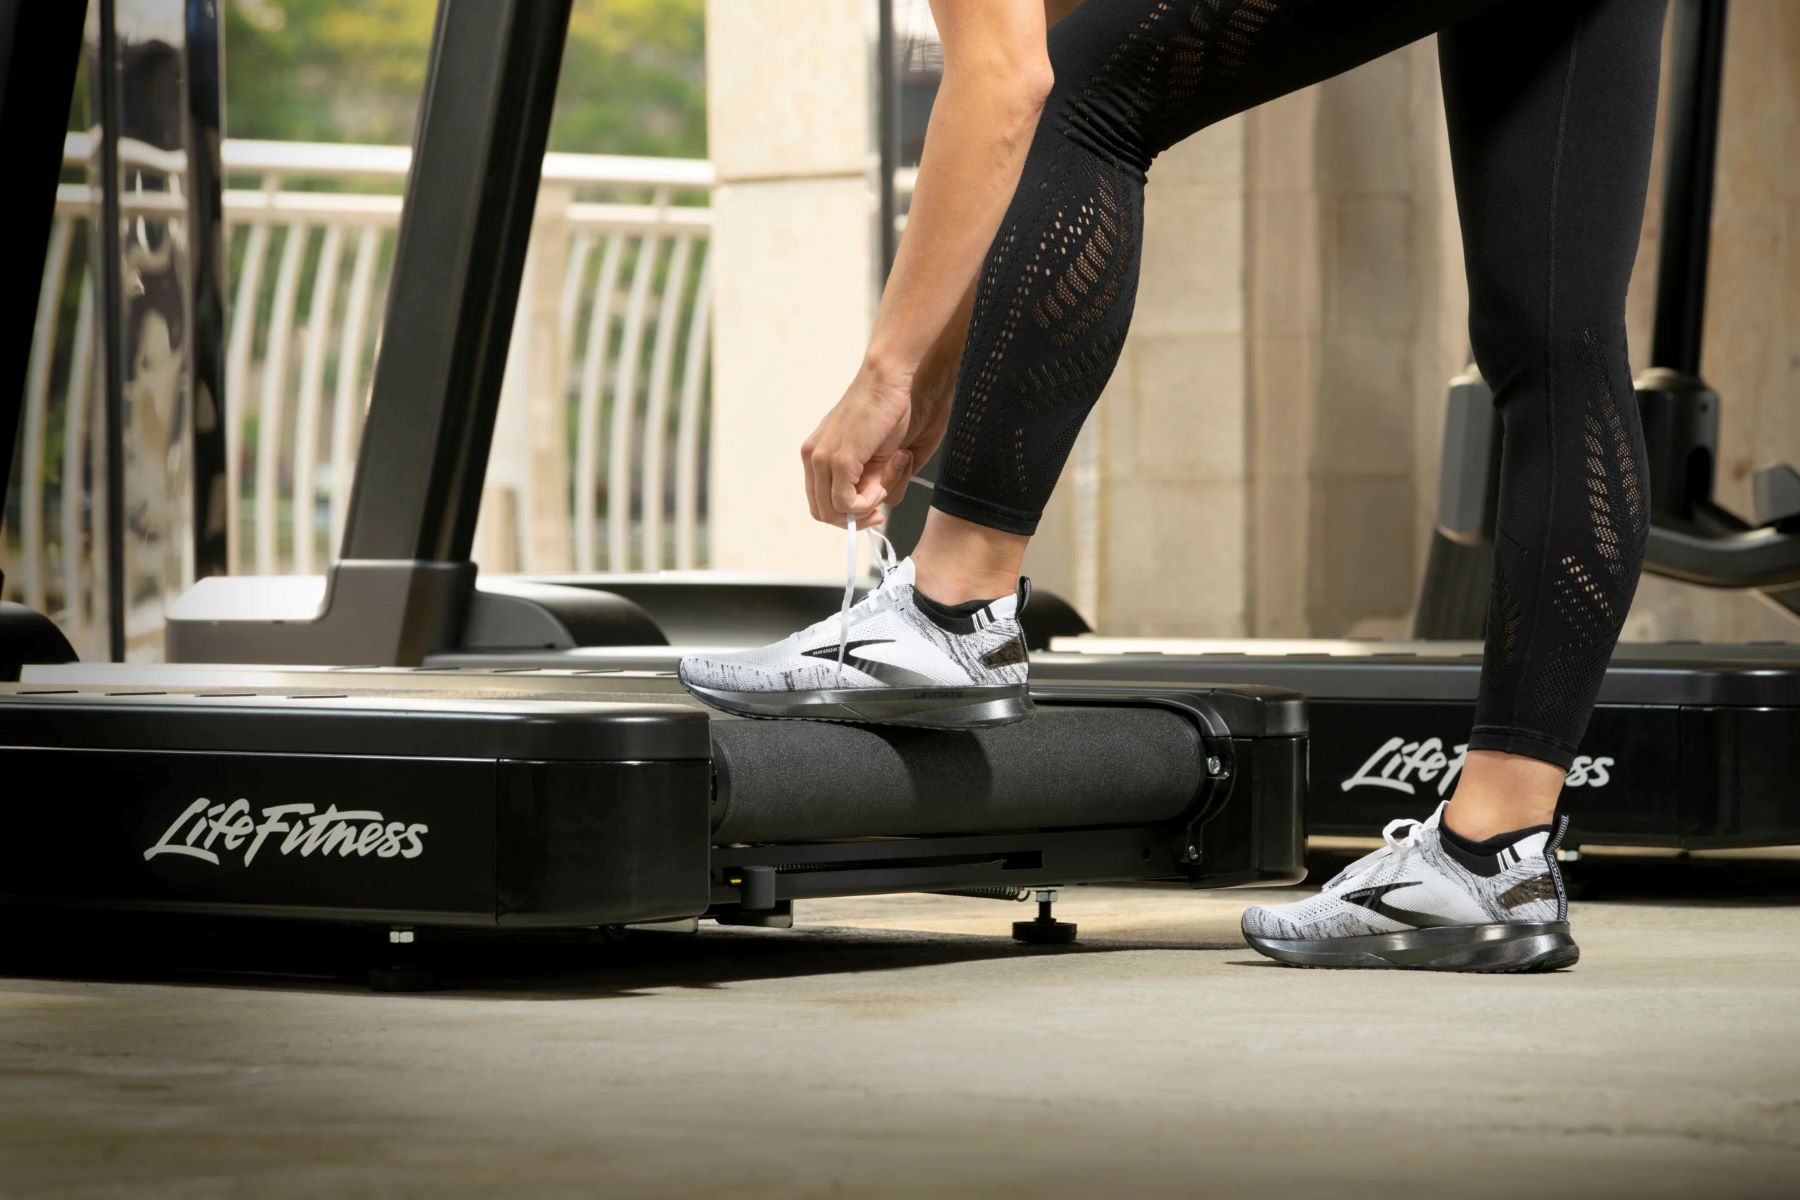
Step 4: Installing the Treadmill Belt
Installing the treadmill belt is a vital step in completing the assembly process. The treadmill belt is where you’ll be walking, jogging, or running, so it’s important to ensure it is properly installed for a smooth and safe workout experience. Follow these steps to install the treadmill belt:
- Refer to the manual: Start by referring to the instruction manual for your specific treadmill model. The manual will provide detailed instructions on how to install the treadmill belt correctly.
- Prepare the treadmill deck: Make sure the treadmill deck is clean and free from any debris or dust that could affect the belt’s performance. Use a soft cloth or brush to wipe the surface and ensure it is smooth and dry.
- Align the belt: Place the treadmill belt onto the deck, ensuring it is centered and aligned properly. The manual may provide specific instructions on how to position the belt, so make sure to follow them closely.
- Tighten the belt: Most treadmills have an adjustment mechanism that allows you to tighten or loosen the belt tension. Refer to the manual to locate the adjustment screws or levers and use them to tighten the belt. It’s important to strike a balance – the belt should be neither too loose nor too tight.
- Test the belt: Once you have tightened the treadmill belt, give it a test run. Start the treadmill at a slow speed and step onto the belt. Walk or jog for a few minutes to ensure that the belt is moving smoothly without any slippage or misalignment. Make any necessary adjustments if needed.
Properly installing the treadmill belt is crucial for a comfortable and safe workout. By following the instructions provided in the manual, you’ll ensure that the belt is secure, aligned, and functioning optimally. Once you have successfully installed the treadmill belt, you can move on to the next step: connecting the power cord.
Step 5: Connecting the Power Cord
With the treadmill belt successfully installed, the next step is to connect the power cord. This step is essential as it provides the treadmill with the necessary electrical energy to operate. Here’s how you can connect the power cord:
- Locate the power cord: Identify the power cord coming from the back or bottom of the treadmill. The power cord is usually a thick cable with a plug at the end.
- Position the treadmill: Ensure that the treadmill is placed near an electrical outlet. The outlet should be easily accessible without any obstructions. If needed, use an extension cord that is compatible with the treadmill’s power requirements.
- Insert the plug: Carefully insert the plug into the electrical outlet. Make sure the plug is fully inserted and secured.
- Check the power switch: Locate the power switch on the treadmill, usually located near the console or on the front panel. Switch it on to activate the treadmill’s power.
- Verify power connection: Once the treadmill is powered on, check the console or display to ensure that it is receiving power and displaying the necessary information. If the console is not lighting up or displaying any information, double-check the power connection and switch.
Connecting the power cord is a simple yet vital step in getting your treadmill ready for use. By following these steps, you’ll ensure that the treadmill is receiving the necessary power to operate. Once the power cord is connected and the treadmill is powered on, you can move on to the next step: adjusting and testing the treadmill.
Step 6: Adjusting and Testing the Treadmill
After connecting the power cord, it’s time to adjust and test the treadmill to ensure that it’s functioning correctly. This step is crucial as it allows you to fine-tune the settings and settings and ensure a safe and comfortable workout. Follow these steps to adjust and test your treadmill:
- Refer to the manual: Consult the instruction manual for your specific treadmill model to understand the various adjustment options available. The manual will provide detailed instructions on how to adjust the settings properly.
- Set incline and speed: Use the control panel or buttons on the console to adjust the incline and speed settings of the treadmill. Start with a low incline and a slow speed to familiarize yourself with the controls and to ensure a comfortable workout.
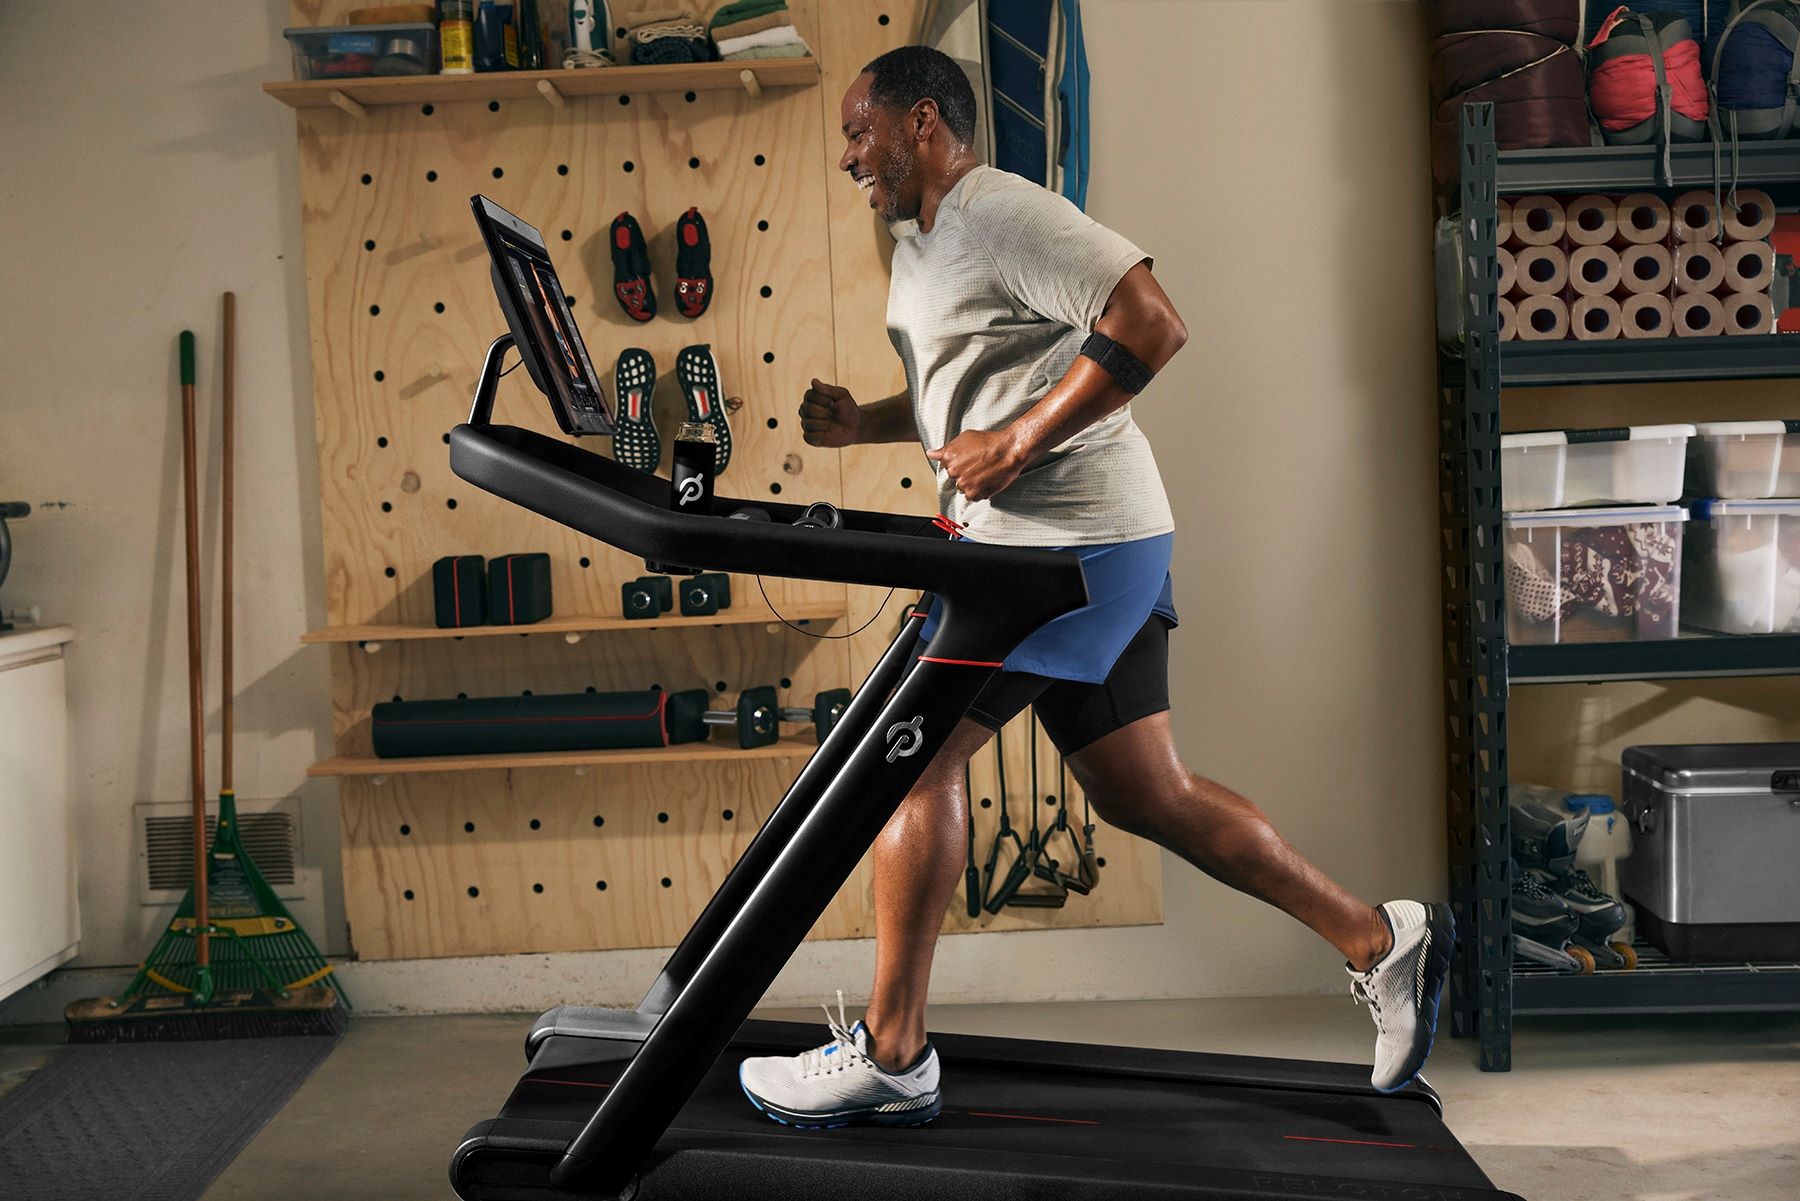
- Walk or jog on the treadmill: Step onto the treadmill and begin walking or jogging at a comfortable pace. Pay attention to the alignment and smoothness of the belt, ensuring that it’s not slipping or causing any discomfort.
- Check the stability: While walking or jogging, check the stability of the treadmill. Ensure that it remains stable and doesn’t wobble or shake excessively. If you notice any instability, stop the treadmill and check for loose screws or bolts that may need tightening.
- Explore additional features: Take the time to explore any additional features or functions your treadmill may offer, such as preset workout programs or heart rate monitoring. Familiarize yourself with these features to maximize your workout experience.
- Adjust as needed: Based on your experience during the test run, make any necessary adjustments to the incline, speed, or other settings. Fine-tuning the settings will help you achieve your desired workout intensity and comfort level.
Adjusting and testing the treadmill allows you to customize your workout and ensure that it’s safe and enjoyable. By carefully following the instructions in the manual and making necessary adjustments, you’ll be ready to use your treadmill to its full potential. Once you have adjusted and tested your treadmill, it’s important to keep in mind the safety precautions and maintenance tips, which we will discuss in the next step.
Step 7: Safety Precautions and Maintenance Tips
Ensuring the safety and longevity of your treadmill is paramount for a successful and enjoyable workout experience. This step focuses on the essential safety precautions and maintenance tips to keep in mind when using and caring for your treadmill:
- Read and understand the manual: Familiarize yourself with the safety guidelines and operating instructions outlined in the manual. Follow the manufacturer’s recommendations to prevent accidents and mishaps.
- Keep the area clear: Maintain a clear space around the treadmill, free from any objects or obstacles that could pose a tripping hazard during your workout.
- Use the safety features: Most treadmills have safety features such as an emergency stop button or tether key. Familiarize yourself with these features and use them appropriately to ensure a safe workout.
- Start with a warm-up and cool-down: Begin every workout with a gentle warm-up and end with a gradual cool-down. This helps to prevent injuries and allows your body to adjust to the workout intensity.
- Maintain proper form: Pay attention to your posture and form while using the treadmill. Maintain an upright position, engage your core, and land softly with each step to minimize the impact on your joints.
- Clean and lubricate the treadmill: Regularly clean the treadmill to remove dust and debris that can accumulate over time. Additionally, lubricate the belt according to the manufacturer’s instructions to ensure smooth operation.
- Inspect for wear and tear: Periodically check the treadmill for any signs of wear and tear. Look for loose screws, frayed belts, or any other damaged components. Address any issues promptly to prevent further damage.
- Service and maintenance: Schedule regular maintenance for your treadmill as per the manufacturer’s recommendations. This may include belt adjustments, motor cleaning, or other necessary servicing to keep the treadmill in optimal condition.
Following these safety precautions and maintenance tips will not only protect you from potential accidents but also ensure the longevity and performance of your treadmill. Regular care and attention will contribute to a safe and enjoyable workout experience for years to come.
Conclusion
Congratulations! You have successfully put together your treadmill and are now ready to embark on your fitness journey from the comfort of your own home. Assembling a treadmill may seem overwhelming at first, but by following the step-by-step process outlined in this guide, you have conquered each stage of the assembly with confidence.
Remember, the key to a successful treadmill assembly lies in careful attention to the details provided in your specific model’s instruction manual. Always refer to the manual for accurate instructions and diagrams that are tailored to your treadmill’s unique features and requirements.
By unboxing the treadmill, assembling the frame, attaching the console and handlebars, installing the treadmill belt, connecting the power cord, adjusting and testing the treadmill, and following important safety precautions and maintenance tips, you have set yourself up for a safe and effective workout experience.
As you begin using your treadmill, be sure to start gradually and listen to your body. Pay attention to proper form, warm up before each session, and cool down afterward. Remember to incorporate rest days into your routine to allow your body time to recover.
Lastly, don’t forget to continue caring for your treadmill by keeping it clean, lubricating the belt, and scheduling regular maintenance. This will help prolong its lifespan and ensure smooth and trouble-free operation, allowing you to enjoy your treadmill for years to come.
Now, step on your treadmill, set your desired speed, and start moving toward your fitness goals. Remember, consistency and dedication are key to achieving the results you desire. So, lace up your shoes, turn on some motivating music, and get ready to sweat it out on your newly assembled treadmill!