Featured
How To Assemble Nordictrack Treadmill
Modified: August 19, 2023
Learn how to assemble your Nordictrack treadmill with our featured step-by-step guide. Start your fitness journey today!
Introduction
Welcome to the comprehensive guide on how to assemble your NordicTrack treadmill. Assembling a treadmill may seem like a daunting task, but with the right instructions and a little bit of patience, you’ll have your treadmill up and running in no time.
Whether you’re a novice or have some experience with DIY projects, this guide will walk you through each step of the assembly process. By following these instructions carefully, you can ensure that your NordicTrack treadmill is set up correctly and ready to provide you with a fantastic workout experience.
Before we dive into the step-by-step instructions, it’s important to note that every model of NordicTrack treadmill may have slight variations in the assembly process. Therefore, we recommend referring to the instruction manual specific to your model for any additional guidance or unique instructions.
Ready to get started? Let’s dive into the exciting process of assembling your NordicTrack treadmill and get closer to achieving your fitness goals!
Step 1: Unboxing the Treadmill
The first step in assembling your NordicTrack treadmill is to carefully unbox it. Ensure that you have sufficient space and a clear path to maneuver the package. Here’s how:
- Locate the box containing your treadmill. It may be heavy, so it’s advisable to have a helper to assist you.
- Using a box cutter or a pair of scissors, carefully cut through the tape securing the box.
- Open the box and remove the packaging materials, such as foam, cardboard, and plastic, that surround the treadmill. Be mindful of any accessories or small parts that may be packed alongside the treadmill.
- Once all the packaging materials have been removed, inspect the treadmill for any visible signs of damage. If you notice any damage, contact NordicTrack customer support for further assistance.
- Review the instruction manual to familiarize yourself with the various parts and components of the treadmill. This will help you during the assembly process.
- Set aside the instruction manual in a safe place for easy reference throughout the assembly.
Unboxing your treadmill is a crucial first step as it allows you to visually inspect the machine and ensure that it arrived in good condition. It also gives you the opportunity to organize the various parts and become familiar with them before proceeding to the next steps.
Once you have completed this step, you’re ready to move on to the next exciting stage of assembling your NordicTrack treadmill!
Step 2: Checking the Contents
After unboxing your NordicTrack treadmill, it’s crucial to check all the contents to ensure that you have received all the necessary parts and accessories. Here are the steps to follow:
- Refer to the instruction manual and locate the list of included parts and components. This list will serve as your guide during the checking process.
- One by one, carefully inspect each item mentioned in the list. Pay close attention to small accessories, bolts, screws, and other fasteners.
- As you go through the list, cross off each item to keep track of what you have checked.
- If you notice any missing or damaged parts, contact NordicTrack customer support immediately. They will guide you on how to obtain the replacement parts.
- Ensure that all components are free from any damage or defects. This includes checking for any cracks, dents, or bent parts.
Checking the contents is an essential step to ensure that you have everything you need to assemble your NordicTrack treadmill correctly. It is common for some parts to be pre-assembled or packaged together, so a thorough inspection will help you identify any missing or faulty components.
By completing this step diligently, you can address any issues promptly and ensure a smooth assembly process. Once you have confirmed that the contents are complete and in good condition, you are ready to move on to the next step of preparing the workspace.
Step 3: Preparing the Workspace
Before you start assembling your NordicTrack treadmill, it’s essential to prepare a suitable workspace. A well-organized and clutter-free area will not only facilitate the assembly process but also ensure your safety. Follow these steps to prepare your workspace:
- Choose a spacious area in your home where you plan to install your treadmill. Ensure there is enough room to accommodate the length and width of the treadmill, as well as some extra space for easy maneuverability.
- Clean the selected area to remove any obstacles, such as furniture, rugs, or objects that may hinder the assembly process or pose a tripping hazard.
- If you have a protective mat or an equipment mat, place it in the designated area. A mat can help protect your floors and provide a stable surface for the treadmill.
- Ensure that the environment is well-lit, preferably with natural lighting or sufficient artificial lighting. Adequate visibility will help you during the assembly process and prevent any accidents or errors.
- If necessary, have your tools handy. Refer to the instruction manual to identify the specific tools required for assembly. Common tools may include a screwdriver, an adjustable wrench, and possibly an Allen wrench.
- Consider having a friend or family member available to assist you if needed. Some steps may require an extra pair of hands to hold certain parts or provide additional support.
By preparing a dedicated workspace, you create an environment that is conducive to safe and efficient assembly. Having a clear area with proper lighting and tools readily available will help streamline the process and minimize any potential disruptions or delays.
Once you have prepared your workspace, you are now ready to move on to the next step of attaching the uprights to begin assembling your NordicTrack treadmill.
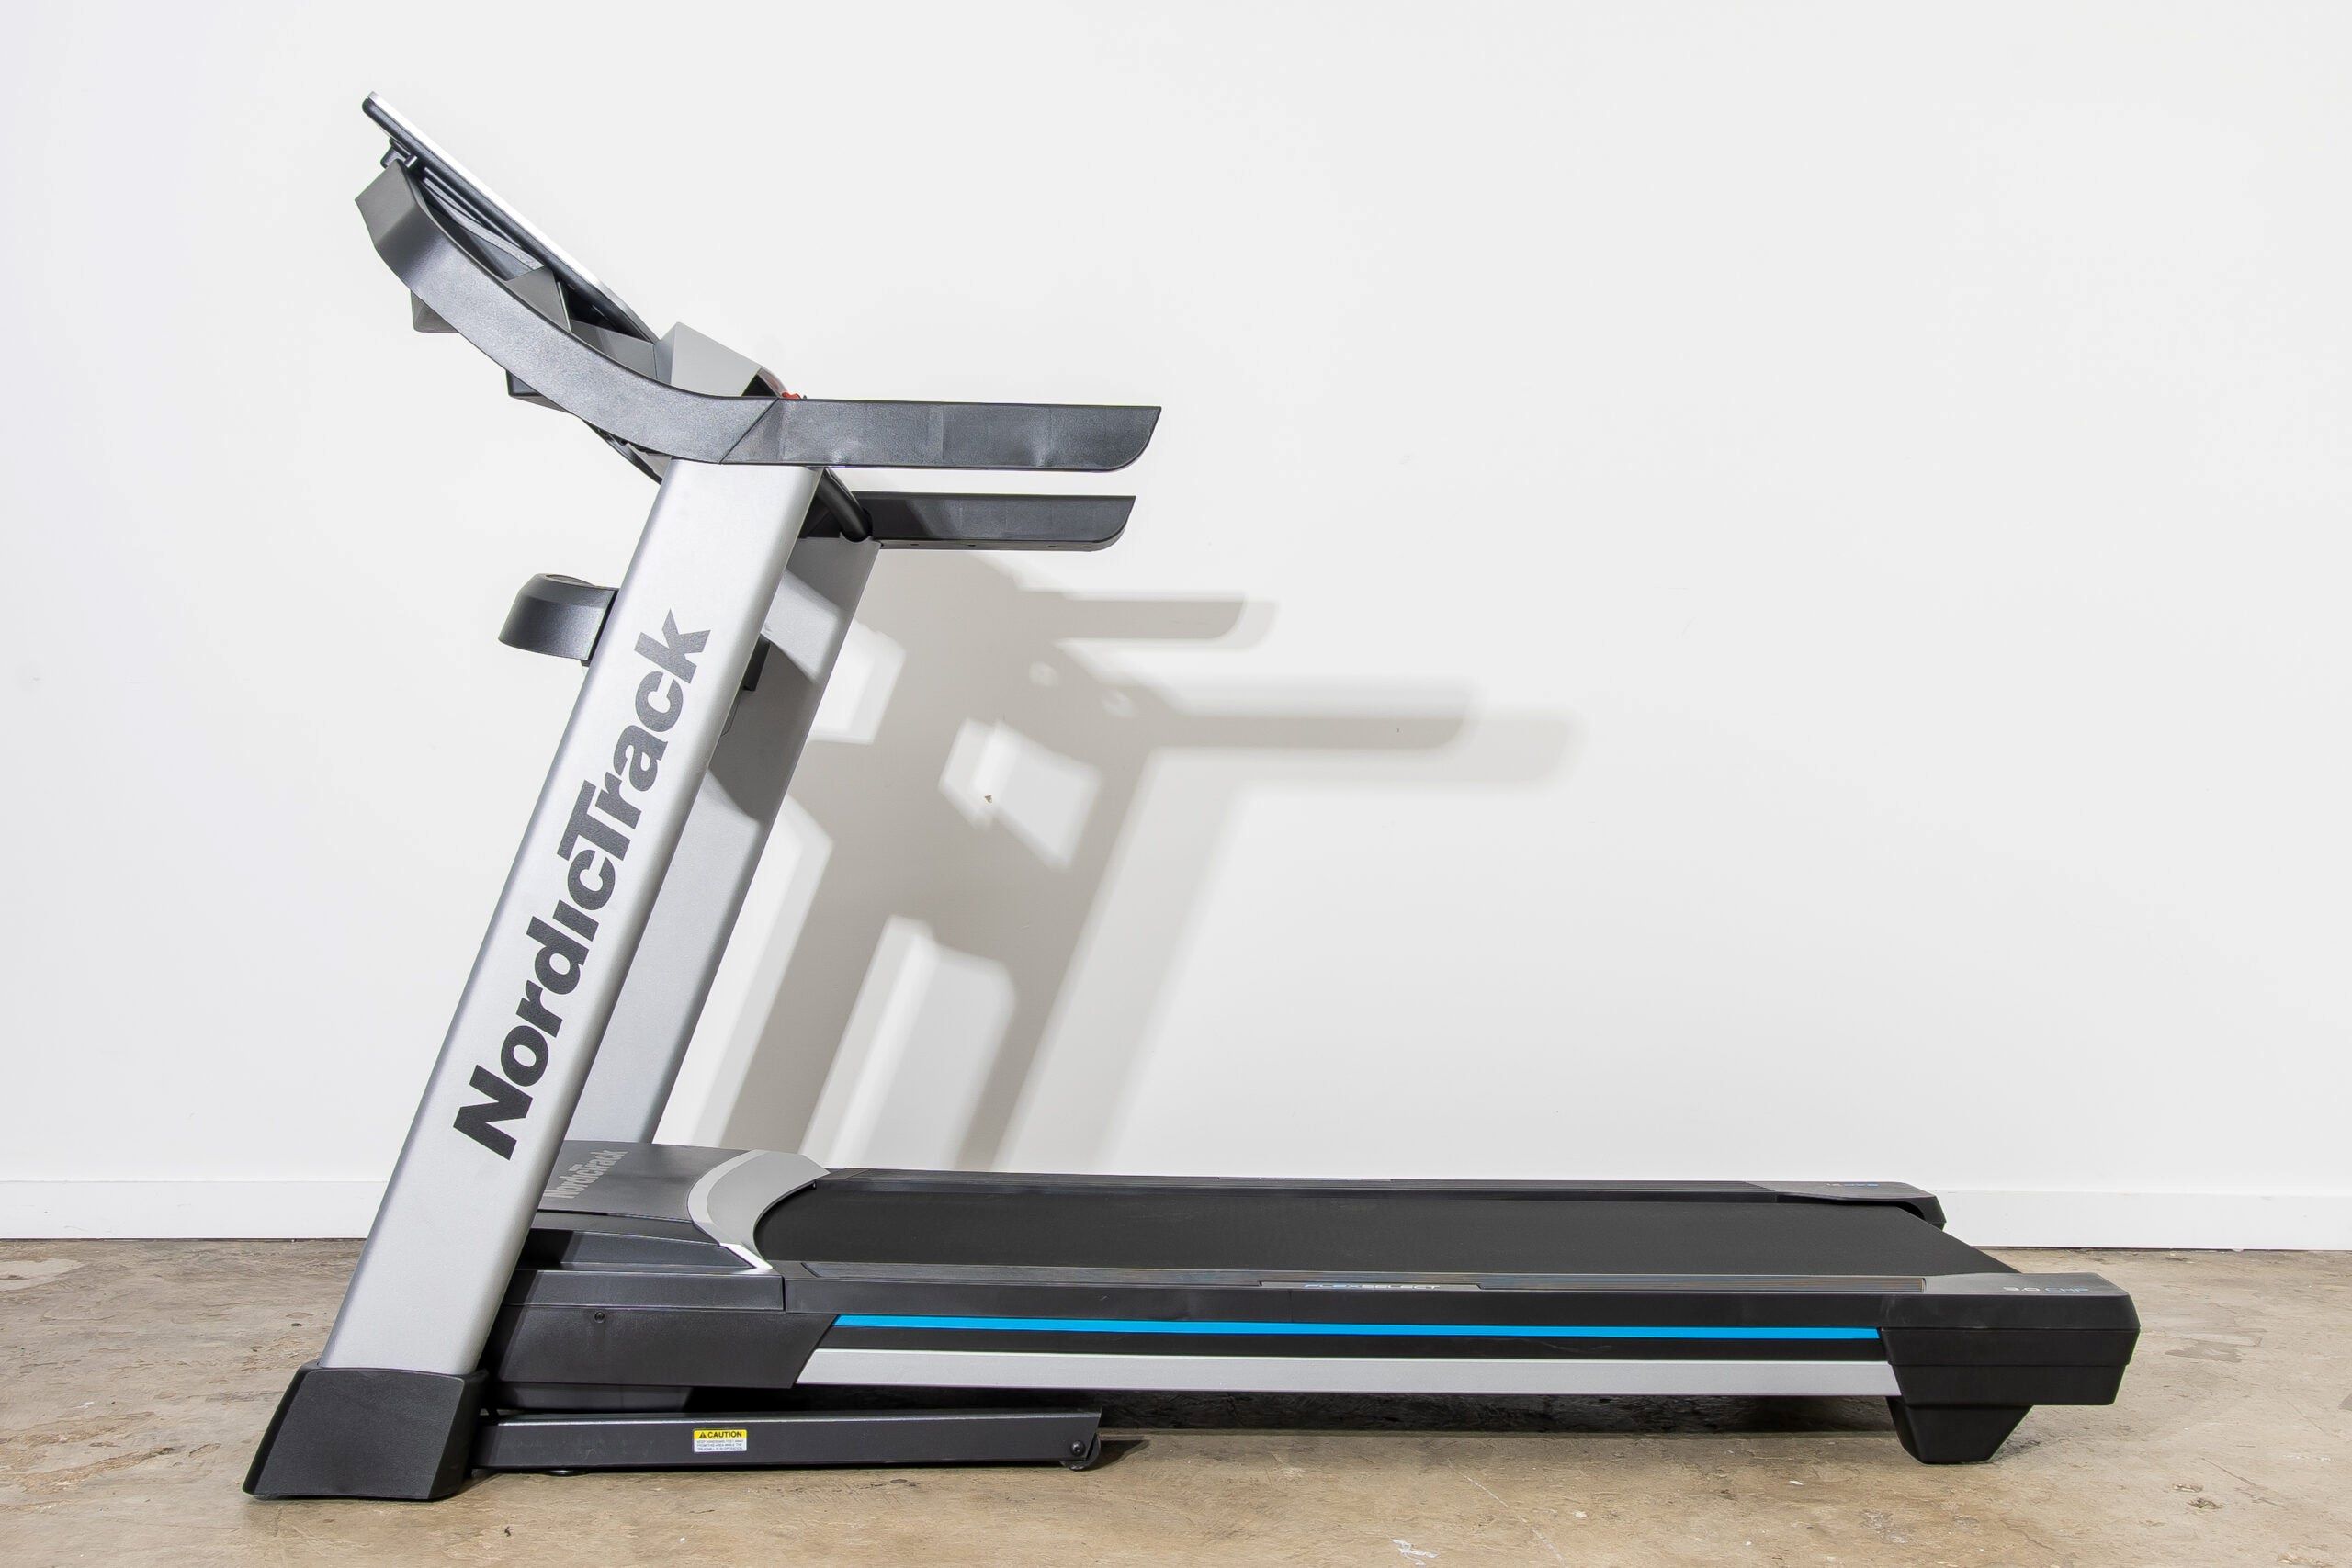
Step 4: Attaching the Uprights
Now that you have prepared your workspace, it’s time to start assembling your NordicTrack treadmill by attaching the uprights. The uprights serve as the main support structure for your treadmill. Follow these steps to securely attach the uprights:
- Refer to the instruction manual to identify the left and right uprights. Familiarize yourself with the specific design and features of your treadmill model.
- Lift one of the uprights and align it with the designated mounting points at the front of the treadmill. Ensure that the upright is positioned correctly with any bolt holes lining up.
- Insert the provided bolts through the mounting holes of the upright and into the corresponding holes in the treadmill frame. Use a screwdriver or an Allen wrench (as specified in your instruction manual) to tighten the bolts securely. Repeat the process for the other upright.
- Once the bolts are tightened, double-check the uprights to ensure they are straight and securely attached. Adjust if necessary.
- Refer to the instruction manual for any additional steps or adjustments required for your specific model. This may include attaching any crossbars or support brackets that provide added stability to the uprights.
Attaching the uprights is a critical step as it provides the foundation for the rest of your treadmill assembly. Taking the time to align and securely fasten the uprights will help ensure the stability and safety of your treadmill during use.
Remember to refer to your instruction manual for any additional instructions or precautions specific to your treadmill model. Once the uprights are securely attached, you can move on to the next exciting step of connecting the console.
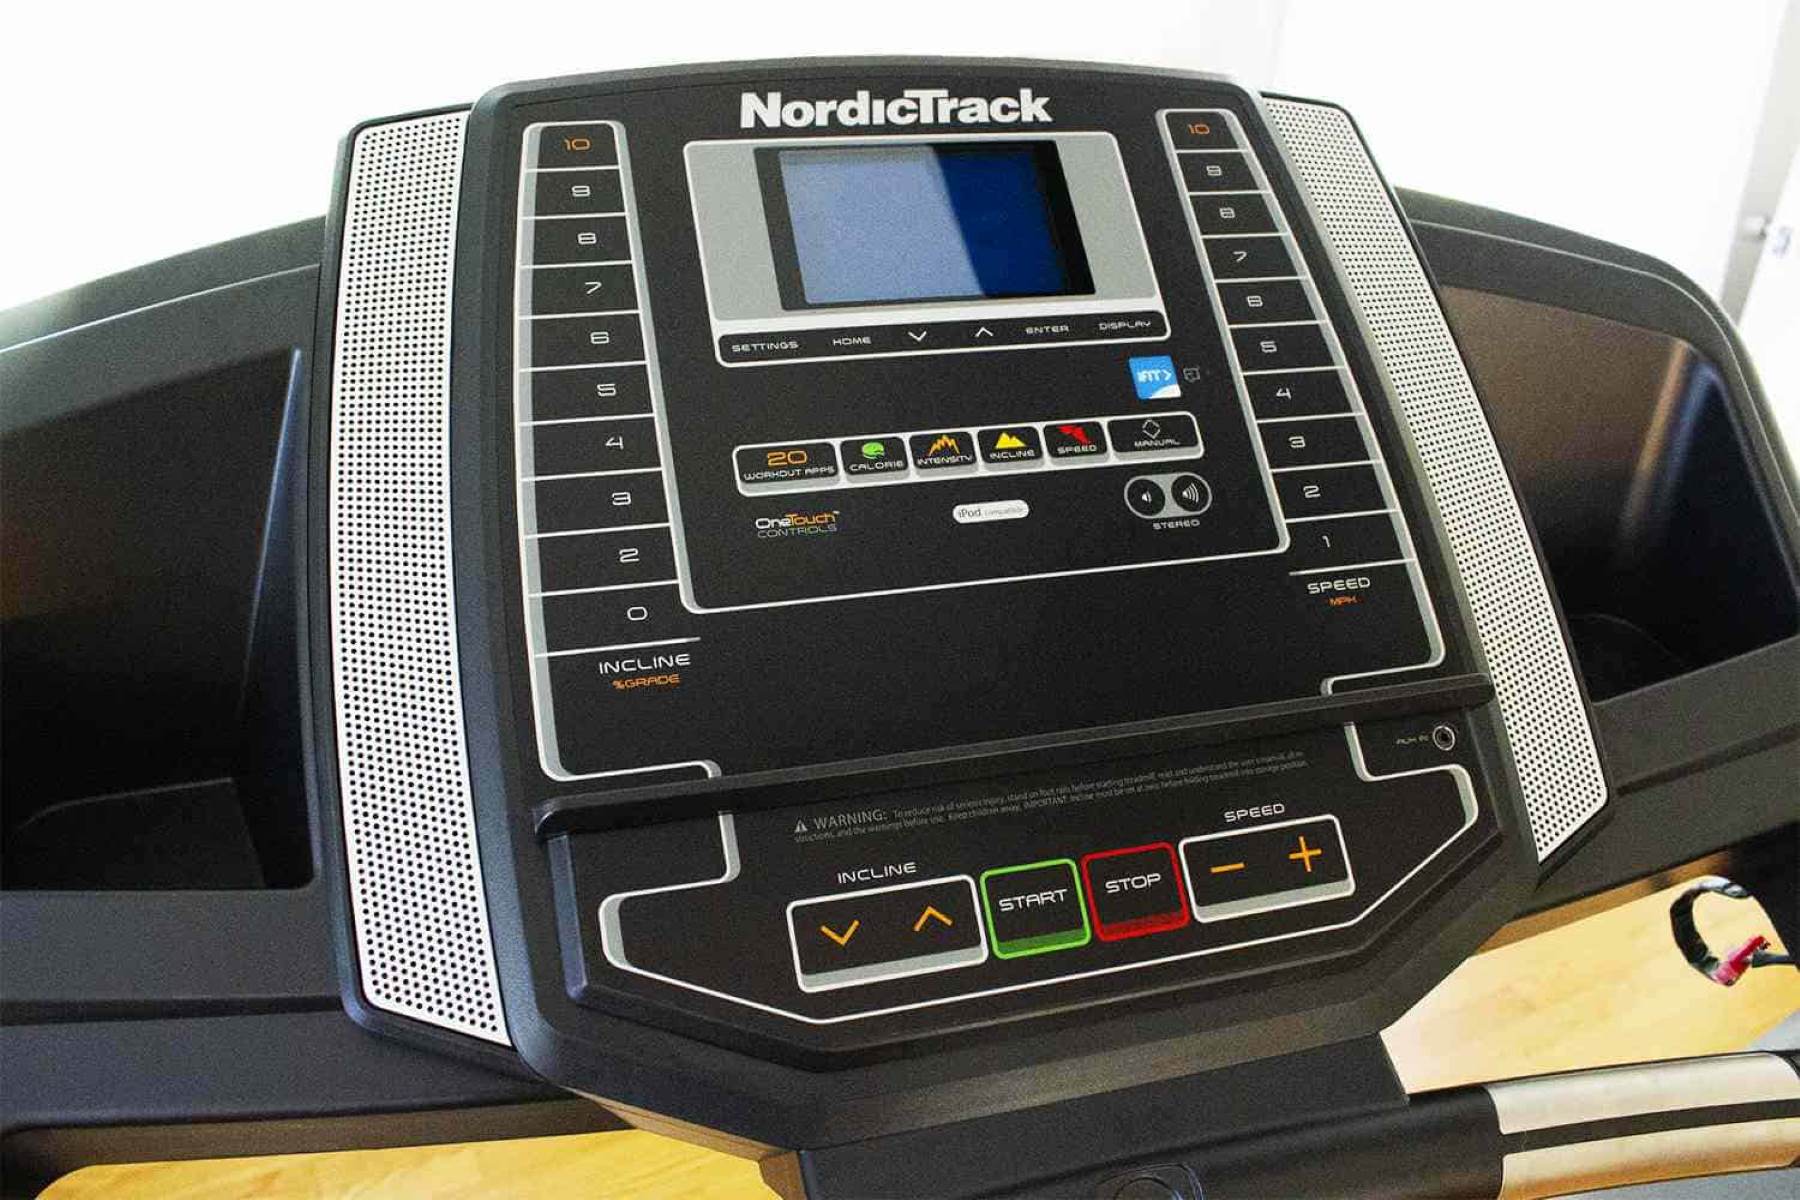
Step 5: Connecting the Console
With the uprights securely attached, it’s time to connect the console of your NordicTrack treadmill. The console is where you’ll find the controls, display, and other features that will enhance your workout experience. Follow these steps to connect the console properly:
- Refer to the instruction manual to familiarize yourself with the console layout and any specific instructions for your treadmill model.
- Locate the console bracket at the top of the uprights. Align the mounting holes of the console with the corresponding holes on the bracket.
- Insert the provided screws into the holes and use a screwdriver or an Allen wrench (if specified) to tighten them securely. Ensure that the console is level and aligned properly.
- Connect the cables from the console to the corresponding ports on the treadmill. Follow the color-coded labels or the diagram in the instruction manual for correct connections.
- Double-check all the cables and connections to ensure they are secure and properly attached without any loose or frayed wires.
- Once the console is securely connected, power on the treadmill to check if the display lights up and functions properly. Follow the instruction manual for any initial setup or calibration required for your specific model.
Connecting the console is an exciting step as it brings the interactive features of your NordicTrack treadmill to life. Take your time to ensure that the console is securely attached and all cables are properly connected.
Refer to your instruction manual for any additional steps or precautions specific to your treadmill model. Once the console is successfully connected and functioning, you can move on to the next step of attaching the handrails.
Step 6: Attaching the Handrails
Now that the console is connected and functioning, it’s time to attach the handrails to your NordicTrack treadmill. The handrails provide stability and support while you use the treadmill. Follow these steps to securely attach the handrails:
- Refer to the instruction manual to identify the left and right handrails. Make sure you are familiar with the specific design and features of your treadmill model.
- Align one of the handrails with the designated mounting points on the uprights. Ensure that the handrail is positioned correctly and any bolt holes line up.
- Insert the provided bolts through the mounting holes of the handrail and into the corresponding holes on the uprights. Use a screwdriver or an Allen wrench (as specified in your instruction manual) to tighten the bolts securely. Repeat the process for the other handrail.
- Once the handrails are securely attached, give them a gentle shake or tug to ensure stability. Adjust as needed to ensure they are aligned properly on both sides.
- Refer to the instruction manual for any additional steps or adjustments required for your specific model. This may include attaching any handrail covers or accessories.
Attaching the handrails is an important step to provide stability and balance as you use your treadmill. Taking the time to align and secure the handrails properly will enhance your overall safety and comfort during workouts.
Remember to consult your instruction manual for any additional instructions or precautions specific to your treadmill model. Once the handrails are securely attached, you can move on to the next step of installing the tread belt.
Step 7: Installing the Tread Belt
Now that the handrails are securely attached, it’s time to install the tread belt on your NordicTrack treadmill. The tread belt is the surface on which you’ll walk, jog, or run during your workouts. Follow these steps to correctly install the tread belt:
- Refer to the instruction manual to understand the specific instructions for your treadmill model.
- Locate the adjustment bolts or knobs at the rear end of the treadmill. These bolts or knobs are used to adjust the tension and alignment of the tread belt.
- Start by aligning the tread belt with the treadmill’s deck. Ensure that the edges of the belt are positioned evenly on both sides.
- Using the adjustment bolts or knobs, gradually tighten or loosen them to achieve the desired tension of the tread belt. The belt should have a slight give but not be too loose or too tight.
- Walk on the tread belt to check if it tracks properly and remains centered as you move. Make any necessary adjustments to the belt tension or alignment using the adjustment bolts or knobs.
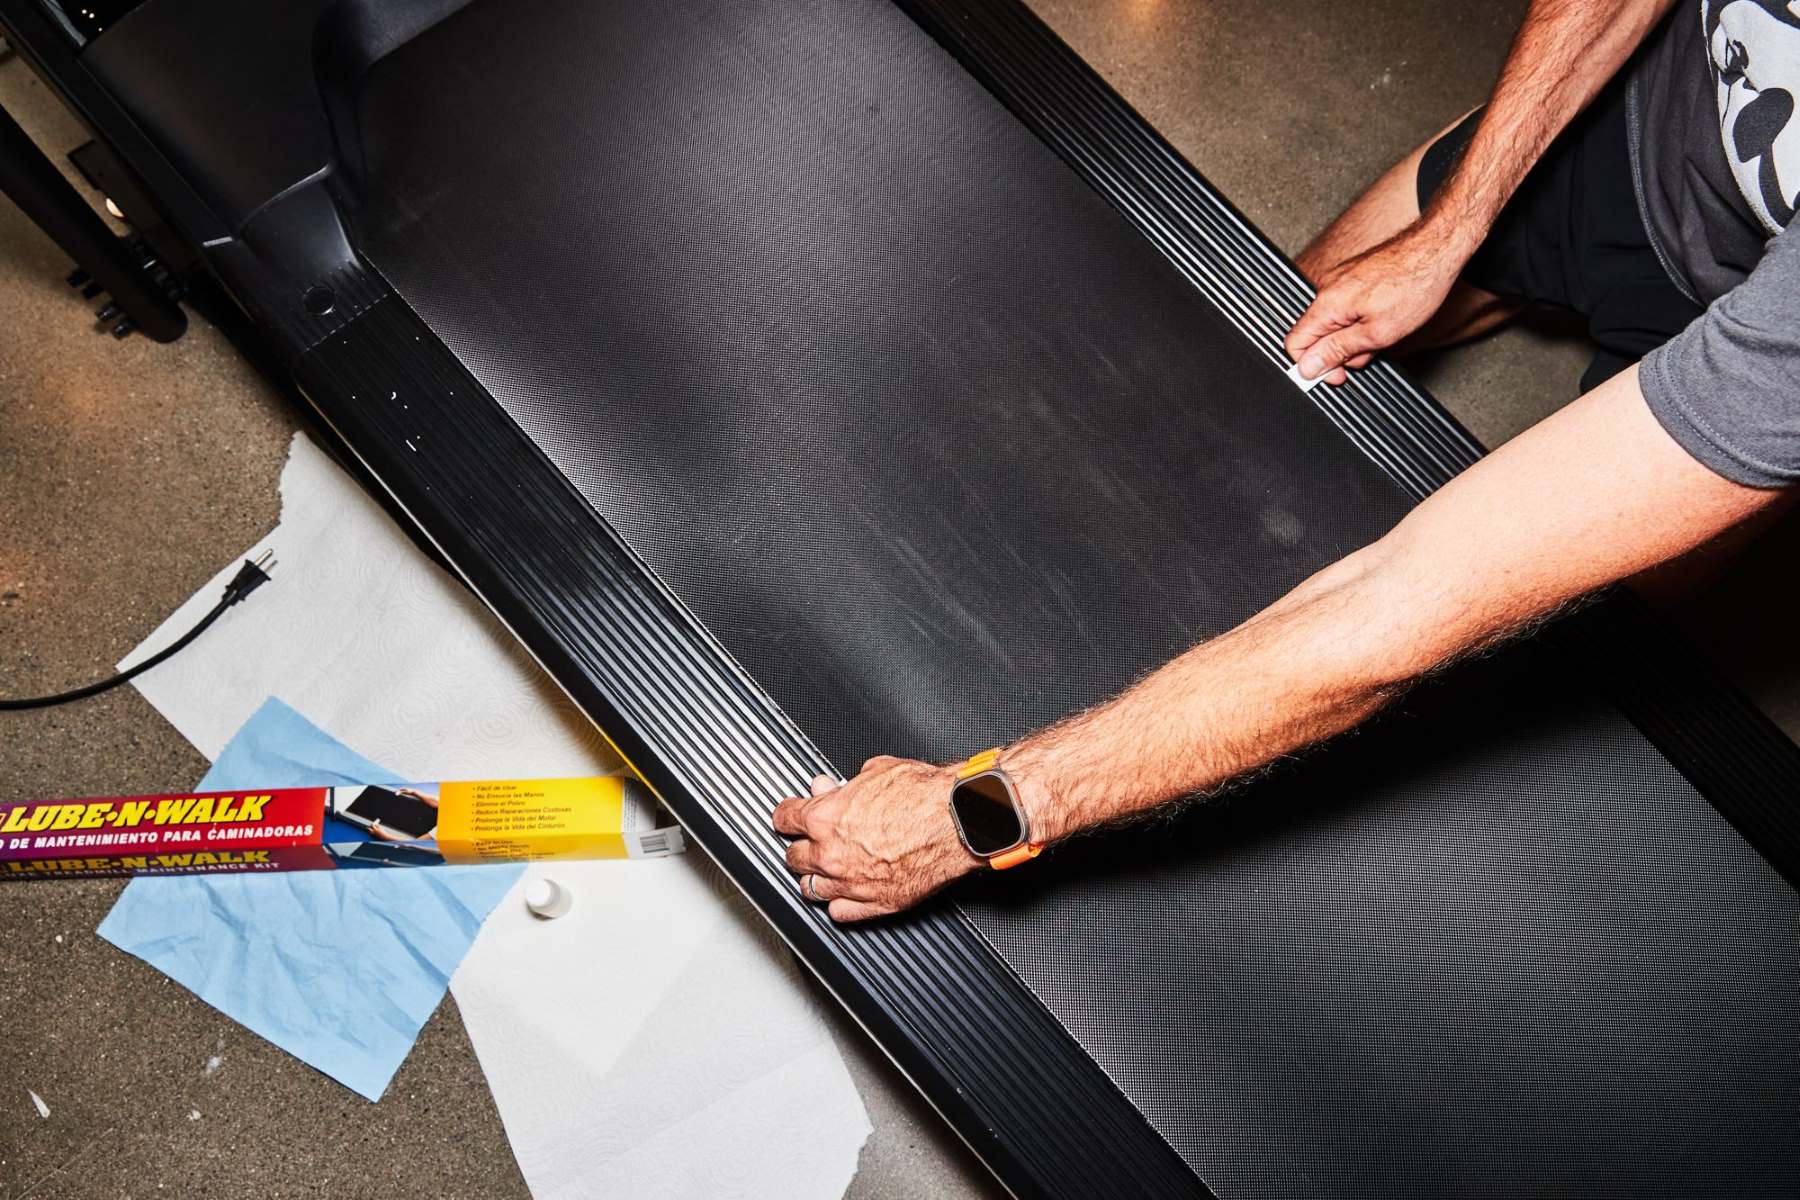
- Refer to the instruction manual for any additional steps or precautions specific to your treadmill model. This may include applying lubrication to the tread belt for smooth operation.
Installing the tread belt correctly is crucial for a smooth and safe workout experience. It’s important to ensure the belt is properly tensioned and aligned to prevent slippage or unnecessary wear and tear.
Consult your instruction manual for any further instructions or recommendations specific to your treadmill model. Once the tread belt is installed and adjusted, you can proceed to the next step of installing the safety key.
Step 8: Adjusting the Tread Belt Tension
After installing the tread belt, it’s important to adjust the tension to ensure optimal performance and safety during your workouts. The correct tension will help prevent slippage and provide a comfortable running or walking experience. Follow these steps to adjust the tread belt tension on your NordicTrack treadmill:
- Refer to the instruction manual for specific instructions on adjusting the tread belt tension for your treadmill model.
- Most NordicTrack treadmills allow you to adjust the tension using the adjustment bolts located at the rear end of the treadmill.
- Start by ensuring the treadmill is powered off and unplugged from the power source for safety.
- Using a wrench or an Allen wrench (as specified in the manual), turn the adjustment bolts clockwise to tighten the tread belt or counterclockwise to loosen it.
- Make small adjustments at a time and test the tension by walking or jogging on the treadmill. The belt should have a slight give, but it should not slip or feel overly loose.
- Continue adjusting the tension until you achieve the desired balance of firmness and flexibility for your workout.
- If needed, refer to the instruction manual for any additional instructions on aligning the tread belt or troubleshooting common issues related to tension adjustments.
Properly adjusting the tread belt tension is crucial to ensure a smooth and safe workout experience on your NordicTrack treadmill. Take your time to make small adjustments and test the tension until you find the optimal setting for your needs.
As always, consult your instruction manual for any model-specific guidelines or recommendations. Once the tread belt tension is adjusted, you can move on to the next step of installing the safety key.
Step 9: Installing the Safety Key
The safety key is an important component of your NordicTrack treadmill as it helps ensure your safety during your workouts. The safety key acts as an emergency stop mechanism, allowing you to quickly halt the treadmill if needed. Follow these steps to correctly install the safety key:
- Locate the safety key slot on the console of your treadmill. It is typically a small, rectangular opening labeled with a “Safety Key” or “Emergency Stop” icon.
- Inspect the safety key to ensure it is in good condition, with no visible damage or cracks. If you notice any issues, contact NordicTrack customer support for a replacement safety key.
- Align the safety key with the slot on the console and gently insert it until it clicks into place.
- Give the safety key a gentle tug to ensure it is securely attached to the console.
- With the safety key properly installed, power on your treadmill and verify that it is functioning correctly.
- Test the safety key by lightly pulling on it while the treadmill is in operation. The treadmill should come to an immediate stop if the safety key is removed.
Installing the safety key is a vital step in ensuring your safety during your workouts. It provides a quick and accessible means of stopping the treadmill in case of an emergency or if you need to halt your workout suddenly.
Always consult your instruction manual for any specific guidelines or precautions pertaining to your treadmill model. Once the safety key is installed and tested, you’re ready to move on to the next step of connecting the power source.
Step 10: Connecting Power Source
Now that you have completed most of the physical assembly of your NordicTrack treadmill, it’s time to connect the power source. This step will provide the necessary electricity to power your treadmill’s console and motor. Follow these steps to correctly connect the power source:
- Locate the power cord attached to the back of the treadmill near the base.
- Ensure that the power switch, usually located near the base or console, is in the “Off” position.
- Plug the power cord into a grounded electrical outlet or surge protector.
- Verify that the outlet is functioning properly by testing it with another device.
- Switch the power switch to the “On” position.
- Your treadmill’s console should light up, indicating that it is receiving power.
Connecting the power source is a straightforward step that allows your treadmill to be operational. It’s important to ensure that the power cord is securely plugged into a grounded electrical outlet to prevent any electrical issues.
As always, refer to your instruction manual for any additional guidelines or precautions specific to your treadmill model. With the power source connected, you’re now ready for the next step: testing the treadmill.
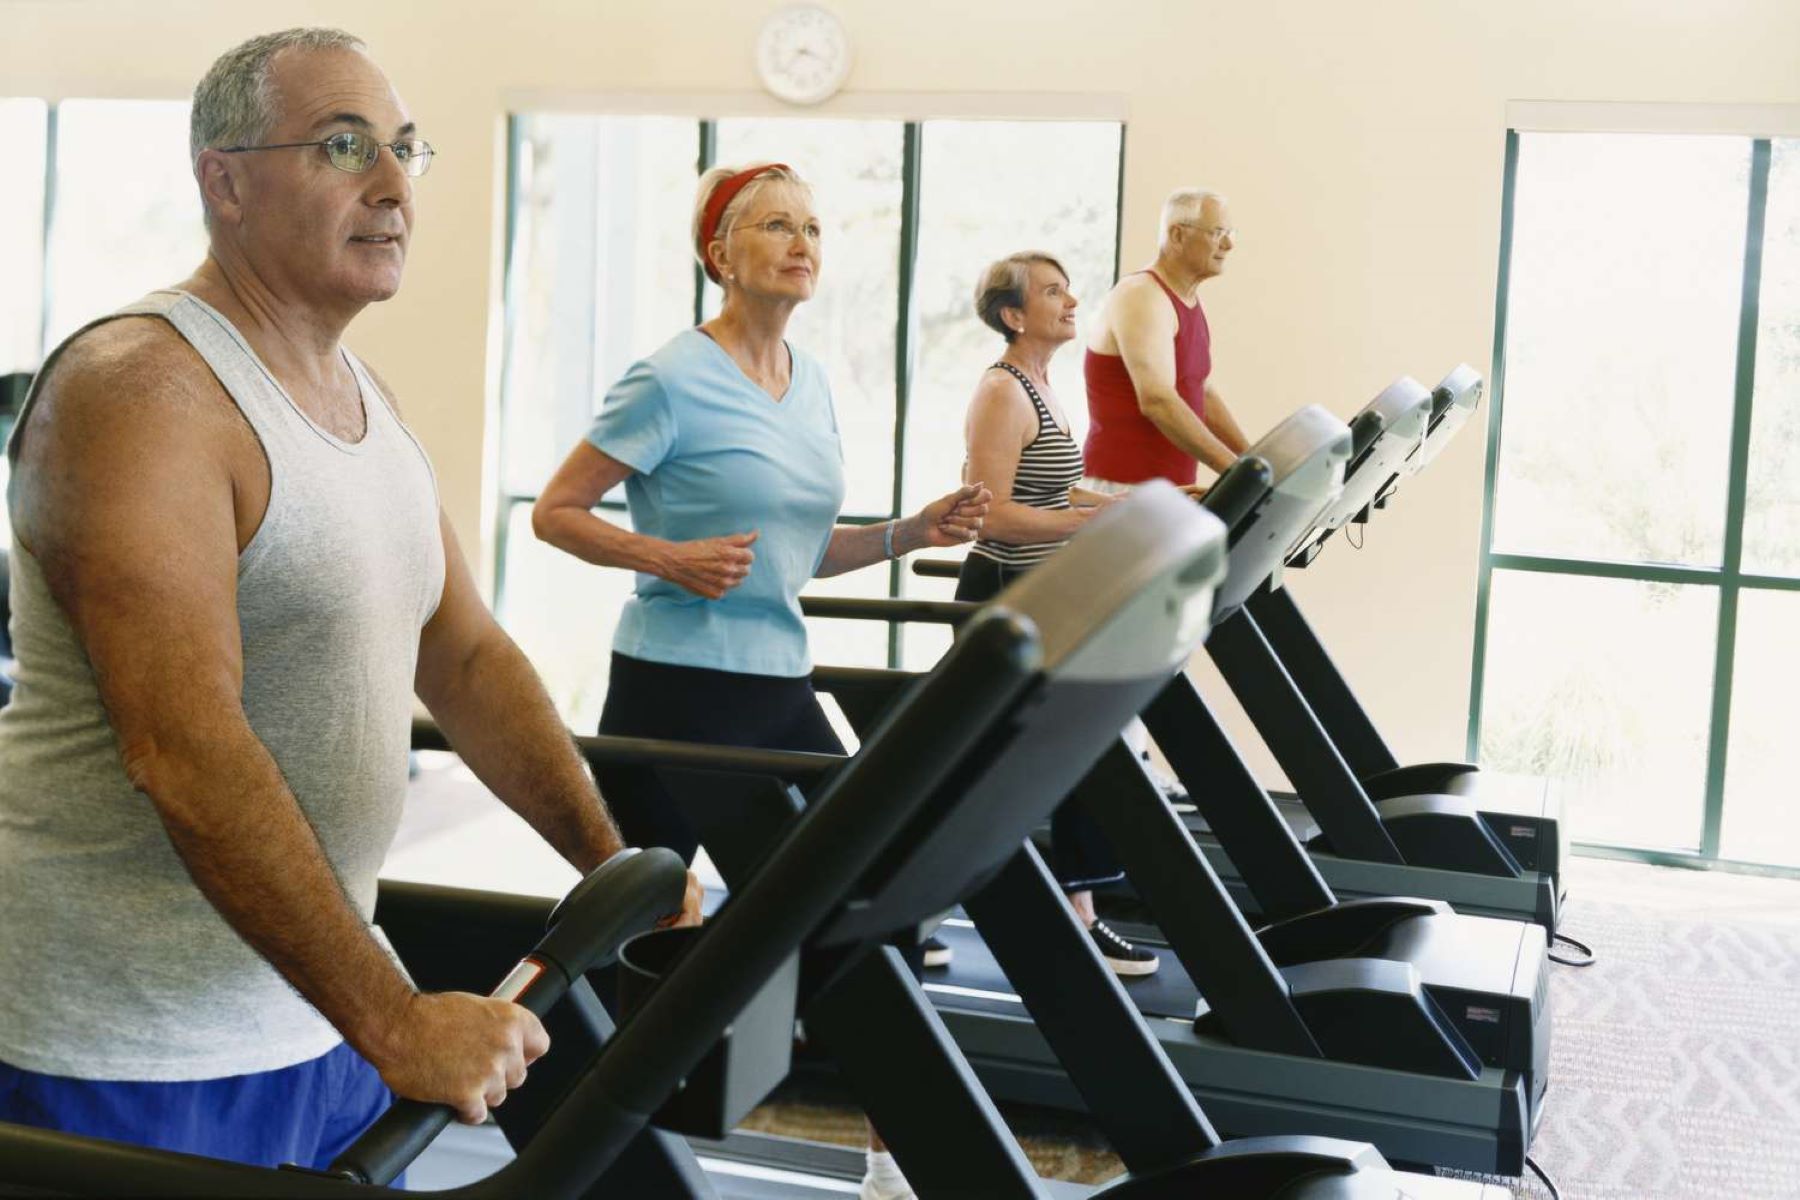
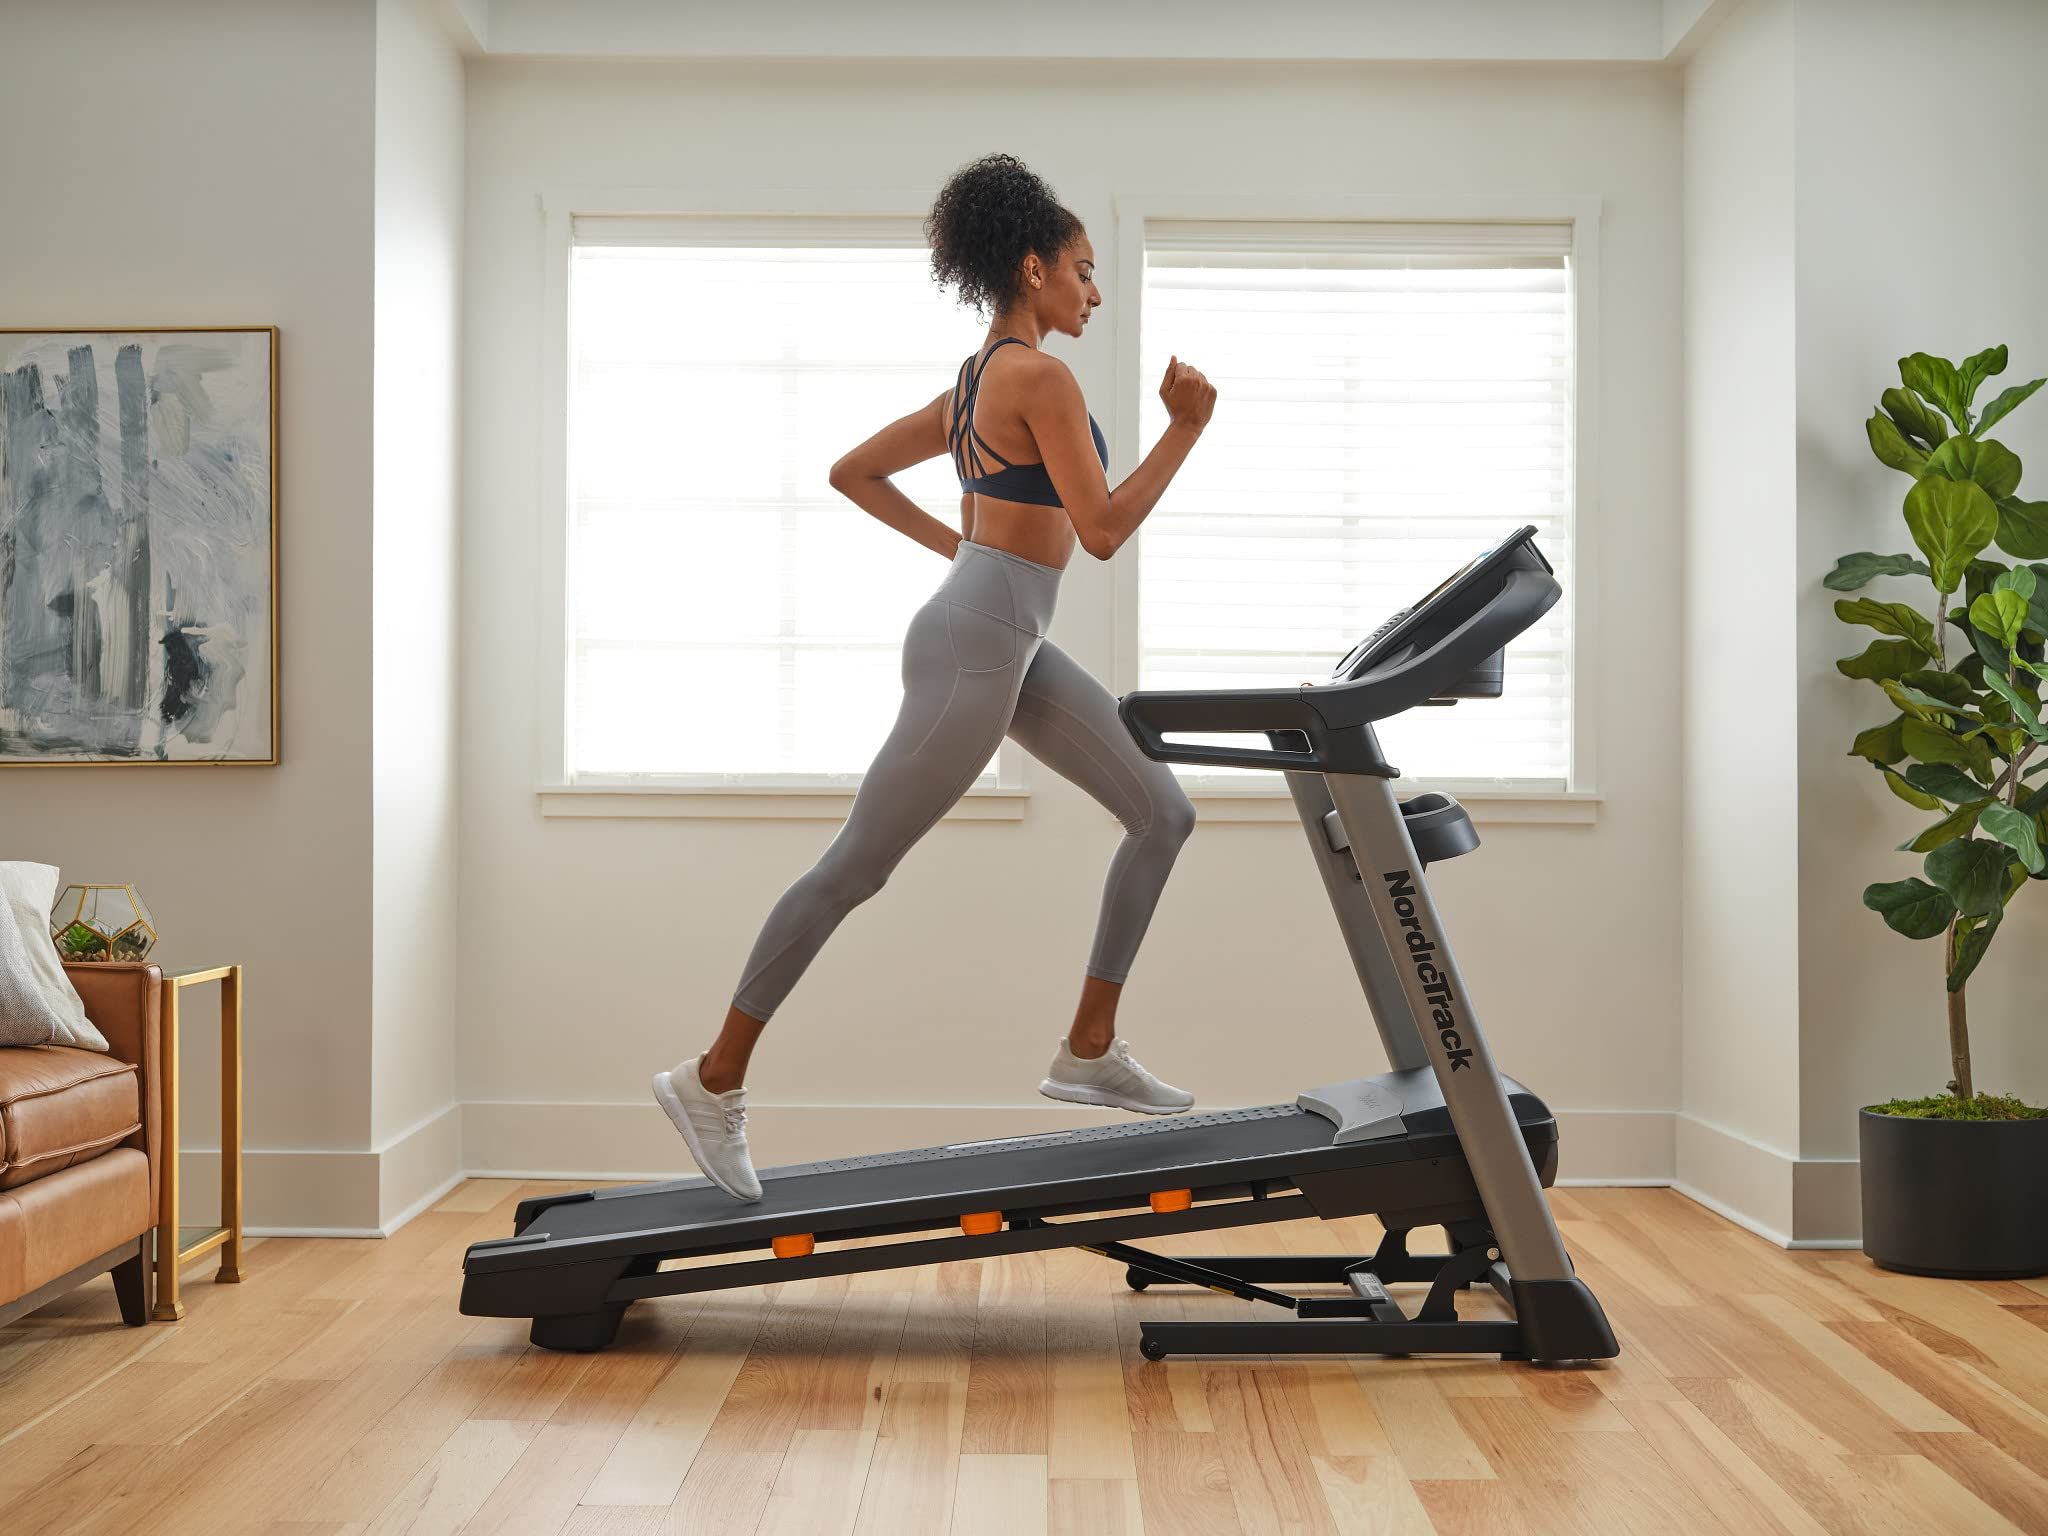
Step 11: Testing the Treadmill
After connecting the power source, it’s crucial to test your NordicTrack treadmill to ensure that it is functioning properly. This step allows you to verify that all components are working correctly before you begin your workout routine. Follow these steps to test the treadmill:
- Ensure that the power switch is in the “On” position.
- Stand on the side foot rails of the treadmill (not on the tread belt).
- Press the start button or any designated button on the console to initiate the treadmill’s operation.
- The tread belt should start moving at a slow speed. Keep a firm grip on the handrails while the treadmill is in motion.
- Gradually increase the speed of the tread belt using the speed controls on the console.
- Monitor the console display for accurate speed and distance information.
- Test the incline feature, if applicable, by adjusting the incline controls. Ensure that the treadmill responds correctly and adjusts the angle of the running surface.
- Observe for any unusual noises, vibrations, or functionality issues during the testing process. If you notice any abnormalities, refer to your instruction manual for troubleshooting guidance or contact NordicTrack customer support.
Testing the treadmill is an essential step to ensure that all components are working as intended. By carefully observing the treadmill’s operation and verifying its functionality, you can address any issues or concerns before starting your workouts.
Remember, each treadmill model may have specific features and controls, so always consult your instruction manual for any model-specific testing instructions. Once you have successfully tested the treadmill, you’re almost done—just a few final adjustments and maintenance tips remain.
Step 12: Final Adjustments and Maintenance Tips
As you near the end of the assembly process for your NordicTrack treadmill, there are a few final adjustments and maintenance tips to keep in mind. These will help optimize the performance and longevity of your treadmill. Follow these steps to complete the assembly and ensure proper maintenance:
- Check all the bolts, screws, and fasteners to ensure they are tightened securely. Re-tighten if necessary, but be careful not to overtighten and strip the threads.
- Inspect all the components, including the console, handrails, and tread belt, for any signs of wear or damage. If you notice any issues, contact NordicTrack customer support for assistance.
- Refer to the instruction manual for guidelines on routine maintenance tasks, such as lubricating the tread belt or cleaning the console. Regular maintenance will help maintain the performance and durability of your treadmill.
- Consider using a treadmill mat or equipment mat beneath the treadmill. This not only helps protect your floor but also reduces noise and vibration during workouts.
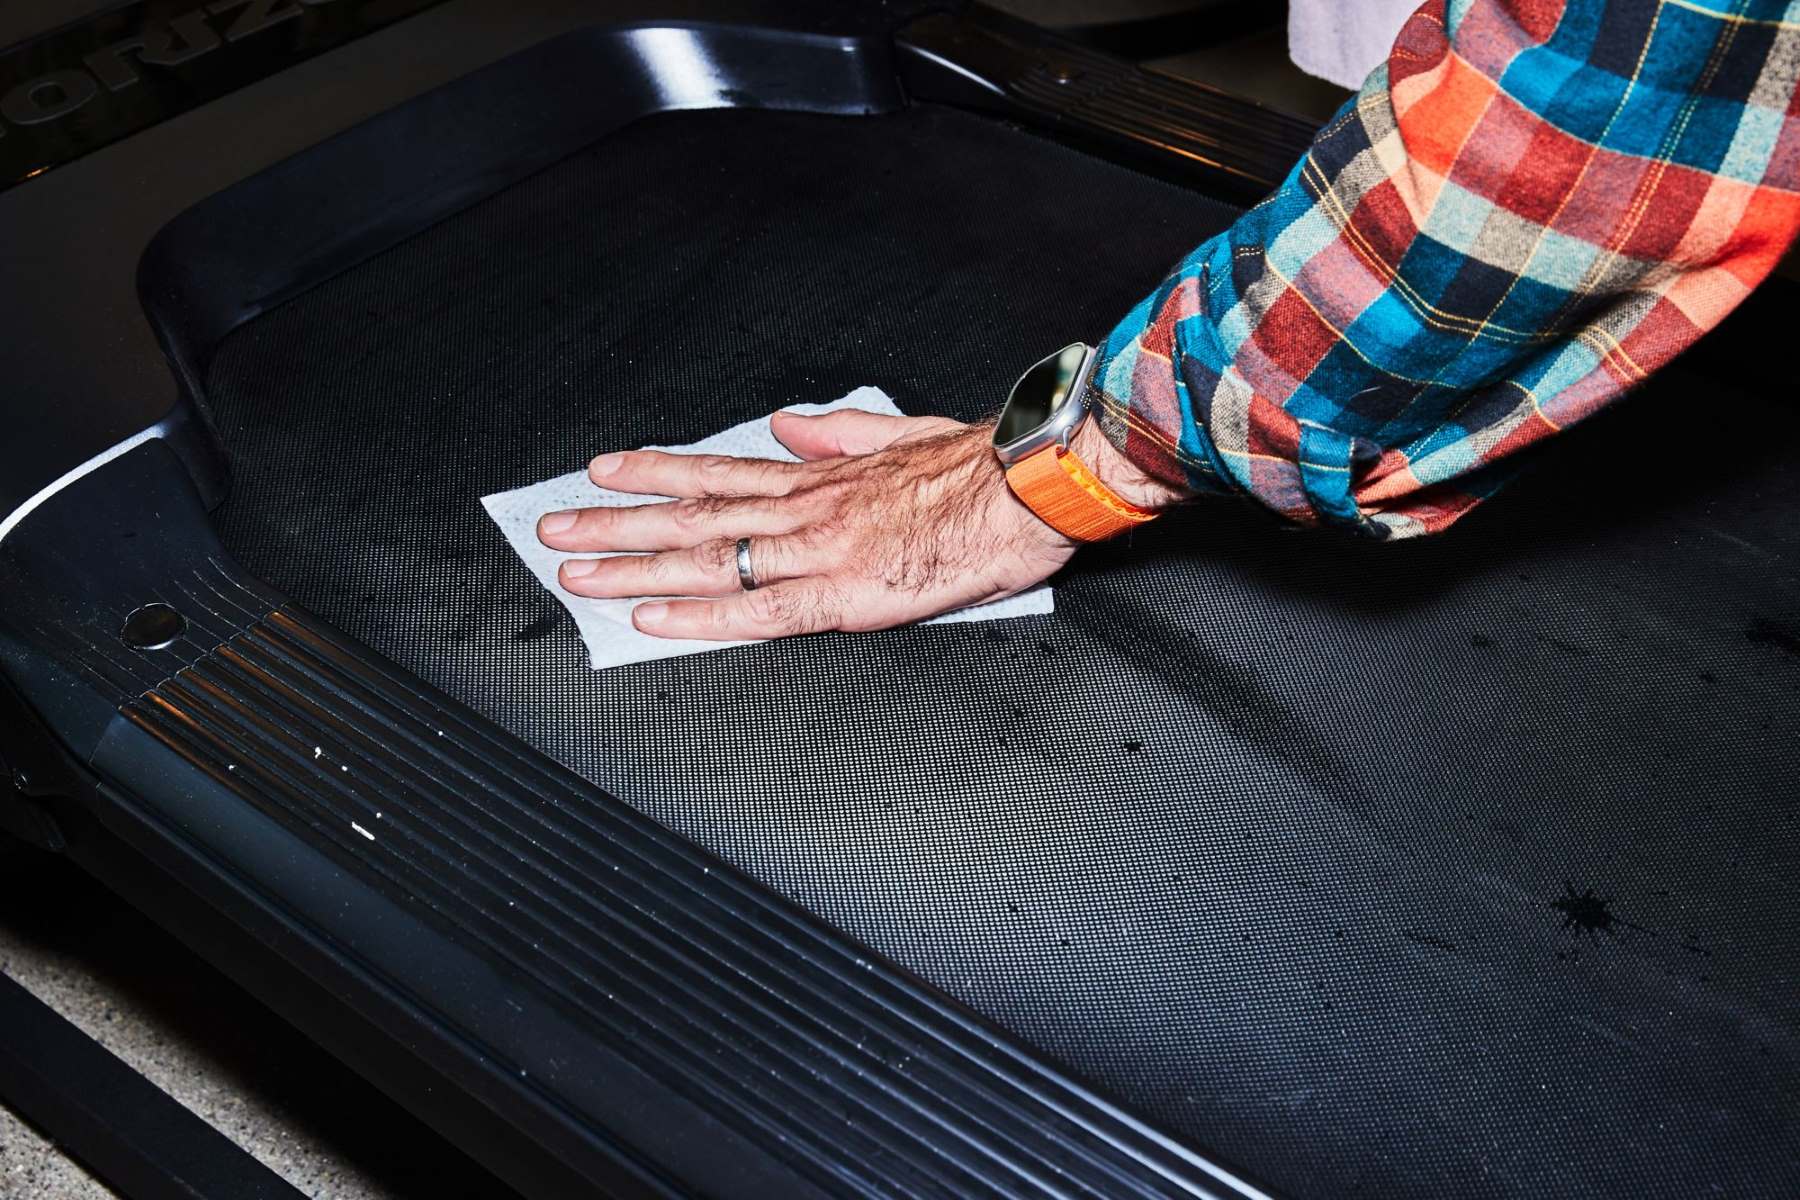
- Establish a regular cleaning routine for your treadmill. Wipe down the console, handrails, and other surfaces with a soft cloth to remove sweat and dust. Avoid using harsh chemicals that may damage the materials.
- Make sure to keep the area around the treadmill clear of any obstructions to ensure safe usage.
- Follow the weight capacity guidelines specified in your instruction manual to prevent any strain or damage to the treadmill.
- Keep the instruction manual in a safe place for future reference. It will provide valuable information on troubleshooting, safety precautions, and maintenance tasks.
Completing these final adjustments and following the recommended maintenance tips will help ensure that your NordicTrack treadmill remains in optimal condition for years to come. By taking good care of your treadmill, you’ll be able to enjoy efficient and safe workouts.
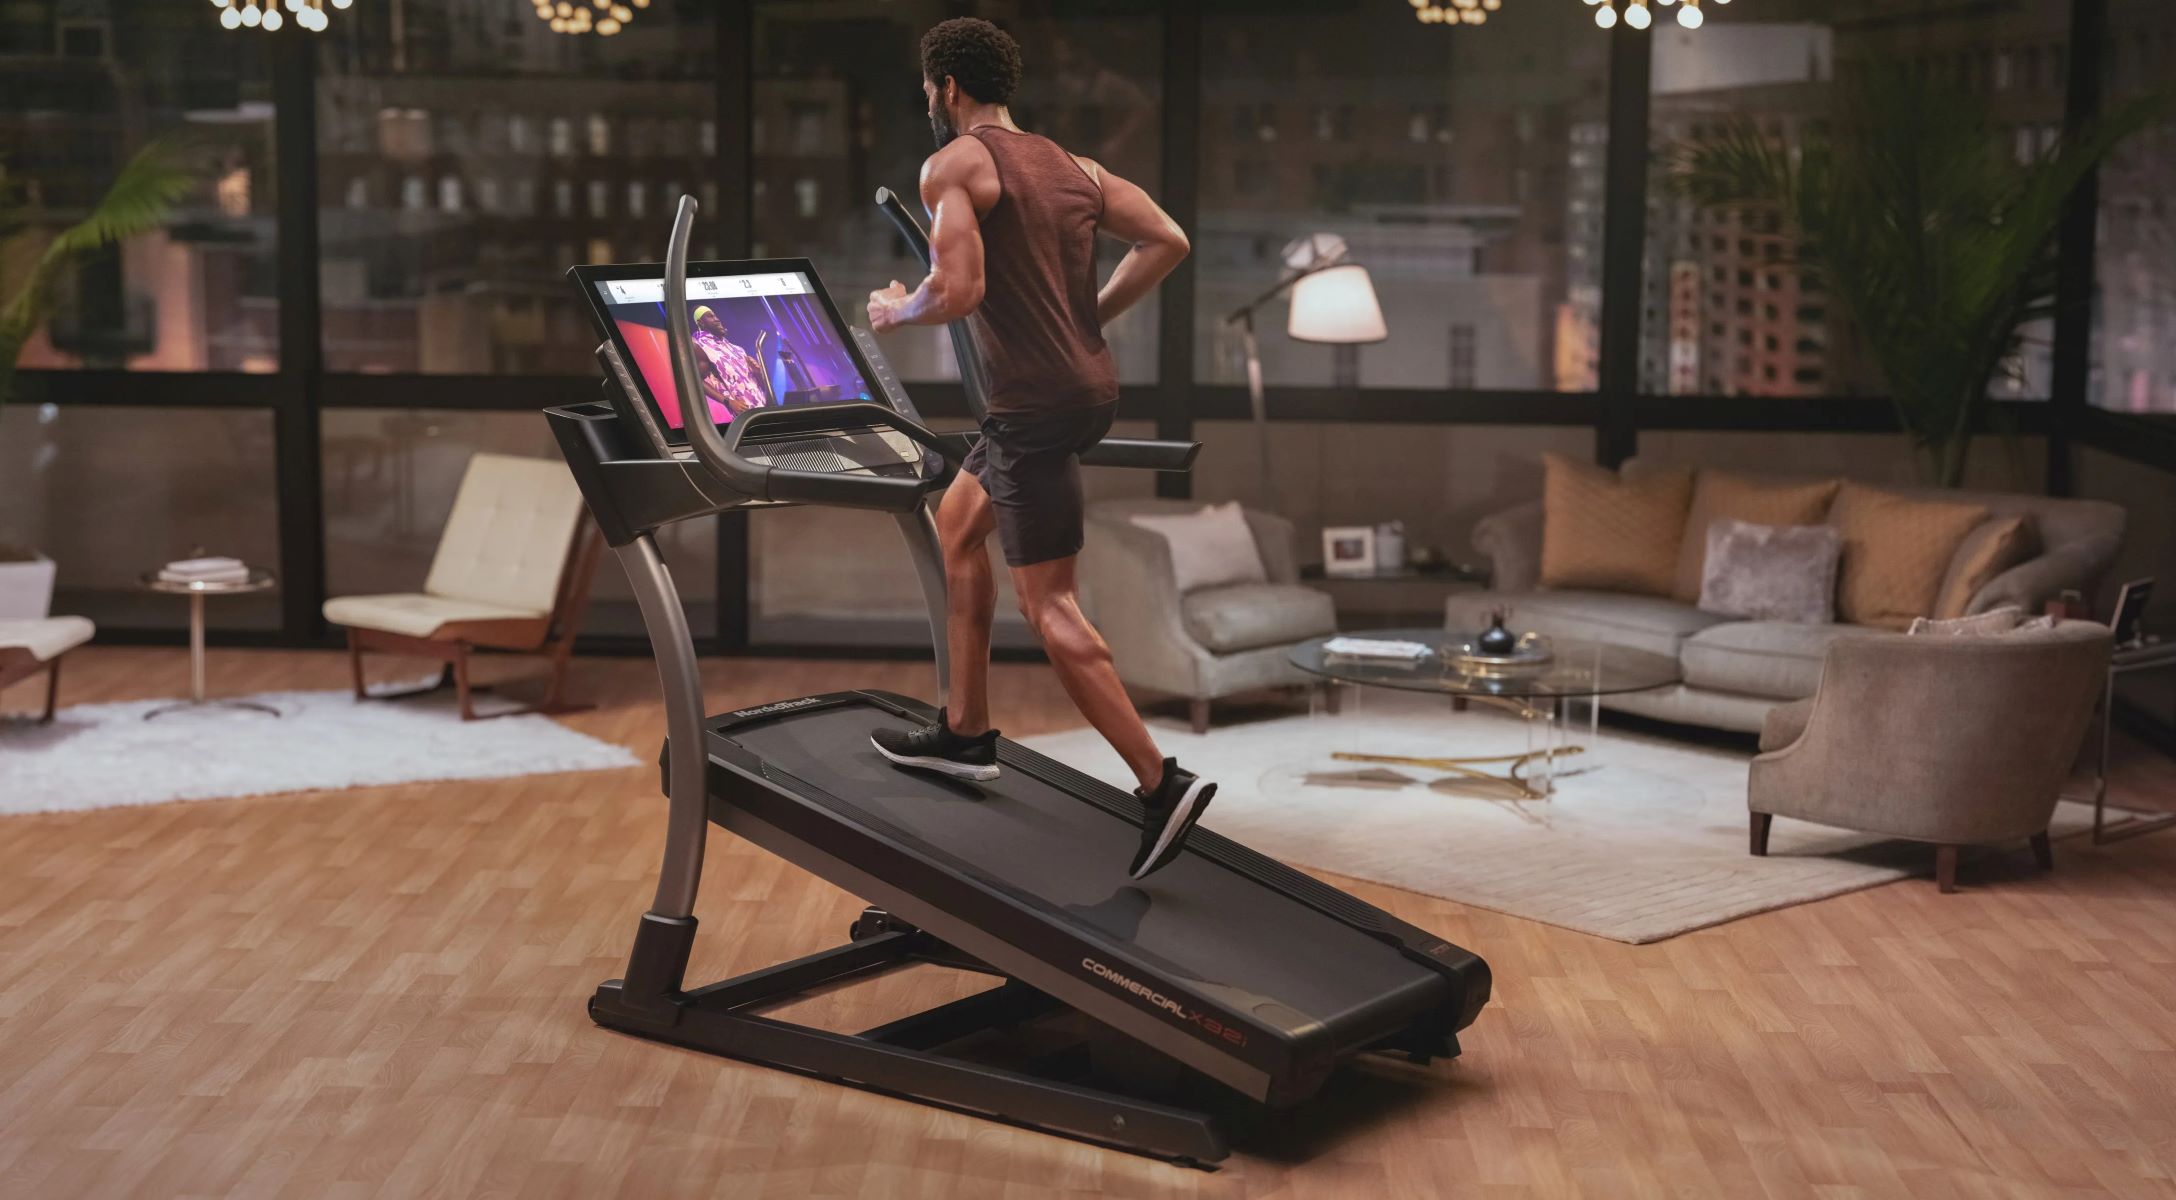
With these final steps completed, you have successfully assembled and prepared your NordicTrack treadmill for use. It’s time to lace up your running shoes, hop on the tread belt, and start working toward your fitness goals!
Conclusion
Congratulations on successfully assembling your NordicTrack treadmill! By following the step-by-step instructions provided in this guide, you have transformed a collection of parts into a fully functional exercise machine. Now, you can enjoy the convenience and benefits of working out in the comfort of your own home.
Throughout the assembly process, you’ve learned how to unbox the treadmill, check the contents, prepare the workspace, attach the uprights and handrails, install the tread belt, adjust the tension, connect the console, install the safety key, connect the power source, test the treadmill, and make final adjustments and maintenance preparations.
Remember to consult your instruction manual for any model-specific instructions or troubleshooting guidance. Additionally, it’s important to prioritize safety and maintenance by regularly inspecting the treadmill, keeping it clean, and performing recommended maintenance tasks.
We hope that this guide has been informative and helpful in your journey to assemble your NordicTrack treadmill. With your treadmill ready, you are now empowered to embark on your fitness journey and enjoy the convenience and comfort of exercising at home.
Stay motivated, set achievable goals, and make the most of your NordicTrack treadmill as you work towards improving your fitness and overall well-being. Happy exercising!