Home>Misc>Brands>How To Tighten Belt On NordicTrack Treadmill

Brands
How To Tighten Belt On NordicTrack Treadmill
Modified: August 18, 2023
Learn how to tighten the belt on your NordicTrack treadmill and ensure optimal performance. Get tips, tricks, and expert advice on maintaining your fitness equipment. Brands you can trust!
Introduction
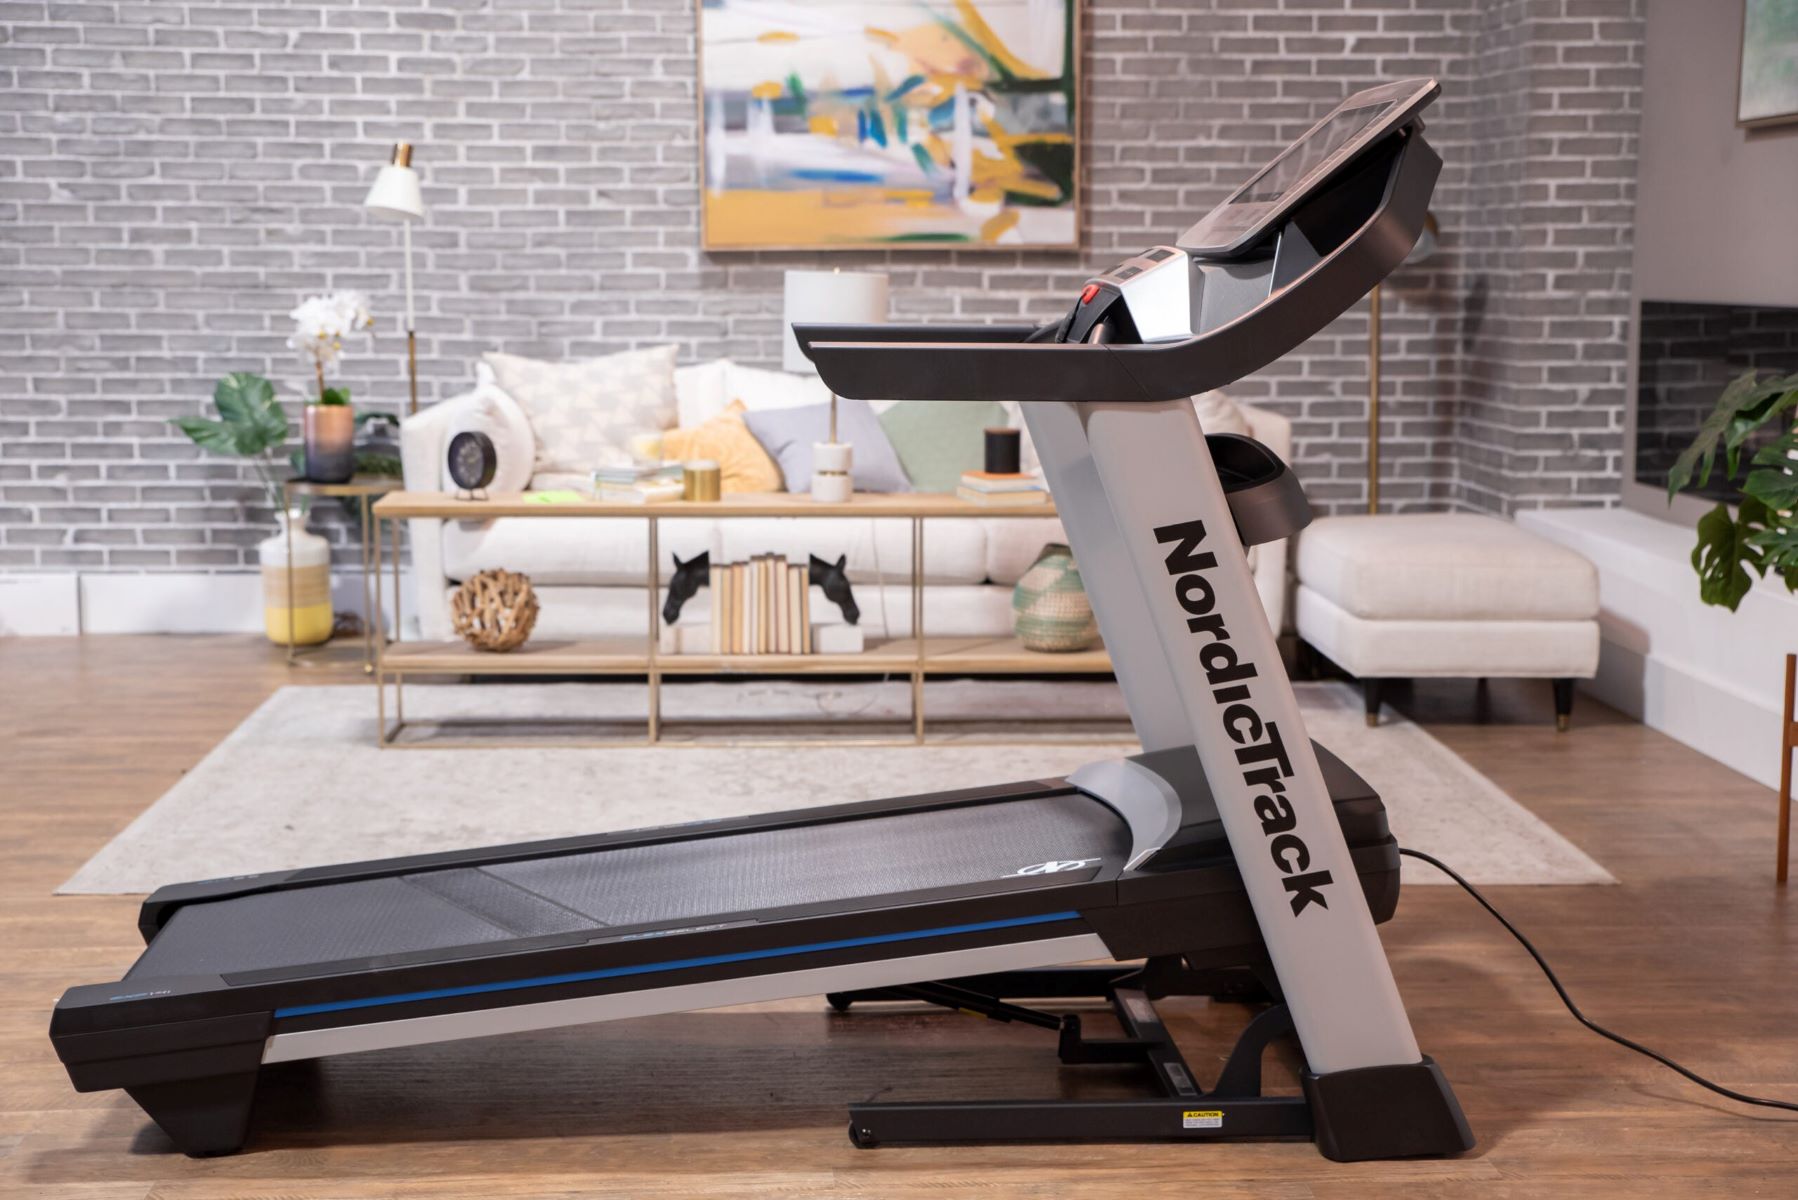
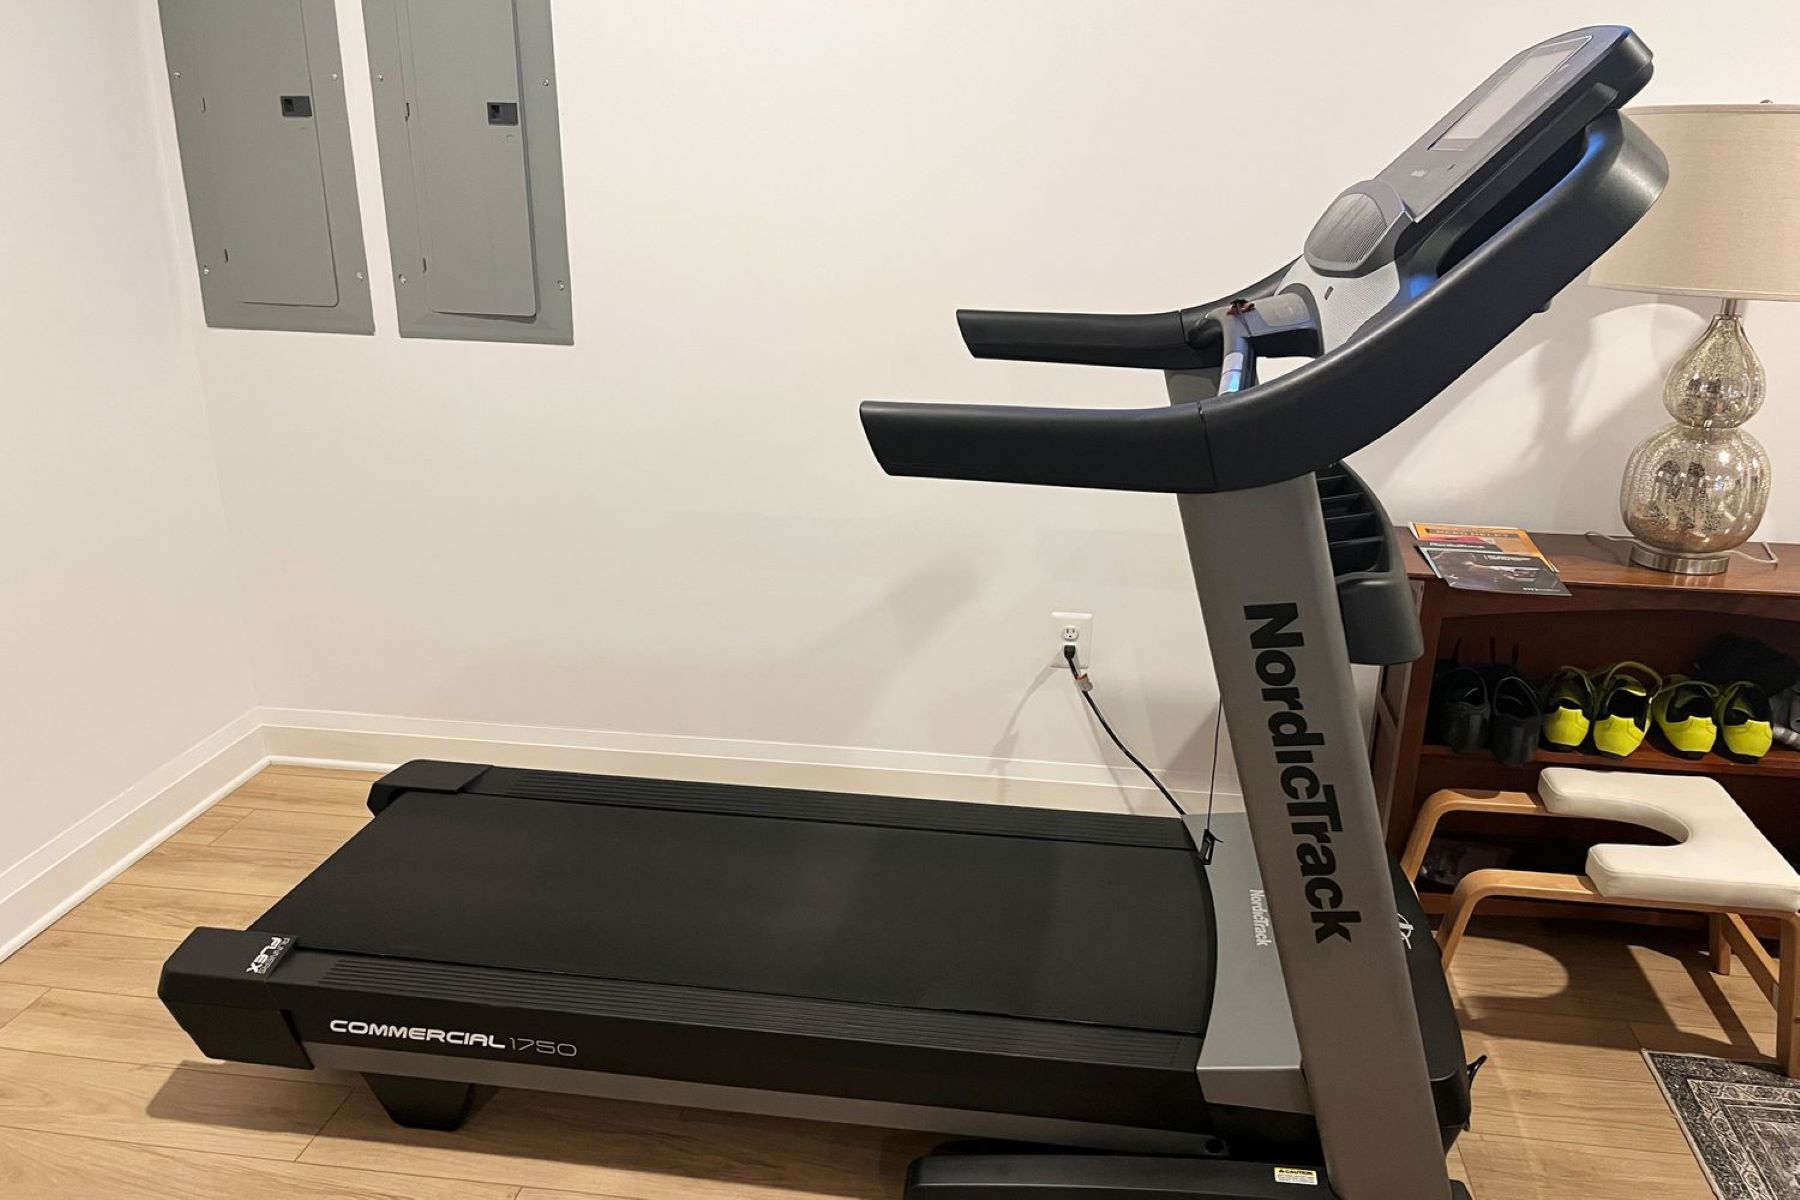
Having a NordicTrack treadmill in your home is a convenient and effective way to stay fit and active. However, over time, the belt may start to loosen, leading to a less optimal workout experience. A loose belt can cause slippage, incorrect speed readings, and even safety hazards.
If you’ve noticed that the belt on your NordicTrack treadmill isn’t as tight as it should be, don’t worry! In this article, we’ll guide you through the steps to tighten the belt on your NordicTrack treadmill, ensuring a smooth and secure workout every time.
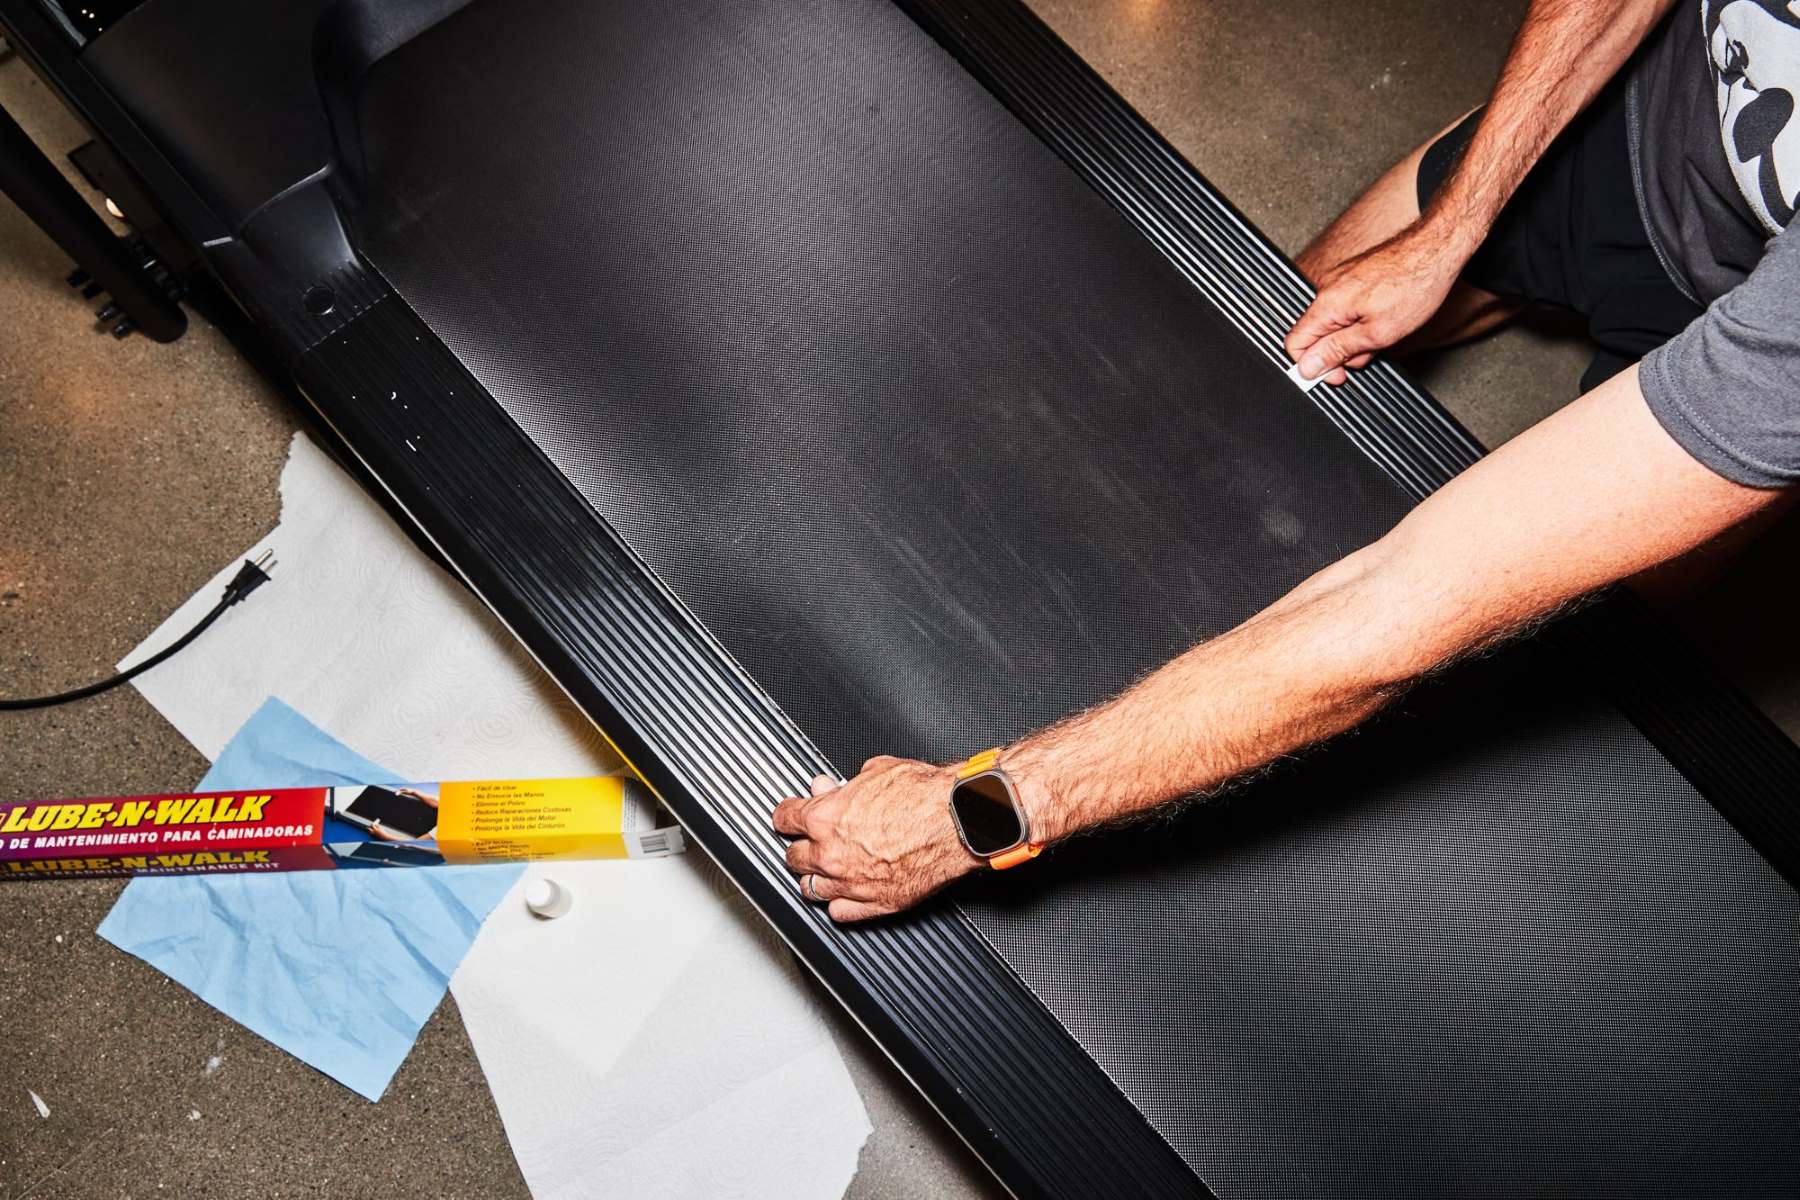
Before we begin, it’s important to note that regular maintenance of your treadmill is crucial for its longevity and performance. Alongside tightening the belt, remember to regularly lubricate the deck, clean the surface, and inspect the machine for any other issues.
Now, let’s dive into the step-by-step process of tightening the belt on your NordicTrack treadmill.
Step 1: Identify the belt tension adjustment bolts
The first step in tightening the belt on your NordicTrack treadmill is to locate the belt tension adjustment bolts. These bolts are typically found at the back of the treadmill near the rear roller.
Start by unplugging your treadmill from the power source and ensuring that it is completely turned off. This step is crucial for your safety.
Once the treadmill is powered off, take a close look at the back of the machine. You should see two bolts on both sides of the rear roller. These bolts are responsible for adjusting the tension of the treadmill belt. Some models may have a single bolt in the center.
Identify the correct bolts by referencing your treadmill’s user manual. It’s important to use the specific bolts designated for belt tension adjustment, as other bolts may serve different purposes.
Before moving on to the next step, make sure you have the necessary tools to adjust the bolts. In most cases, a hex wrench or an Allen wrench will be required. Ensure you have the appropriate sized wrench to fit the bolts.
Once you have located the belt tension adjustment bolts and gathered the necessary tools, you are ready to move on to the next step of the process.
Step 2: Loosen the bolts
Now that you have identified the belt tension adjustment bolts, it’s time to loosen them. This will allow you to adjust the tension of the treadmill belt.
Using the appropriate sized wrench, carefully loosen the bolts on both sides of the rear roller. Turn the wrench counterclockwise to loosen the bolts. You may need to apply a bit of force, as they might be tightened securely.
As you loosen the bolts, be sure not to remove them completely. Loosening them just enough will provide the flexibility to adjust the belt tension.
Once you have loosened the bolts, you will notice a bit of slack in the treadmill belt. This is perfectly normal and indicates that you’ve successfully loosened the bolts.
Loosening the belt tension adjustment bolts is a crucial step in the process, as it allows you to properly align and tighten the treadmill belt in the next steps. With the bolts loosened, you have the freedom to make the necessary adjustments for optimal belt tension and performance.
Now that the bolts are loosened, we can move on to the next step, which involves aligning the belt for an even tension and proper functioning of the treadmill.
Step 3: Align the belt
Now that the belt tension adjustment bolts are loosened, it’s time to align the treadmill belt. Proper alignment ensures that the belt moves smoothly and evenly during your workout.
Start by standing at the back of the treadmill and visually inspecting the belt. Check if it is running straight and centered on the treadmill deck. If you notice any misalignment or the belt is veering off to one side, it will need to be adjusted.
To align the belt, you will need to make minor adjustments on each side of the rear roller. Use equal turns on the belt tension adjustment bolts to ensure even alignment.
Begin by making small adjustments, turning the bolts in a clockwise direction. This will move the belt towards the center. Make equal turns on each side to maintain balance.
As you make adjustments, periodically step onto the treadmill and test the alignment. Start the treadmill at a low speed and observe if the belt runs smoothly without rubbing against the sides or other parts of the machine.
If needed, continue making small adjustments until the belt is centered and aligned. It’s important to take your time during this step to ensure proper alignment, as an incorrectly aligned belt can cause performance issues and discomfort while exercising.
Once you are satisfied with the alignment, it’s time to proceed to the next step and tighten the belt tension adjustment bolts.
Step 4: Tighten the bolts
After aligning the treadmill belt, the next step is to tighten the belt tension adjustment bolts. This will secure the belt in its aligned position and ensure proper tension during your workouts.
Using the same wrench that you used to loosen the bolts in the previous steps, begin tightening them. Turn the bolts in a clockwise direction, applying enough force to securely tighten them without over-tightening.
It’s important to tighten the bolts gradually and evenly on both sides to maintain balanced tension. As you tighten the bolts, you will start to feel the tension increase in the treadmill belt.
Continue tightening the bolts until you reach the desired level of tension. It’s essential to strike a balance – the belt shouldn’t be too loose, causing slippage, nor too tight, which could strain the motor and other components.
Remember, a properly tensioned belt should have about 1-2 inches of flex when pressed down at the side of the belt with moderate pressure.
Once you have achieved the optimal tension, it’s time to move on to the final step and test the belt to ensure it’s properly tightened and ready for use.
Step 5: Test the belt tension
Now that you have tightened the belt tension adjustment bolts, it’s crucial to test the belt tension and ensure that it is properly adjusted before using your NordicTrack treadmill.
Start by plugging in the treadmill and turning it on. Set the speed to a low and comfortable level for walking or jogging.
Step onto the treadmill and take a few minutes to walk or jog at a slow pace. Pay attention to how the belt feels under your feet and whether there is any slippage or excessive tension.
If you notice any issues, such as the belt slipping or feeling too tight, you will need to make further adjustments to the belt tension.
If the belt is slipping, it is an indication that it is too loose. In this case, follow the previous steps to loosen the belt tension adjustment bolts slightly and align the belt again. Then, retighten the bolts, making sure to maintain even tension on both sides.
If the belt feels too tight and you’re experiencing resistance while walking or jogging, you will need to loosen the bolts slightly to release some tension. Again, make sure to maintain balance and even tension on both sides.
Continue testing and making necessary adjustments until you achieve the ideal belt tension – a firm grip that allows for smooth movement without slippage or excessive strain.
Once you are satisfied with the belt tension and it feels comfortable and secure, you’re all set to enjoy your workout on your NordicTrack treadmill!
This concludes the step-by-step process to tighten the belt on your NordicTrack treadmill. By following these instructions, you can ensure optimal belt performance and safety during your workouts.
Conclusion
Congratulations! You have successfully tightened the belt on your NordicTrack treadmill. By following the step-by-step process outlined in this article, you have restored optimal belt tension, ensuring a smooth and safe workout experience.
Regular maintenance and proper belt tension are crucial for the longevity and performance of your treadmill. By tightening the belt, you have eliminated issues such as slippage, incorrect speed readings, and potential safety hazards.
Remember to perform regular checks and maintenance on your treadmill to keep it in top condition. Lubricate the deck, clean the surface, and inspect the machine for any other signs of wear or damage.
With a properly tightened belt, you can enjoy your workouts on your NordicTrack treadmill with confidence and peace of mind. Whether you’re walking, jogging, or running, you can now focus on achieving your fitness goals without interruptions due to a loose belt.
Thank you for following this guide and taking the time to properly tighten the belt on your NordicTrack treadmill. We hope this information has been helpful and that you continue to enjoy the benefits of exercising at home with your treadmill. Happy workouts!