Brands
How To Assemble ProForm Treadmill
Modified: January 2, 2024
Learn how to easily assemble your ProForm treadmill with step-by-step instructions and expert tips. Explore the top brands for high-quality treadmills and start your fitness journey today!
Introduction
Welcome to the world of fitness and exercise equipment! If you’ve recently purchased a ProForm treadmill, congratulations on taking a big step towards a healthier lifestyle. Assembling your new treadmill can be an exciting and fulfilling task, and in this article, we will guide you through the process step by step.
Before we dive into the specifics of assembling your ProForm treadmill, it’s important to familiarize yourself with the various components and parts. Most ProForm treadmills come with a detailed instruction manual that provides a comprehensive overview of each part and their functions. Be sure to read through the manual thoroughly and have it readily available during the assembly process.
Assembling a treadmill may seem daunting at first, but with the right tools and a systematic approach, it can be a straightforward process. Take your time, follow the instructions carefully, and don’t hesitate to seek assistance if needed. Once you’ve successfully assembled your ProForm treadmill, you’ll be able to enjoy the convenience of exercising in the comfort of your own home.
In the following sections, we will provide detailed instructions on how to assemble your ProForm treadmill. From unboxing the treadmill to testing it out, we will guide you through each step to ensure a smooth and successful assembly process. So let’s get started and put together your ProForm treadmill!
Step 1: Unboxing the Treadmill
Congratulations on your new ProForm treadmill! The first step in the assembly process is to carefully unbox your treadmill. Make sure you have enough space to work and that the area is clear of any obstacles. Here’s how to unbox your treadmill:
- Locate the box containing your treadmill and remove any packaging materials that may be covering it. Use a box cutter or scissors to carefully open the box, taking care not to damage any parts inside.
- Once the box is opened, carefully remove the treadmill from the packaging. It may be helpful to have someone assist you in lifting the treadmill out of the box, as they can be quite heavy.
- Place the treadmill on a flat and even surface, ensuring that there is enough clearance around it for assembly.
- Inspect all the components and parts to make sure everything is included and in good condition. Refer to the instruction manual to familiarize yourself with the different parts and their names.
- Remove any additional packaging materials, such as plastic wrap or foam padding, from the treadmill. Be sure to discard these materials properly to avoid any potential hazards.
- Take a moment to wipe down the treadmill with a clean cloth to remove any dust or debris that may have accumulated during shipping.
By carefully unboxing your ProForm treadmill and ensuring all the components are accounted for, you’re one step closer to enjoying your new exercise equipment. Now that your treadmill is ready, it’s time to move on to the next step: attaching the console.
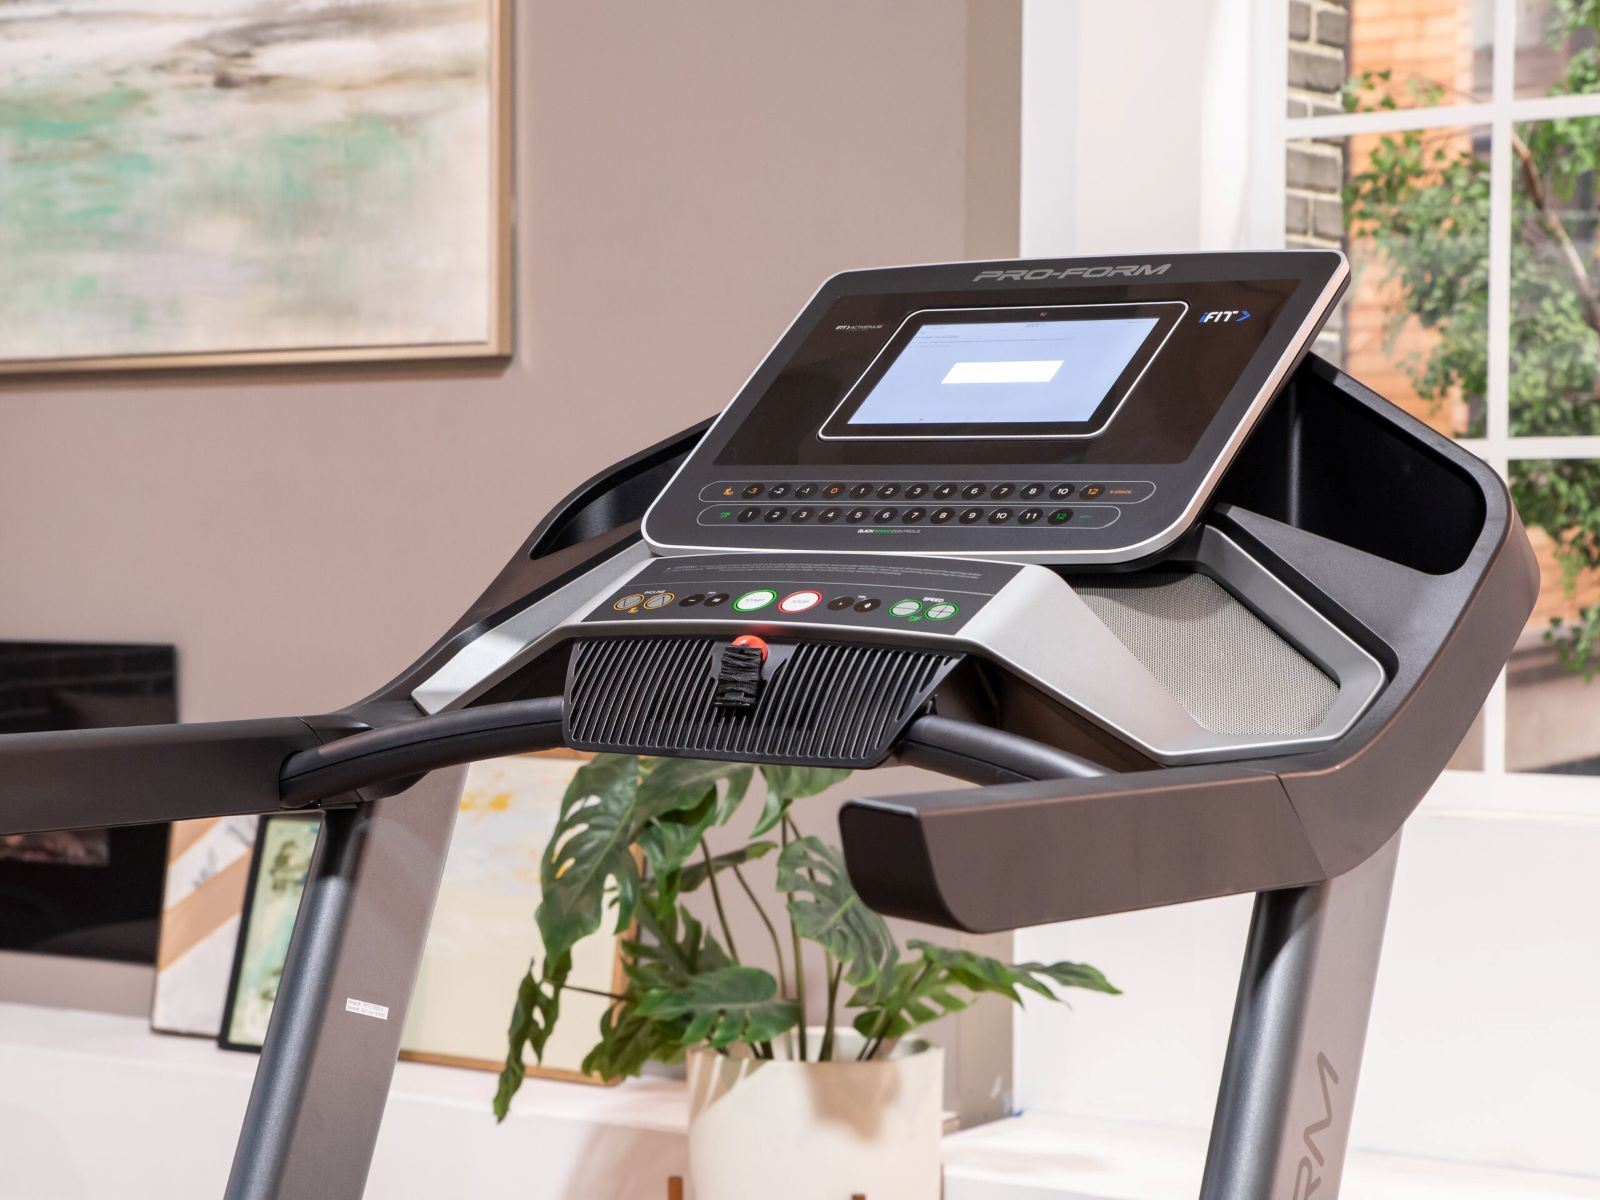
Step 2: Attaching the Console
Now that you have unboxed your ProForm treadmill, it’s time to attach the console. The console is the control center of your treadmill, where you can customize your workout settings and monitor your progress. Follow these steps to securely attach the console:
- Locate the console attachment point on the main frame of the treadmill. It is usually positioned at the front of the treadmill, near the top.
- Align the console with the attachment point and gently slide it into place. Make sure it is centered and level.
- While holding the console in position, locate the provided screws and fasten them into the pre-drilled holes on the console and the attachment point. Use a screwdriver or the provided tool to tighten the screws securely.
- Double-check to ensure that the console is stable and properly attached. Give it a gentle shake to ensure it doesn’t wobble or move.
- Once the console is securely attached, locate the cable connections at the back of the console. These connections include the power cable, the display cable, and any other cables specific to your model.
- Carefully connect each cable to its corresponding port on the console. Make sure the connections are secure and properly aligned. It may be helpful to refer to the instruction manual for guidance on cable connections.
Attaching the console is a crucial step in the assembly process, as it allows you to access all the features and functionality of your ProForm treadmill. Once the console is securely attached and the cables are connected, you’re ready to move on to the next step: attaching the handlebars.
Step 3: Attaching the Handlebars
Now that you have successfully attached the console, it’s time to move on to the next step: attaching the handlebars. The handlebars provide stability and support during your workout, allowing you to maintain balance and control while using the treadmill. Follow these steps to securely attach the handlebars:
- Locate the handlebar attachment points on the main frame of the treadmill. These attachment points are typically located towards the front of the treadmill, on either side.
- Align the handlebars with the attachment points and firmly push them into place. Make sure they are centered and level.
- Once the handlebars are in position, locate the provided screws and fasten them into the pre-drilled holes on the handlebars and the attachment points. Use a screwdriver or the provided tool to tighten the screws securely.
- Double-check to ensure that the handlebars are stable and properly attached. Give them a gentle shake to ensure they are securely fixed and don’t wobble or move.
- Now, take a moment to adjust the height and angle of the handlebars to ensure a comfortable grip. Most ProForm treadmills have adjustable handlebars that can be customized to suit your preference.
Attaching the handlebars is an important step as it ensures your safety and stability while using the treadmill. Once the handlebars are securely attached and properly adjusted, you’re ready to move on to the next step: connecting the cables.
Step 4: Connecting the Cables
With the console and handlebars securely attached, it’s time to connect the necessary cables to ensure proper functionality of your ProForm treadmill. The cables are responsible for transmitting power and data between different components of the treadmill. Follow these steps to connect the cables:
- Locate the cable connections on the back of the console. These connections may include the power cable, the display cable, and any other cables specific to your model of ProForm treadmill.
- Carefully align each cable with its corresponding port on the back of the console. Ensure that the connections are secure and properly aligned before proceeding.
- Gently insert each cable into its respective port until it is fully seated. Take care not to force the connections, as this may damage the cables or the ports.
- Once all the cables are connected to the console, trace their paths along the main frame of the treadmill. Use the provided clips or cable ties to secure the cables and prevent them from tangling or getting in the way during your workouts.
- Check all the cable connections one more time to ensure they are secure and properly fastened. Give each cable a slight tug to make sure it doesn’t come loose.
Connecting the cables is a crucial step in ensuring the smooth operation of your ProForm treadmill. Once the cables are securely connected and properly organized, you’re ready to move on to the next step: assembling the frame.
Step 5: Assembling the Frame
With the console, handlebars, and cables properly connected, it’s time to assemble the frame of your ProForm treadmill. The frame provides the structural support and stability necessary for a safe and effective workout. Follow these steps to assemble the frame:
- Refer to the instruction manual to identify the different components of the frame. These may include the main frame, side rails, and support beams.
- Start by positioning the main frame in the desired location for your treadmill. Make sure the surface is level and sturdy.
- Attach the side rails to the main frame, following the instructions provided. This may involve aligning the pre-drilled holes and fastening screws or bolts.
- Once the side rails are securely attached, locate the support beams and position them according to the instructions provided. These beams are important for the stability and weight capacity of your treadmill.
- Align the support beams with the appropriate slots or holes on the main frame and side rails. Secure them in place with screws or bolts, as indicated in the instruction manual.
- Double-check all the connections and fastenings to ensure they are tight and secure. Give the frame a gentle shake to ensure it doesn’t wobble or move.
Assembling the frame is a critical step in the process, as it ensures the stability and durability of your ProForm treadmill. Once the frame is properly assembled and secured, you’re ready to move on to the next step: attaching the treadbelt.
Step 6: Attaching the Treadbelt
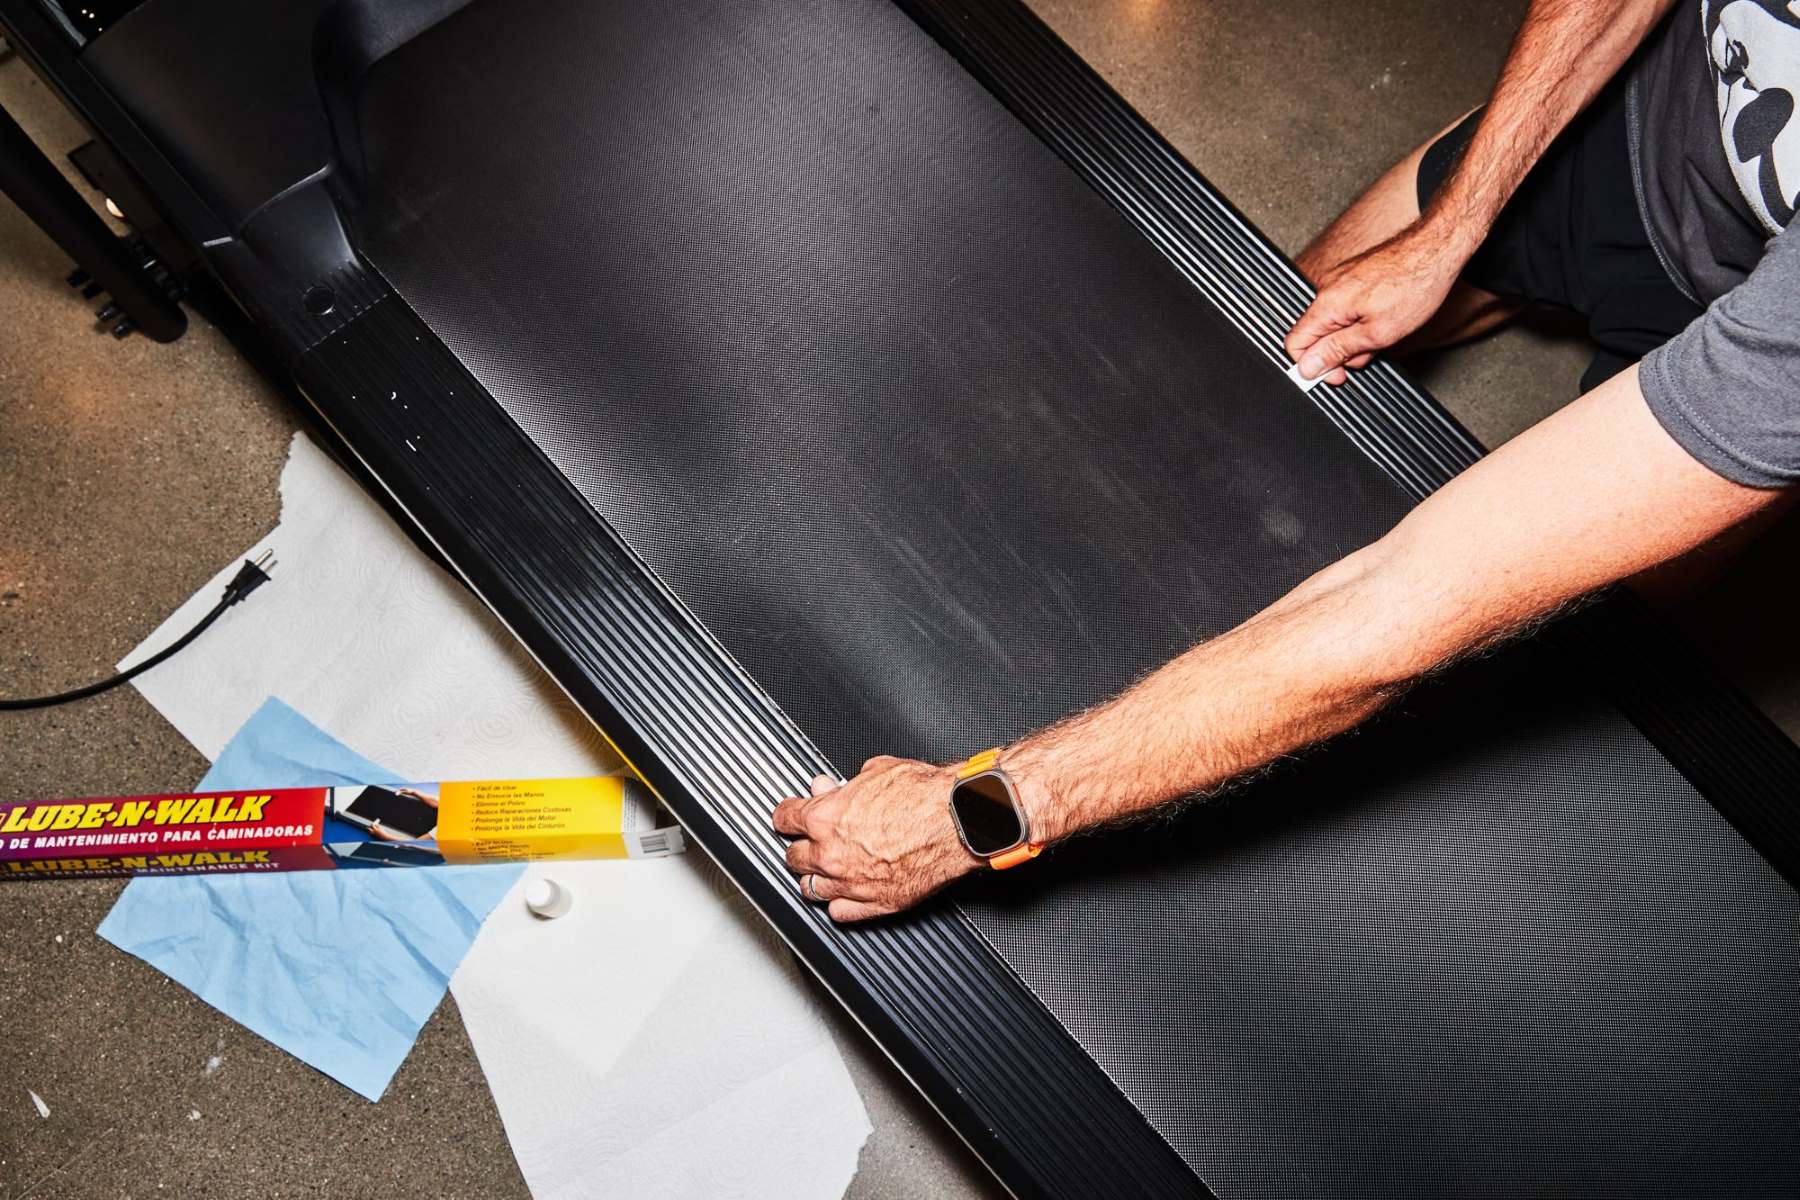
Attaching the treadbelt is an important step in assembling your ProForm treadmill, as it is the surface where you will be walking or running during your workouts. Follow these steps to securely attach the treadbelt:
- Begin by locating the treadbelt and carefully unroll it onto the treadmill deck. Ensure that the treadbelt is centered and straight.
- Refer to the instruction manual to identify the appropriate positioning and alignment of the treadbelt. It should be positioned evenly on the deck, without any wrinkles or twists.
- Check for any alignment marks or guides on the deck, which will help you properly position the treadbelt. Align the edge of the treadbelt with these marks to ensure proper alignment.
- Once the treadbelt is properly positioned, locate the adjustment bolts on both sides of the treadmill. These bolts are used to tighten or loosen the treadbelt as needed.
- Following the instructions provided, use the appropriate tool to tighten the adjustment bolts. Start by tightening them evenly and gradually, ensuring that the treadbelt remains centered and aligned.
- Test the tension of the treadbelt by stepping onto the treadmill. It should feel firm and secure, without any excessive sagging or tightness. Adjust the tension as needed using the adjustment bolts.
Attaching the treadbelt is a crucial step in assembling your ProForm treadmill, as it ensures a smooth and comfortable workout experience. Once the treadbelt is securely attached and properly tensioned, you’re ready to move on to the next step: plugging in the power cord.
Step 7: Plugging in the Power Cord
Now that you have attached the treadbelt, it’s time to plug in the power cord of your ProForm treadmill. The power cord is responsible for supplying the necessary electrical power to the treadmill for it to function. Follow these steps to plug in the power cord:
- Locate the power cord at the back of the treadmill console. Ensure that it is free from any tangles or obstructions.
- Identify the power outlet that is closest to your treadmill. It should be easily accessible and compatible with the plug on the power cord.
- Insert the plug of the power cord into the power outlet, ensuring a secure connection. Push it in firmly but gently, making sure it is fully inserted.
- Check that the power cord is not twisted or bent in a way that could cause damage. Ensure that it is placed in a way that it won’t be a tripping hazard or interfere with the movement of the treadmill.
- Verify that the power switch, usually located on the console, is in the “off” position before plugging in the power cord. This will prevent any accidental starting of the treadmill during the assembly process.
- Once the power cord is securely plugged into the outlet, locate the power switch and turn it on. You should see the console light up, indicating that the treadmill is receiving power.
Plugging in the power cord is a vital step in the assembly process of your ProForm treadmill, as it provides the necessary electrical supply for the treadmill to function. Once the power cord is securely plugged in and the treadmill is turned on, you’re ready to move on to the next step: console setup and calibration.
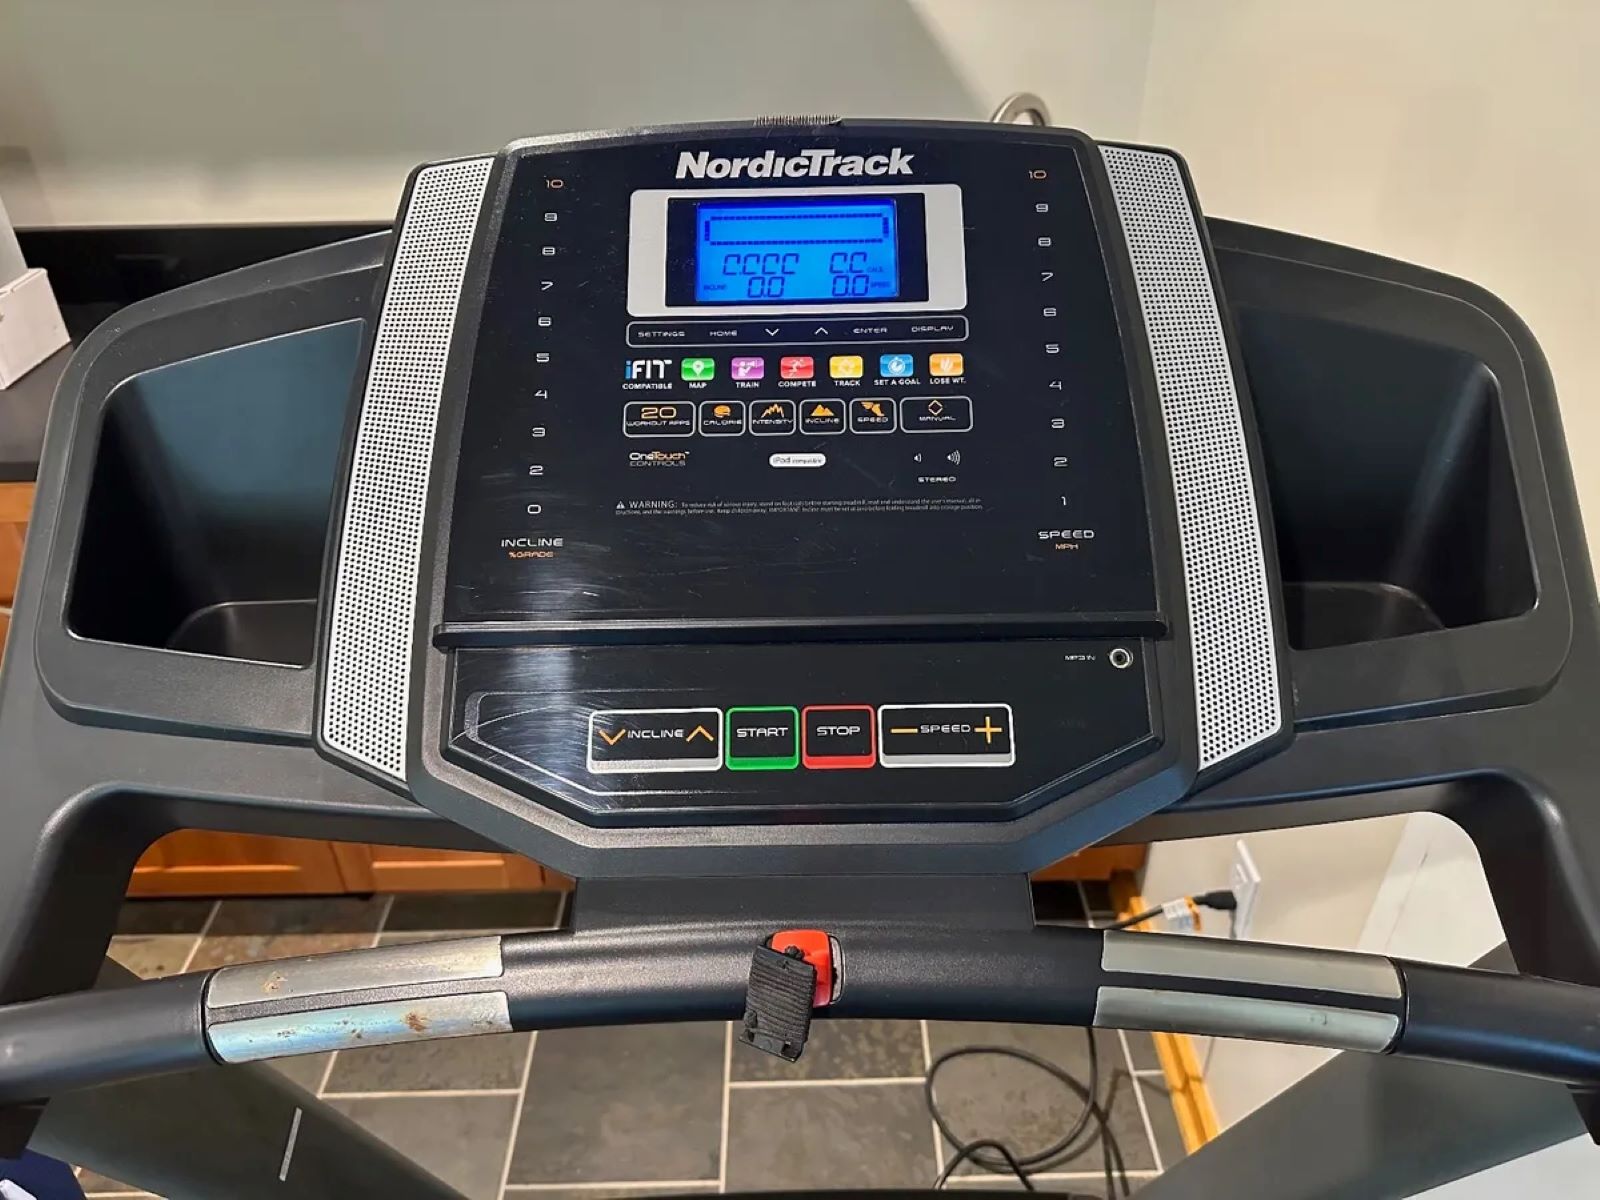
Step 8: Console Setup and Calibration
After plugging in the power cord, it’s time to set up and calibrate the console of your ProForm treadmill. The console is the control center that allows you to adjust settings, select workout programs, and track your progress. Follow these steps to set up and calibrate the console:
- Refer to the instruction manual to familiarize yourself with the different console features and functions specific to your model of ProForm treadmill.
- Turn on the treadmill by pressing the power button or flipping the power switch. The console should display the startup screen or prompt you to enter basic information.
- Follow the on-screen prompts to set up the console. This may involve entering your personal details, such as age, weight, and height, to personalize your workout experience.
- Calibrate the console by following the instructions provided. Calibration ensures that the console accurately measures your distance, speed, and other workout metrics. This step may involve walking or running at a specific pace to establish baseline measurements.
- Adjust the console settings to your preference, such as selecting language, setting workout goals, or choosing specific workout programs. Explore the different options available in the console menu and make the necessary adjustments.
- Test the console functionality by navigating through different features and functions. Familiarize yourself with the buttons and controls to ensure a smooth and seamless workout experience.
Setting up and calibrating the console is a crucial step to ensure the accuracy and effectiveness of your workouts on the ProForm treadmill. Once the console is properly set up and calibrated, you’re ready to move on to the next step: testing the treadmill.
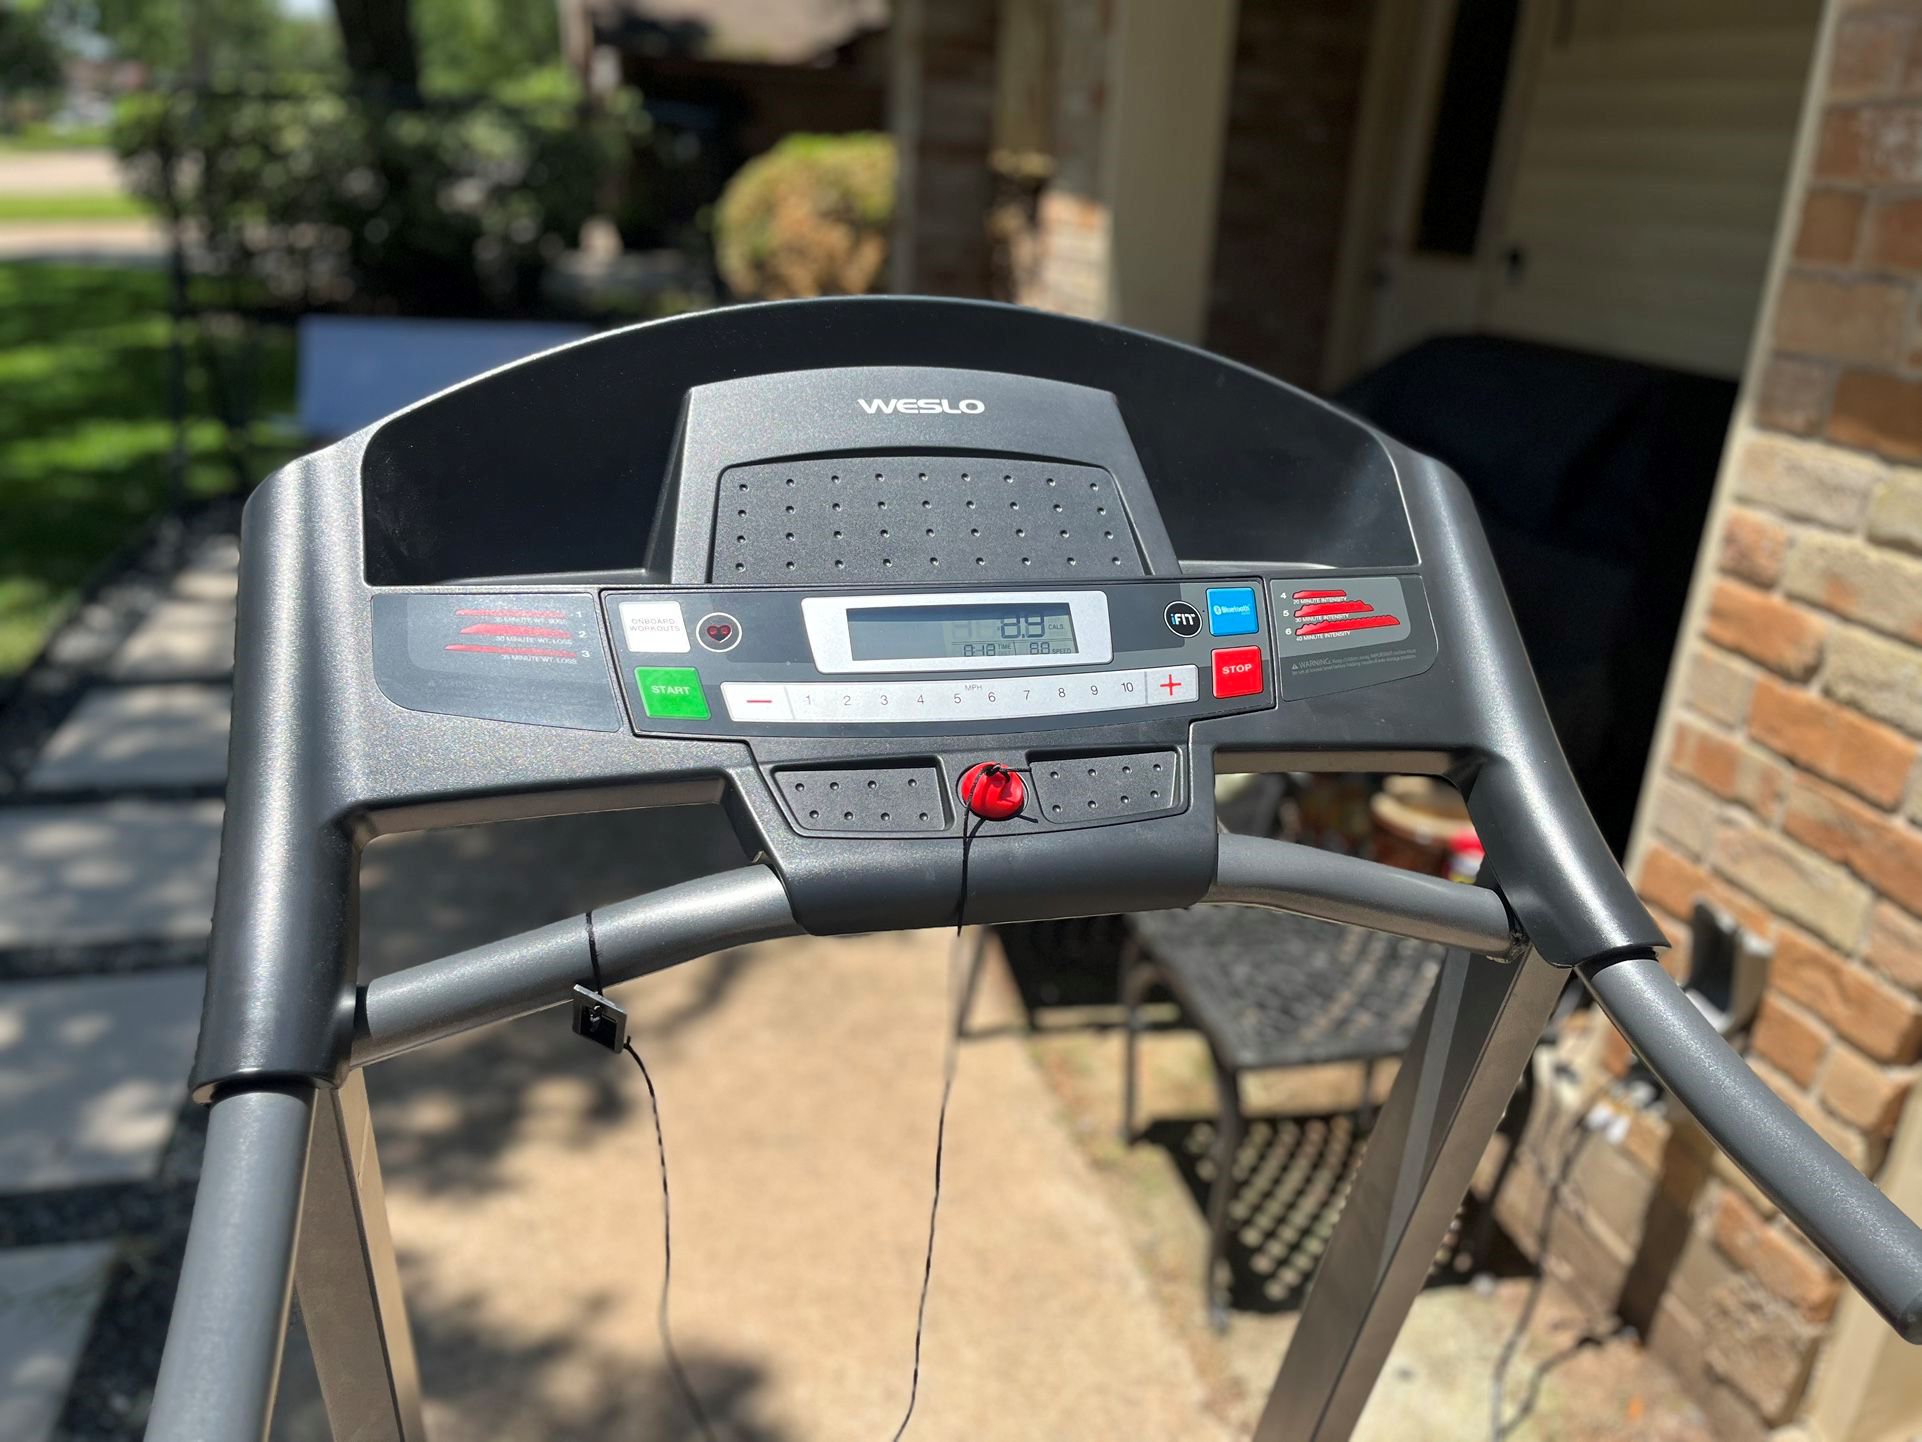
Step 9: Testing the Treadmill
Now that you have completed all the previous steps, it’s time to test your ProForm treadmill to ensure that everything is functioning properly before you start your workouts. Follow these steps to test your treadmill:
- Stand to the side of the treadmill and press the start button on the console. The treadmill should start at a slow speed.
- Step onto the treadmill and gradually increase the speed to a comfortable pace. Take note of how smoothly the treadbelt moves and if there are any unusual noises or vibrations.
- Test the incline feature, if applicable to your model, by adjusting the incline level up and down. Pay attention to how smoothly the treadmill adjusts and if there are any issues or inconsistencies.
- While walking or running on the treadmill, test the different workout programs and features available on the console. Try adjusting the speed, changing the incline, or utilizing any pre-programmed workouts.
- Pay attention to the accuracy of the console’s metrics, such as speed, distance, and calorie count. Compare them with your own estimations and see if they align closely.
- If you encounter any issues or abnormalities during the testing, refer to the troubleshooting section in the instruction manual or reach out to ProForm customer support for assistance.
Testing the treadmill is an essential step to ensure that it is in optimal working condition and ready for your workouts. If everything is functioning smoothly and meeting your expectations, congratulations! You have successfully assembled and tested your ProForm treadmill. Get ready to enjoy the convenience and benefits of exercising in the comfort of your own home!
Conclusion
Congratulations on successfully assembling your ProForm treadmill! By following the step-by-step instructions in this guide, you’ve taken an important step towards achieving your fitness goals in the comfort of your own home.
From unboxing the treadmill to testing its functionality, you have learned how to handle each component with care and precision. By properly attaching the console, handlebars, treadbelt, and connecting the cables, you have ensured the stability and performance of your treadmill.
During the setup process, you calibrated the console, adjusted the settings, and familiarized yourself with the features and functions to enhance your workout experience. Finally, by thoroughly testing the treadmill, you verified that everything is functioning as expected and that you are ready to embark on your fitness journey.
Remember, safety is paramount when using your ProForm treadmill. Always follow the manufacturer’s instructions, wear appropriate attire and footwear, and maintain proper form during your workouts to prevent injuries.
Regular maintenance and care will help prolong the life of your treadmill. Keep it clean, lubricate the treadbelt as recommended, and periodically check for any loose components or issues that may need attention.
Now that your ProForm treadmill is assembled and ready for action, take full advantage of the convenience and versatility it offers. Whether you prefer walking, jogging, or running, the treadmill allows you to customize your workouts and track your progress.
Enjoy the convenience of exercising on your ProForm treadmill whenever it suits your schedule, and let it be your companion in achieving your fitness goals. With dedication, consistency, and proper use, your treadmill can be an invaluable tool in your journey towards a healthier and fitter you.