Brands
How To Calibrate ProForm Treadmill
Modified: January 2, 2024
Learn how to calibrate your ProForm treadmill with our step-by-step guide. Discover the best brands for reliable and accurate calibration.
Introduction
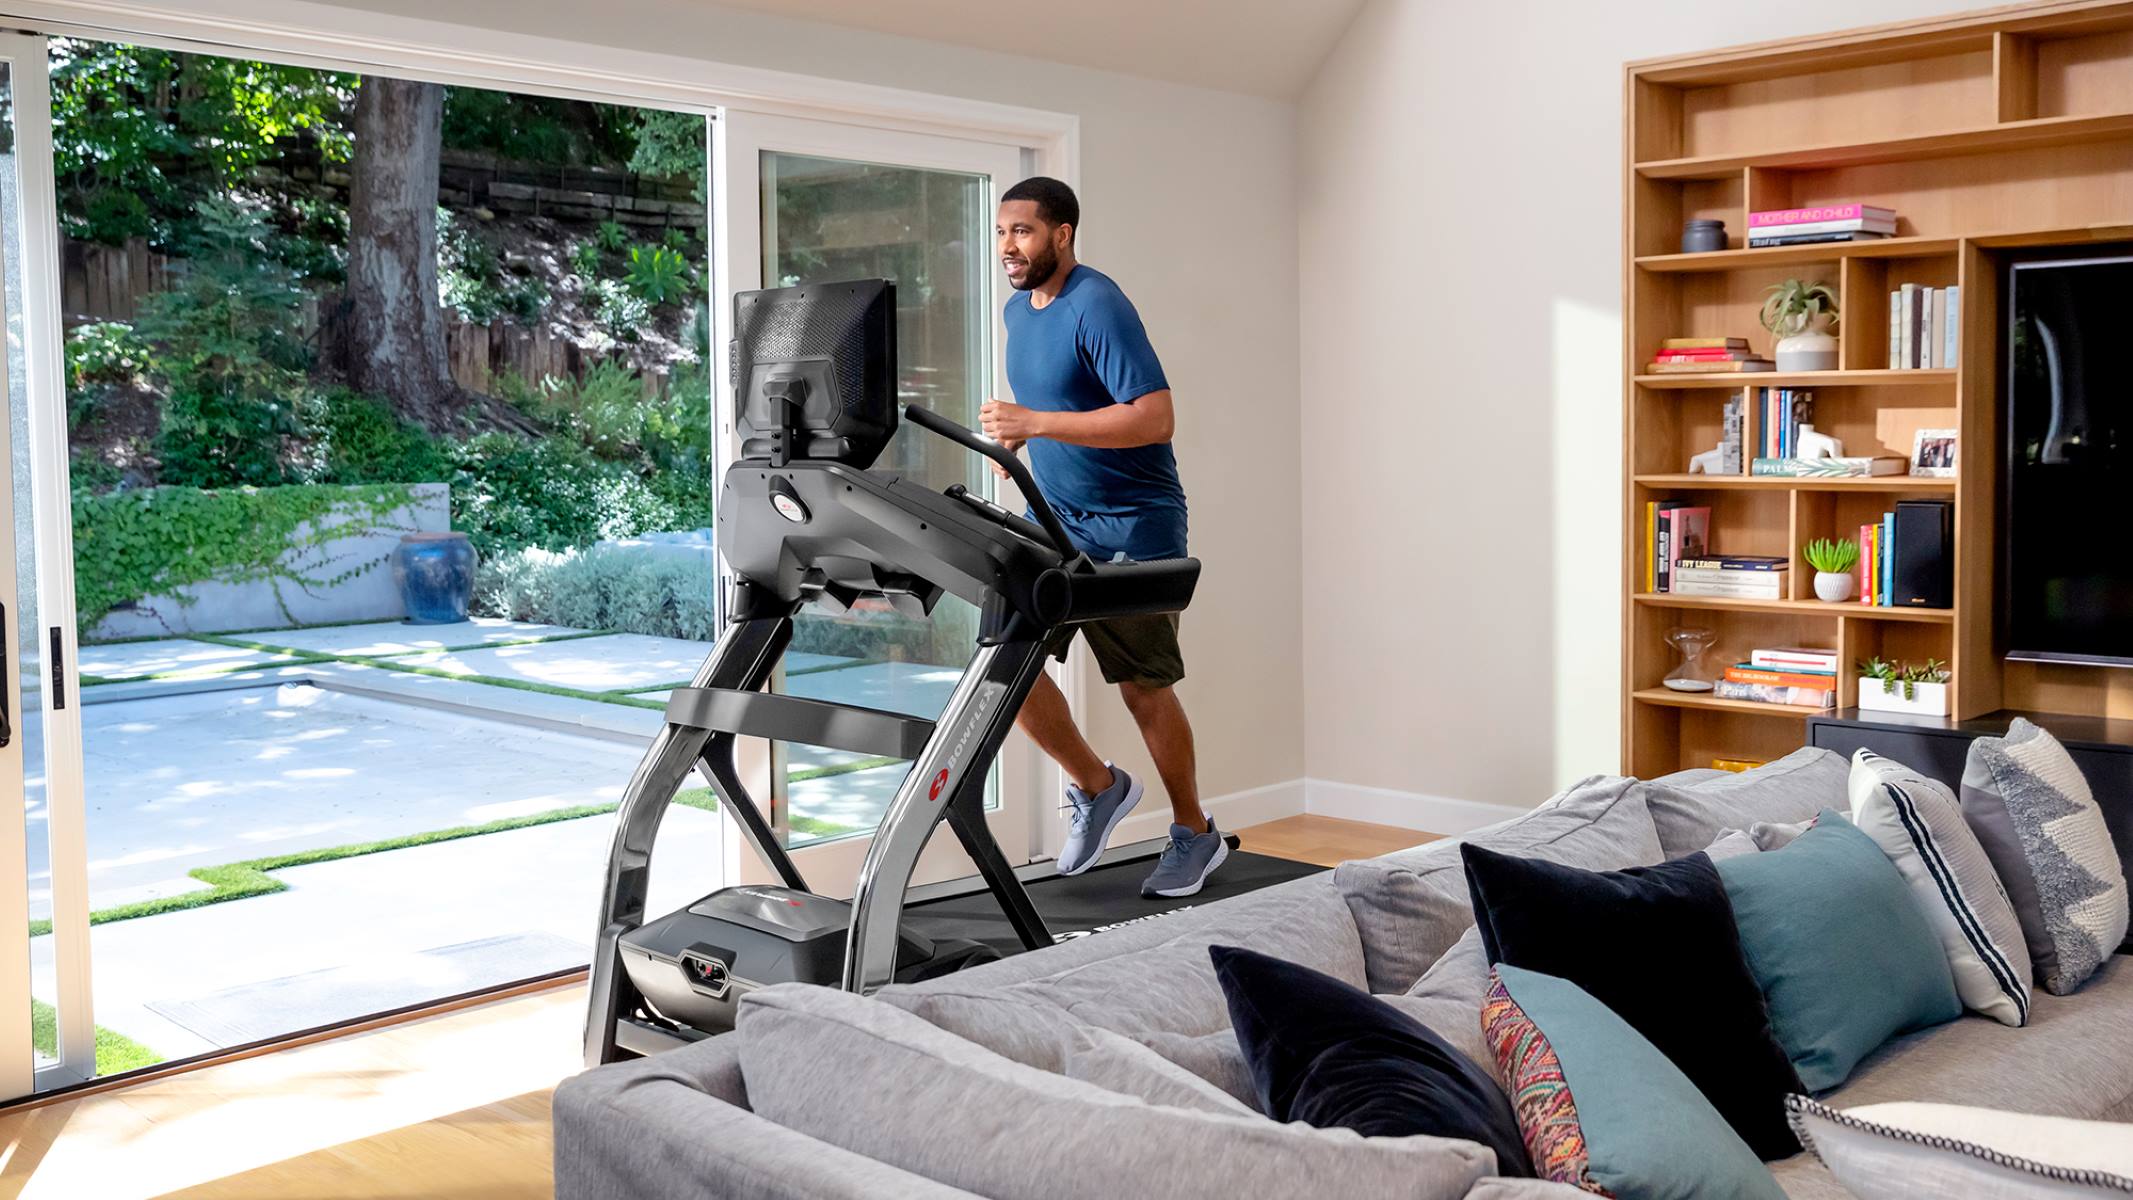
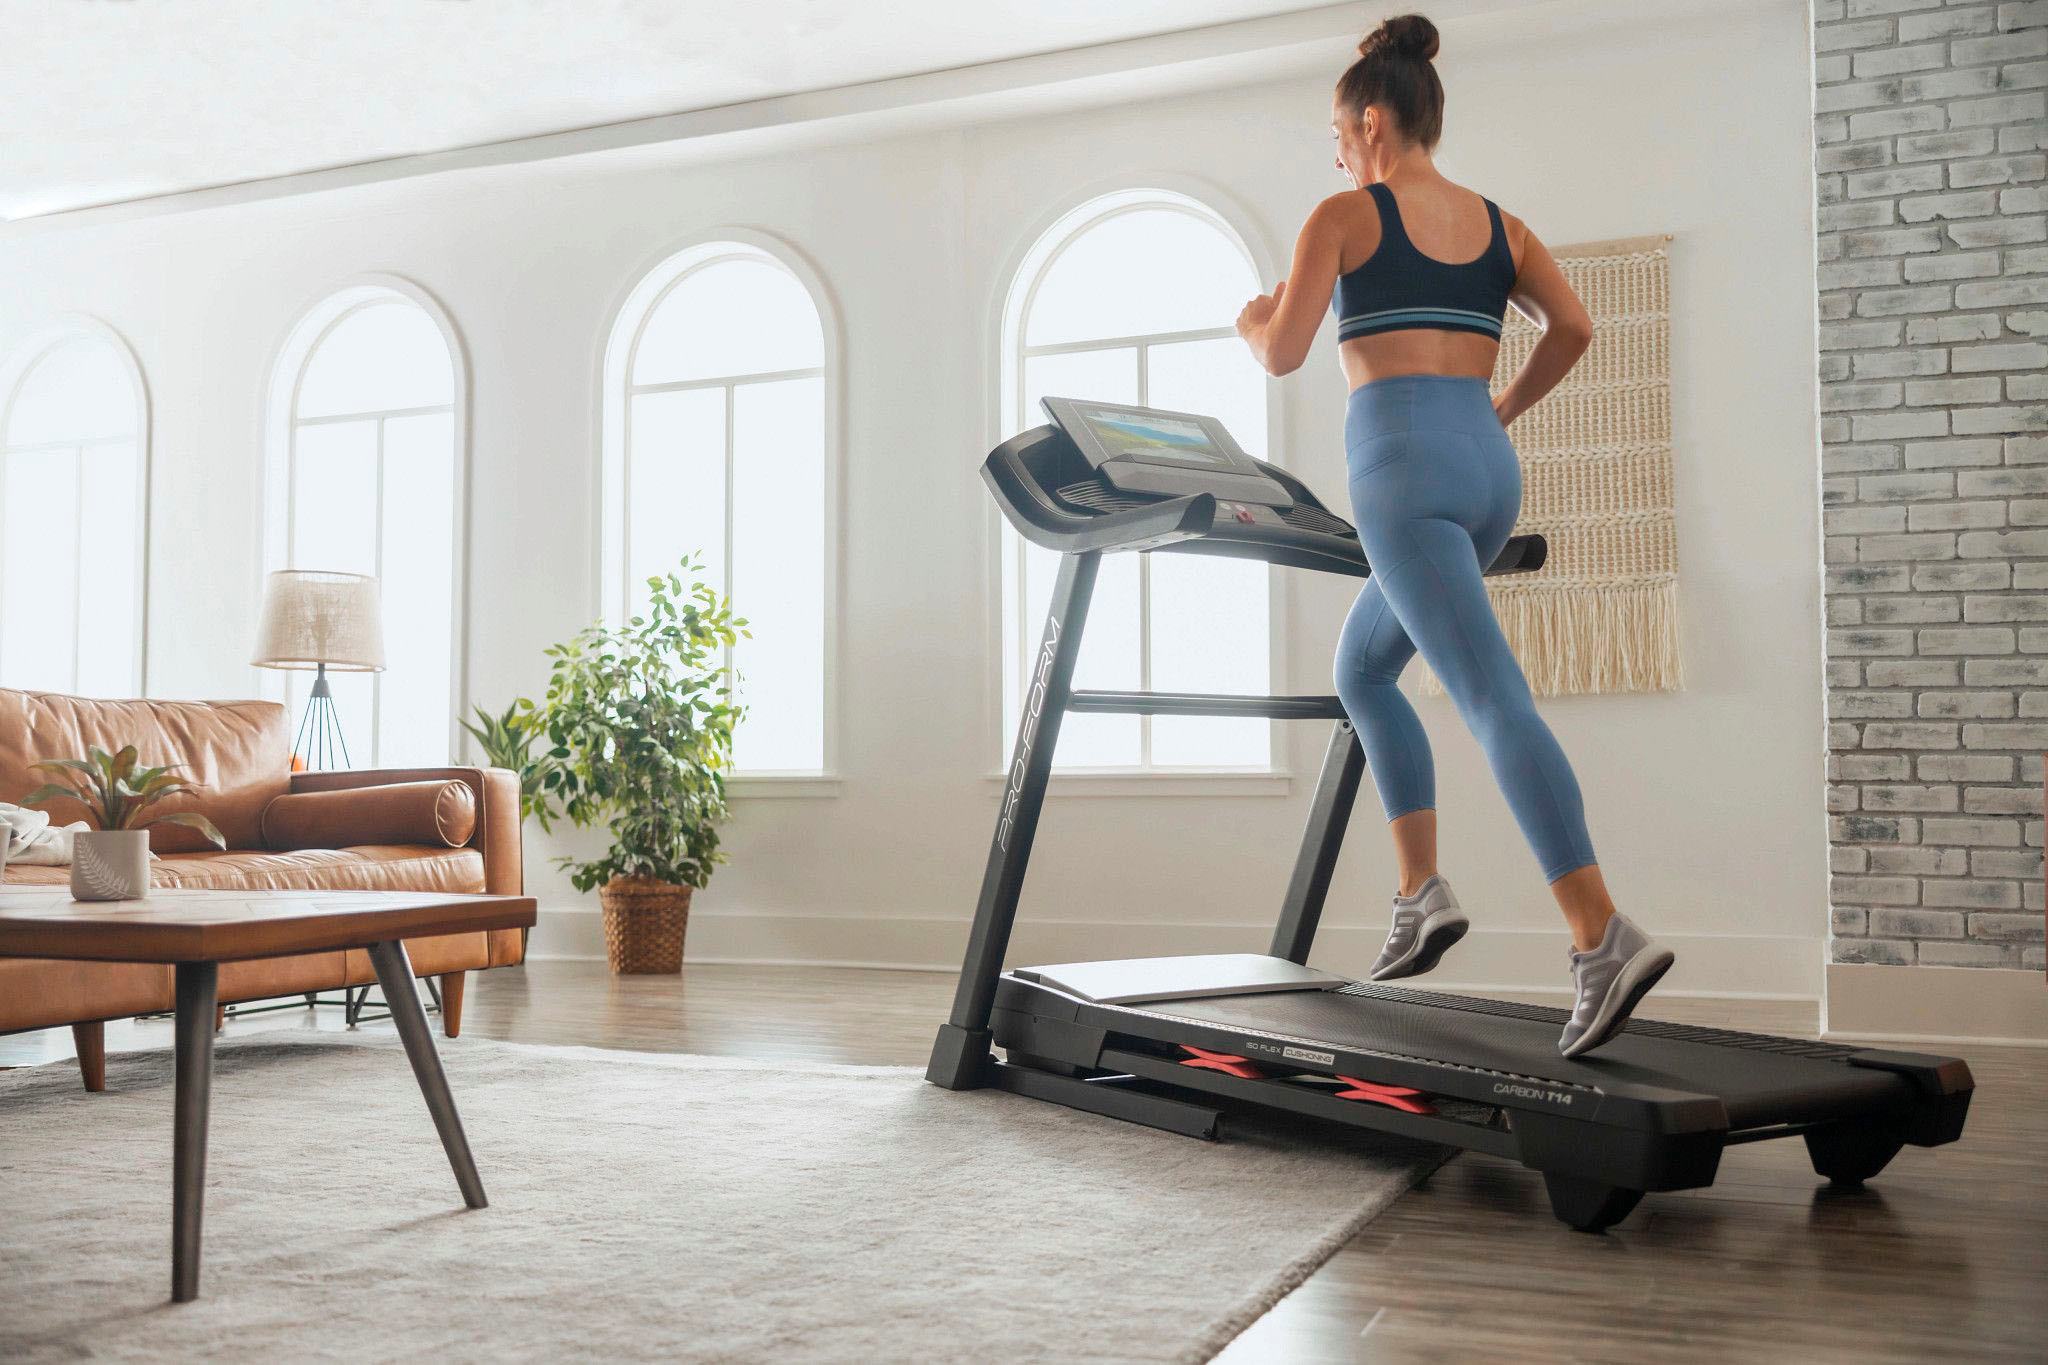
Welcome to the world of ProForm treadmills, where you can experience the ultimate in home fitness. Whether you’re a seasoned runner or just starting on your fitness journey, having a properly calibrated treadmill is essential to ensure accurate and efficient workouts.
Calibrating your ProForm treadmill is a simple but important process that helps maintain the accuracy of speed, distance, and incline settings. By calibrating your treadmill, you can be confident that you’re getting the most out of your workouts and tracking your progress accurately.
In this article, we will guide you through the step-by-step process of calibrating your ProForm treadmill so that you can enjoy a seamless and effective workout every time. You don’t need to be a tech-savvy person to complete the calibration process; all you need is a little time and attention to detail.
Before we dive into the step-by-step instructions, let’s take a moment to understand why treadmill calibration is necessary. Over time, factors such as belt tension, motor performance, and electronic components can cause slight variations in speed and incline accuracy. These variations may not be noticeable at first, but they can significantly impact the effectiveness of your workouts and the accuracy of your fitness tracking. That’s why periodic calibration is recommended to ensure consistent and accurate results.
Now that you understand the importance of calibration, let’s get started with the step-by-step process for calibrating your ProForm treadmill.
Step 1: Understanding the Calibration Process
Before you begin calibrating your ProForm treadmill, it’s important to have a clear understanding of the calibration process. Calibration involves adjusting the settings on your treadmill to ensure accurate measurement of speed, distance, and incline. This helps you get the most out of your workouts and track your progress effectively.
ProForm treadmills come with built-in calibration features that make the process straightforward. However, the specific steps may vary slightly depending on the model of your treadmill. It’s essential to consult the user manual or ProForm’s official website for model-specific instructions.
The calibration process typically involves accessing the treadmill’s calibration mode, selecting a specific speed, and allowing the treadmill to run at that speed for a certain duration. The treadmill’s software then measures the actual speed and adjusts the calibration accordingly. The process may also involve verifying the calibration results to ensure accuracy.
It’s worth noting that calibration may also be required if you’ve recently moved your treadmill or made any adjustments to its components. Changes in the environment and usage can affect the accuracy of the treadmill’s measurements, making calibration necessary for optimal performance.
Understanding the calibration process will help you approach the next steps with confidence. In the following steps, we will guide you through preparing the treadmill for calibration, accessing the calibration mode, selecting the calibration speed, and completing the calibration process.
Now that you have a clear understanding of what calibration entails, let’s move on to the next step: preparing your ProForm treadmill for calibration.
Step 2: Preparing the Treadmill for Calibration
Before starting the calibration process, it’s important to ensure that your ProForm treadmill is properly prepared. This involves a few simple steps to ensure optimal conditions for accurate calibration.
First, make sure that your treadmill is placed on a level surface. Uneven surfaces can affect the accuracy of the calibration and may lead to incorrect measurements during your workouts. Use a spirit level or a smartphone app to ensure that the treadmill is completely level.
Next, check the condition of the treadmill belt. Make sure it is clean, free from any debris, and properly lubricated. A well-maintained belt will ensure smooth operation during the calibration process and accurate measurements during your workouts. Consult the user manual for specific instructions on cleaning and lubricating the belt.
Additionally, ensure that the treadmill is connected to a stable power source. Unstable power supply or low battery charge can affect the calibration process and lead to inaccurate readings. It’s recommended to connect your treadmill to a dedicated power outlet to ensure a consistent and reliable power supply.
Once you’ve taken care of these basic preparations, it’s also a good idea to double-check that all the treadmill’s components are in good working order. Inspect the handrails, console, buttons, and safety features to ensure that everything is functioning properly. If you notice any issues, it’s best to address them before proceeding with the calibration.
Remember, proper preparation is crucial for accurate calibration. By taking the time to prepare your treadmill, you’ll set the stage for a successful calibration process and ensure reliable measurements during your workouts.
Now that you’ve prepared your ProForm treadmill for calibration, let’s move on to the next step: accessing the calibration mode.
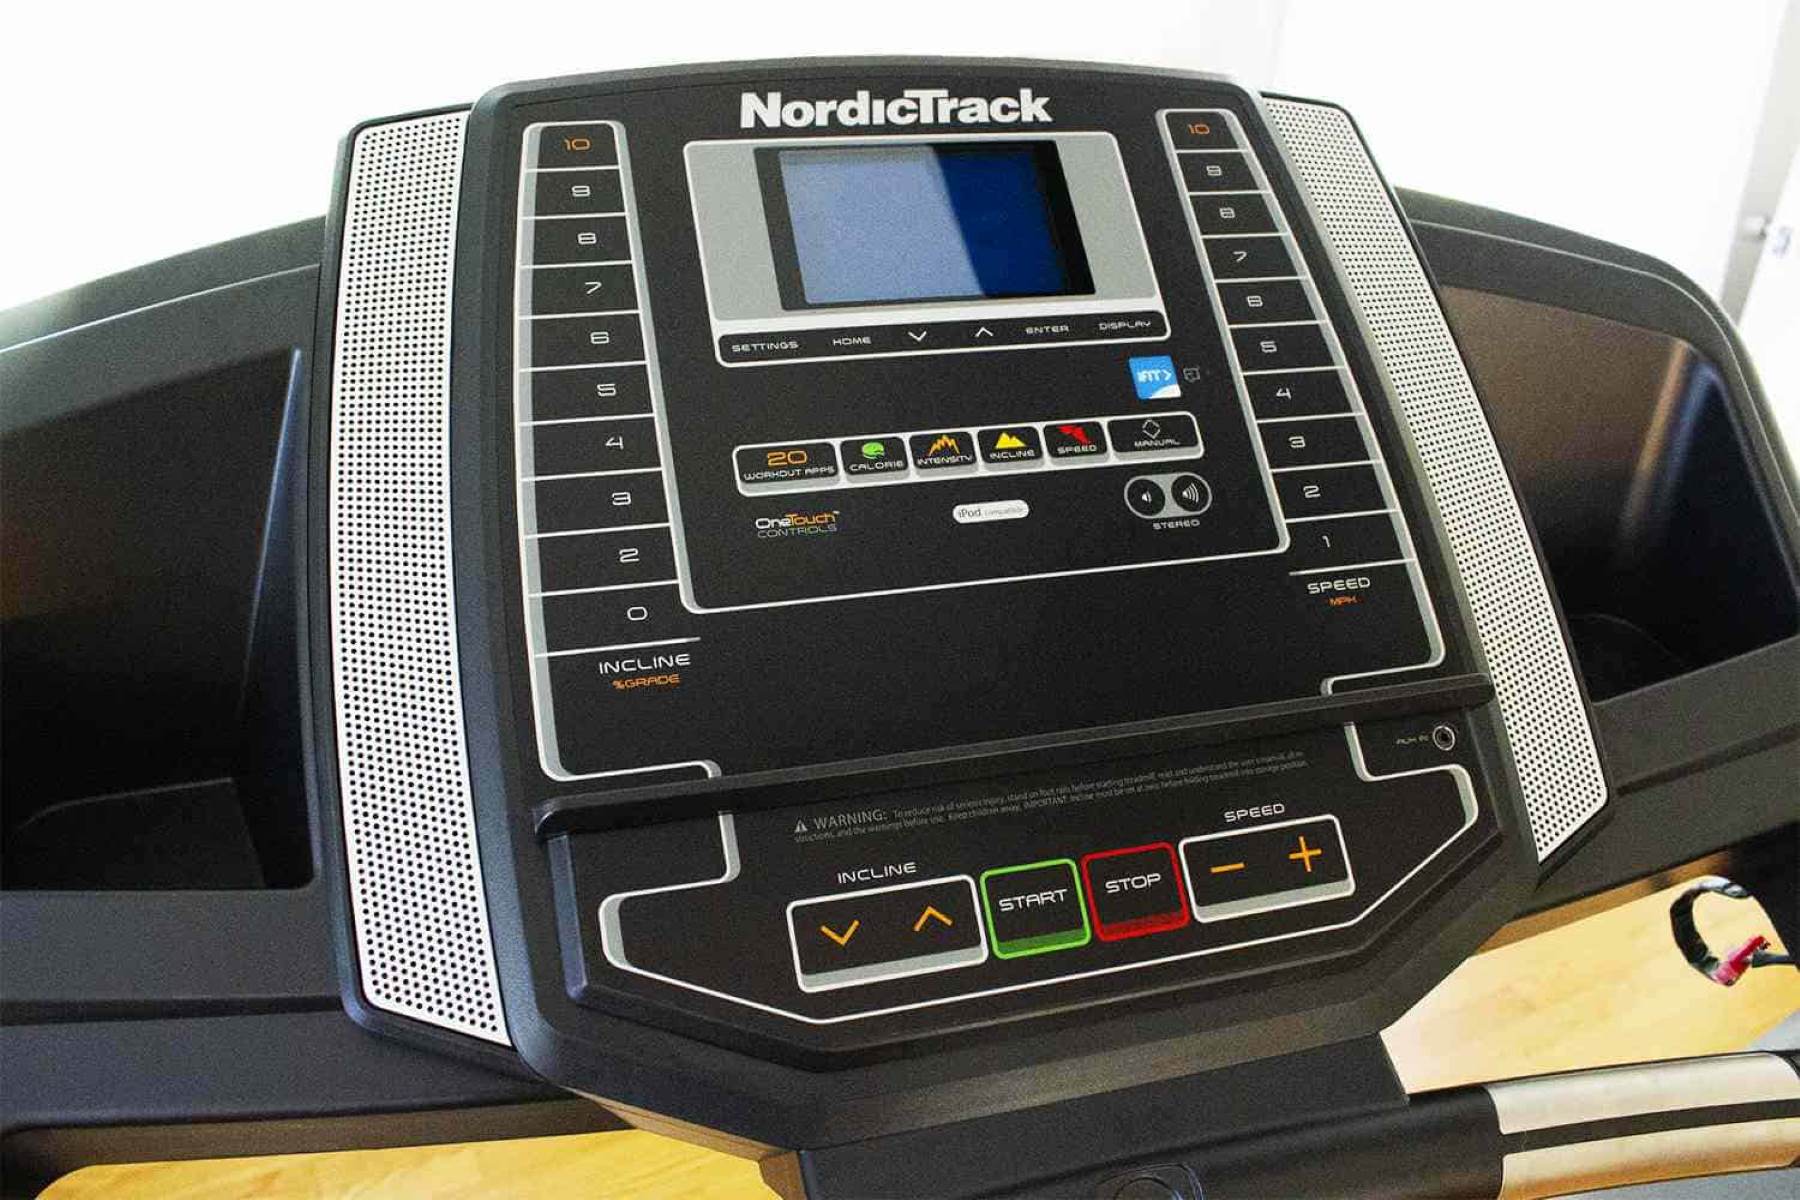
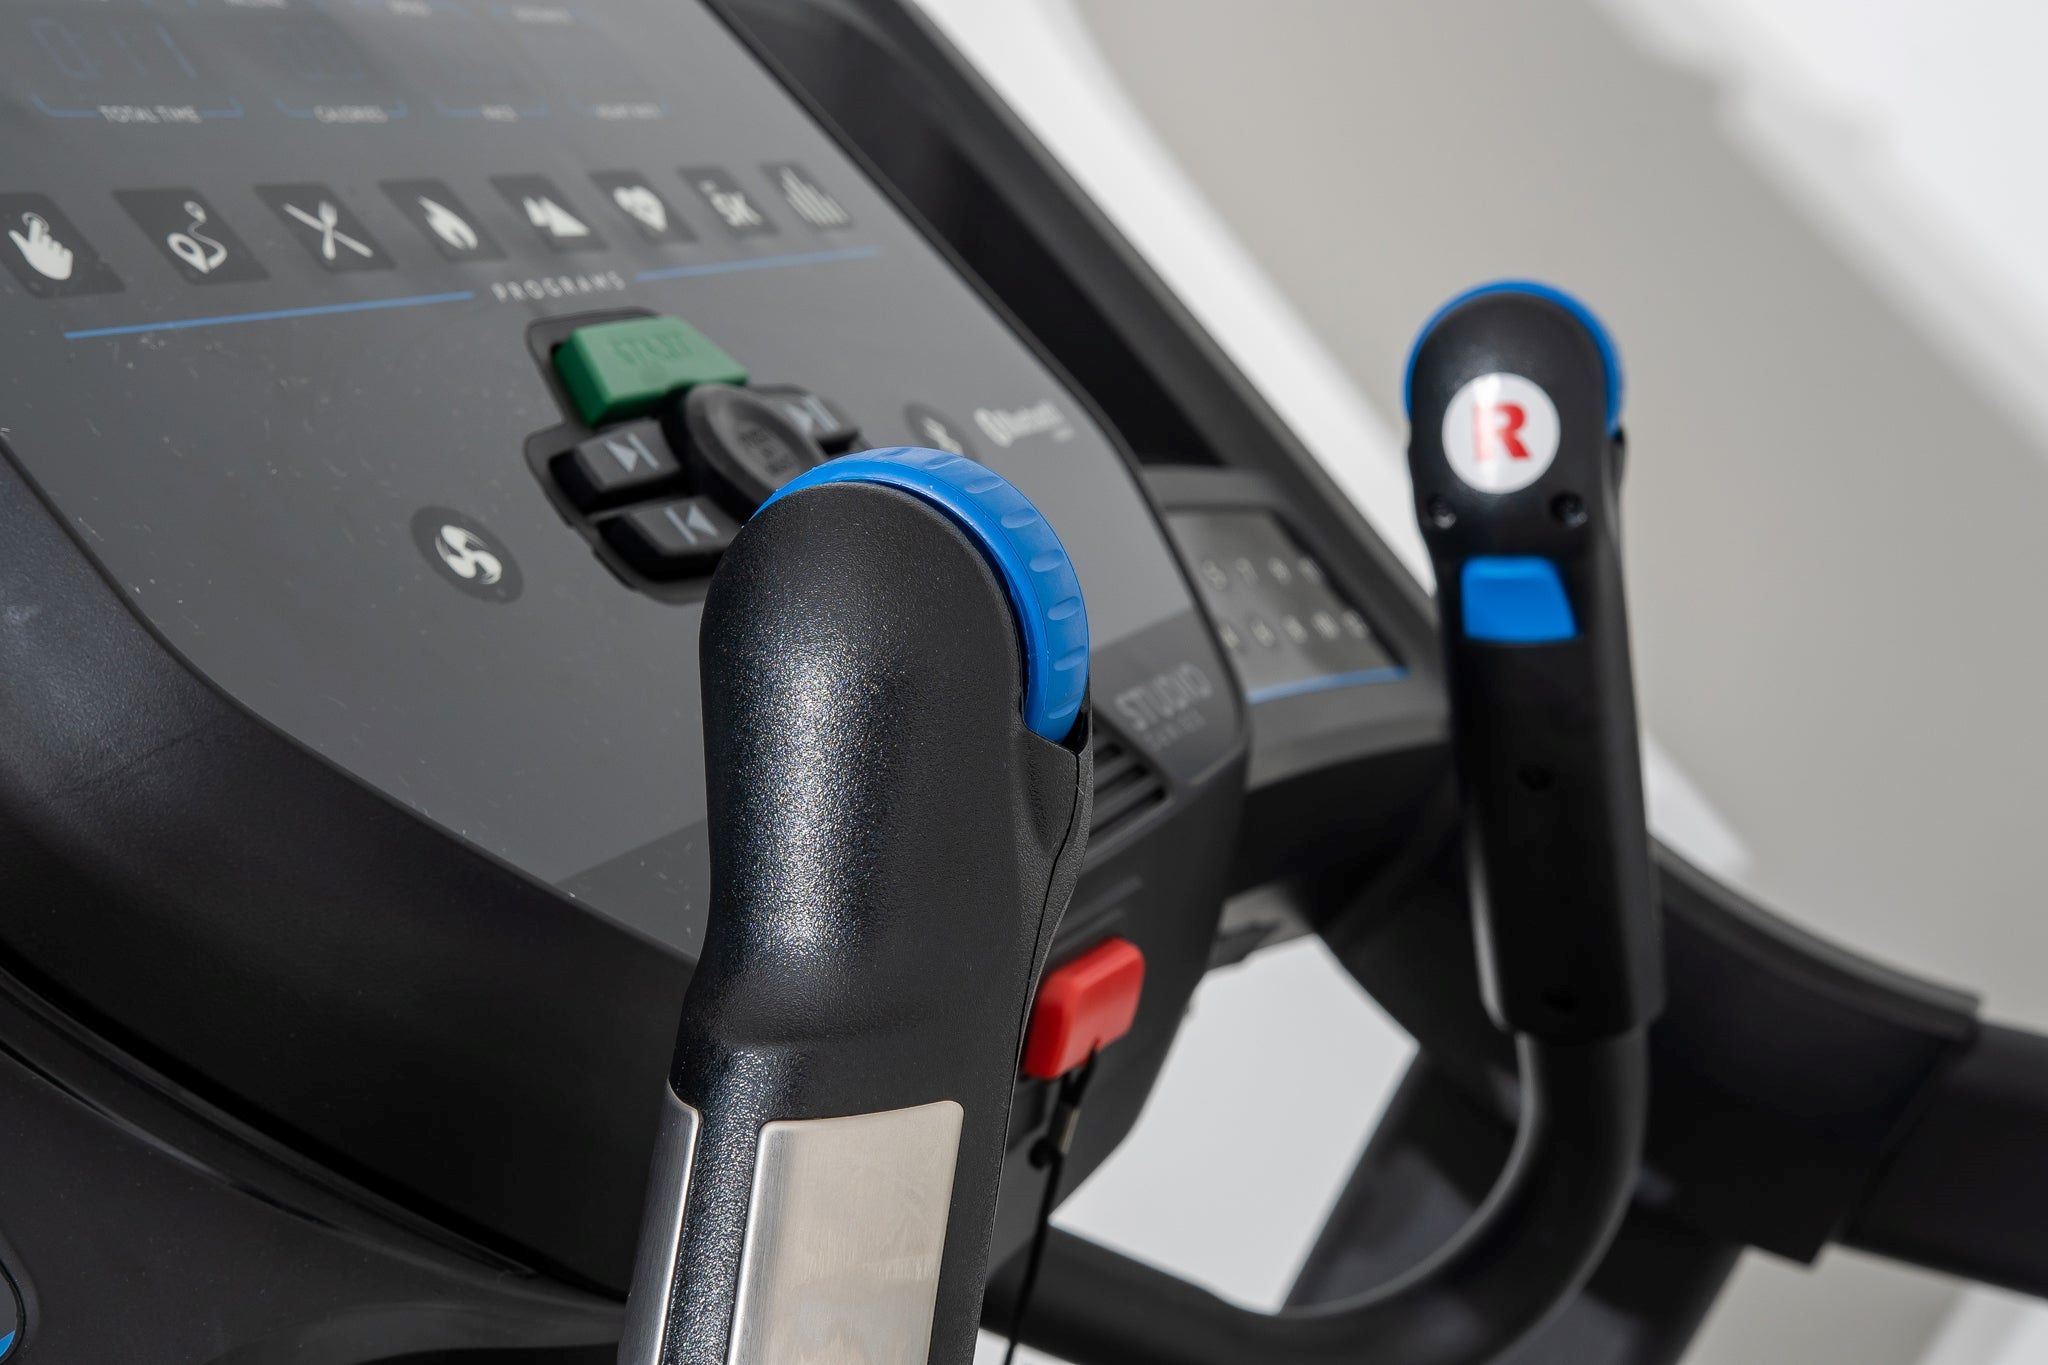
Step 3: Accessing the Calibration Mode
Once you have prepared your ProForm treadmill, the next step is to access the calibration mode. This mode allows you to make the necessary adjustments to ensure accurate measurement of speed, distance, and incline.
The process of accessing the calibration mode may vary slightly depending on the model of your ProForm treadmill. It’s important to refer to the user manual or the manufacturer’s website for specific instructions tailored to your treadmill model. However, the general steps outlined below will give you a good starting point:
- Make sure the treadmill is powered on and in standby mode.
- Look for a button or a combination of buttons on the console that is used for accessing the settings or calibration functions. This may be labeled as “Calibrate,” “Settings,” or something similar.
- Press the designated button(s) to enter the calibration mode. This will typically prompt a menu or options related to calibration.
- Use the navigation buttons or the touchscreen (if available) to select the calibration option. It may be labeled as “Calibrate Speed” or “Calibrate Incline.”
It’s important to note that some ProForm treadmills may require a specific sequence of button presses to access the calibration mode. Again, refer to the user manual or manufacturer’s instructions for your specific model to ensure accuracy.
Once you have successfully accessed the calibration mode, you’re ready to choose the calibration speed, which will be covered in the next step.
Now that you know how to access the calibration mode on your ProForm treadmill, let’s move on to step 4: choosing the calibration speed.
Step 4: Choosing the Calibration Speed
Now that you’ve accessed the calibration mode on your ProForm treadmill, it’s time to choose the calibration speed. The calibration speed is the specific speed at which the treadmill will run during the calibration process.
The calibration speed you choose will depend on your fitness goals and the capabilities of your treadmill model. Some models may offer predetermined calibration speeds, while others may allow you to manually input your desired speed.
When choosing the calibration speed, it’s important to consider your fitness level and the typical speeds at which you normally run or walk on the treadmill. Choose a speed that falls within your usual workout range to ensure that the calibration process accurately reflects your intended workouts.
If your ProForm treadmill offers predetermined calibration speeds, refer to the user manual or manufacturer’s instructions for the recommended speeds. These predetermined speeds are usually carefully chosen to provide accurate calibration results.
If your treadmill allows you to manually input the calibration speed, you can use the speed controls on the console or the touchscreen (if available) to select your desired speed. Make sure to set the speed precisely to avoid any inaccuracies during the calibration process.
It’s important to note that the calibration speed should be consistent with the speed you typically use during your workouts. If you predominantly walk on the treadmill, choose a calibration speed that reflects your walking pace. Similarly, if you’re an avid runner, select a speed that represents your running stride.
Once you have chosen the calibration speed, you’re ready to proceed to the next step: starting the calibration process.
Now that you know how to choose the calibration speed on your ProForm treadmill, let’s move on to step 5: starting the calibration process.
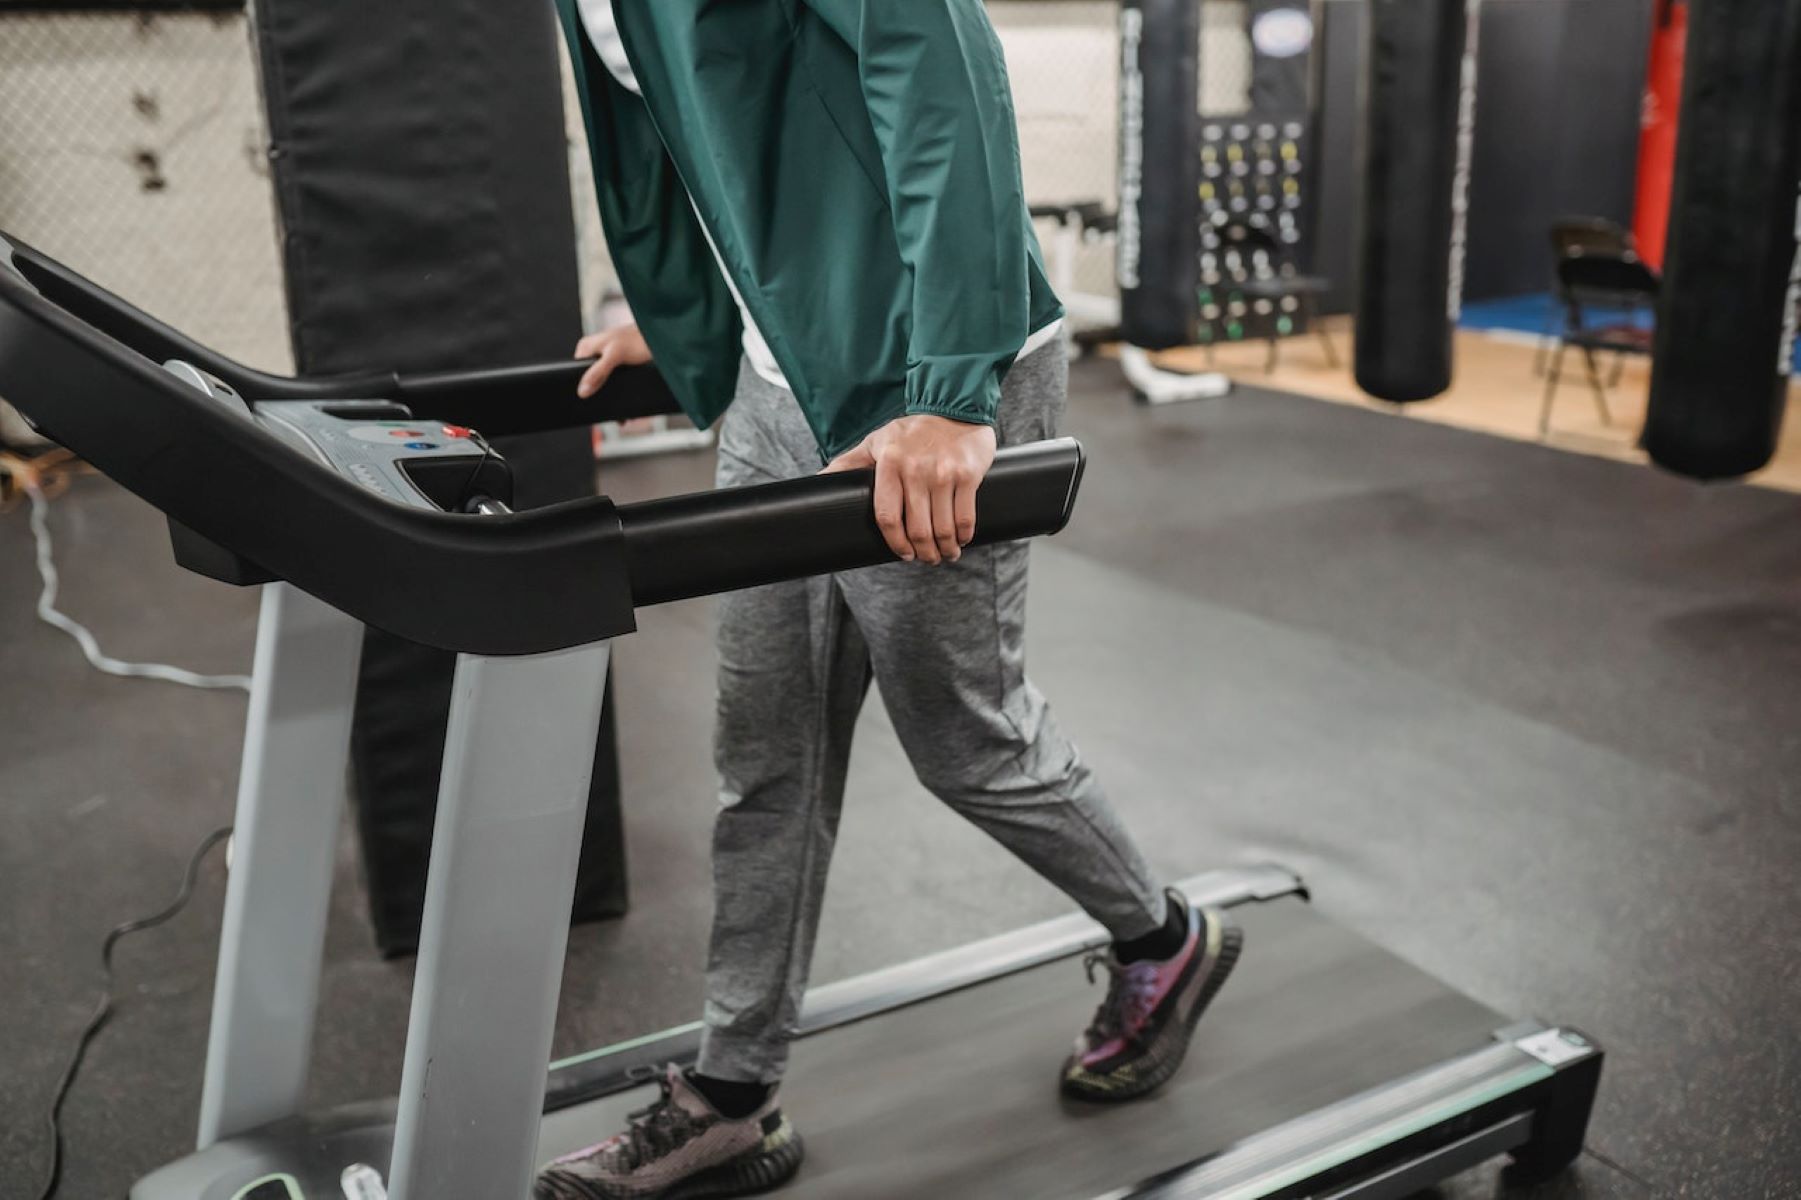
Step 5: Starting the Calibration Process
With the calibration speed selected, you’re ready to start the calibration process on your ProForm treadmill. This step will involve running the treadmill at the chosen speed to allow the software to measure and adjust the calibration.
The exact steps to start the calibration process may vary depending on the model of your ProForm treadmill. Consult the user manual or manufacturer’s instructions for your specific model to ensure accuracy. However, the general guidelines below will give you an idea of what to expect:
- Ensure that you are in the calibration mode on the treadmill console.
- Once you’re in the calibration mode, there may be a prompt to confirm or start the calibration process. Follow the on-screen instructions or press the appropriate button to begin.
- The treadmill will start running at the selected calibration speed. Keep in mind that the process may take a few minutes, during which you should avoid any interruptions or adjustments to the speed or incline settings.
- As the treadmill runs at the calibration speed, the software will measure its actual speed and make any necessary adjustments to ensure accuracy.
- Pay attention to any display messages or indicators that may appear during the calibration process. These messages will guide you on when the calibration is complete or if any further actions are required.
It’s important to stay near the treadmill and monitor the process closely to ensure a successful calibration. Avoid stepping on the belt or interfering with the operation of the treadmill while the calibration is taking place.
Once the calibration process is complete, you’re ready to move on to the next step: verifying the calibration results. We’ll cover this step in detail in the following section.
Now that you know how to start the calibration process on your ProForm treadmill, let’s move on to step 6: verifying the calibration results.
Step 6: Verifying the Calibration Results
After completing the calibration process on your ProForm treadmill, it’s important to verify the calibration results to ensure accuracy and reliability. Verifying the calibration results will help you confirm that the treadmill is now accurately measuring speed, distance, and incline settings.
To verify the calibration results, you can perform a few simple checks and measurements:
- Using a measuring tape or a known distance, measure the distance between the front and rear rollers of the treadmill. Compare this measured distance to the distance displayed on the treadmill console. If there is a significant discrepancy, it may indicate that further calibration adjustments are necessary.
- If your treadmill has incline capability, set the incline to a known value (such as 0% or level ground) and verify that the treadmill actually reflects that setting. Use a level or a smartphone app to confirm that the treadmill is indeed level and not slightly inclined. Adjustments can be made if needed.
- Run or walk on the treadmill at various speeds and compare the displayed speed to your own perception of your pace. If you notice any inconsistencies or significant variations, consider recalibrating the treadmill or contacting ProForm customer support for assistance.
By performing these verification checks, you can have confidence that the calibration process was successful and that your ProForm treadmill is accurately measuring your workouts.
It’s worth noting that even after calibration, it’s a good practice to periodically check and verify the accuracy of your treadmill. Over time, factors such as belt wear, motor performance, and environmental changes can impact calibration. Regular verification ensures that you’re getting the most accurate measurements, helping you track your progress and achieve your fitness goals effectively.
Now that you’ve verified the calibration results on your ProForm treadmill, let’s move on to the final step: completing the calibration process.
Step 7: Completing the Calibration
Once you have verified the calibration results and are satisfied with the accuracy of your ProForm treadmill, it’s time to complete the calibration process. Completing the calibration involves finalizing any adjustments made during the calibration process and ensuring that the treadmill is ready for your workouts.
The steps to complete the calibration may vary slightly depending on the model of your treadmill. However, the general guidelines below will give you an idea of what to expect:
- If there are any prompts or messages on the treadmill console indicating the need to complete the calibration, follow the provided instructions to finalize the calibration process.
- Some treadmills may require you to press a specific button or combination of buttons to exit the calibration mode and return to the regular operating mode. Refer to the user manual or manufacturer’s instructions for your specific model to ensure accuracy.
- Once you have exited the calibration mode, it’s a good practice to power off the treadmill and then power it back on. This helps ensure that any changes made during the calibration are fully implemented and that the treadmill is in the correct operating state.
After completing these steps, your ProForm treadmill is now calibrated and ready for your workouts. Take a moment to appreciate the effort you’ve put into ensuring the accuracy and effectiveness of your treadmill. With a properly calibrated treadmill, you can have confidence in the accuracy of your speed, distance, and incline measurements, allowing you to track your progress and achieve your fitness goals effectively.
Remember, periodic calibration is recommended to maintain the optimal performance of your ProForm treadmill. As you continue to use your treadmill, it’s a good idea to periodically check and verify the accuracy of the measurements and make any necessary adjustments or recalibrations.
Now that you’ve completed the calibration process on your ProForm treadmill, you’re all set to enjoy a seamless and effective workout experience. Get ready to embark on your fitness journey knowing that your treadmill is calibrated and ready to help you achieve your fitness goals.
Conclusion
Calibrating your ProForm treadmill is an important step to ensure accurate and efficient workouts. By following the step-by-step process outlined in this article, you can calibrate your treadmill and have confidence in the accuracy of your speed, distance, and incline measurements.
Throughout the calibration process, it’s essential to refer to the user manual or manufacturer’s instructions specific to your ProForm treadmill model. This will ensure that you follow the correct steps and settings for your particular treadmill.
Remember, proper preparation is key. Before calibrating your treadmill, ensure that it is placed on a level surface, the belt is clean and lubricated, the power source is stable, and all components are in working order.
Accessing the calibration mode allows you to make the necessary adjustments. Choose the calibration speed that accurately represents your typical workout pace and select it either from predetermined options or by manually inputting the speed.
Starting the calibration process entails running the treadmill at the chosen speed and allowing the software to measure and adjust the calibration. Monitor the process closely and avoid interruptions or adjustments to ensure a successful calibration.
After completing the calibration process, verify the results. Perform measurements, check the incline, and compare displayed speed to your perceived pace to ensure accurate readings. Periodically check and verify the accuracy of your treadmill after calibration.
Finally, complete the calibration by finalizing any adjustments made and returning the treadmill to its regular operating mode. Power off and power on the treadmill to fully implement the changes made during calibration.
With a properly calibrated ProForm treadmill, you can enjoy accurate workout measurements, track your progress effectively, and work towards your fitness goals with confidence.
Remember to consult the user manual or reach out to ProForm customer support if you encounter any difficulties during the calibration process or require further assistance.
Now that you have the knowledge and tools to calibrate your ProForm treadmill, it’s time to step on the belt and embrace a satisfying and impactful workout experience.