
Featured
How To Move Sole F80 Treadmill
Modified: August 19, 2023
Learn how to move and relocate your Sole F80 Treadmill hassle-free with our step-by-step guide. Get featured tips and tricks for a smooth and stress-free transition.
Introduction
Moving a treadmill can be a daunting task, especially if you own a heavy-duty machine like the Sole F80 Treadmill. However, with the right preparation and a step-by-step approach, you can successfully relocate your treadmill to a new location without any hassle. Whether you are moving houses or simply rearranging your home gym, this article will guide you through the process of moving your Sole F80 Treadmill safely and efficiently.
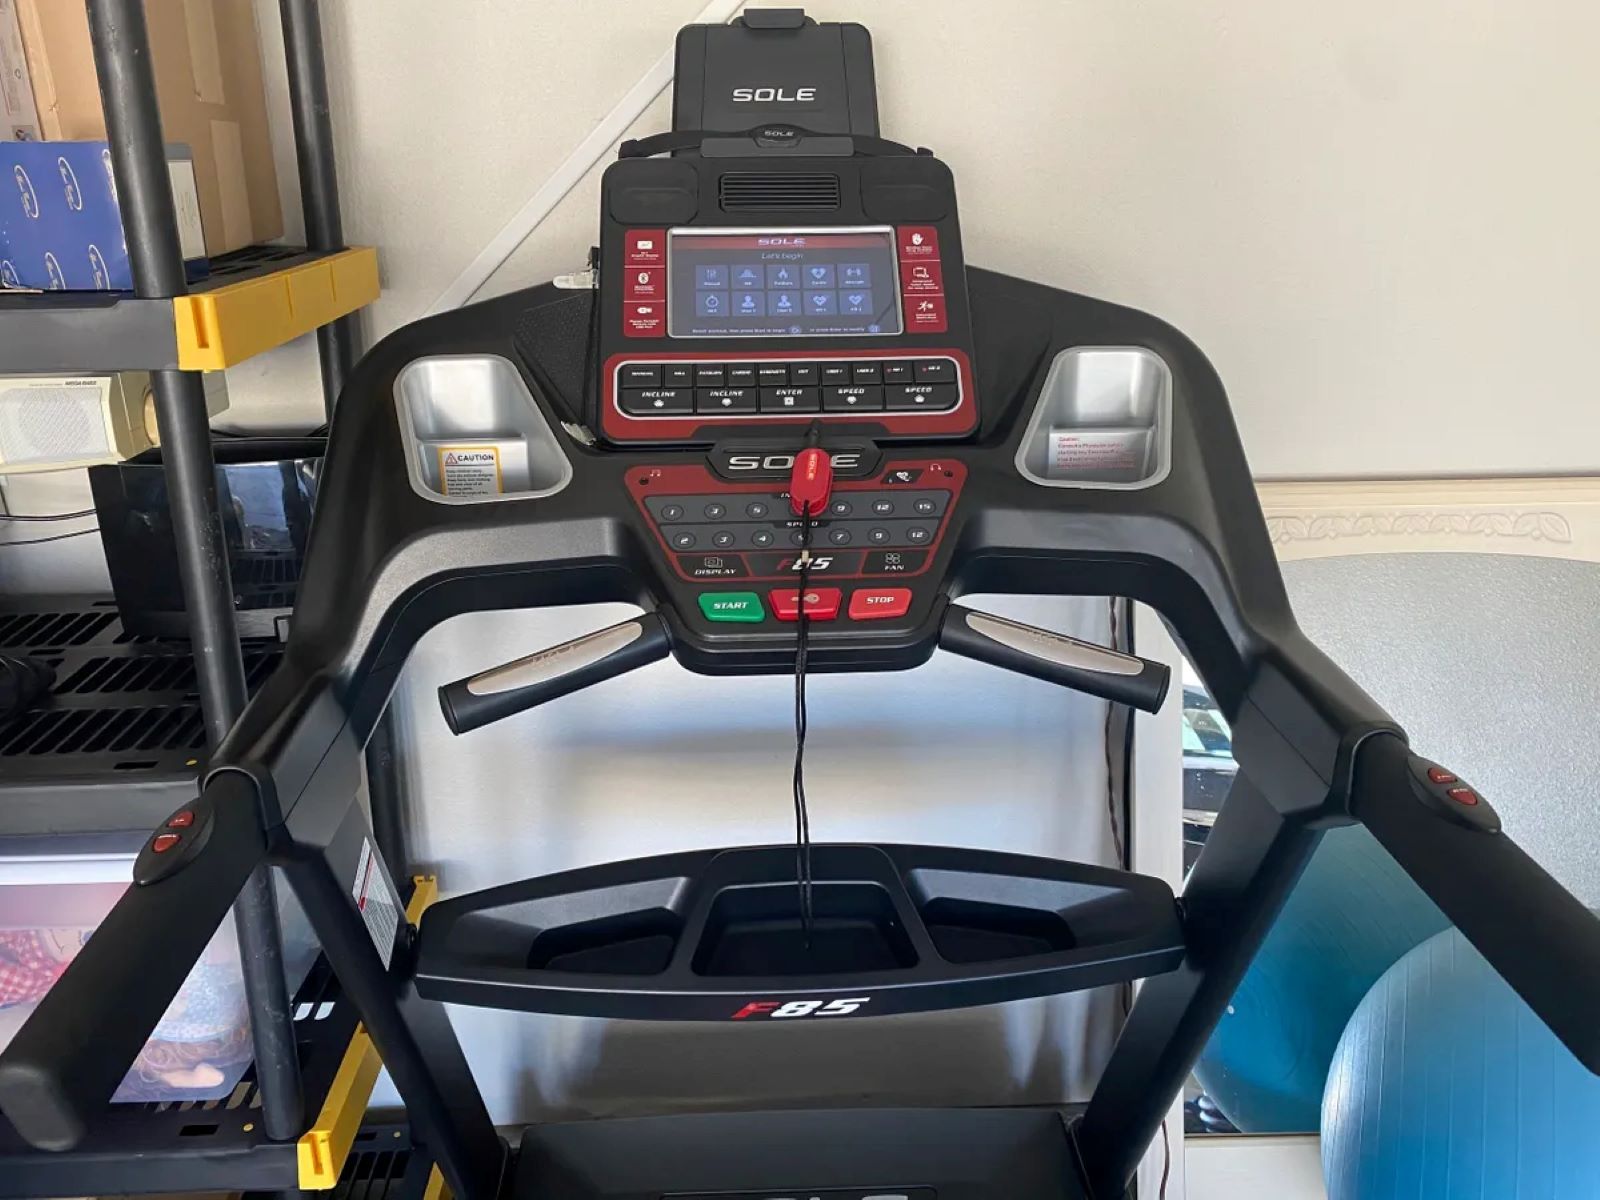
The Sole F80 Treadmill is a popular choice for fitness enthusiasts due to its sturdy build, advanced features, and smooth operation. It offers a wide range of workout programs, adjustable incline levels, and a spacious running surface, making it a valuable investment for anyone committed to their fitness journey.
Before you begin moving the Sole F80 Treadmill, it is essential to gather the necessary tools and resources to ensure a smooth and successful relocation. Additionally, it is recommended to have at least one person assisting you during the moving process to ensure safety and prevent any injuries.
In the following sections, we will outline a comprehensive guide to help you move your Sole F80 Treadmill step by step. From preparing the treadmill for moving to reassembling it in its new location, we will cover each aspect of the process to ensure a seamless transition. So, let’s get started!
Step 1: Preparation
Before you can begin the process of moving your Sole F80 Treadmill, it is crucial to take the time to properly prepare for the relocation. By following these preparation steps, you can ensure that your treadmill is protected during the move and that the moving process is as smooth as possible.
1. Assess the path: First and foremost, evaluate the pathway you will be using to move the treadmill. Ensure that there is enough space and clearance to maneuver the treadmill without any obstructions. Take measurements of any narrow corridors, doorways, or staircases to determine if the treadmill can fit through them or if any modifications are needed.
2. Gather necessary tools: Collect all the tools you will need for disassembling and reassembling the treadmill. This may include a set of wrenches, screwdrivers, adjustable pliers, and a power drill. Having these tools readily available will help save time and prevent any frustration during the moving process.
3. Disconnect the power: Before you start disassembling the treadmill, unplug it from the power source to prevent any electric shocks or short circuits. Make sure to also remove any accessories or attachments, such as safety keys or consoles, from the treadmill.
4. Take photos and label cables: It is beneficial to take clear photos of the treadmill from various angles before disassembling it. These photos will serve as a reference when reassembling the treadmill later. Additionally, labeling the cables and connections with masking tape or color-coded stickers will simplify the reassembly process.
5. Clear the area: Remove any obstacles or furniture near the treadmill to create a clear path for moving it. This will minimize the risk of accidents or damaging the treadmill during transportation.
By thoroughly preparing for the relocation process, you can ensure that your Sole F80 Treadmill is ready to be disassembled and moved safely. Taking the time to assess the pathway, gather the necessary tools, disconnect the power, take photos, label cables, and clear the area will set you up for a successful and stress-free moving experience. In the next section, we will guide you through the process of clearing the pathway to facilitate the smooth movement of your treadmill.
Step 2: Clearing the Pathway
Now that you have prepared for the relocation by gathering the necessary tools and assessing the pathway, it’s time to focus on clearing the pathway to ensure a smooth movement of your Sole F80 Treadmill. Follow these steps to remove any obstacles and create a safe and unobstructed path.
1. Remove furniture and objects: Clear the area around the treadmill by removing any furniture, rugs, or objects that may be in the way. This will create a wide and open pathway for moving the treadmill without any hindrances.
2. Secure loose objects: Take a few moments to secure loose objects, such as loose cords, cables, or other items in the vicinity of the treadmill. This will prevent any tripping hazards and ensure a safe environment during the moving process.
3. Protect walls and corners: Use padding or tape to protect the walls and corners along the pathway. This will help prevent any accidental scratches or damages to both the treadmill and your home while moving it.
4. Measure doorways and narrow spaces: Measure the dimensions of doorways, hallways, and any narrow spaces that the treadmill needs to pass through. Ensure that the treadmill can fit through these spaces without any issues. If necessary, consider removing doors or temporarily taking apart furniture to create more clearance.
5. Clear obstacles on the path: Clear any obstacles that may be present on the path to the treadmill’s new location. This includes removing loose rugs, toys, or other items that could impede the movement of the treadmill.
Remember, a clear pathway will make it easier and safer to move your Sole F80 Treadmill. By removing furniture and objects, securing loose items, protecting walls and corners, measuring doorways, hallways, and narrow spaces, as well as clearing any obstacles on the path, you are ensuring a smoother and more efficient moving process. In the next step, we will guide you through the process of disassembling the treadmill for easier transportation.
Step 3: Disassembling the Treadmill
Now that you have cleared the pathway, it’s time to disassemble your Sole F80 Treadmill for easier transportation. Follow these steps to safely disassemble the treadmill:
1. Read the manual: Start by familiarizing yourself with the owner’s manual for your Sole F80 Treadmill. The manual will provide specific instructions for disassembling the treadmill and ensure that you don’t miss any important steps.
2. Unplug and remove any accessories: Begin by unplugging the power cord from the wall outlet. If your treadmill has any accessories attached, such as a console or safety key, remove them as well.
3. Fold the running deck: Most treadmills, including the Sole F80, have a mechanism to fold the running deck. Follow the instructions in the manual to safely fold the deck. Use the locking mechanism, if available, to secure it in place.
4. Remove the console: Disconnect any wires or cables connecting the console to the treadmill. Carefully remove the console and set it aside in a safe place. Be cautious while handling the console to prevent any damage.
5. Disassemble the frame: Use the necessary tools to disassemble the frame of the treadmill. Pay attention to any labeled cables or connections that you had previously marked or photographed to ensure proper reassembly later.
6. Take apart the arms and handlebars: If applicable, separate the arms and handlebars from the main frame. Follow the instructions in the manual for your specific treadmill model.
7. Wrap and pack the parts: Once the treadmill is disassembled, wrap each part securely with packing materials to protect them during transportation. Use bubble wrap, foam, or blankets to provide cushioning.
Remember to keep all the screws, bolts, and small parts organized and labelled to prevent losing them during the moving process. Consider using sealable bags or small containers to keep them together.
Disassembling your Sole F80 Treadmill will make it more manageable and safer to transport. By following the steps outlined in the owner’s manual, unplugging and removing accessories, folding the running deck, disconnecting the console and cables, disassembling the frame, separating the arms and handlebars, and wrapping and packing the parts, you can ensure that your treadmill is ready for the move. In the next step, we will discuss how to safely move the disassembled treadmill to its new location.
Step 4: Moving the Treadmill
With your Sole F80 Treadmill disassembled and properly packed, it’s time to focus on safely moving it to its new location. Follow these steps to ensure a smooth and secure transportation:
1. Enlist assistance: Moving a disassembled treadmill can still be a challenging task due to its size and weight. Therefore, it’s important to have at least one person to assist you during the moving process. This will not only make the task easier but also reduce the risk of injuries.
2. Lift with proper technique: When lifting the treadmill, remember to use proper lifting techniques. Bend your knees, keep your back straight, and lift with your leg muscles. Avoid twisting your body while holding the treadmill to prevent any strain or injury.
3. Use moving blankets or padding: Place moving blankets or padding underneath the treadmill to protect both the treadmill and the floor. This will prevent scratches and damage to both surfaces during transportation.
4. Utilize a dolly or moving straps: If available, use a dolly or moving straps to aid in the transportation of the treadmill. Secure the disassembled parts to the dolly or use the straps to hold them in place while moving.
5. Take precautions with stairs and thresholds: If you encounter stairs during the move, approach them with caution. Consider using a ramp or additional assistance to safely navigate the incline. Lift the treadmill slowly and steadily to prevent any accidents or damage.
6. Communicate and coordinate: Maintain clear communication with your assistant(s) during the moving process. Discuss any obstacles or challenges that may arise and work together to overcome them. Take breaks as needed to avoid fatigue or strain.
7. Secure the parts in the transportation vehicle: If you are using a vehicle to transport the treadmill, make sure to secure the disassembled parts properly. Use straps or bungee cords to hold the parts in place and prevent them from shifting or sliding during transit.
It’s important to prioritize safety while moving your disassembled Sole F80 Treadmill. By enlisting assistance, lifting with proper technique, using moving blankets or padding, utilizing a dolly or moving straps, taking precautions with stairs and thresholds, communicating and coordinating with your assistant(s), and securing the parts in the transportation vehicle, you can ensure a smooth and secure move. In the next step, we will discuss the process of reassembling the treadmill in its new location.
Step 5: Reassembling the Treadmill
Now that you’ve successfully moved your disassembled Sole F80 Treadmill to its new location, it’s time to reassemble it. Follow these steps to ensure a proper reassembly:
1. Refer to the owner’s manual: Start by referring to the owner’s manual for your specific treadmill model. It will provide detailed instructions on how to reassemble the treadmill correctly.
2. Lay out the parts: Lay out all the disassembled parts in an organized manner. This will allow you to easily identify and access each component during the reassembly process.
3. Follow the reverse order: Begin reassembling the treadmill by following the reverse order of the disassembly process. Start with the frame and gradually attach the different components, such as the arms, handlebars, console, and cables, as per the instructions in the manual.
4. Use the reference photos: If you took photos of the treadmill before disassembling it, refer to them as a visual guide during the reassembly process. This will ensure that you have a reference point for the placement of cables, connectors, and other components.
5. Secure all connections: Double-check that all cables and connectors are properly secured. Use the labels or markings made during the disassembly to guide you in reconnecting the cables correctly.
6. Test the treadmill: Once the reassembly is complete, plug in the treadmill and perform a thorough test. Check if all the functions, including the console, incline, and speed adjustment, are working properly. This will help ensure that the treadmill is fully functional after the move.
7. Make necessary adjustments: If any adjustments are needed, such as leveling the treadmill or calibrating the incline, refer to the owner’s manual for instructions. Follow the recommended steps to fine-tune the treadmill’s performance.
By referring to the owner’s manual, laying out the parts, following the reverse order of disassembly, using reference photos, securing all connections, testing the treadmill, and making necessary adjustments, you can successfully reassemble your Sole F80 Treadmill in its new location. In the next step, we will discuss the final stage of the process – testing and calibration.
Step 6: Testing and Calibration
After reassembling your Sole F80 Treadmill, it’s crucial to perform testing and calibration to ensure its optimal performance. Follow these steps to properly test and calibrate your treadmill:
1. Power on the treadmill: Plug in the treadmill and turn on the power. Allow the console to boot up and initialize.
2. Test the console: Test each function and feature of the console, including the display, buttons, and preset workout programs. Ensure that all the controls are responsive and functioning correctly.
3. Check incline functionality: Test the incline feature by adjusting the incline level gradually. Make sure it increases and decreases smoothly without any delays or abnormal noises.
4. Check speed functionality: Test the speed control by gradually increasing and decreasing the speed settings. Ensure that the speed adjusts smoothly and accurately.
5. Monitor belt tracking: Watch the belt as it moves during a test run. Ensure it is centered and tracking properly. If there is any misalignment or lateral movement, consult the owner’s manual for belt tracking adjustment instructions.
6. Lubricate the belt: If necessary, apply lubrication to the treadmill belt according to the manufacturer’s recommendations. This will help ensure smooth and quiet operation.
7. Test safety features: Verify that the treadmill’s safety features, such as the emergency stop key or safety clip, are functioning correctly by testing their activation and deactivation.
8. Calibrate the treadmill (if needed): If the treadmill displays inaccurate speed or distance measurements, consult the owner’s manual for calibration instructions. Follow the recommended steps to adjust the settings and improve accuracy.
By systematically testing the console, checking incline and speed functionality, monitoring belt tracking, lubricating the belt, testing safety features, and calibrating the treadmill if needed, you can ensure that your Sole F80 Treadmill is operating optimally in its new location.
Once you have completed the testing and calibration process, you are ready to enjoy a seamless and effective workout on your recently moved Sole F80 Treadmill.
Conclusion
Moving a heavy-duty treadmill like the Sole F80 Treadmill may seem like a daunting task, but with proper preparation and step-by-step guidance, it can be a manageable and successful endeavor. By following the steps outlined in this guide, you can safely and efficiently move your treadmill to its new location without any hassle.
Starting with the preparation phase, it is essential to assess the pathway, gather the necessary tools, disconnect the power, take photos, label cables, and clear the area. Once the pathway is clear, you can move on to disassembling the treadmill by following the instructions in the owner’s manual and taking necessary precautions.
After disassembling the treadmill, focus on clearing the pathway, securing loose objects, protecting walls and corners, measuring doorways and narrow spaces, and clearing any obstacles along the path. Attention to these details will ensure a smooth movement of the treadmill during the relocation process.
Reassembling the treadmill requires referring to the owner’s manual, laying out the parts, following the reverse order of disassembly, using reference photos, securing all connections, testing the treadmill’s functionality, and making necessary adjustments or calibrations.
Finally, perform thorough testing and calibration to ensure that the treadmill is in optimal working condition. Test all functions, check incline and speed functionality, monitor belt tracking, and verify the activation of safety features. Calibrate the treadmill if needed to ensure accurate speed and distance measurements.
By following these steps and paying attention to the details, you can confidently move your Sole F80 Treadmill and enjoy your workouts in its new location. Remember, safety should always be a priority, so don’t hesitate to seek assistance when needed, use proper lifting techniques, and take breaks to prevent fatigue.
Moving a treadmill can be a challenging task, but with the right approach and proper execution, you can successfully relocate your Sole F80 Treadmill and continue your fitness journey with ease.

