Brands
How To Turn On Peloton Treadmill
Modified: August 19, 2023
Learn how to turn on your Peloton treadmill and discover the top brands that offer this innovative fitness equipment. Find the perfect treadmill for your home workouts today.
Introduction
Welcome to the world of Peloton! If you’ve recently purchased a Peloton treadmill or are considering getting one, you’re in for an incredible fitness experience. The Peloton Tread is a state-of-the-art treadmill that offers interactive live workouts, on-demand classes, and a vibrant community to keep you motivated and engaged.
Before you can dive into the exciting world of Peloton workouts, you’ll need to know how to turn on your Peloton treadmill. In this article, we’ll guide you through the step-by-step process, ensuring that you can power up your equipment and begin your fitness journey with confidence.
Whether you’re a seasoned athlete or just starting your fitness journey, the Peloton Tread offers a variety of workout options to suit your needs. From running and walking classes to strength and endurance training, there’s something for everyone.
So, let’s get started and learn how to turn on your Peloton treadmill. Once you have it up and running, you’ll be on your way to experiencing the unmatched convenience and excellence of Peloton workouts.
Step 1: Assemble the Peloton Treadmill
Before you can start using your Peloton treadmill, you need to assemble it. The good news is that the assembly process is straightforward and can be done in a few simple steps.
1. Start by unboxing all the components of your Peloton treadmill. Lay them out in a clear and open space, ensuring that you have enough room to assemble the equipment.
2. Carefully follow the provided instruction manual to assemble the various parts of the treadmill. This may involve attaching the console, console support, handrails, and other components. Make sure to tighten all screws and bolts securely, ensuring the stability of the treadmill.
3. Once you have assembled the main body of the treadmill, you’ll need to connect the console to the treadmill base. Follow the instructions provided to securely attach the console.
4. After the console is attached, double-check all the connections to ensure they are secure.
5. Finally, adjust the levelers on the bottom of the treadmill to make sure it sits evenly on the floor. This will provide stability during your workouts and prevent any wobbling.
With these simple steps, you can confidently assemble your Peloton treadmill and move on to the next phase of setting it up.
Step 2: Connect Power Supply
Now that you have successfully assembled your Peloton treadmill, it’s time to connect the power supply. This will ensure that your treadmill is ready to be turned on and used for your workouts. Follow these steps to connect the power supply:
1. Locate the power cord that came with your Peloton treadmill. It should be a standard power cord that you can plug into any electrical outlet.
2. Find a nearby power outlet that is easily accessible and within reach of the treadmill. Make sure to choose an outlet that can handle the power requirements of the treadmill.
3. Plug one end of the power cord into the power inlet on the back of the treadmill console. The power inlet is usually located at the bottom of the console.
4. Insert the other end of the power cord into the electrical outlet you selected earlier. Ensure that the connection is secure and that the cord is not pulled tightly or twisted.
5. Once the power cord is connected, check that the treadmill’s power switch, usually located at the front or side of the console, is in the “Off” position. This is an important safety step before turning on the treadmill.
6. With the power switch in the “Off” position, you can now plug in the treadmill power adapter to the electrical outlet. The treadmill console should light up, indicating that it is connected to a power source.
7. At this point, you have successfully connected the power supply to your Peloton treadmill. Before moving on to the next step, take a moment to ensure that all connections are secure and that the power cord is not in a position where it can be tripped over.
By carefully following these steps, you have successfully connected the power supply to your Peloton treadmill, bringing you one step closer to enjoying the immersive workout experience it offers.
Step 3: Turn on the Display Screen
Now that your Peloton treadmill is assembled and the power supply is connected, it’s time to turn on the display screen. The display screen is the gateway to your Peloton workouts, allowing you to access live classes, on-demand content, and track your progress. Follow these steps to turn on the display screen:
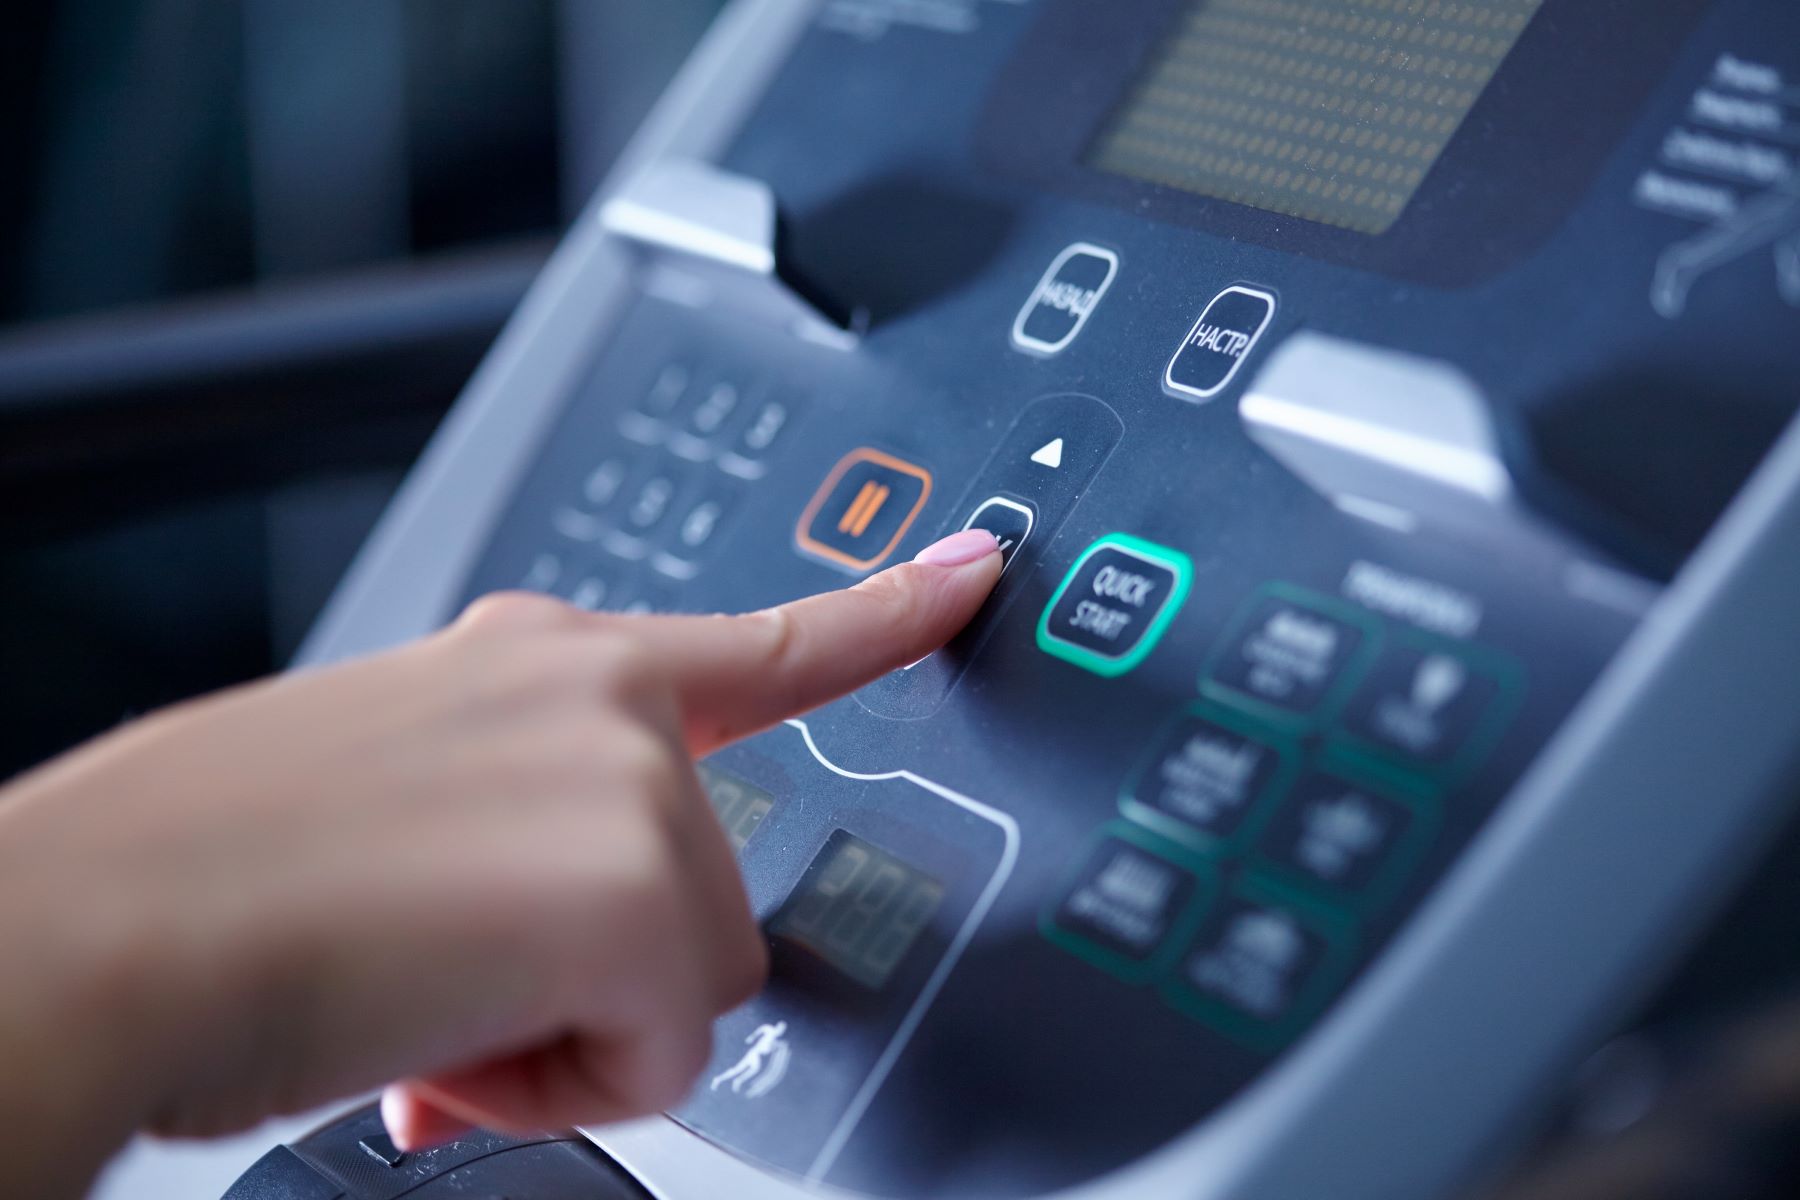
1. Locate the power button on the console of your Peloton treadmill. The power button is typically located on the bottom front of the console, near the display screen.
2. Press and hold the power button for a few seconds until the display screen lights up. You may see the Peloton logo or a loading screen as the system boots up.
3. Once the display screen is on, you will be prompted to log in to your Peloton account. If you haven’t set up an account yet, you’ll need to do so before proceeding. Follow the on-screen instructions to create an account or log in if you already have one.
4. After logging in, you’ll have access to the Peloton home screen. From here, you can explore various classes, browse the workout library, and customize your settings.
5. Take a moment to familiarize yourself with the display screen layout. You’ll find options to join live classes, select pre-recorded workouts, track your progress, and connect with the Peloton community.
6. If desired, you can also adjust the brightness and other display settings according to your preferences. This can be done through the settings menu, typically accessed by tapping the gear icon or a similar option on the screen.
By following these steps, you have successfully turned on the display screen of your Peloton treadmill. You are now ready to delve into the multitude of workout options and embark on your fitness journey with Peloton.
Step 4: Log in to Your Peloton Account
Once you have turned on the display screen of your Peloton treadmill, the next step is to log in to your Peloton account. Logging in is crucial as it allows you to access your personalized workout content, track your progress, and engage with the Peloton community. Follow these steps to log in to your Peloton account:
1. On the Peloton home screen, you will see a prompt to log in. Select the “Log In” option using the touchscreen or the buttons on the console.
2. If you have already created a Peloton account, enter your email address and password in the appropriate fields. Use the on-screen keyboard or any physical buttons on the console to input your information.
3. If you are using a shared Peloton treadmill or if you have forgotten your login information, you can select the “Forgot Password” or “Need Help Logging In” options. Follow the prompts to reset your password or seek assistance with logging in.
4. If you are new to Peloton and do not have an account yet, select the “Create Account” or “Sign Up” option. Follow the instructions to create a new account.
5. Once you have entered your login information or created a new account, select the “Log In” or “Sign In” button to proceed.
6. After successfully logging in, you will have access to your personalized Peloton profile and can navigate through the various workout options, track your progress, and interact with the Peloton community.
7. Take some time to explore the features of your Peloton account, such as creating a profile, setting fitness goals, and saving favorite workouts.
By following these steps, you have successfully logged in to your Peloton account on the treadmill’s display screen. Now, you can fully enjoy the personalized workout experience that Peloton offers.
Step 5: Start a Workout
Now that you have logged in to your Peloton account, it’s time to start your workout on the Peloton treadmill. Whether you’re in the mood for a challenging run or a high-intensity interval training (HIIT) session, Peloton offers a wide range of workouts to suit your preferences. Follow these steps to start a workout:
1. From the Peloton home screen, you will see various workout options categorized by type, duration, and instructor. Use the touchscreen or physical buttons on the console to navigate through the available options.
2. Browse through the different classes and workout categories until you find one that piques your interest. You can choose from running, walking, strength training, HIIT, and more.
3. Once you have selected a workout, you will be directed to the class details page. Here, you can view the instructor, class duration, difficulty level, and other relevant information.
4. Depending on the class, you may have the option to join a live class or access an on-demand class. Live classes allow you to participate in real-time with other Peloton users, while on-demand classes can be accessed at any time.
5. Select your desired class format and follow any additional prompts or instructions on the screen to confirm your choice.
6. After selecting a class, you will be prompted to set your desired metrics such as speed, incline, or resistance level. Adjust these metrics based on your fitness level and preferences.
7. Once you have set your desired metrics, select the “Start” or a similar button to begin your workout.
8. As you progress through your workout, follow the instructor’s guidance and push yourself to achieve your fitness goals. The console display will provide real-time feedback on your metrics, such as speed, distance, and heart rate.
9. Throughout your workout, you can interact with the instructor, other participants, and track your performance in real-time, creating a dynamic and engaging fitness experience.
By following these steps, you can easily start a workout on your Peloton treadmill and immerse yourself in a world of energizing and motivating fitness classes.
Conclusion
Congratulations! You have successfully learned how to turn on your Peloton treadmill and begin your fitness journey with this innovative piece of equipment. By following the steps outlined in this article, you can easily assemble your treadmill, connect the power supply, turn on the display screen, log in to your Peloton account, and start your personalized workouts.
The Peloton treadmill offers a multitude of workout options, from running and walking classes to strength training and HIIT sessions. With its interactive features, immersive display screen, and access to a vast library of on-demand classes, the Peloton treadmill provides an unparalleled fitness experience.
Remember to take advantage of the various features and settings available on your Peloton treadmill. Customize your metrics, track your progress, and engage with the Peloton community to stay motivated and make the most of your workouts.
Whether you’re a seasoned athlete or a beginner, the Peloton treadmill offers a comprehensive fitness solution that caters to your needs. From the convenience of your home, you can join live classes, challenge yourself with intense workouts, and achieve your fitness goals.
So, get ready to sweat, push your limits, and enjoy the incredible benefits of the Peloton treadmill. Embrace the power of technology and fitness, and embark on a journey to a healthier, stronger, and more motivated version of yourself.
Now that you have the knowledge and confidence to use your Peloton treadmill, it’s time to get started. Lace up your sneakers, hop on the treadmill, and let the dynamic and engaging world of Peloton fitness transform your workout routine.
Happy exercising!