Featured
How To Fix Treadmill Motor
Modified: August 19, 2023
Learn how to fix your treadmill motor with our featured guide. Get step-by-step instructions and expert tips to ensure optimal performance.
Introduction
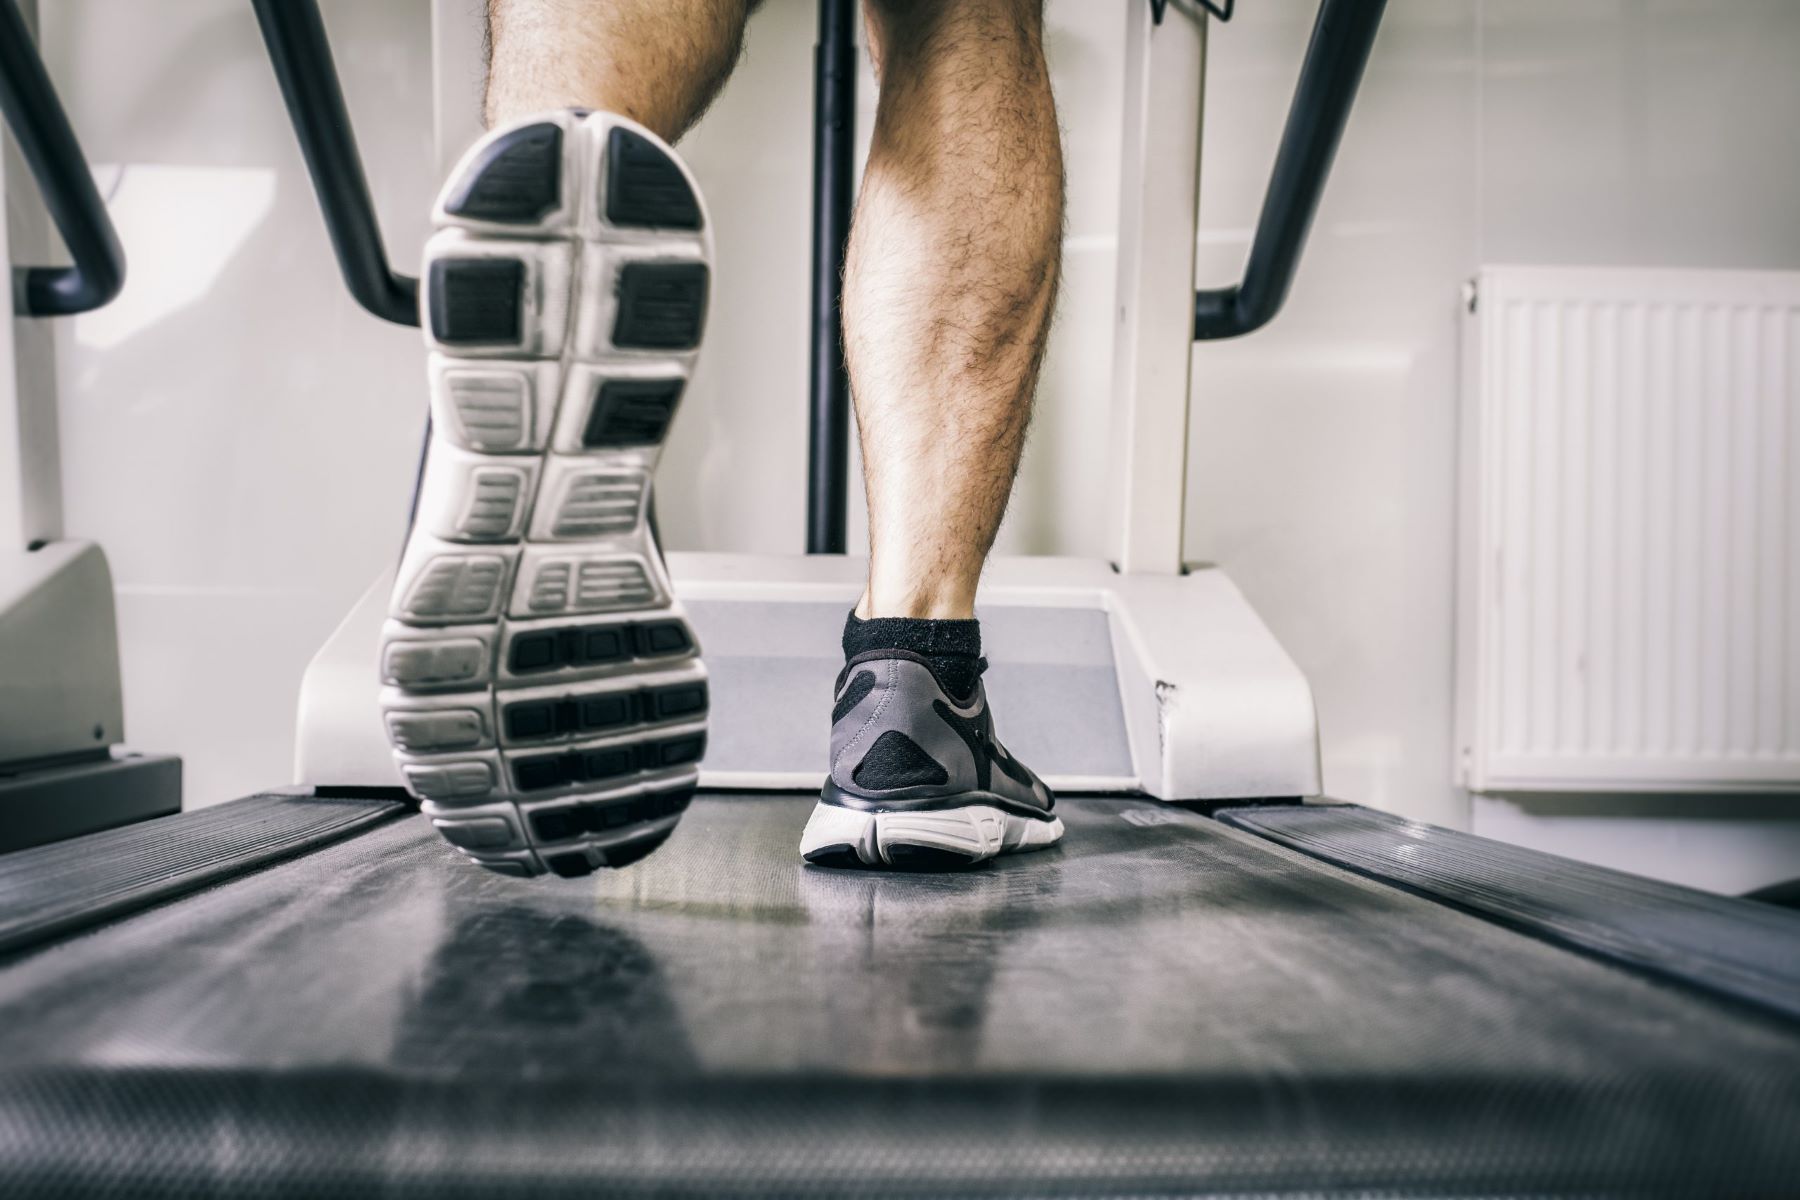
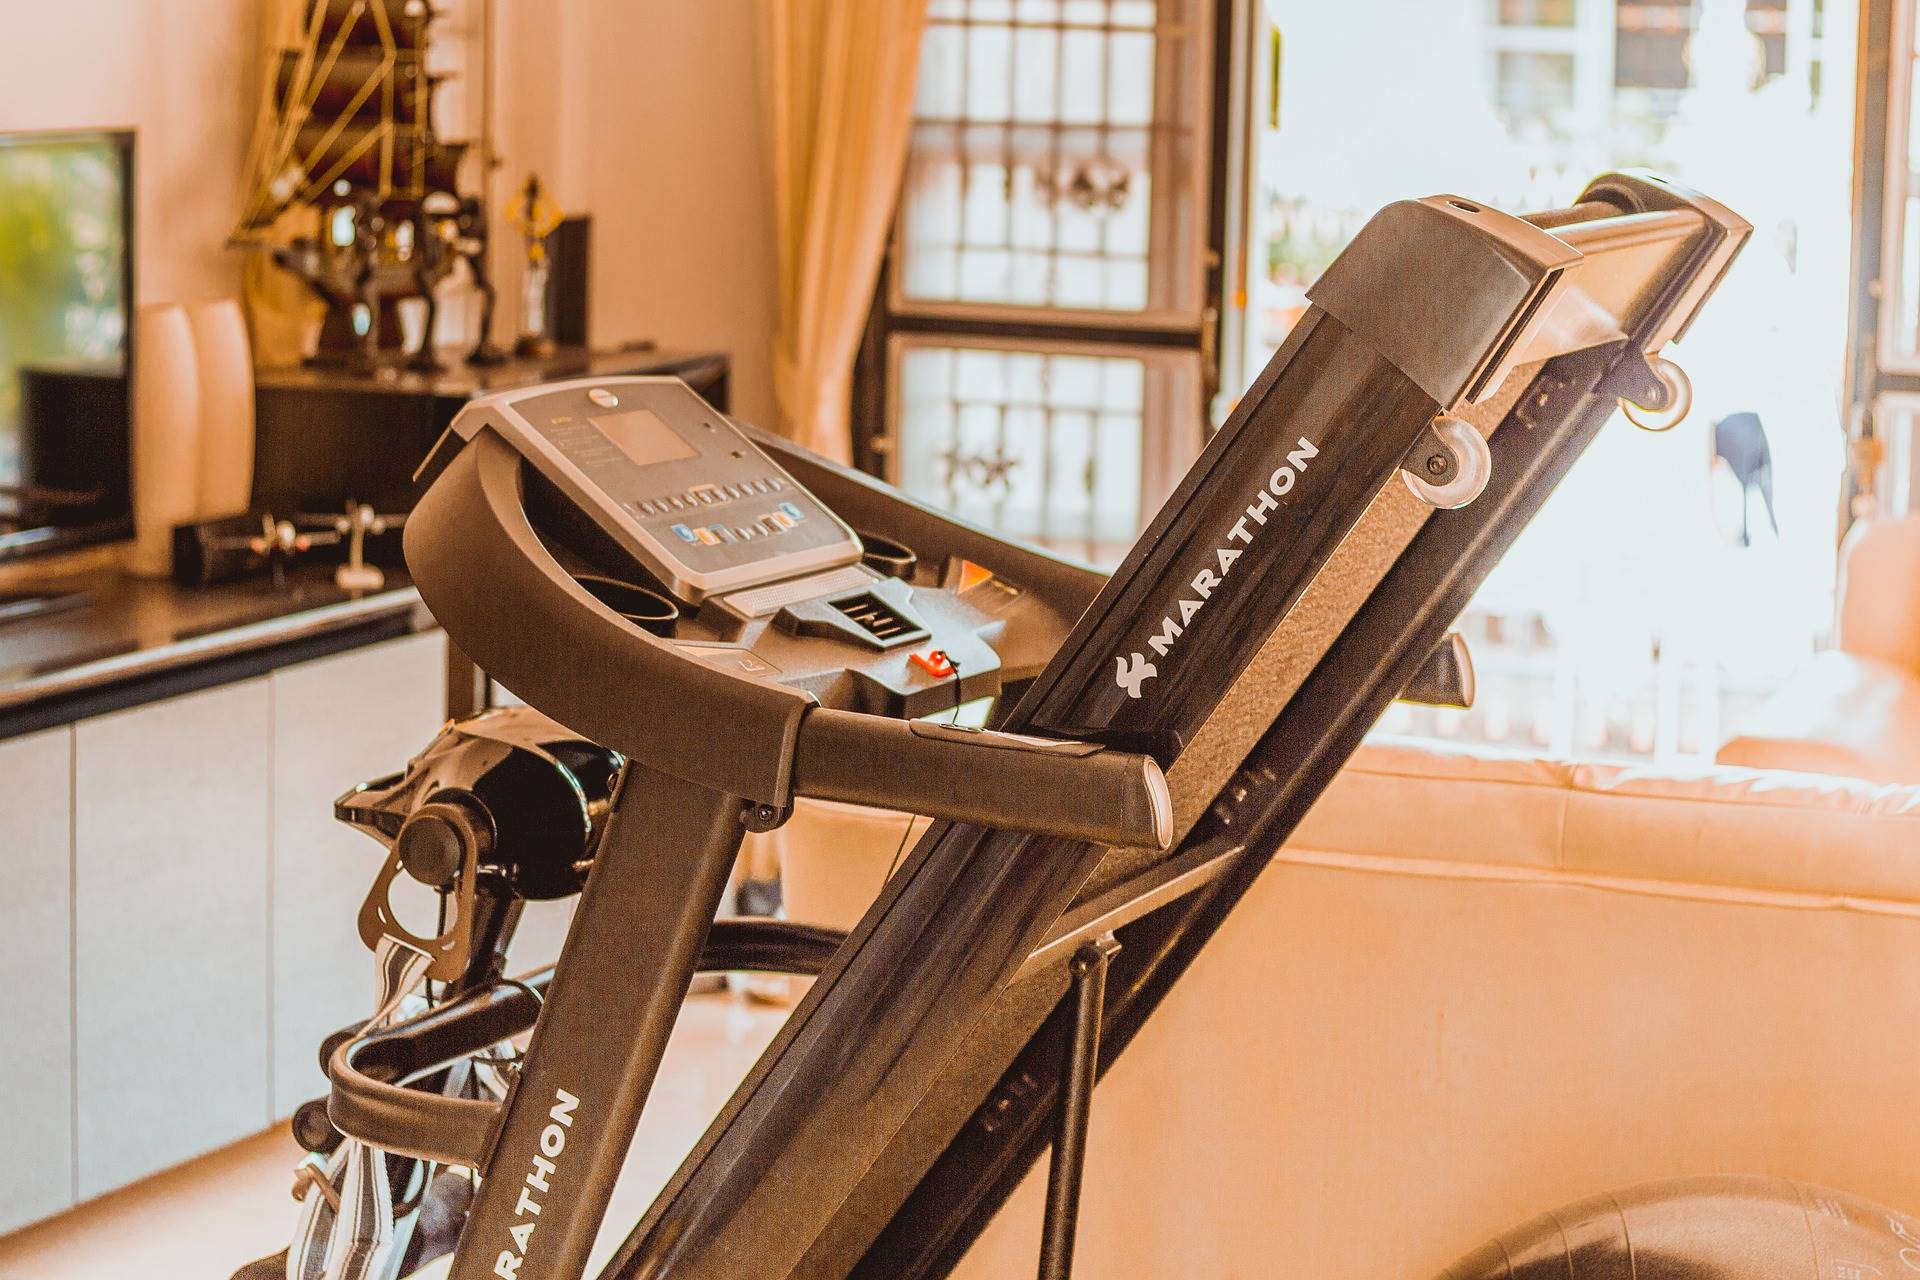
Welcome to our comprehensive guide on how to fix a treadmill motor. Whether you are an avid runner or simply use a treadmill for your daily cardio, encountering motor issues can be frustrating and hinder your workout routine. However, before you panic and rush to call a professional, there are several steps you can take to diagnose and fix the problem yourself. By following these steps, you can save time and money and get your treadmill up and running again in no time.
Treadmill motors are the heart of the machine, responsible for powering the belt and providing the necessary resistance for your workout. Over time, these motors can experience wear and tear, which may lead to various issues such as a loss of power, strange noises, or the belt not moving smoothly. The good news is that many of these issues can be resolved with a few simple troubleshooting steps.
In this guide, we will walk you through the process of identifying the issue, checking the power supply, inspecting the motor belt, cleaning the motor, testing the motor, and, if needed, replacing the motor. We will also discuss when it’s necessary to seek professional help. Whether you have a manual or electric treadmill, the steps outlined in this guide can be applied to most treadmill models.
Before we dive into the troubleshooting process, it’s important to note that safety should always be a top priority. Make sure to unplug your treadmill and avoid working on it while it’s connected to a power source. Additionally, consult your treadmill’s user manual for specific instructions or guidelines provided by the manufacturer.
Now, let’s get started with the first step: identifying the issue.
Step 1: Identifying the Issue
When you encounter an issue with your treadmill motor, the first step is to identify the specific problem. This will help you determine the appropriate troubleshooting steps to take. Here are a few common issues you may encounter:
- No power: If your treadmill isn’t turning on at all, it’s likely a power issue. Check if the treadmill is plugged into a working outlet and ensure that the power switch is turned on. If the power supply is not the problem, there may be an issue with the power cord or the internal wiring.
- Loss of power: If your treadmill starts but loses power during your workout, it could be due to a faulty motor. Pay close attention to any unusual noises, such as grinding or clicking sounds, which may indicate motor damage.
- Belt slippage: If the treadmill belt slips or stops moving while you’re using it, the issue may lie with the motor. This can occur if the motor belt is loose, worn out, or misaligned.
To identify the issue, start by visually inspecting the treadmill. Look for any visible damage, loose connections, or signs of wear and tear on the motor and belt. If you’re unsure about what to look for, consult your treadmill’s user manual or contact the manufacturer for guidance.
If the issue isn’t obvious or you’re still unsure, you can try running a diagnostic test if your treadmill has that feature. Many modern treadmills come with built-in diagnostics that can help pinpoint the problem. Refer to your user manual to access and interpret these diagnostic codes.
Once you have identified the specific issue, you can proceed to the next step in the troubleshooting process. In the following section, we will discuss how to check the power supply and ensure that it’s not the cause of the problem.
Step 2: Checking the Power Supply
One of the most common reasons for treadmill motor issues is a faulty power supply. Before diving into more complex troubleshooting steps, it’s important to ensure that the power supply is functioning properly. Here’s how you can check:
- Verify the power source: Double-check that the treadmill is plugged into a working power outlet. Sometimes, the plug may come loose or the outlet may not be delivering electricity. Try plugging another device into the same outlet to confirm if it’s working.
- Check the circuit breaker: Inspect the circuit breaker or fuse box that provides power to the treadmill. If the breaker is tripped or the fuse is blown, reset or replace it as needed. In older homes, treadmills may be connected to a dedicated circuit. Ensure that this circuit is not overloaded or experiencing issues.
- Inspect the power cord: Examine the power cord for any visible damage or frayed wires. If you notice any issues, replace the power cord with a compatible one recommended by the manufacturer.
- Test with another outlet: If you suspect a problem with the outlet itself, try plugging the treadmill into a different outlet in a separate part of your home. This will rule out any issues related to the specific outlet.
If none of the above steps resolve the power supply issue, it may be necessary to consult a professional electrician to inspect the electrical connections and ensure that there are no underlying issues with your home’s wiring.
Checking the power supply is an essential step in troubleshooting treadmill motor problems. By confirming that the power source is working correctly, you can eliminate a common cause of motor issues. However, if the power supply is not the problem, continue to the next step, which involves inspecting the motor belt.
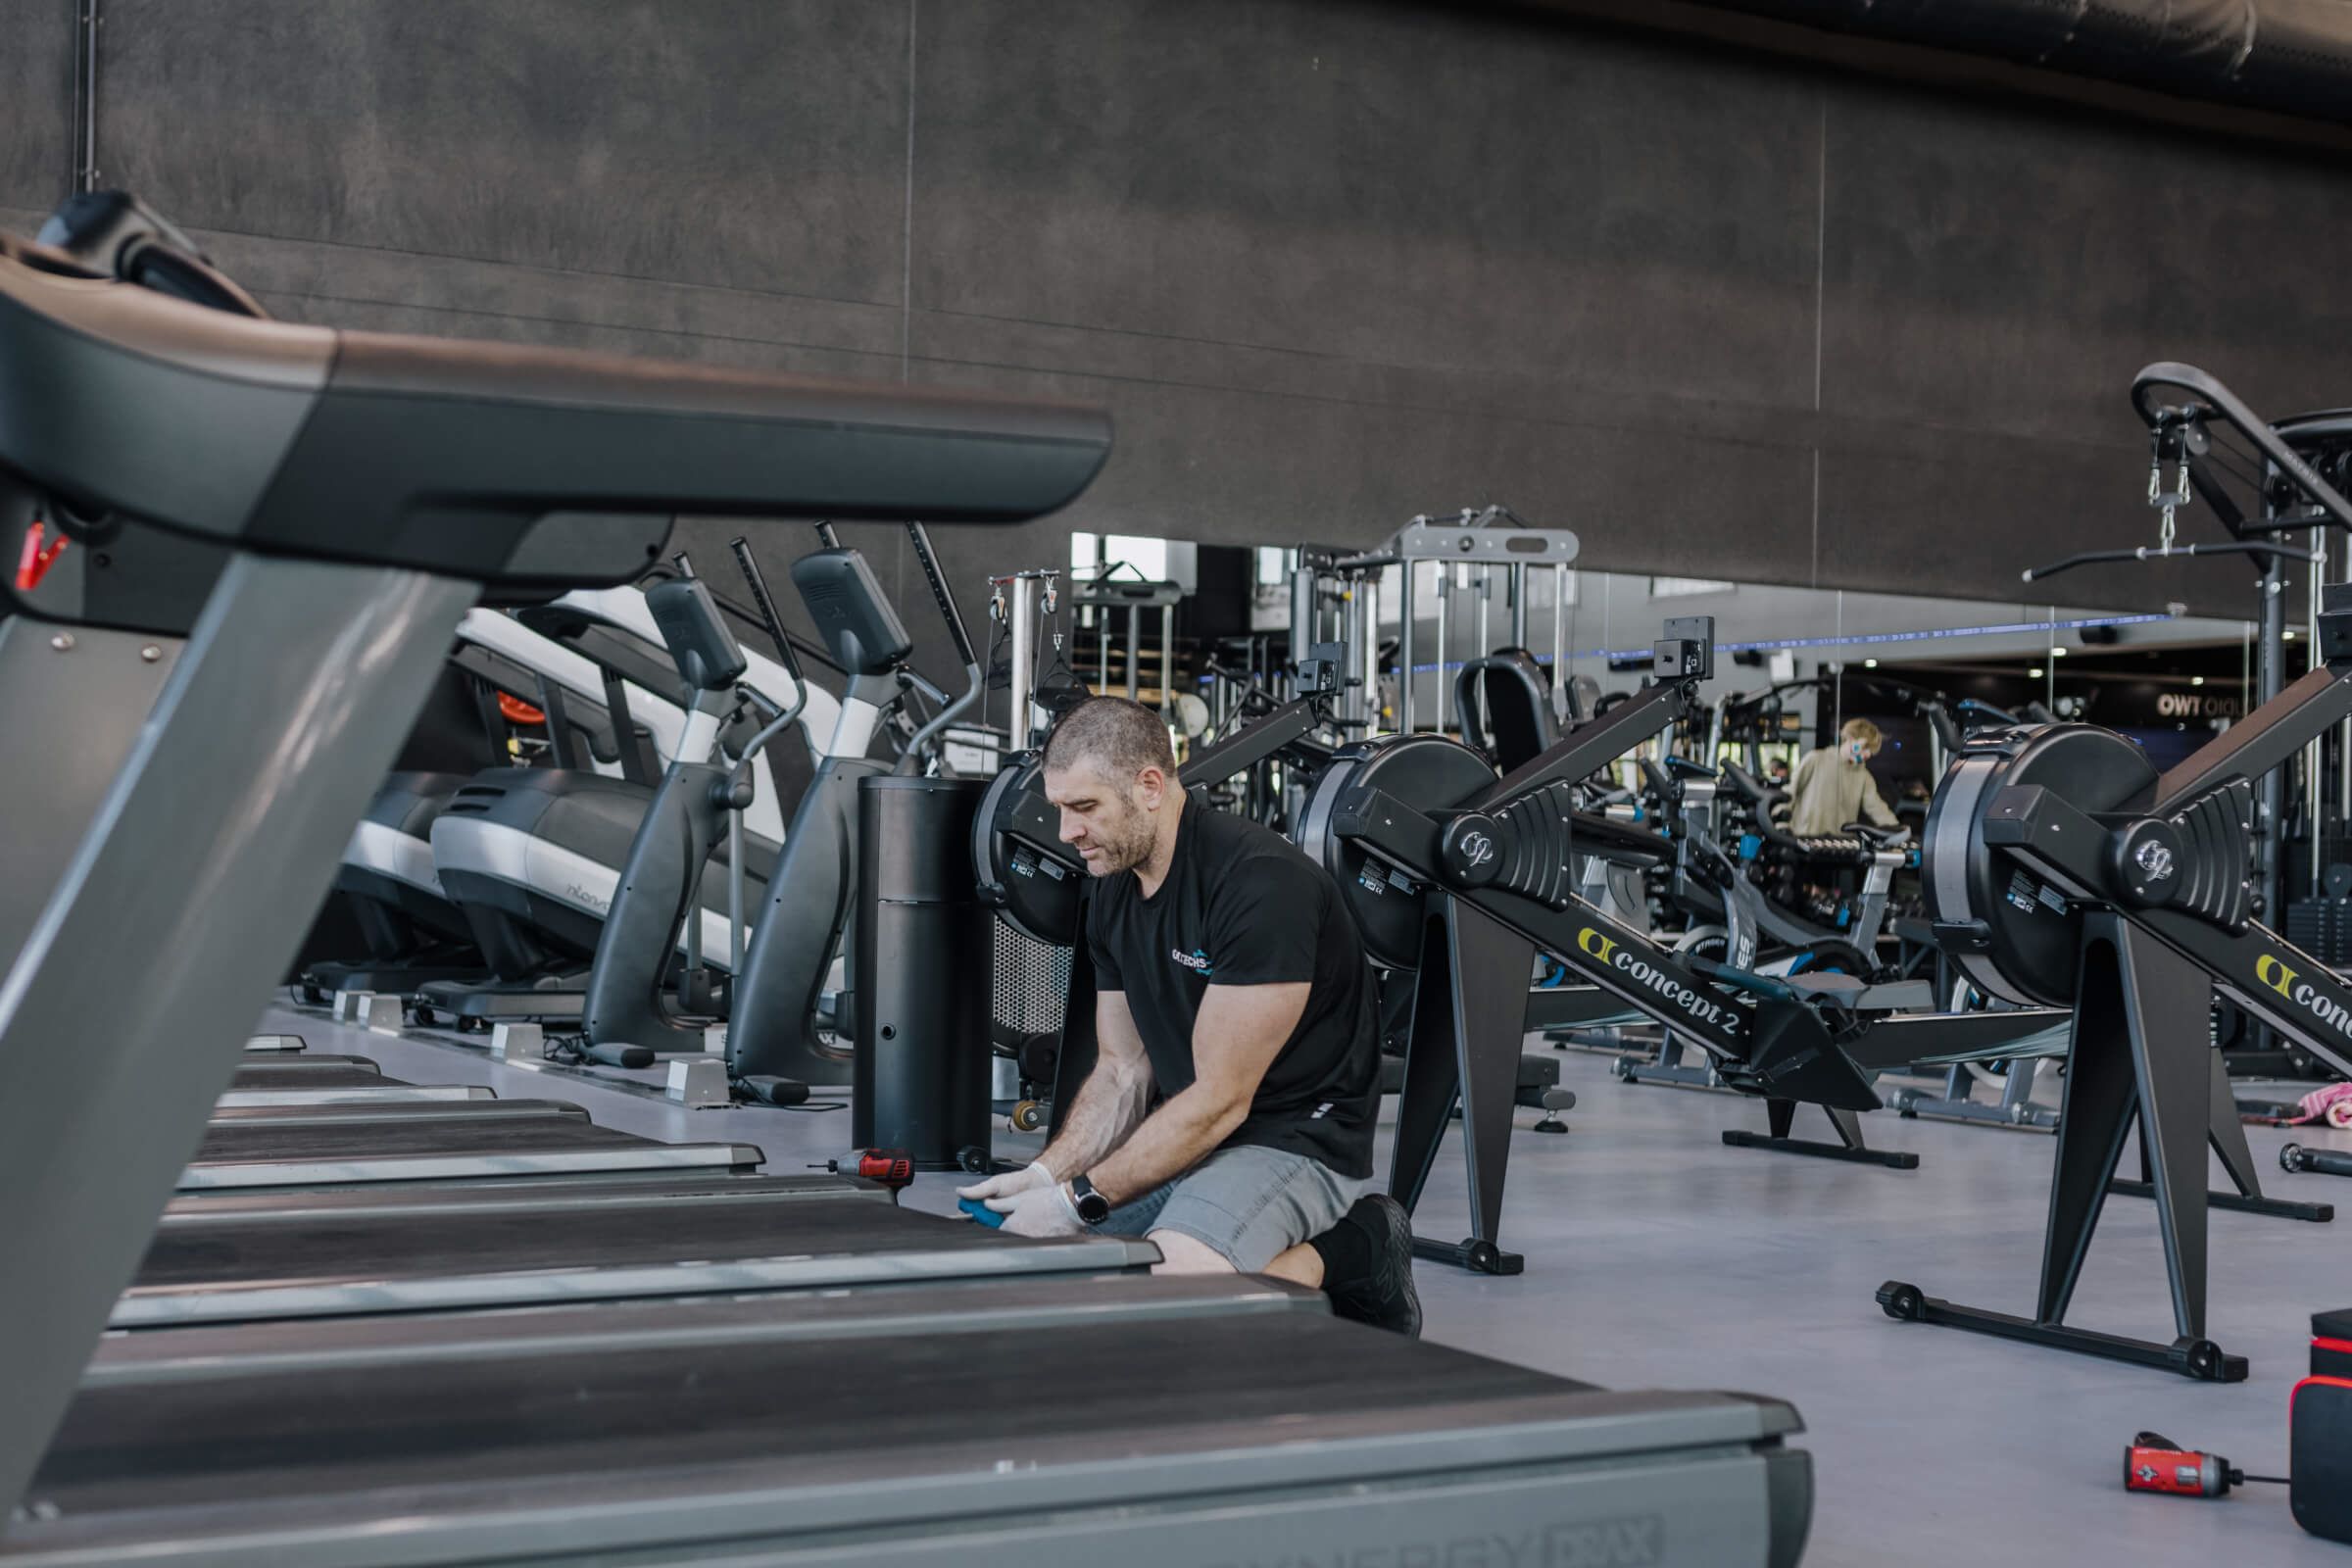
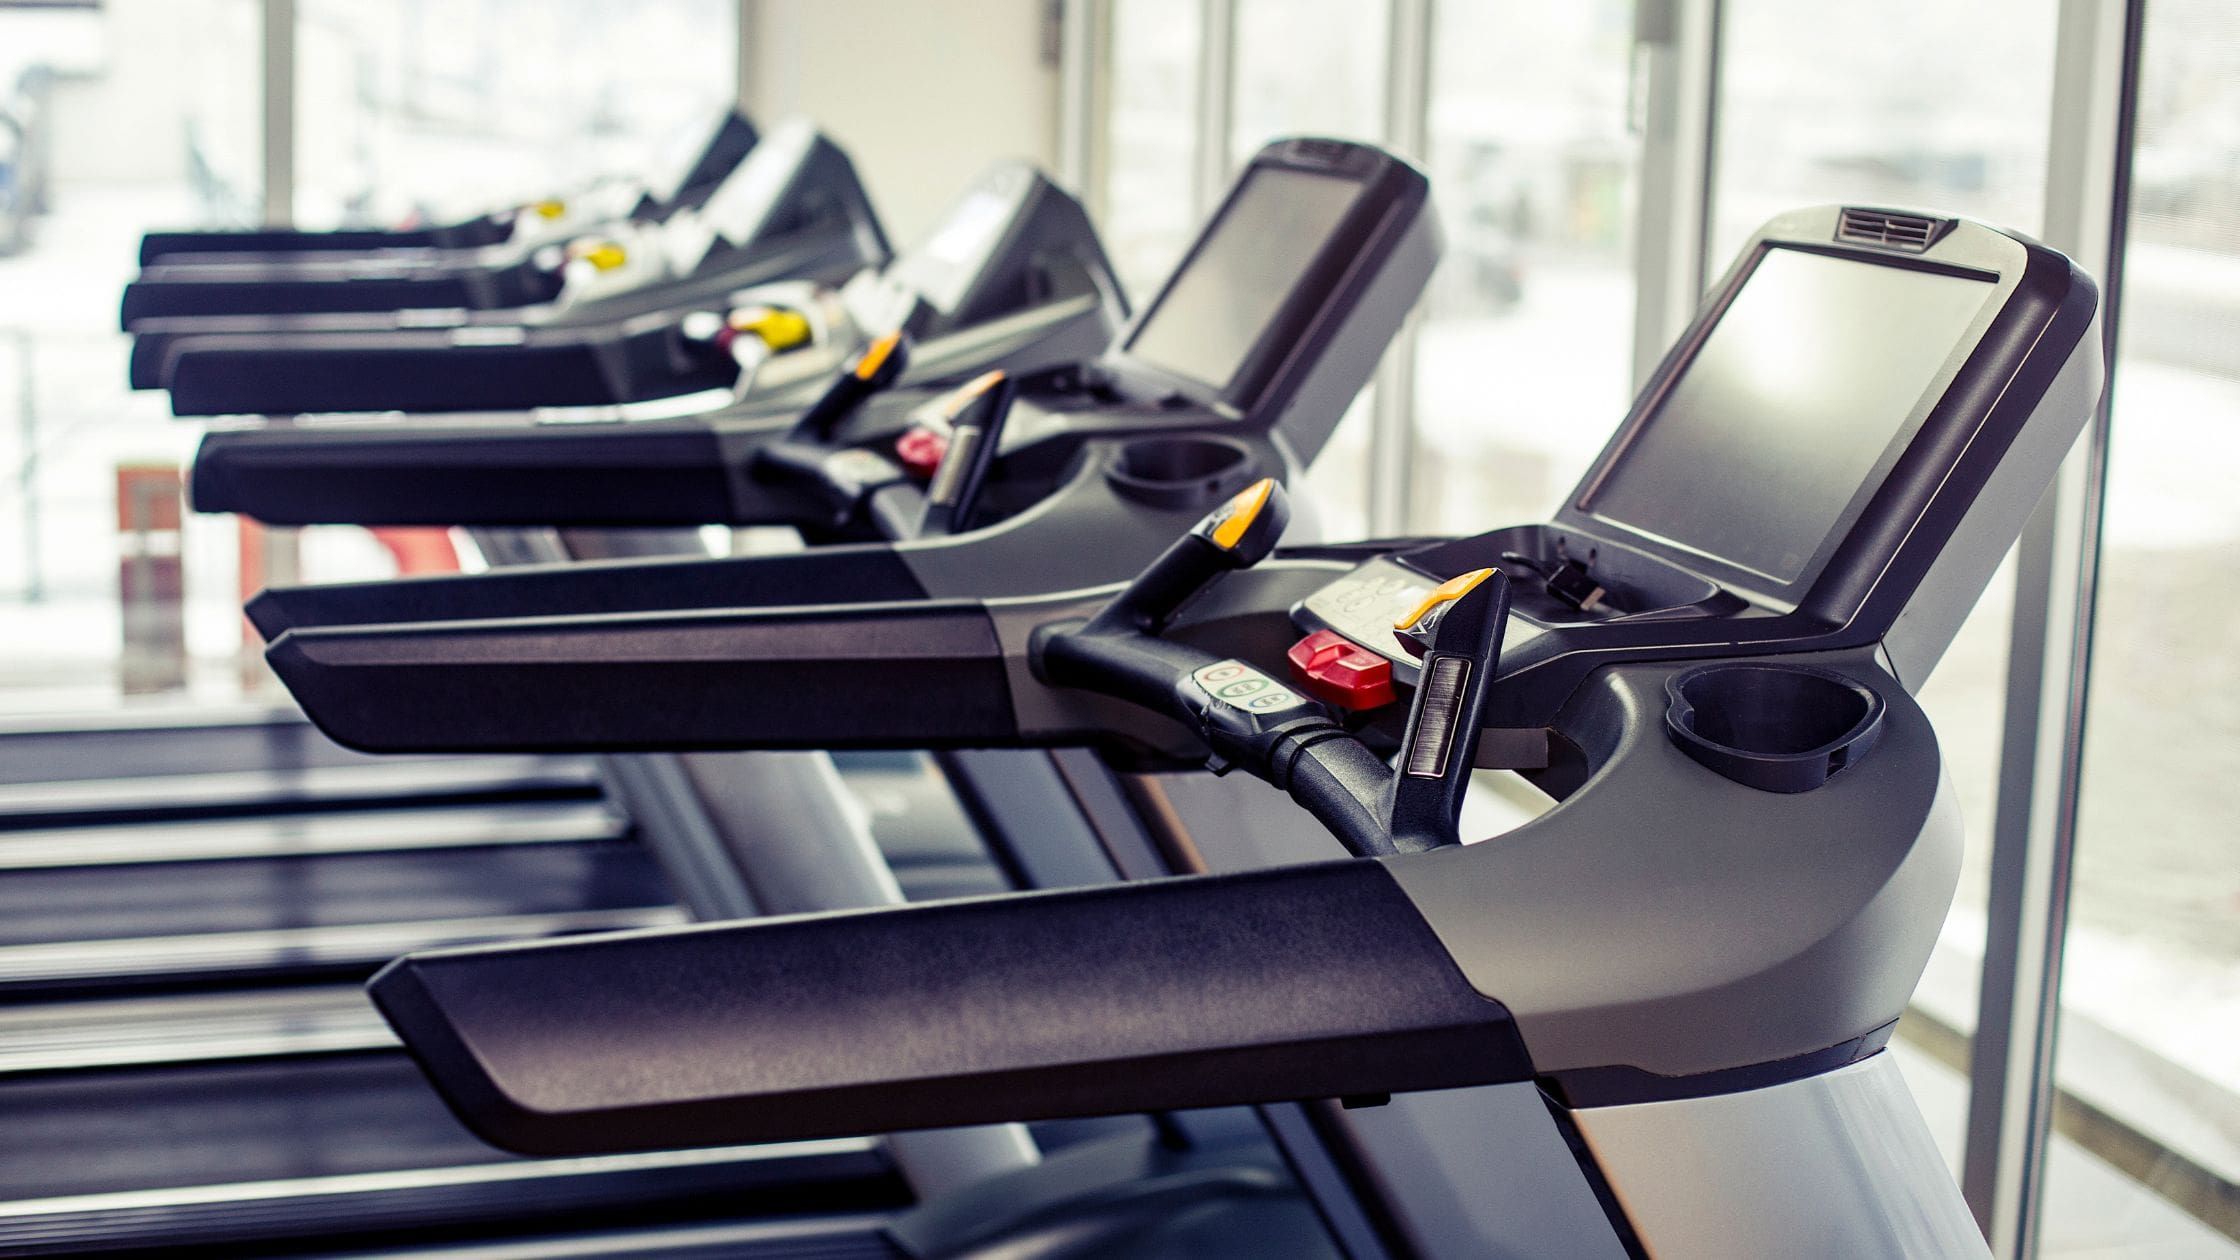
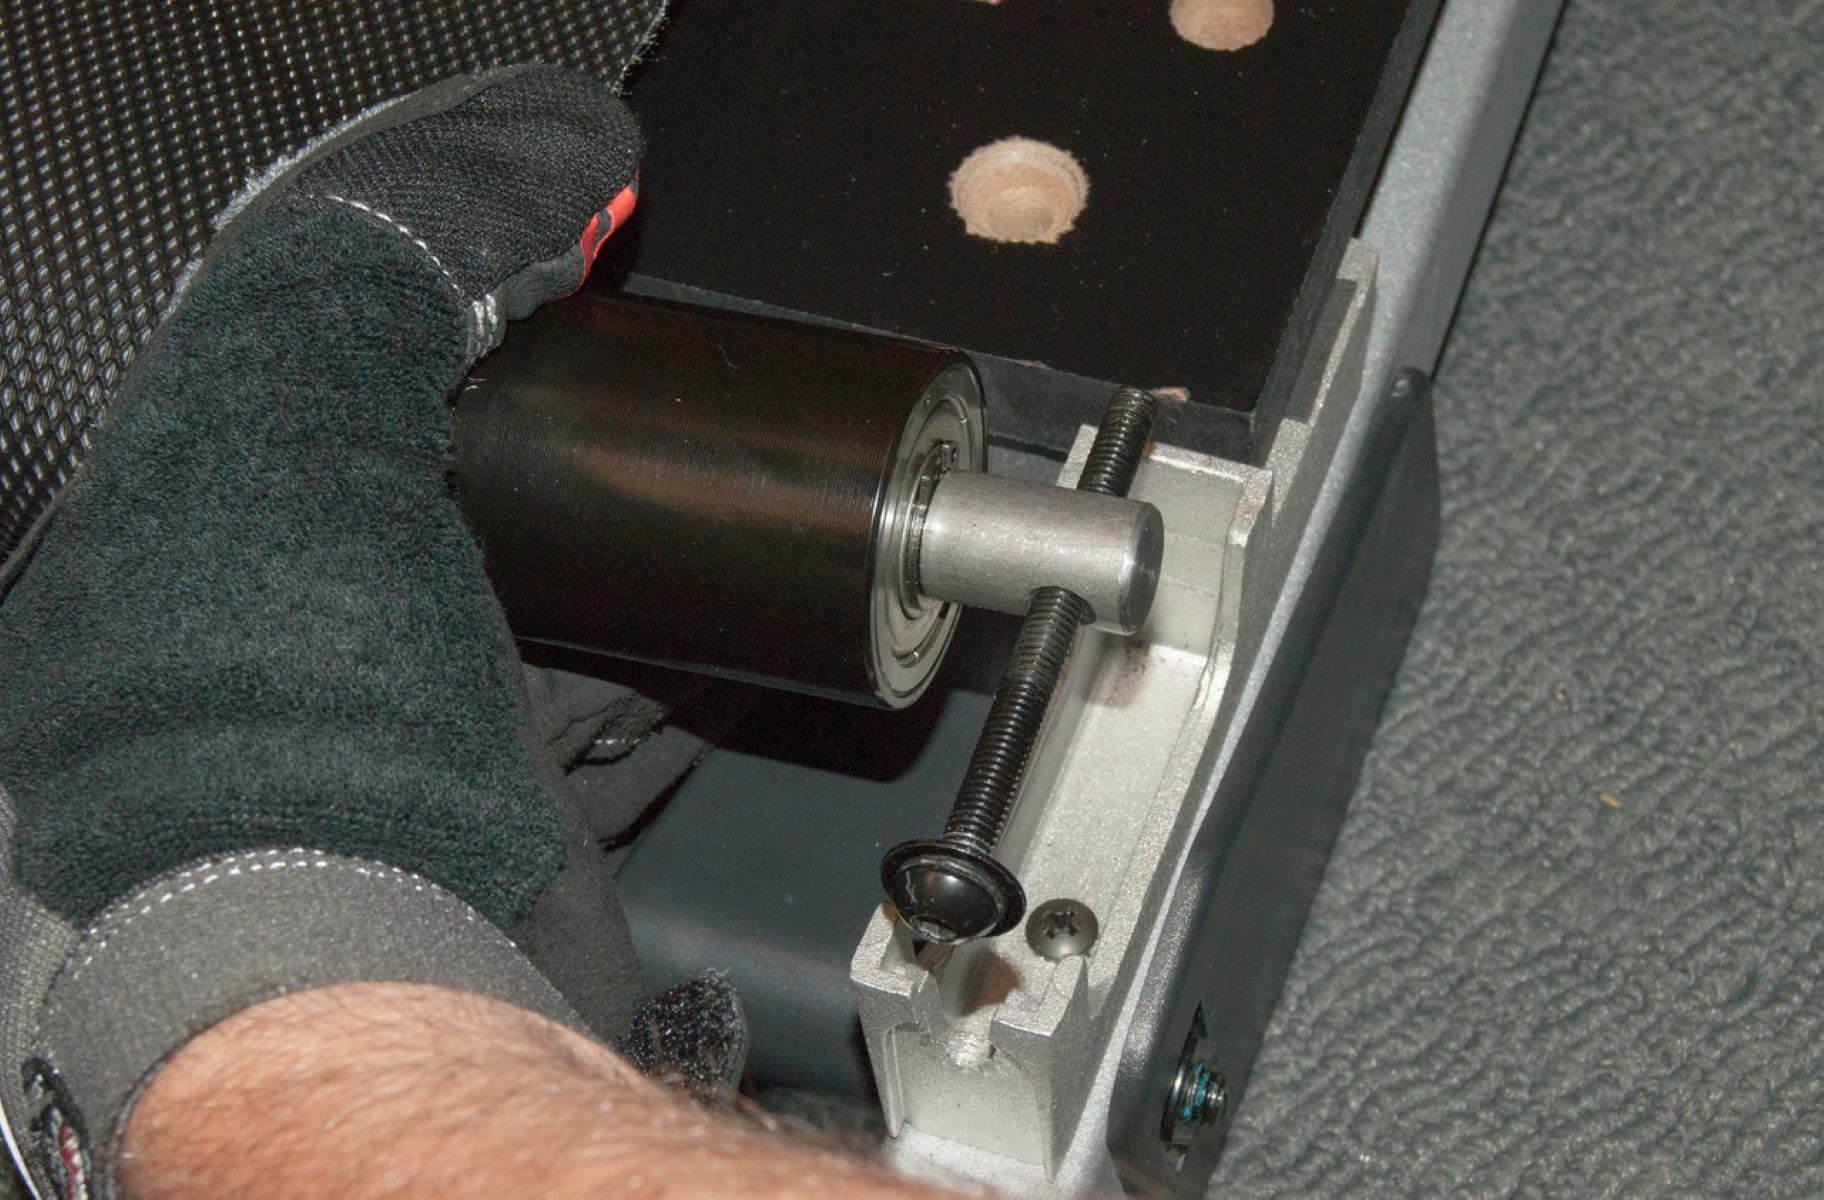
Step 3: Inspecting the Motor Belt
The motor belt is a vital component of your treadmill, as it connects the motor to the treadmill’s belt system. If the motor belt is loose, worn out, or misaligned, it can cause various issues with the treadmill motor. Here’s how you can inspect the motor belt:
- Turn off the treadmill: Before inspecting the motor belt, make sure to turn off the treadmill and unplug it from the power source. This is crucial for your safety.
- Remove the motor cover: Depending on your treadmill model, you may need to remove the motor cover to access the motor belt. Refer to your treadmill’s user manual for specific instructions on how to do this.
- Visual inspection: Carefully examine the motor belt for any signs of wear and tear, such as fraying or cracking. Check for any looseness or misalignment of the belt. Additionally, inspect the pulleys and ensure they are clean and free from debris.
- Tension adjustment: Many treadmills have a tension adjustment feature that allows you to tighten or loosen the motor belt. Refer to your user manual to determine if your treadmill has this feature and how to adjust the tension properly.
- Belt alignment: Check the alignment of the motor belt. It should be centered and running straight along the pulleys. If you notice any misalignment, you may need to adjust the belt position. Again, consult your user manual for specific instructions.
If you notice any significant damage, wear, or misalignment of the motor belt, it may need to be replaced. In such cases, contact the manufacturer or a professional technician to get a compatible replacement belt for your treadmill. Replacing the motor belt can help restore proper functionality to your treadmill motor.
After inspecting and adjusting the motor belt as necessary, you can proceed to the next step: cleaning the motor. This step is crucial in maintaining the performance and longevity of your treadmill motor.
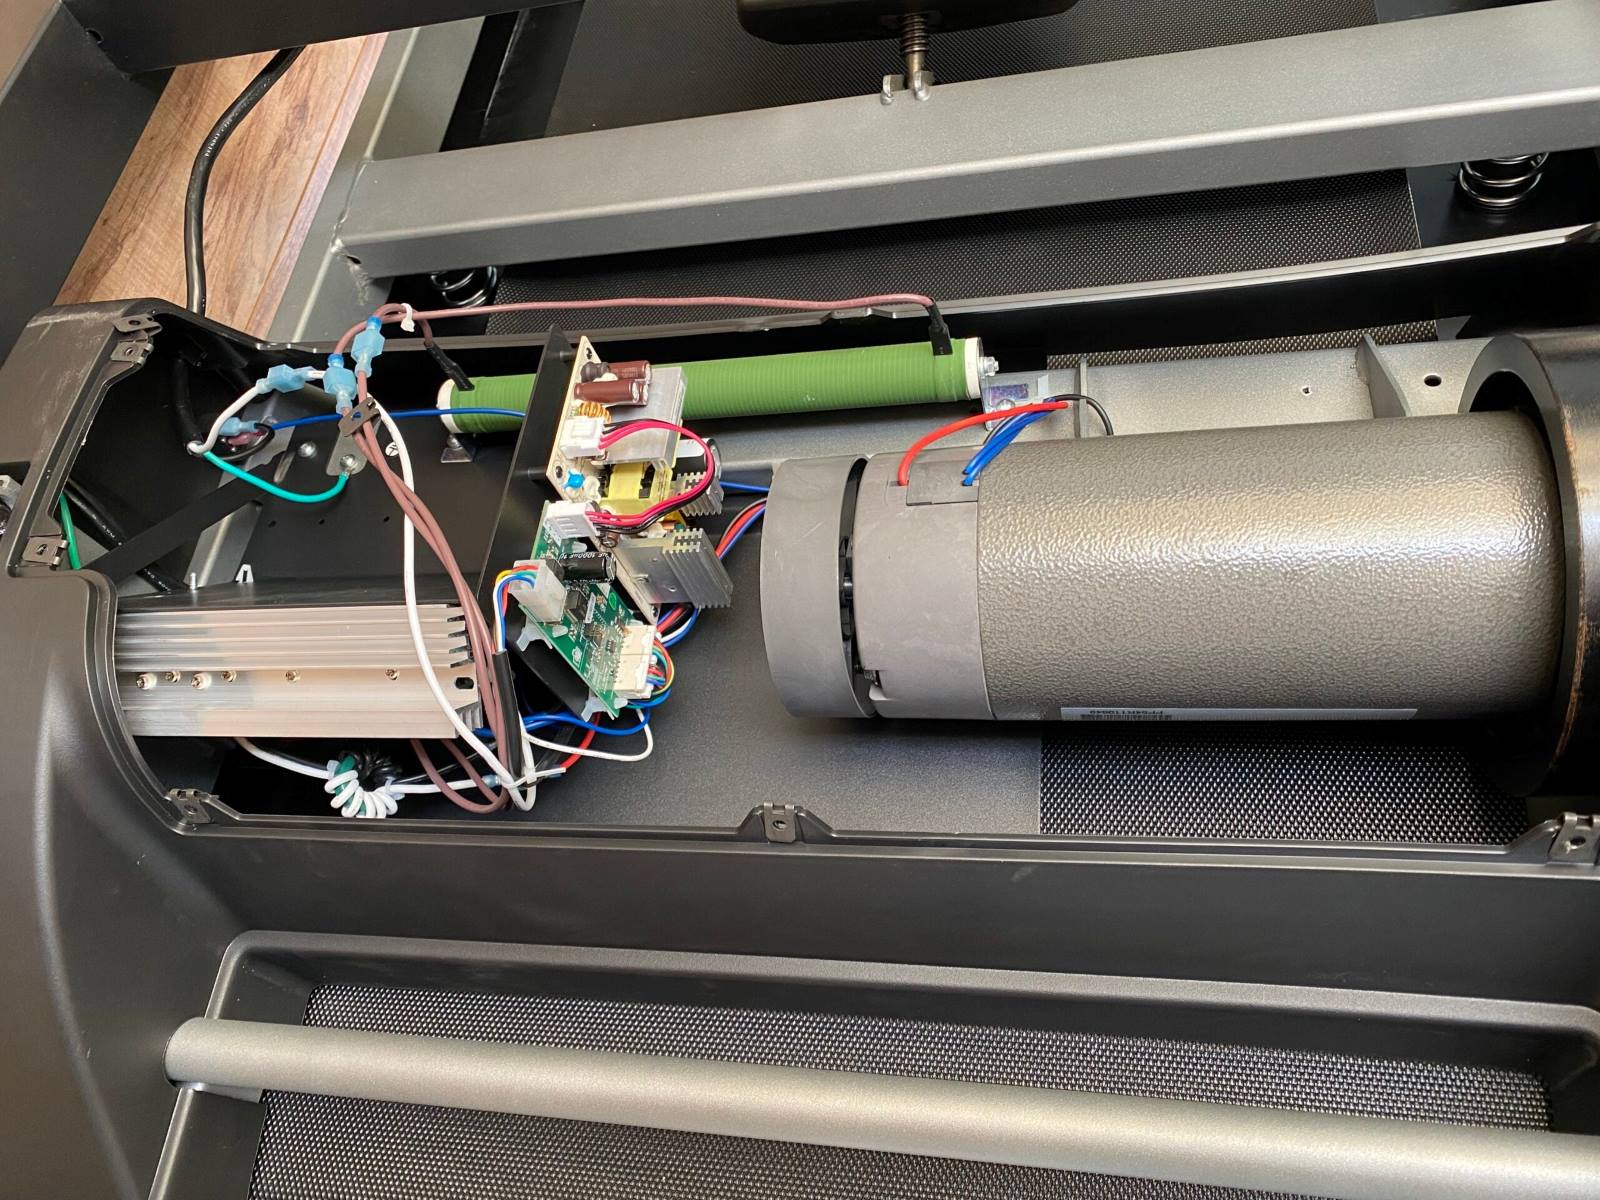
Step 4: Cleaning the Motor
Cleaning the treadmill motor is an important step in maintaining its performance and preventing issues caused by dirt, dust, or debris. Over time, these particles can accumulate on the motor, affecting its efficiency and causing it to overheat. Here’s how you can clean the motor:
- Power off and unplug the treadmill: Before cleaning the motor, make sure the treadmill is completely powered off and unplugged from the power source. This is for your safety.
- Remove the motor cover: Depending on your treadmill model, you may need to remove the motor cover to access the motor. Follow the instructions provided in your treadmill’s user manual for proper removal of the cover.
- Use compressed air: Start by using a can of compressed air to blow away any loose dust or debris from the motor and its surrounding areas. Be careful not to apply too much pressure, as this may damage delicate parts of the motor.
- Brush away dust: With a soft brush or a clean, dry cloth, gently brush away any remaining dust or dirt from the motor and its components. Pay special attention to cooling fins or vents, as they can accumulate dust easily and hinder proper airflow.
- Inspect for loose wires or connections: While cleaning, take the opportunity to inspect the motor for any loose wires or connections. Secure any loose connections to ensure proper functionality.
- Reassemble the motor cover: Once you’re satisfied with the cleanliness of the motor, carefully reassemble the motor cover, making sure it is properly aligned and secured.
Cleaning the motor should be a regular part of your treadmill maintenance routine. It is recommended to clean the motor every few months or whenever you notice a buildup of dust or debris. This simple step can help prolong the motor’s lifespan and keep your treadmill running smoothly.
After cleaning the motor, it’s time to move on to the next step: testing the motor to ensure it’s functioning correctly. This step will help you further diagnose any underlying issues and determine if further action is required.
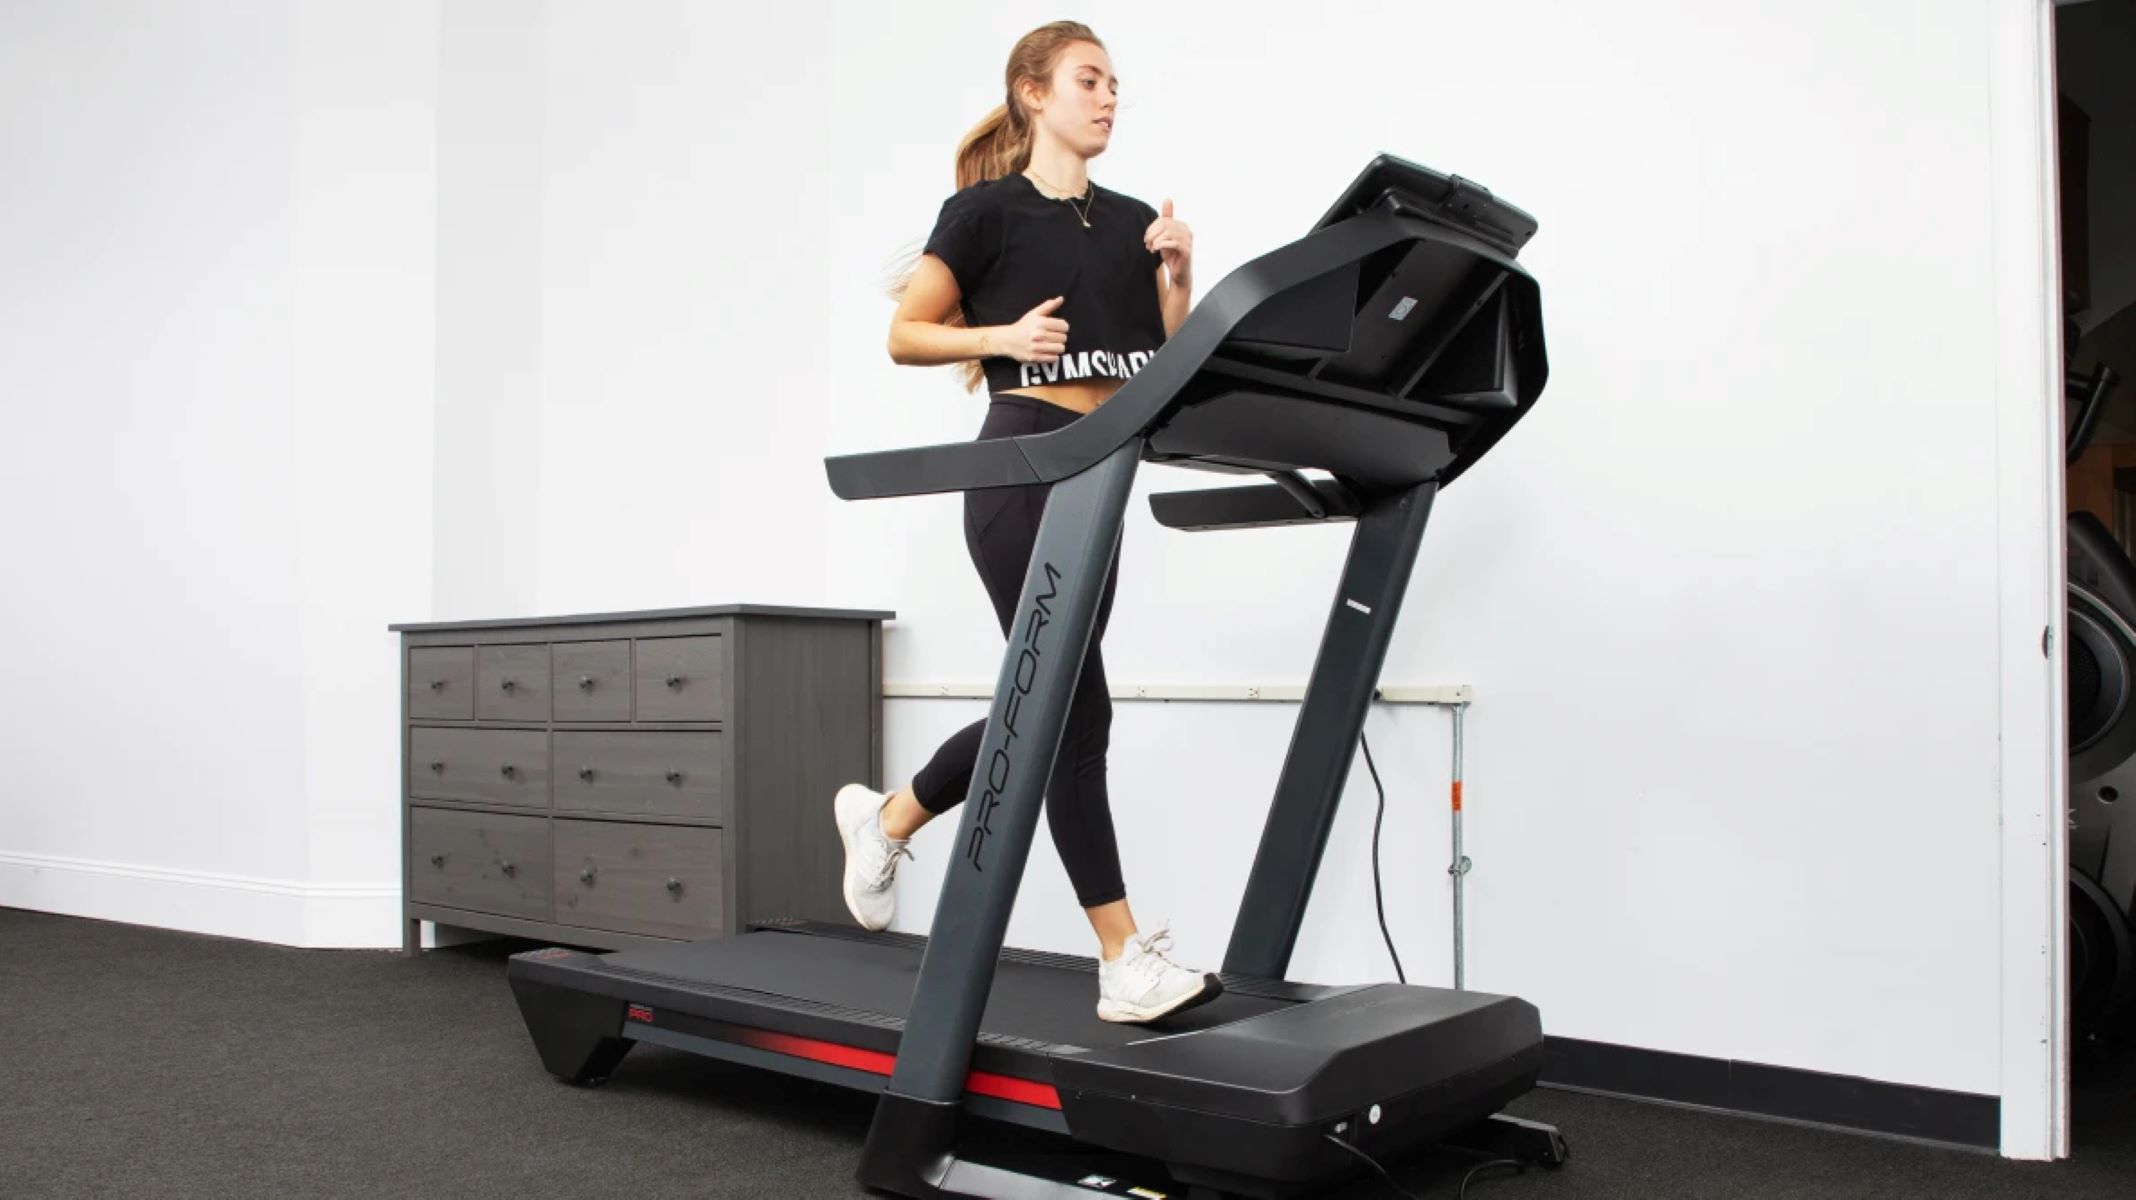
Step 5: Testing the Motor
Testing the treadmill motor is an essential step in the troubleshooting process to confirm if it’s functioning properly. This step will help you further diagnose any underlying issues and determine if additional action is required. Here’s how you can test the motor:
- Ensure safety measures: Before testing the motor, make sure the treadmill is turned off and unplugged from the power source. Ensure that your hands are dry, and you’re wearing appropriate footwear.
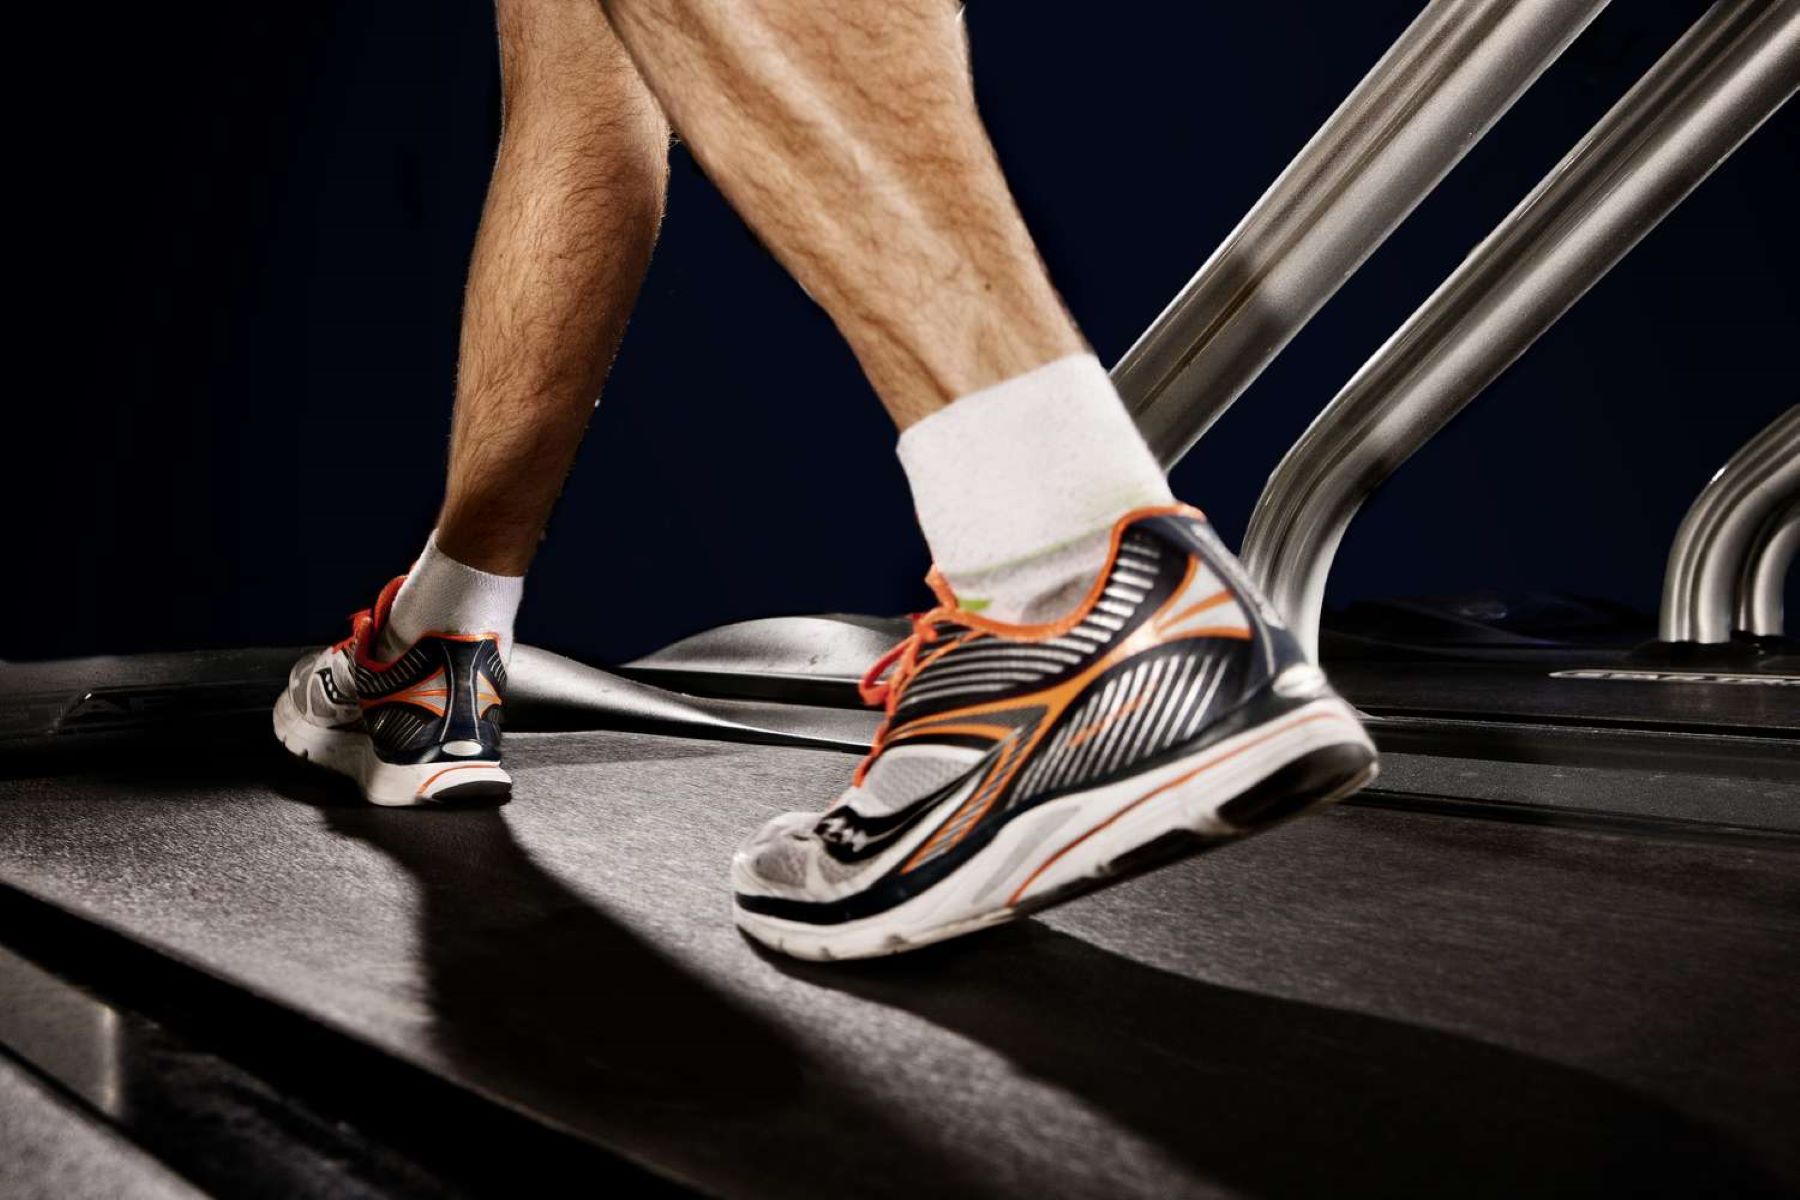
- Manually rotate the belt: Start by manually rotating the treadmill belt. It should move smoothly and without any resistance. If you notice any sticking or jerky movements, it may indicate an issue with the motor or the belt tension.
- Run the treadmill at low speed: Turn on the treadmill and set it to a low speed. Observe the motor’s performance, listening for any unusual noises or vibrations. The motor should run smoothly without any grinding or clicking sounds.
- Incline and decline test: If your treadmill has incline and decline functionality, test these features to ensure that the motor can handle changes in elevation smoothly.
- Monitor speed consistency: Set the treadmill to different speed levels and observe if the motor maintains a consistent pace without fluctuation. If the speed is inconsistent or the treadmill slows down unexpectedly, it may indicate a motor issue.
If you notice any abnormalities during the motor testing process, it may be necessary to consult the manufacturer’s troubleshooting guide or contact a professional technician for further assistance. They will be able to provide specific recommendations based on your treadmill model and motor type.
On the other hand, if the motor performs well during testing, it’s a positive indication that the motor is in good working condition. However, it’s still important to monitor the treadmill’s performance over time and conduct regular maintenance to prevent future motor issues.
Now that you have tested the motor and assessed its performance, it’s time to move on to the next step: replacing the motor, if necessary. We’ll discuss this step in detail in the following section.
Step 6: Replacing the Motor
If you have followed all the previous troubleshooting steps and determined that the motor indeed needs to be replaced, it’s important to proceed with caution. Replacing a treadmill motor is a complex task and may require professional assistance, especially if you are not familiar with electrical components or have limited technical knowledge. However, if you feel confident about tackling the task yourself, here are the general steps involved in replacing the motor:
- Ensure safety: Before starting the replacement process, make sure that the treadmill is completely powered off and unplugged from the power source. Wear appropriate safety gear, such as gloves and safety glasses, to protect yourself from any potential hazards.
- Consult the user manual: Refer to the user manual that came with your treadmill for specific instructions on how to replace the motor. Different treadmill models may have varying processes, so it’s essential to follow the manufacturer’s guidelines.
- Remove the old motor: Carefully disconnect the wiring harness that connects the motor to the treadmill. Remove any mounting brackets or screws that secure the motor in place. Take note of the positioning and orientation of the old motor to ensure proper alignment when installing the new one.
- Install the new motor: Install the new motor into the designated spot, aligning it correctly based on the previous motor’s position. Secure it in place using the appropriate mounting brackets and screws. Reconnect the wiring harness, ensuring that each wire is connected to the corresponding terminal.
- Test the motor: Once the new motor is installed, turn on the treadmill and test the motor’s functionality. Verify that it runs smoothly, without any unusual noises or issues. Run the treadmill at various speeds and incline levels to ensure optimal performance.
If you feel uncomfortable replacing the motor yourself or are unsure about the specific steps for your treadmill model, it is highly recommended to seek professional assistance. A trained technician will have the necessary expertise and experience to replace the motor safely and correctly.
Replacing the motor should only be considered as a last resort if all other troubleshooting steps have been exhausted. If the motor is still under warranty, contacting the manufacturer for assistance is also advisable to avoid voiding the warranty.
Now that you are familiar with the process of replacing the motor, let’s discuss the final step in our guide: seeking professional help, if necessary.
Step 7: Seeking Professional Help (if necessary)
If you have gone through all the previous troubleshooting steps and still haven’t resolved the issues with your treadmill motor, it may be time to seek professional help. While DIY troubleshooting can be effective in many cases, certain problems may require specialized knowledge and tools. Here are some scenarios where professional assistance might be necessary:
- Complex motor issues: If you are unsure about diagnosing or repairing complex motor problems, it is best to consult a professional technician. They have the expertise and experience to accurately diagnose the issue and recommend the appropriate solution.
- Under warranty: If your treadmill is still under warranty, reaching out to the manufacturer or an authorized service provider is advisable. Attempting to fix the motor yourself could void the warranty, and professional assistance will ensure that the repairs are carried out in accordance with the warranty terms.
- Electrical repairs: Dealing with electrical components can be hazardous if you’re unfamiliar with proper safety procedures. A licensed and qualified electrician or technician will have the knowledge and skills to handle electrical repairs safely.
- Limited technical knowledge: If you lack experience or confidence in working with treadmill motors or electrical systems, it’s best to leave the repairs to professionals. They can efficiently diagnose the problem and perform the necessary repairs to get your treadmill up and running again.
- Specialized tools or parts: Some repairs may require specific tools or replacement parts that are not readily available to the average treadmill owner. Professional technicians have access to the necessary tools and can source genuine replacement parts for your particular treadmill model.
By seeking professional help, you can ensure that the repairs are carried out correctly, minimizing the risk of further damage and ensuring the longevity and safety of your treadmill.
Remember, your safety is paramount. Always prioritize your well-being and avoid attempting repairs that are beyond your skill level or comfort zone.
With this final step, we have covered the complete troubleshooting process for fixing a treadmill motor. By following these steps and employing professional help when needed, you can get your treadmill back in working order and continue enjoying your exercise routines without interruptions.
Conclusion
Fixing a treadmill motor can be a challenging task, but by following the troubleshooting steps outlined in this guide, you can increase your chances of resolving the issue and getting your treadmill back to its optimal performance. Remember to prioritize safety throughout the process by turning off and unplugging your treadmill before conducting any inspections or repairs.
Identifying the issue, checking the power supply, inspecting the motor belt, cleaning the motor, testing its functionality, and, if necessary, replacing the motor are the key steps to troubleshooting treadmill motor problems. Each step plays a crucial role in diagnosing and resolving the issue.
If you encounter any difficulties or feel unsure about the troubleshooting process, it’s always recommended to seek professional help. Experienced technicians can provide accurate diagnosis, offer proper repairs, and ensure your treadmill is functioning safely and efficiently.
Regular maintenance and care for your treadmill motor can also prevent future issues. Cleaning it regularly, inspecting and adjusting the motor belt, and following the manufacturer’s recommended maintenance guidelines can help prolong the lifespan of your treadmill motor.
We hope that this comprehensive guide has equipped you with the knowledge and confidence to tackle common treadmill motor problems. Remember, a well-maintained motor ensures smooth and uninterrupted workouts, allowing you to achieve your fitness goals. Now, it’s time to put this knowledge into practice and get your treadmill back on track!