Home>Misc>Featured>Why Is My Treadmill Sticking When Running

Featured
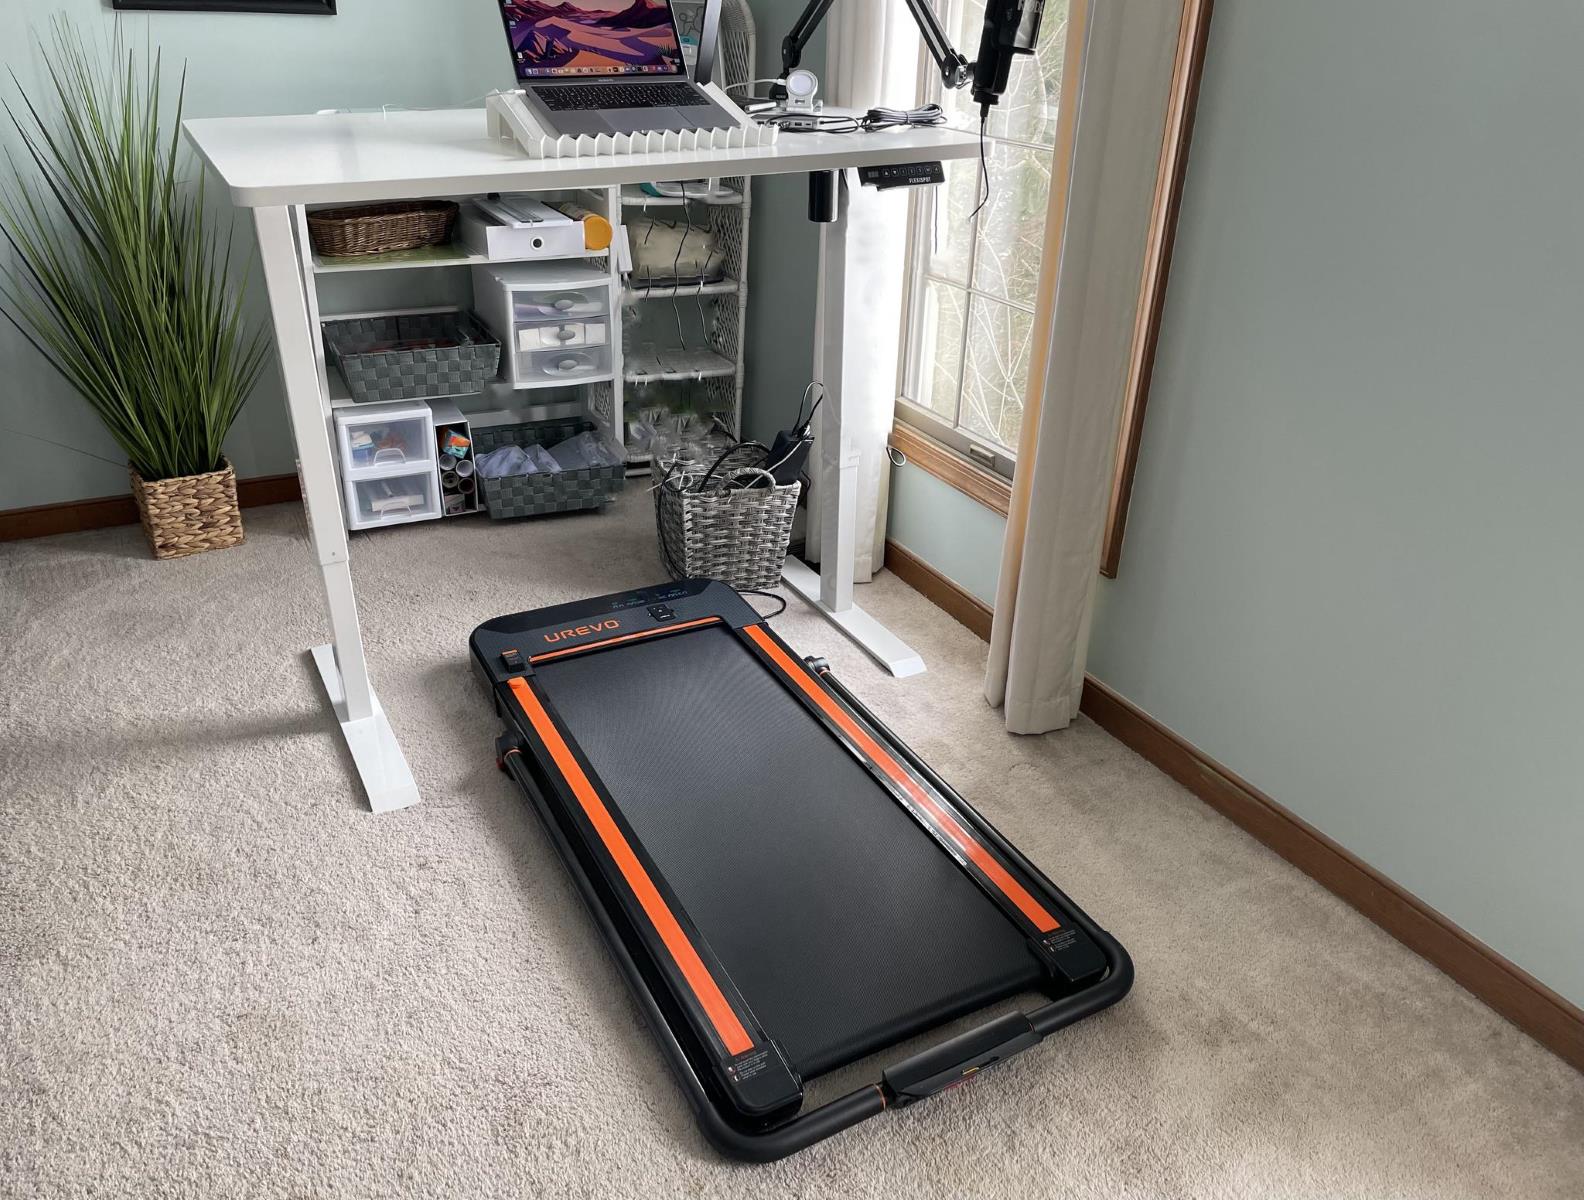
Why Is My Treadmill Sticking When Running
Modified: October 25, 2023
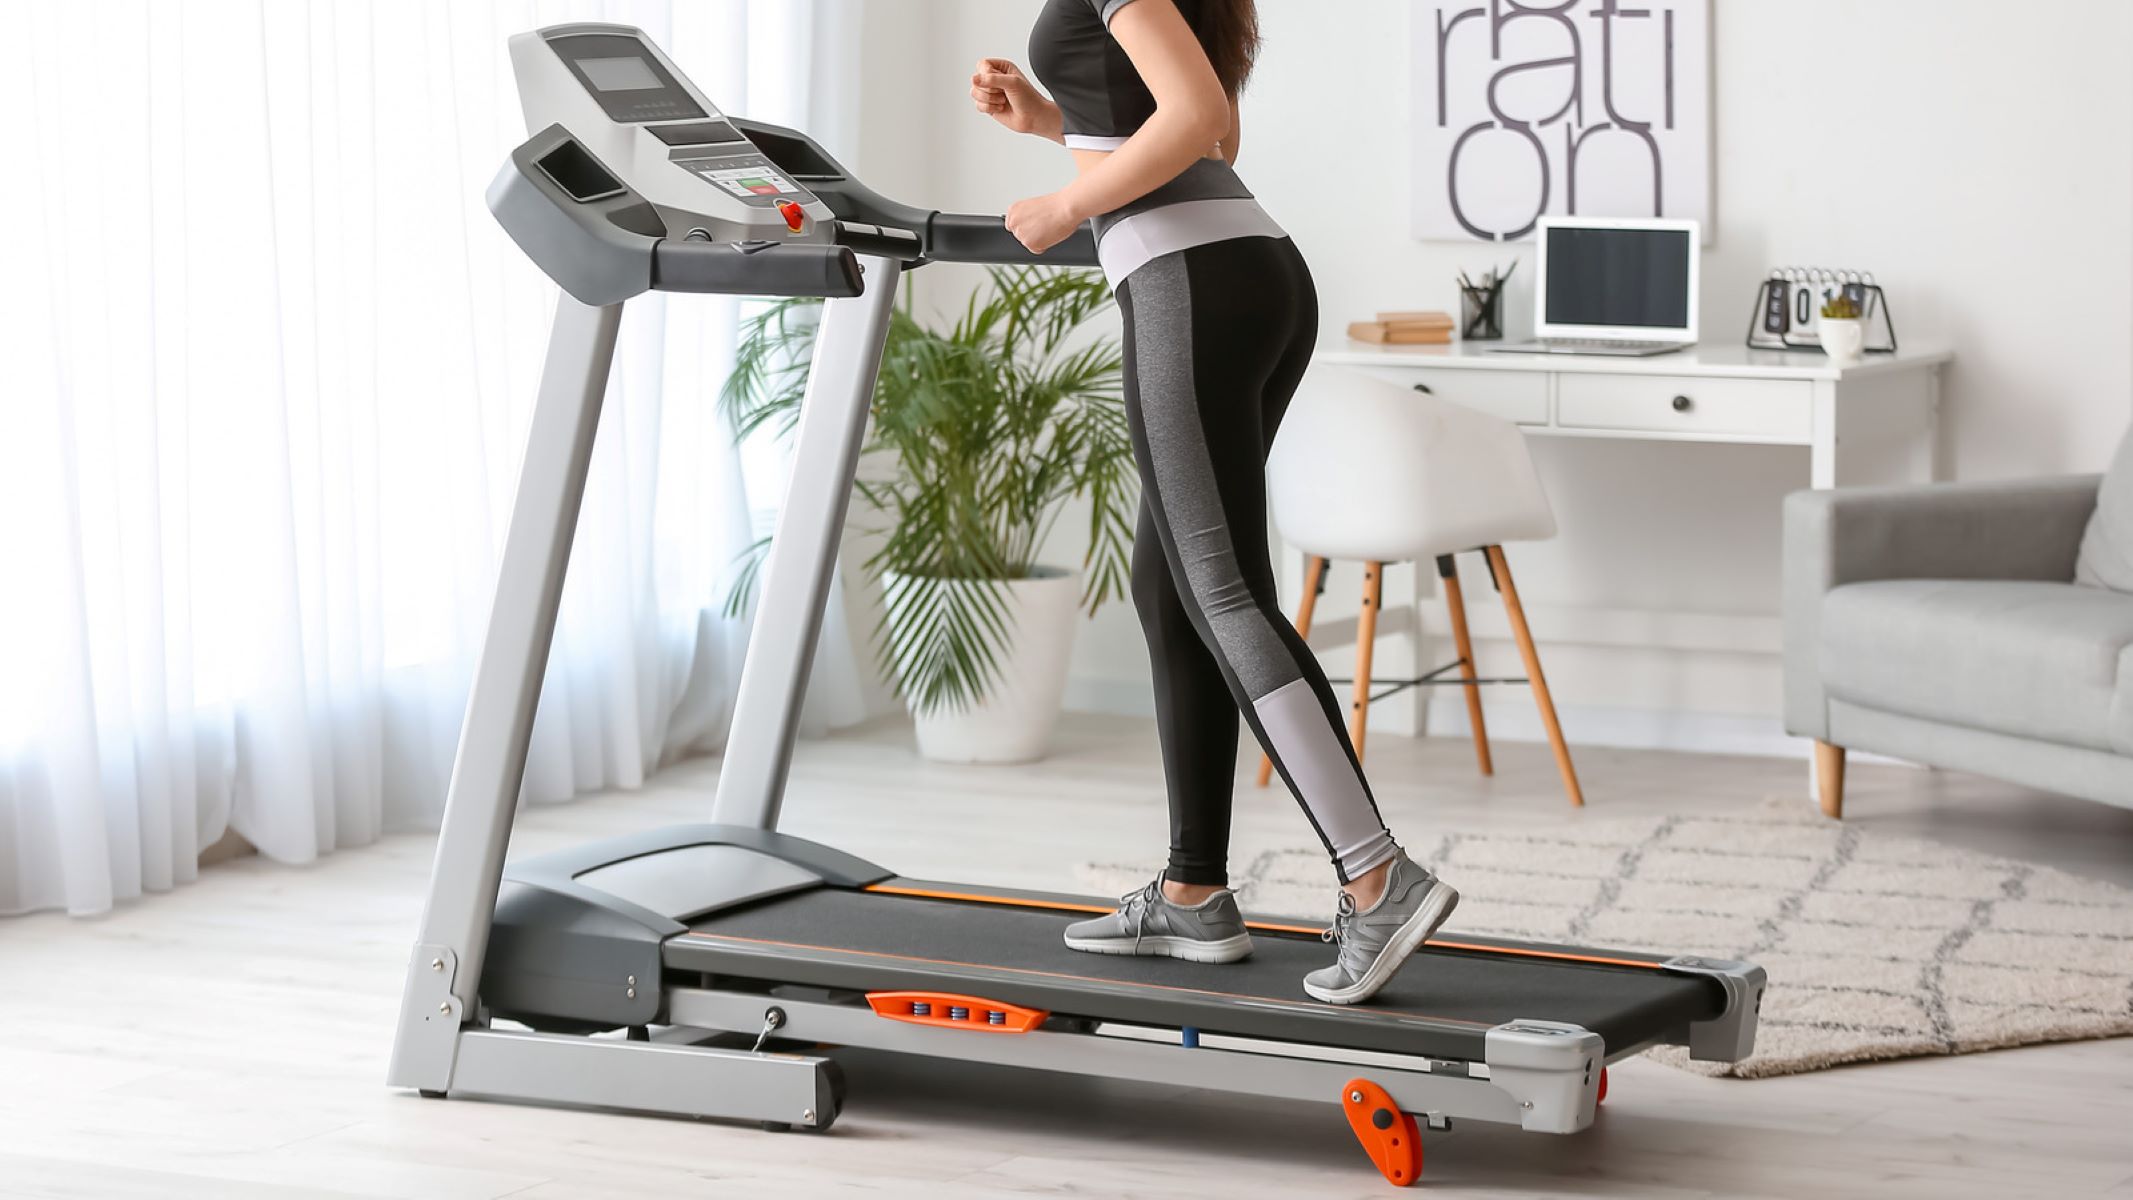
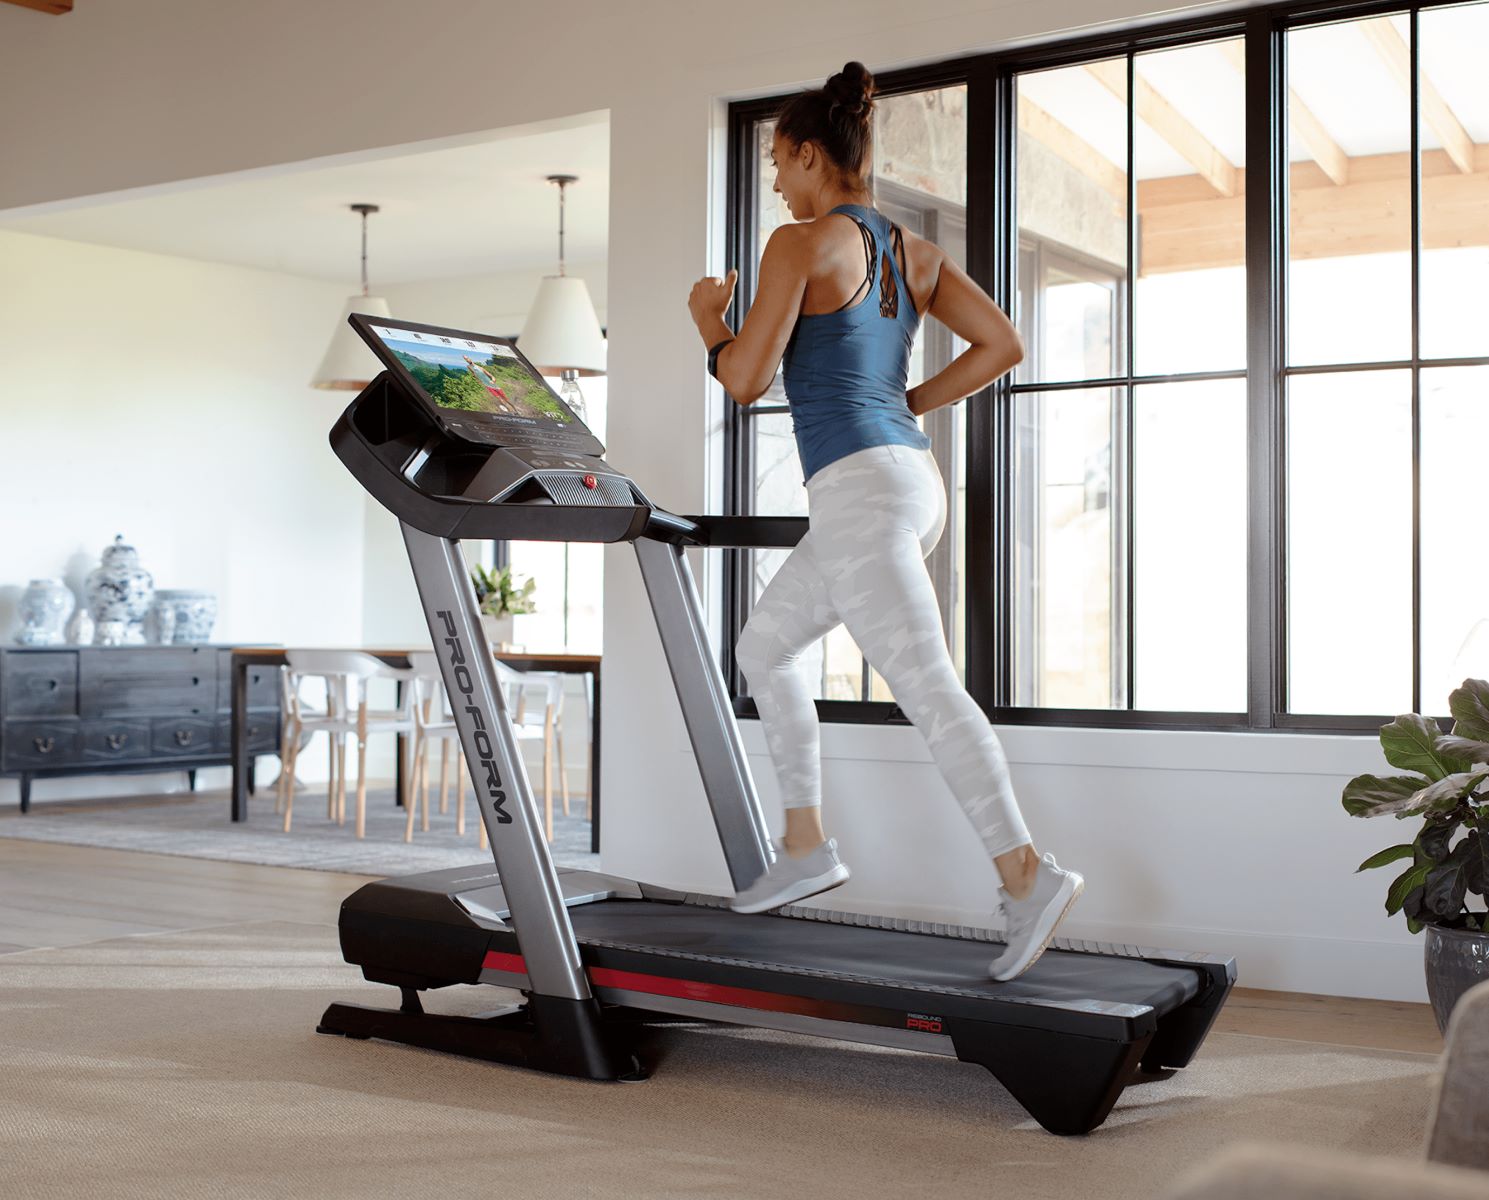
Looking for a featured treadmill? Avoid the frustration of a sticking treadmill when running. Check out our selection of top-notch treadmills to keep your workouts smooth and uninterrupted.
Introduction
Welcome to our comprehensive guide on troubleshooting a sticking treadmill. If you’re an avid runner or use a treadmill for regular exercise, you may have encountered the frustrating issue of your treadmill sticking or not running smoothly. This can significantly hinder your workout experience and make it difficult to achieve your fitness goals.
A sticking treadmill can have various causes, such as a malfunctioning motor, an improperly aligned belt, or a lack of lubrication. Fortunately, many of these issues can be resolved with some troubleshooting and basic maintenance. In this article, we will explore the common causes of a sticking treadmill and provide you with practical steps to troubleshoot and fix the problem.
Before we delve into the troubleshooting steps, it’s important to understand that treadmills are complex machines with several moving parts. As with any mechanical device, they require regular maintenance to ensure optimal performance and longevity.
It’s also worth noting that while some treadmill issues can be resolved with DIY solutions, there may be instances where professional assistance is required, especially if your treadmill is still under warranty or if you’re uncomfortable performing maintenance tasks yourself.
Now, let’s dive into the common causes of a sticking treadmill and learn how to troubleshoot and fix these issues.
Common Causes of Treadmill Sticking
When your treadmill starts to stick or not run smoothly, it can be frustrating and disrupt your workout routine. Understanding the common causes of this issue can help you identify and resolve the problem effectively. Here are some of the most common causes of a sticking treadmill:
- Improper belt alignment: One of the most common causes of a sticking treadmill is an improperly aligned belt. If the belt is too loose or too tight, it can cause the treadmill to stick and not move smoothly. It’s essential to ensure that the belt is correctly aligned and has the right tension.
- Worn-out belt and deck: Over time, the belt and deck of your treadmill can wear out, leading to sticking and uneven movement. If the belt is frayed or the deck is worn out, it’s crucial to replace them to restore smooth operation.
- Lack of lubrication: Treadmills require regular lubrication to reduce friction between the belt and the deck. If the treadmill is not adequately lubricated, it can cause the belt to stick, resulting in a jerky or uneven movement.
- Dirt and debris: Dust, dirt, and debris can accumulate on the belt and under the deck, causing it to stick and hinder smooth operation. Regular cleaning and maintenance can help prevent this issue.
- Motor problems: A malfunctioning motor can also cause a treadmill to stick. If the motor is not functioning properly, it may struggle to maintain a consistent speed, resulting in a jerky movement or the treadmill not starting at all.
Identifying the specific cause of your treadmill sticking will help you determine the appropriate troubleshooting steps to take. In the following sections, we will discuss how to troubleshoot and fix these problems to get your treadmill running smoothly again.
How to Troubleshoot a Sticking Treadmill
When your treadmill starts sticking or not running smoothly, there are several troubleshooting steps you can take to identify and resolve the issue. Follow these steps to get your treadmill back in working order:
- Check the belt and deck: Inspect the treadmill’s belt and deck for signs of wear, fraying, or damage. If you notice any issues, such as a worn-out belt or deck, it’s crucial to replace them. Also, ensure that the belt is properly aligned and has the correct tension to prevent sticking.
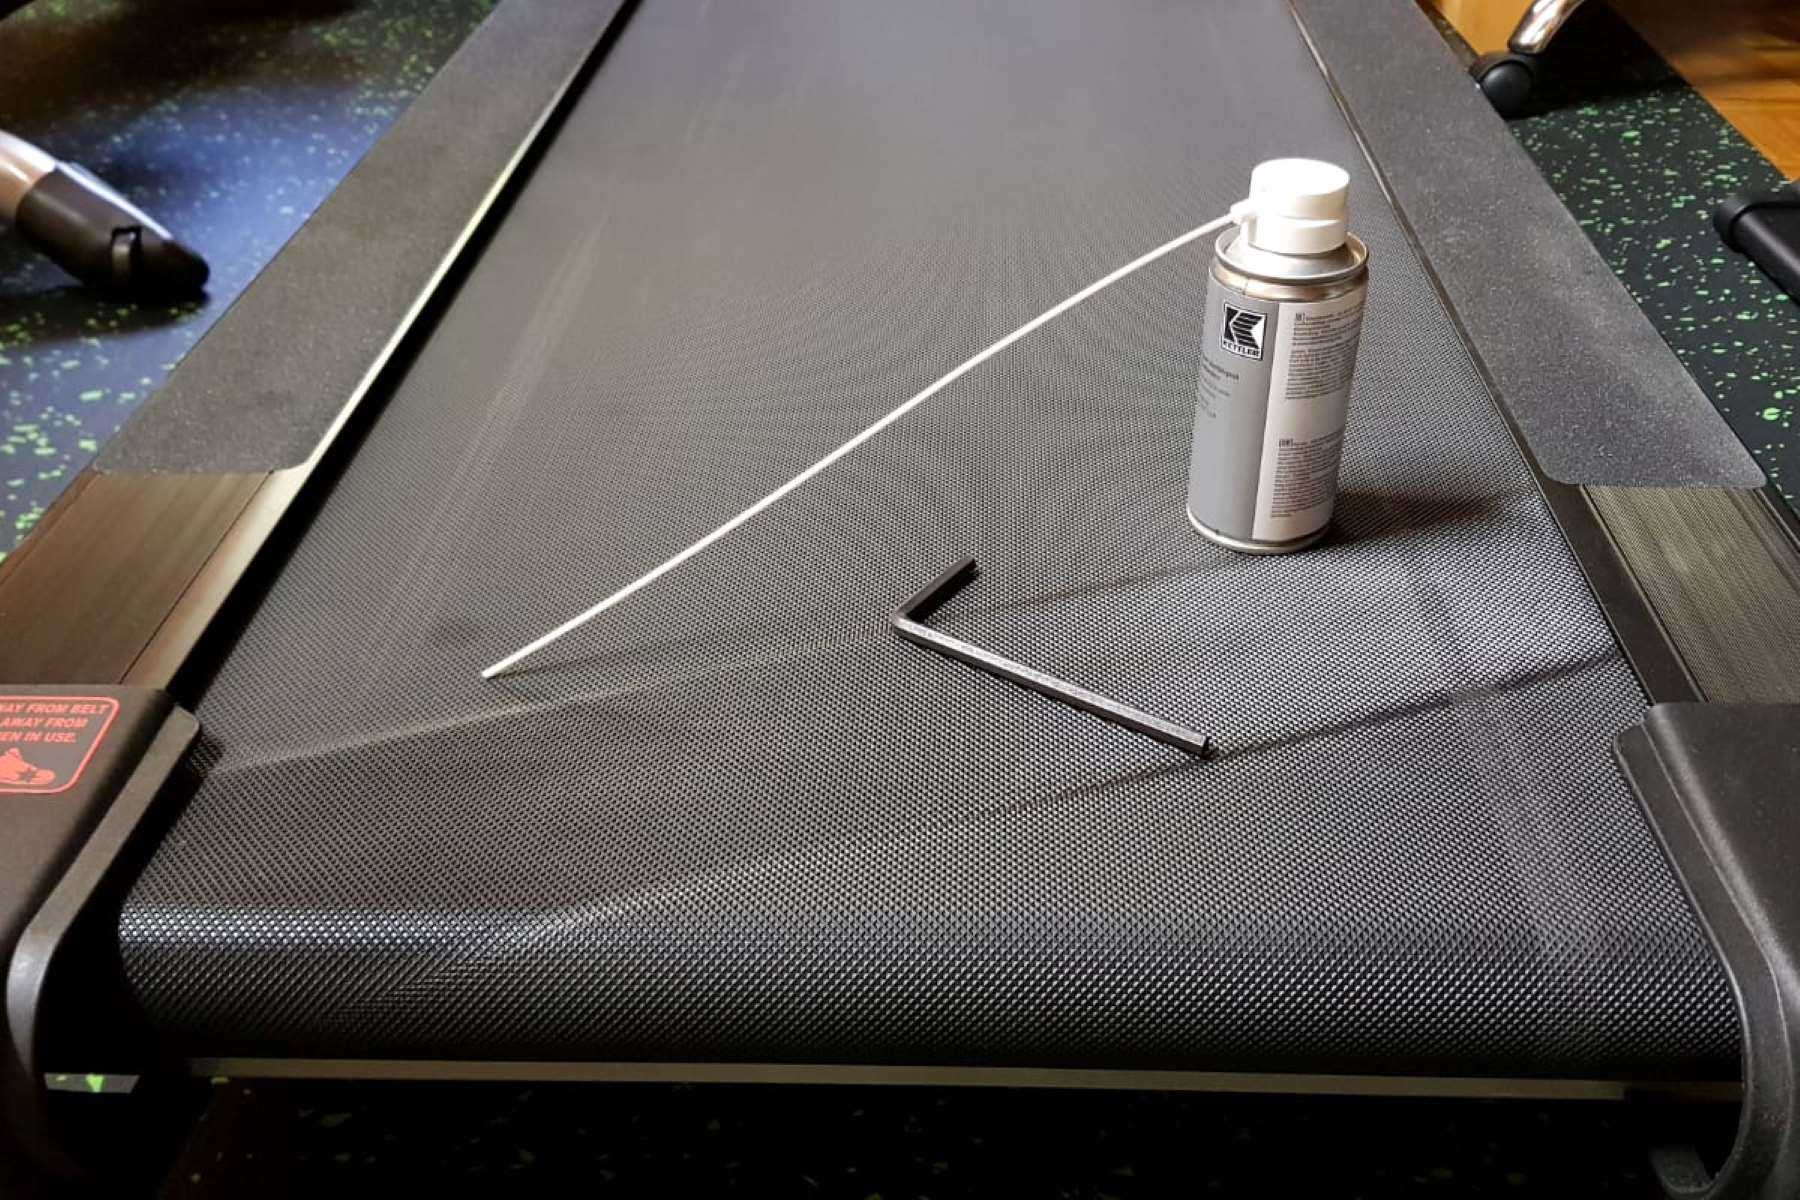
- Lubricate the treadmill: Lubrication is essential for smooth treadmill operation. Consult your treadmill’s user manual to determine the appropriate lubrication method and frequency. Apply lubricant to the belt and deck as instructed to reduce friction and prevent sticking.
- Adjust the belt tension: If the belt tension is too loose or too tight, it can cause sticking. Consult your treadmill’s user manual for instructions on how to adjust the belt tension. Make small adjustments until the belt moves smoothly without sticking.
- Clean the treadmill: Regular cleaning is crucial to prevent the build-up of dirt and debris, which can cause sticking. Wipe down the belt, deck, and other treadmill parts with a damp cloth regularly. Use a vacuum or soft brush to remove any dirt or debris from under the deck.
- Check for motor issues: If the treadmill continues to stick despite following the above steps, there may be an underlying motor problem. In this case, it’s best to consult a professional technician who can diagnose and repair any motor-related issues.
By following these troubleshooting steps, you can effectively identify and address the causes of a sticking treadmill. However, if you’re unsure or uncomfortable performing these tasks yourself, it’s always best to consult a professional technician to avoid any further damage or injury.
Checking the Belt and Deck
One of the common causes of a sticking treadmill is an issue with the belt and deck. Over time, the belt can wear out or become misaligned, leading to sticking and uneven movement. Here are some steps to check the belt and deck of your treadmill:
- Inspect the belt: Start by visually inspecting the treadmill belt. Look for any signs of fraying, cracking, or wear. If you notice any damage, it’s essential to replace the belt. Additionally, check the alignment of the belt by ensuring it is centered on the deck.
- Check the belt tension: Improper belt tension can also cause sticking. Most treadmills have an adjustable belt tension system. Refer to your treadmill’s user manual for instructions on how to adjust the belt tension. Make sure the belt is not too loose or too tight. A correctly tensioned belt should be able to lift at the edges by about 2-3 inches.
- Inspect the deck: Flip the treadmill over or remove the motor cover to access the deck. Inspect the deck for any signs of wear, cracking, or damage. If you notice any issues, it’s important to replace the deck. Additionally, ensure that the deck is properly aligned and level to prevent sticking.
- Align the belt: If the belt is misaligned, it can cause sticking and uneven movement. To realign the belt, start by loosening the tension bolts located at the back of the treadmill. Then, gently align the belt so that it is centered on the deck. Lastly, tighten the tension bolts until the belt is secure.
- Test the treadmill: Once you have checked and adjusted the belt and deck, test the treadmill by starting it at a slow speed. Observe if the belt now moves smoothly without sticking. If the problem persists, you may need to further troubleshoot or consult a professional.
Checking the belt and deck is an essential step in resolving a sticking treadmill. By inspecting and adjusting these components, you can restore smooth and consistent movement during your workouts.
Lubricating the Treadmill
Lubrication is key to ensuring smooth and friction-free operation of your treadmill. Lack of proper lubrication can result in the belt sticking or jerking during your workouts. Here are the steps to effectively lubricate your treadmill:
- Consult the user manual: Before lubricating your treadmill, consult the manufacturer’s instructions or user manual. Different treadmill models may have specific lubrication requirements.
- Choose the right lubricant: Select a high-quality treadmill lubricant that is recommended for your specific treadmill model. These lubricants are specifically designed to reduce friction and prevent sticking. Avoid using silicone-based sprays or oils, as they can cause damage to the belt and deck over time.
- Clean the belt and deck: Before applying the lubricant, ensure that the belt and deck are clean. Use a damp cloth to wipe away any dirt, debris, or dust that may have accumulated on the surface.
- Apply the lubricant: Follow the manufacturer’s instructions for the proper application of the lubricant. Most often, you will need to apply the lubricant along the center of the belt, underneath the belt, or on the deck. Use a clean cloth or applicator to spread the lubricant evenly.
- Spread the lubricant: Once the lubricant is applied, it’s important to evenly spread it across the belt and deck. You can do this by running the treadmill at a slow speed for a few minutes. This will help distribute the lubricant and ensure that it reaches all necessary areas.
- Check for excess lubricant: After spreading the lubricant, check for any excess. Use a clean cloth to wipe away any excess lubricant that may have accumulated on the belt or deck.
- Test the treadmill: Once you have lubricated the treadmill, test it by starting at a slow speed. Observe if the belt is moving smoothly and without sticking. If the problem persists, you may need to consider other troubleshooting steps.
Regular lubrication of your treadmill is essential to maintain its performance. It helps reduce friction, prevent sticking, and prolong the lifespan of your treadmill. Follow these steps to effectively lubricate your treadmill and enjoy seamless workouts.
Adjusting the Tension of the Belt
The tension of the treadmill belt plays a crucial role in ensuring smooth and consistent movement. If the belt tension is too loose or too tight, it can cause sticking or slipping during your workouts. Here are the steps to properly adjust the tension of the belt:
- Refer to the user manual: Consult your treadmill’s user manual for specific instructions on how to adjust the belt tension. Different treadmill models may have different methods for adjusting the tension.
- Identify the tension adjustment mechanism: Locate the tension adjustment bolts or knobs on your treadmill. These are typically found at the rear end, near the motor or underside of the treadmill.
- Loosen the tension bolts/knobs: Using the appropriate tools, loosen the tension bolts or knobs. Be careful not to loosen them too much, as this can cause the belt to become too loose.
- Adjust the belt tension: Once the tension bolts or knobs are loosened, make slight adjustments to increase or decrease the tension. Turn the bolts or knobs clockwise to increase the tension or counterclockwise to decrease it. Small adjustments are recommended to find the right balance.
- Test the tension: After making adjustments, start the treadmill at a slow speed and observe the belt’s movement. The belt should not slip or stick during your workout. If you notice any issues, further adjustments may be needed.
- Tighten the tension bolts/knobs: Once you have found the appropriate tension, tighten the tension bolts or knobs. Ensure they are securely tightened but not overly tightened.
- Recheck the tension: After tightening the bolts or knobs, recheck the tension of the belt to ensure it remains in the desired position. Make any necessary adjustments if needed.
Properly adjusting the tension of the belt is crucial for optimal treadmill performance. It allows for smooth and consistent movement, reducing the chances of sticking or slipping. Take your time to find the right tension and regularly check and adjust it as needed to ensure a comfortable and safe workout experience.
Cleaning the Treadmill
Maintaining a clean treadmill is essential for optimal performance and preventing sticking or other issues. Dust, dirt, and debris can accumulate on the belt and under the deck, causing friction and hindering smooth movement. Follow these steps to effectively clean your treadmill:
- Power off and unplug the treadmill: Before cleaning, ensure that the treadmill is powered off and unplugged from the electrical outlet. This will prevent any accidents or injury during the cleaning process.
- Wipe down the surfaces: Start by using a damp cloth to wipe down the belt, deck, and other visible surfaces of the treadmill. This will remove any dust or dirt that may have settled on the surface.
- Remove dirt and debris: Use a vacuum cleaner with a soft brush attachment or a dry cloth to remove any dirt or debris that may have accumulated under the belt and on the deck. Pay extra attention to the edges and corners where debris tends to accumulate.
- Clean the console: Use a microfiber cloth lightly dampened with water or a mild household cleaner to wipe down the console, buttons, and display screen. Avoid getting excessive moisture on the console, as it may damage the electronics.
- Clean the treadmill belt: To clean the belt, use a damp cloth or sponge with a gentle cleaner specifically designed for treadmill belts. Gently scrub the belt to remove any stains or residue. Avoid using harsh chemicals or abrasive cleaners, as they can damage the belt.
- Dry the treadmill: After cleaning, ensure that the treadmill is thoroughly dry before using it again. Use a dry cloth to wipe down any remaining moisture, especially on the belt and deck.
- Regular maintenance: Keeping your treadmill clean should be part of your regular maintenance routine. Aim to clean it at least once a month or more frequently if you use it heavily. This will help prevent the build-up of dirt and debris that can cause sticking or other performance issues.
By regularly cleaning your treadmill, you can ensure its longevity and optimal performance. Taking the time to remove dirt and debris will reduce friction and help maintain smooth movement during your workouts. Incorporate this cleaning routine into your treadmill maintenance for a seamless workout experience.
Consulting a Professional
While many treadmill issues can be resolved through DIY troubleshooting and maintenance, there may be instances where it is best to consult a professional. If you have followed the troubleshooting steps and your treadmill is still sticking or not running smoothly, or if you are uncomfortable performing maintenance tasks yourself, it’s time to consider seeking professional assistance. Here’s why consulting a professional can be beneficial:
- Expert diagnosis: Professional treadmill technicians have the knowledge and expertise to diagnose complex issues. They can identify the root cause of the sticking problem and provide an accurate assessment of what needs to be fixed.
- Warranty considerations: If your treadmill is still under warranty, attempting DIY repairs may void the warranty. By consulting a professional, you can ensure that any necessary repairs are covered by the warranty and avoid any unnecessary expenses.
- Specialized tools and parts: Treadmill technicians have access to specialized tools and replacement parts that may be required for repairs. They can properly install and align these parts, ensuring that your treadmill operates smoothly.
- Safety and peace of mind: Treadmills are intricate machines with various moving parts and electrical components. A professional technician can perform repairs and maintenance tasks safely, minimizing the risk of injury or further damage to the treadmill.
- Preventive maintenance: In addition to resolving the sticking issue, a professional technician can also perform preventive maintenance on your treadmill. This includes inspecting other components, lubricating the necessary parts, and ensuring overall functionality and longevity of your treadmill.
When consulting a professional, it’s important to choose a reputable service provider with experience in treadmill repair and maintenance. Check reviews or ask for recommendations to find a reliable technician who can effectively address the sticking issue and restore your treadmill’s smooth operation.
Remember, your safety and the longevity of your treadmill are of utmost importance. If you’re unsure or uncomfortable performing repairs yourself, it’s best to leave it in the hands of a qualified professional.
Conclusion
A sticking treadmill can be a frustrating issue that hampers your workout experience. However, by understanding the common causes of the problem and following the appropriate troubleshooting steps, you can get your treadmill back to running smoothly. Whether it’s checking the belt and deck, lubricating the treadmill, adjusting the belt tension, or cleaning the machine, regular maintenance is key to preventing sticking and ensuring optimal performance.
It’s important to take the time to inspect and maintain your treadmill regularly. This includes checking the belt and deck for wear, aligning and adjusting the tension of the belt, lubricating the necessary parts, and keeping the machine clean from dirt and debris. These simple maintenance tasks can go a long way in preventing sticking and prolonging the lifespan of your treadmill.
However, if you have followed the troubleshooting steps and your treadmill continues to stick or if you’re unsure about performing repairs yourself, it’s always recommended to consult a professional technician. They have the knowledge, expertise, and specialized tools to diagnose and resolve complex issues while ensuring your safety.
Remember, a well-maintained treadmill not only provides a smooth workout experience but also improves the longevity and performance of the machine. By implementing proper maintenance and troubleshooting techniques, you can keep your treadmill running smoothly and enjoy effective and enjoyable workouts for years to come.