Featured
How To Fix A Treadmill Belt
Modified: January 2, 2024
Learn how to fix a treadmill belt with our featured guide. Get step-by-step instructions and expert tips to keep your treadmill running smoothly.
Introduction
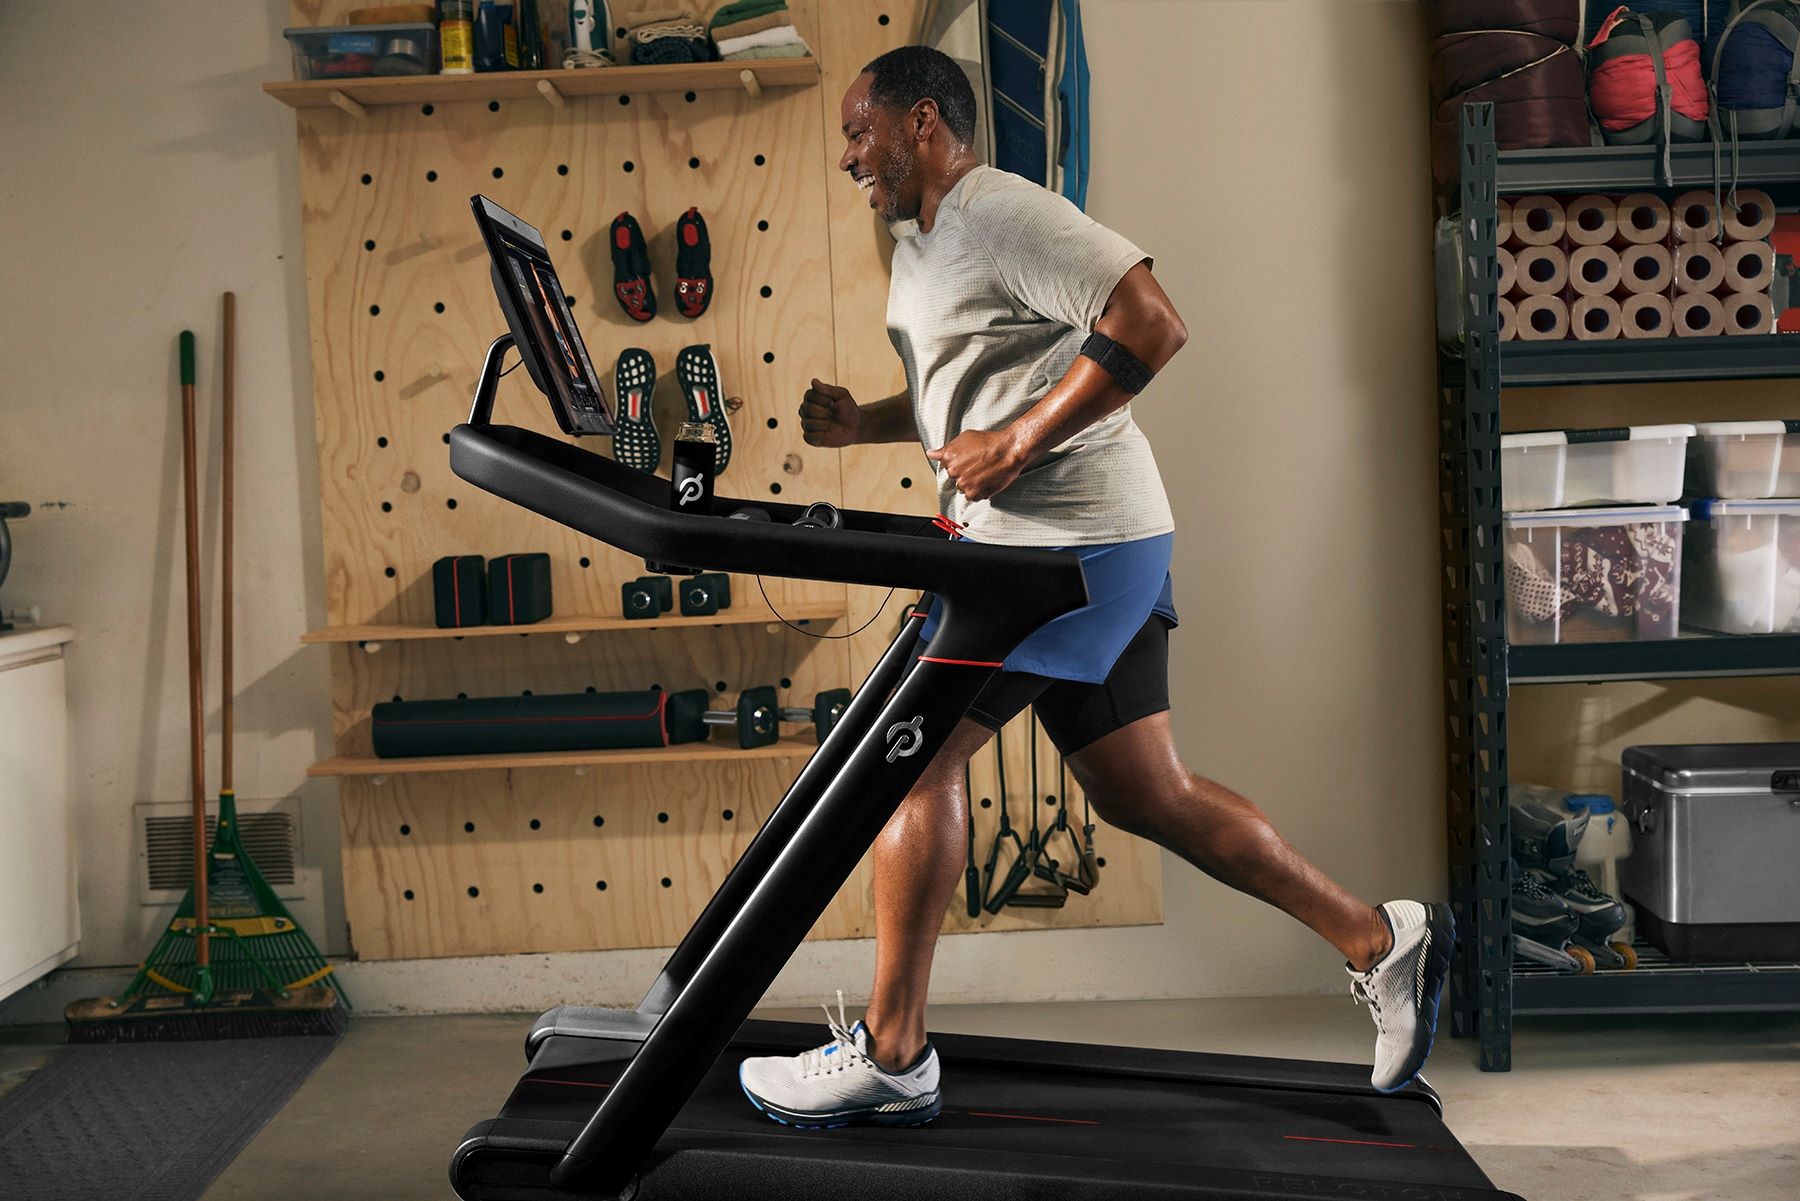
A treadmill is a popular piece of exercise equipment that allows users to walk, jog, or run indoors. Over time, the belt of the treadmill may become misaligned, loose, or worn out, resulting in a less effective and safe workout. Fortunately, fixing a treadmill belt is a task that can be done by most individuals with basic DIY skills and a few simple tools.
In this article, we will guide you through the steps to fix a treadmill belt and ensure that your workout sessions remain smooth and efficient. By following these steps, you can save money on calling a professional technician and get your treadmill back in working order quickly.
Before we dive into the steps, it’s important to understand that treadmills vary in design and mechanics, so the specific instructions for your treadmill may differ slightly. It’s always a good idea to consult the user manual that came with your treadmill for any specific instructions or precautions that you should take.
Without further ado, let’s get started with step one: assessing the problem with your treadmill belt.
Step 1: Assess the Problem
Before attempting to fix a treadmill belt, it’s important to identify the issue at hand. By assessing the problem, you’ll be able to determine the appropriate course of action to take and avoid any unnecessary repairs or adjustments.
Start by turning off the treadmill and unplugging it from the power source. This ensures your safety while you inspect the belt. Carefully examine the belt for any visible signs of wear or damage such as fraying, tears, or excessive stretching. If you notice any of these issues, it may be time to replace the belt altogether.
In addition, check the alignment of the belt. A misaligned belt can cause slippage or uneven wear, leading to an uncomfortable and potentially dangerous workout. Place a straight edge, such as a ruler or a carpenter’s level, on the sides of the belt to see if it is parallel to the deck. If the belt is not aligned properly, adjustments will be required.
Next, test the tension of the belt. A loose or overly tight belt can cause various problems, including slipping or excessive friction. To check the tension, press down on the edge of the belt in the middle. It should offer a slight resistance without being too loose or too tight.
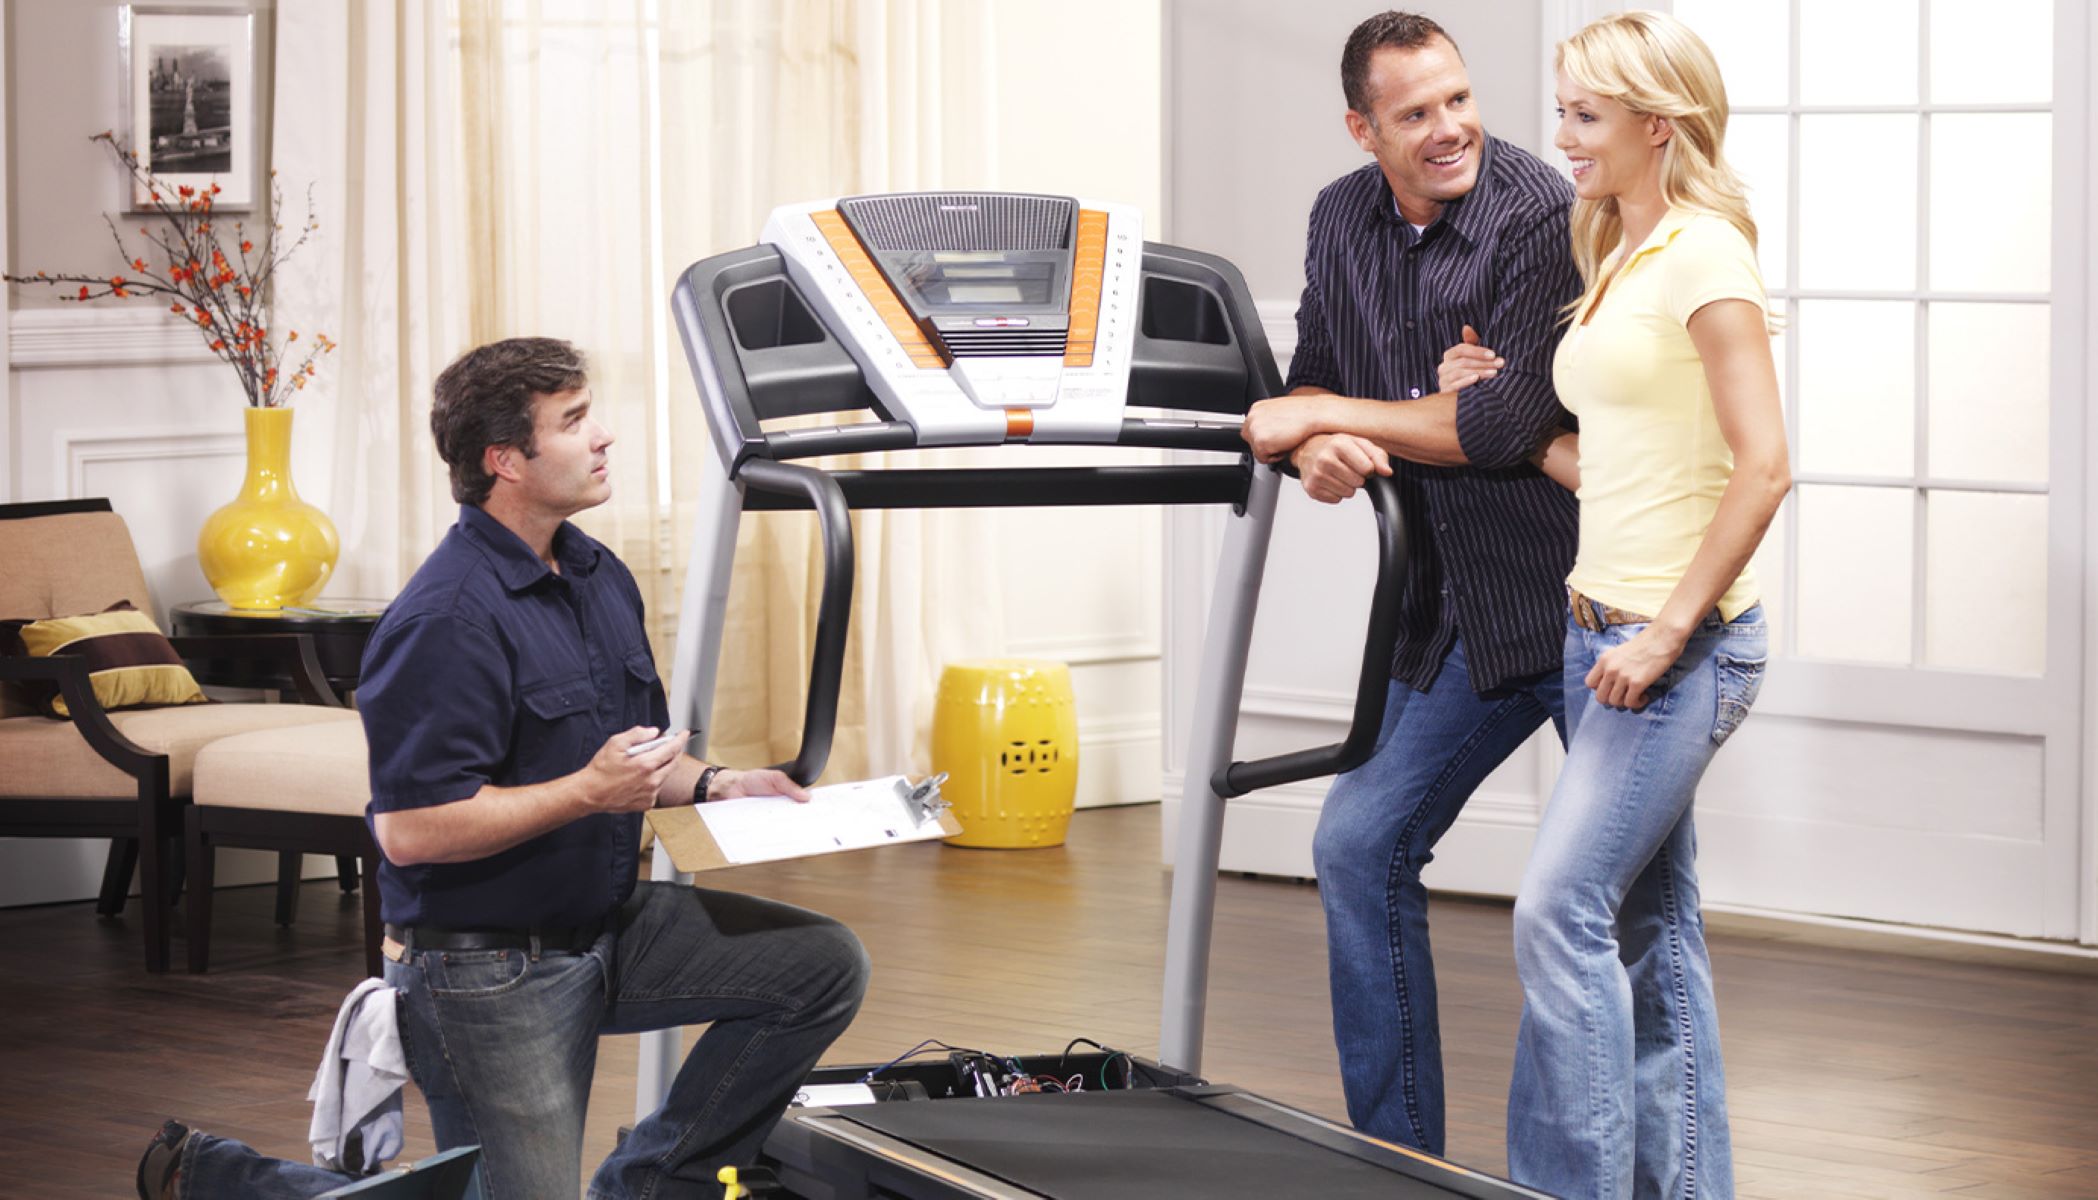
Once you have assessed the condition, alignment, and tension of the belt, you will have a better understanding of what needs to be done to fix the issue. If you are unsure or notice any significant damage, it is recommended to consult a professional treadmill technician for further assistance.
Now that you have assessed the problem, let’s move on to step two: gathering the necessary tools and equipment.
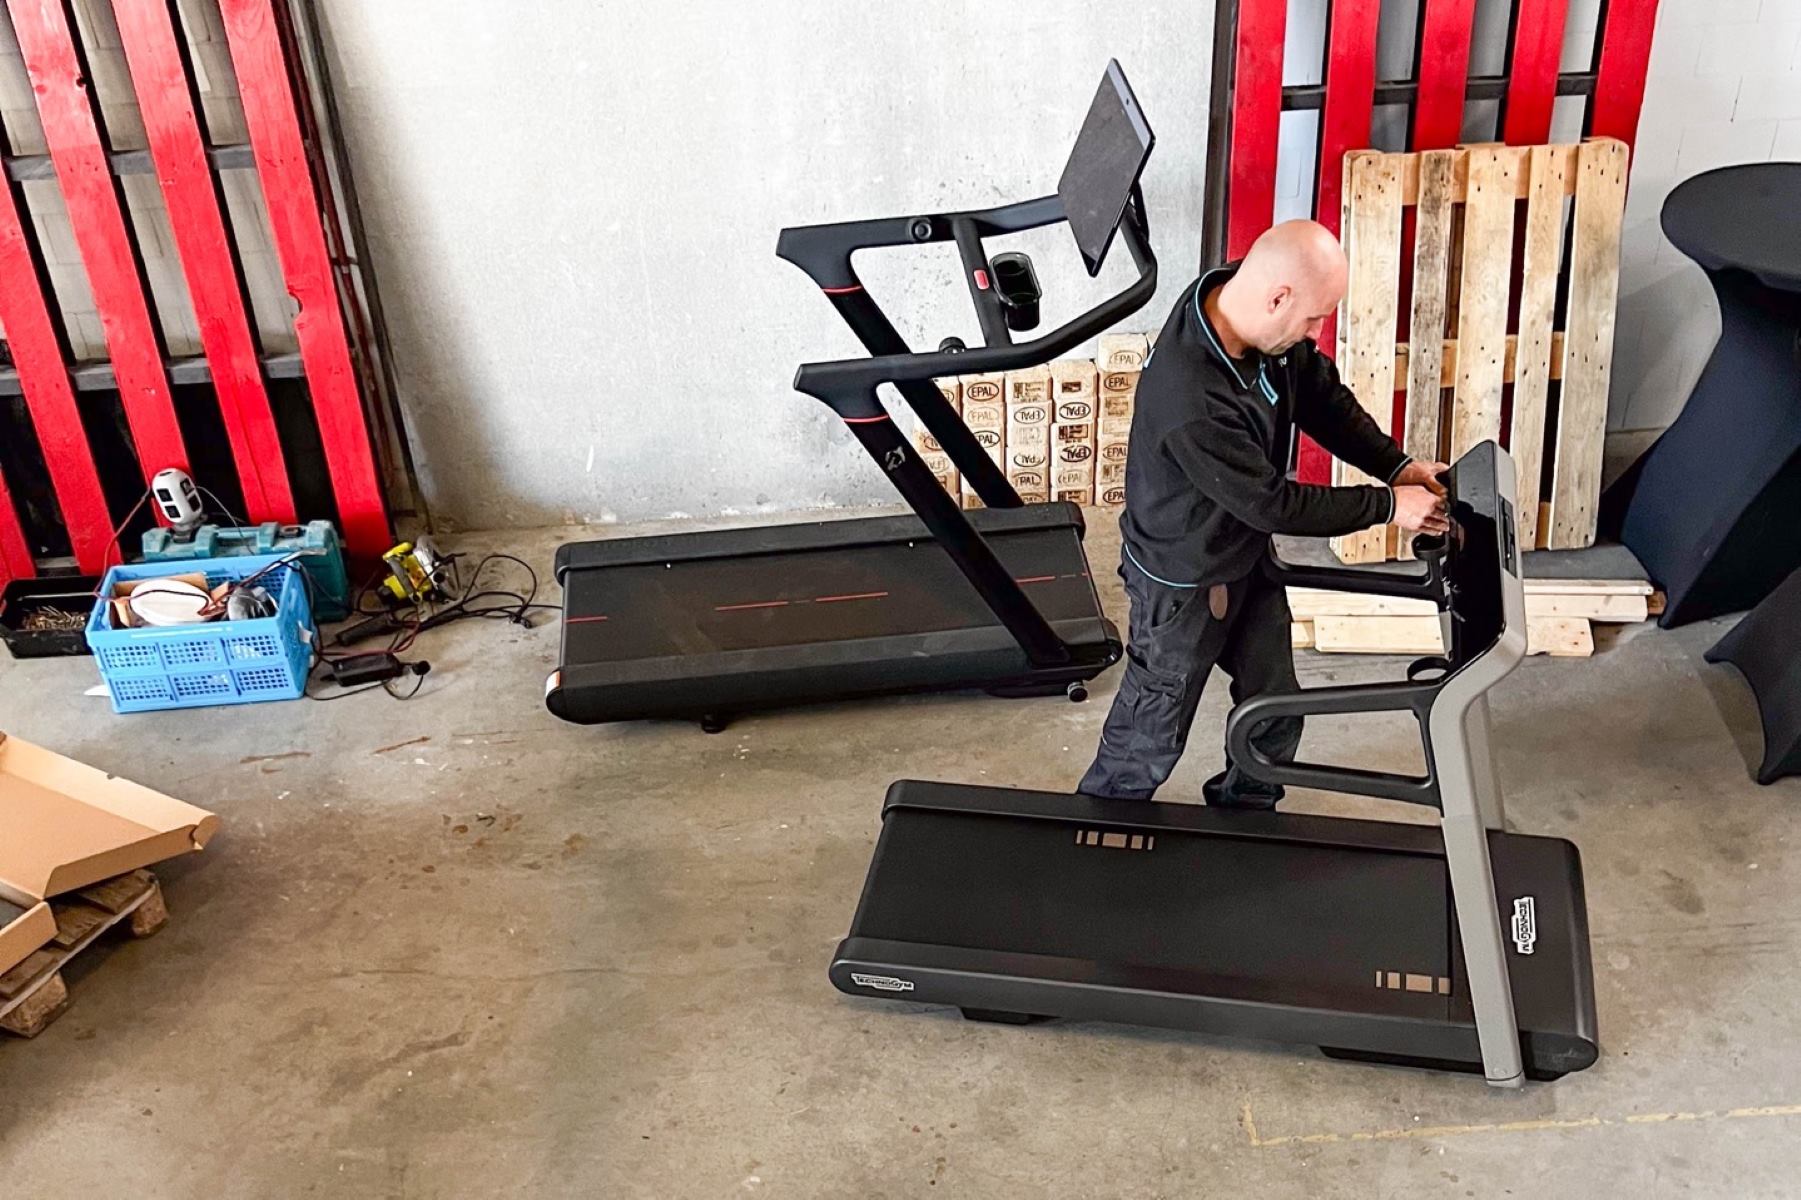
Step 2: Gather the Necessary Tools and Equipment
Before you can start fixing a treadmill belt, it’s important to gather all the necessary tools and equipment. Having everything prepared beforehand will save you time and ensure a smooth repair process.
Here are the essential tools and equipment you will need:
- Allen wrench or hex key: This tool is typically included with the treadmill and is used to adjust the tension and alignment of the belt.
- Lubricant: A treadmill lubricant is necessary to reduce friction between the belt and the deck. Make sure to use a lubricant specifically designed for treadmills.
- Pliers or adjustable wrench: These tools may be needed to adjust the tension bolts or screws.
- Cleaning brush or cloth: It’s important to clean the belt and deck before making any adjustments. A soft brush or cloth will help remove dirt, debris, and dust.
- Screwdriver: Depending on the model of your treadmill, you may need a screwdriver to remove any covers or panels to access the belt and deck.
- Safety gloves: Protect your hands during the repair process with a pair of safety gloves.
These are the basic tools and equipment you will typically need. However, it’s essential to refer to your treadmill’s user manual for any specific tools or instructions recommended by the manufacturer.
By gathering all the necessary tools and equipment in advance, you’ll be well-prepared to tackle the repair process and ensure a successful outcome. Now that you have everything ready, let’s move on to the next step: removing the tension from the belt.
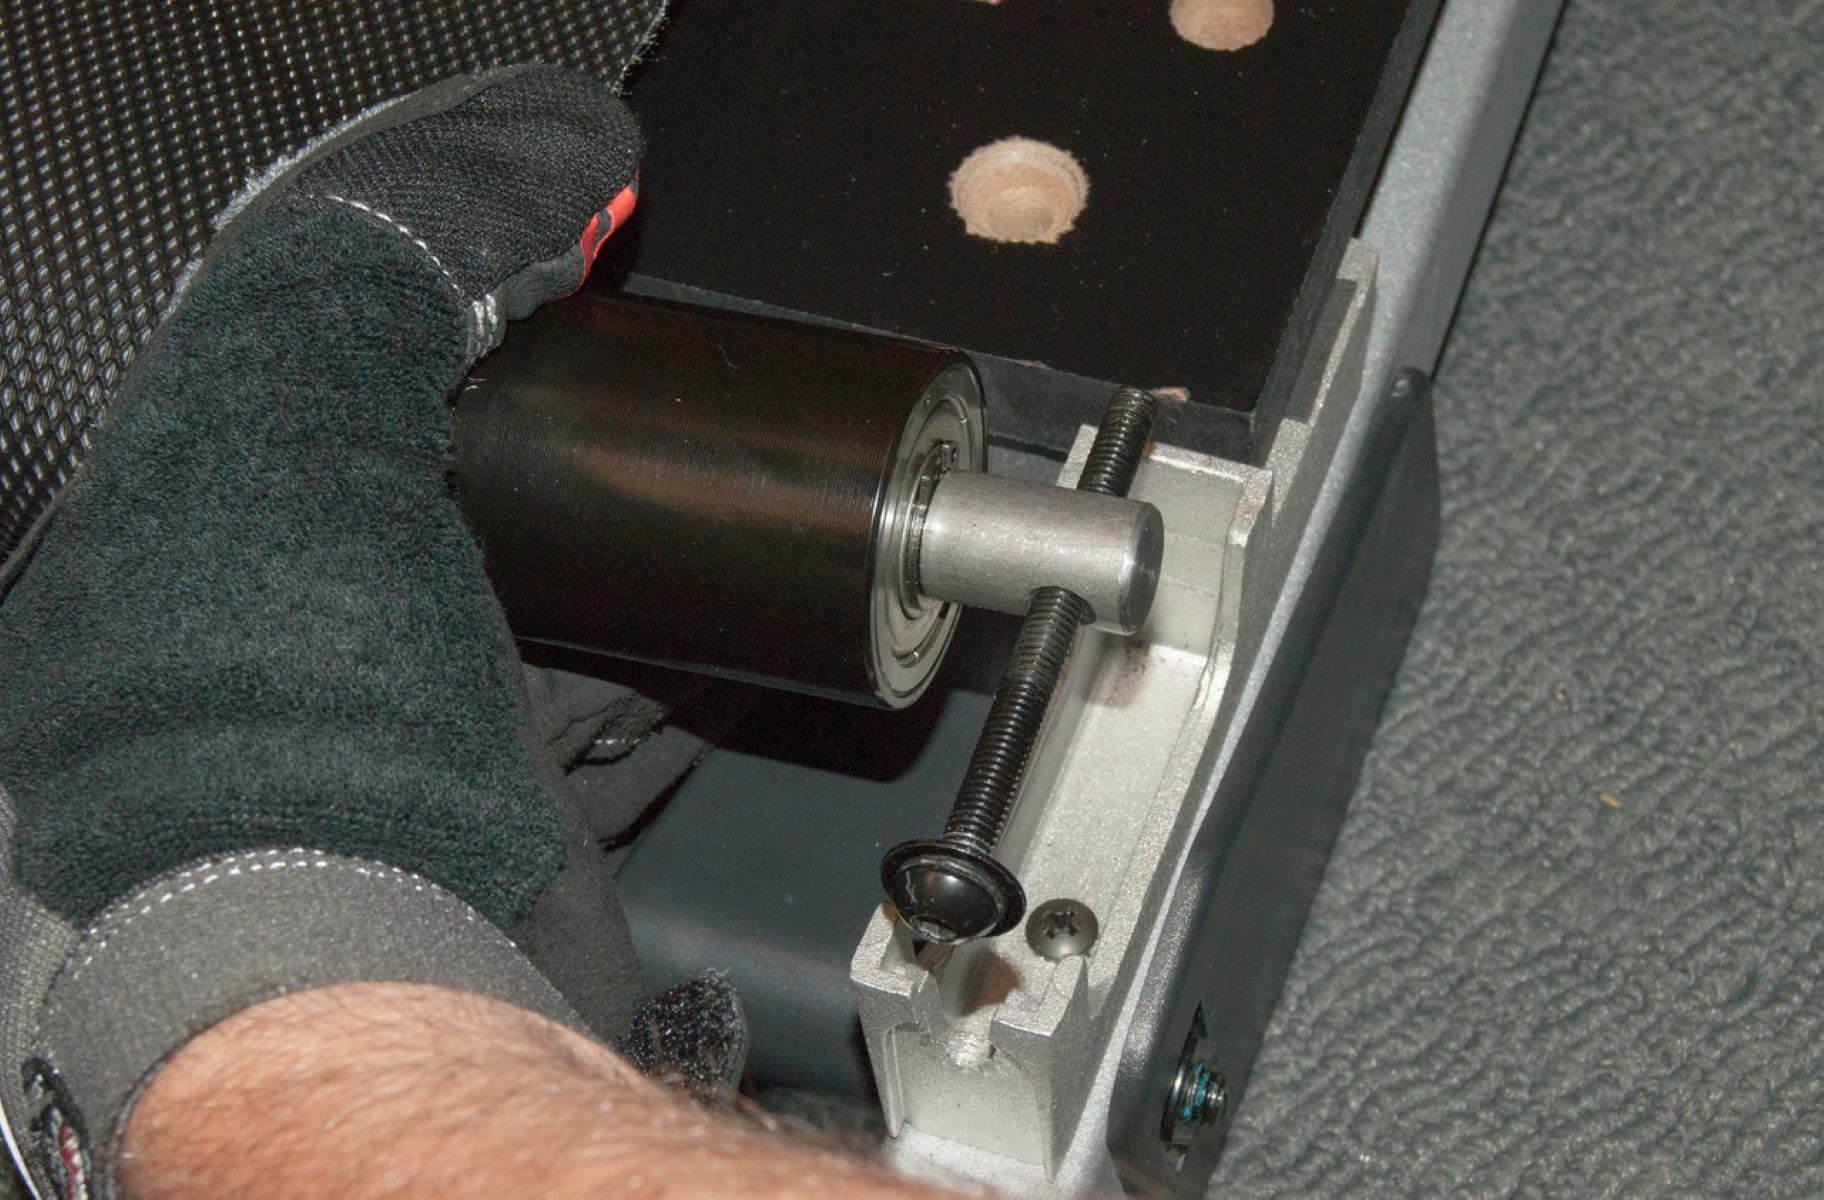
Step 3: Remove the Tension from the Belt
In order to make adjustments to the treadmill belt, you need to release the tension first. This step is crucial to ensure a safe and effective repair process. Here’s how to remove the tension from the belt:
- Start by locating the tension bolts or screws on either side of the treadmill. These are usually located at the rear end of the deck.
- Using an Allen wrench or hex key, turn the tension bolts counterclockwise to loosen them. This will reduce the tension on the belt.
- Continue loosening the bolts gradually, making sure not to release them completely. The goal is to create enough slack in the belt to make adjustments and repairs.
- If your treadmill has a tension knob, turn it counterclockwise until the belt is loose.
- Once the tension has been released, you can move on to the next steps of fixing the treadmill belt.
Removing the tension from the belt is important to avoid any accidental movements or tension-related injuries during the repair process. Always ensure that the treadmill is powered off and unplugged before attempting to adjust the tension or perform any repairs.
Now that the tension has been removed, we can move forward to step four: inspecting and cleaning the belt and deck.
Step 4: Inspect and Clean the Belt and Deck
Before making any adjustments or repairs, it’s important to inspect and clean both the treadmill belt and deck. This step ensures that the belt is in good condition and that there are no obstructions or build-up that could affect its performance. Follow these steps to properly inspect and clean the belt and deck:
- Start by carefully examining the entire length of the belt for any signs of wear, fraying, or tears. If you notice any significant damage, it may be necessary to replace the belt.
- Using a soft brush or cloth, gently remove any dust, dirt, or debris from the surface of the belt and deck. Pay close attention to areas where the belt and deck meet as debris tends to accumulate there.
- If there are any stubborn stains or residue on the belt, you can use a mild detergent mixed with water to clean it. However, avoid using harsh chemicals or abrasive cleaners as they can damage the belt.
- After cleaning, allow the belt and deck to dry completely before proceeding to the next step.
Inspecting and cleaning the belt and deck is essential to ensure optimal performance and longevity of your treadmill. Regular maintenance, including cleaning, can help prevent issues such as belt slippage, uneven wear, and premature belt failure.
Once you have completed the inspection and cleaning process, it’s time to move on to step five: adjusting the tension and alignment of the belt.
Step 5: Adjust the Tension and Alignment of the Belt
Proper tension and alignment are crucial for the smooth operation and longevity of the treadmill belt. Adjusting the tension and alignment will ensure that the belt stays in place during your workout and reduces the risk of slippage or uneven wear. Follow these steps to adjust the tension and alignment of the belt:
- Refer to your treadmill’s user manual to identify the specific adjustment mechanisms for tension and alignment. Most treadmills have tension bolts or screws on either side of the rear end of the deck for tension adjustment.
- Using an Allen wrench or hex key, make small adjustments to the tension bolts or screws. Turning them clockwise will increase the tension, while turning them counterclockwise will decrease the tension.
- Gradually increase the tension until the belt feels firm and offers a slight resistance when pressed down in the middle.
- Next, check the alignment of the belt. Place a straight edge, such as a ruler or carpenter’s level, on the sides of the belt to ensure it is parallel to the deck. If it is not aligned, use the adjustment mechanisms provided to make the necessary adjustments.
- Make small adjustments and recheck the alignment until the belt is properly aligned with the deck.
It’s important to make small adjustments and test the belt’s tension and alignment after each adjustment to ensure that it is within the desired range. Avoid over-tightening the belt as it may cause excessive strain on the motor and other components.
Once you have adjusted the tension and alignment of the belt, it’s time to move on to step six: lubricating the belt and deck.
Step 6: Lubricate the Belt and Deck
Lubricating the treadmill belt and deck is an essential step to ensure smooth and friction-free movement. Over time, the belt can become dry and cause excessive heat, noise, and wear. Proper lubrication will help extend the life of the belt and improve the overall performance of the treadmill. Follow these steps to lubricate the belt and deck:
- Refer to your treadmill’s user manual to identify the specific type of lubricant recommended by the manufacturer. Different treadmills may require different types of lubricants, so it’s important to use the correct one.
- Ensure that the treadmill is powered off and unplugged before applying any lubricant. This is crucial for your safety during the lubrication process.
- Lift the edge of the belt and apply a small amount of lubricant on the inside of the belt, in the middle portion. Avoid applying lubricant on the outer edges of the belt as it may cause slipping.
- Place the belt back onto the deck and manually move it to distribute the lubricant evenly. This will help ensure that the lubricant covers the entire surface of the belt.
- After lubricating the belt, you may also need to lubricate the deck. Consult your treadmill’s user manual for instructions on how to access and lubricate the deck. Some treadmills have a separate lubrication point for the deck.
- Once you have lubricated both the belt and deck, wait for a few minutes to allow the lubricant to penetrate and absorb into the surface.
- Finally, power on the treadmill and let it run at a slow speed for a few minutes. This will further distribute the lubricant and ensure that it reaches all parts of the belt and deck.
Lubricating the belt and deck on a regular basis, as recommended by the manufacturer, will help maintain the smooth and efficient operation of your treadmill. It’s important to follow the manufacturer’s guidelines on the frequency of lubrication to optimize performance and avoid excessive wear.
With the belt and deck properly lubricated, we can move on to the next step: testing the treadmill.
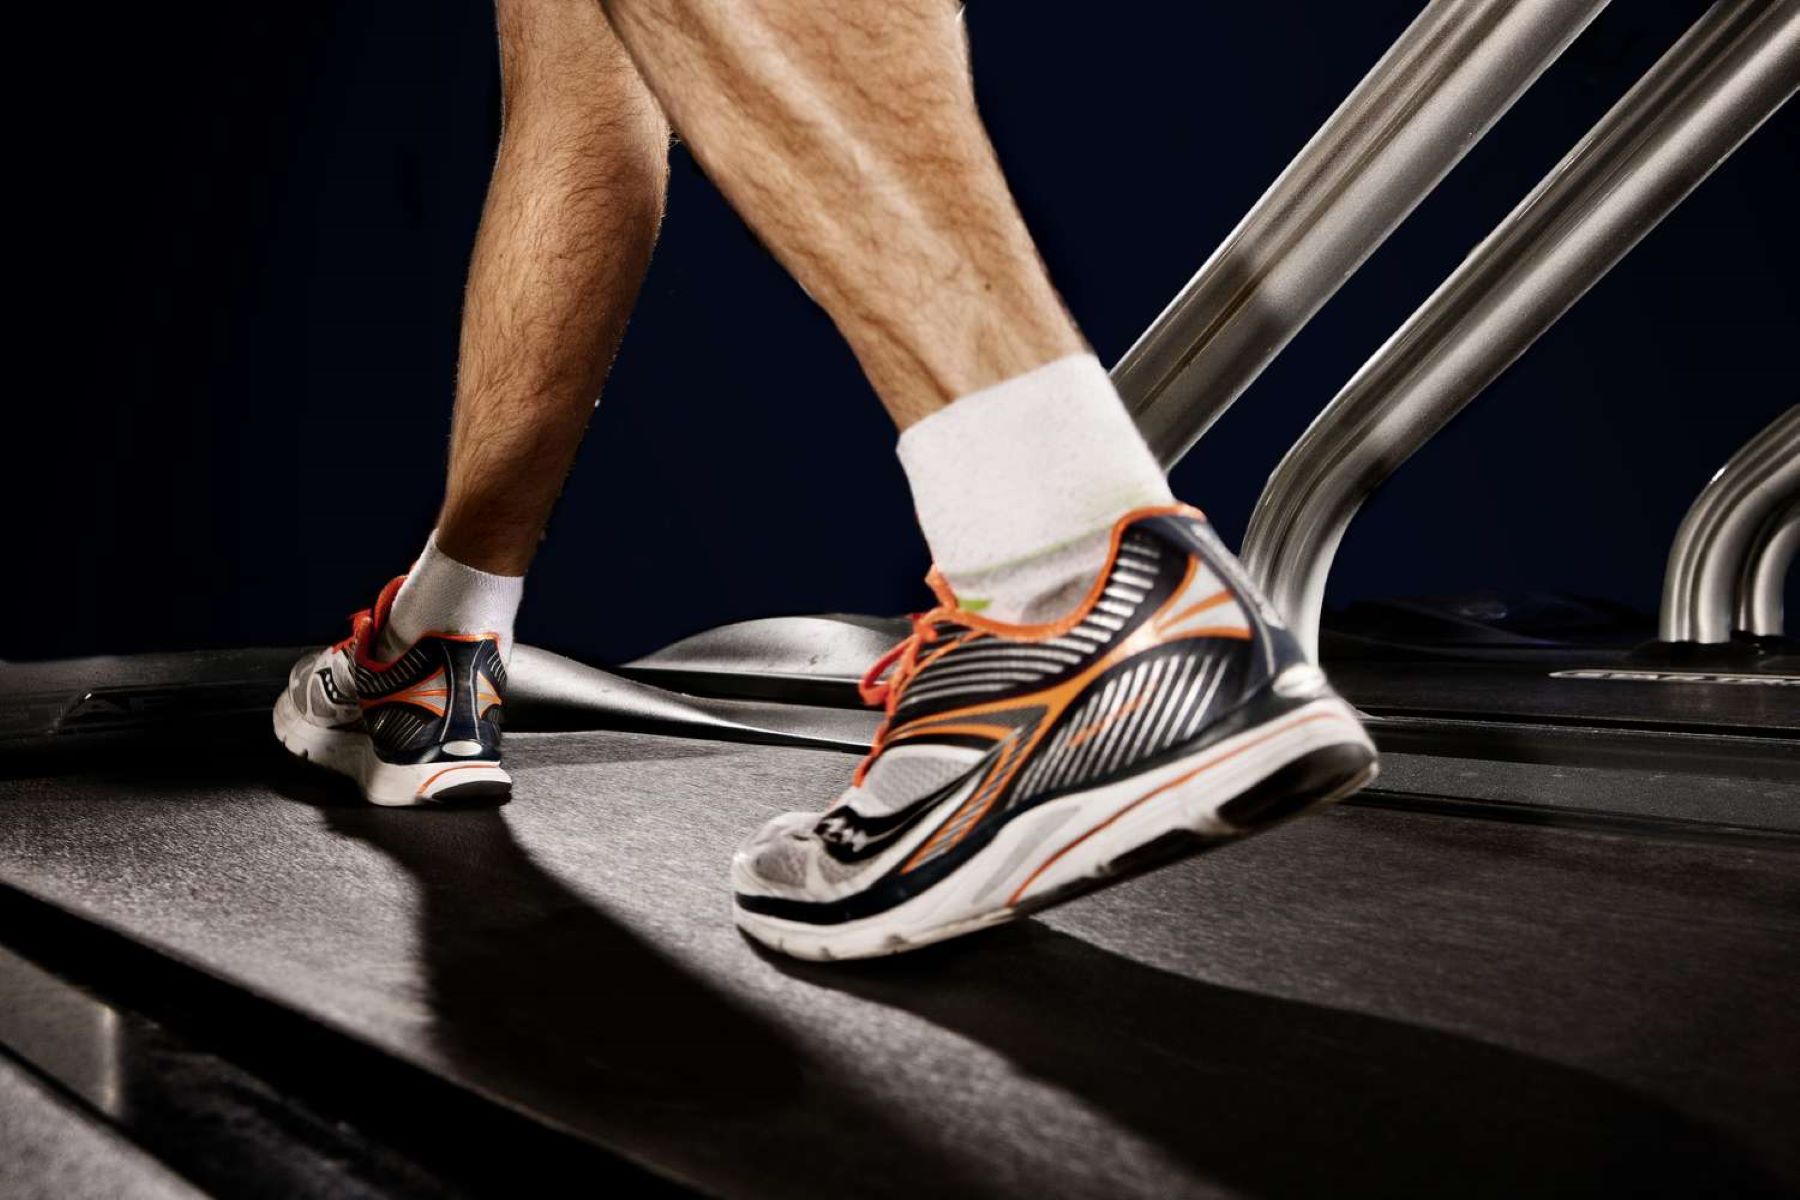
Step 7: Test the Treadmill
After completing the necessary adjustments, cleaning, and lubrication, it’s time to test the treadmill to ensure that everything is in proper working order. Testing the treadmill will allow you to verify that the belt is running smoothly, the tension is correct, and the alignment is precise. Follow these steps to test the treadmill:
- Plug in the treadmill and turn it on.
- Start the treadmill at a slow speed, gradually increasing the pace to your desired level.
- Walk on the treadmill for a few minutes, paying close attention to the belt’s movement, tension, and alignment.
- Check for any signs of slipping, jerking, or unusual noises during the test run.
- Adjust the tension or alignment if necessary, using the appropriate tools and methods discussed in previous steps.
- Continue testing the treadmill at various speeds and incline levels to ensure that it operates smoothly and without any issues.
During the testing phase, make sure to listen for any unusual sounds, feel for any abnormal vibrations, and check for proper belt movement and alignment. If you notice any signs of trouble, address them accordingly by referring to the previous steps or seeking professional assistance if needed.
By thoroughly testing the treadmill, you can be confident that it is in optimal working condition, providing you with a safe and effective workout experience.
With the testing complete, you have successfully gone through all the steps to fix a treadmill belt. By assessing the problem, gathering the necessary tools, removing the tension, inspecting and cleaning the belt and deck, adjusting the tension and alignment, lubricating, and testing the treadmill, you have taken the necessary measures to ensure the smooth operation and longevity of your treadmill.
Conclusion
Fixing a treadmill belt is a task that can be accomplished by following a few simple steps. By assessing the problem, gathering the necessary tools, removing the tension, inspecting and cleaning the belt and deck, adjusting the tension and alignment, lubricating, and testing the treadmill, you can ensure that your treadmill is in optimal working condition.
Regular maintenance and proper care of your treadmill belt are crucial to its performance and longevity. By keeping the belt clean, properly aligned, and well-lubricated, you can avoid issues such as slippage, wear, and discomfort during workouts. Taking the time to perform these maintenance tasks will also save you money on costly repairs or replacements down the line.
Remember to consult your treadmill’s user manual for specific instructions and recommendations from the manufacturer. Different treadmills may require slightly different approaches or tools, so it’s important to follow the guidelines provided.
By following the steps outlined in this article, you have the knowledge and skills to fix a treadmill belt on your own. However, if you are unsure or encounter any significant issues, it’s always best to seek professional assistance from a treadmill technician or contact the manufacturer for further guidance.
So, don’t let a misaligned or worn-out treadmill belt hinder your workout experience. Take the necessary steps to fix it and enjoy smooth and comfortable workouts for years to come.