
Featured
How To Get Treadmill Through Door
Published: August 12, 2023
Learn the featured tips and tricks on how to effortlessly get your treadmill through a door, ensuring a smooth transition for your fitness journey.
Introduction
Moving a treadmill can be a daunting task, especially when it comes to getting it through a doorway. The size and weight of most treadmills can make maneuvering them a challenge. However, with the right approach and some careful planning, it is possible to successfully navigate the treadmill through a door without causing any damage to the equipment or the surrounding area.
In this article, we will guide you through the step-by-step process of getting a treadmill through a doorway. From measuring the treadmill and the doorway, to disassembling and reassembling the equipment, we will provide you with practical tips and techniques to make the process as smooth as possible.
Before we dive into the details, it’s important to note that safety should always be a top priority when moving heavy equipment like a treadmill. Make sure to enlist the help of others to assist with the lifting and ensure that you follow proper lifting techniques to prevent any injuries. Additionally, if you are unsure about your ability to safely move the treadmill yourself, consider hiring professional movers who specialize in handling fitness equipment.
With that said, let’s get started on the journey of getting your treadmill through the door!
Measuring the Treadmill and Doorway
Before attempting to move the treadmill through the doorway, it’s crucial to accurately measure both the dimensions of the treadmill and the doorway. This will help you determine if the treadmill can fit through the doorway as is, or if you need to disassemble certain components for easier passage.
Start by measuring the width, height, and depth of the treadmill. Use a measuring tape to record these measurements. Additionally, measure the width and height of the doorway. It’s important to note that you should measure the narrowest point of both the treadmill and doorway to ensure an accurate fit.
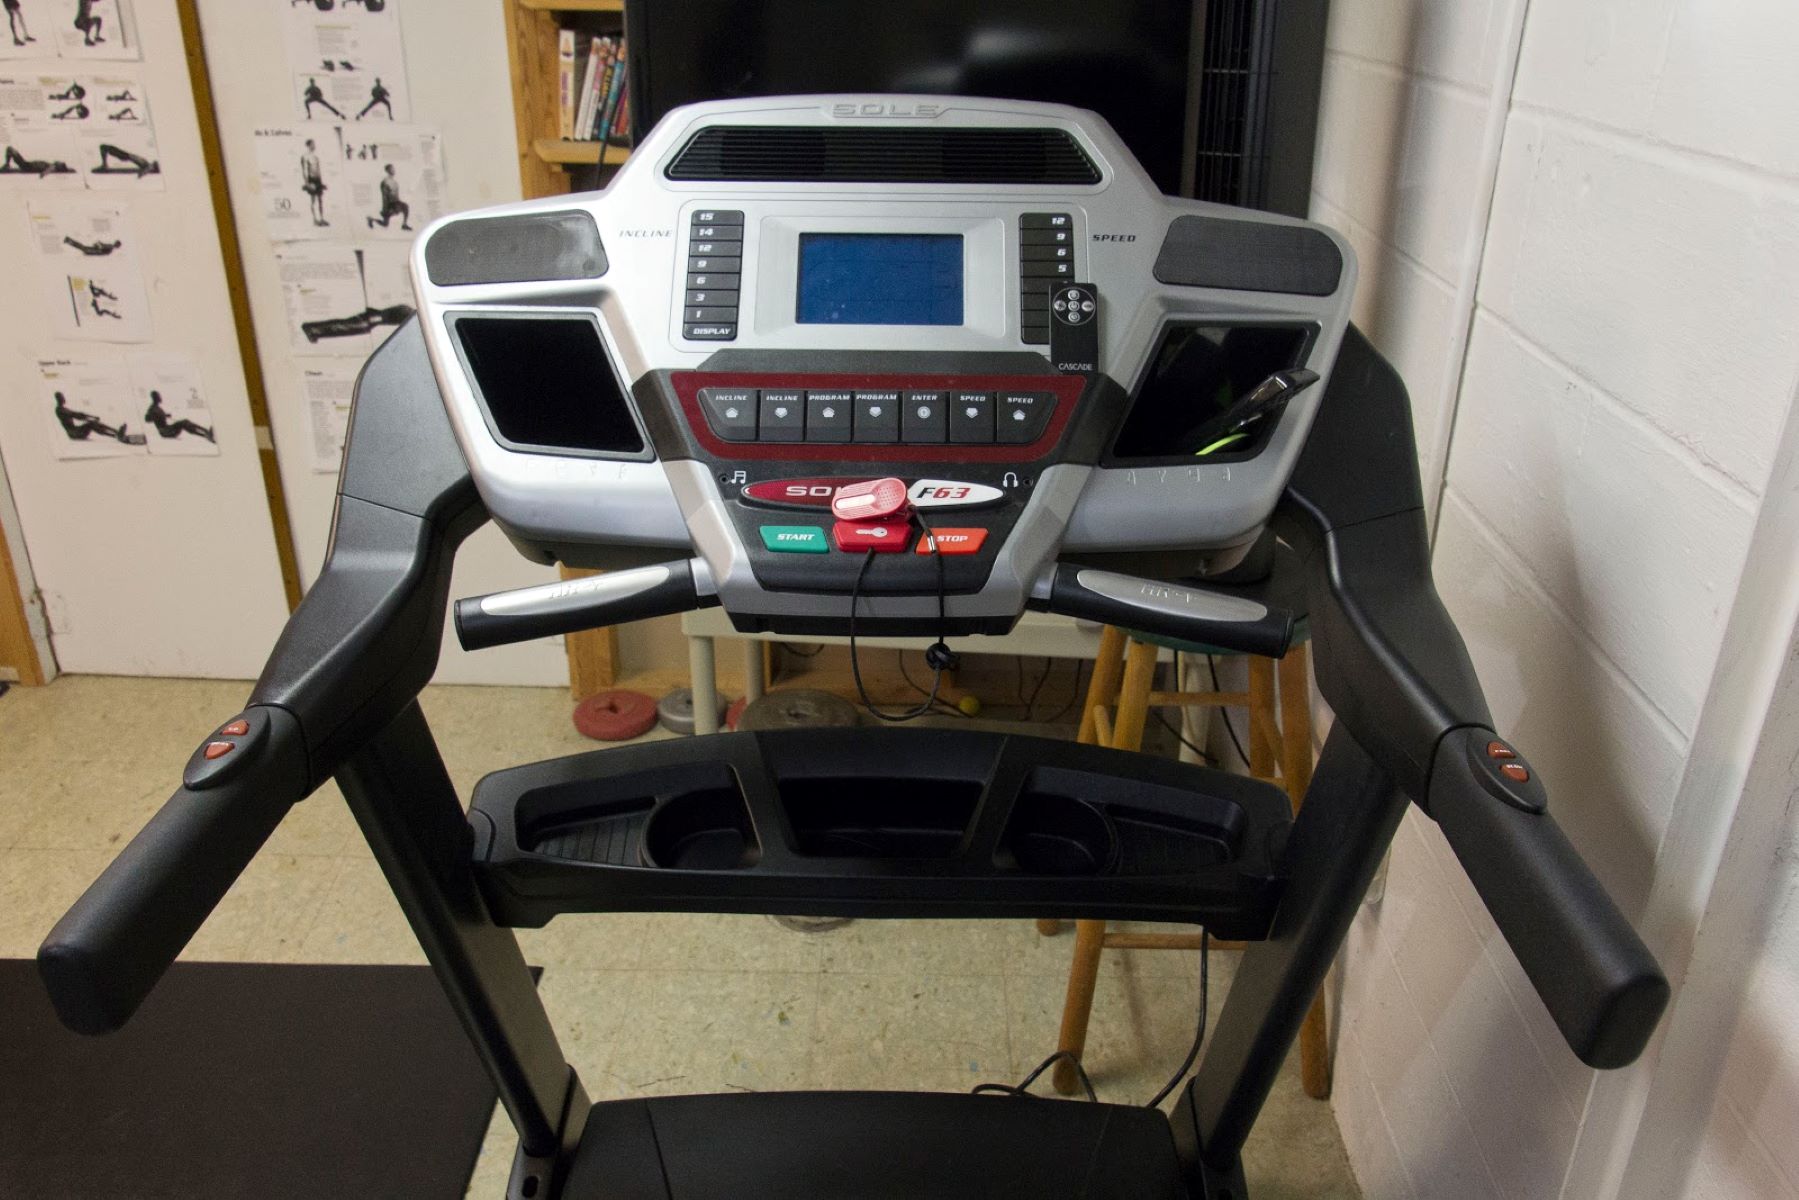
If the width of the treadmill is wider than the doorway, you will likely need to disassemble it for successful passage. Look for any removable parts, such as the handles, console, or folding mechanism. Refer to the manufacturer’s instructions or user manual for guidance on how to properly disassemble these components. Take note of any screws, bolts, or fasteners that need to be removed for disassembly.
Next, examine the doorway to determine if any obstacles, such as a door frame, trim, or molding, need to be removed or adjusted. Use a measuring tape to measure the width and height of the doorway opening, taking into account any potential obstructions.
Properly measuring both the treadmill and the doorway will give you a clear understanding of the space available and help you plan for any required disassembly. This step is crucial for a successful and hassle-free treadmill moving experience.
Disassembling the Treadmill
If your treadmill is too wide to fit through the doorway as is, you will need to disassemble certain parts to create a narrower profile. Follow these steps to safely disassemble your treadmill:
- Refer to the manufacturer’s instructions or user manual to locate the disassembly steps specific to your treadmill model. If you don’t have access to the manual, check the manufacturer’s website or contact their customer support for assistance.
- Start by unplugging the treadmill and ensuring that it is completely turned off. This will help prevent any accidental start-up during the disassembly process.
- If your treadmill has a folding mechanism, begin by folding it up according to the manufacturer’s instructions. This will help reduce the overall length of the treadmill and make it easier to maneuver through the doorway.
- Remove any accessories or attachments, such as cup holders, console covers, or safety keys. Place these smaller parts in a storage bag or container to keep them organized and prevent them from getting lost during the move.
- If applicable, detach the handles or handrails from the treadmill. Usually, this involves removing a series of screws or bolts that secure them to the main frame of the treadmill.
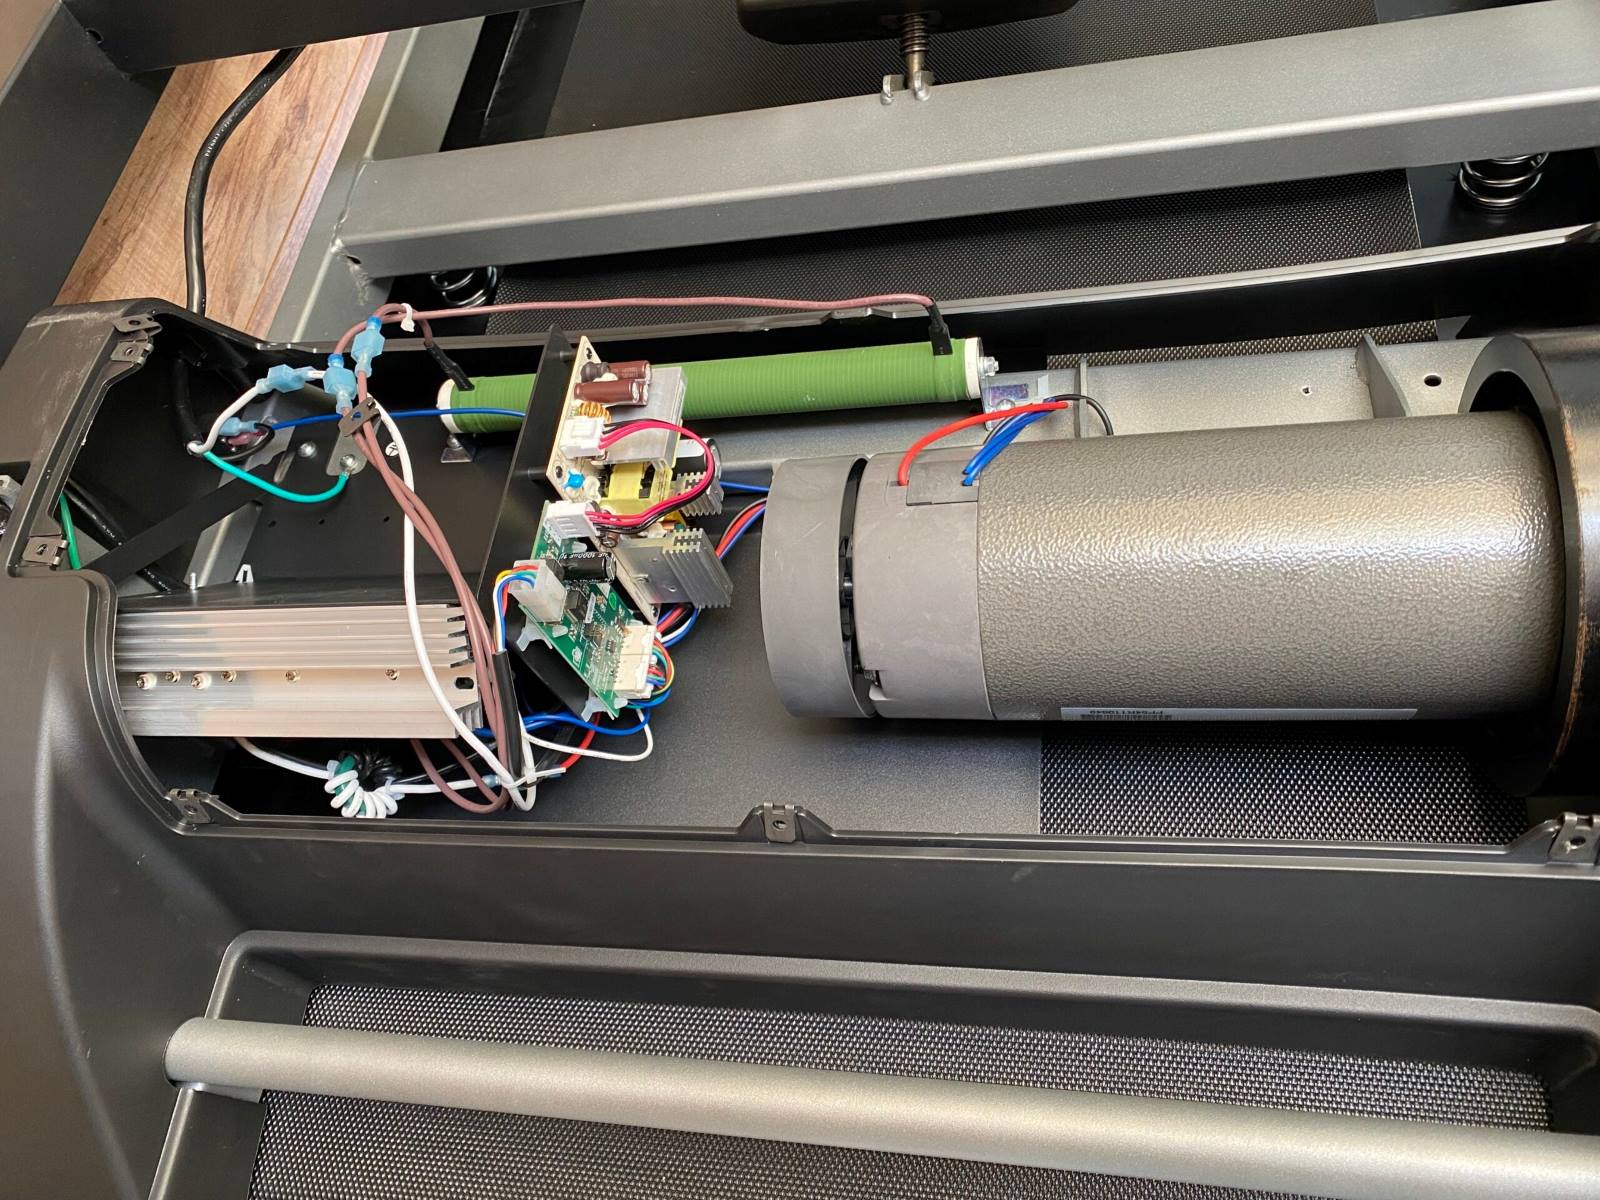
- Depending on the design of your treadmill, you may need to disassemble other components, such as the incline mechanism or the motor cover. Follow the instructions provided by the manufacturer to safely remove these parts.
- Place all screws, bolts, and small components in a bag or container and label them accordingly. This will make reassembly easier once you’ve moved the treadmill to its new location.
Remember to take your time and be mindful of the specific instructions for your treadmill model. Keep all the disassembled parts together and store them in a safe location during the move. With the treadmill properly disassembled, you’re now ready to move it through the doorway.
Clearing the Pathway
Before attempting to move the disassembled treadmill through the doorway, it’s important to ensure that the pathway is clear of any obstacles or potential hazards. By taking the time to clear the pathway, you can avoid damaging the treadmill or any surrounding furniture or walls during the move.
Here are some steps to follow when clearing the pathway:
- Remove any furniture or objects that may obstruct the pathway. This includes chairs, tables, rugs, or any other items that could impede the movement of the treadmill. Clearing the area will provide you with a clear and unobstructed path to navigate the treadmill through the doorway.
- Consider covering the floor with protective materials, such as furniture sliders or cardboard, to prevent any scuff marks or damage to the flooring as you move the treadmill. This will also help make the process smoother and reduce any friction or resistance.
- If you have any fragile or valuable items in close proximity to the pathway, it may be a good idea to relocate them temporarily to ensure their safety during the move. Protecting your belongings beforehand will give you peace of mind and prevent any accidents or damages.
- Inspect the area around the doorway for any protruding nails, loose screws, or sharp edges. These could pose a risk of scratching or damaging the treadmill during the move. Take the time to fix or cover any potential hazards to ensure a safe and smooth passage of the treadmill.
- Communicate with the people assisting you in the move to establish clear signals and instructions. It’s crucial to have everyone on the same page to avoid any miscommunication or accidents during the process. Establish hand signals or verbal cues to ensure a coordinated and safe movement of the treadmill through the doorway.
By taking these steps to clear the pathway, you can minimize the potential for any accidents or damage during the treadmill move. With the pathway cleared and prepared, you can now proceed to the next phase: moving the treadmill through the doorway.
Moving the Treadmill through the Doorway
Once you’ve disassembled the treadmill and cleared the pathway, it’s time to start moving it through the doorway. This step requires careful coordination, proper lifting techniques, and a systematic approach to ensure the safe and successful passage of the treadmill.
Here are the steps to follow when moving the treadmill through the doorway:
- Enlist the help of at least one or two strong individuals to assist with lifting and maneuvering the treadmill. Having a team of people will make the process easier and reduce the risk of injury.
- Position the disassembled treadmill near the doorway, making sure there is enough space for the team to lift and maneuver it through.
- Before attempting to lift the treadmill, ensure that you are using proper lifting techniques. Bend your knees, keep your back straight, and engage your leg muscles to lift the treadmill instead of relying on your back. Additionally, communicate with your team to coordinate your movements and ensure a smooth lift.
- Lift the treadmill, ensuring that the weight is evenly distributed between the team members. Take small and controlled steps towards the doorway, keeping the treadmill level to prevent any imbalance or tilting.
- As you approach the doorway, be aware of any potential obstacles or tight spaces. Communicate with your team to adjust your movements accordingly and ensure a safe passage.
- If needed, gently tilt the treadmill to navigate it through the doorway. However, be cautious not to tilt it excessively, as this may cause damage to the equipment or surrounding objects.
- Slowly and carefully lower the treadmill to the ground on the other side of the doorway, ensuring that it is secure and stable before releasing your grip.
- Take a moment to breathe and assess the situation. Once the treadmill is successfully through the doorway, you can proceed to the final step: reassembling the treadmill.
Moving a treadmill through a doorway requires patience, coordination, and attention to detail. By following these steps and working as a team, you can ensure a smooth and successful passage of the treadmill to its new location.
Reassembling the Treadmill
Once the disassembled treadmill successfully navigates through the doorway, it’s time to reassemble the equipment to its original form. Reassembling the treadmill requires careful attention to detail and following the manufacturer’s instructions to ensure proper functionality.
Here are the steps to follow when reassembling the treadmill:
- Refer to the manufacturer’s instructions or user manual for the specific steps to reassemble your treadmill. If you don’t have access to the manual, check the manufacturer’s website or contact their customer support for assistance.
- Start by reattaching any components that were removed during the disassembly process. This may include handles, handrails, console covers, or safety keys. Use the screws, bolts, or fasteners that were removed earlier to secure these parts in place.
- If your treadmill has a folding mechanism, unfold it according to the manufacturer’s instructions. Make sure it locks securely in place to provide stability during use.
- If any other components were disassembled, such as the incline mechanism or motor cover, follow the manufacturer’s instructions to reattach them properly. Pay close attention to any specific alignment or adjustment steps provided.
- Inspect all connections and fastenings to ensure they are secure and tight. Check that all screws, bolts, and fasteners are properly tightened, but be careful not to over-tighten them, as this may cause damage or improper functioning.
- Plug in the treadmill and ensure that it is functioning correctly. Test the various features and settings, such as speed, incline, and console functions, to verify that everything is working as intended.
- If you encounter any difficulties during the reassembly process or notice any issues with the treadmill’s performance, consult the manufacturer’s troubleshooting guide or contact their customer support for assistance.
Reassembling the treadmill correctly is essential for its proper functioning and longevity. Following the manufacturer’s instructions and paying attention to detail will help ensure a smooth and successful reassembly process.
Conclusion
Moving a treadmill through a doorway may seem like a daunting task, but with careful planning and the right approach, it can be accomplished without any hassle. By following the steps outlined in this article, you can successfully navigate your treadmill through a doorway, whether it requires disassembly or not.
Remember to measure both the treadmill and doorway before attempting to move the equipment. This ensures that you have an accurate understanding of the space available and whether disassembly is necessary. Use proper lifting techniques and enlist the help of others to safely maneuver the treadmill through the doorway.
Disassembling the treadmill, when needed, requires attention to detail and following the manufacturer’s instructions. Taking the time to clear the pathway of obstacles and preparing the area beforehand will help prevent any damage to the equipment or surrounding objects.
Once the treadmill is through the doorway, reassembling it properly is crucial. Refer to the manufacturer’s instructions, secure all components tightly, and verify the treadmill’s functionality before use.
By following these steps and exercising caution throughout the process, you can successfully move your treadmill through a doorway and continue to enjoy your fitness routine in a new location. Remember, safety should always be a priority, and if you’re unsure about your ability to move the treadmill yourself, consider hiring professionals to assist you.
Now you’re ready to embark on the journey of moving your treadmill, confident in your ability to handle the task with ease. Happy moving!


