Home>Misc>Featured>How To Wash Running Shoes In The Washing Machine
Featured
How To Wash Running Shoes In The Washing Machine
Modified: August 19, 2023
Learn how to wash your featured running shoes in the washing machine. Keep your shoes clean and fresh without damaging them.
Introduction
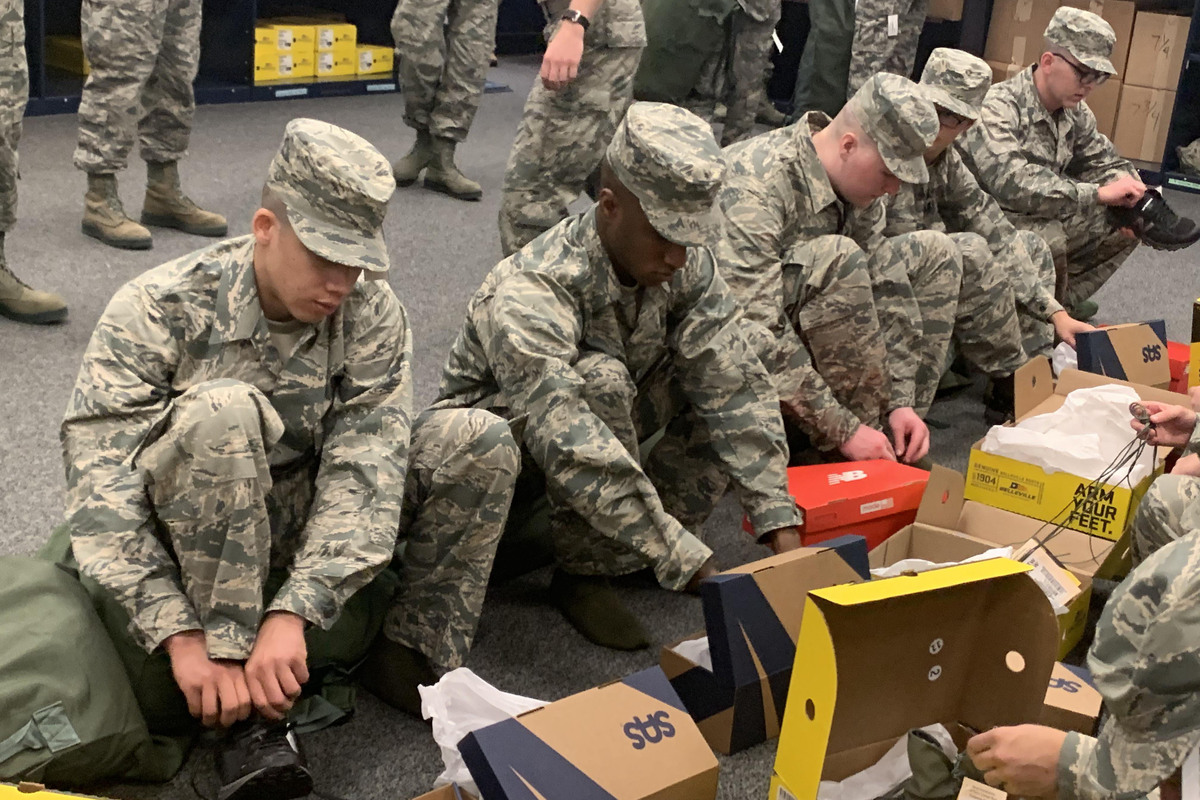
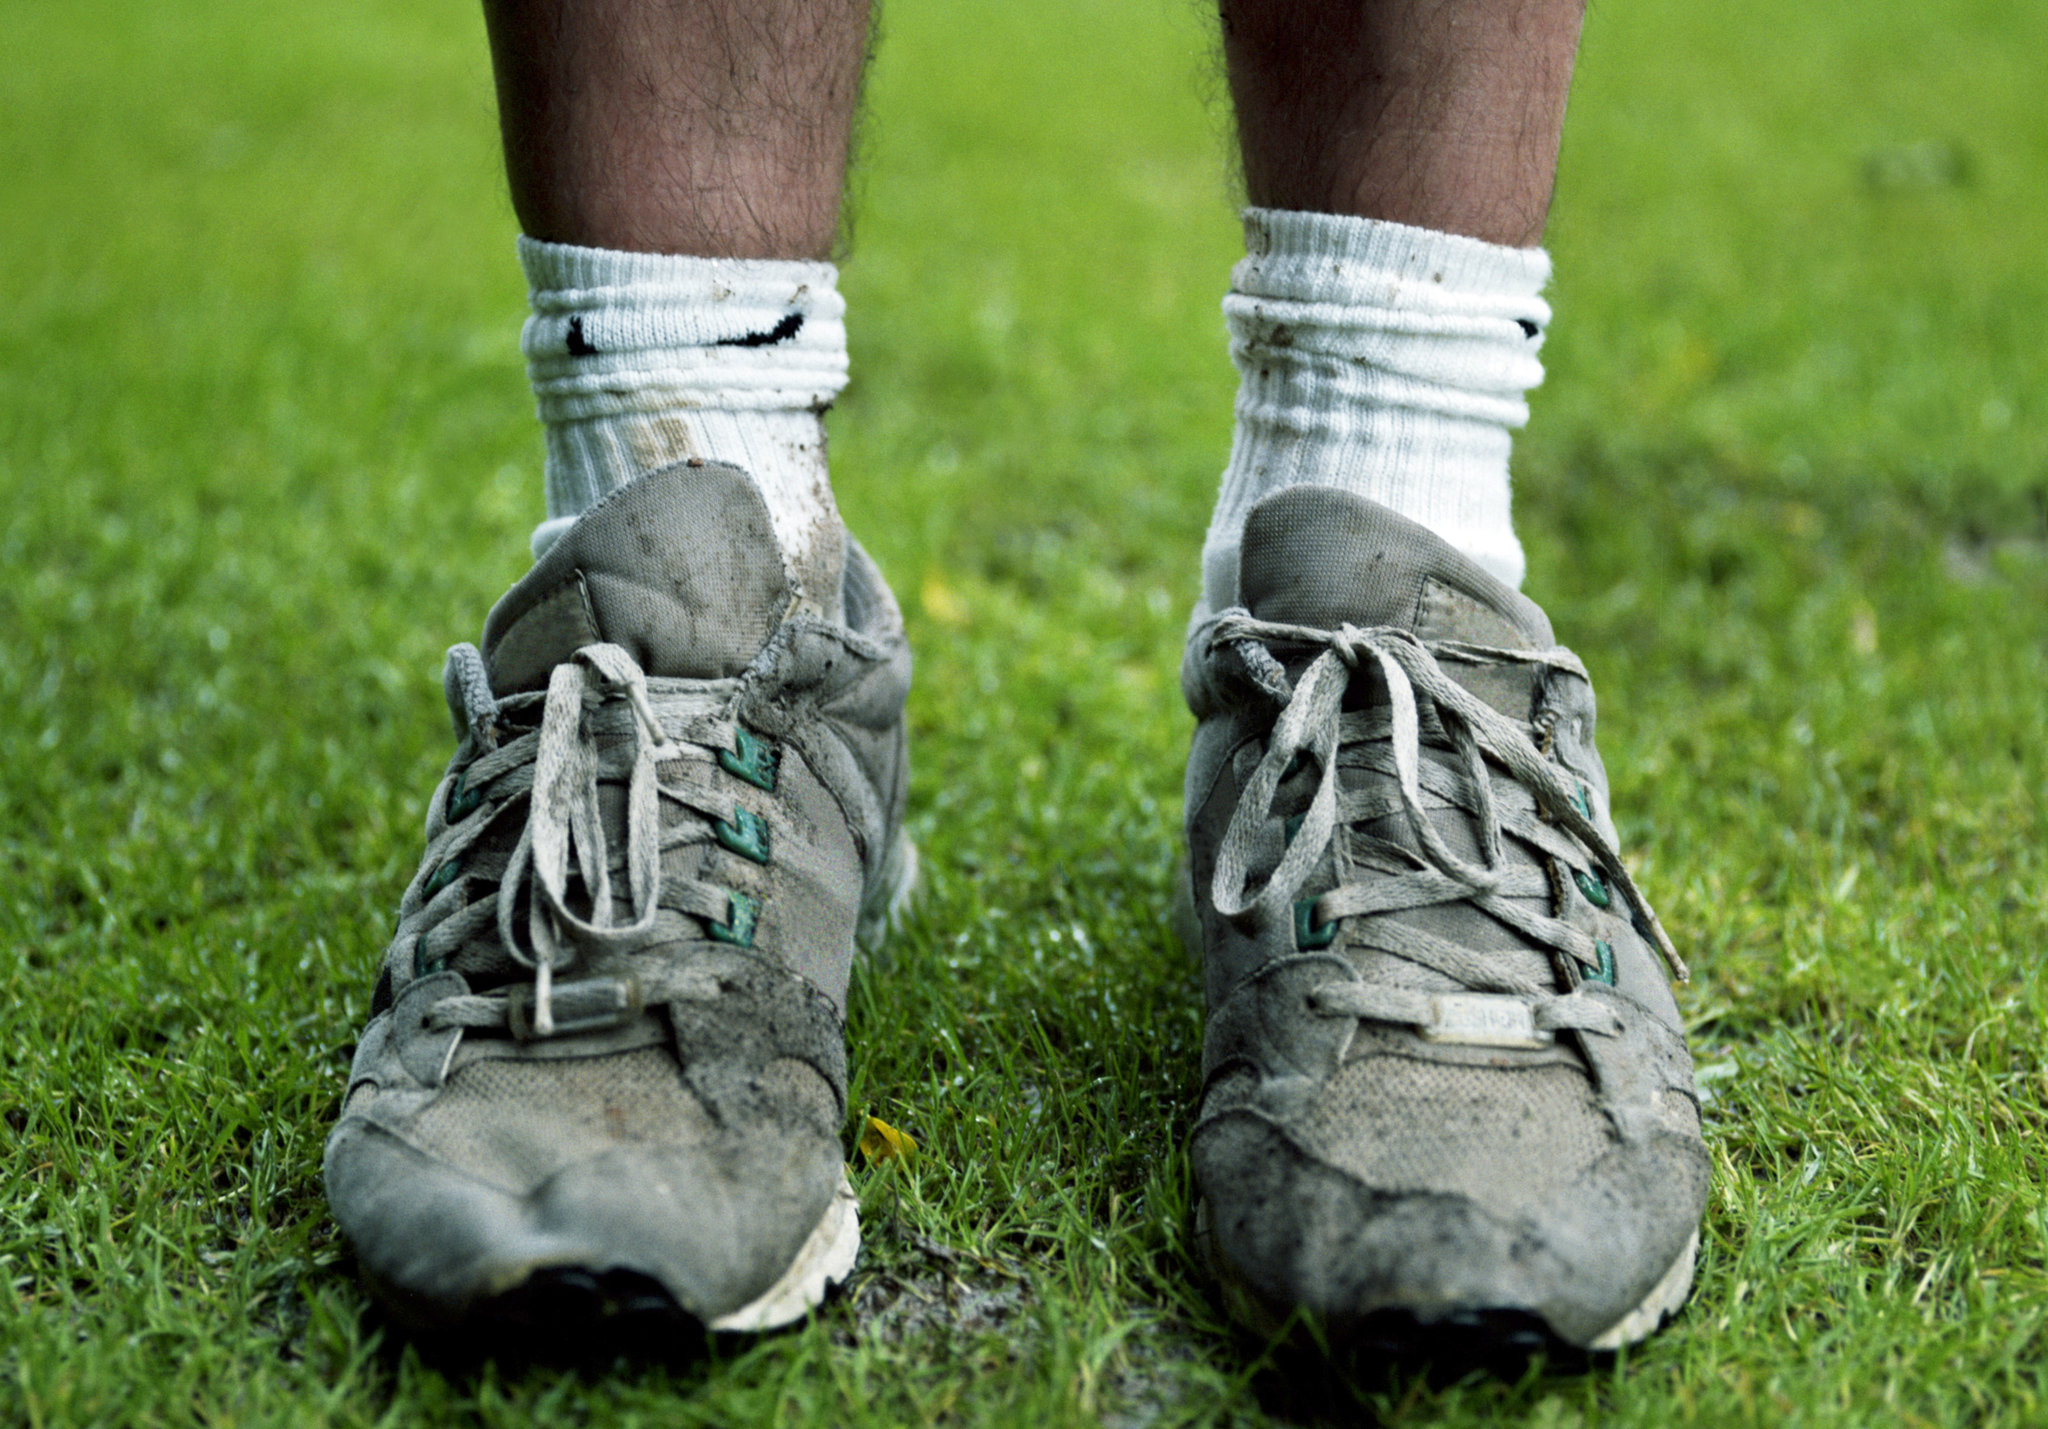
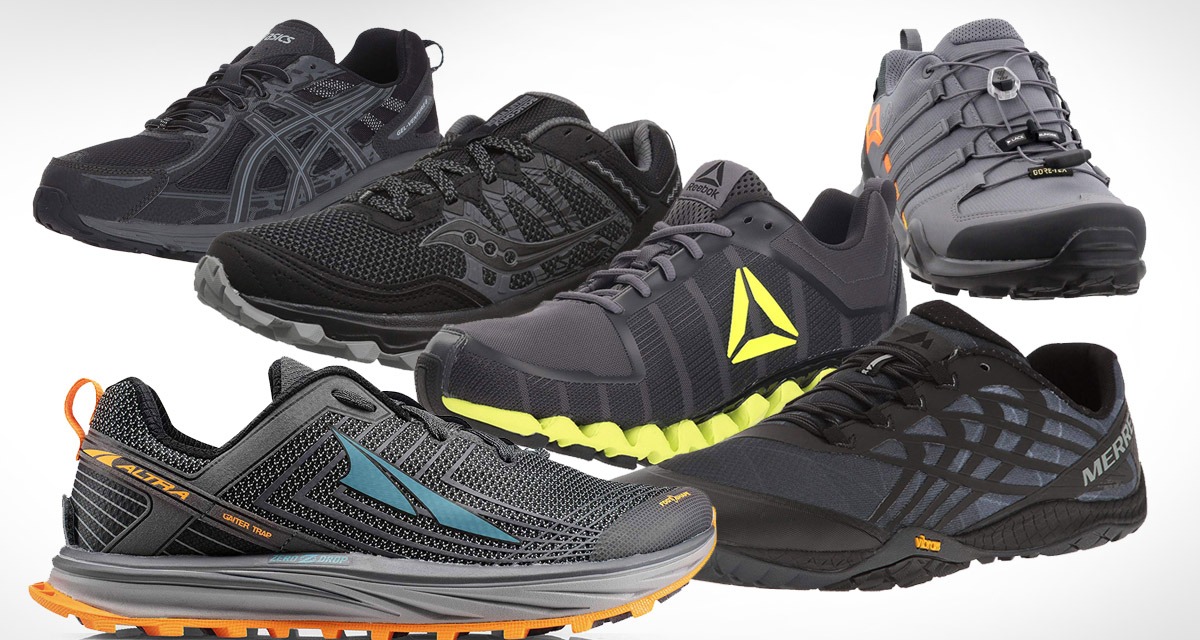
Welcome to the world of running! Whether you’re a seasoned marathoner or just starting to hit the pavement, one thing all runners have in common is the need to take care of their trusty running shoes. Over time, running shoes can accumulate dirt, mud, and unpleasant odors that can hinder their performance and longevity. While hand washing is typically recommended for delicate materials, many modern running shoes can be safely washed in the washing machine, saving you time and effort.
However, before tossing your prized running shoes into the machine, it’s crucial to familiarize yourself with the proper washing techniques. In this article, we’ll provide you with a step-by-step guide on how to wash running shoes in the washing machine, ensuring they come out looking fresh and clean without any damage.
It’s important to note that not all running shoes can withstand machine washing, especially those made with delicate materials like mesh or leather. Always check the manufacturer’s instructions or consult their website for specific cleaning guidelines. However, for many athletic shoes made with durable materials, machine washing can be a convenient option.
So, if you’re ready to give your running shoes a thorough cleaning session, let’s dive into the process and learn how to wash them effectively in the washing machine. Remember, proper shoe maintenance not only keeps them looking good but also ensures optimal performance and a longer lifespan.
Step 1: Preparing the Shoes for Machine Washing
Before you start the process of machine washing your running shoes, it’s important to properly prepare them to prevent any damage during the wash cycle. Taking a few extra minutes to prepare your shoes will ensure that they come out clean and undamaged. Here’s what you need to do:
- Remove the shoe laces: Start by untangling and removing the shoe laces. This will prevent them from getting tangled or damaged during the wash cycle. You can wash the laces separately by placing them in a mesh bag or pillowcase.
- Take out the insoles: Most running shoes have removable insoles. Take them out before washing to allow for a more thorough cleaning and to prevent them from losing their shape in the machine. If the insoles are dirty, you can hand wash them separately using mild detergent and water.
- Knock off any loose dirt or debris: Give your shoes a gentle tap or brush to remove any loose dirt or debris. This step will prevent the dirt from transferring to other items in the washing machine and help in achieving better cleaning results.
- Secure any loose parts: Check your shoes for any loose parts, such as flaps or straps, and secure them before washing. You can use a rubber band or tape to keep them in place. This will prevent the parts from getting damaged or causing damage to the machine.
By following these preparatory steps, you’ll ensure that your running shoes are ready for a thorough cleaning cycle in the washing machine. Taking the time to prepare your shoes will significantly improve the overall cleanliness and longevity of your favorite running gear.
Step 2: Removing the Laces and Insoles
Now that your running shoes are prepped and ready, it’s time to remove the laces and insoles. This step is essential for a thorough and effective cleaning of your shoes. Here’s how to do it:
- Lace removal: Begin by untying the shoe laces completely. Once untied, simply pull them out from the eyelets of the shoes. This will prevent the laces from tangling or getting damaged during the washing process.
- Insole extraction: Most running shoes have removable insoles that provide extra cushioning and comfort. Locate the area where the insole is placed, typically near the heel or inside the shoe, and gently lift it out. Be careful not to tear or damage the insole while removing it.
- Insole cleaning: It’s a good idea to clean the insoles separately from the rest of the shoe. You can hand wash them using a mild detergent and water, or follow any manufacturer’s instructions for proper cleaning. Cleaning the insoles separately ensures that they receive the attention they need without affecting the overall cleanliness of the shoe.
Removing the laces and insoles before washing the shoes allows for a more thorough and even cleaning. It helps to prevent tangling and ensures that all areas of the shoe, including the laces and insole pockets, are properly cleaned.
Remember to keep the laces and insoles in a safe place during the washing process. You can place the laces in a mesh bag or pillowcase to prevent them from getting entangled or lost. Once the cleaning cycle is complete, you can reinsert the insoles and re-lace your shoes for a fresh start.
By taking the time to remove the laces and insoles, you’ll achieve better cleaning results and extend the lifespan of your running shoes.
Step 3: Cleaning Dirt and Mud from the Shoes
Now that you have removed the laces and insoles, it’s time to focus on cleaning off any dirt and mud that may be stuck to your running shoes. By properly removing these contaminants, you’ll achieve a more thorough and effective cleaning. Here’s how to do it:
- Pre-treating stains: If you notice any stubborn stains or areas with caked-on dirt or mud, it’s helpful to pre-treat those spots before washing. You can use a soft brush or toothbrush and a mixture of mild detergent and water. Gently scrub the stained areas to loosen the dirt.
- Rinsing off excess dirt: Take your running shoes to a sink or use a hose outdoors to rinse off any loose dirt or mud. This step will help prevent excessive dirt from accumulating in the washing machine.
- Spot cleaning: For any remaining dirt or mud that doesn’t come off with rinsing, you can use a sponge or cloth to spot clean the affected areas. Dip the sponge or cloth into a mixture of mild detergent and water, then gently scrub the dirty spots. Avoid using harsh chemicals or abrasive materials that could damage your shoes.
- Drying: After spot cleaning, allow your running shoes to air dry completely before proceeding to the next step. This will prevent any moisture from trapping inside the shoes during the washing process.
Cleaning off dirt and mud from your running shoes is crucial not only for their appearance but also for maintaining optimal performance. By taking the time to pre-treat stains, rinse off excess dirt, and spot clean as needed, you’ll ensure that your shoes are in the best condition before entering the washing machine.
Remember, different materials may require specific cleaning methods, so always refer to the manufacturer’s guidelines for your specific running shoe model. Following these steps will help you achieve a cleaner and more refreshed pair of running shoes.
Step 4: Placing Shoes in a Laundry Bag
Now that you have pre-treated and cleaned off the dirt and mud from your running shoes, it’s time to protect them during the machine washing process by placing them in a laundry bag. This step will help prevent any damage to the shoes and ensure a more efficient wash. Here’s what you need to do:
- Select a suitable laundry bag: Choose a laundry bag specifically designed for delicate items or shoes. These bags typically have mesh or perforated material that allows water and detergent to penetrate while protecting the shoes from tumbling against other items in the machine.
- Open the laundry bag: Ensure that the laundry bag is open and ready to receive your running shoes.
- Gently place the shoes inside the bag: Carefully insert one running shoe into the bag and then place the other shoe next to it, ensuring they are not overcrowded or tightly packed. This will allow for even distribution of water and detergent during the wash cycle.
- Secure the bag: Once the shoes are in the bag, tightly close the bag using the provided zipper, ties, or closure mechanism. Ensure that the shoes are fully enclosed and won’t accidentally fall out during the washing cycle.
Placing your running shoes in a laundry bag safeguards them from potential damage caused by the agitator or other items in the washing machine. It also prevents the shoes from banging against the machine’s drum, preserving their shape and structure.
It’s important to note that overloading the laundry bag or cramming too many shoes inside can affect the cleaning process and may cause damage to both the shoes and the washing machine. Avoid overcrowding by limiting the number of shoes you wash at once and using an appropriate-sized laundry bag.
By taking this step, you’ll ensure the safety and protection of your running shoes during the machine washing process, allowing them to come out clean and undamaged.
Step 5: Selecting the Appropriate Setting on the Washing Machine
Now that your running shoes are securely placed in the laundry bag, it’s time to choose the appropriate setting on your washing machine. Selecting the right setting will ensure that your shoes are cleaned effectively without causing any damage. Follow these steps to choose the optimal setting:
- Read the manufacturer’s label: Check the manufacturer’s label on your shoes for any specific washing instructions. Some shoe brands provide recommendations on washing machine settings to ensure the best results.
- Choose a gentle or delicate cycle: Opt for a gentle or delicate cycle on your washing machine to minimize agitation and reduce the risk of damage to your shoes. This cycle is designed for delicate items and will be gentler on your running shoes.
- Adjust the water temperature: Set the water temperature to cool or cold. Hot water can damage the shoe materials and cause them to lose their form or color. Cool or cold water is generally safe for most running shoes.
- Turn off the spin cycle: If possible, disable the spin cycle option or set it to a low speed. Running shoes can potentially get damaged by the spinning motion, so it’s best to avoid it.
- Use a short washing time: Select a short washing time to prevent excessive agitation. Running shoes typically don’t require a long washing cycle to get clean.
It’s important to note that every washing machine may have slightly different settings and options, so it’s essential to refer to the machine’s manual for specific instructions. Some machines may even have a dedicated shoe-washing cycle, which could be a perfect option for cleaning your running shoes.
By choosing the appropriate setting on your washing machine, you’ll ensure that your running shoes are thoroughly cleaned without compromising their structural integrity and overall performance.
Step 6: Adding Detergent and Other Cleaning Agents
Now that you’ve selected the appropriate setting on your washing machine, it’s time to add detergent and any other cleaning agents to ensure a deep and effective clean for your running shoes. Here’s how to do it:
- Choose a mild detergent: Select a mild detergent specifically designed for delicate fabrics or sports gear. Avoid using harsh detergents or bleach, as they can damage the materials of your running shoes.
- Follow the detergent instructions: Refer to the detergent bottle for instructions on the recommended amount to use based on the load size. Use the appropriate amount of detergent for the number of shoes and the capacity of your washing machine.
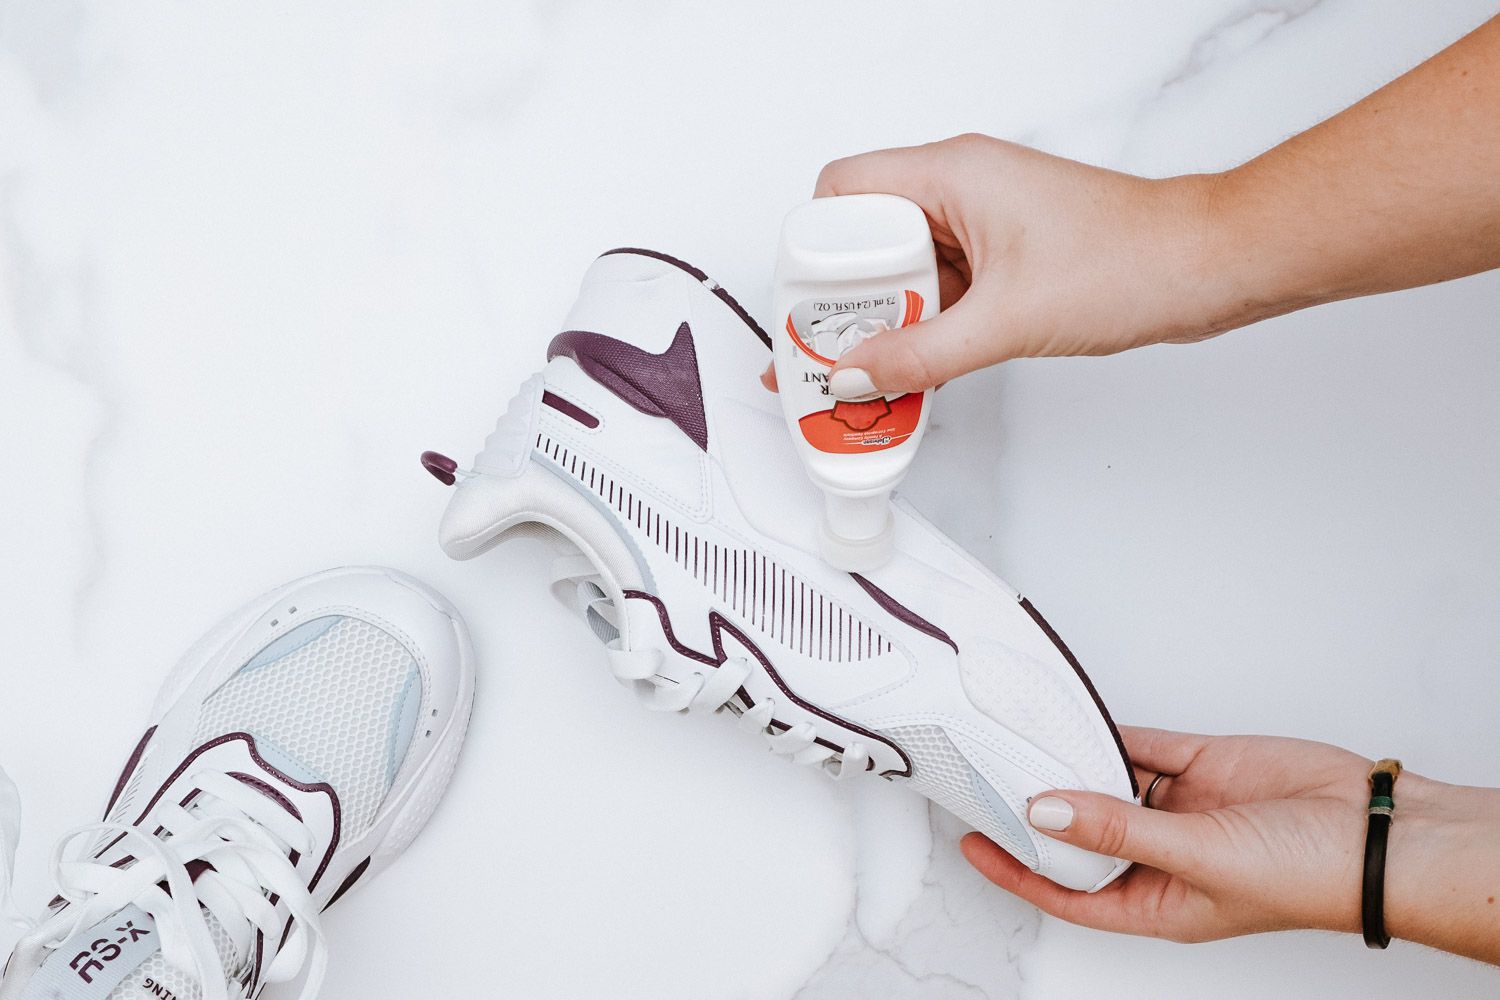
- Consider additional cleaning agents: Depending on the condition of your running shoes, you may want to add extra cleaning agents. Oxygen bleach or baking soda can help eliminate tough odors. However, check the manufacturer’s guidelines or testing on a small area beforehand to ensure it is safe for your shoes.
- Avoid fabric softeners: Skip the fabric softener when washing your running shoes. Fabric softeners can leave residue and affect the breathability and performance of the shoe materials.
When adding the detergent and cleaning agents, make sure to pour them into the designated dispenser or directly into the drum of your washing machine. Avoid pouring them directly onto the shoes, as this can result in uneven distribution or potential staining. Following the recommended dosage and instructions for your chosen detergent will help you achieve the desired cleaning outcome.
Keep in mind that different shoe materials may require specific care. Always refer to the manufacturer’s instructions or test a small, inconspicuous area before using any additional cleaning agents. This will ensure that the cleaning agents won’t cause any damage to your running shoes.
By adding the appropriate detergent and possibly other cleaning agents, you’ll enhance the cleaning power of your washing machine, leaving your running shoes looking and smelling fresh.
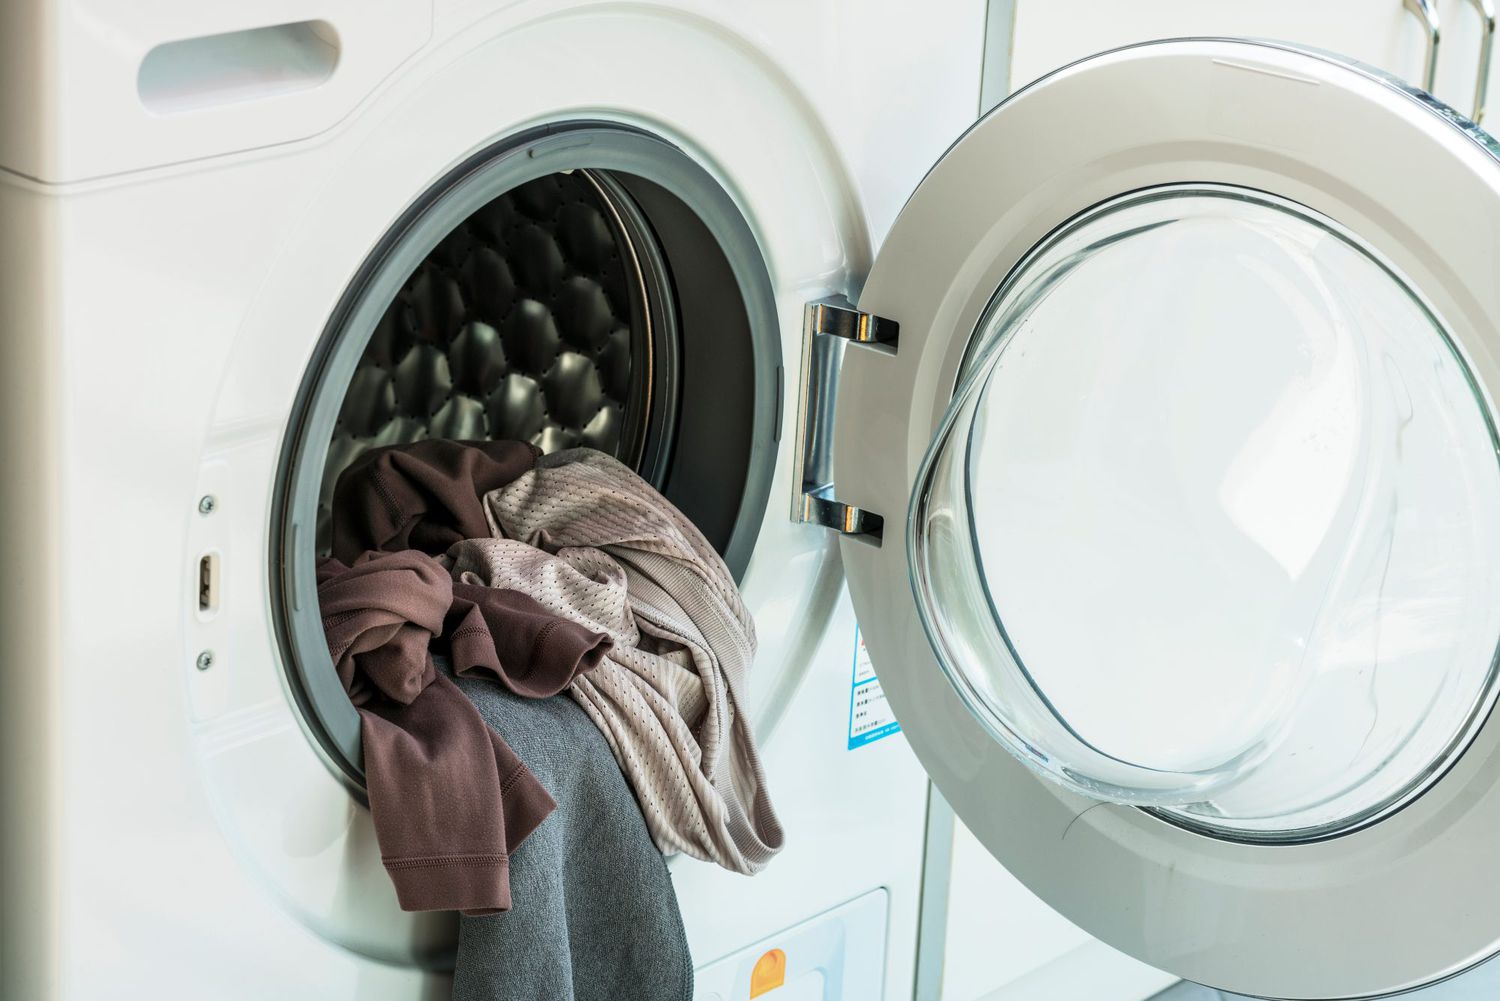
Step 7: Initiating the Washing Cycle
With the detergent and cleaning agents added, it’s time to initiate the washing cycle and let your machine work its magic in cleaning your running shoes. Follow these steps to ensure a successful washing cycle:
- Close the washing machine door: Double-check that the door is securely closed before starting the cycle.
- Set the machine to the chosen cycle: Turn the washing machine dial or select the appropriate cycle based on the manufacturer’s recommendations and the machine’s features. Ensure that it aligns with the gentle or delicate cycle selected in the earlier step.
- Adjust the water level: Set the water level according to the machine’s instructions or based on the size of the laundry load. Running shoes don’t require a high water level as they have minimal fabric, so a lower level should suffice.
- Start the washing cycle: Press the start button or turn the machine on, initiating the washing cycle. Ensure that the machine has properly activated and is functioning as expected.
- Monitor the cycle: Keep an eye on the washing machine during the cycle to ensure that there are no issues or abnormalities. If needed, you can pause the cycle briefly to check on the progress or make any necessary adjustments.
Be patient and allow the washing machine to complete the full cycle. Depending on the machine and the selected cycle, it may take anywhere from 20 minutes to an hour or more.
While the shoes are being washed, you can take this time to clean the shoelaces separately or attend to any other tasks you may have. The washing machine will do the hard work of removing dirt and grime, leaving your running shoes clean and refreshed.
Remember, never interrupt the washing cycle by opening the machine door before it is fully completed. Let the machine finish the cycle, as this will ensure that your running shoes are thoroughly cleaned without any compromise.
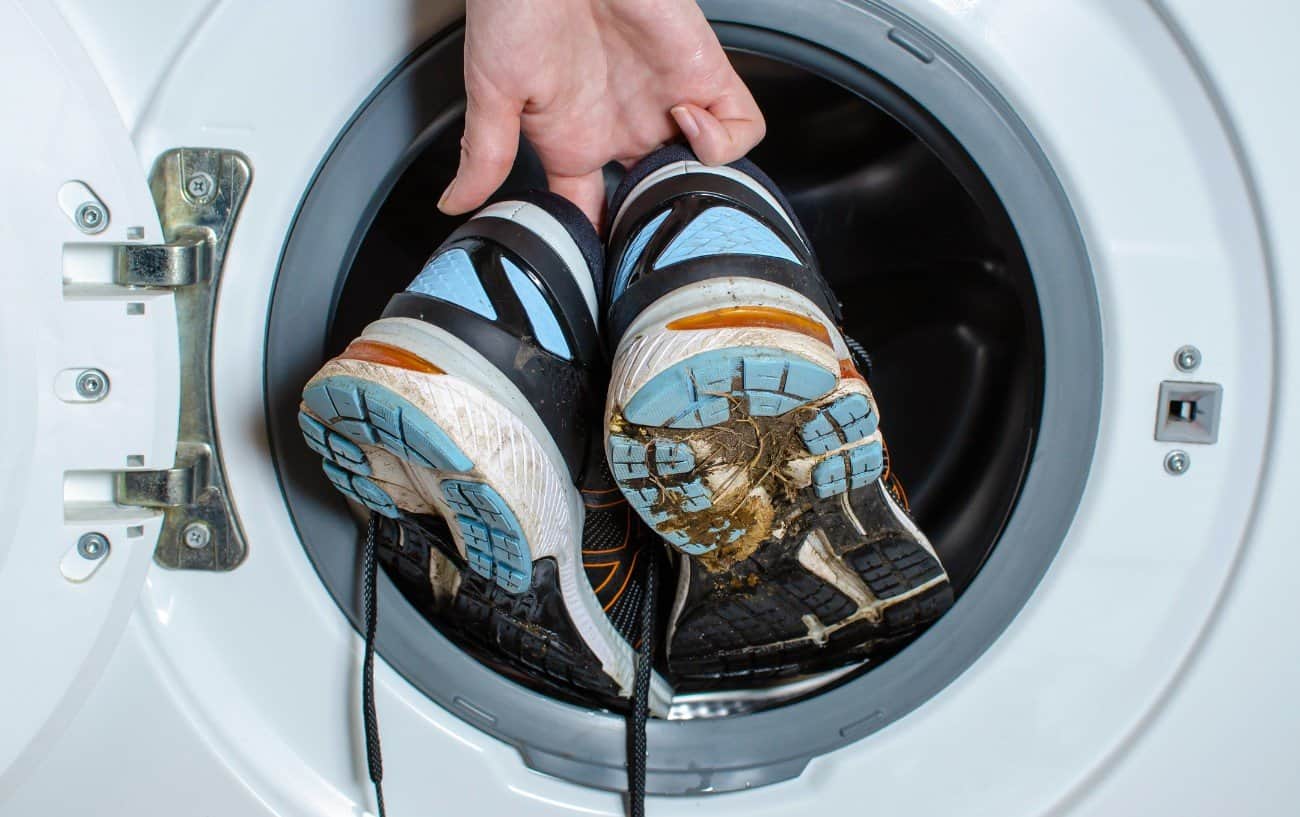
Step 8: Drying the Shoes Properly
After the washing cycle is complete, it’s time to properly dry your running shoes. Proper drying is essential to prevent moisture buildup, odors, and potential damage to the shoe materials. Follow these steps to ensure your shoes dry effectively:
- Remove the shoes from the laundry bag: Carefully take your running shoes out of the laundry bag. Shake off any excess water and check for any remaining dirt or debris.
- Use a towel to absorb moisture: Take a clean towel and gently pat the exterior and interior of each shoe. This will help absorb excess water and speed up the drying process.
- Allow for natural air drying: Find a well-ventilated area with good air circulation to place your shoes for drying. Avoid placing them near direct heat sources, such as radiators or heaters, as this can lead to material distortion or damage.
- Avoid using a dryer: Never use a dryer or direct heat source to dry your running shoes. The heat can warp the shoe materials or cause shrinkage, resulting in an improper fit.
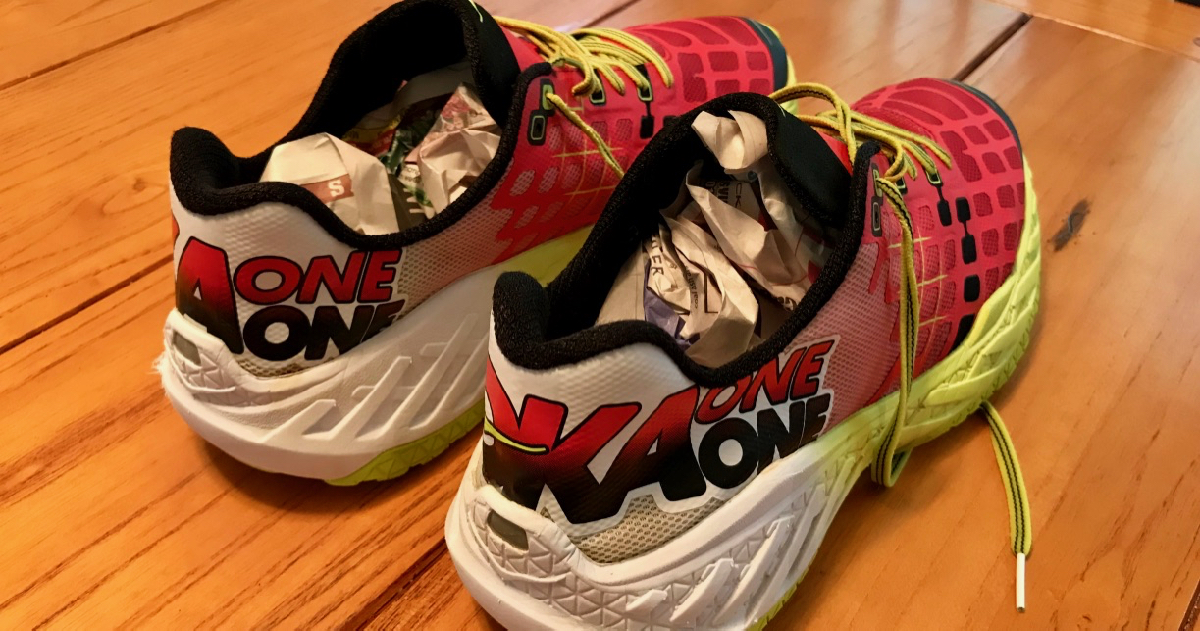
- Insert crumpled paper or shoe trees: To help maintain the shape of your running shoes and aid in the drying process, stuff them with crumpled newspaper or use shoe trees. This will help absorb moisture and prevent the shoes from losing their shape.
- Allow ample drying time: Depending on the materials and ambient conditions, drying times can vary. Generally, it may take 24 to 48 hours for running shoes to completely air dry. Be patient and give them enough time to dry naturally.
During the drying process, periodically check the shoes for any signs of lingering moisture or dampness. If necessary, replace the paper or towel inside the shoes to continue absorbing moisture.
Properly drying your running shoes will not only eliminate any remaining moisture but also help prevent the development of odors and the growth of mold or mildew. It will also ensure that your shoes maintain their shape and functionality for future runs.
Step 9: Reinserting the Insoles and Laces
Now that your running shoes are clean and dry, it’s time to reinsert the insoles and laces to complete the process. This step will ensure that your shoes are ready to be worn again with comfort and proper fit. Here’s how to do it:
- Check the insoles: Take a moment to inspect the insoles and ensure they are completely dry. If there are any lingering moisture spots, allow them to air dry further before reinserting.
- Position the insoles correctly: Place the insoles back into their respective positions inside the shoes. Make sure they are properly aligned and sit flat on the shoe’s interior.
- Thread the laces through the eyelets: Begin by threading one end of the lace through the bottom eyelets on one side of the shoe. Go up through each eyelet until you reach the top, making sure the lace is evenly distributed and not twisted.
- Tie the laces: Once both laces are threaded through the eyelets, tie them using your preferred method. Ensure a secure and comfortable fit without overtightening.
- Adjust the laces: Check the tension of the laces and make any necessary adjustments for a snug and secure fit. You can experiment with different lacing techniques to find what works best for you.
After reinserting the insoles and lacing up your shoes, give them a gentle tug to ensure they are secure and comfortable on your feet. The insoles will provide cushioning and support, while the laces will hold the shoes in place during your runs.
It’s a good idea to periodically check the condition of the insoles and laces and replace them as needed. This will ensure optimal comfort and performance for your running shoes.
With the insoles and laces properly reinserted, your running shoes are now ready to hit the road or the trail once again. Lace them up, get out there, and enjoy your next run with confidence!
Step 10: Additional Tips and Precautions
Now that you’ve completed the main steps of washing and drying your running shoes, here are some additional tips and precautions to keep in mind for maintaining the cleanliness and lifespan of your shoes:
- Regular cleaning: Try to clean your running shoes regularly, especially after intense workouts or muddy runs. This will help prevent dirt and grime from building up and prolong the longevity of your shoes.
- Spot clean as needed: If you notice any specific stains or areas that require cleaning between machine washes, use a mild detergent and a soft brush or cloth to spot clean the affected areas.
- Proper storage: When not in use, store your running shoes in a cool, dry place away from direct sunlight. This will help prevent color fading and minimize the risk of mold or mildew growth.
- Avoid extreme temperatures: Exposing your shoes to extreme heat or cold can have negative effects on the materials. Avoid leaving them in a hot car or freezing temperatures.
- Alternate shoes: Consider rotating between multiple pairs of running shoes to allow each pair to fully dry and recover between uses. This can also help extend the lifespan of your shoes.
- Use a shoe deodorizer: To combat unpleasant odors, consider using a shoe deodorizer or placing odor-absorbing inserts inside your shoes. This will help keep them smelling fresh.
- Consult the manufacturer’s guidelines: Always refer to the manufacturer’s instructions and recommendations for cleaning and maintenance specific to your running shoe model.
- Know when to retire your shoes: Pay attention to the wear and tear of your shoes. If you notice significant sole wear, loss of cushioning, or discomfort during runs, it may be time to replace them.
By following these additional tips, you’ll ensure that your running shoes stay in great condition, providing you with comfort and support mile after mile.
Remember, proper care and maintenance of your running shoes contribute not only to their longevity but also to your running experience. With well-maintained shoes, you’ll be able to perform at your best and enjoy your runs to the fullest.
Conclusion
Congratulations! You have now learned how to effectively wash and care for your running shoes in the washing machine. By following the step-by-step process outlined in this guide, you can keep your shoes looking and smelling fresh, while maintaining their performance and longevity.
Remember to always check the manufacturer’s instructions or guidelines specific to your running shoe model before attempting machine washing. While many running shoes can safely endure this cleaning method, some materials may require alternative care methods.
Properly preparing the shoes, removing the laces and insoles, and cleaning off dirt and mud are crucial initial steps. Placing the shoes in a laundry bag and selecting the appropriate washing machine settings help protect the shoes during the cleaning process. Adding the right amount of detergent and using additional cleaning agents as necessary ensures a thorough clean.
After the washing cycle, drying the shoes properly is essential. Avoid using direct heat sources and allow for ample air drying time to prevent damage and maintain their shape. Reinsert the insoles and laces once the shoes are dry to ensure a comfortable fit.
It’s also important to remember additional tips such as regular cleaning, proper storage, and knowing when to retire your shoes. These practices will help maintain the cleanliness and performance of your running shoes for a longer period of time.
With your clean and refreshed running shoes, you’ll be ready to hit the road or trail with confidence, knowing that your shoes are in top condition. Enjoy your runs and make the most of every stride, knowing that you’ve taken the necessary steps to care for your trusted running companions.