Featured
How To Dismantle Treadmill
Modified: January 2, 2024
Learn how to dismantle your treadmill with our step-by-step guide. Our featured instructions will make disassembly a breeze.
Introduction
So, you’ve finally decided to bid farewell to your trusty old treadmill. Whether it’s because you’re upgrading to a new model, making space for a home gym renovation, or simply want to declutter your living space, dismantling a treadmill can seem like a daunting task. However, with the right tools, knowledge, and a little bit of patience, you can easily dismantle your treadmill and make the task much more manageable.
In this article, we will guide you through the step-by-step process of dismantling a treadmill, ensuring that you are well-equipped to tackle the project efficiently and safely. From gathering the necessary tools to storing or disposing of the treadmill parts, we’ll cover everything you need to know to successfully dismantle your treadmill.
Please note that the specific steps and requirements may vary depending on your treadmill model. It’s always a good idea to refer to the manufacturer’s instructions or consult a professional if you’re unsure about any aspect of the dismantling process.
Now, without further ado, let’s jump right into it and get ready to say goodbye to your treadmill!
Step 1: Gather Necessary Tools
Before you start dismantling your treadmill, it’s essential to gather all the necessary tools. Having the right tools on hand will make the process smoother and prevent unnecessary frustration. Here are the tools you’ll need:
- Adjustable wrench
- Phillips head screwdriver
- Hex wrench set
- Socket set
- Pliers
- Utility knife
- Protective gloves
- Safety glasses
Once you have these tools ready, you’ll have everything you need to tackle the dismantling process.
It’s important to wear protective gloves and safety glasses throughout the process to prevent any potential injuries. Some parts of the treadmill may have sharp edges or be under tension, so taking safety precautions is crucial.
It’s also a good idea to have a container or a plastic bag nearby to keep track of any small screws or bolts you remove. This will help you stay organized and prevent any lost parts during the process.
Now that you have all the necessary tools, you’re ready to move on to the next step and start disconnecting and unplugging the treadmill.
Step 2: Disconnect and Unplug the Treadmill
Before you begin dismantling your treadmill, it’s crucial to ensure that it is completely disconnected from the power source to avoid any potential accidents. Follow these steps to disconnect and unplug your treadmill:
- Locate the power switch or the power cord. In most cases, the power switch will be located near the console or at the back of the treadmill.
- Turn off the treadmill by switching the power switch to the “Off” position. If your treadmill doesn’t have a power switch, simply unplug it from the power outlet.
- For added safety, it’s recommended to unplug the treadmill from the power outlet as well. This will ensure that there is no electricity running through the treadmill while you work on dismantling it.
- Double-check that the treadmill is completely powered off and unplugged before proceeding to the next steps.
By following these steps, you have successfully disconnected and unplugged your treadmill, ensuring a safe working environment for the dismantling process. Always prioritize safety throughout the entire process to prevent any accidents or injuries.
Once the treadmill is disconnected and unplugged, you can move on to the next step of removing the safety key and console.
Step 3: Remove the Safety Key and Console
Now that you have disconnected and unplugged your treadmill, it’s time to remove the safety key and console. These components are typically located at the front of the treadmill and are essential for operating and monitoring your workout sessions. Follow these steps to safely remove them:
- Locate the safety key. It is usually inserted into the console or attached to a clip on the console.
- Remove the safety key by gently pulling it out of the console or unclipping it from the holder.
- If your treadmill has a console, there may be screws or bolts securing it to the frame. Use a Phillips head screwdriver or a hex wrench to remove these screws or bolts.
- Once the screws or bolts are removed, carefully detach the console from the treadmill frame. Be cautious and support the weight of the console as you detach it to avoid any accidental damage.
- Set the safety key and console aside in a safe place to prevent any damage during the rest of the dismantling process.
Removing the safety key and console is an important step in dismantling your treadmill. These components are usually the main control center of the treadmill, and their removal will allow you to access other parts more easily.
With the safety key and console safely removed, you can move on to the next step of taking off the handrails and side rails.
Step 4: Take off the Handrails and Side Rails
After removing the safety key and console, the next step is to take off the handrails and side rails. These components provide support and stability during workouts. Follow these steps to remove them:
- Inspect the handrails and side rails to identify the attachment points. They are usually secured with bolts, screws, or plastic clips.
- Use the appropriate tool, such as a socket set or screwdriver, to remove the bolts or screws holding the handrails and side rails in place. Alternatively, release the clips if they are holding the components together.
- Keep track of the bolts, screws, or clips as you remove them. Place them in a container or a plastic bag to ensure they don’t get lost or misplaced during the dismantling process.
- Once all the fasteners are removed, gently lift and slide the handrails and side rails off the treadmill frame. Take care not to force or damage any components.
Removing the handrails and side rails will make it easier to access the internal components of the treadmill, such as the belt, motor, and electronics. It’s important to handle these components with care to avoid any accidental damage.
With the handrails and side rails successfully removed, you can now proceed to the next step of removing the treadmill belt.
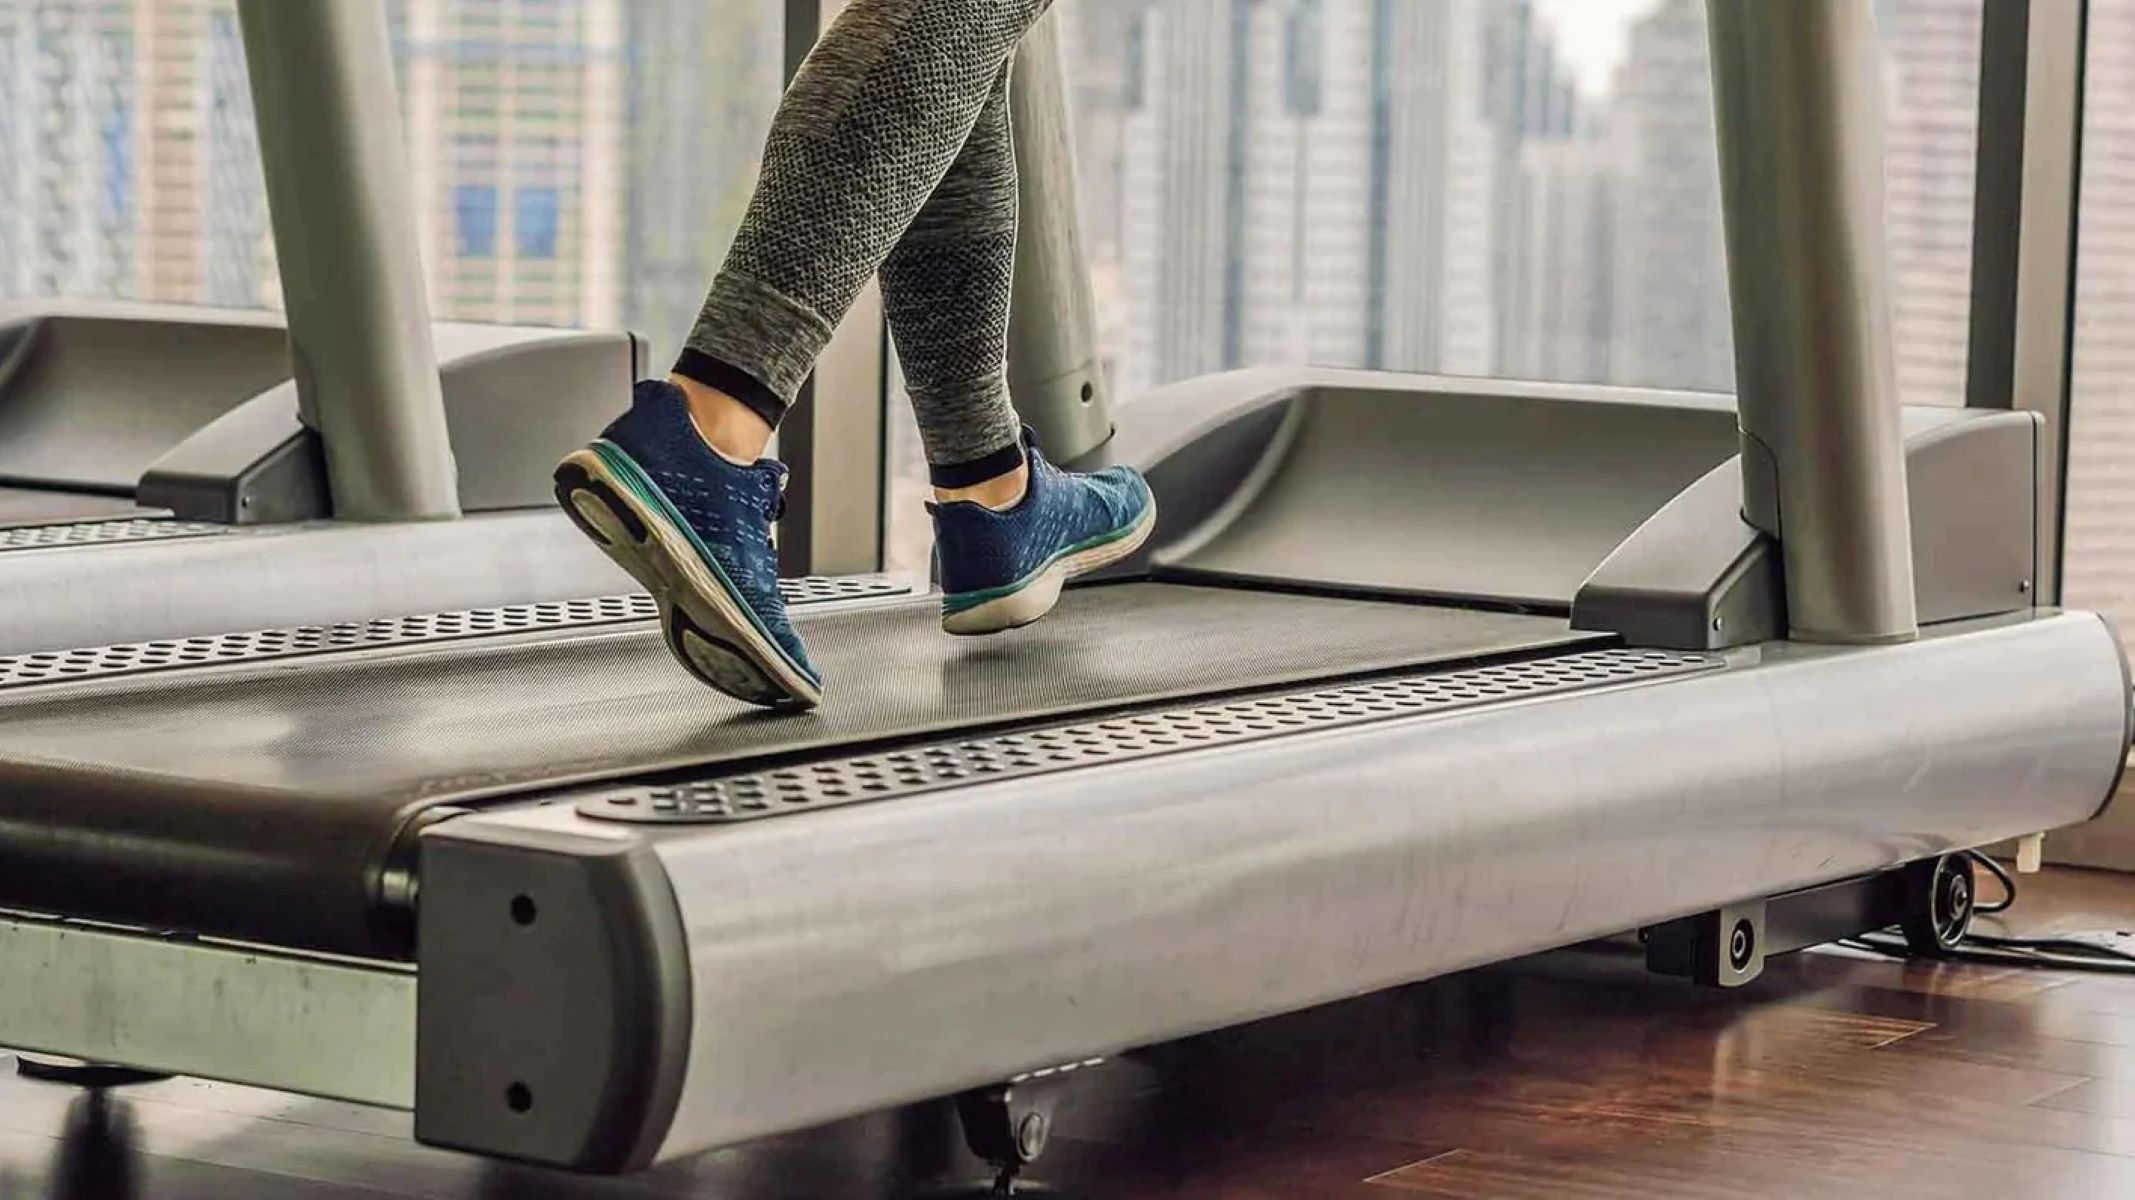
Step 5: Remove the Treadmill Belt
Now that the handrails and side rails have been taken off, it’s time to remove the treadmill belt. This step requires careful handling to ensure the smooth removal of the belt. Follow these steps to remove the treadmill belt:
- Locate the tension adjustment bolts at the rear or front of the treadmill. These bolts are responsible for adjusting the tension of the belt.
- Using the appropriate tool, typically an Allen wrench, loosen the tension adjustment bolts. This will release the tension on the belt and make it easier to remove.
- Once the tension is released, carefully slide the belt off the treadmill deck. It may require some maneuvering to free the belt completely.
- If necessary, enlist the help of another person to hold and support the belt as you remove it to prevent any damage or strain.
- Store the treadmill belt in a safe and clean area to avoid any damage or dirt buildup.
The removal of the treadmill belt opens up access to the motor and electronics, making it easier to detach them in the following steps. Take care not to force or damage any components during the belt removal process.
Now that the treadmill belt has been successfully removed, you can move on to the next step of detaching the motor and electronics.
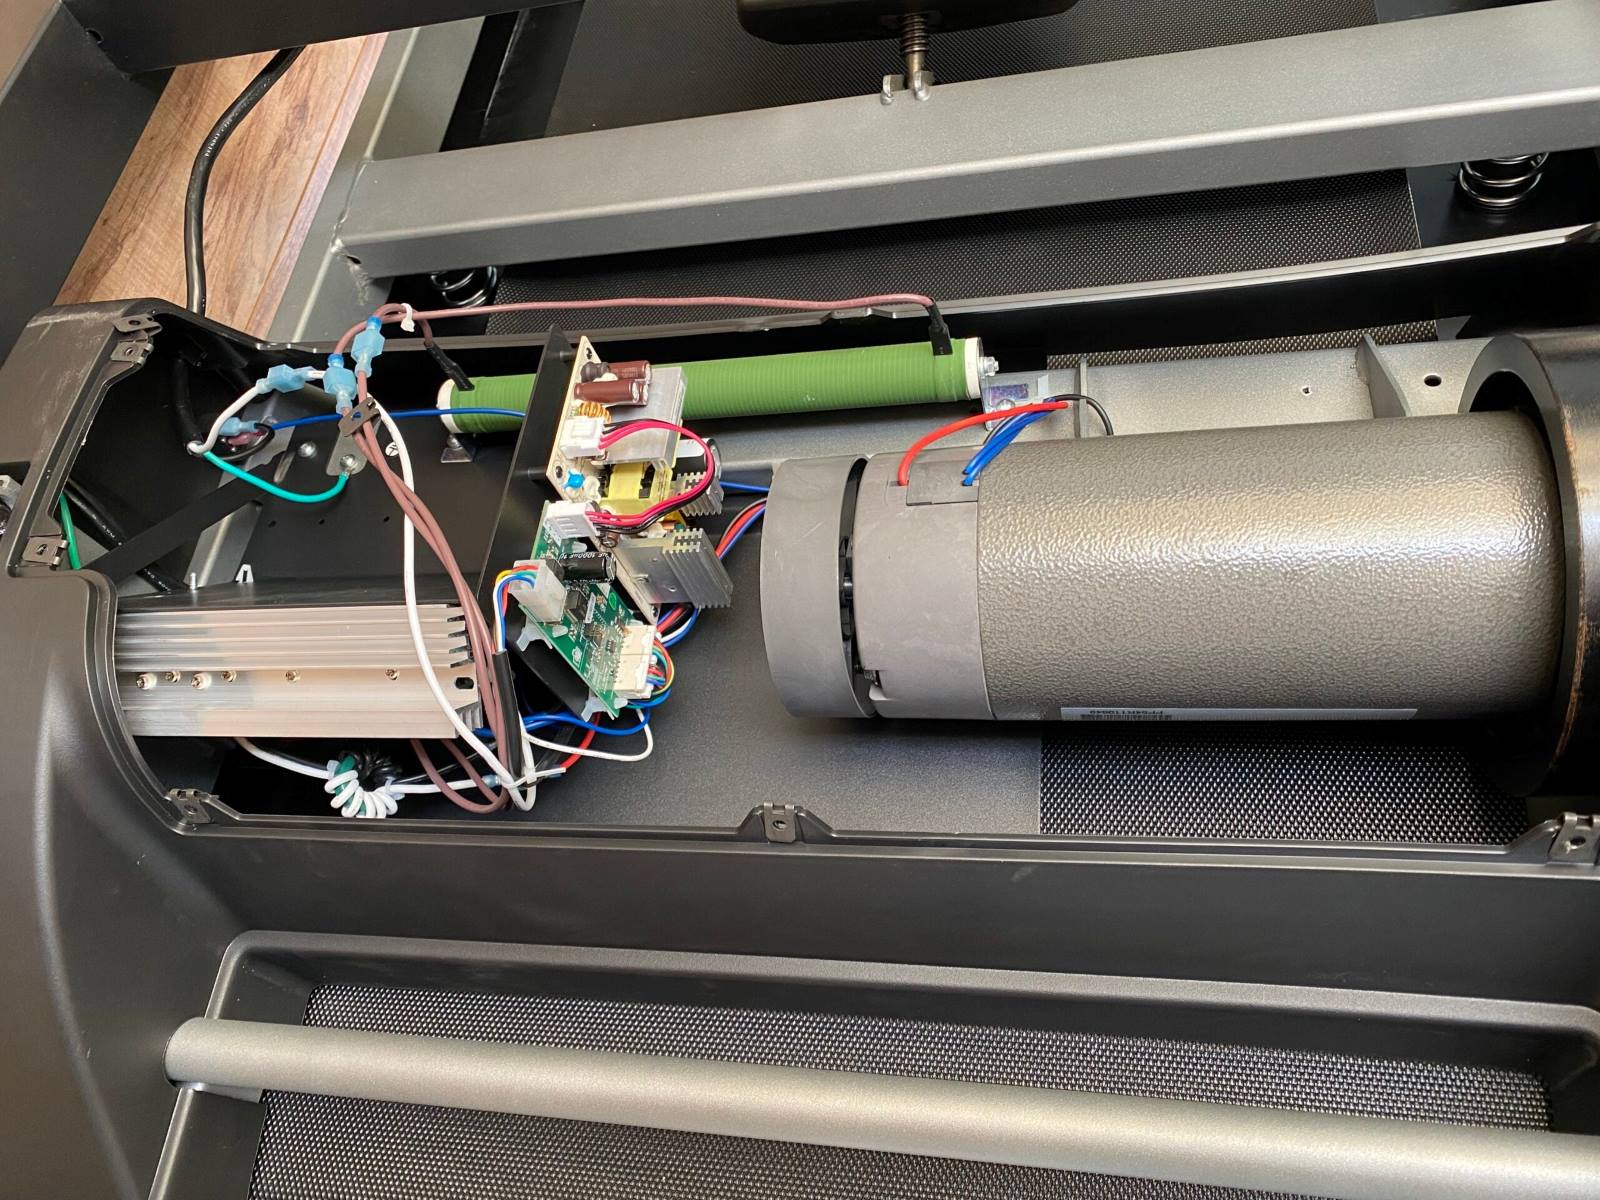
Step 6: Detach the Motor and Electronics
With the treadmill belt removed, it’s time to detach the motor and electronics. This step involves disconnecting the wires and removing any screws or bolts securing these components. Follow these steps to safely detach the motor and electronics:
- Locate the motor, which is usually positioned at the base of the treadmill. Identify the wires connected to the motor.
- Using a pair of pliers, carefully disconnect the wires by loosening the wire connectors or unplugging them from their sockets. Take note of the wire connections or take pictures for reference if needed.
- Next, identify any screws or bolts securing the motor to the treadmill frame. Use the appropriate tool, such as a socket set or screwdriver, to remove these fasteners.
- Once all the fasteners are removed, carefully lift and detach the motor from the frame. Place the motor in a safe location, away from any potential damage.
- Similarly, locate the electronics, which are often housed in the console area or near the motor. Disconnect any wires or cables connected to the electronics, keeping track of the connections if necessary.
- Look for any screws or bolts securing the electronics in place. Remove these fasteners using the appropriate tool.
- Gently lift and detach the electronics from the treadmill frame, taking care not to damage any fragile components.
Detaching the motor and electronics is a crucial step in dismantling the treadmill. It allows for easier storage or disposal of these components and facilitates further disassembly if needed.
With the motor and electronics successfully detached, you can now proceed to the next step of folding or disassembling the treadmill frame.
Step 7: Fold or Disassemble the Frame
Now that you have detached the motor and electronics, it’s time to tackle the dismantling of the treadmill frame. Depending on the design of your treadmill, you may have the option to fold the frame or to disassemble it into smaller parts for easier storage or disposal. Follow these steps to fold or disassemble the frame:
- If your treadmill has a folding feature, locate the release mechanism typically located at the base of the treadmill deck.
- Follow the manufacturer’s instructions to unlock and lower the deck, allowing it to fold towards the console or main frame of the treadmill.
- If your treadmill does not have a folding feature, use the appropriate tools to disassemble the frame into manageable sections.
- Identify any bolts, screws, or clips securing the various sections of the frame together.
- Using the appropriate tool, carefully remove these fasteners, starting with the most accessible sections. It may be helpful to have a second person assist in holding or supporting the frame as you disassemble it.
- Continue disassembling the frame until you have separated it into smaller, more manageable parts.
- If necessary, store the frame sections in a safe and compact manner, or properly dispose of them according to local regulations.
Whether you choose to fold or disassemble the frame, it is essential to take caution and follow the manufacturer’s instructions to avoid any damage or injury during the process.
With the frame successfully folded or disassembled, you are now ready to proceed to the final step of storing or disposing of the treadmill parts.
Step 8: Store or Dispose of the Treadmill Parts
Now that you have dismantled your treadmill, it’s time to decide what to do with the various parts. Depending on their condition and your preferences, you can choose to store or dispose of them. Here are some options to consider:
- Storage: If you plan to keep the treadmill parts, ensure they are stored in a clean and dry environment to prevent any damage. Label and organize the parts to make reassembly easier in the future, if needed.
- Recycling: Check with local recycling facilities to see if they accept treadmill parts. Many components, such as metal frames and plastic pieces, can be recycled. Ensure that you dispose of any electronic components in accordance with local regulations.
- Donation: If your treadmill is in good working condition, consider donating it to a local charity, community center, or shelter. They may appreciate the equipment for their fitness programs or rehabilitation centers.
- Selling: If your treadmill is still in good condition and you’re willing to put in the effort, consider selling it online or through local classified ads. Someone in your area might be looking for a used treadmill.
- Disposal: If none of the above options are suitable, contact your local waste management facility to inquire about proper disposal methods. They can provide guidance on how to dispose of the treadmill parts safely and responsibly.
Remember to consider the environmental impact and follow all local regulations when disposing of any treadmill components. By choosing an appropriate option, you can ensure that your treadmill parts are either put to good use or disposed of properly.
Congratulations! You have successfully dismantled your treadmill and have taken the necessary steps to store or dispose of the various parts. By following this guide, you were able to efficiently dismantle your treadmill and prepare it for its next chapter.
Conclusion
Dismantling a treadmill may initially seem like a daunting task, but with the right tools, knowledge, and some patience, it can be accomplished successfully. In this article, we have provided you with a comprehensive step-by-step guide to effectively dismantle your treadmill.
We started by emphasizing the importance of gathering the necessary tools and taking safety precautions to ensure a smooth and safe dismantling process. We then walked you through the steps of disconnecting and unplugging the treadmill, removing the safety key and console, and taking off the handrails and side rails.
Next, we explained how to remove the treadmill belt, detach the motor and electronics, and fold or disassemble the frame. Each step was detailed with the necessary instructions to help you confidently navigate through the process.
Finally, we discussed the options for storing or disposing of the treadmill parts, including storage, recycling, donation, selling, and proper disposal. By considering these options, you can make a responsible choice that aligns with your preferences and local regulations.
Remember, while this guide provides a general overview of treadmill dismantling, it’s important to always refer to the manufacturer’s instructions and consult with professionals if needed, especially if you encounter any difficulties or uncertainties during the process.
By following this guide, you have empowered yourself to dismantle your treadmill and make space for new fitness equipment or repurposing your living space. Whether you choose to store the parts or responsibly dispose of them, you can feel satisfied knowing that you have successfully completed the task.
Happy dismantling!