
Brands
How To Move A Bowflex Treadmill
Published: August 12, 2023
Learn how to easily move a Bowflex treadmill and check out other top treadmill brands for your home gym.
Introduction
Moving a Bowflex treadmill can be a daunting task, but with the right preparation and steps, it can be done safely and efficiently. Whether you are relocating to a new home or simply rearranging your workout space, disassembling and moving a treadmill requires careful planning and attention to detail. By following proper procedures, you can avoid damage to the treadmill and ensure that it is set up correctly in its new location.
Before embarking on the move, it is important to familiarize yourself with the specific model of your Bowflex treadmill. Different models may have slightly different disassembly and assembly instructions, so referring to the user manual or contacting customer support can provide valuable guidance.
In this guide, we will walk you through the process of moving a Bowflex treadmill, from preparing for the move to reassembling it in the new location. By following these steps and taking the necessary precautions, you can successfully relocate your treadmill without any hassle or mishaps.
Preparing for the Move
Before you begin disassembling your Bowflex treadmill, there are some important steps you need to take to ensure a smooth and successful move. By properly preparing for the move, you can minimize the risk of damage to the treadmill and make the process easier.
Here are some key considerations to keep in mind:
- Clear the Area: Start by clearing the area around the treadmill. Remove any obstacles or furniture that may hinder the disassembly process. Creating a clear and spacious workspace will make it easier to maneuver the treadmill components.
- Gather the Necessary Tools: Make sure you have all the tools required to disassemble and reassemble the treadmill. These may include screwdrivers, wrenches, and Allen keys. Check the user manual or consult with customer support to determine the specific tools needed for your model.
- Take Precautions: Treadmills can be heavy and bulky, so it’s essential to take proper precautions to avoid injury. Wear protective gloves and use proper lifting techniques when handling heavy parts. It may also be helpful to have a friend or family member assist you during the disassembly and moving process.
- Label and Document: As you disassemble the treadmill, it’s a good idea to label each component and take photos or videos of the process. This will make it easier to reassemble the treadmill later. You can use masking tape and a marker to label parts or bag smaller components to keep them organized.
- Secure Loose Parts: Before you start disassembling the treadmill, make sure all loose parts and accessories are securely fastened. This includes removing any water bottles, towels, or other items that may fall off during the move. Secure the power cord and any attached cables to prevent tangling or damage.
- Refer to the User Manual: Consult the user manual provided with your Bowflex treadmill for specific disassembly instructions. Each model may have different steps, so it’s important to follow the manufacturer’s guidelines to ensure a safe and proper disassembly.
By following these preparatory steps, you will be well-equipped to move your Bowflex treadmill without any issues. Taking the time to properly prepare will make the disassembly and reassembly process easier and help protect your investment.
Disassembling the Treadmill
Now that you have prepared for the move, it’s time to disassemble your Bowflex treadmill. Here are the step-by-step instructions to safely and efficiently disassemble your treadmill:
- Unplug the Treadmill: Start by disconnecting the power cord from the outlet. This will ensure that there is no electricity running through the treadmill while you are disassembling it.
- Remove the Console: Depending on the model, you may need to remove the console. This is usually done by unscrewing a few bolts or disconnecting a cable. Refer to the user manual for specific instructions on how to detach the console.
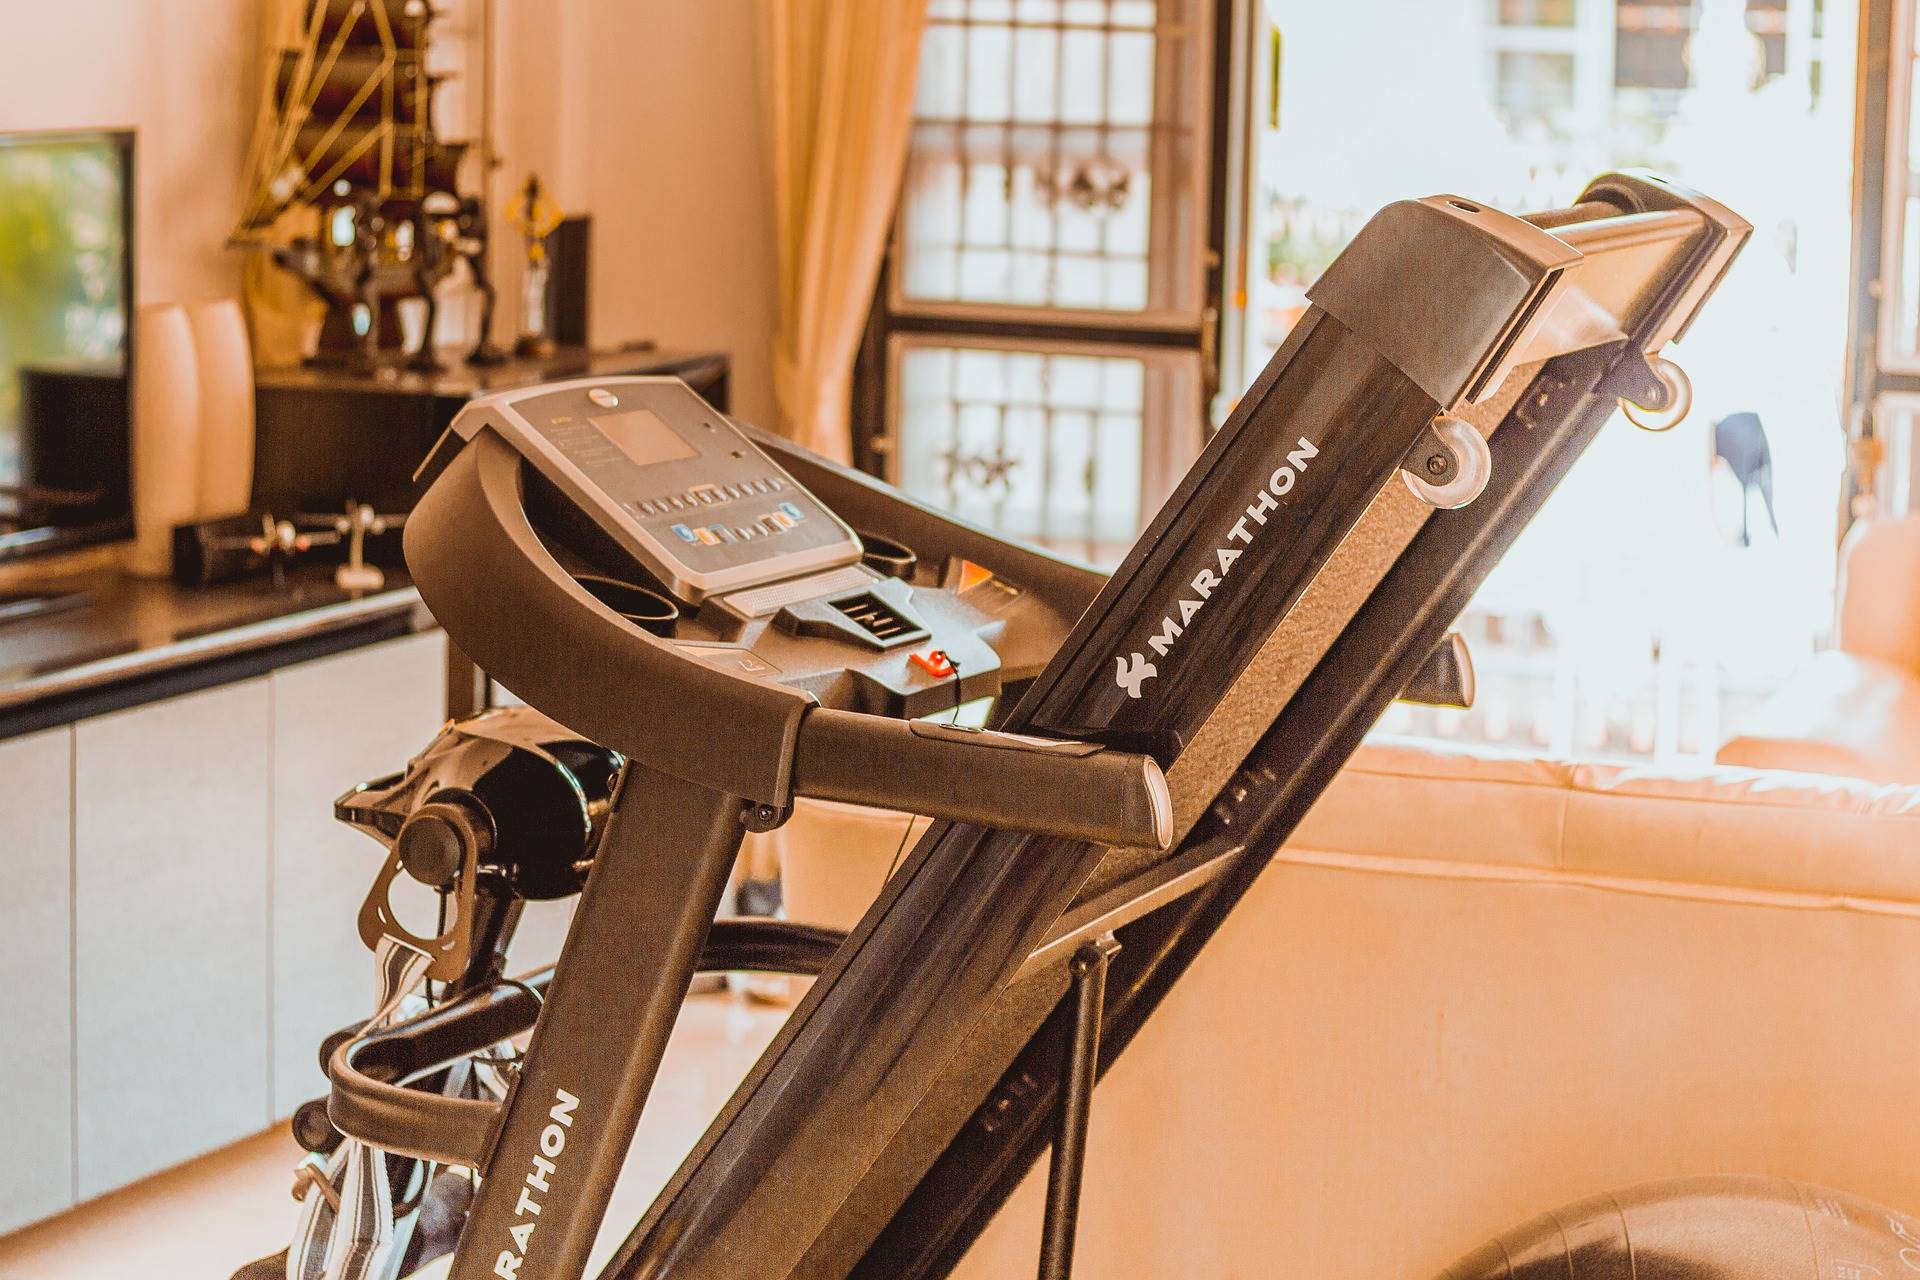
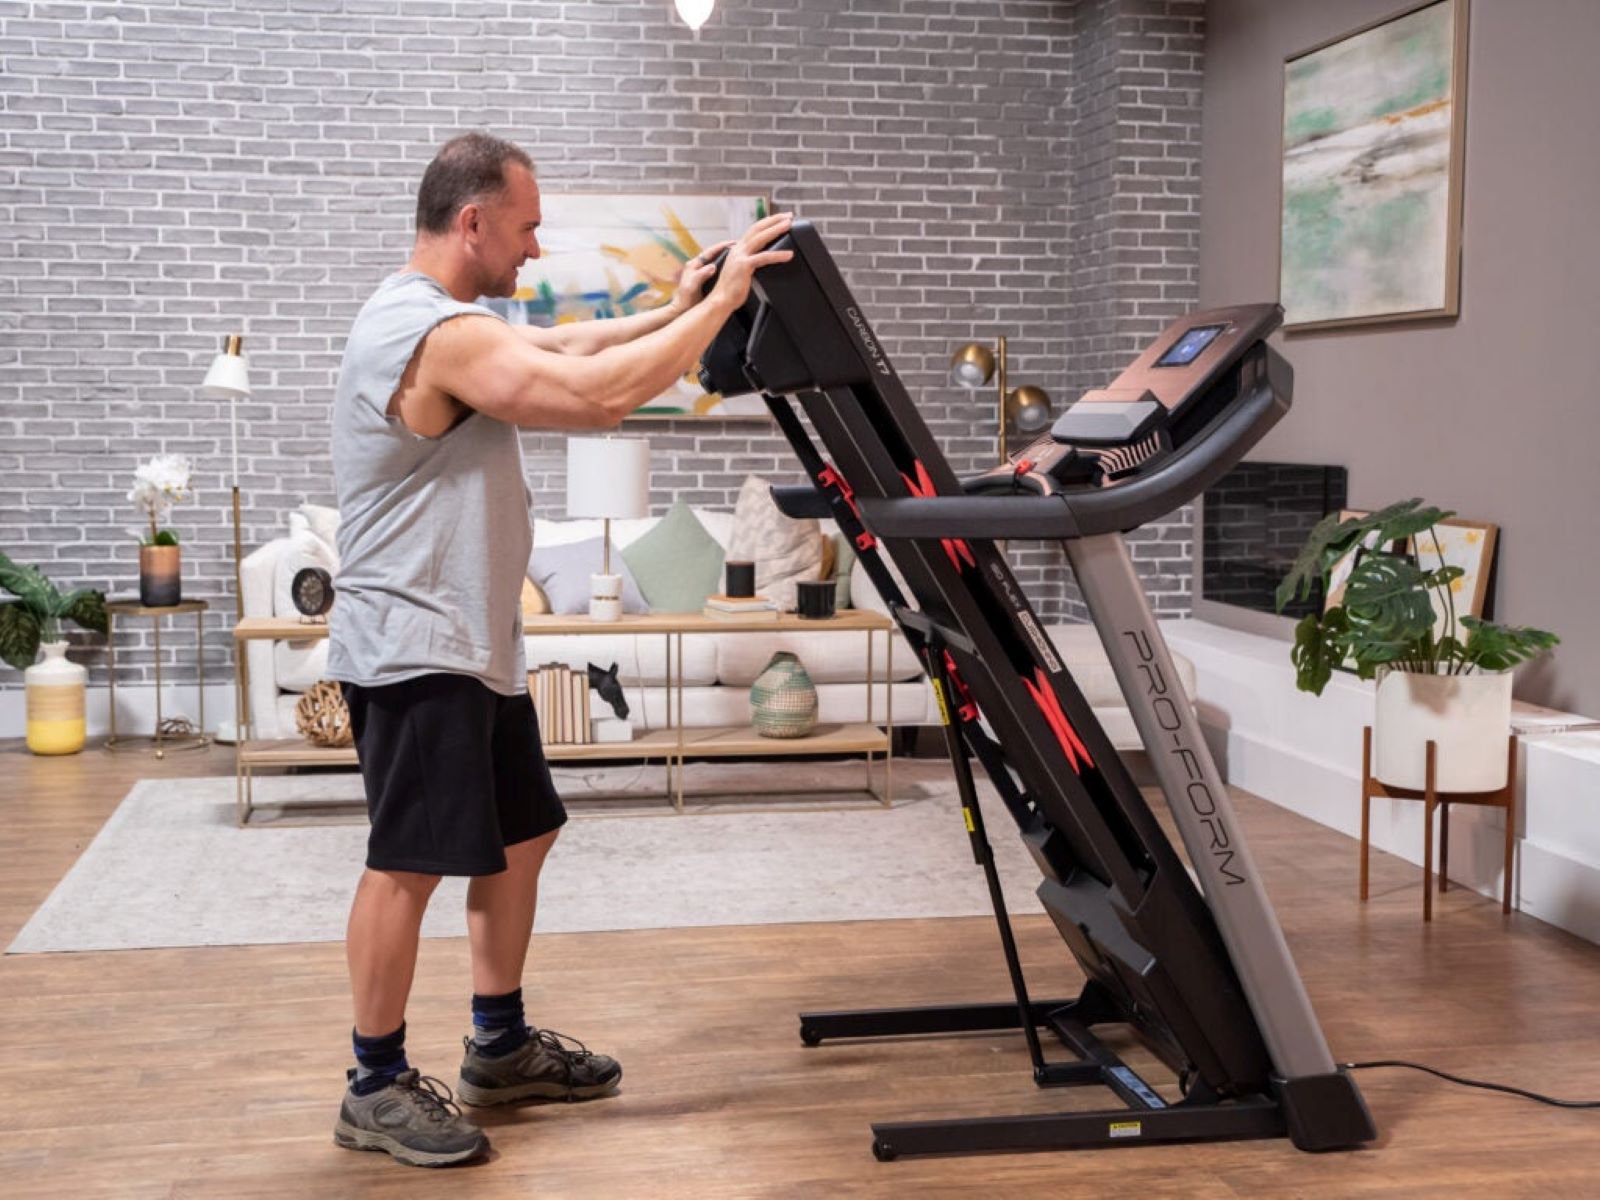
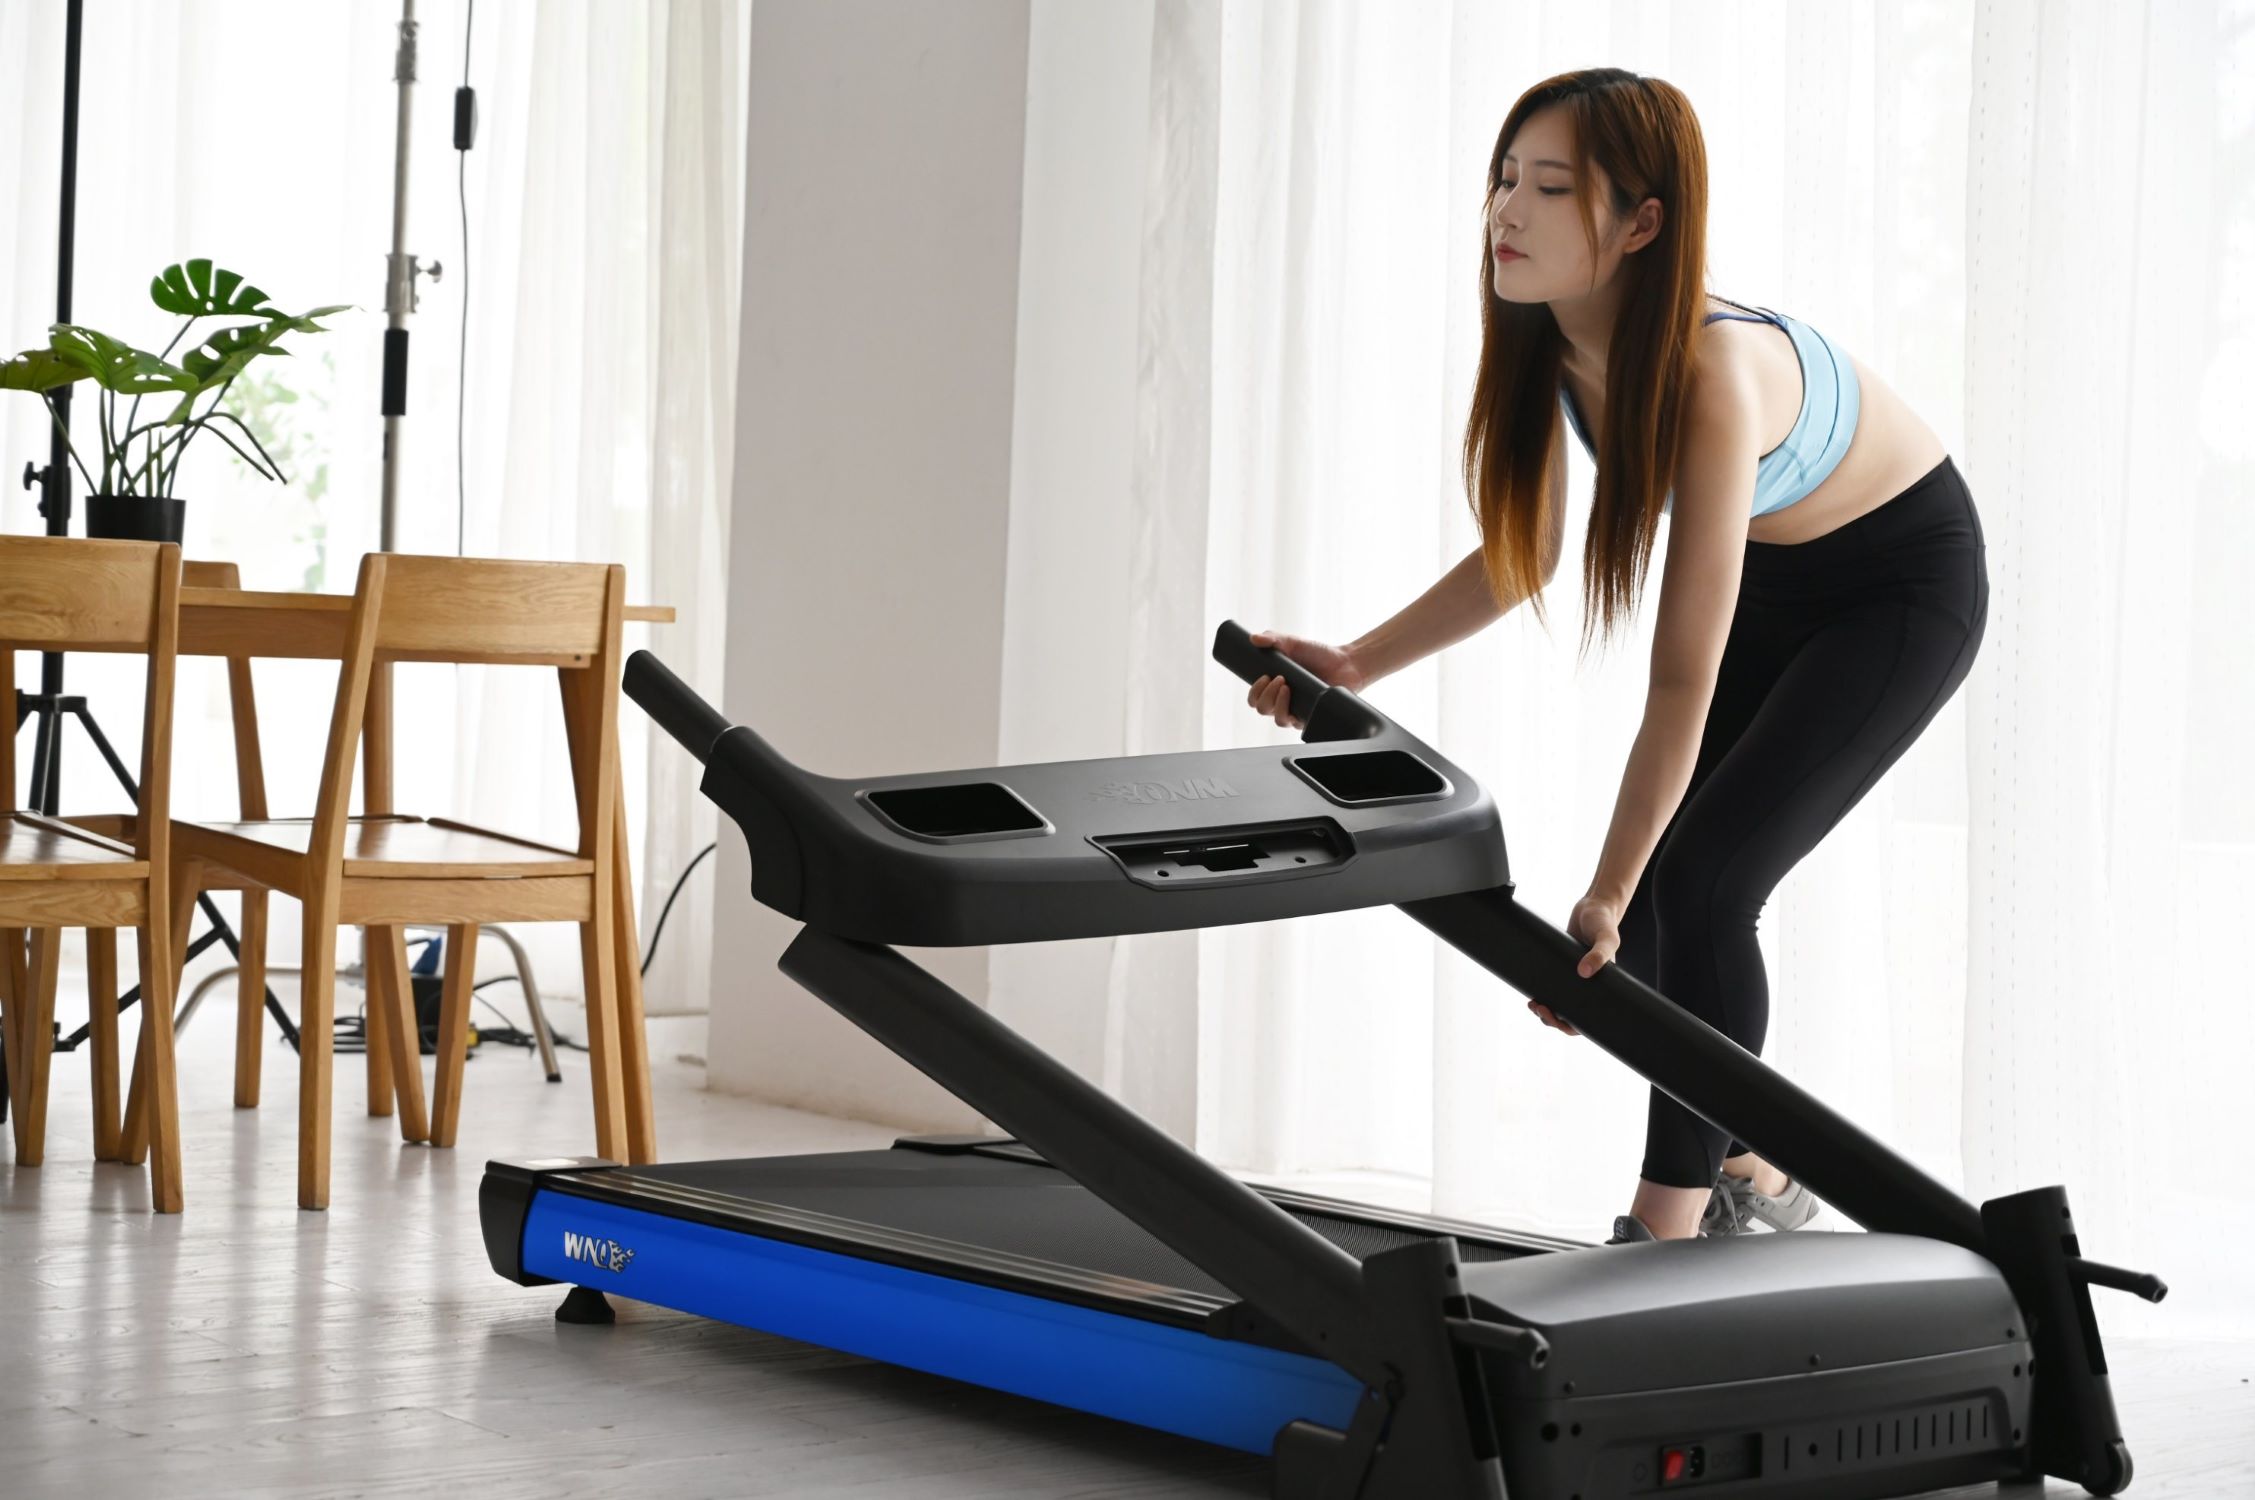
- Fold the Treadmill: If your Bowflex treadmill has a folding mechanism, fold it up to save space during the move. Follow the instructions in the user manual to properly fold the treadmill. If your model does not have a folding feature, skip this step.
- Detach the Handrails: If your treadmill has handrails or sidebars, remove them next. This is typically done by unscrewing bolts or using a wrench to disconnect them from the main frame. Be sure to keep track of the bolts and screws for reassembly.
- Remove the Deck: The deck is the surface on which you walk or run. To remove it, locate the bolts or screws that attach it to the frame and unscrew them. Carefully lift the deck off the frame and set it aside.
- Take Apart the Frame: Now it’s time to disassemble the main frame of the treadmill. Start by removing any remaining bolts or screws that hold the frame together. Take note of the order in which you remove the components, as you will need to reassemble them in the same order.
- Pack and Label Components: Once all the components are detached, pack them securely using appropriate wrapping materials or moving blankets. Label each component or group of parts to easily identify them during reassembly.
It’s important to note that these instructions provide a general overview of the disassembly process. Refer to the user manual for your specific model to ensure you follow the manufacturer’s guidelines and avoid any damage or issues.
With the treadmill disassembled and the components packed and labeled, you are now ready to move the treadmill to its new location. In the next section, we will discuss how to safely transport the disassembled treadmill.
Moving the Treadmill
Now that your Bowflex treadmill is disassembled, it’s time to move it to its new location. Moving a treadmill requires careful handling and proper transportation methods to ensure its safety throughout the journey. Here are some steps to help you move your disassembled treadmill:
- Secure the Components: Ensure that each component of the treadmill is properly secured and protected for transportation. Use moving blankets, bubble wrap, or packing material to cushion the parts and prevent them from shifting or getting damaged during transit.
- Use a Dolly or Hand Truck: A dolly or hand truck can make moving the heavier parts of the treadmill much easier. Gently place the packed components onto the dolly and secure them with straps or bungee cords to keep them in place.
- Clear Pathways and Doorways: Before attempting to move the treadmill through doorways or narrow spaces, ensure that the pathways are clear and free from any obstacles. Clear any furniture or items that may obstruct the movement of the treadmill.
- Enlist Help: Treadmills can be heavy and awkward to maneuver, so it’s important to have at least one person to assist you with the move. This will not only make it safer, but also prevent any strain or injury.
- Be Mindful of Stairs: If you need to navigate stairs, take extra precautions. Carefully carry each component up or down the stairs, making sure to maintain a balanced and controlled movement. It may be helpful to have additional people to assist with staircases.
- Use a Moving Truck or Vehicle: If the distance to your new location is significant, it is recommended to use a moving truck or vehicle to transport the disassembled treadmill. Secure the components inside the vehicle, taking care to prevent them from shifting during transportation.
- Drive with Caution: When transporting a treadmill, drive carefully and avoid sudden stops or sharp turns. Take the necessary precautions to protect the treadmill from any potential damage due to movement or vibrations during transit.
By following these steps, you can ensure a smooth and safe transportation of your Bowflex treadmill. Always prioritize the safety of both yourself and the treadmill during the moving process.
Once you have safely transported the disassembled treadmill to its new location, it’s time to reassemble it. The next section will guide you through the process of putting the treadmill back together.
Reassembling the Treadmill
Now that you have successfully moved the disassembled Bowflex treadmill to its new location, it’s time to reassemble it. Reassembling the treadmill requires careful attention to detail and following the instructions provided by the manufacturer. Here are the steps to guide you through the reassembly process:
- Refer to the User Manual: Start by referring to the user manual that came with your Bowflex treadmill. The manual will provide specific instructions on how to reassemble the treadmill components in the correct order.
- Unpack and Organize Components: Carefully unpack the components you packed during the move. Organize them in the order in which they need to be reassembled, following the instructions provided in the user manual.
- Attach the Frame: Begin the reassembly process by attaching the main frame of the treadmill. Use the labeled components and the user manual as a guide to help you properly align and secure the frame together.
- Attach the Deck: Once the frame is securely assembled, attach the deck to the frame. Align the holes and use the appropriate bolts or screws to fasten the deck in place. Ensure that it is stable and properly tightened.
- Install the Handrails: If your Bowflex treadmill has handrails or sidebars, it’s time to reattach them. Follow the instructions provided in the user manual to properly align and secure the handrails to the main frame of the treadmill.
- Connect the Console: If you removed the console during the disassembly process, it’s time to reattach it. Follow the specific instructions provided in the user manual to properly connect and secure the console to the treadmill.
- Secure Cables and Power Cord: Make sure all cables, wires, and the power cord are securely connected and not tangled. Check for any loose connections and ensure they are properly seated.
- Test the Treadmill: After the reassembly is complete, take a moment to test the treadmill. Plug it into a power source and turn it on to ensure that all components are working correctly. Walk or run on the treadmill at a slow speed to verify its stability.
By following these steps and the instructions provided in the user manual, you can reassemble your Bowflex treadmill with ease. Take your time and double-check each step to ensure that all components are correctly and securely attached.
Once the treadmill is reassembled and tested, you can start enjoying your workouts in the new location with confidence in the stability and functionality of your Bowflex treadmill.
Conclusion
Moving a Bowflex treadmill may seem like a daunting task, but with careful planning and proper execution, it can be accomplished without any issues. By following the steps outlined in this guide, you can ensure a smooth and successful move for your treadmill. Here’s a quick recap of the key points:
Preparation is crucial before disassembling the treadmill. Clear the area, gather the necessary tools, and take precautions to ensure your safety during the move. Label and document the components to simplify the reassembly process later on.
Disassembling the treadmill involves unplugging it, removing the console and handrails, folding the treadmill (if applicable), detaching the deck, and dismantling the frame. Following the manufacturer’s guidelines, as outlined in the user manual, is essential to ensure a proper disassembly.
Moving the disassembled treadmill requires securing the components, using a dolly or hand truck for easier transport, and being mindful of obstacles and stairs. If necessary, use a moving truck or vehicle to transport the treadmill safely to its new location.
Reassembling the treadmill involves referring to the user manual, unpacking and organizing the components, attaching the frame and deck, reattaching the handrails and console, and ensuring all cables and power cords are properly connected. Take the time to test the treadmill after reassembly to verify its functionality.
By following these steps with attention to detail, you can successfully move your Bowflex treadmill and have it set up correctly in its new location. Remember to prioritize safety throughout the entire process, use proper lifting techniques, and enlist a helping hand when needed.
With the knowledge and guidance provided in this guide, you can confidently embark on the task of moving your Bowflex treadmill. Enjoy your workout sessions in the new space knowing that you’ve successfully relocated your treadmill with care and precision.
