Featured
How To Move A Treadmill
Published: August 12, 2023
Learn how to move a treadmill with ease. Our featured guide provides step-by-step instructions and helpful tips for a smooth relocation.
Introduction
Moving a treadmill can be a daunting task, especially if you’re not sure where to start or if you’re doing it for the first time. Whether you’re relocating to a new home or simply rearranging your furniture, it’s important to have a plan in place to ensure the safety of both yourself and your treadmill. By following a few simple steps, you can successfully move your treadmill to its new location without any unnecessary damage or hassle.
In this guide, we will walk you through the essential steps to move a treadmill effectively. From checking and preparing the equipment to reconnecting the power cord, we’ll cover everything you need to know to make the process as smooth as possible. So, let’s dive in and learn how to move a treadmill without any stress!
It’s crucial to emphasize that safety should be your top priority throughout the entire process. Treadmills are heavy and can cause serious injuries if mishandled. If you’re unsure about your ability to move the treadmill safely on your own, it’s always a good idea to enlist the help of a professional to avoid any accidents or injuries.
Step 1: Checking and Preparing Equipment
Before you start moving your treadmill, it is crucial to check and prepare the equipment properly. This step will help ensure that the treadmill is in good condition and ready to be safely transported. Here are a few key things to consider:
- Inspect the treadmill: Start by examining the treadmill for any visible damages or loose parts. Check the frame, console, handrails, and any other components. If you notice any issues, such as loose screws or cracks, it’s important to address them before moving the treadmill. Tighten any loose screws and consult the manufacturer or a professional if necessary.
- Review the manual: Refer to the treadmill’s manual to understand any specific instructions or recommendations for moving. Different treadmill models may have unique requirements, and it’s essential to follow the manufacturer’s guidelines to prevent any damages. Pay attention to weight restrictions, folding mechanisms (if applicable), and any disassembly instructions.
- Gather necessary tools: Depending on the treadmill model and any disassembly requirements, you may need specific tools to safely move the equipment. Common tools include screwdrivers, wrenches, and Allen keys. Prepare these tools in advance to avoid delays or frustration during the moving process.
- Secure loose parts: If there are any detachable parts such as safety keys, console attachments, or accessories, make sure to secure them properly before moving the treadmill. Use tape or zip ties to hold them securely in place and prevent them from getting lost or damaged during transportation.
- Protect the treadmill: To prevent any scratches or dents, consider wrapping the treadmill in moving blankets or bubble wrap. This extra layer of protection will help safeguard the treadmill from any accidental bumps or impact during the moving process.
By thoroughly checking and preparing the equipment, you will minimize the risk of damage and ensure that your treadmill is ready to be moved safely. Taking these steps will give you peace of mind and set a solid foundation for the rest of the moving process.
Step 2: Clearing the Path
Once you’ve checked and prepared the treadmill, the next step is to clear the path along which you’ll be moving it. This step is crucial to ensure a smooth and safe transportation process. Here’s what you need to do:
- Remove any obstacles: Survey the area where the treadmill needs to be moved and remove any potential obstacles. Clear away rugs, furniture, cables, and any other items that may obstruct your path. By creating a clear and unobstructed pathway, you’ll have ample space to maneuver the treadmill and minimize the risk of accidents or damage.
- Measure doorways and hallways: Measure the dimensions of the doorways, hallways, and staircases through which the treadmill needs to pass. This step is crucial to ensure that the treadmill can fit through the available space without any difficulty. If the treadmill is too wide or tall to fit through a doorway, you may need to disassemble it or find an alternative route.
- Protect delicate surfaces: If the path includes delicate flooring surfaces such as hardwood, tile, or laminate, consider using protective materials to prevent any scratches or damage. Lay down cardboard, drop cloths, or protective mats to safeguard the flooring from the weight and movement of the treadmill.
- Secure doors and open pathways: Ensure that all doors are securely propped open along the moving path to avoid any accidental door closures during the transportation process. This will make it easier to navigate through doorways and prevent any potential injuries or damages.
Clearing the path before moving the treadmill will save you time and effort and reduce the risk of accidents or damage. By creating a safe and clear route, you can confidently move the treadmill to its new location without any unnecessary obstacles getting in your way.
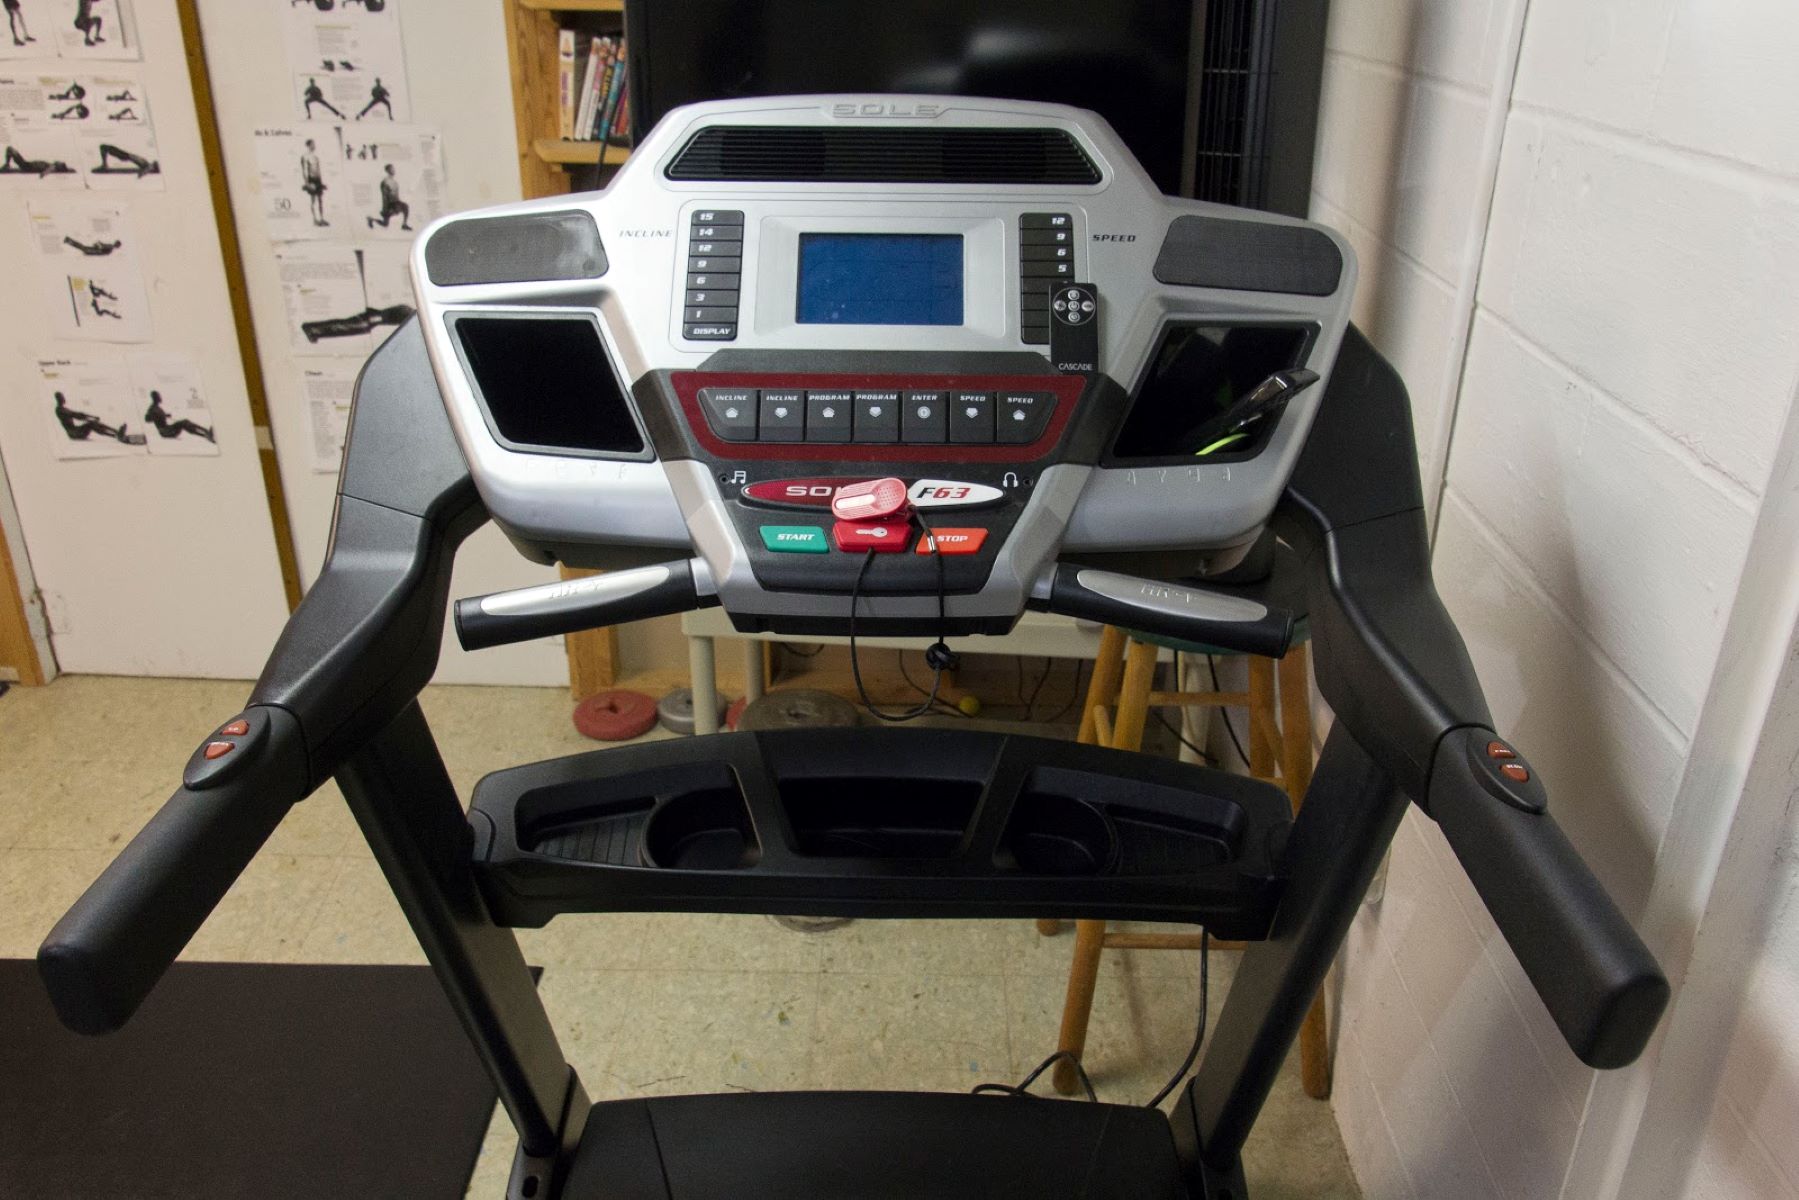
Step 3: Disconnecting and Securing the Power Cord
Before you can start moving the treadmill, it’s important to disconnect and secure the power cord to ensure a safe and hassle-free relocation. Here are the key steps to follow:
- Turn off the treadmill: Locate the power switch or button on the treadmill and turn it off. This will prevent any accidental activation of the treadmill while you’re moving it, reducing the risk of injuries or damage.
- Unplug the power cord: Locate the power cord at the back or bottom of the treadmill and unplug it from the power outlet. Make sure to handle the cord gently and avoid pulling on it forcefully to prevent any damage to the cord or outlet.
- Secure the power cord: To keep the power cord organized and prevent it from tangling or dragging, secure it using zip ties or Velcro straps. Bundle the cord together and fasten it securely, ensuring that it’s out of the way and won’t interfere with the moving process.
- Protect the power cord: If you’re moving the treadmill over a long distance or exposing it to potential damage, consider protecting the power cord by wrapping it in bubble wrap or placing it in a padded bag. This extra layer of protection will help safeguard the cord from any bumps or impact during transportation.
By disconnecting and securing the power cord, you’re taking an important step in ensuring the safety of both the treadmill and yourself during the moving process. Remember to handle the power cord with care and keep it organized to prevent any accidents or damage to the cord or treadmill.
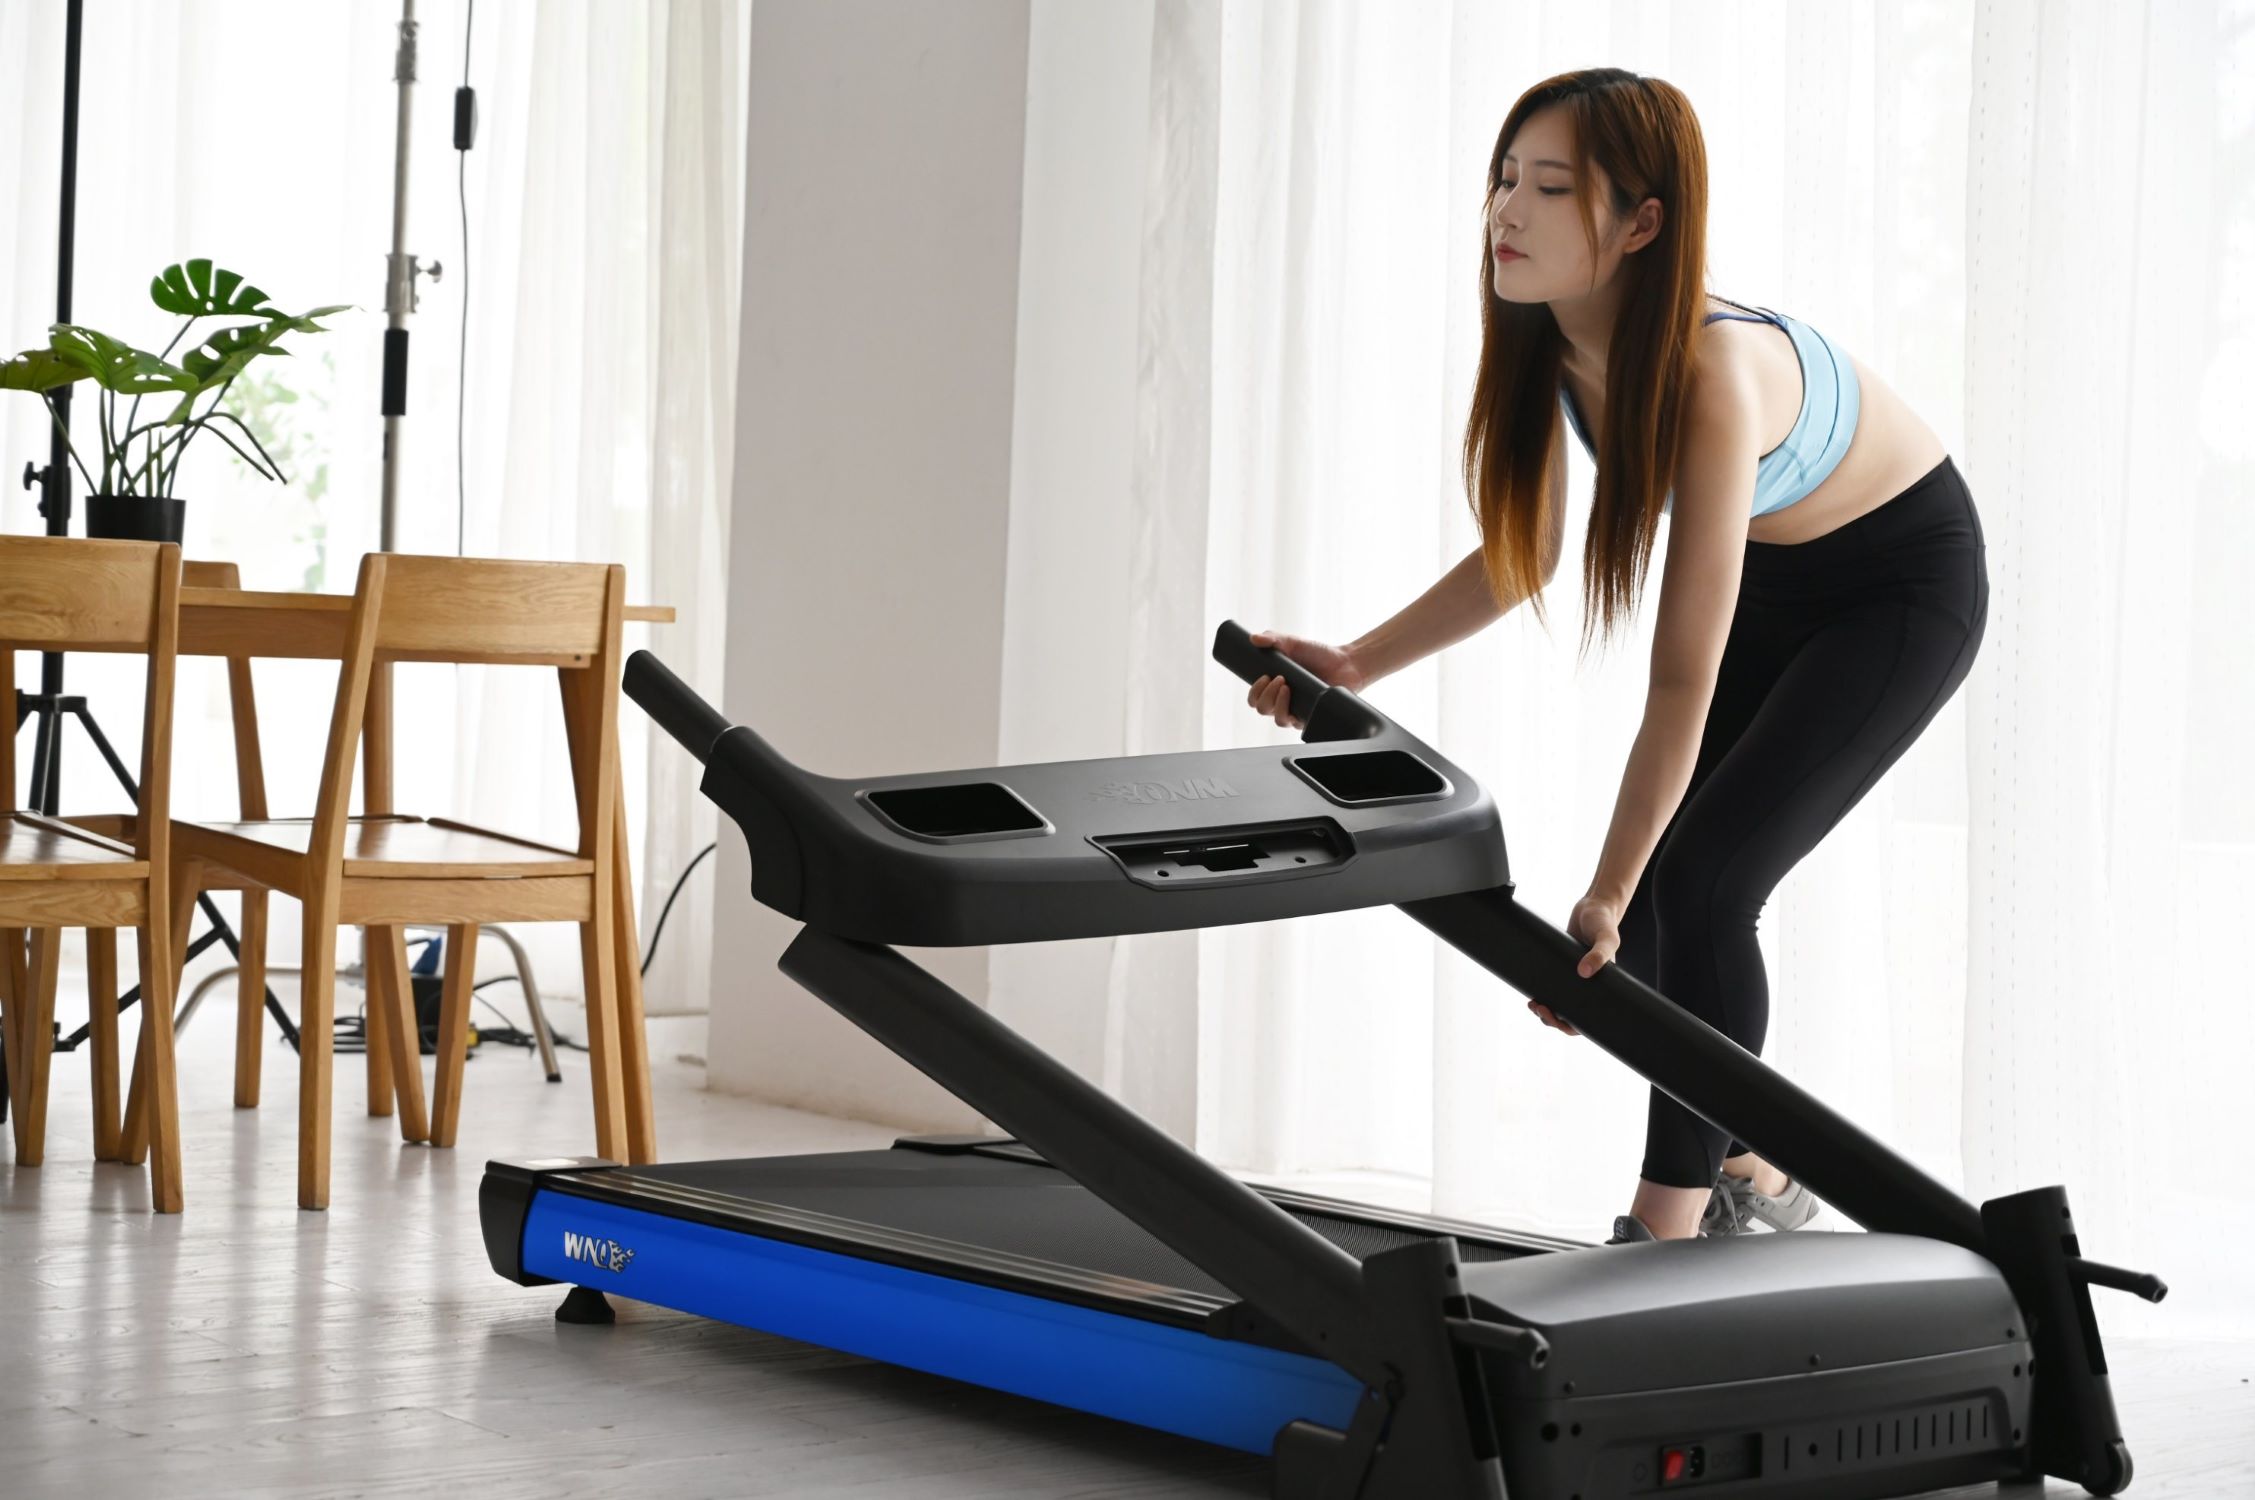
Step 4: Folding or Disassembling the Treadmill (if applicable)
Depending on the model and design of your treadmill, you may need to fold or disassemble it before moving. This step is crucial to ensure that the treadmill fits through doorways, staircases, or tight spaces. Follow these steps if your treadmill can be folded or disassembled:
- Refer to the manual: Review the treadmill’s manual or manufacturer’s guidelines for instructions on how to fold or disassemble the equipment. Different treadmill models may have specific folding mechanisms or disassembly steps, so it’s essential to follow the provided instructions.
- Folding the treadmill: If your treadmill has a folding feature, locate the release mechanism, often found near the base or frame. Follow the instructions provided to safely fold the treadmill. Make sure all locking mechanisms are securely engaged before moving the treadmill.
- Disassembling the treadmill: If your treadmill does not have a folding feature, you may need to disassemble certain parts to facilitate the moving process. This may include removing the console, handlebars, or other detachable components. Refer to the manual for step-by-step instructions on disassembly.
- Secure loose parts: As you fold or disassemble the treadmill, make sure to secure any loose parts. Use tape, plastic bags, or zip ties to keep small components organized and prevent them from getting lost or damaged during transportation.
- Label and document: If you’re disassembling the treadmill, consider labeling the parts or taking photos of the disassembly process. This will help you remember how to reassemble the treadmill correctly when you reach your destination.
Remember, not all treadmills can be folded or disassembled. If your treadmill does not have this feature, you can skip this step and move on to the next. However, if your treadmill can be folded or disassembled, doing so will greatly simplify the moving process and allow for easier maneuverability through tight spaces.
Step 5: Moving the Treadmill
Now that you’ve prepared the treadmill for moving, it’s time to actually transport it to its new location. Follow these steps to ensure a smooth and safe moving process:
- Enlist help: Treadmills can be heavy and bulky, so it’s important to have assistance when moving them. Enlist the help of at least one other person to lift and carry the treadmill.
- Use proper lifting techniques: Before lifting the treadmill, ensure that you and your helpers are using proper lifting techniques. Bend at the knees, keep your back straight, and lift with your legs to avoid strain or injury.
- Choose the right path: Carefully navigate the treadmill through the cleared path, ensuring that it fits through doorways and staircases without any difficulty. If necessary, use furniture sliders or dollies to help glide the treadmill smoothly over uneven surfaces.
- Communicate and coordinate: Synchronize your movements with your helpers to ensure smooth and balanced transportation. Use clear verbal cues to communicate and coordinate your actions.
- Take breaks if needed: Moving a treadmill can be physically demanding, so don’t hesitate to take breaks if necessary. Rest and reevaluate your approach if you feel fatigued or strained.
- Avoid dragging the treadmill: It’s essential to carry the treadmill rather than dragging it to prevent any damage to the flooring or the treadmill itself. Dragging can cause scratches or tears and may lead to misalignment of parts.
- Reposition carefully: When you reach the new location, position the treadmill in its designated spot with caution. Make sure it is stable and level to ensure safe operation.
By following these steps, you can move the treadmill to its new location without any unnecessary complications. Remember to prioritize safety and communication throughout the process to minimize the risk of injuries or damage to the treadmill or surrounding areas.
Step 6: Reassembling or Unfolding the Treadmill (if applicable)
If you had to fold or disassemble your treadmill for the move, it’s now time to reassemble or unfold it in its new location. Follow these steps to properly put your treadmill back together:
- Refer to the manual: Consult the treadmill’s manual or manufacturer’s guidelines for instructions on how to reassemble or unfold the equipment. Make sure to follow the provided steps carefully to ensure correct assembly.
- Match labeled parts (if applicable): If you labeled or documented the disassembly process, use these references to match and identify the corresponding parts during reassembly. This will help ensure that everything is fitted correctly.
- Attach components: Follow the manual’s instructions to attach any detached components, such as the console, handlebars, or safety key. Use the appropriate fasteners or screws provided, and ensure they are tightened securely but not excessively to avoid damaging the treadmill.
- Align the treadmill: Ensure that the treadmill is properly aligned and level on the floor. Use a spirit level to check for any unevenness and make necessary adjustments.
- Confirm stability: Once the treadmill is reassembled or unfolded, test its stability by gently shaking it and making sure it feels secure. Adjust any leveling feet or stabilizers if needed.
- Reconnect power cord: Plug the power cord back into the outlet. Double-check that the cord is properly connected and not tangled or obstructed.
Reassembling or unfolding the treadmill correctly is crucial for its proper functioning and safety during use. Make sure to take your time and follow the instructions carefully to ensure everything is assembled correctly.
Step 7: Reconnecting the Power Cord
Now that you’ve successfully moved and reassembled your treadmill, the final step is to reconnect the power cord. Follow these steps to ensure a safe and proper connection:
- Locate the power outlet: Position the treadmill in a suitable location near a power outlet. Ensure that the outlet is easily accessible and not obstructed.
- Inspect the power cord: Before plugging in the power cord, carefully inspect it for any damage or fraying. If you notice any issues, do not plug it in and seek professional assistance to repair or replace the power cord.
- Plug in the power cord: Gently insert the power cord into the outlet, taking care not to force it or cause any strain on the cord. Ensure that the plug is securely inserted and making a proper connection.
- Check for power: After connecting the power cord, verify that the power is properly flowing to the treadmill. Look for any indicator lights or signs of power on the console display. If the treadmill doesn’t power on, double-check the connection or consult the manual for troubleshooting tips.
- Test the treadmill: Once the power is connected, turn on the treadmill and test its functionality. Start with a slow speed setting and gradually increase to ensure that everything is working correctly. Pay attention to any unusual noises or vibrations and address them if necessary.
- Ensure safety features: Confirm that all safety features, such as emergency stop buttons or safety keys, are properly functioning. These features are essential for ensuring safe operation during use.
Reconnecting the power cord is the final step in the moving process. By following these steps, you can ensure that the treadmill is properly connected, powered on, and ready for use in its new location. Enjoy your workout sessions on your newly relocated treadmill!
Conclusion
Moving a treadmill may seem like a daunting task, but with proper planning and execution, it can be done smoothly and safely. By following the steps outlined in this guide, you can successfully move your treadmill to its new location without any unnecessary damage or hassle.
Remember to start by checking and preparing the equipment, ensuring that it is in good condition and ready to be moved. Clearing the path and securing the power cord are important steps to create a safe and organized moving environment. If your treadmill is foldable or can be disassembled, following the manufacturer’s instructions for folding or disassembly is crucial.
When it comes to moving the treadmill, enlisting the help of others and using proper lifting techniques is essential. Take your time moving the treadmill along the cleared path, avoiding dragging it to prevent any damage. Once you’ve reached the new location, reassembling or unfolding the treadmill correctly is important for its proper functioning.
Finally, reconnect the power cord, ensuring a secure and safe connection. Test the treadmill for proper functionality, paying attention to any unusual noises or vibrations. Confirm that all safety features are in place, providing peace of mind during use.
By following these steps, you can successfully move your treadmill and continue enjoying your workouts in its new location. Remember to prioritize safety throughout the entire process, and don’t hesitate to seek professional assistance if needed. Happy moving!