Brands
How To Move Peloton Treadmill
Modified: August 19, 2023
Looking to move your Peloton treadmill? Find out how to safely relocate your Peloton treadmill with the help of top brands in the industry.
Introduction
So, you’ve made the decision to move your Peloton treadmill to a new location. Whether you’re moving to a new house, renovating your current space, or simply want to rearrange your home gym setup, moving your Peloton treadmill may seem like a daunting task. However, with the right preparation and approach, you can safely and efficiently relocate your treadmill without any hassle.
Moving a Peloton treadmill requires careful planning and attention to detail. These high-tech machines are not only heavy but also possess delicate electronic components that need to be protected during the move. By following a few simple steps and using the right tools, you can ensure that your Peloton treadmill arrives at its new location in perfect working order.
In this article, we will guide you through the process of moving your Peloton treadmill. From preparing for the move to disassembling, transporting, and reassembling the treadmill, we will cover all the essential steps to make your relocation as smooth as possible.
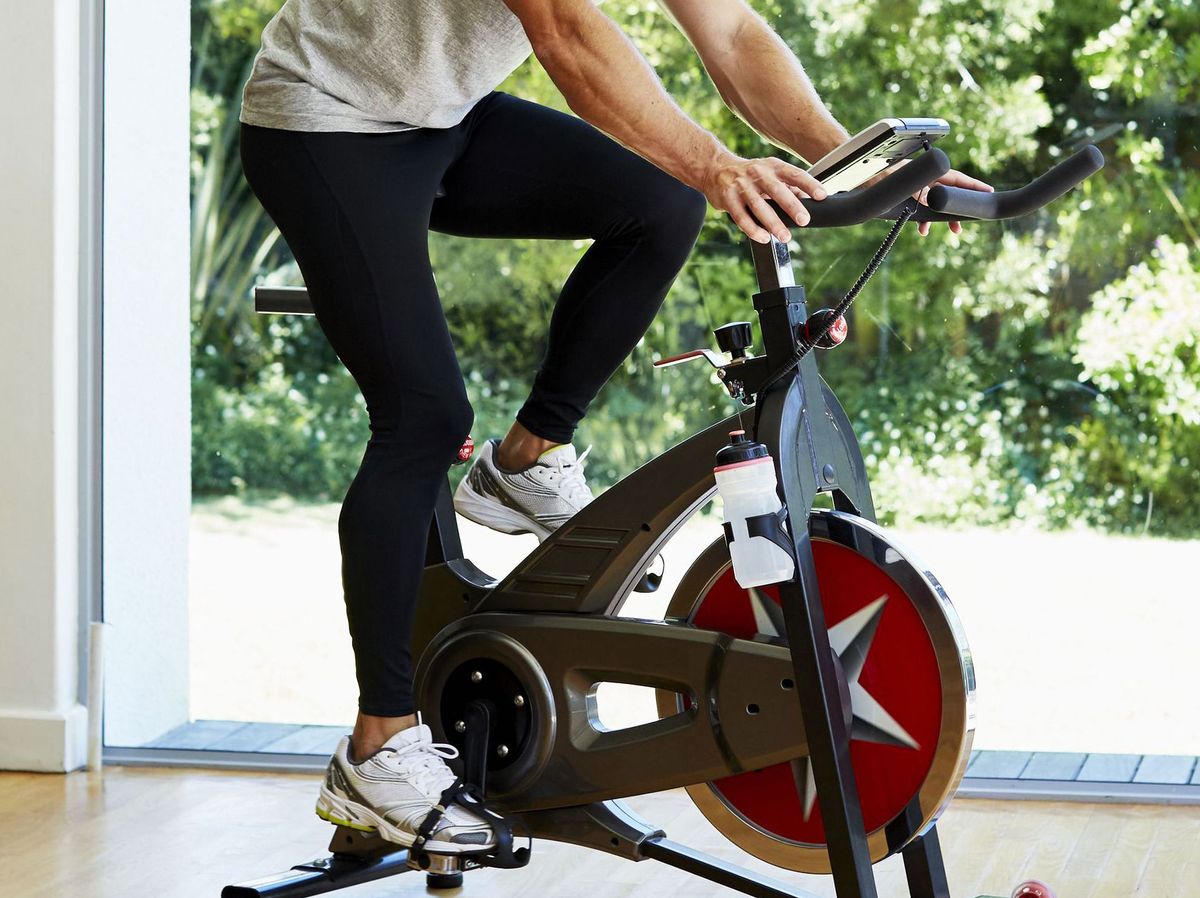
Before we dive into the moving process, it’s important to note that the Peloton treadmill is a high-end piece of fitness equipment, designed to provide an immersive and interactive workout experience. Its sleek design, advanced features, and integrated software make it a popular choice for fitness enthusiasts. To ensure the longevity and performance of your Peloton treadmill, it’s crucial to handle it with care during the move.
Now that you have an understanding of what lies ahead, let’s move on to the necessary preparations before you pack up and transport your Peloton treadmill to its new destination.
Getting Prepared for the Move
Before you start disassembling and moving your Peloton treadmill, it’s essential to make some preparations to ensure a smooth and successful relocation.
Firstly, you’ll want to gather the necessary tools and equipment for the move. This includes basic tools such as screwdrivers, wrenches, and pliers, as well as protective materials like moving blankets and bubble wrap. Having these items on hand will make the disassembly and packing process much easier.
Next, it’s crucial to clear a pathway from the current location of the treadmill to its new destination. Remove any obstacles or furniture that may hinder the movement of the treadmill during the relocation. This will help prevent accidents and ensure a seamless transition.
Another important step is to familiarize yourself with the Peloton treadmill’s manual. This will provide detailed instructions on disassembly, reassembly, and any special considerations for moving the treadmill. Take the time to read through the manual carefully to ensure you understand the process and can execute it correctly.
Additionally, it’s highly recommended to take photos of the treadmill before disassembling it. This will serve as a visual reference for reassembling the treadmill at its new location. It’s easy to overlook small details when putting the treadmill back together, so having reference photos can be extremely helpful.
Lastly, it’s a good idea to enlist the help of a friend or family member. Moving a Peloton treadmill can be physically demanding and requires at least two people to handle the heavy components. Having a helping hand will not only make the process safer but also more efficient.
With the necessary tools, a clear pathway, knowledge of the manual, reference photos, and a helping hand, you’re now prepared to start disassembling and moving your Peloton treadmill. In the next section, we will guide you through the step-by-step process of safely taking apart your treadmill in preparation for the move.
Disassembling the Peloton Treadmill
Disassembling your Peloton treadmill is a crucial step in preparing it for a move. By carefully taking apart the various components, you can ensure the safe transportation of the treadmill and prevent any damage during transit. Follow these steps to disassemble your Peloton treadmill:
- Start by unplugging the treadmill from the power source. Safety should always be a priority when working with electrical equipment.
- Remove the tablet or screen from the treadmill console. Depending on the model, this may involve loosening screws or gently disconnecting the cables.
- If your Peloton treadmill has a safety key, remove it from the console. This will prevent any accidental activation during the move.
- Next, detach the handrails from the main frame of the treadmill. Typically, this can be done by removing screws or using a wrench or Allen key.
- Once the handrails are detached, carefully fold them down and secure them in place. Use tape or straps to keep them from unfolding during transport.
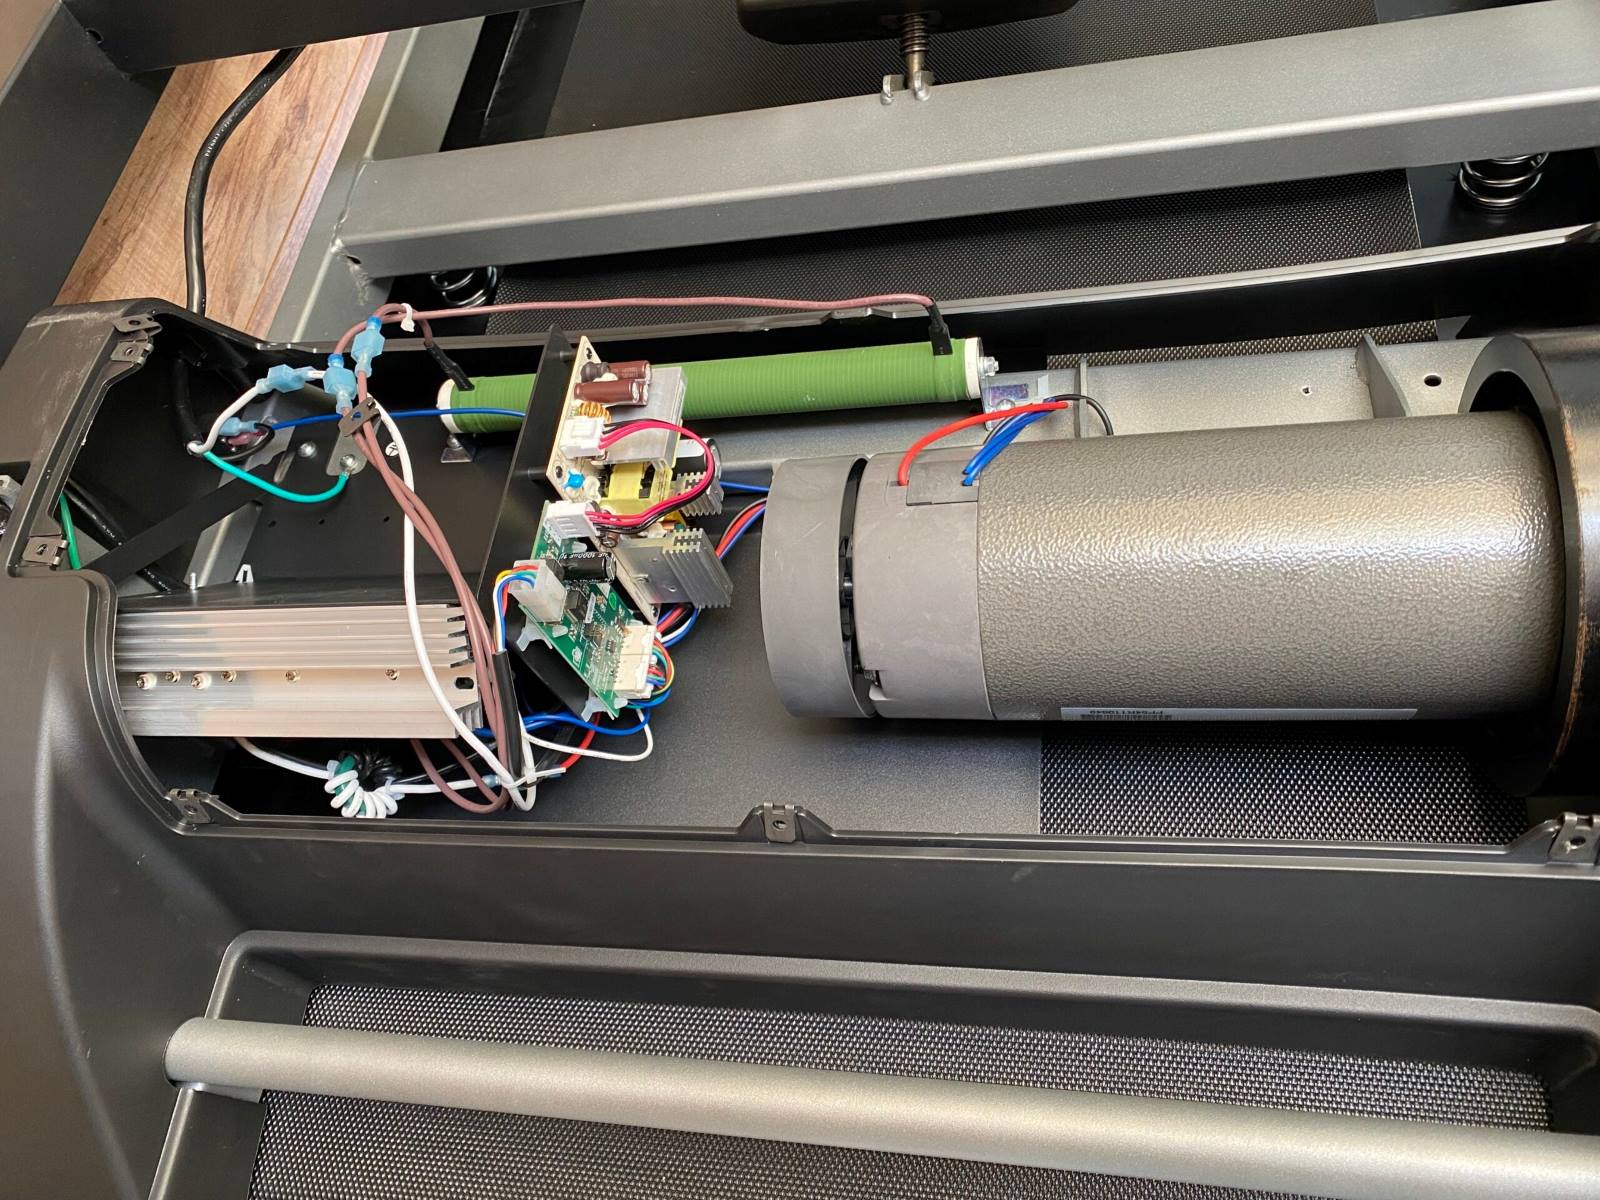
- If your Peloton treadmill has a belt cover, remove it by loosening the screws or latches. This will expose the running belt and the motor compartment.
- Take note of the position and arrangement of any cables connected to the motor and console. It’s important to disconnect them properly to avoid confusion when reassembling later.
- If necessary, remove the running belt from the treadmill deck. This step may vary depending on the model of your Peloton treadmill. Refer to the manual for specific instructions.
- Lastly, remove any additional accessories or attachments, such as water bottle holders or weight racks, from the treadmill. Pack these separately to ensure they don’t get damaged during the move.
By carefully following these steps, you can disassemble your Peloton treadmill and prepare it for safe transportation. Remember to keep track of the screws, nuts, and bolts that you remove, and consider labeling or bagging them for easy reassembly. With the treadmill disassembled, you’re ready to move on to the next phase: transporting the Peloton treadmill to its new location. We’ll cover that in the next section.
Moving the Peloton Treadmill
Now that you have disassembled your Peloton treadmill, it’s time to carefully transport it to its new location. Moving a heavy and bulky piece of equipment like a treadmill requires caution and proper handling. Here are some steps to ensure a smooth and safe move:
- Before lifting any components, make sure to use proper lifting techniques to prevent injury. Bend your knees, keep your back straight, and use your leg muscles to lift the heavy parts of the treadmill.
- Start by moving the main frame of the treadmill. If possible, enlist the help of another person to assist with the lifting and carrying. Place moving blankets or foam padding underneath to protect the floor or any delicate surfaces.
- If the treadmill is too heavy to carry, consider using a dolly or a moving cart for easier transportation. Secure the treadmill to the dolly or cart using straps to prevent it from shifting or falling during the move.
- Similarly, transfer the detached handrails and any other disassembled components to the moving cart or dolly. Ensure that they are properly secured and won’t get damaged during the transportation.
- When moving the treadmill into a vehicle, make sure it is positioned securely to prevent any movement or damage. If necessary, use additional padding or straps to secure it in place.
- During transportation, drive carefully and avoid sudden stops or turns that could cause the treadmill to shift and get damaged. If possible, choose a route with minimal bumps or potholes.
- Once you arrive at your new location, carefully unload the treadmill and its components from the vehicle. Again, use proper lifting techniques and take your time to ensure a safe transfer.
Remember to take breaks as needed during the move to avoid straining yourself. Moving a Peloton treadmill can be physically demanding, so it’s important to prioritize your safety and well-being.
By following these steps and taking the necessary precautions, you can successfully move your Peloton treadmill to its new location without any damage. The next section will guide you through the reassembly process to get your treadmill up and running again.
Reassembling the Peloton Treadmill
Now that you have safely transported your disassembled Peloton treadmill to its new location, it’s time to reassemble it. Follow these steps to ensure a successful reassembly:
- Refer to the photos you took before disassembling the treadmill. Use them as a visual guide to help you remember the correct positioning and arrangement of the components.
- Start by reattaching any accessories or attachments that you removed, such as water bottle holders or weight racks. Ensure they are securely fastened.
- If you previously removed the running belt, carefully align it with the treadmill deck. Follow the specific instructions in the manual to ensure proper installation.
- Connect any cables that were disconnected during the disassembly process. Refer to the manual for guidance if you are unsure about the correct connections.
- If your Peloton treadmill has a belt cover, reattach it by tightening the screws or latches. This will protect the running belt and the motor compartment.
- With the cables properly connected, reattach the handrails to the main frame of the treadmill. Use the appropriate tools to securely screw or fasten them in place.
- If your Peloton treadmill has a safety key, insert it back into the console to enable the treadmill’s functionality.
- Finally, reconnect the tablet or screen to the console. Ensure that all cables are properly connected, and tighten any screws if necessary.
Take your time during the reassembly process to ensure that each component is securely attached and aligned. Double-check all connections and fastenings before powering on the treadmill.
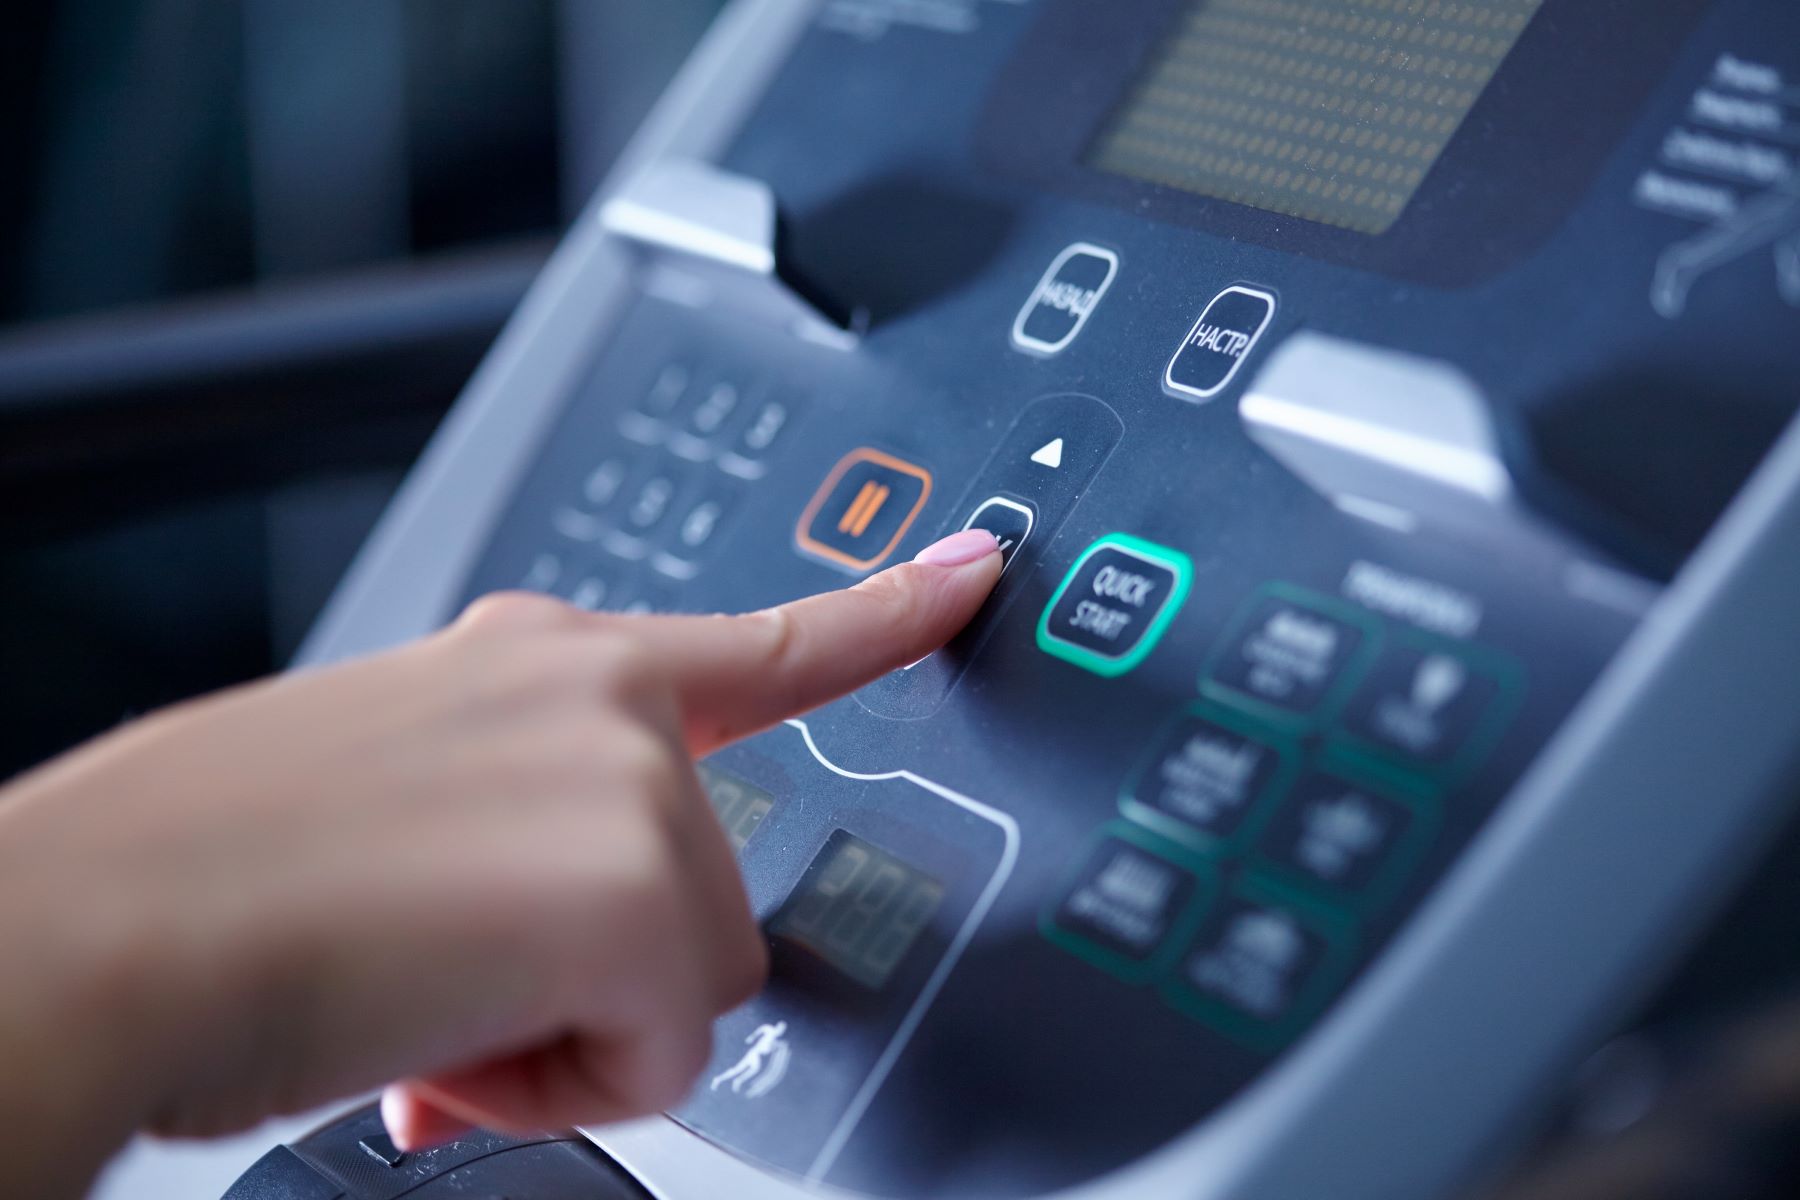
Once you have completed the reassembly, plug in the treadmill and turn it on to test its functionality. Ensure that all features and settings are working correctly before starting your workouts.
By following these steps and referring to the Peloton treadmill’s manual when needed, you can successfully reassemble your treadmill and have it ready for use in its new location.
Conclusion
Moving your Peloton treadmill to a new location may seem like a challenging task, but with proper preparation and care, it can be accomplished smoothly. By following the steps outlined in this guide, you can disassemble, transport, and reassemble your Peloton treadmill without any hassle.
Remember to gather the necessary tools, clear a pathway, and familiarize yourself with the Peloton treadmill’s manual before you begin. Taking photos of the treadmill before disassembly can also be helpful for reference during the reassembly process.
When disassembling the treadmill, be cautious and follow proper lifting techniques to prevent any injuries. Take your time to carefully pack and secure each component for transportation.
During the move, ensure the treadmill is securely positioned in the vehicle and drive carefully to avoid any damages. Upon arrival at the new location, use proper lifting techniques to unload the treadmill and its components safely.
Reassembling the Peloton treadmill requires attention to detail and following the steps in reverse order. Refer to the photos taken before disassembly and consult the manual for any guidance needed.
Finally, take the time to double-check all connections, reattach accessories, and make sure the treadmill is functioning properly before starting your workouts.
With careful planning and execution, you can successfully move your Peloton treadmill and continue enjoying its immersive workout experience in its new location. Happy moving!