Brands
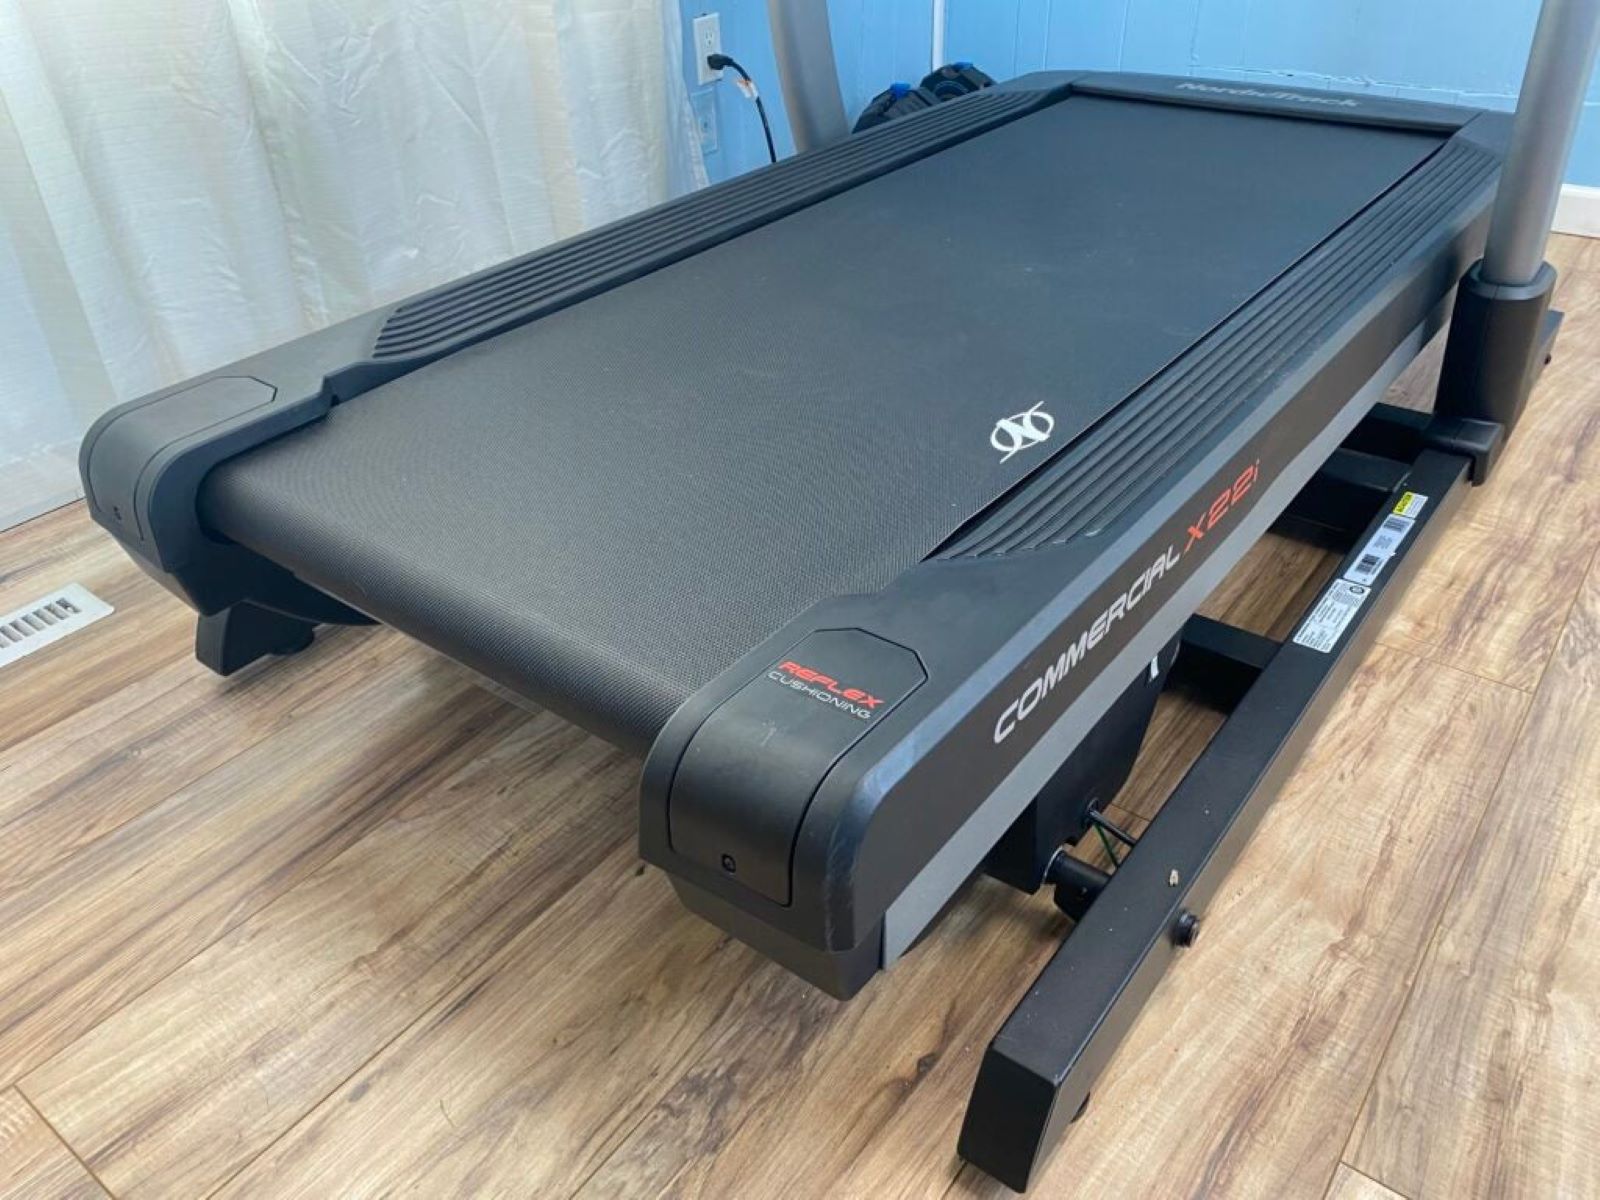
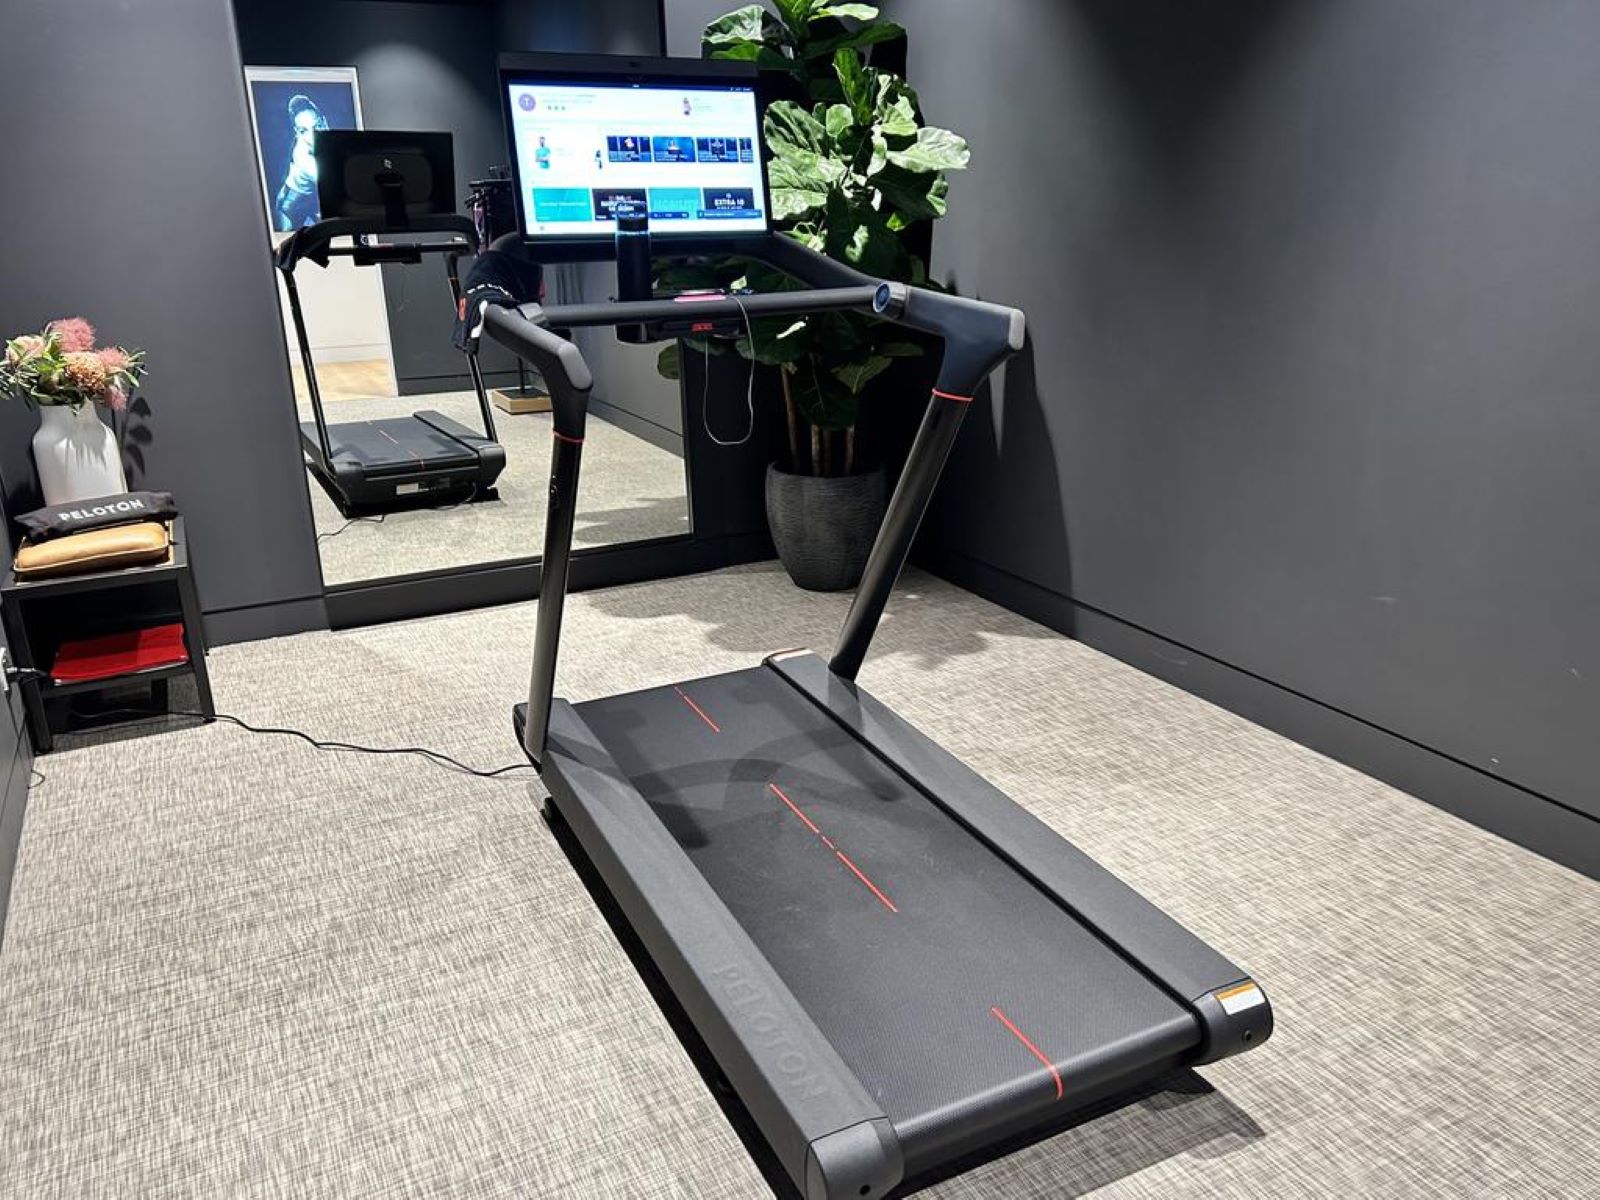
How To Disassemble Peloton Treadmill
Modified: August 19, 2023
Learn how to disassemble your Peloton treadmill easily with step-by-step instructions and expert tips. Discover the best brands for quality and durability.
Introduction
Disassembling a Peloton treadmill may seem like a daunting task, but with the right knowledge and tools, it can be a relatively straightforward process. Whether you are moving to a new location, need to repair a specific component, or simply want to clean the treadmill thoroughly, knowing how to properly disassemble it is essential.
In this guide, we will walk you through the step-by-step process of disassembling a Peloton treadmill. From gathering the necessary tools to removing various parts and components, you’ll have the knowledge to safely and effectively take apart your treadmill.
Before we begin, it’s important to note that disassembling your Peloton treadmill may void any existing warranties. If your treadmill is under warranty, it’s best to consult with the manufacturer or a professional technician for assistance. Additionally, always ensure that the power is disconnected and that you are following proper safety precautions throughout the disassembly process.
Now, let’s dive into the steps required to disassemble your Peloton treadmill.
Step 1: Gather the necessary tools and equipment
Before you begin disassembling your Peloton treadmill, it’s crucial to gather all the necessary tools and equipment. Having everything you need readily available will help streamline the process and ensure a smooth disassembly.
Here are the essential tools and equipment you will need:
- Screwdriver (both Phillips and flathead)
- Wrench set
- Allen wrench set
- Pliers
- Adjustable wrench
- Socket set
- Tape measure
- Zip ties or Velcro straps
- Protective gloves
It’s important to use the appropriate tools that fit the sizes and types of screws, nuts, and bolts on your Peloton treadmill. This will ensure that you can easily and safely remove and reassemble the various components.
Additionally, having zip ties or Velcro straps on hand will make it easier to secure any loose cables or wires during the disassembly process. This will help prevent any damage to the wiring as you remove different parts.
Lastly, don’t forget to wear protective gloves to safeguard your hands from any potential injuries during the disassembly. This is especially important when dealing with sharp edges or heavy parts.
Once you have gathered all the necessary tools and equipment, you’ll be well-prepared to move on to the next steps of disassembling your Peloton treadmill.
Step 2: Disconnect the power source
Before starting the disassembly process, it is crucial to ensure that the power source of your Peloton treadmill is completely disconnected. This step will help prevent any potential electrical shocks or accidents during the disassembly process.
Follow these steps to disconnect the power source:
- Locate the power cord of your Peloton treadmill. It is typically located at the back of the machine.
- Unplug the power cord from the electrical outlet. Ensure that the outlet is turned off and there is no electricity running through it.
- Trace the power cord to where it connects to the treadmill’s control console. You may need to remove a small cover or panel to access the connection point.
- Once you locate the connection point, gently unplug the power cord from the control console. Be careful not to pull or twist the cord forcefully to avoid damaging it.
By disconnecting the power source, you eliminate the risk of accidentally turning on the treadmill during the disassembly process. This step is crucial for your safety and the safety of the components you are working with.
It is important to note that some Peloton treadmill models may have additional power-related components, such as batteries or power capacitors. In these cases, refer to the manufacturer’s instructions or consult a professional technician for guidance on properly disconnecting the power source.
Now that you have disconnected the power source, you are ready to proceed with disassembling other parts of your Peloton treadmill.
Step 3: Remove the safety key
Before continuing with the disassembly process, it is important to remove the safety key from your Peloton treadmill. The safety key is a crucial component that ensures the treadmill stops immediately in case of an emergency or when the key is detached. Removing the safety key will prevent any unintended activation of the treadmill during the disassembly process.
Follow these steps to remove the safety key:
- Locate the safety key slot on the control console of your Peloton treadmill. This slot is typically marked with a symbol or labeled “Safety Key”.
- Gently pull out the safety key from the slot. In some models, you may need to twist the key slightly before pulling it out.
- Once the safety key is removed, set it aside in a safe place where it won’t get lost or misplaced.
It is important to note that the safety key is an essential safety feature, and the treadmill may not function without it. Therefore, it is crucial to keep track of the safety key and ensure it is safely stored after removal.
If your Peloton treadmill has any additional safety mechanisms or features, such as a safety tether or magnetic key, make sure to remove them according to the manufacturer’s instructions.
With the safety key removed, you can proceed with the disassembly process of other components of your Peloton treadmill.
Step 4: Unplug and remove any accessories or attachments
Before disassembling the main components of your Peloton treadmill, it is important to unplug and remove any accessories or attachments that may be connected to it. These accessories can include items such as tablet holders, speaker attachments, or other add-ons that are not part of the treadmill’s core structure.
Follow these steps to unplug and remove accessories or attachments from your Peloton treadmill:
- Identify all the accessories or attachments that are connected to your treadmill. These may include tablet holders, audio speakers, or any other extras that can be easily detached.
- If necessary, consult the owner’s manual or manufacturer’s instructions to understand how these accessories or attachments are connected to the treadmill.
- Once you have identified the connection points, gently unplug or detach the accessories from the treadmill. Some may require you to unscrew or unclip them, while others may simply slide or snap off.
- As you remove each accessory or attachment, carefully set them aside in a safe place. It is recommended to keep all the small parts, screws, or clips together in a labeled bag to prevent loss or misplacement.
Removing the accessories or attachments will make it easier to access and disassemble the main components of your Peloton treadmill. It also helps reduce the risk of damage to these items during the disassembly process.
Remember to refer to the manufacturer’s instructions or consult with a professional if you are unsure about how to safely unplug or remove any specific accessories or attachments.
With the accessories and attachments removed, you are now ready to proceed with disassembling the main components of your Peloton treadmill.
Step 5: Fold the treadmill deck
Before you can continue with the disassembly process, it’s important to fold the deck of your Peloton treadmill. Folding the deck not only helps save space but also makes it easier to access and remove other components of the treadmill.
To fold the treadmill deck, follow these steps:
- Ensure that the treadmill is in the off position and that the power source is disconnected as discussed in previous steps.
- Locate the folding mechanism on your Peloton treadmill. This is typically located near the base of the treadmill.
- Engage the folding mechanism according to the manufacturer’s instructions. This may involve pulling a lever, pressing a button, or using a foot pedal.
- Gently lift the deck of the treadmill, using both hands, until it is fully folded into an upright position. Ensure that the deck is securely locked in place to prevent it from unfolding accidentally.
- If your treadmill has a safety latch or lock to secure the folded deck, make sure to engage it to prevent any potential injury or damage.
Folding the treadmill deck not only makes it easier to navigate through tight spaces during the disassembly process but also provides added safety and convenience.
It’s worth noting that not all Peloton treadmill models have a foldable design. If your model does not have a folding mechanism, you can skip this step and proceed to the next step of the disassembly process.
With the deck of your Peloton treadmill securely folded, you are now ready to move on to the next steps and continue disassembling other components of your treadmill.
Step 6: Unscrew and remove the base cover
With the folded deck and accessories removed, you can now focus on removing the base cover of your Peloton treadmill. The base cover is typically located at the bottom of the treadmill and provides protection to the internal components.
To unscrew and remove the base cover, follow these steps:
- Locate the screws that secure the base cover to the treadmill. These screws are usually located along the perimeter or underside of the base cover.
- Using the appropriate screwdriver or Allen wrench, carefully unscrew each screw, keeping them organized and nearby for reassembly.
- Once all the screws have been removed, gently lift the base cover away from the treadmill, taking care not to damage any wires or internal components that may be attached.
- If there are any clips or fasteners holding the base cover in place, release them carefully to fully detach the cover.
Removing the base cover will give you access to the inner workings of your Peloton treadmill, such as the motor, belt, and electronics. It will also make it easier to identify any issues, clean, or perform maintenance on these components.
While removing the base cover, be cautious not to damage or strain any wires or cables. If you encounter any difficulties or resistance during this step, refer to the owner’s manual or consult a professional for guidance.
Once the base cover is removed, set it aside in a safe place. You may also want to take this opportunity to clean the cover thoroughly before reassembling it later.
With the base cover removed, you can now proceed to the next steps of disassembling your Peloton treadmill.
Step 7: Detach the control console
Now that you have removed the base cover, you can shift your focus to detaching the control console of your Peloton treadmill. The control console houses the display screen, buttons, and other electronic components of the treadmill.
To detach the control console, follow these steps:
- Locate the screws or bolts that secure the control console to the treadmill frame. These fasteners are typically found on the backside or underside of the console.
- Using the appropriate screwdriver or wrench, carefully unscrew or unbolt each fastener, keeping them organized for reassembly.
- Once all the screws or bolts have been removed, gently lift the control console away from the treadmill frame. Take care not to strain or damage any wires or cables that may be connected to it.
- If there are any wire connectors or harnesses attaching the console to the treadmill frame, disconnect them by gently pulling them apart. Some connectors may have release tabs that need to be pressed before separating.
Detaching the control console allows for easier access to the inner workings of your Peloton treadmill, such as the wiring, circuit boards, and connectivity modules. It also provides the flexibility to repair or replace any malfunctioning components, if needed.
While removing the control console, exercise caution to avoid any unnecessary strain on the wires and cables. If you’re unsure about how to disconnect any specific connectors, refer to the owner’s manual or consult a professional technician.
After detaching the control console, place it in a safe and secure location. Consider wrapping it in a protective covering to prevent any damage during the disassembly process or while it is stored.
With the control console detached, you can now proceed to the next steps of disassembling your Peloton treadmill.
Step 8: Remove the motor cover
With the control console detached, it’s time to focus on removing the motor cover of your Peloton treadmill. The motor cover is designed to protect the motor, pulleys, and other internal components. Removing this cover will allow you to access and service these parts, if needed.
To remove the motor cover, follow these steps:
- Locate the screws or clips that secure the motor cover in place. These are typically found on the sides or rear of the cover.
- Using the appropriate screwdriver or tool, carefully unscrew the screws or release the clips to loosen the motor cover.
- Gently lift the motor cover away from the treadmill, taking care not to damage any wires or disturb the motor assembly.
- If the motor cover has any wire connectors or harnesses, disconnect them by gently pulling them apart. Some connectors may have release tabs that need to be pressed before separating.
Removing the motor cover gives you access to the motor and its components, allowing you to inspect, clean, or replace them as necessary. It also provides an opportunity to check for any signs of wear or damage that may require repair or maintenance.
As you remove the motor cover, be cautious not to strain or damage any wires or cables connected to it. If you encounter any difficulties or are unsure about disconnecting specific components, refer to the owner’s manual or consult a professional technician.
Once the motor cover is removed, set it aside in a safe place. It’s a good idea to keep the screws or clips organized and labeled for ease of reassembly.
With the motor cover removed, you can now move on to the next steps of disassembling your Peloton treadmill.
Step 9: Disconnect the motor and wiring
After removing the motor cover, you can now proceed to disconnect the motor and wiring of your Peloton treadmill. Disconnecting these components will allow for further disassembly, maintenance, or replacement of the motor if required.
Follow these steps to disconnect the motor and wiring:
- Locate the motor and the wiring connections on your Peloton treadmill. The motor is typically located near the rear of the treadmill, and the wiring connections are attached to it.
- Identify the wiring connectors that are attached to the motor. These connectors may be color-coded or marked with labels.
- Gently grasp each connector and disconnect them by pulling them apart. Some connectors may have release tabs that need to be pressed before separating.
- If there are any wire harnesses or zip ties securing the wiring to the treadmill frame, carefully remove them to free the wiring.
- Once the wiring is disconnected, locate the bolts or screws that secure the motor to the treadmill frame.
- Using the appropriate tool, carefully unscrew or unbolt each fastener to detach the motor from the frame.
- If needed, have someone assist you in lifting and removing the motor from the treadmill frame.
By disconnecting the motor and wiring, you gain access to the motor for maintenance, replacement, or repairs. It also allows for easier disassembly of other components and provides space for cleaning and servicing the treadmill.
During the disconnection process, be mindful of the wires and connectors to avoid damaging them. Take note of the arrangement and positioning of the wires, as this will be helpful during reassembly.
Once the motor is disconnected and removed, set it aside in a safe place. It is recommended to store the motor in a protective covering to prevent any damage.
With the motor and wiring disconnected, you can now move on to the next steps of disassembling your Peloton treadmill.
Step 10: Remove the front and rear rollers
Now that the motor and wiring are disconnected, it’s time to focus on removing the front and rear rollers of your Peloton treadmill. These rollers are responsible for the smooth movement of the running belt and play a crucial role in the overall functionality of the treadmill.
To remove the front and rear rollers, follow these steps:
- Locate the screws or bolts that secure the front and rear rollers to the treadmill frame. These fasteners are typically found on the sides or ends of the rollers.
- Using the appropriate screwdriver or wrench, carefully unscrew or unbolt each fastener. Keep the screws or bolts organized and nearby for reassembly.
- Once all the screws or bolts are removed, gently lift the front and rear rollers away from the treadmill frame.
- Check for any additional connectors or fasteners that may be holding the rollers in place. Release them carefully to fully detach the rollers.
Removing the front and rear rollers provides access to the running belt, deck, and other components that may require maintenance or replacement. It also allows for a thorough cleaning of the rollers and the surrounding areas to ensure optimal performance.
While removing the rollers, be cautious not to damage any wires or cables that may be connected to them. If you encounter any difficulties or are unsure about disconnecting any specific components, refer to the owner’s manual or consult a professional technician.
Once the rollers are removed, place them in a safe location to avoid any damage. They can be stored separately or wrapped to protect them during the disassembly process.
With the front and rear rollers removed, you can now move on to the next steps of disassembling your Peloton treadmill.
Step 11: Disassemble the incline system
Next, it’s time to disassemble the incline system of your Peloton treadmill. The incline system allows you to adjust the angle of the running surface for a more challenging workout. Disassembling this system will give you access to the incline motor, gears, and other components for maintenance or repair.
To disassemble the incline system, follow these steps:
- Locate the screws or bolts that secure the incline motor and brackets to the treadmill frame. These fasteners are typically found near the base of the treadmill.
- Using the appropriate screwdriver or wrench, carefully unscrew or unbolt each fastener. Keep the screws or bolts organized and nearby for reassembly.
- Once the fasteners are removed, gently lift and slide out the incline motor and brackets away from the treadmill frame.
- If there are any wire connectors or harnesses attached to the incline motor or brackets, disconnect them by gently pulling them apart. Some connectors may have release tabs that need to be pressed before separating.
- Check for any additional screws, clips, or connectors that may be holding the incline mechanism in place and remove them accordingly.
Disassembling the incline system allows for maintenance, repair, or replacement of the incline motor and other related components. It also provides an opportunity to clean and lubricate the gears and tracks for smooth operation.
As you disassemble the incline system, be mindful of the wires and connectors to avoid damaging them. Take note of the arrangement and positioning of the components, as this will be helpful during reassembly.
Once the incline system is disassembled, place the components in a safe location. It is recommended to store them separately or wrap them to prevent damage during the disassembly process.
With the incline system disassembled, you are now ready to move on to the next steps in the process of disassembling your Peloton treadmill.
Step 12: Separate the handlebars and handrails
Now it’s time to focus on separating the handlebars and handrails of your Peloton treadmill. The handlebars and handrails provide stability and support during workouts, and separating them will allow for easier disassembly and maintenance of these components.
To separate the handlebars and handrails, follow these steps:
- Locate the screws or bolts that secure the handlebars to the treadmill frame. These fasteners are typically found near the top of the treadmill.
- Using the appropriate screwdriver or wrench, carefully unscrew or unbolt each fastener. Keep the screws or bolts organized and nearby for reassembly.
- Once the fasteners are removed, carefully lift and separate the handlebars from the treadmill frame.
- If there are any wire connectors or harnesses attached to the handlebars, disconnect them by gently pulling them apart. Some connectors may have release tabs that need to be pressed before separating.
- Repeat the same process for the handrails, if they are removable. Locate the fasteners securing the handrails to the treadmill frame and remove them carefully.
Separating the handlebars and handrails allows for a more thorough cleaning and maintenance of these components. It also provides flexibility in case you need to replace or repair any damaged parts.
As you separate the handlebars and handrails, be mindful of any wires or connectors to avoid damaging them. Take note of the arrangement and positioning of the components to assist in reassembly.
Once separated, store the handlebars and handrails in a safe location to prevent any damage. It is recommended to wrap or cover them to protect them from scratches or other potential issues during the disassembly process.
With the handlebars and handrails separated, you can now proceed to the next steps in the process of disassembling your Peloton treadmill.
Step 13: Disassemble the running belt and deck
In this step, we will focus on disassembling the running belt and deck of your Peloton treadmill. The running belt and deck are integral parts of the treadmill, and disassembling them will allow for maintenance, replacement, or cleaning if necessary.
To disassemble the running belt and deck, follow these steps:
- Start by loosening the tension of the running belt. Refer to the owner’s manual for the specific instructions on how to do this for your Peloton treadmill model.
- Locate the screws or bolts that secure the front roller to the treadmill frame. These fasteners are typically found on the sides of the front roller assembly.
- Using the appropriate screwdriver or wrench, carefully unscrew or unbolt each fastener. Keep the screws or bolts organized and nearby for reassembly.
- Once the fasteners are removed, gently lift and slide the front roller away from the treadmill frame.
- Next, locate the screws or bolts that secure the rear roller to the treadmill frame, usually at the back of the treadmill.
- Using the appropriate tool, carefully unscrew or unbolt each fastener. Keep the screws or bolts organized and nearby for reassembly.
- Gently lift and slide the rear roller away from the treadmill frame.
- Once the rollers are removed, carefully detach the running belt from the rollers and the deck. Be cautious not to damage the belt during this process.
- If there are any additional connectors or fasteners attaching the deck to the frame, remove them carefully.
- Once the deck is free, lift and remove it from the treadmill frame.
Disassembling the running belt and deck provides access to the rollers, belt, and deck itself, enabling maintenance, replacement, or cleaning of these components. It also allows for inspection and adjustment of the belt tension for optimal performance.
While disassembling the running belt and deck, be mindful of any wires, cables, or connectors that may be connected to them. Take note of the arrangement and positioning of the components to assist in reassembly.
Once disassembled, store the running belt and deck in a safe location to prevent any damage. It’s a good idea to keep them clean and free from any debris during storage.
With the running belt and deck disassembled, you are now ready to move on to the next steps in the process of disassembling your Peloton treadmill.
Step 14: Remove any remaining parts or components
As you near the final stages of disassembling your Peloton treadmill, it’s important to check for any remaining parts or components that need to be removed. These could include smaller accessories, covers, or miscellaneous attachments that are still attached to the treadmill frame.
To remove any remaining parts or components, follow these steps:
- Inspect the treadmill frame thoroughly for any parts or attachments that have not been removed yet.
- Identify any additional screws, bolts, or fasteners that are securing these remaining parts or components to the frame.
- Using the appropriate tool, carefully unscrew or unbolt each fastener to detach these parts or components.
- Once the fasteners are removed, gently lift and remove the remaining parts or components from the treadmill frame.
- Inspect the removed parts to determine if any of them require cleaning or maintenance before storing them.
Removing any remaining parts or components helps ensure that the treadmill is fully disassembled and ready for any necessary repairs, cleaning, or storage. It also allows for better accessibility to clean the frame thoroughly.
During the removal process, be cautious of any wires, cables, or connectors that may still be attached to the remaining parts or components. Take note of the arrangement and positioning of these parts to assist in reassembly if needed.
Once removed, store the remaining parts or components in a safe location, preferably in individual containers or labeled bags to prevent any confusion during reassembly.
With any remaining parts or components removed, you can now proceed to the final steps of cleaning, packing, or reassembling your Peloton treadmill as needed.
Step 15: Clean and pack the disassembled parts
Now that the disassembly of your Peloton treadmill is complete, it’s time to focus on cleaning and packing the disassembled parts. Proper cleaning and packing will ensure that the parts remain in good condition and are ready for reassembly or storage.
Follow these steps to clean and pack the disassembled parts:
- Start by cleaning each part thoroughly. Use a damp cloth or gentle cleaning solution to remove any dirt, sweat, or debris that may have accumulated.
- Pay close attention to any sensitive components, such as electronics or exposed wires. Make sure they are not exposed to excessive moisture during the cleaning process.
- Inspect the parts for any signs of wear, damage, or corrosion. If you notice any issues, address them accordingly before proceeding.
- Allow the parts to fully dry before packing them. This will help prevent the growth of mold or mildew during storage.
- Once dry, organize and label the parts to ensure easy identification during reassembly. You can use small containers or bags to keep screws, bolts, and other small items together with the corresponding parts they belong to.
- Consider wrapping fragile or delicate parts in protective material, such as bubble wrap or foam, to prevent any potential damage during storage or transportation.
- Find a suitable storage container or box that can accommodate all the disassembled parts. Make sure it provides adequate protection against dust, moisture, and other potential elements.
- Place the disassembled parts in the storage container, arranging them in a logical manner to optimize space and prevent any unnecessary movement or potential damage.
- If applicable, include any instruction manuals, documentation, or spare parts that you may have for future reference.
- Finally, seal the storage container securely, ensuring it is properly closed to keep the disassembled parts safe and protected.
Properly cleaning and packing the disassembled parts will make it easier when it’s time to reassemble your Peloton treadmill or if you need to transport it to a new location. It also helps in preserving the parts for future use, ensuring they remain in good condition.
Remember to store the container in a clean, dry, and climate-controlled environment to maintain the integrity of the disassembled parts.
With the disassembled parts cleaned, organized, and packed, you have successfully completed the disassembly process of your Peloton treadmill.
Conclusion
Disassembling a Peloton treadmill can seem like a challenging task, but with the right knowledge and tools, it can be a manageable process. By following the step-by-step guide provided, you can safely and effectively disassemble your Peloton treadmill for various purposes, such as moving, repair, or thorough cleaning.
Remember to gather all the necessary tools and equipment before starting the disassembly process. Ensure that you disconnect the power source and remove any accessories or attachments. Fold the treadmill deck and remove the base cover to access the internal components.
Continue by detaching the control console, removing the motor cover, disconnecting the motor and wiring, and removing the front and rear rollers. Disassemble the incline system, separate the handlebars and handrails, and disassemble the running belt and deck.
Be thorough in removing any remaining parts or components, and take the time to clean and pack the disassembled parts properly. Label and organize them for easy reassembly or storage.
Disassembling a Peloton treadmill offers the opportunity for maintenance, repair, or transportation. Remember to refer to the owner’s manual or consult a professional if you encounter any difficulties during the process.
By following these steps, you can successfully disassemble your Peloton treadmill with confidence, knowing that you have taken the necessary precautions and invested the effort to ensure a seamless disassembly experience.