Featured
How To Move A Treadmill Downstairs
Modified: August 19, 2023
Learn how to safely move a treadmill downstairs with our featured guide. Follow our step-by-step instructions to avoid any accidents or damage to your equipment.
Introduction
Moving a treadmill downstairs can be a challenging and physically demanding task. Whether you are relocating to a new home or simply need to move your treadmill to another room, it is important to approach this process with caution and proper planning. In this article, we will guide you through the step-by-step process of moving a treadmill downstairs, ensuring that you do it safely and effectively.
Before you start moving the treadmill, it is crucial to prioritize safety. Treadmills are heavy and bulky pieces of fitness equipment, so taking the necessary precautions is essential to prevent injuries and accidents. By following the guidelines and using the correct techniques, you can successfully move your treadmill downstairs without any hassle.
In this comprehensive guide, we will take you through each stage of the process, from assessing the situation to reassembling the treadmill at its new location. We will provide you with valuable tips and suggestions to ensure that you tackle this task with confidence and ease. So, let’s get started with the safety precautions you need to consider before moving the treadmill downstairs.
Safety Precautions
Moving a treadmill downstairs requires careful attention to safety to prevent accidents or injuries. Here are some essential safety precautions to keep in mind throughout the process:
- Secure the area: Clear the pathway and remove any obstacles that may obstruct your way while moving the treadmill. Ensure there is adequate lighting and good visibility.
- Wear appropriate clothing: Dress in comfortable, fitted clothing and wear sturdy, closed-toe shoes with a good grip to avoid slipping or tripping.
- Use proper lifting techniques: When lifting heavy parts or the entire treadmill, bend at the knees and use your leg muscles rather than your back. Keep your back straight and engage your core.
- Ask for assistance: Moving a treadmill downstairs can be challenging, so it’s advisable to have someone assist you. This will not only make the task easier but also reduce the risk of accidents.
- Secure the power cord: Ensure that the power cord is unplugged and securely fastened to avoid tripping hazards during the move.
- Protect the floor: Use furniture sliders or a protective mat to prevent damage to the floor when moving the treadmill downstairs.
- Take breaks when needed: Moving a heavy treadmill can be physically exhausting. Listen to your body and take breaks as necessary to avoid overexertion and fatigue.
- Communicate effectively: If you are working with a team, establish clear communication signals to ensure the safe and coordinated movement of the treadmill.
- Follow manufacturer’s instructions: Refer to the treadmill’s user manual for any specific instructions or guidelines provided by the manufacturer regarding disassembly, moving, and reassembly.
By adhering to these safety precautions, you can minimize the risk of accidents and injuries, making the process of moving a treadmill downstairs a safer and more manageable task.
Assessing the Situation
Before you begin moving a treadmill downstairs, it is crucial to assess the situation and plan accordingly. Assessing the layout of your home and the specific area where the treadmill needs to be moved will help you determine the best approach. Here are some key factors to consider:
- Staircase condition: Examine the condition of the staircase, including its width, height, and stability. Ensure that the steps are in good condition and free from any obstacles that may hinder your movement.
- Weight capacity: Check the maximum weight capacity of the staircase. If the combined weight of the treadmill and the movers exceeds the capacity, consider alternative options such as professional movers or disassembling the treadmill.
- Pathway clearance: Measure the clearance of the hallways, doorways, and any tight areas along the route to the staircase. Confirm that the treadmill can fit through these spaces without causing damage.
- Accessibility: Determine if there are any obstacles, such as furniture or decorative items, that may need to be temporarily removed or rearranged to create a clear path for moving the treadmill downstairs.
- Disassembly requirements: Assess whether or not your specific treadmill model requires partial or complete disassembly before moving it downstairs. Refer to the manufacturer’s instructions for guidance on disassembling and reassembling the treadmill.
- Clear communication: If you have enlisted the help of others, ensure that everyone involved is aware of the plan and understands their responsibilities. Clear communication will help streamline the moving process and prevent accidents.
Taking the time to assess the situation beforehand will help you plan the most efficient and safe method for moving the treadmill downstairs. Consider any potential obstacles or challenges that may arise and develop a strategy to overcome them. This will ensure a smoother and more successful treadmill-moving experience.
Gathering the Necessary Tools
Before you begin the process of moving a treadmill downstairs, it is important to gather all the necessary tools and equipment. Having the right tools on hand will make the task easier and more efficient. Here are the essential tools you’ll need:
- Adjustable wrench: A wrench will be needed to loosen and tighten bolts during the disassembly and reassembly process.
- Screwdriver set: Depending on the treadmill model, you may need flathead or Phillips screwdrivers to remove screws.
- Allen wrench set: Many treadmills require an Allen wrench for specific components. Ensure you have a set of Allen wrenches in various sizes.
- Moving blankets or furniture pads: These will help protect the treadmill and the surrounding areas from scratches or damage during the move.
- Furniture sliders or dolly: These tools can make moving the treadmill downstairs easier by providing a smooth and stable surface for sliding or rolling it.
- Straps or bungee cords: Straps or bungee cords will help secure the disassembled parts or the entire treadmill during transportation to prevent accidents.
- Measuring tape: Use a measuring tape to ensure that the treadmill will fit through doorways and tight spaces along the path to the staircase.
- Protective gloves: Wearing protective gloves will help you maintain a firm grip and avoid any injuries from sharp edges or heavy lifting.
- Utility knife or scissors: These tools will come in handy for cutting any packaging material or zip ties that need to be removed during the disassembly process.
- Floor protection: If you will be moving the treadmill over hardwood floors or carpeting, consider using floor protection such as cardboard or mats to prevent any damage or scuffing.
By gathering these essential tools and equipment beforehand, you will be well-prepared to disassemble, move, and reassemble the treadmill with ease. Having everything readily available will help save time and ensure a smoother transition to the new location.
Disassembling the Treadmill
Before moving a treadmill downstairs, it is typically necessary to disassemble it into smaller, more manageable parts. Disassembling the treadmill will not only make it easier to transport but also reduce the risk of injury during the moving process. Here are the general steps to follow for disassembling a treadmill:
- Consult the user manual: Refer to the user manual provided by the manufacturer for specific instructions on disassembling your particular treadmill model. It will guide you step-by-step through the process.
- Unplug the treadmill: Disconnect the power cord from the wall outlet to ensure safety during the disassembly process.
- Remove the safety key: Take out the safety key from the console to prevent any unintentional activation of the treadmill during disassembly.
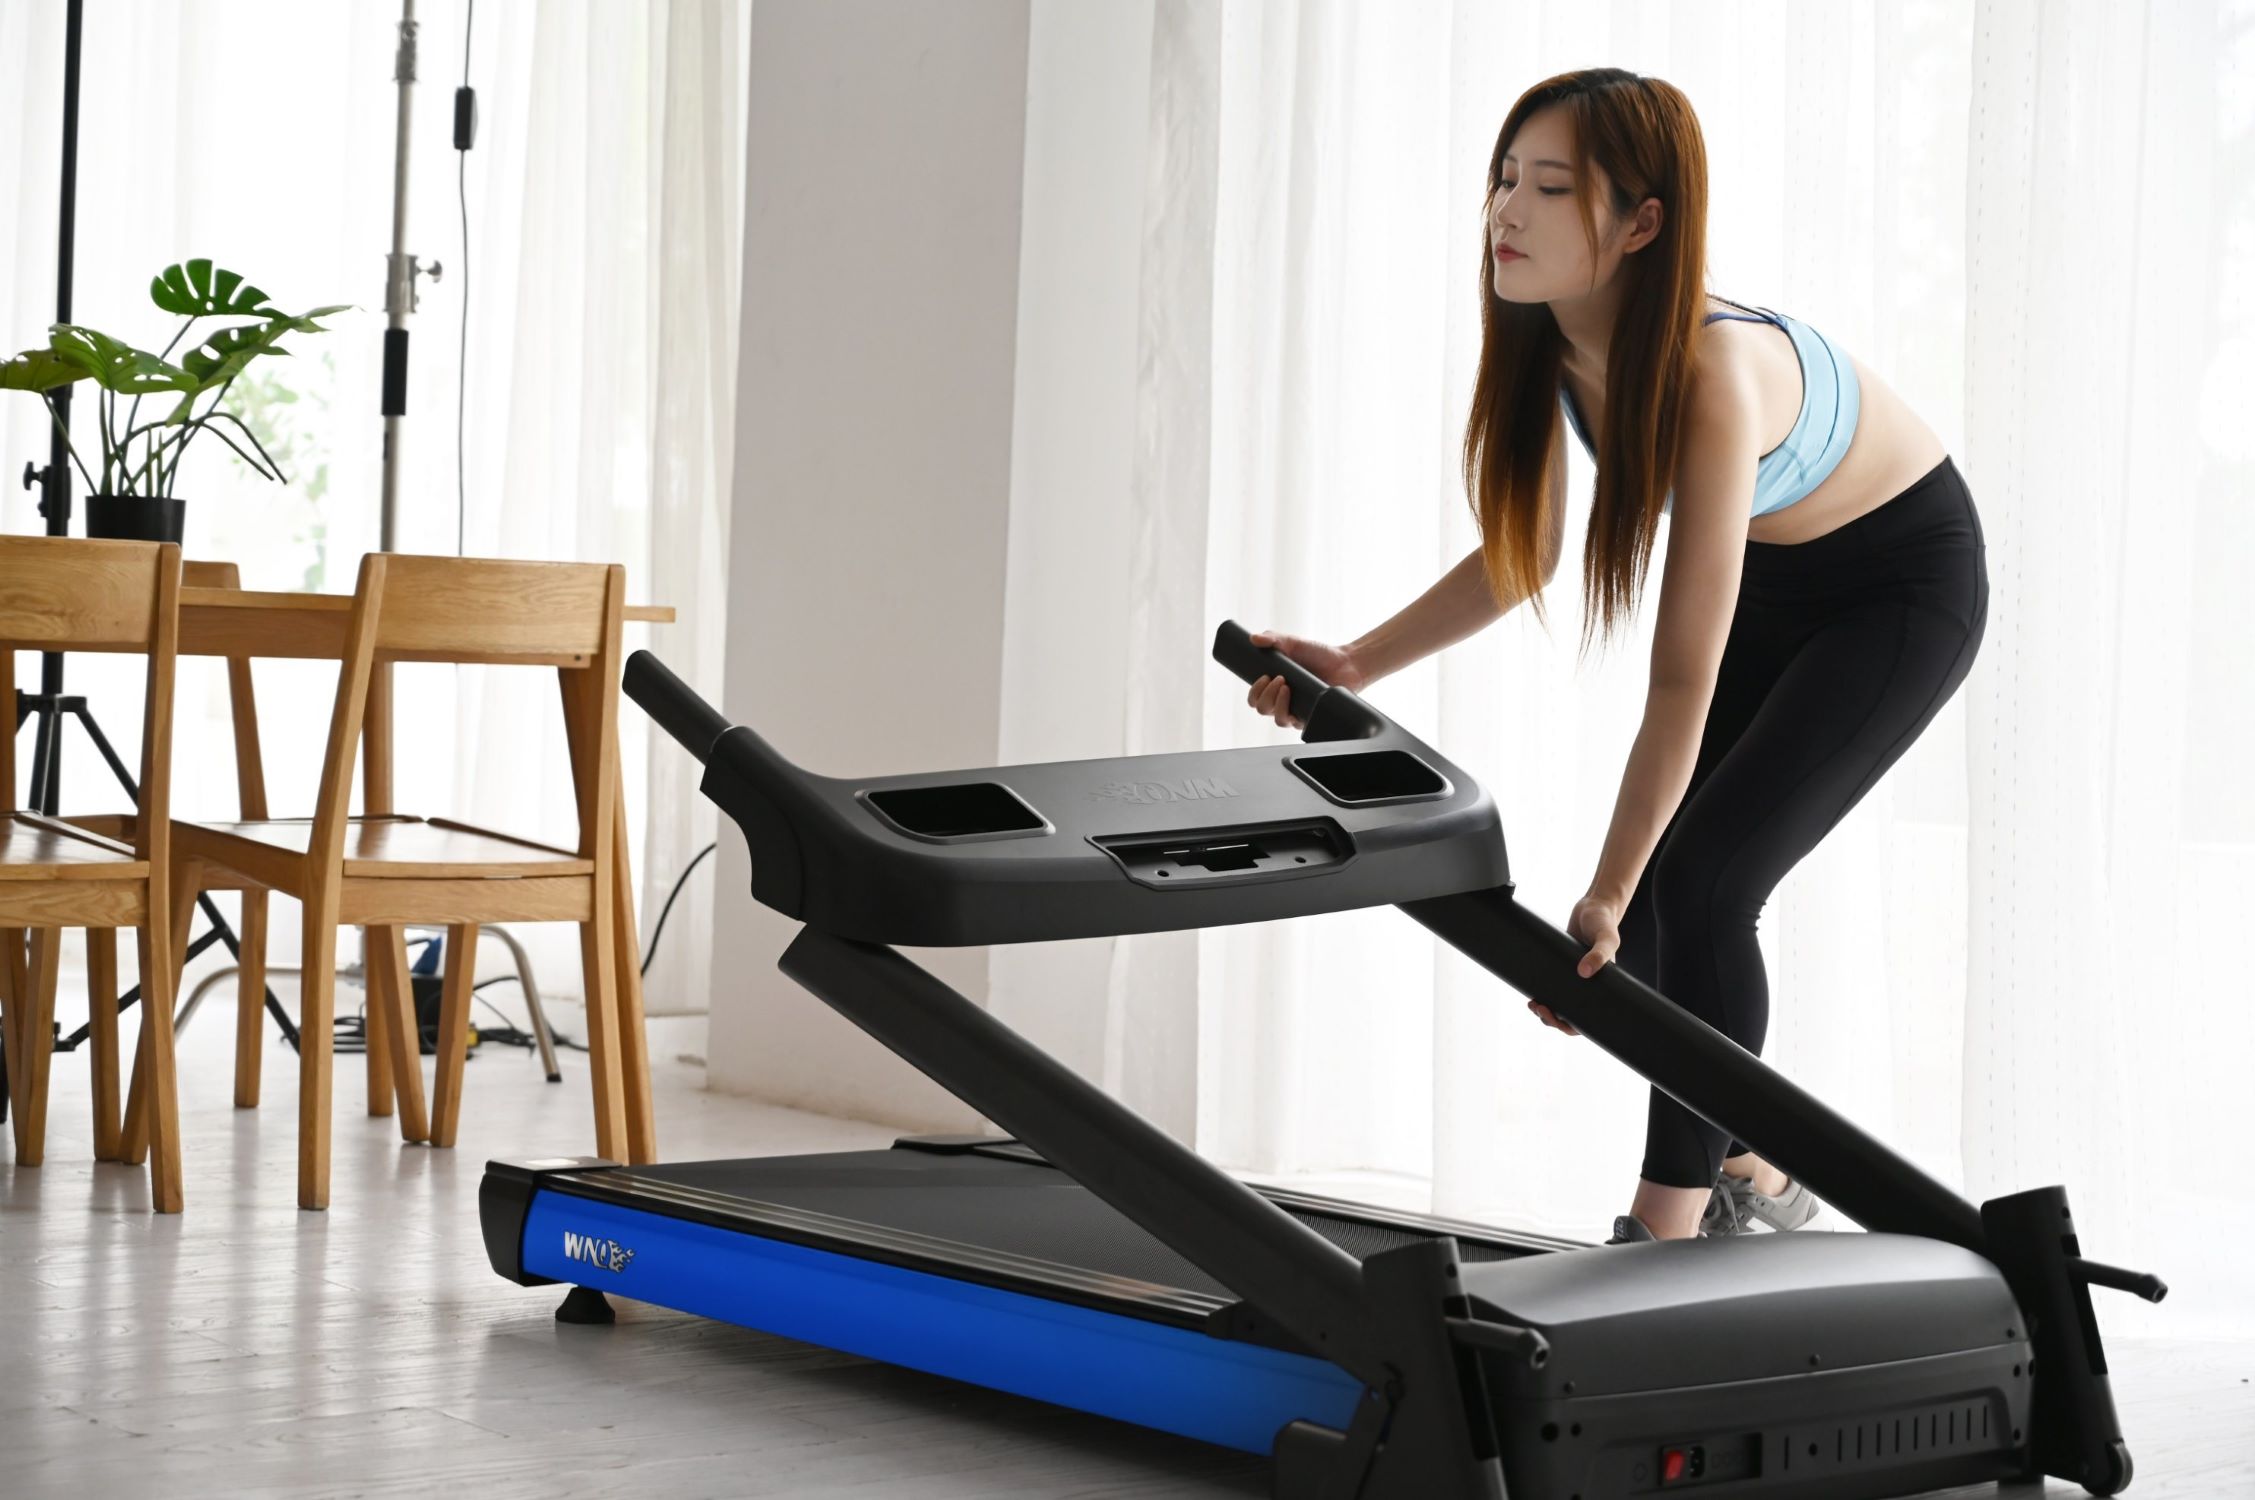
- Fold or collapse the frame: If your treadmill has a folding frame, follow the manufacturer’s instructions to properly fold or collapse the frame for transportation. This will make it more compact and easier to handle.
- Remove the console: If possible, detach the console from the treadmill frame. This may involve unscrewing bolts or disconnecting cables. Keep track of the screws and bolts, ensuring they are safely stored for reassembly.
- Disassemble the handrails and supports: Depending on the model, you may need to remove the handrails, supports, or other components from the main frame. Follow the manufacturer’s instructions to detach these parts safely.
- Secure loose parts: Store all disassembled parts, such as screws, bolts, and cables, in a labeled bag or container. This will help you keep track of them and ensure nothing gets lost during the move.
- Wrap the treadmill for protection: Use moving blankets or furniture pads to wrap the disassembled parts. This will protect them from scratches and provide additional cushioning during transportation.
Remember to exercise caution while disassembling the treadmill, following the manufacturer’s instructions closely. Take your time to ensure that each step is performed correctly, as this will make the reassembly process much easier later on. By properly disassembling the treadmill, you will be well-prepared to transport it safely downstairs.
Ensuring Proper Grip and Balance
When moving a treadmill downstairs, ensuring a proper grip and maintaining balance is essential to prevent accidents and injuries. The weight and size of a treadmill can make it challenging to handle, but with the right techniques, you can maintain control throughout the process. Here are some tips to ensure a firm grip and balance:
- Use proper lifting technique: Before lifting any parts or the entire treadmill, remember to bend your knees and use your leg muscles instead of your back. Keep your back straight and engage your core for stability.
- Secure your grip: When lifting or carrying the treadmill, use a firm and secure grip. Wrap your hands around the designated handles or parts, ensuring that your fingers are fully wrapped around the surface.
- Wear protective gloves: Wearing gloves with good grip can enhance your hold on the treadmill and reduce the risk of dropping it during the move. Choose gloves that provide sufficient dexterity while still offering protection.
- Ensure an even weight distribution: When carrying a disassembled treadmill, distribute the weight evenly between both hands or between multiple movers. This will help maintain balance and prevent strain on one side of your body.
- Maintain clear visibility: Ensure that your line of sight is not obstructed by the treadmill or any other objects. This will allow you to see the pathway clearly and react to any obstacles or hazards.
- Take breaks as needed: Moving a treadmill downstairs can be physically demanding, so it’s important to listen to your body. Take breaks when necessary to avoid fatigue and maintain control over the equipment.
- Communicate with your team: If you are working with others to move the treadmill, establish clear communication signals to coordinate your movements. This will ensure that everyone is on the same page and can adjust their positions if needed.
- Maintain a steady pace: While it is important to be cautious, it is equally important to maintain a steady and consistent pace when moving the treadmill downstairs. Sudden movements or rushing can jeopardize your grip and balance, increasing the risk of accidents.
By following these tips, you can ensure a secure grip and maintain proper balance while moving the treadmill downstairs. Remember, safety should always be the top priority during the entire process.
Securing the Treadmill for Transport
Once you have disassembled the treadmill and ensured a proper grip and balance, it’s important to secure the treadmill for safe transportation. Properly securing the treadmill will prevent any shifting or movement during the move, minimizing the risk of damage to the equipment and other objects. Here are some steps to follow when securing the treadmill for transport:
- Use straps or bungee cords: Secure the disassembled parts or the entire treadmill to a dolly or moving cart using sturdy straps or bungee cords. This will prevent the parts from shifting or falling off during transportation.
- Tighten and secure all connections: Double-check that all screws, bolts, and fasteners are securely tightened. Make sure that no loose parts are sticking out, as they can pose a safety hazard while moving.
- Wrap and protect delicate components: Use moving blankets or furniture pads to wrap delicate components, such as the console or display panel. This will provide an extra layer of protection during the move.
- Place heavier parts on the bottom: When loading the treadmill onto the transportation vehicle, make sure to place the heavier parts on the bottom to maintain stability. This will help distribute the weight evenly and minimize the risk of tipping or imbalance.
- Securely fasten the treadmill in the vehicle: Use straps or cargo ties to secure the treadmill to the transportation vehicle, ensuring that it is tightly fastened and unable to move during transit.
- Keep the treadmill upright: Ideally, the treadmill should be transported and stored in an upright position to reduce the risk of damage to its internal components.
- Drive with caution: If you are transporting the treadmill yourself, drive carefully and avoid sudden stops or sharp turns to prevent any movement or damage to the equipment.
- Follow any manufacturer recommendations: Check the user manual or contact the manufacturer for any specific guidelines or recommendations on securing the treadmill for transport. Different models may have unique considerations.
By taking the time to properly secure the treadmill for transport, you can ensure that it reaches its destination in excellent condition and ready for reassembly.
Moving the Treadmill Downstairs
Moving a treadmill downstairs requires careful planning and execution to ensure a safe and efficient process. Here are the steps to follow when moving the treadmill downstairs:
- Clear the pathway: Remove any obstacles or tripping hazards along the path to the staircase. This includes loose rugs, furniture, or any other items that may impede your movement.
- Secure a grip: With the help of a partner, firmly grasp the disassembled parts or the handles of the treadmill. Make sure your grip is secure and comfortable before proceeding.
- Position the movers: If you have enlisted the help of others, make sure everyone is in position and ready to move in unison. Clear communication is vital to ensure a smooth and coordinated effort.
- Take it one step at a time: Slowly and carefully navigate each step, ensuring that each mover is in control of their portion of the treadmill. Take breaks if needed and proceed cautiously to maintain stability.
- Lower the treadmill smoothly: As you descend each step, lower the treadmill in a controlled manner. Avoid sudden drops or jerky movements that can cause imbalance or damage to the equipment.
- Use ramps or sliders if necessary: If the staircase is too narrow or steep, consider using ramps or furniture sliders to create a smoother surface for moving the treadmill downstairs.
- Keep a clear line of sight: Ensure that you have a clear line of sight while moving the treadmill downstairs. This will help you avoid any potential hazards or obstacles along the way.
- Adjust the grip as needed: As you maneuver around turns or corners, be prepared to adjust your grip on the treadmill to maintain control and balance. Communicate with your team if any adjustments are necessary.
- Take your time: Moving a treadmill downstairs requires patience and careful attention to detail. Take your time to ensure a smooth and safe descent, adjusting your pace as needed.
- Ensure a safe landing: Once you have reached the bottom of the stairs, carefully place the treadmill in the desired location, ensuring that the area is clear and stable.
By following these steps and exercising caution, you can successfully move the treadmill downstairs without any hassle or risk of damage. Remember, safety should always be the top priority throughout the entire process.
Using Proper Technique to Avoid Injury
When moving a treadmill downstairs, using the proper technique is crucial to avoid injuries to yourself and others involved in the process. Here are some important techniques to keep in mind:
- Team lifting: If possible, enlist the help of at least one other person to assist with lifting and navigating the treadmill downstairs. This will distribute the weight and reduce the risk of strain or injury.
- Proper body mechanics: Bend at the knees and use your leg muscles, rather than your back, when lifting heavy parts or the entire treadmill. Keep your back straight, engage your core muscles, and avoid twisting motions.
- Take breaks: Moving a heavy treadmill can be physically demanding. Take regular breaks to rest, hydrate, and evaluate your energy levels. Do not push yourself beyond your physical capabilities.
- Use your legs: Your leg muscles are stronger and more capable of handling the weight of the treadmill. Push off with your legs and use them to provide the majority of the lifting force.
- Communicate: Establish clear and concise communication with your team members. Use verbal signals or agreed-upon hand gestures to ensure everyone is in sync and coordinated in their movements.
- Keep a neutral spine: Maintain a straight and neutral spine throughout the entire process. Avoid slouching or arching your back, as this can put unnecessary strain on your spine and increase the risk of injury.
- Avoid overreaching or stretching: When manipulating or repositioning the treadmill, avoid overreaching or stretching beyond your comfortable range of motion. This can cause muscle strain or joint injuries.
- Use equipment or tools: If necessary, utilize equipment such as dollies, ramps, or sliders to assist with the movement of the treadmill downstairs. These tools can help reduce the physical strain and minimize the risk of injury.
- Listen to your body: Pay attention to any signs of discomfort, fatigue, or pain during the moving process. If you experience any discomfort, it is important to rest, reassess, and potentially seek assistance if needed.
- Seek professional assistance if necessary: If at any point you feel that moving the treadmill downstairs is beyond your capabilities, it is recommended to seek professional assistance. Professional movers have the experience, equipment, and resources to handle the task safely.
By using proper technique and following these guidelines, you can minimize the risk of injury and safely move the treadmill downstairs. Remember, your well-being and the well-being of those around you should always be the top priority.
Reassembling the Treadmill
Once you have successfully moved the treadmill downstairs, it’s time to reassemble it. Reassembling the treadmill requires careful attention to detail and following the manufacturer’s instructions. Here are the general steps to reassemble the treadmill:
- Refer to the user manual: Consult the user manual provided by the manufacturer for specific instructions on reassembling your particular treadmill model. It will guide you through the process step by step.
- Organize the disassembled parts: Lay out all the disassembled parts in a clear and organized manner. Identify each component and ensure that you have all the necessary parts and tools readily available.
- Attach the handrails and supports: If you removed the handrails or supports during the disassembly process, follow the manufacturer’s instructions to reattach them securely.
- Connect the console and electrical components: Reconnect any cables or electrical components as per the manufacturer’s instructions. Take care to connect them securely and ensure they are in the correct positions.
- Tighten all screws and bolts: Go through each step in the reassembly process, ensuring that all screws and bolts are fully tightened. Check the manual for recommended torque specifications if available.
- Double-check all connections: Verify that all connections, including cables and wires, are properly attached and secure. This will help ensure that the treadmill functions correctly and safely.
- Insert the safety key: Place the safety key back in the console to activate the treadmill. Ensure that it is securely inserted and functioning properly.
- Test the console and functions: Turn on the treadmill and test the console, buttons, and functions to ensure that everything is working as expected. Make any necessary adjustments or troubleshooting as needed.
- Inspect the treadmill: Once the treadmill is reassembled, visually inspect it to ensure that all parts are in the correct positions and functioning properly. Look for any signs of damage or loose connections.
- Calibrate and adjust if necessary: Follow the manufacturer’s instructions for any necessary calibration or adjustments to ensure the treadmill operates smoothly and accurately.
By carefully reassembling the treadmill, following the manufacturer’s instructions, and paying attention to detail, you can ensure that the treadmill is fully functional and ready for use in its new location.
Conclusion
Moving a treadmill downstairs may seem like a daunting task, but with proper planning, safety precautions, and the right technique, it can be carried out smoothly and without any major issues. By following the step-by-step guide outlined in this article, you can ensure that the process is both efficient and safe.
Remember to prioritize safety throughout the entire process. Clear the pathway, use proper lifting techniques, and secure the treadmill and its components for transport. It’s also important to communicate effectively with your team members, take breaks when needed, and listen to your body to prevent overexertion.
Disassembling the treadmill and reassembling it can take time and patience, but by carefully following the manufacturer’s instructions, you can ensure that the treadmill is properly reassembled and functioning correctly. Take the time to organize and double-check all connections and components to avoid any potential issues.
Moving a treadmill downstairs requires a combination of physical effort, team coordination, and attention to detail. Make sure to assess the situation beforehand, gather the necessary tools, and plan the most efficient route. By doing so, you can minimize the risk of injury and ensure a successful move.
Always remember that if you feel overwhelmed or unsure about moving the treadmill downstairs, it’s best to seek professional assistance. Professional movers have the expertise and equipment to handle the task safely and efficiently.
Moving a treadmill downstairs can be a challenging endeavor, but by following the guidelines in this article and exercising caution, you can accomplish the task with confidence and ease. Enjoy your newly relocated treadmill and the benefits it brings to your fitness routine.