Featured
How To Turn On A Life Fitness Treadmill
Modified: January 2, 2024
Learn how to turn on a Life Fitness treadmill with our featured guide. Get step-by-step instructions and start your workout today!
Introduction
Welcome to the world of fitness and wellness with Life Fitness treadmills. Whether you are a seasoned runner or just starting your fitness journey, this article will guide you on how to turn on and use a Life Fitness treadmill effectively. With their advanced features and user-friendly interface, Life Fitness treadmills are designed to provide a seamless and enjoyable workout experience in the comfort of your own home or at the gym.
Regular exercise on a treadmill can help improve cardiovascular health, increase endurance, burn calories, and enhance overall fitness levels. By understanding the process of turning on a Life Fitness treadmill, you can make the most out of your workouts and achieve your fitness goals.
Before we dive into the steps of turning on a Life Fitness treadmill, it is important to note that safety should always be a top priority. Familiarize yourself with the treadmill’s safety precautions and ensure that you follow them diligently to minimize the risk of injury or accidents while using the equipment.
Safety Precautions
Prior to using a Life Fitness treadmill, it is crucial to take certain safety precautions to ensure a safe and injury-free workout session. By following these guidelines, you can minimize the risk of accidents and maximize your overall treadmill experience:
- Read the User Manual: Before operating the treadmill, carefully read the user manual provided by Life Fitness. Familiarize yourself with the specific safety instructions, warnings, and guidelines outlined in the manual.
- Keep the Area Clear: Make sure to maintain a clear and clutter-free area around the treadmill. This will help prevent any potential accidents or tripping hazards during your workout.
- Wear Proper Attire: Always wear appropriate workout attire, including comfortable athletic shoes that provide proper support and grip. Avoid loose clothing that may get tangled in the treadmill’s moving parts.
- Stay Hydrated: Keep a water bottle nearby to stay hydrated throughout your workout. revent excessive overheating and dehydration by taking sips of water during your exercise session.
- Start with a Warm-Up: Warm up your body with a few minutes of light stretching or a low-intensity warm-up workout before increasing the speed or intensity on the treadmill.
- Use the Safety Clip: Life Fitness treadmills are equipped with a safety clip or key that attaches to your clothing. Attach it securely to your clothing before starting your workout. This clip will automatically stop the treadmill in case of an emergency or if you accidentally step off the belt.
- Pay Attention to Your Body: Listen to your body and pay attention to any signs of discomfort or fatigue. If you experience dizziness, chest pain, or any unusual symptoms, stop using the treadmill immediately and seek medical attention if necessary.
- Use Handrails for Stability: When adjusting the settings or getting on/off the treadmill, make use of the side handrails for added stability and balance. However, avoid relying heavily on the handrails during your workout as it can alter your natural gait and posture.
By adhering to these safety precautions, you can ensure a safe and enjoyable workout experience when using a Life Fitness treadmill.
Step 1: Powering On the Treadmill
Before starting your workout on a Life Fitness treadmill, the first step is to power it on. Follow these simple steps to turn on the treadmill:
- Locate the Power Switch: Look for the power switch on the front or side of the treadmill. It is typically labeled with a power symbol.
- Ensure the Treadmill is Plugged In: Before flipping the power switch, make sure that the treadmill is securely plugged into a properly grounded outlet. Double-check the power cord to ensure there are no cuts or damages.
- Flip the Power Switch: Once the treadmill is plugged in, flip the power switch to the “on” position. You may hear a beep or see the console light up, indicating that the treadmill is receiving power.
- Wait for the Console to Initialize: After turning on the treadmill, the console will go through a brief initialization process. This may take a few seconds, during which the display may show the Life Fitness logo or a start-up screen.
- Check for Error Messages: If there are any error messages or notifications displayed on the console screen, refer to the user manual for troubleshooting steps or contact Life Fitness customer support for assistance.
- “Ready to Use” Indicator: Once the treadmill has finished initializing, the console screen should indicate that it is “ready to use” or display the default settings.
With these simple steps, you have successfully powered on the Life Fitness treadmill and are now ready to proceed to the next steps of setting up user profiles and selecting a workout program.
Step 2: Setting Up User Profiles
To personalize your workout experience and track your progress on a Life Fitness treadmill, it is essential to set up user profiles. These profiles allow you to input your personal information and customize settings according to your preferences. Follow these steps to set up user profiles on a Life Fitness treadmill:
- Select the User Profile Menu: On the treadmill console, look for the “User Profile” or “User” button. Press this button to access the user profile menu.
- Create a New User Profile: If you are setting up a new user profile, choose the option to create a new profile. This will prompt you to enter your personal information such as age, weight, and height.
- Input Personal Information: Once prompted, use the console buttons or touchscreen to enter your personal information accurately. Some treadmills may also offer additional options for setting your preferred measurement units (e.g., miles or kilometers).
- Save the User Profile: After entering your personal information, select the option to save the user profile. Depending on the treadmill model, this may involve pressing a “Save” button or following the on-screen instructions.
- Select an Existing User Profile: If you have previously set up a user profile and want to access it, choose the option to select an existing profile. Use the console buttons or touchscreen to navigate through the available profiles.
- Edit or Delete User Profiles: In case you need to edit or delete a user profile, most Life Fitness treadmills provide options to do so within the user profile menu. Follow the on-screen instructions to make any necessary changes.
- Switch Between User Profiles: If multiple users will be using the same treadmill, you can switch between user profiles by selecting the desired profile from the user profile menu. This ensures that each user’s workout data and preferences are maintained separately.
By setting up user profiles on the Life Fitness treadmill, you can track your progress, monitor your workout statistics, and tailor the treadmill settings to match your individual needs and fitness goals.
Step 3: Selecting a Workout Program
To make your treadmill workout more engaging and effective, Life Fitness treadmills offer a variety of pre-programmed workout options. Follow these steps to select a workout program on a Life Fitness treadmill:
- Access the Workout Program Menu: Look for the “Workout Programs” or “Programs” button on the treadmill console. Press this button to enter the workout program menu.
- Browse the Available Programs: Once in the workout program menu, you will see a list of available programs displayed on the console screen. These may include options like cardio, fat burn, hill climb, interval training, and more.
- Choose a Program: Scroll through the available programs and select the one that aligns with your fitness goals or interests. Some treadmills may also categorize programs based on difficulty levels or specific training goals.
- Adjust Program Settings (Optional): If desired, you can customize certain program settings such as duration, target heart rate, or intensity level. Follow the on-screen instructions or use the console buttons to make any desired adjustments.
- Confirm and Start the Program: Once you have selected your preferred program and made any necessary adjustments, confirm your selection and press the “Start” or “Enter” button. The treadmill will begin the selected workout program.
- Monitor Your Progress: During the workout, the console screen will display various statistics, including time, distance, speed, calories burned, and heart rate. Use this information to track your progress and stay motivated throughout the workout.
- Pause or Stop the Program: If you need to pause or stop the workout program, most Life Fitness treadmills provide dedicated buttons for these functions. Press the appropriate button to pause your workout temporarily or stop it altogether.
By selecting a workout program on a Life Fitness treadmill, you can take advantage of structured and varied workouts designed to help you achieve your fitness goals effectively.
Step 4: Adjusting Incline and Speed
To tailor your workout intensity and simulate outdoor terrain, Life Fitness treadmills allow you to adjust the incline and speed settings. Follow these steps to make adjustments to the incline and speed on a Life Fitness treadmill:
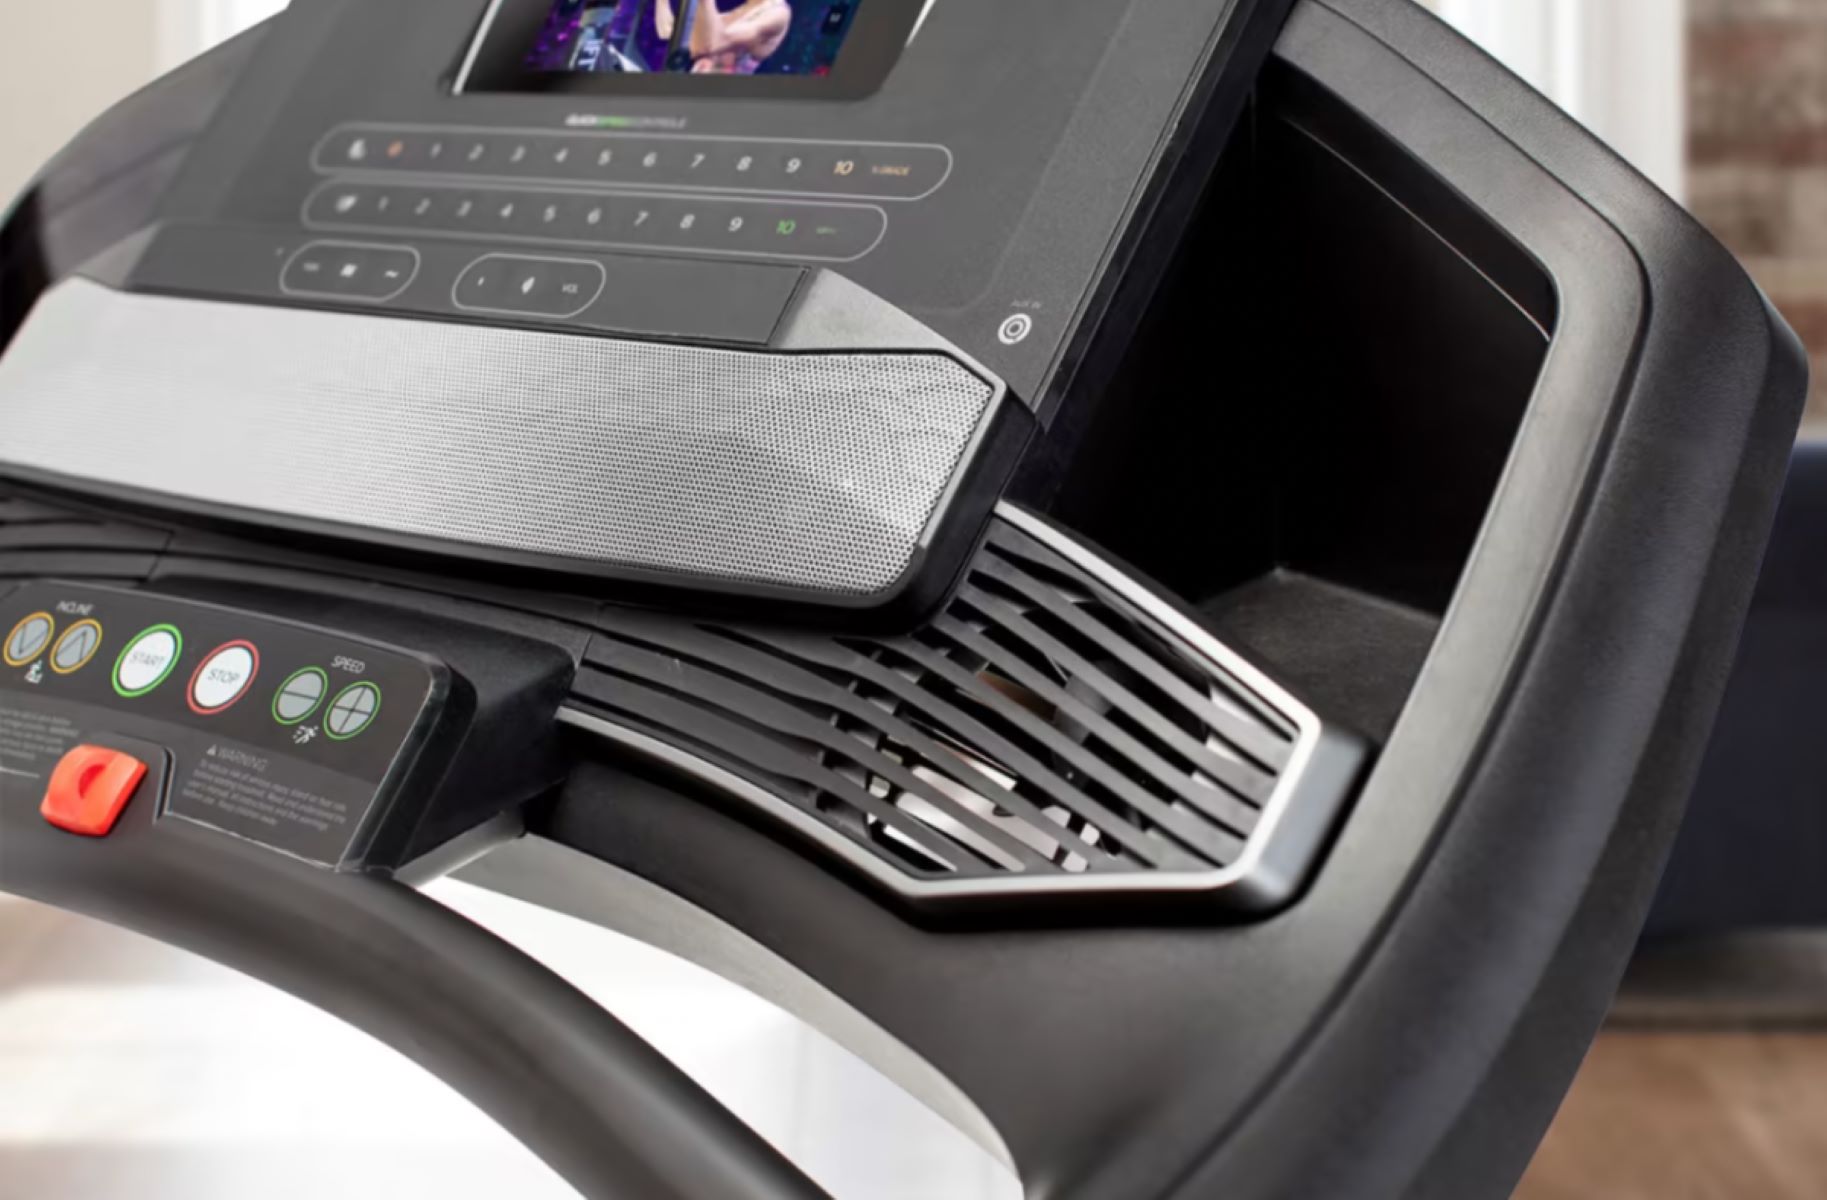
- Locate the Incline and Speed Controls: Look for the dedicated buttons or controls on the treadmill console that allow you to adjust the incline and speed. These buttons are typically labeled with arrows or +/- symbols.
- Increasing or Decreasing the Incline: To adjust the incline, press the incline increase (+) button to raise the treadmill deck or the incline decrease (-) button to lower it. Gradually increase the incline for a challenging uphill workout or decrease it for a gentler descent.
- Adjusting the Speed: To modify the speed, press the speed increase (+) button to make the belt move faster or the speed decrease (-) button to slow it down. Increase the speed for a more intense cardio workout or decrease it for a slower and more comfortable pace.
- Interval Training: Many Life Fitness treadmills offer programmed interval training options that automatically adjust the incline and speed at specific intervals during your workout. Select an interval program if you want the treadmill to vary the settings for a more challenging and dynamic workout.
- Gradual Adjustments: When making adjustments to the incline or speed settings, do so gradually to allow your body to adapt to the changes. Sudden increases or decreases in intensity can be jarring to your muscles and may lead to discomfort or injury.
- Pace Yourself: Listen to your body and adjust the settings based on your comfort level and fitness goals. If you find that the incline or speed is too challenging, feel free to lower it to a more suitable level.
- Monitor Your Heart Rate: Keep an eye on your heart rate during your workout. If you have a heart rate monitor available on the treadmill, use it to ensure that you are exercising within your target heart rate zone.
By adjusting the incline and speed settings on a Life Fitness treadmill, you can customize your workout to mimic different terrains, challenge different muscle groups, and achieve a more effective and engaging workout experience.
Step 5: Starting the Workout
Now that you have set up your user profile, selected a workout program, and made any necessary adjustments to the incline and speed, you are ready to start your workout on a Life Fitness treadmill. Follow these steps to begin your workout:
- Position Yourself on the Treadmill: Stand on the side foot rails of the treadmill facing the front. Place your feet on the running belt, positioning them slightly apart and centered.
- Attach the Safety Clip: Before starting the treadmill, attach the safety clip or key to your clothing using the provided clip or slot. This ensures that the treadmill stops immediately if you accidentally step off the moving belt.
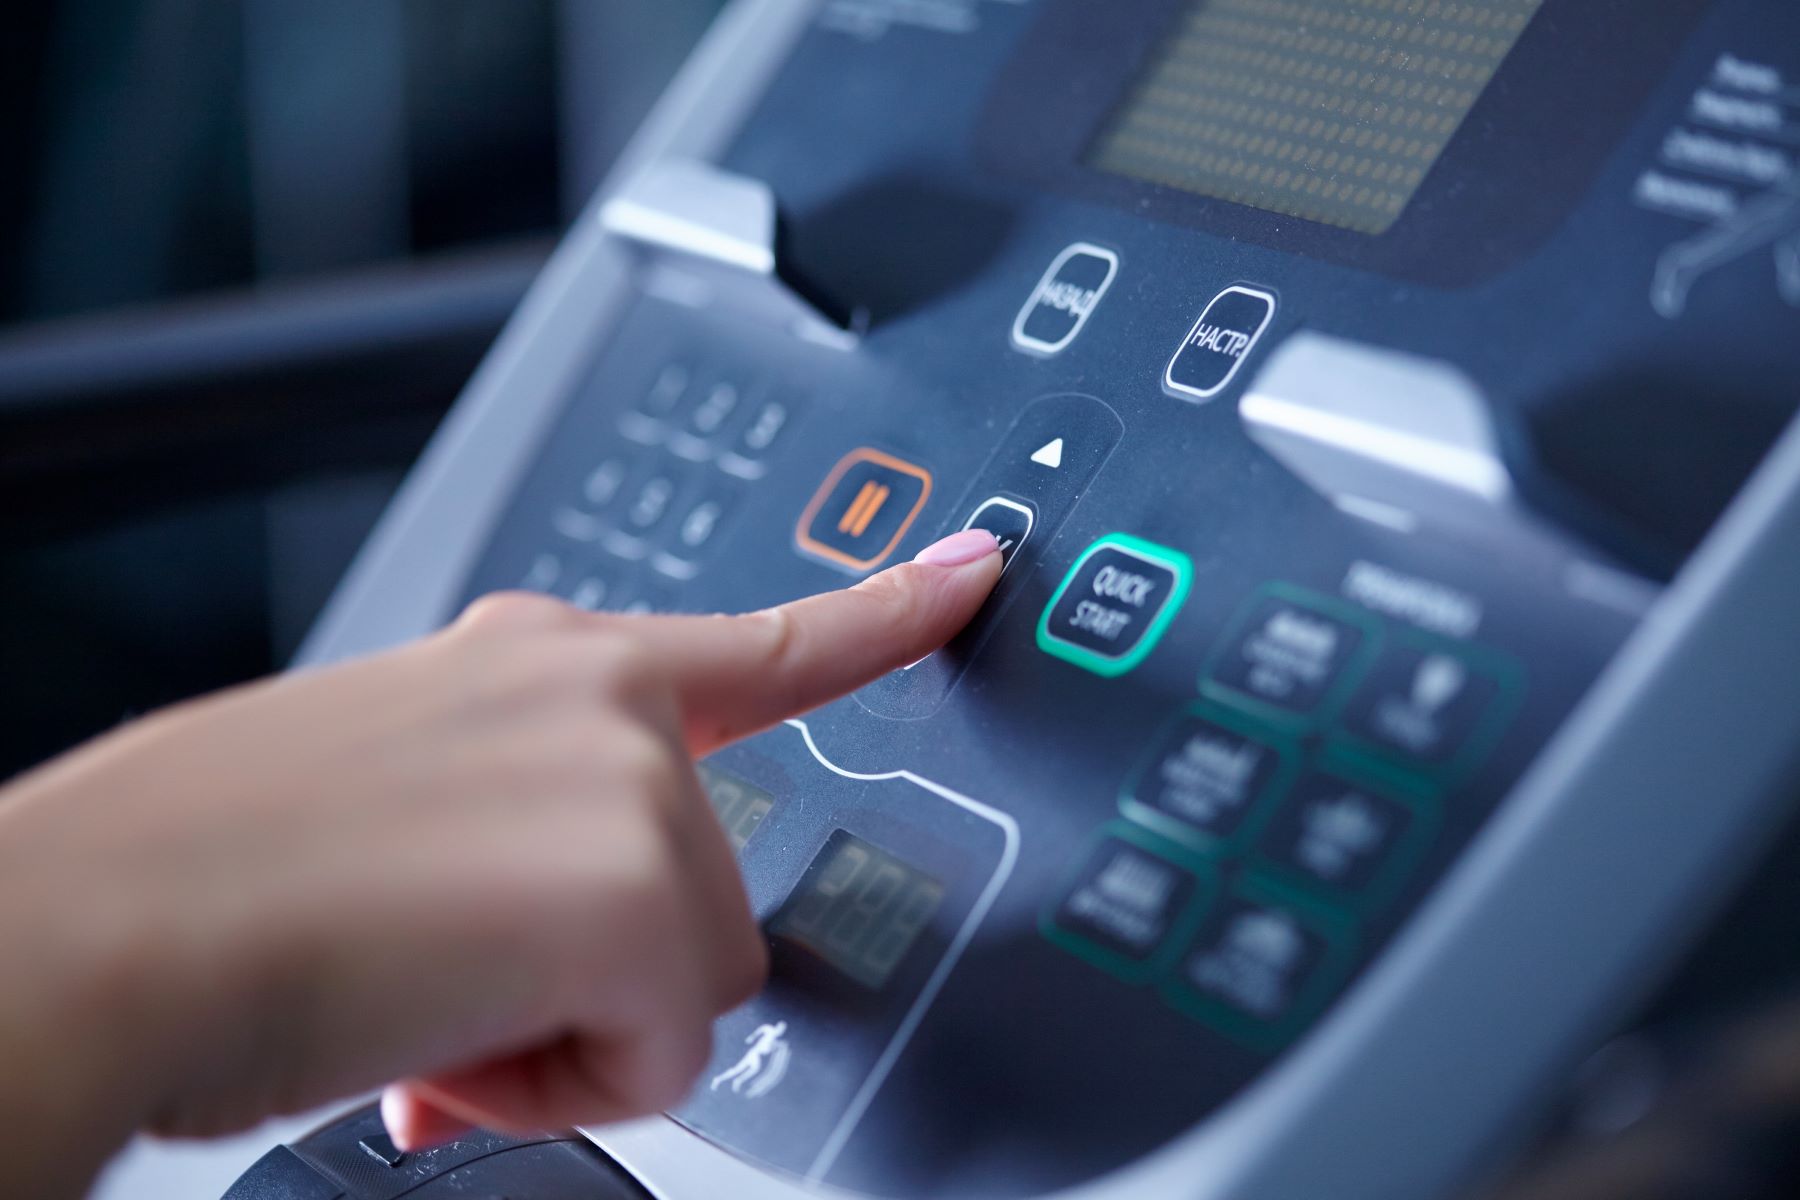
- Press the Start Button: Locate the start button on the treadmill console, usually labeled with a play symbol or an arrow pointing forward. Press this button to initiate the treadmill’s motion.
- Begin Walking or Running: As the treadmill starts, begin walking or running steadily on the belt. Maintain a comfortable and natural stride, keeping your posture upright and your arms relaxed.
- Monitor Your Workout Metrics: Pay attention to the console screen to monitor your workout metrics such as time, distance, calories burned, and heart rate. This information keeps you informed about your progress and intensity level.
- Stay Hydrated: Keep a water bottle within reach and take sips of water as needed to stay hydrated throughout your workout. Hydration is essential for maintaining optimal performance.
- Focus on Proper Form: Maintain good posture throughout your workout. Keep your shoulders relaxed, engage your core muscles, and avoid leaning too far forward or backward.
- Engage in Active Rest: If your workout program includes interval training, take advantage of the rest periods to recover by slowing down the pace or lowering the incline. Use this time to catch your breath and prepare for the next interval.
- Listen to Your Body: Pay attention to how you feel during the workout. If you experience any discomfort, dizziness, or pain, stop the treadmill and seek medical attention if necessary. It’s important to listen to your body’s signals and adjust your workout accordingly.
Now that you have started your workout on the Life Fitness treadmill, focus on maintaining a consistent pace, staying motivated, and enjoying the benefits of this efficient cardiovascular exercise.
Step 6: Pausing or Stopping the Treadmill
During your workout on a Life Fitness treadmill, you may need to pause or stop the treadmill for various reasons. Follow these steps to pause or stop the treadmill safely:
- Locate the Pause/Stop Buttons: Familiarize yourself with the dedicated pause and stop buttons on the treadmill console. These buttons are typically labeled with a pause symbol or the word “stop”.
- Pausing the Treadmill: If you need to pause your workout temporarily, press the pause button on the console. The treadmill belt will slow down gradually and come to a complete stop. Use this pause to catch your breath, rehydrate, or address any immediate concerns.
- Resuming the Workout: To resume your workout after pausing, simply press the start button. The treadmill will gradually increase the speed back to the previous setting, and you can continue your workout.
- Stopping the Treadmill: If you want to end your workout and completely stop the treadmill, press the stop button. The treadmill belt will slow down and come to a complete stop. It is important to note that stopping abruptly without cooling down may cause dizziness or discomfort, so take a few moments to cool down before stepping off the treadmill.
- Cooling Down: After stopping the treadmill, continue walking or slow down the pace for a few minutes to allow your heart rate and breathing to gradually return to normal. This cooling down period helps prevent sudden blood pressure drops and promotes recovery.
- Step Off the Treadmill: Once you have cooled down, carefully step off the treadmill. Use the side handrails for stability, and be mindful of your footing to avoid any missteps or accidents.
- Wipe Down the Treadmill: After using the treadmill, it is a good practice to clean and sanitize the surface, especially in shared gym environments. Use a suitable cleaning solution and a clean cloth to wipe down the treadmill deck, console, and handrails.
By following these steps, you can effectively pause or stop the Life Fitness treadmill as needed during your workout, ensuring your safety and convenience.
Step 7: Cooling Down and Shutting Off the Treadmill
After completing your workout on a Life Fitness treadmill, it is important to cool down properly and shut off the treadmill. Follow these steps to cool down and safely power off the treadmill:
- Continue at a Gradual Pace: Gradually reduce the speed and lower the incline on the treadmill during the last few minutes of your workout. This allows your heart rate and breathing to gradually return to normal.
- Focus on Deep Breathing: Take slow, deep breaths during the cool-down phase to help relax your body and promote the removal of lactic acid from your muscles.
- Monitor Your Heart Rate: Keep an eye on your heart rate during the cool-down period. Use the handgrip heart rate monitor or any other available method to ensure that your heart rate is gradually decreasing.
- Stretching: After the cool-down, consider performing gentle stretches to improve flexibility and reduce muscle soreness. Focus on major muscle groups such as your calves, hamstrings, quadriceps, and glutes.
- Powering Off the Treadmill: Once you have completed the cool-down and stretching, it’s time to power off the treadmill. Look for the power switch on the front or side of the treadmill console.
- Flip the Power Switch: Flip the power switch to the “off” position to shut off the treadmill. The console screen and all functions should power down, ensuring that the treadmill is no longer consuming electricity.
- Unplug the Treadmill: If you won’t be using the treadmill for an extended period, consider unplugging it from the power outlet. This protects the equipment from power surges and helps conserve energy.
- Clean and Maintain: After shutting off the treadmill, take a few moments to clean and maintain the equipment. Wipe down the surfaces with a clean cloth to remove any sweat or debris, and inspect the treadmill for any signs of wear or damage.
- Important Note: Keep in mind that if you are using a treadmill in a public or gym setting, it is important to follow any specific guidelines or policies provided by the facility regarding cooling down and shutting off the equipment.
By following these steps, you can cool down effectively and ensure the proper shutdown and maintenance of the Life Fitness treadmill after your workout.
Conclusion
Turning on and using a Life Fitness treadmill can be a rewarding and enjoyable experience, helping you stay fit, improve your cardiovascular health, and reach your fitness goals. By following the steps outlined in this article, you can confidently navigate the process of powering on the treadmill, setting up user profiles, selecting workout programs, adjusting incline and speed, starting and pausing your workout, and safely cooling down and shutting off the treadmill.
Remember, safety is paramount when using any exercise equipment, including a treadmill. Always familiarize yourself with the safety precautions provided by Life Fitness, and follow them diligently to minimize the risk of accidents or injuries.
Whether you are a beginner or an experienced fitness enthusiast, Life Fitness treadmills offer a wide range of features and options to cater to your individual needs and preferences. With customizable workout programs, adjustable incline and speed settings, and user-friendly interfaces, these treadmills provide the versatility and convenience you need to achieve your fitness goals.
So, strap on your running shoes, power on that Life Fitness treadmill, and embark on a journey towards better health and well-being. Happy running!