Featured
How Long Does A Treadmill Belt Last
Modified: August 19, 2023
Discover how long a treadmill belt can last and learn about the featured factors that affect its lifespan.
Introduction
When it comes to maintaining a healthy and active lifestyle, having a treadmill at home can be a game-changer. It offers a convenient way to stay fit without the need to go to the gym or brave the unpredictable weather outside. However, just like any other piece of exercise equipment, treadmills require regular maintenance to ensure optimal performance and longevity.
One crucial aspect of treadmill maintenance is taking care of the treadmill belt. The belt is the part of the treadmill that you walk or run on, and over time, it can wear down and lose its effectiveness. Understanding how long a treadmill belt lasts and how to prolong its lifespan can help you get the most out of your equipment investment.
In this article, we will explore the factors that affect the lifespan of a treadmill belt, the proper maintenance techniques to prolong its life, and how to recognize the signs of a worn-out belt. Additionally, we will provide step-by-step instructions on how to replace a treadmill belt when the time comes.
Whether you are a seasoned treadmill user or someone considering purchasing a treadmill for the first time, this article will equip you with essential knowledge to ensure the longevity and performance of your treadmill belt.
Factors Affecting Treadmill Belt Lifespan
Several factors can impact the lifespan of a treadmill belt. Understanding these factors can help you take appropriate measures to prolong its life and avoid premature wear and tear:
- Frequency of Use: The more frequently you use your treadmill, the faster the belt will wear out. Heavy usage, such as daily running or multiple users, can put significant strain on the belt and reduce its lifespan. It is essential to balance your exercise routine to minimize excessive wear.
- User Weight: The weight of the users also affects the lifespan of the treadmill belt. Heavier individuals exert more pressure on the belt, causing it to wear out faster. If you are on the heavier side, consider investing in a treadmill with a more durable belt or follow proper maintenance practices to ensure its longevity.
- Maintenance: Regular maintenance is crucial for extending the lifespan of your treadmill belt. Proper lubrication of the belt and deck, as recommended by the manufacturer, helps reduce friction and prevents unnecessary wear. Neglecting maintenance can lead to premature belt failure.
- Quality of the Belt: The quality and construction of the treadmill belt play a significant role in its durability. Higher-quality belts made of durable materials tend to last longer and withstand more wear and tear. When purchasing a treadmill, opt for reputable brands that use high-quality materials for their belts.
- Proper Cleaning: Keeping the treadmill belt clean can enhance its lifespan. Sweat, dirt, and debris can accumulate on the surface and in the crevices of the belt, leading to increased friction and wear. Regularly wipe down the belt with a clean cloth and avoid using harsh chemicals that may damage the material.
By considering these factors and implementing appropriate measures, you can significantly prolong the lifespan of your treadmill belt. In the following sections, we will discuss the proper maintenance techniques to ensure optimal performance and recognize when it’s time to replace a worn-out treadmill belt.
Proper Maintenance for Prolonging Treadmill Belt Life
Maintaining your treadmill properly is crucial for prolonging the life of its belt. Follow these maintenance tips to keep your treadmill in optimal condition:
- Regular Cleaning: Clean the treadmill belt and deck regularly to remove dirt, debris, and sweat. Use a soft cloth or a treadmill-specific cleaning product to wipe down the belt after each use. Avoid using abrasive materials or harsh chemicals that could damage the surface.
- Lubrication: Lubricating the treadmill belt helps reduce friction and extend its lifespan. Check the manufacturer’s guidelines for the recommended lubricant and frequency of application. Apply the lubricant evenly underneath the belt to ensure smooth operation.
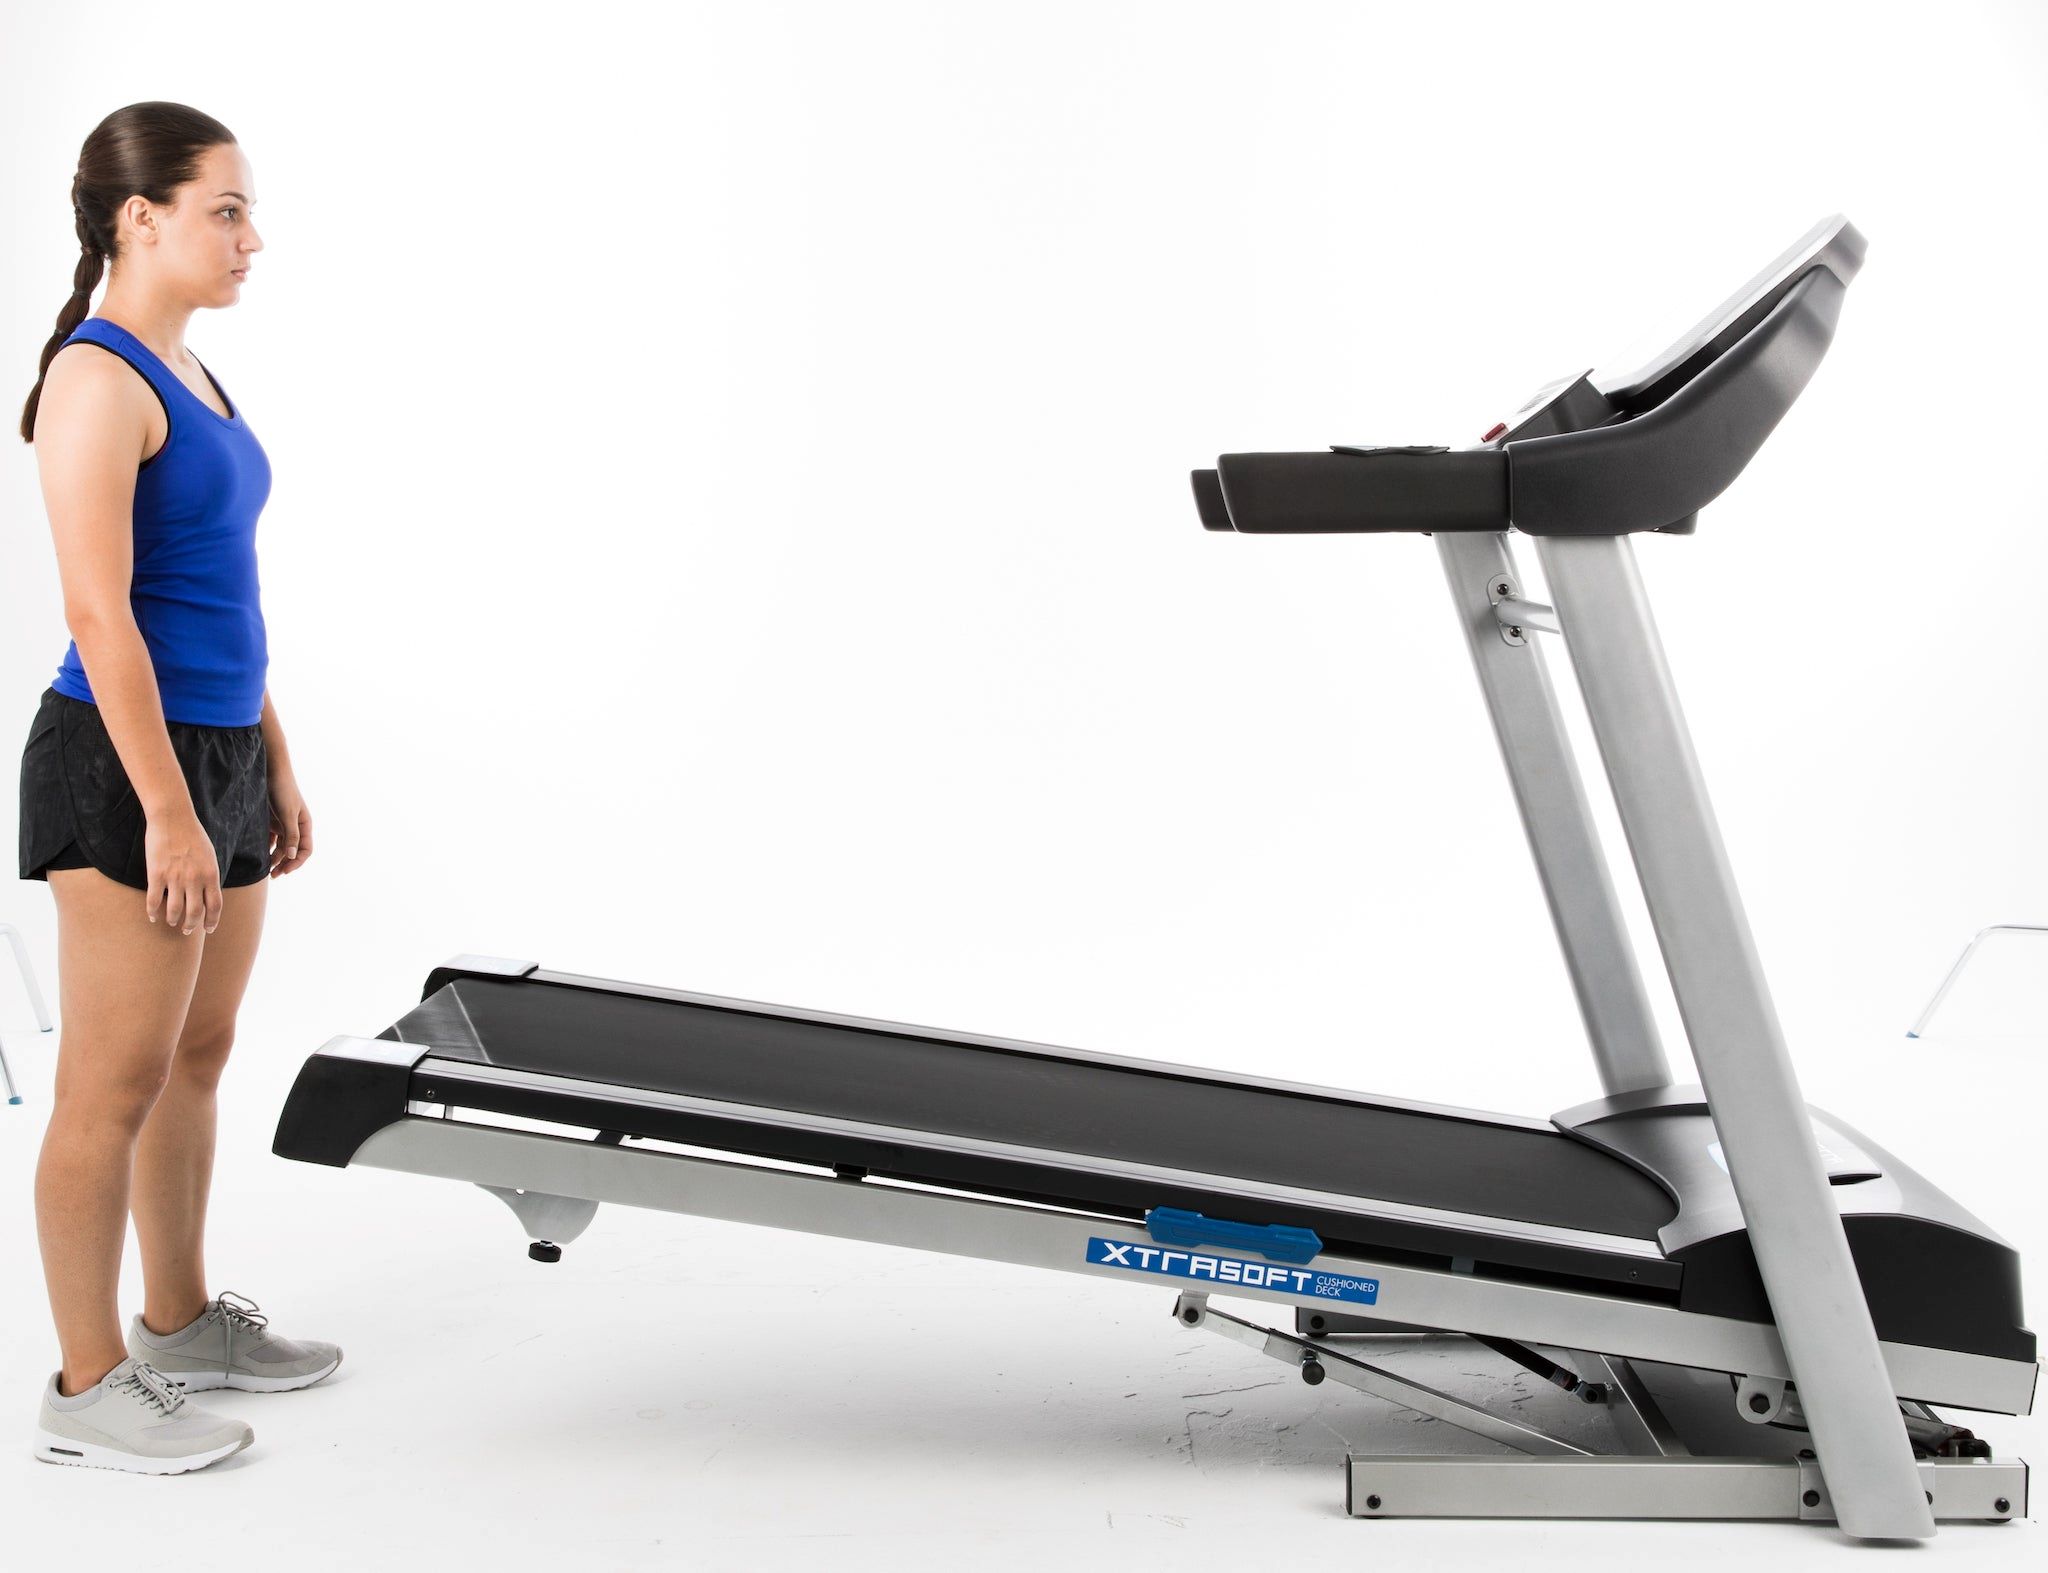
- Belt Tension Adjustment: Over time, the treadmill belt may loosen, affecting its performance and lifespan. Refer to the user manual to adjust the belt tension properly. A properly tensioned belt should feel firm when walking or running on it.
- Proper Belt Alignment: Misalignment of the treadmill belt can cause uneven wear and strain on the motor. Check the belt alignment by running the treadmill at a slow speed and observing its movement. If you notice any excessive side-to-side movements or slipping, adjust the belt alignment accordingly.
- Regular Inspection: Conduct routine inspections of the treadmill belt for signs of wear and tear. Look for fraying edges, cracks, or uneven wear patterns. Identifying and addressing these issues early can prevent further damage to the belt and improve safety during use.
- Avoid Excessive Incline: Running or walking at a steep incline can put additional strain on the treadmill belt. Avoid prolonged use at high incline levels, especially if you are a heavier user. Gradually increase the incline over time to reduce the impact on the belt.
- Weight Distribution: Distribute your weight evenly while using the treadmill to minimize strain on the belt. Avoid placing excessive weight on the front or rear of the belt, as this can lead to uneven wear and affect performance.
By following these maintenance practices, you can significantly prolong the lifespan of your treadmill belt. Regular cleaning, lubrication, and adjustments will ensure smooth and safe operation, allowing you to get the most out of your workout sessions.
Signs of a Worn-Out Treadmill Belt
Recognizing the signs of a worn-out treadmill belt is essential for ensuring the safety and effectiveness of your workouts. Here are some common indicators that it may be time to replace your treadmill belt:
- Uneven Belt Surface: As the treadmill belt wears out, it may develop bumps, wrinkles, or uneven areas. This can cause an unstable walking or running surface and increase the risk of tripping or falling during your workout.
- Excessive Noise: If you notice unusual noises, such as squeaking, grinding, or scraping sounds, while using the treadmill, it could be a sign of a worn-out belt. The friction caused by a damaged belt can create these noises, indicating the need for a replacement.
- Slipping or Skipping: A worn-out treadmill belt may slip or skip while in use, causing an inconsistent workout experience. If you feel sudden jerks or changes in speed during your workout, it is a clear indication that the belt needs to be replaced.
- Visible Damage: Inspection of the treadmill belt may reveal visible signs of wear and tear. Look for frayed edges, cracks, or thinning areas on the belt’s surface. These signs indicate that the belt has reached the end of its lifespan and should be replaced promptly.
- Lack of Tension: If you notice that the treadmill belt has become loose and cannot be properly tensioned, even after adjusting according to the manufacturer’s guidelines, it may be a sign that the belt is worn out. A loose or flimsy belt can affect the efficiency of your workouts and potentially lead to injuries.
- Decreased Performance: A worn-out treadmill belt may not provide the same smoothness and resistance as a new one. You may find it harder to maintain your desired speed and experience a decrease in overall workout performance. If you notice a significant decline in the quality of your workouts, it may be due to a worn-out belt.
If you observe any of these signs, it is crucial to replace your treadmill belt as soon as possible. Continuing to use a worn-out belt can not only hinder your workout experience but also pose safety risks. Replacing the belt in a timely manner will ensure that you can continue to enjoy safe and effective workouts on your treadmill.
Steps to Replace a Treadmill Belt
If you’ve determined that your treadmill belt needs to be replaced, follow these steps to ensure a smooth and successful replacement process:
- Gather Materials: Start by gathering all the necessary materials for replacing the treadmill belt. This may include a replacement belt, a wrench or screwdriver (depending on the treadmill model), and any other tools specified by the manufacturer.
- Prepare the Treadmill: Before replacing the belt, unplug the treadmill from the power source and ensure that it is on a stable surface. If your treadmill has an incline feature, set it to the lowest level.
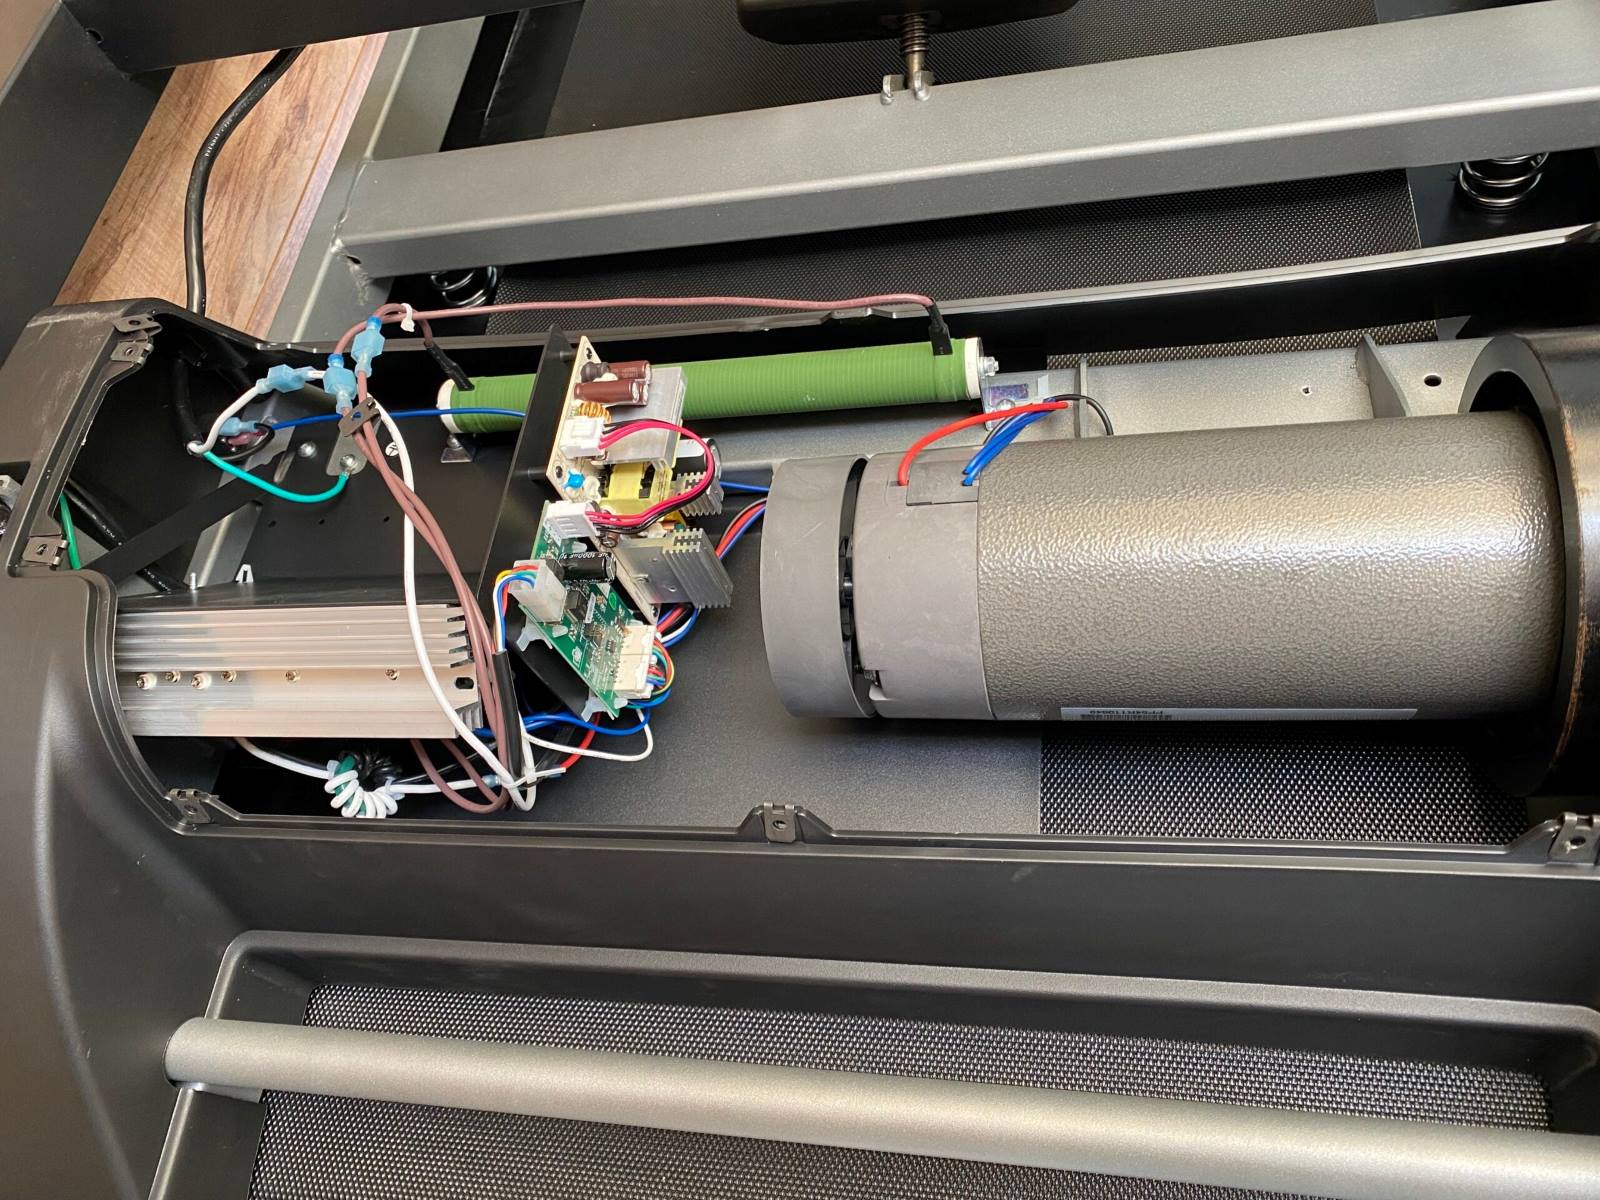
- Remove the Old Belt: Locate the bolts or screws that secure the front roller of the treadmill. Using the appropriate tool, loosen and remove these fasteners to release the tension on the belt. Gently pull the old belt away from the treadmill deck, taking care not to damage any other components.
- Clean the Deck: Take this opportunity to thoroughly clean the treadmill deck. Remove any debris, dust, or accumulated dirt using a soft brush or cloth. Ensure that the deck is clean and free from any obstructions that could affect the performance of the new belt.
- Install the New Belt: Align the new treadmill belt with the treadmill deck, making sure it is centered and properly positioned. Follow the manufacturer’s instructions for securing the belt to the front roller. Use the provided tensioning bolts or screws to adjust the tension of the belt as recommended by the manufacturer.
- Tighten the Roller: Once the belt is properly positioned and tensioned, tighten the bolts or screws on the front roller to secure the belt in place. Ensure that the belt is evenly secured and there are no wrinkles or creases along its surface.
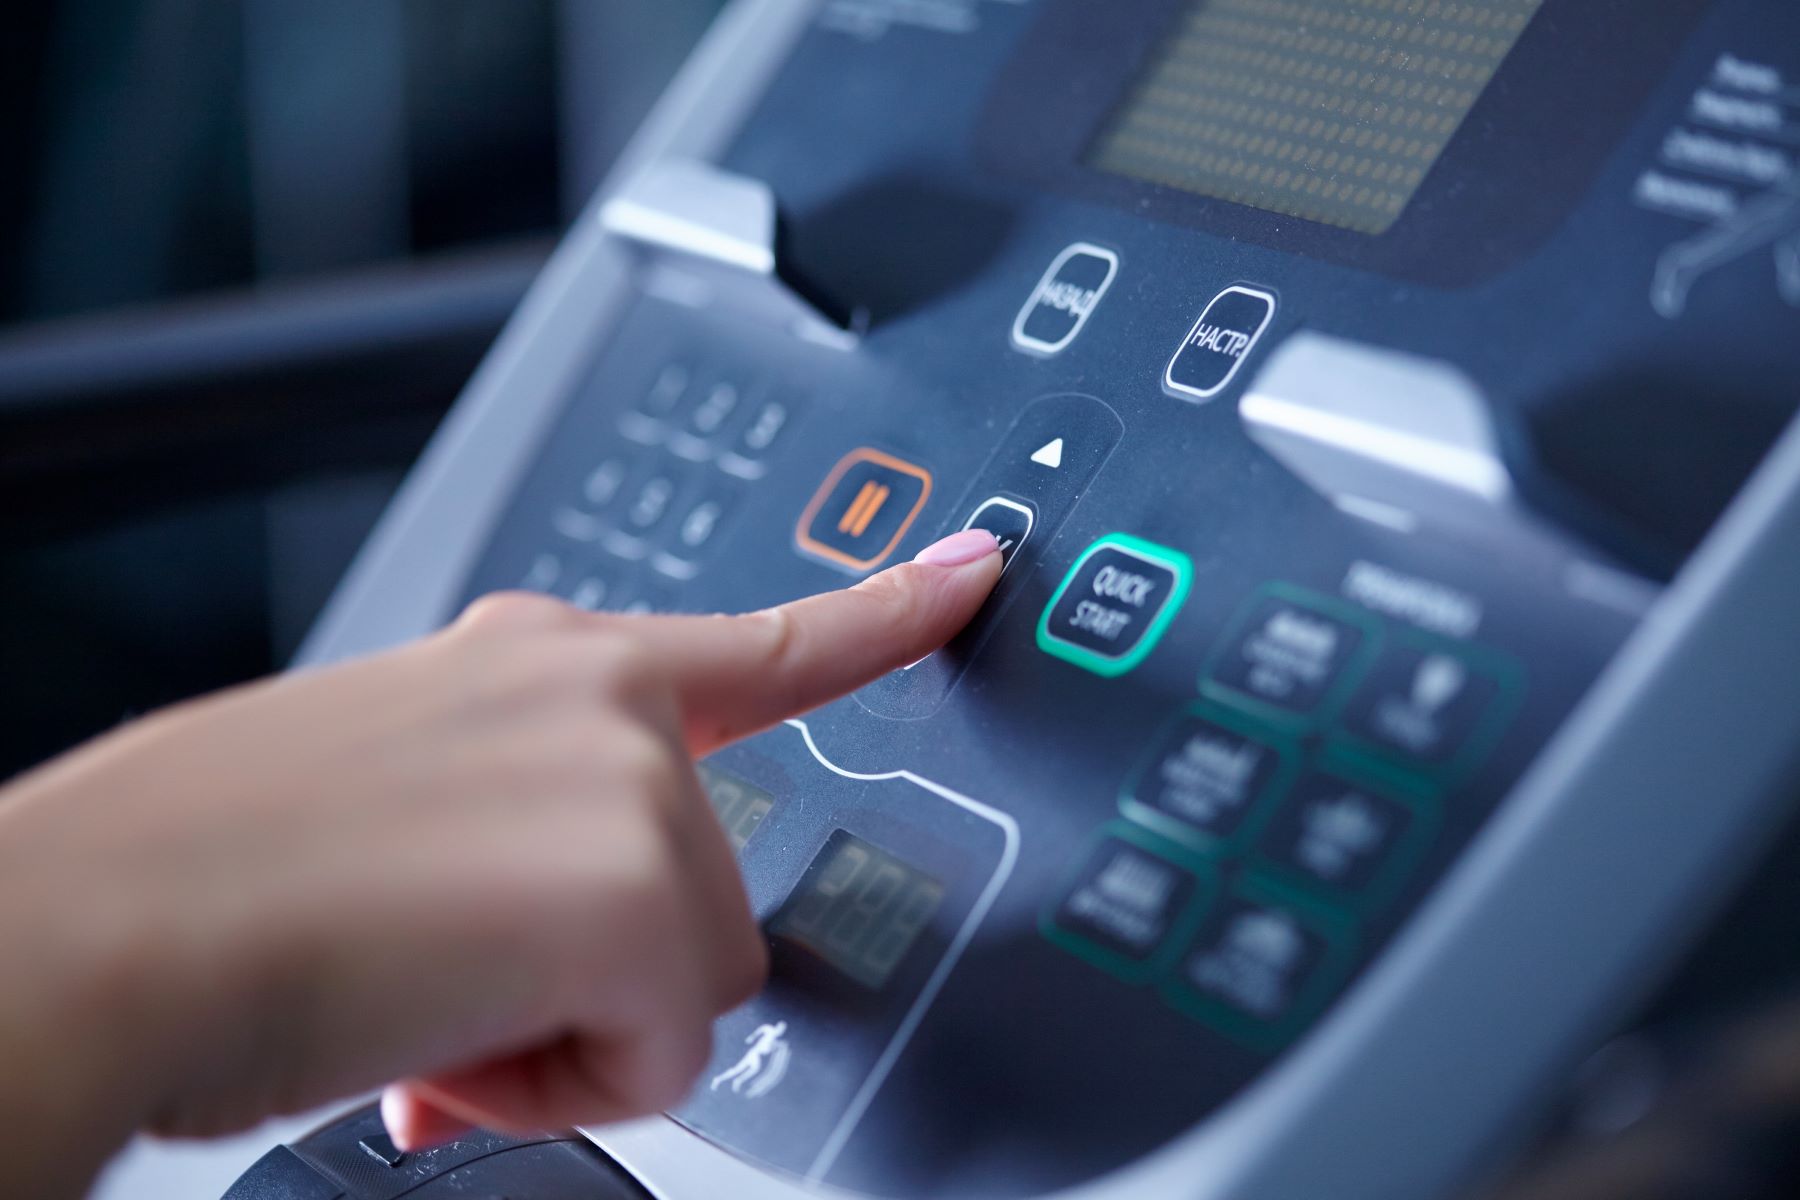
- Test the Belt: Before using your treadmill, conduct a quick test to ensure that the new belt is properly installed. Plug in the treadmill and turn it on at a low speed. Walk on the belt to check for any slipping, skipping, or misalignment. If everything appears to be in order, you’re ready to start using your treadmill again.
Keep in mind that these steps are a general guideline, and the specific process may vary depending on the make and model of your treadmill. Always refer to the manufacturer’s instructions and guidelines for replacing the treadmill belt to ensure a proper and safe installation.
Conclusion
Maintaining and replacing your treadmill belt is essential for ensuring the longevity and performance of your exercise equipment. By understanding the factors that affect the treadmill belt’s lifespan, implementing proper maintenance techniques, and recognizing the signs of a worn-out belt, you can optimize your treadmill workouts and avoid potential safety hazards.
Regular cleaning, lubrication, and adjustment of the belt tension are crucial maintenance practices that will help prolong its lifespan. Additionally, being mindful of the frequency of use, weight distribution, and the quality of the belt itself can contribute to its longevity.
If you notice significant signs of wear and tear, such as an uneven surface, excessive noise, or slipping, it is important to replace the treadmill belt promptly. Following the recommended steps for replacing the belt will ensure a successful installation and restore the functionality and safety of your treadmill.
Remember to consult the manufacturer’s guidelines and instructions specific to your treadmill model for the most accurate and reliable information.
By properly maintaining and replacing your treadmill belt, you can continue to enjoy effective workouts, enhance your fitness journey, and get the most out of your investment in home exercise equipment.