Featured
How Do You Clean A Treadmill Belt
Modified: January 2, 2024
Discover the best tips and tricks for cleaning your treadmill belt in our featured guide. Keep your equipment running smoothly with our expert advice.
Introduction
Cleaning a treadmill belt is an essential maintenance task that not only helps keep your fitness equipment in top condition but also ensures a safe and enjoyable workout experience. Over time, dust, sweat, and debris can accumulate on the surface of the treadmill belt, affecting its performance and lifespan. Regular cleaning not only improves the overall functionality but also extends the life of the treadmill belt, saving you money in the long run.
Keeping your treadmill belt clean is particularly important for those who use their equipment frequently, as sweat and dirt can build up quickly and compromise the performance of the machine. By following a regular cleaning routine, you can maintain a hygienic workout environment, minimize the risk of injury, and maximize the efficiency of your treadmill workouts.
In this article, we will provide you with a comprehensive guide on how to clean a treadmill belt effectively. We will cover the necessary tools you will need, the step-by-step cleaning process, and important factors to consider. So, let’s get started and ensure that your treadmill belt is always in pristine condition for optimal performance and longevity.
Understanding the importance of cleaning a treadmill belt
Regularly cleaning your treadmill belt is crucial for several reasons. First and foremost, it helps maintain optimum performance. As you run or walk on the treadmill, sweat, dirt, and debris can accumulate on the belt, creating friction between the belt and the deck. This friction not only affects the smoothness of your workout but can also put unnecessary strain on the motor and other components of the treadmill.
Cleaning the belt also plays a vital role in ensuring your safety during workouts. A dirty or slippery belt can increase the risk of accidents, such as slips or falls. Accumulated dust and sweat can make the surface of the belt slippery, compromising your balance and stability while in motion. By keeping the belt clean, you reduce the chances of injury and create a safer workout environment.
Furthermore, regular cleaning helps extend the lifespan of your treadmill belt. Over time, dust and debris can get embedded in the belt’s material, leading to wear and tear. This can result in the belt becoming frayed, uneven, or even damaged beyond repair. By cleaning the belt, you prevent the build-up of dirt and debris, which helps maintain its integrity, ultimately saving you from the expense of replacing the belt prematurely.
Cleaning your treadmill belt not only benefits the performance and longevity of the machine but also contributes to a more hygienic workout space. When you sweat, bacteria can thrive and multiply on the belt’s surface. By cleaning the belt regularly, you eliminate harmful bacteria and keep your fitness area clean and sanitary.
Now that we understand the importance of cleaning a treadmill belt, let’s move on to the next section, where we will discuss the necessary cleaning tools you’ll need.
Gather the necessary cleaning tools
Before you begin the process of cleaning your treadmill belt, it’s important to gather the necessary cleaning tools. Having the right equipment on hand will ensure that you can effectively remove dirt, debris, and sweat from the belt’s surface. Here are the essential cleaning tools you’ll need:
- Clean, dry cloth or towel: A soft and lint-free cloth or towel is ideal for wiping down the treadmill belt. Make sure it is clean and dry before use to avoid introducing additional moisture onto the belt’s surface.
- Mild detergent or treadmill belt cleaner: Look for a gentle, non-abrasive detergent or a specialized treadmill belt cleaner. Avoid using harsh chemicals, as they can potentially damage the belt’s material.
- Water: You’ll need water to dilute the detergent or to rinse off the cleaning solution. Make sure the water is at room temperature for best results.
- Soft-bristle brush or toothbrush: A soft-bristle brush or toothbrush can be used to gently scrub away stubborn stains or dirt particles that are stuck on the belt. Ensure that the brush is clean and in good condition to avoid scratching the belt’s surface.
- Towel or mat: Placing a towel or mat underneath the treadmill will help catch any excess water or cleaning solution during the cleaning process. This prevents it from dripping onto the floor and causing a slip hazard.
- Treadmill lubricant: If your treadmill manufacturer recommends lubricating the belt, make sure you have the appropriate lubricant product on hand. Lubricating the belt after cleaning helps maintain its smooth operation.
By gathering these essential cleaning tools before you start, you’ll be well-prepared to tackle the task of cleaning your treadmill belt effectively and efficiently. With the tools in hand, let’s move on to the step-by-step guide for cleaning the treadmill belt.
Step-by-step guide to cleaning a treadmill belt
Cleaning your treadmill belt doesn’t have to be a complicated process. By following these simple steps, you can effectively remove dirt, sweat, and debris, and keep your treadmill in optimal condition for your workouts:
- Turn off and unplug your treadmill: Before starting the cleaning process, ensure that your treadmill is turned off and unplugged for safety reasons.
- Remove any loose debris: Use a clean, dry cloth or towel to gently wipe away any loose dirt, dust, or debris from the surface of the belt. Pay extra attention to areas where debris tends to accumulate, such as the edges or underneath the treadmill.
- Dilute the detergent: If using a mild detergent, mix it with water according to the manufacturer’s instructions. Alternatively, if using a specialized treadmill belt cleaner, follow the specific product instructions for dilution.
- Apply the cleaning solution: Using a soft cloth or sponge, apply the diluted detergent or treadmill belt cleaner to the surface of the belt. Gently scrub the belt in a back-and-forth motion, focusing on areas with stubborn stains or dirt buildup.
- Remove excess cleaning solution: After thoroughly cleaning the belt, use a clean, damp cloth to wipe away any excess cleaning solution. Make sure to remove all traces of the detergent to prevent a slippery surface.
- Dry the treadmill belt: Allow the treadmill belt to air dry completely before using the machine again. Airing out the belt ensures that no moisture is trapped, reducing the risk of mold or mildew growth.
- Lubricate the treadmill belt: If your treadmill manufacturer recommends lubricating the belt after cleaning, follow the instructions provided with the lubricant product. Apply the lubricant evenly on the belt to ensure smooth operation.
- Plug in and restart the treadmill: Once the belt is completely dry and lubricated (if required), plug in the treadmill and power it on. Ensure that the belt is running smoothly before resuming your workouts.
By following these step-by-step instructions, you can confidently clean your treadmill belt and maintain a hygienic and optimal workout environment. Remember to check your treadmill’s user manual for any specific cleaning recommendations from the manufacturer.
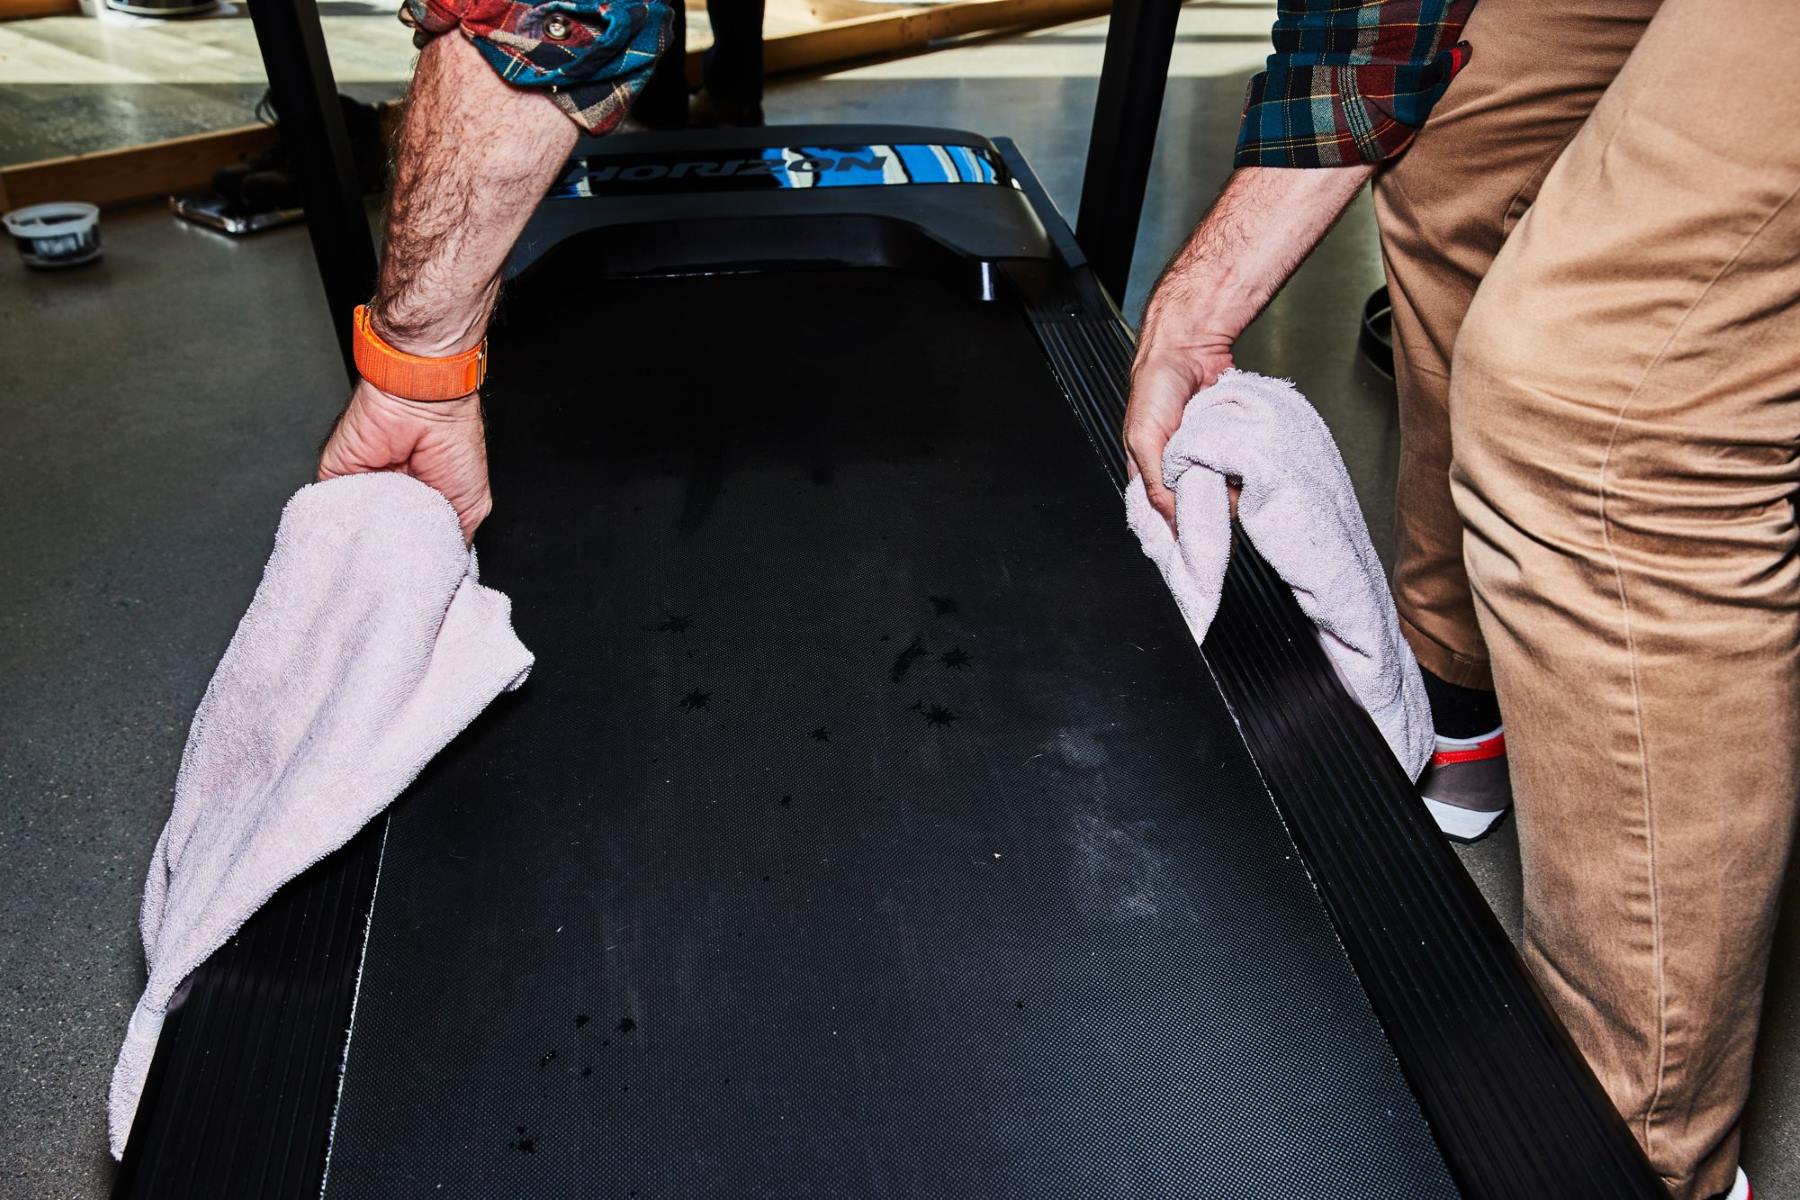
Removing dirt and debris
Before diving into the cleaning process, it’s important to start by removing any loose dirt and debris from the treadmill belt. This step will help prevent scratching or damaging the belt during the cleaning process. Here’s how you can effectively remove dirt and debris from your treadmill belt:
- Turn off and unplug the treadmill: For safety purposes, always ensure that the treadmill is turned off and unplugged before starting any cleaning process.
- Inspect the belt: Take a closer look at the surface of the treadmill belt and identify any visible dirt or debris. Pay attention to areas around the edges and grooves, where dirt tends to accumulate more.
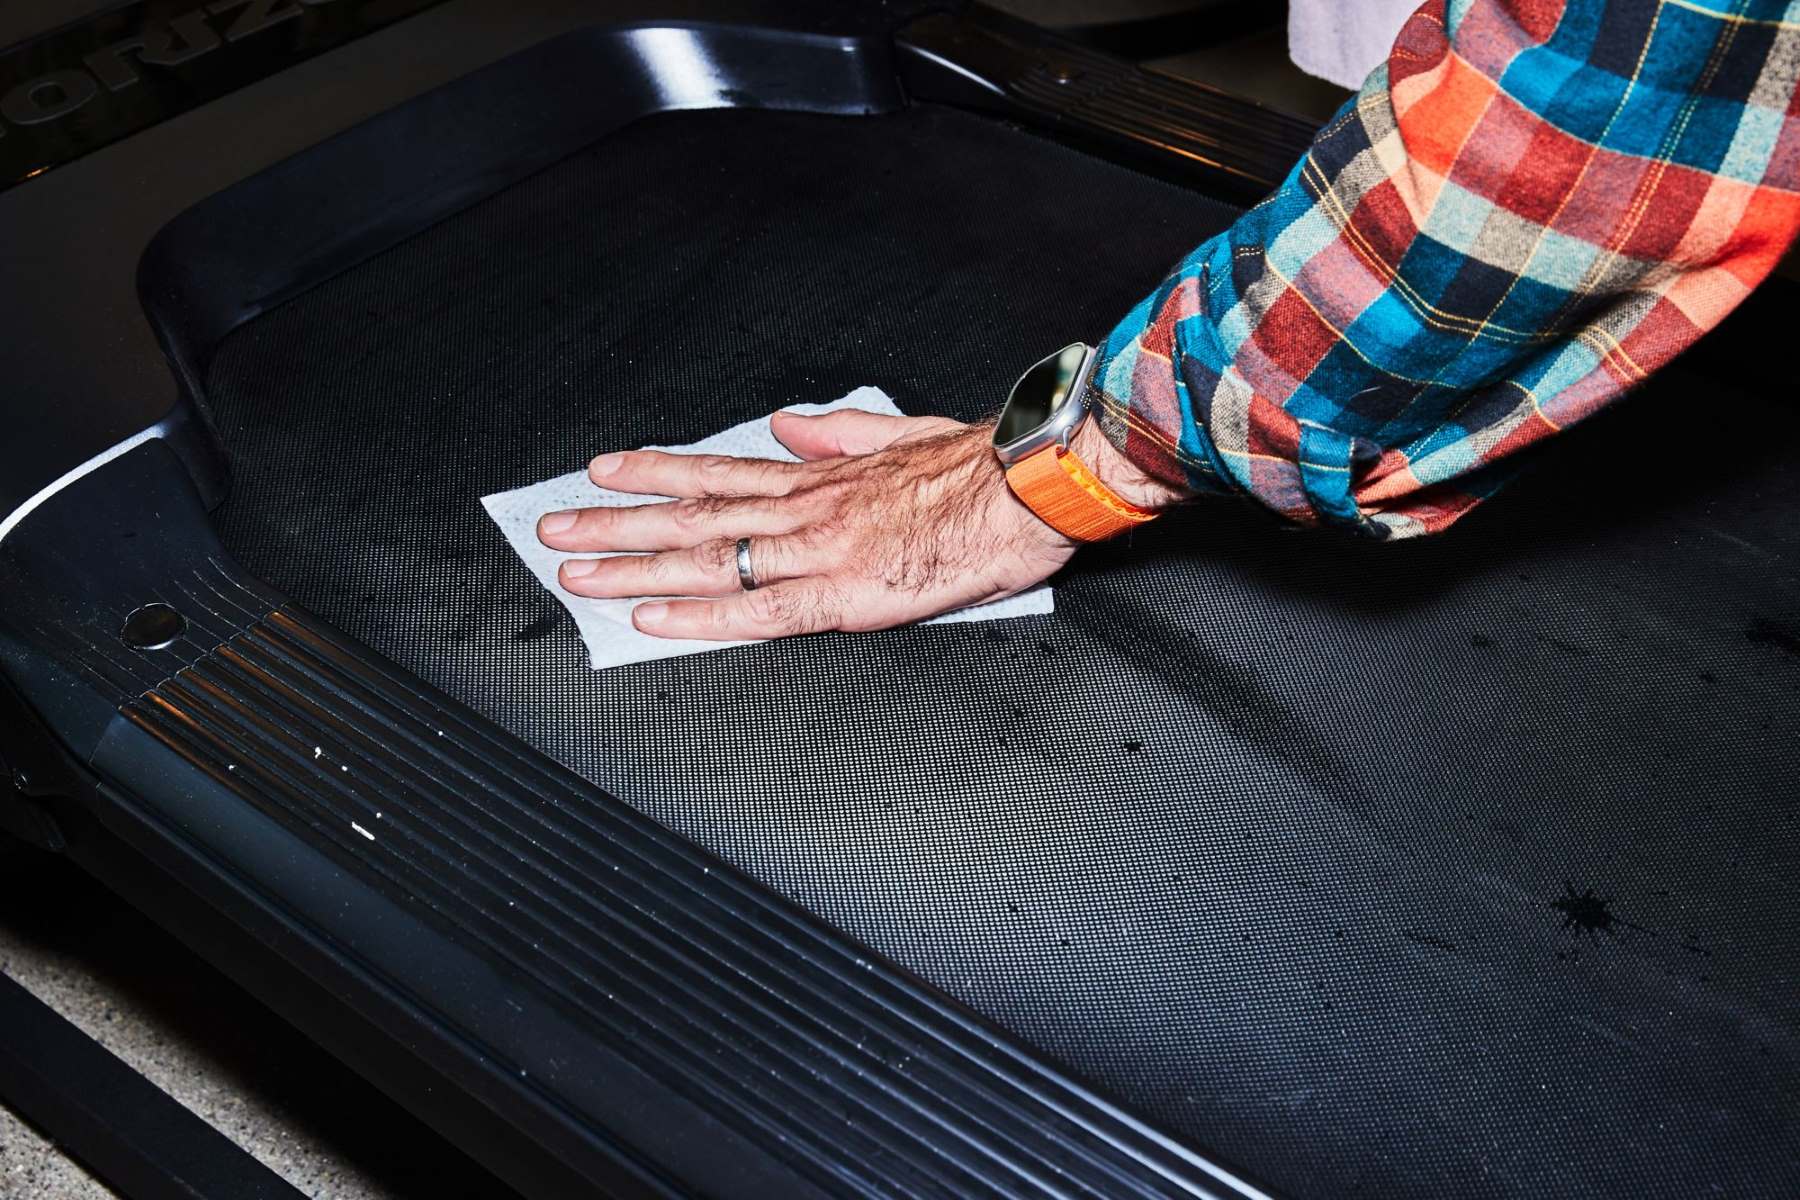
- Use a clean, dry cloth or towel: Take a lint-free cloth or towel and gently wipe the surface of the treadmill belt. Start from the top and work your way down, using light pressure to remove any loose dirt or debris.
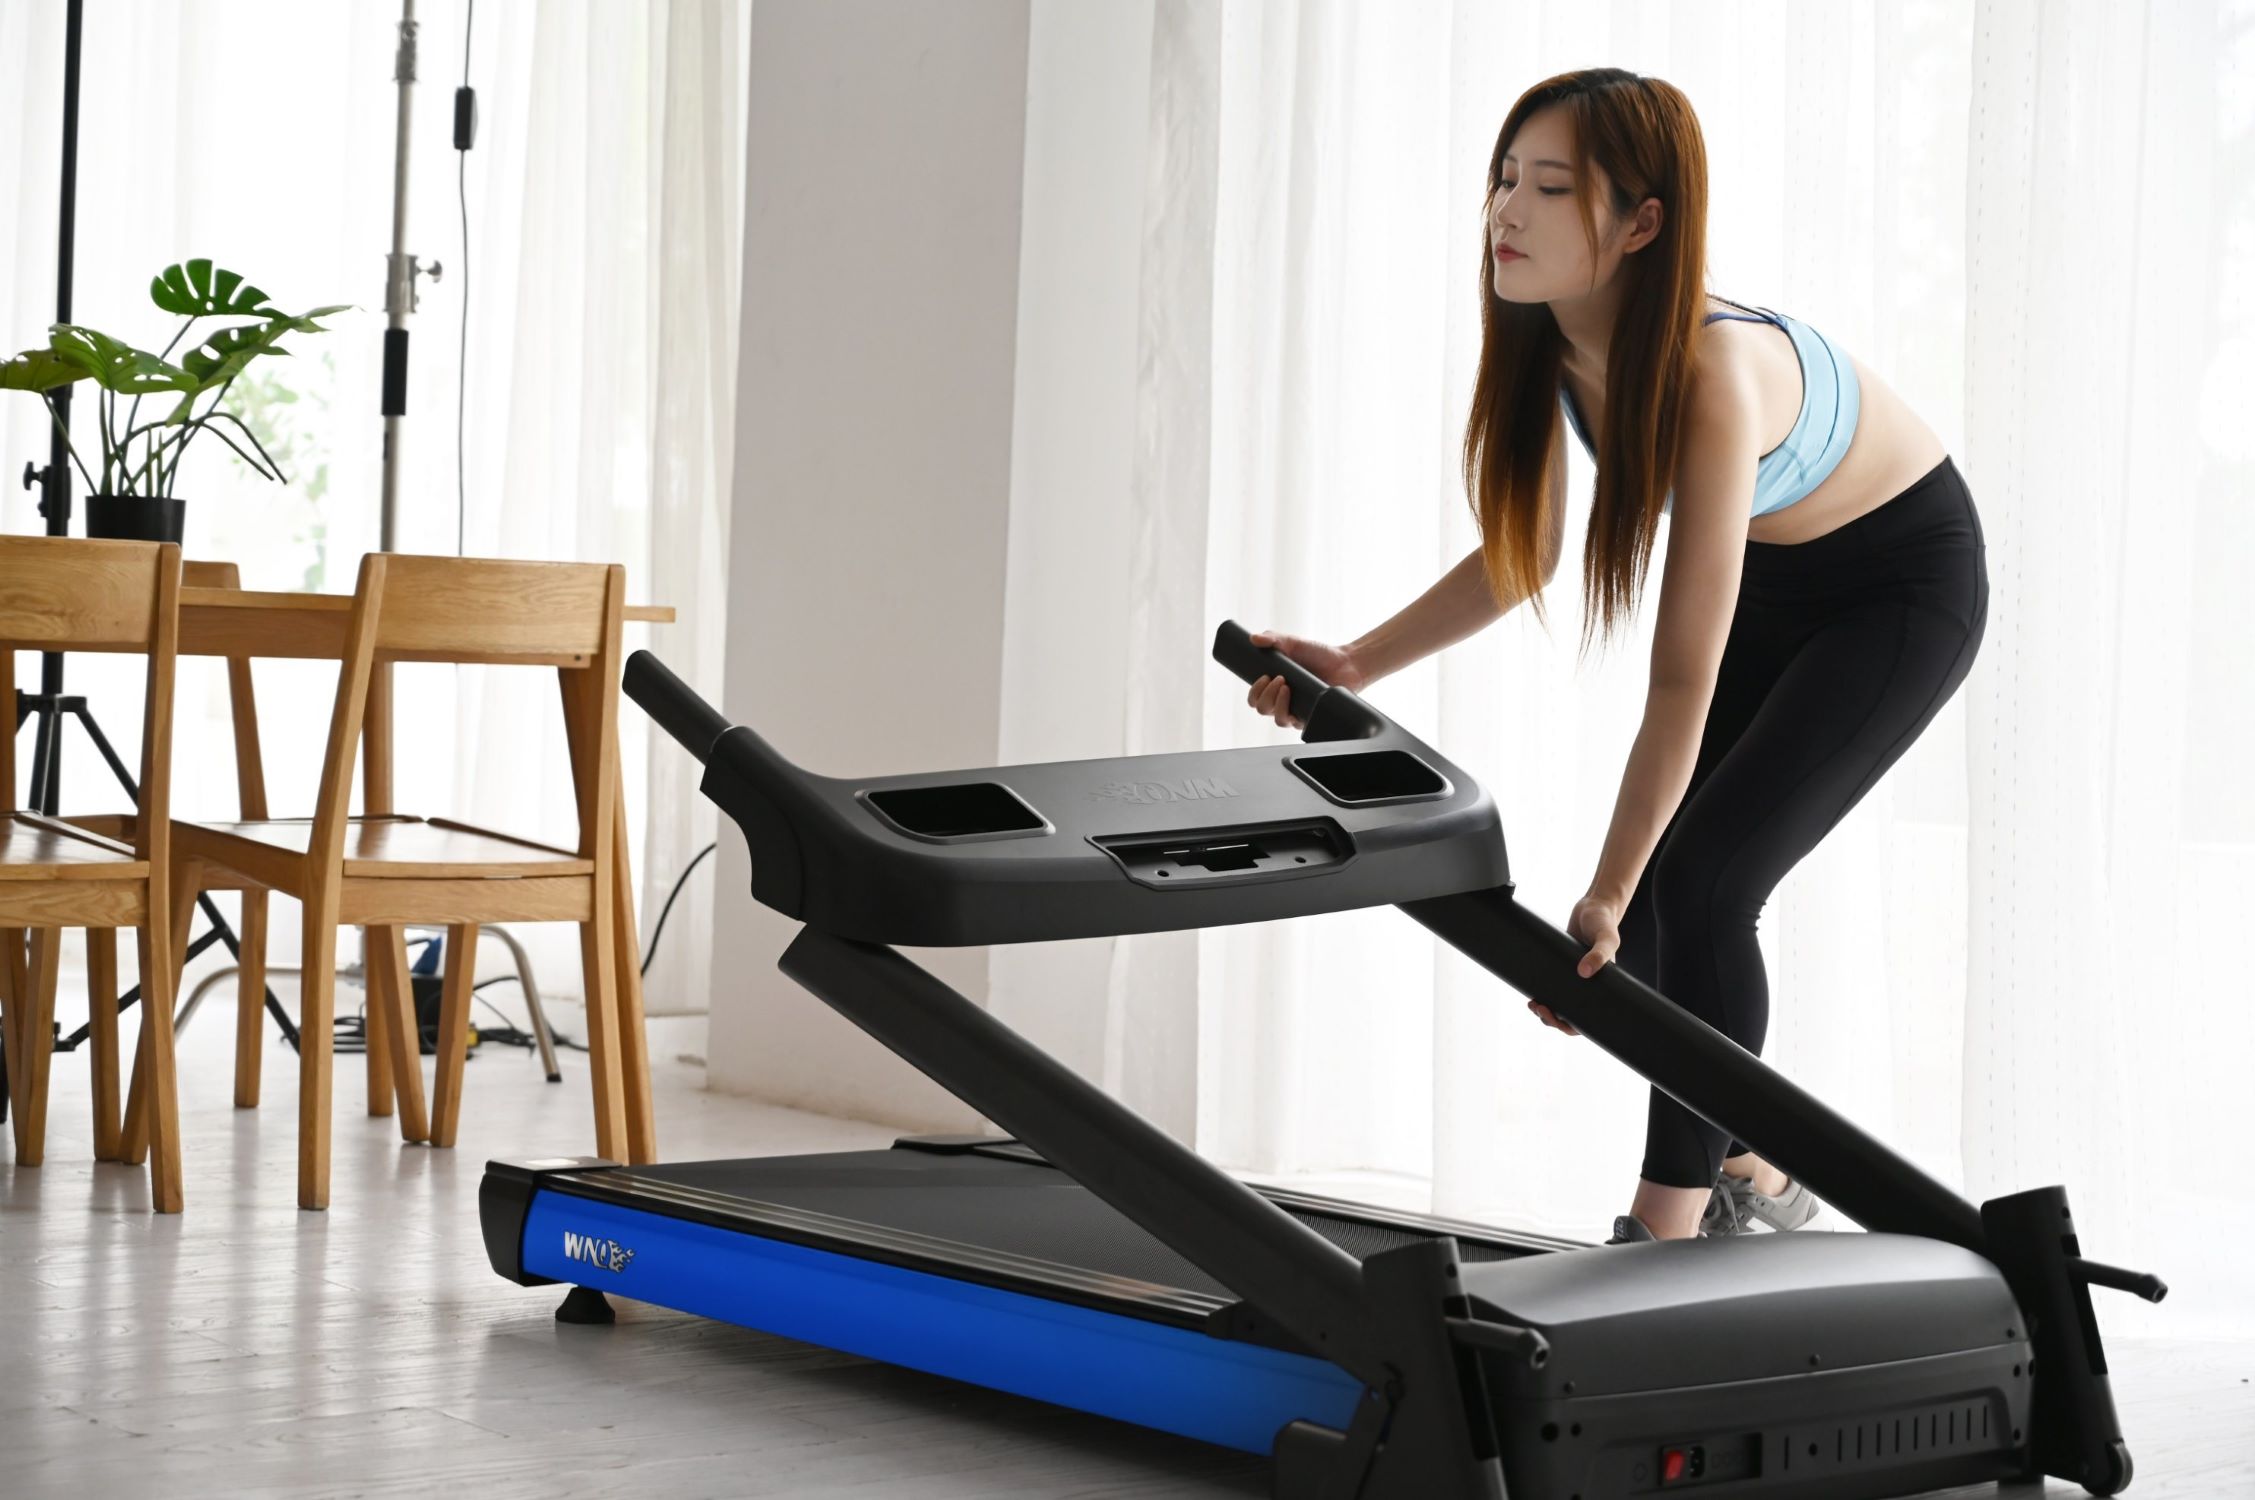
- Check underneath the treadmill: Lift the treadmill deck or remove the cover, if applicable, and check for any dirt or debris that may have fallen underneath. Use a vacuum cleaner or a soft-bristle brush to gently remove any dirt or debris from this area.
- Pay attention to the edges: Use your fingers or a dry cloth to clean along the edges of the treadmill belt. Dirt and debris can often accumulate in these areas, so be thorough in your cleaning.
- Inspect the rollers: While you’re cleaning the belt, take a moment to inspect the rollers and ensure they’re free from any dirt or debris as well. Use a cloth or brush to clean the rollers and remove any buildup.
Regularly removing dirt and debris from your treadmill belt will not only improve its performance but also prevent premature wear and tear. By keeping the belt clean, you’ll minimize the chances of dirt getting into the motor or other components, ensuring a smooth and trouble-free workout.
Using a mild detergent solution
Cleaning a treadmill belt requires more than just removing loose dirt and debris. To thoroughly clean the surface and remove any stuck-on grime or sweat, using a mild detergent solution is highly effective. Here’s how to incorporate a mild detergent solution into your treadmill belt cleaning process:
- Dilute the detergent: Start by diluting a mild detergent in water according to the manufacturer’s instructions. It’s important to use a mild detergent to avoid damaging the belt’s material.
- Apply the cleaning solution: Dip a clean, soft cloth or sponge into the diluted detergent solution. Gently wring out any excess liquid to avoid making the belt too wet.
- Gently scrub the belt: Starting from one end, use the damp cloth or sponge to gently scrub the treadmill belt. Make back-and-forth motions and concentrate more on areas with visible stains or buildup.
- Focus on stubborn spots: For stubborn stains or areas with sticky residue, apply a bit more pressure with the cloth or use a soft-bristle brush. Be careful not to scrub too hard to avoid damaging the belt’s surface.
- Avoid excessive moisture: Be mindful not to oversaturate the belt with the detergent solution. Excessive moisture can seep into the motor and other areas, potentially causing damage. If necessary, wring out the cloth or sponge to remove excess liquid before continuing.
- Wipe away excess detergent: Once you’ve thoroughly scrubbed the belt, use a clean, damp cloth to wipe away any excess detergent residue. This will help prevent a slippery surface when using the treadmill again.
Using a mild detergent solution allows for a deeper clean, effectively breaking down sweat, grime, and other residues on the treadmill belt. Remember to always follow the manufacturer’s guidelines and avoid using harsh chemicals or abrasive cleaners that may harm the belt’s material.
Next, we’ll discuss the importance of properly drying the treadmill belt after cleaning.
Drying the treadmill belt properly
After cleaning your treadmill belt, it’s crucial to ensure that it is dried thoroughly before using the machine again. Properly drying the belt helps prevent moisture buildup and reduces the risk of mold or mildew growth. Follow these steps to ensure the treadmill belt is dried properly:
- Air dry the belt: Allow the treadmill belt to air dry naturally. Avoid using heat sources or direct sunlight for drying, as excessive heat can damage the belt’s material.
- Open windows or use fans: If possible, open windows or turn on fans in the room to promote proper air circulation. This helps speed up the drying process.
- Avoid using the treadmill until completely dry: Wait until the treadmill belt is completely dry before using the machine again. Operating the treadmill with a wet or damp belt can cause slipping or damage to the motor.
- Check for remaining moisture: Before using the treadmill, run your hand across the belt’s surface to ensure there is no residual moisture. If you detect any dampness, continue air drying until the belt is completely dry.
- Place a towel or mat underneath: If your treadmill is located on a carpeted area, place a towel or mat underneath the machine while it’s drying to absorb any excess moisture that may drip from the belt.
Properly drying the treadmill belt is essential as it helps maintain the integrity of the belt and prevents the growth of mold or mildew. By allowing the belt to air dry naturally, you can ensure a safe and hygienic workout experience.
Now that we’ve covered proper drying techniques, let’s move on to the next section where we discuss the importance of lubricating the treadmill belt.
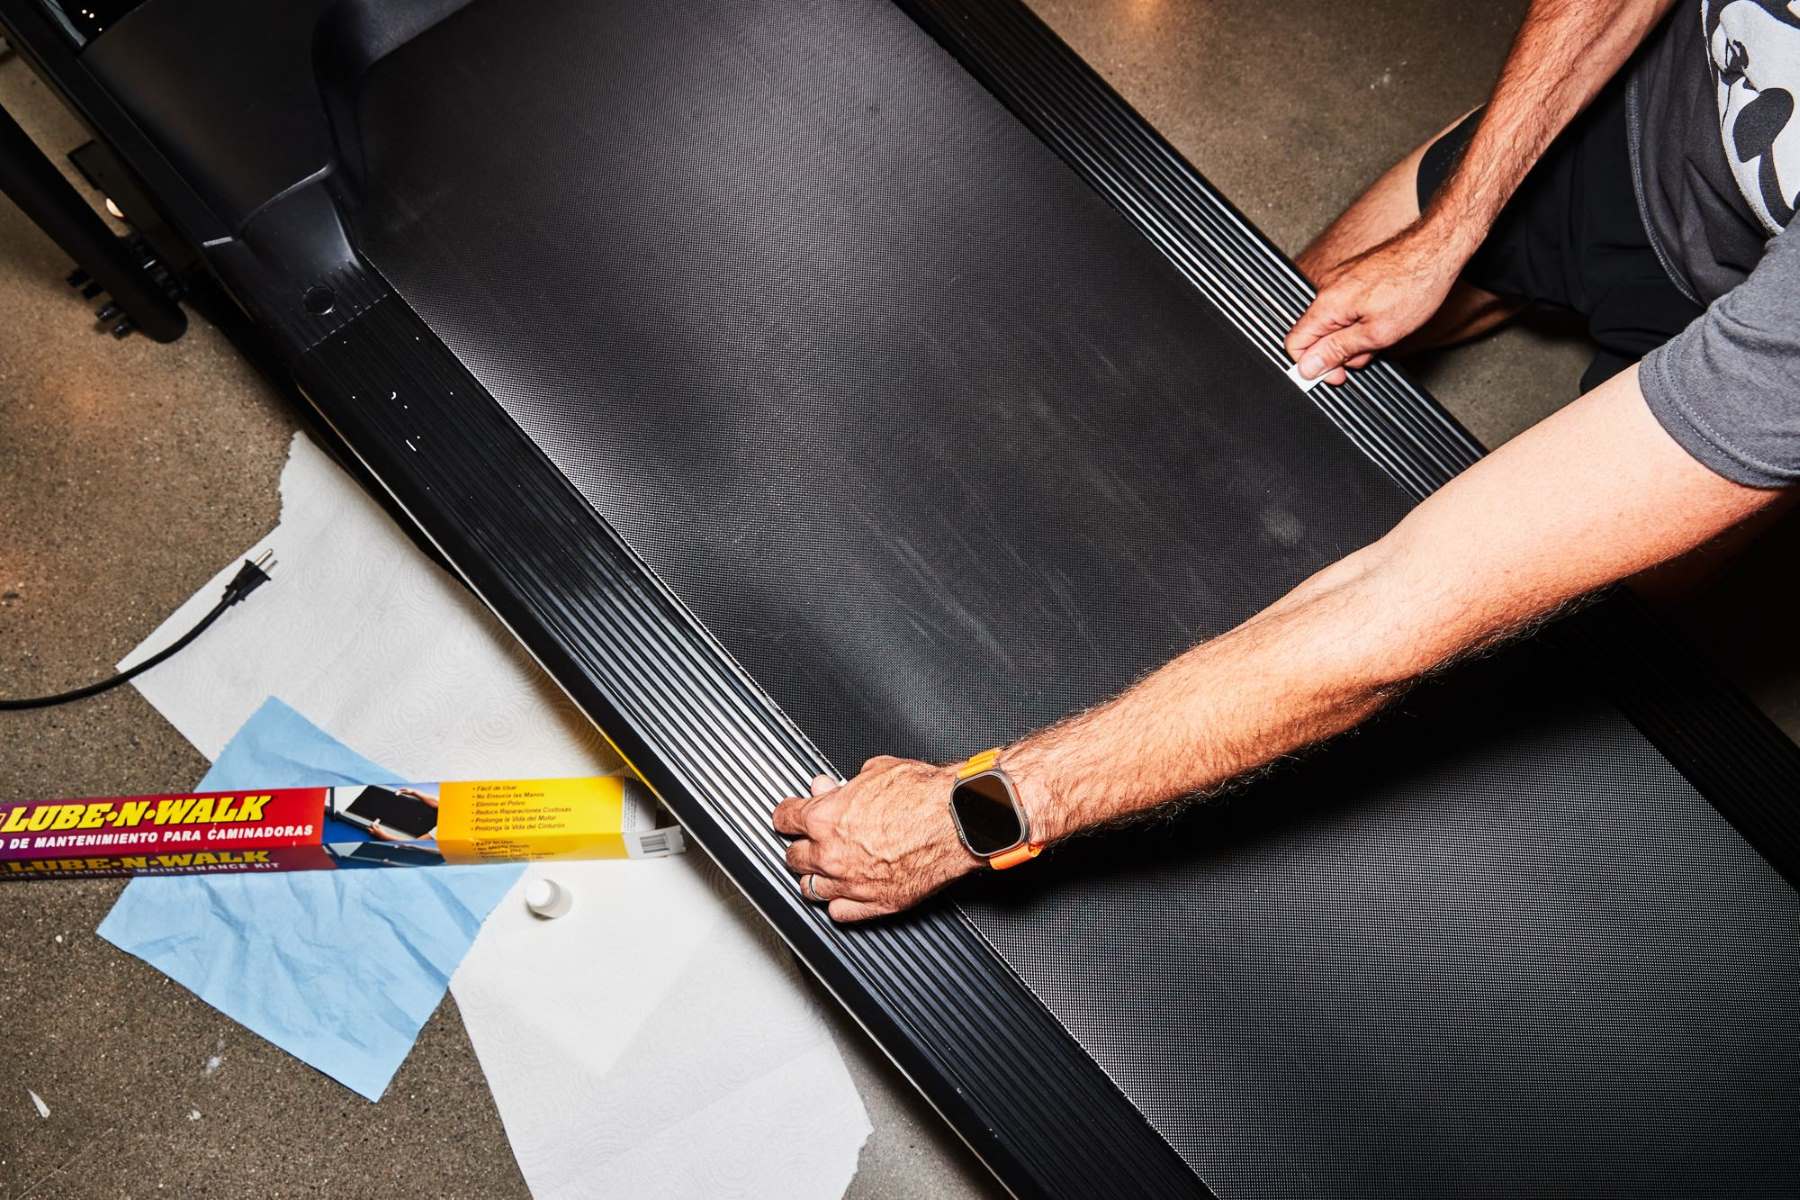
Lubricating the treadmill belt
Lubricating the treadmill belt is an important step in the maintenance process, as it helps reduce friction and prolong the lifespan of the belt. Regular lubrication ensures smooth operation and prevents excessive wear and tear on the treadmill’s motor and other components. Here’s how you can effectively lubricate your treadmill belt:
- Check your treadmill’s user manual: Before lubricating the belt, refer to the manufacturer’s guidelines or the user manual to ensure you are using the correct lubricant for your specific treadmill model. Different treadmills may have different lubricant recommendations.
- Turn off and unplug the treadmill: As with any maintenance task, it is vital to ensure the treadmill is turned off and unplugged before applying lubricant to the belt. Safety should always be the top priority.
- Identify the lubrication points: Locate the designated points on the treadmill where lubricant should be applied. These points are usually marked with arrows or indicators in the user manual.
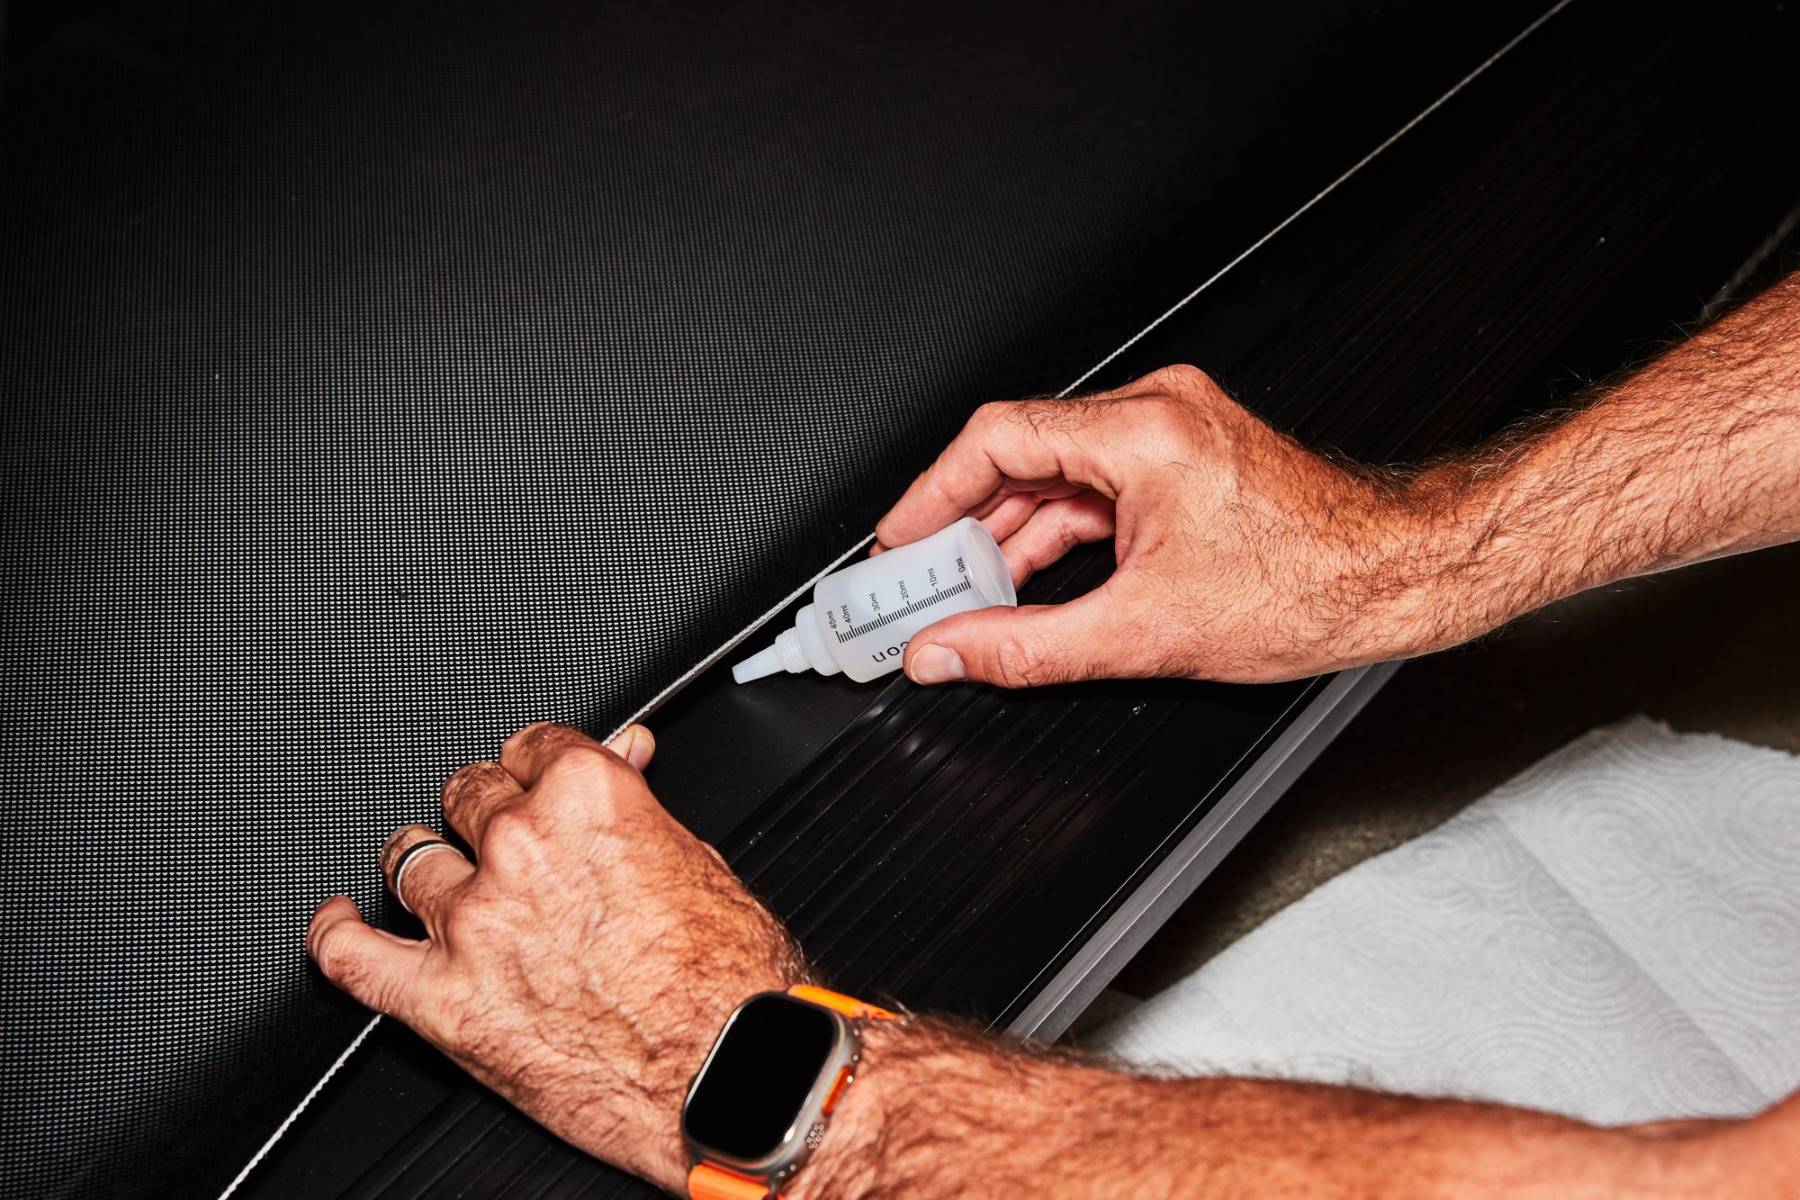
- Apply the lubricant: Follow the manufacturer’s instructions for applying the lubricant. It is typically recommended to apply a small amount of lubricant to the belt, evenly distributed along the center of the running surface.
- Spread the lubricant: Once applied, turn on the treadmill at a slow speed (around 2-3 mph) and let it run for a few minutes. This allows the lubricant to spread evenly across the surface of the belt.
- Check for excessive lubricant: After spreading the lubricant, check for any excess that may have accumulated on the belt. Use a clean cloth to wipe away any surplus lubricant to prevent it from seeping into other areas of the treadmill.
- Allow the lubricant to settle: Let the lubricant settle for a few minutes before using the treadmill. This ensures that the lubricant is evenly distributed and provides the best lubrication for your workouts.
Lubricating the treadmill belt is a crucial step to maintain its smooth operation and prevent unnecessary wear. Regular lubrication extends the life of the belt and contributes to a more comfortable and enjoyable workout experience. Remember to follow the manufacturer’s recommendations and lubricate as directed based on the usage and mileage of your treadmill.
Now that we’ve discussed lubrication, let’s move on to the next section where we’ll highlight some important factors to consider when cleaning a treadmill belt.
Factors to consider when cleaning a treadmill belt
When it comes to cleaning a treadmill belt, there are a few important factors to consider to ensure optimal results and prevent any damage to the machine. Take note of the following factors:
- Manufacturer’s recommendations: Always refer to the manufacturer’s guidelines or the user manual for specific instructions on how to clean and maintain your treadmill belt. Different treadmill models may have varying recommendations, and it’s essential to follow them to avoid any potential issues.
- Cleaning frequency: Determine how frequently you should clean your treadmill belt based on your usage. If you use your treadmill regularly or have an intense workout routine, you may need to clean it more often. On the other hand, if your usage is minimal, occasional cleaning may be sufficient. Assess your needs and adjust your cleaning routine accordingly.
- Proper technique: Using the correct cleaning technique is crucial to avoid any damage to the treadmill belt. Always use gentle pressure when cleaning and avoid abrasive materials or harsh chemicals that can wear down or degrade the belt’s material. Follow the recommended steps and use the appropriate cleaning tools for the best results.
- Maintenance schedule: Along with cleaning, it’s important to adhere to a regular maintenance schedule for your treadmill. This may include lubricating the belt, checking for proper tension, and inspecting other components for wear and tear. A well-maintained treadmill will not only perform better but also have a longer lifespan.
- Environment: Consider the environment in which your treadmill is located. If it’s in a dusty or humid environment, you may need to clean the belt more frequently. Likewise, if you use the treadmill in an area where sweat accumulates, such as a gym or exercise room, regular cleaning becomes even more important to maintain hygiene and optimal performance.
- Regular inspections: Take the time to regularly inspect the treadmill belt for any signs of damage or wear. Look for frayed edges, cracks, or uneven surfaces, as these can affect the performance and safety of your workouts. If you notice any issues, address them promptly to prevent further damage.
By considering these factors, you can develop a cleaning and maintenance routine that is tailored to your specific treadmill and usage. This will help ensure that your machine operates smoothly, remains in good condition, and provides you with reliable and effective workouts for years to come.
Now that we’ve covered the factors to consider, let’s conclude our comprehensive guide on cleaning a treadmill belt.
Conclusion
Properly cleaning and maintaining your treadmill belt is essential for a safe and effective workout experience. By following the steps outlined in this guide, you can ensure that your treadmill belt remains in optimal condition, providing you with smooth and reliable performance.
Regularly removing dirt and debris, using a mild detergent solution, and drying the treadmill belt properly are crucial steps in the cleaning process. These actions help prevent friction, reduce the risk of accidents, and extend the lifespan of the belt.
In addition, lubricating the treadmill belt as recommended by the manufacturer is vital to maintain smooth operation and prevent unnecessary wear and tear. Proper lubrication minimizes friction and protects the motor and other components, leading to a longer life for your treadmill.
When cleaning your treadmill belt, remember to consider important factors such as following manufacturer’s recommendations, cleaning frequency, proper technique, and regular inspections. These factors will help you establish an effective cleaning and maintenance routine tailored to your specific treadmill and usage.
By taking the time to clean and maintain your treadmill belt regularly, you can ensure a hygienic workout environment, reliable performance, and a longer lifespan for your fitness equipment. So, roll up your sleeves, gather your cleaning tools, and give your treadmill belt the attention it deserves. Happy cleaning!