Featured
How To Lubricate A Treadmill Belt
Modified: October 25, 2023
Learn how to properly lube a treadmill in this featured guide. Keep your treadmill running smoothly with these easy steps.
Introduction
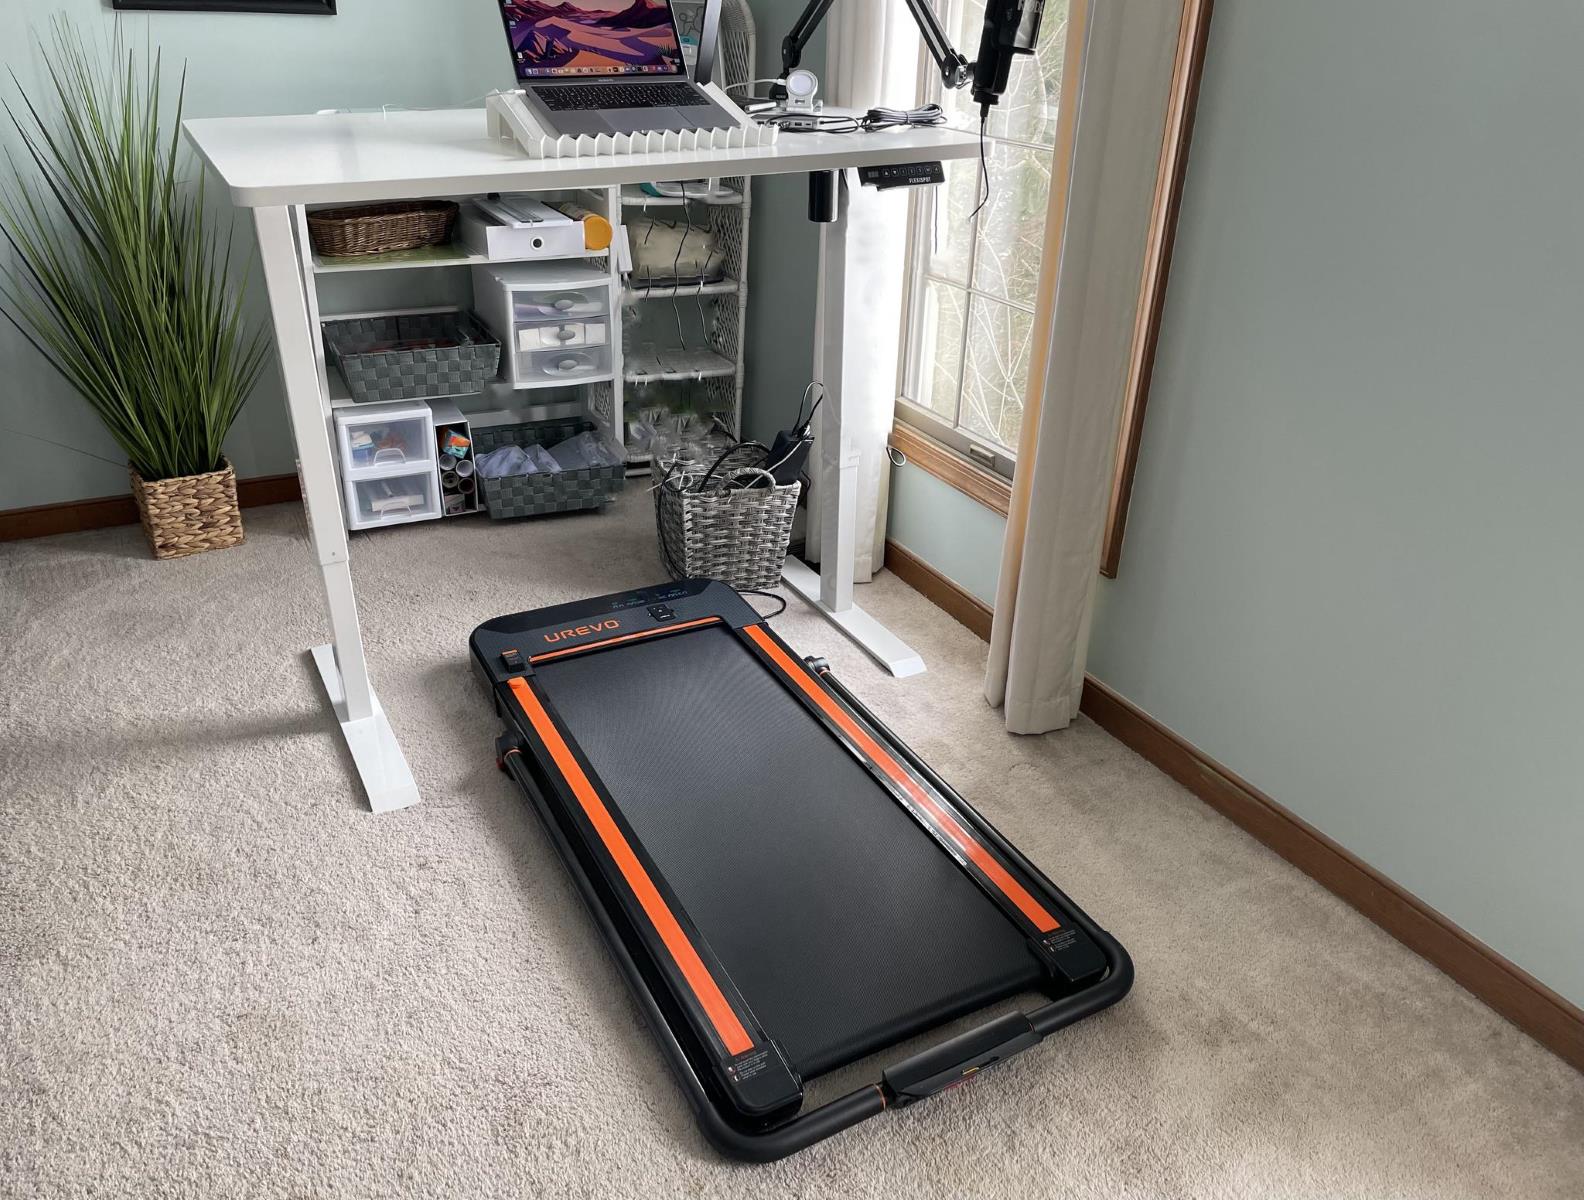
Welcome to the world of treadmills! Whether you’re a seasoned fitness enthusiast or just beginning your fitness journey, a treadmill can be a valuable tool for staying active and achieving your fitness goals. However, like any piece of machinery, treadmills require regular maintenance to ensure they continue to function optimally. One important aspect of treadmill maintenance is lubrication.
Proper lubrication of your treadmill is essential for keeping its components running smoothly and preventing unnecessary wear and tear. A well-lubricated treadmill not only operates quietly but also extends the lifespan of the motor, belt, and rollers. In this article, we will guide you through the process of lubricating your treadmill to help you maintain its peak performance.
Before we dive into the steps of lubricating your treadmill, it’s crucial to understand the importance of safety. Always prioritize your safety by following the manufacturer’s instructions and taking necessary precautions. Wear appropriate clothing and footwear, and make sure the treadmill is unplugged before beginning any maintenance tasks. Now, let’s get started with the first step: safety precautions.
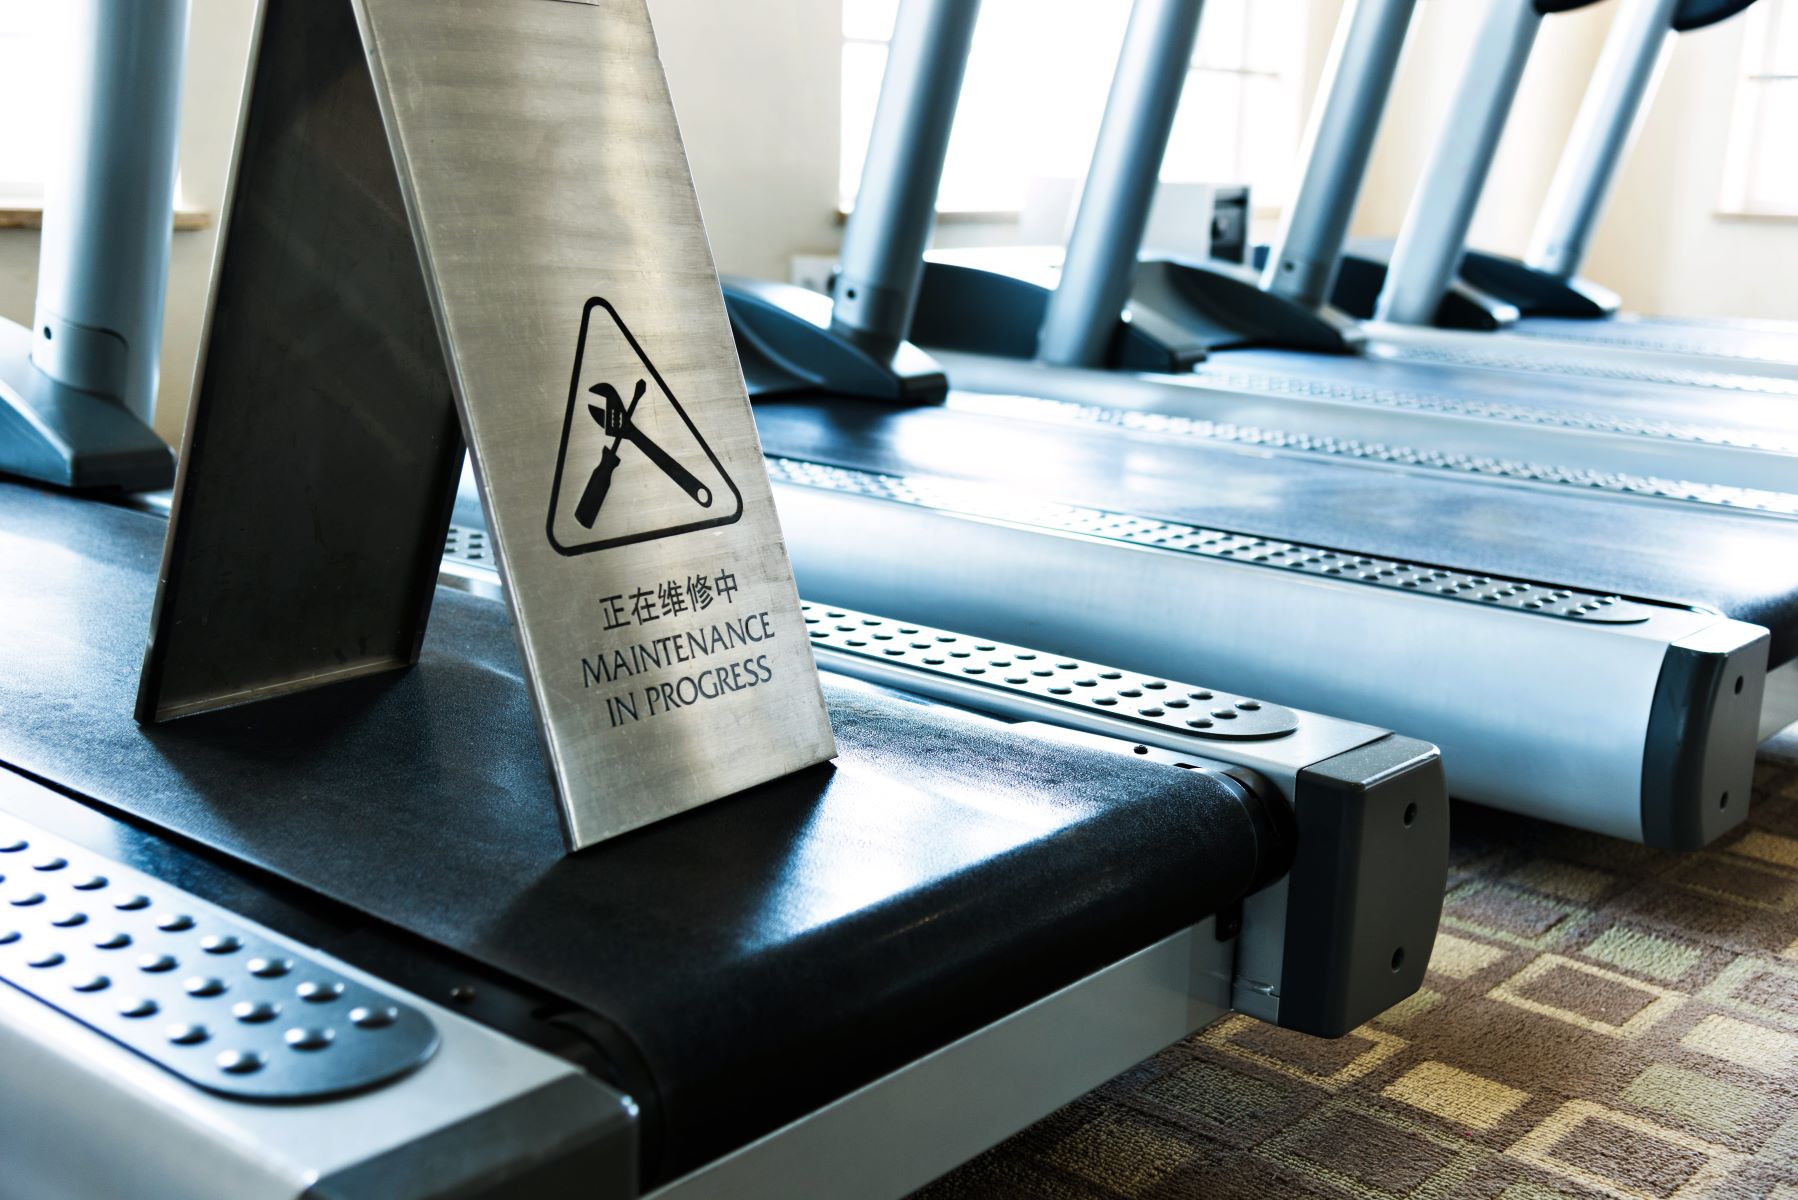
Step 1: Safety Precautions
When it comes to treadmill maintenance, safety should be your top priority. Before you begin the lubrication process, there are a few important safety precautions to keep in mind to protect yourself and prevent any accidents.
Firstly, ensure that the treadmill is completely turned off and unplugged from the power source. This eliminates the risk of accidentally starting the machine while you are working on it. It is also a good idea to remove the safety key to prevent any unintentional activation.
Next, make sure that you are wearing appropriate clothing and footwear. Avoid loose-fitting clothing that could get caught in the treadmill’s moving parts. Opt for comfortable, fitted attire that allows for ease of movement and keeps you safe from any potential entanglements.
It is essential to choose the right type of lubricant for your specific treadmill model. Refer to your treadmill’s user manual or consult the manufacturer’s instructions to determine the recommended lubricant. Using the wrong type of lubricant may cause damage to the treadmill’s components or not provide the desired results.
Additionally, use caution when handling any lubricants. Some lubricants can be messy or slippery, so be careful not to spill any on the treadmill or the surrounding floor. If necessary, lay down a protective mat or cloth to catch any potential drips and avoid unnecessary mess.
Lastly, if you are unsure about any aspect of the lubrication process or have concerns about your treadmill’s maintenance, don’t hesitate to reach out to the manufacturer’s customer support or seek professional assistance. They will be able to guide you through the process and address any specific concerns or questions you may have.
By taking these safety precautions, you are ensuring that the maintenance process goes smoothly and that you can perform the lubrication task without any accidents or injuries. Now that we have covered the necessary safety measures, let’s move on to Step 2: Cleaning the Treadmill.
Step 2: Cleaning the Treadmill
Before you start applying lubricant to your treadmill, it’s important to clean it thoroughly. Dirt, dust, and debris can accumulate on the belt and other surfaces, which can hinder the effectiveness of the lubrication process. Follow these steps to ensure a clean working surface:
- Begin by unplugging the treadmill from the power source and ensuring that it is turned off completely. This will prevent any accidents while you clean the machine.
- Use a soft cloth or a dry brush to remove any visible dust or debris from the treadmill belt, deck, and surrounding areas. Pay close attention to areas where debris tends to build up such as the edges of the belt and under the motor cover. Take extra care to remove any loose particles that may interfere with the lubrication process.
- If there are stubborn stains or sticky residues on the belt or other surfaces, dampen a cloth with mild soap and water or a suitable cleaning solution recommended by the treadmill manufacturer. Gently scrub the affected areas to remove the stains or residues. Be cautious not to saturate the belt or allow excess liquid to seep into the inner workings of the treadmill.
- Once you have cleaned the belt and other surfaces, use a dry cloth to wipe off any remaining moisture. Ensure that the treadmill is completely dry before proceeding to the next step.
By thoroughly cleaning your treadmill before lubrication, you are removing any obstacles that could impede the proper distribution of the lubricant. A clean treadmill ensures that the lubrication process is more effective, allowing the components to move freely and smoothly. Now that your treadmill is squeaky clean, let’s move on to Step 3: Identifying and Accessing the Lubrication Points.
Step 3: Identifying and Accessing the Lubrication Points
In order to effectively lubricate your treadmill, it’s important to identify and access the specific lubrication points. These points are typically located on the underside of the belt and are designed to ensure smooth movement. Follow these steps to identify and access the lubrication points:
- Refer to your treadmill’s user manual or consult the manufacturer’s instructions to identify the specific lubrication points for your model. Different treadmills may have different requirements, so it’s crucial to follow the manufacturer’s guidelines to ensure optimal performance.
- Once you have identified the lubrication points, you will need to access them. This usually involves raising the belt or removing the treadmill’s motor cover. Again, consult your user manual or manufacturer’s instructions for the exact steps to access the lubrication points.
- With the necessary access points exposed, visually inspect them to ensure they are clean and free from any debris or residue. Use a clean cloth or brush to remove any dirt or buildup that may hinder the lubrication process.
- Take note of any specific areas that require special attention. Some treadmills may have additional lubrication points, such as roller bearings or pivot points, that need to be addressed in the lubrication process. Make sure to follow the manufacturer’s recommendations for these specific areas.
By identifying and accessing the lubrication points accurately, you are ensuring that the lubricant is applied to the right areas, allowing the components to move smoothly and reducing the risk of friction-related damage. With the lubrication points identified and prepared, let’s move on to the next step: applying the lubricant.
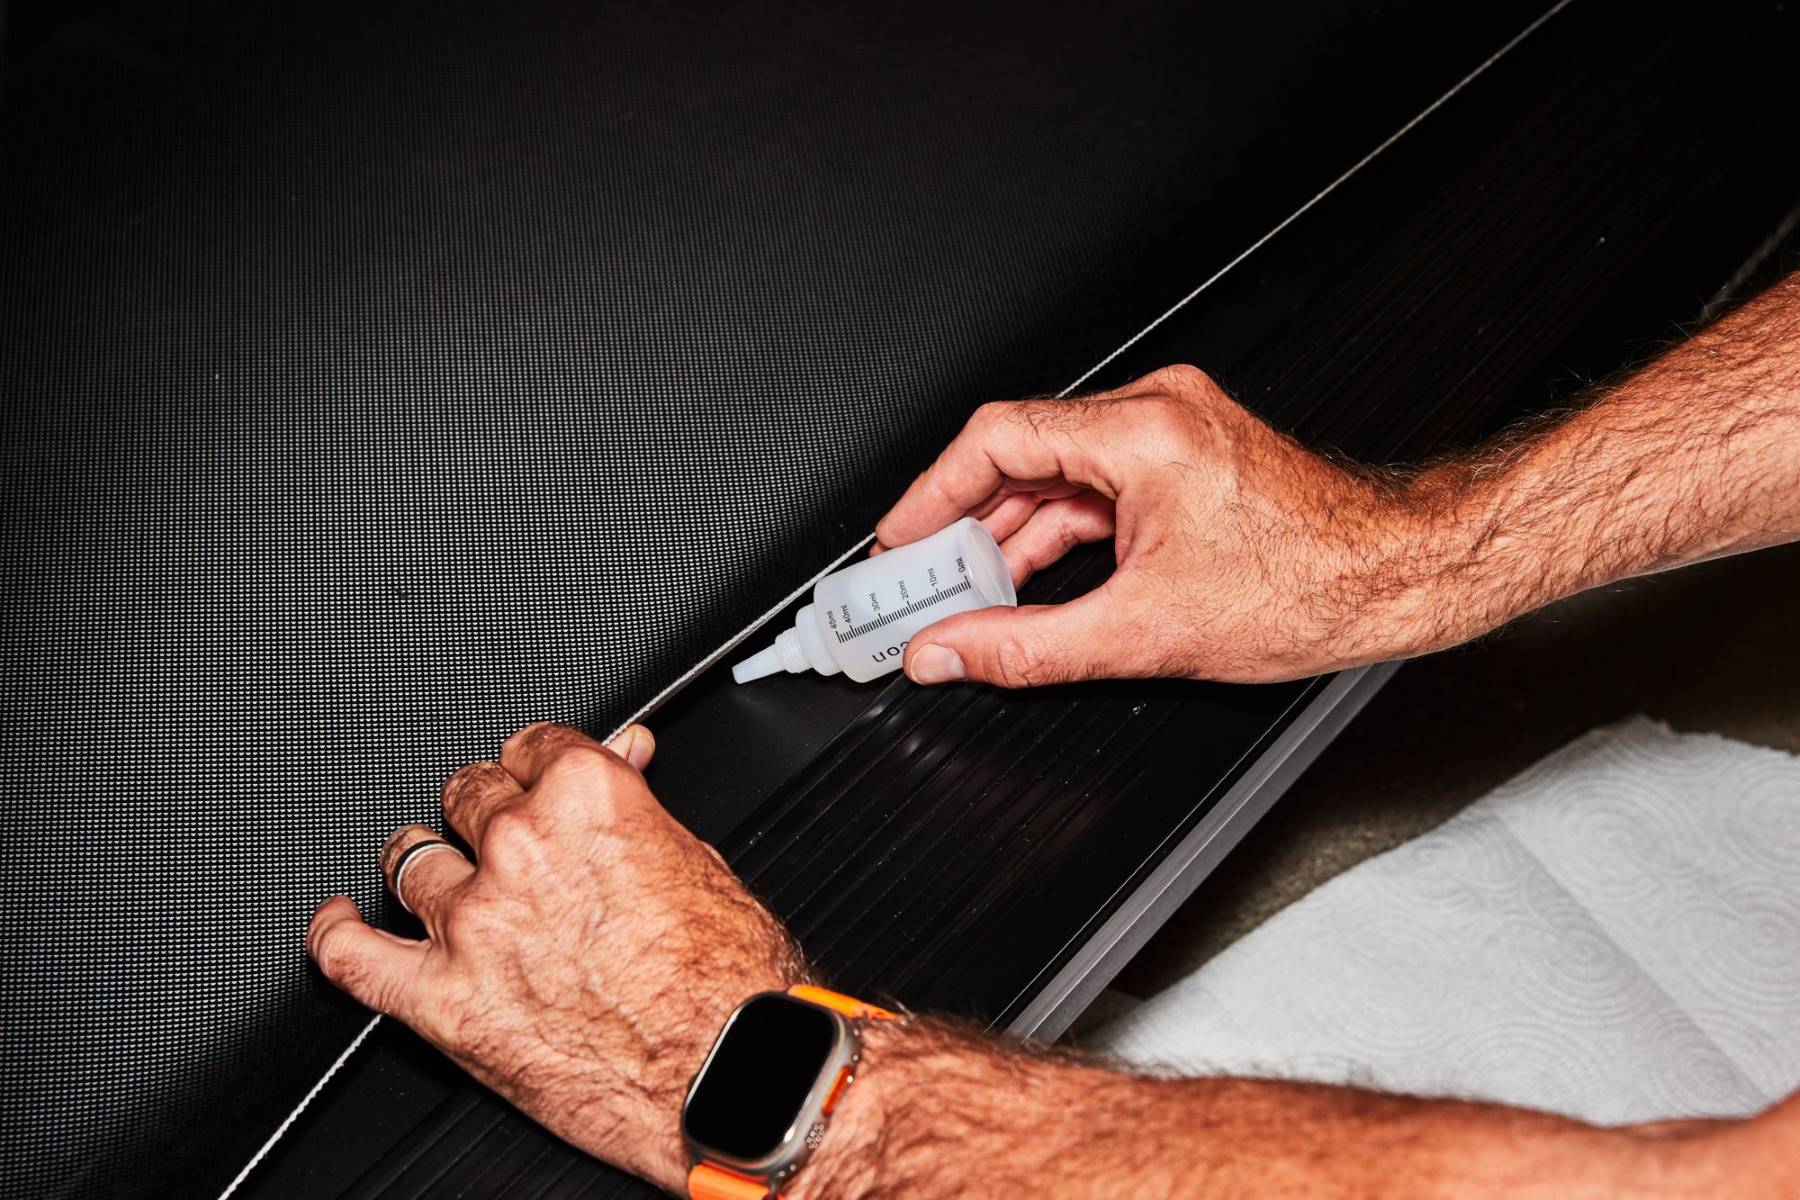
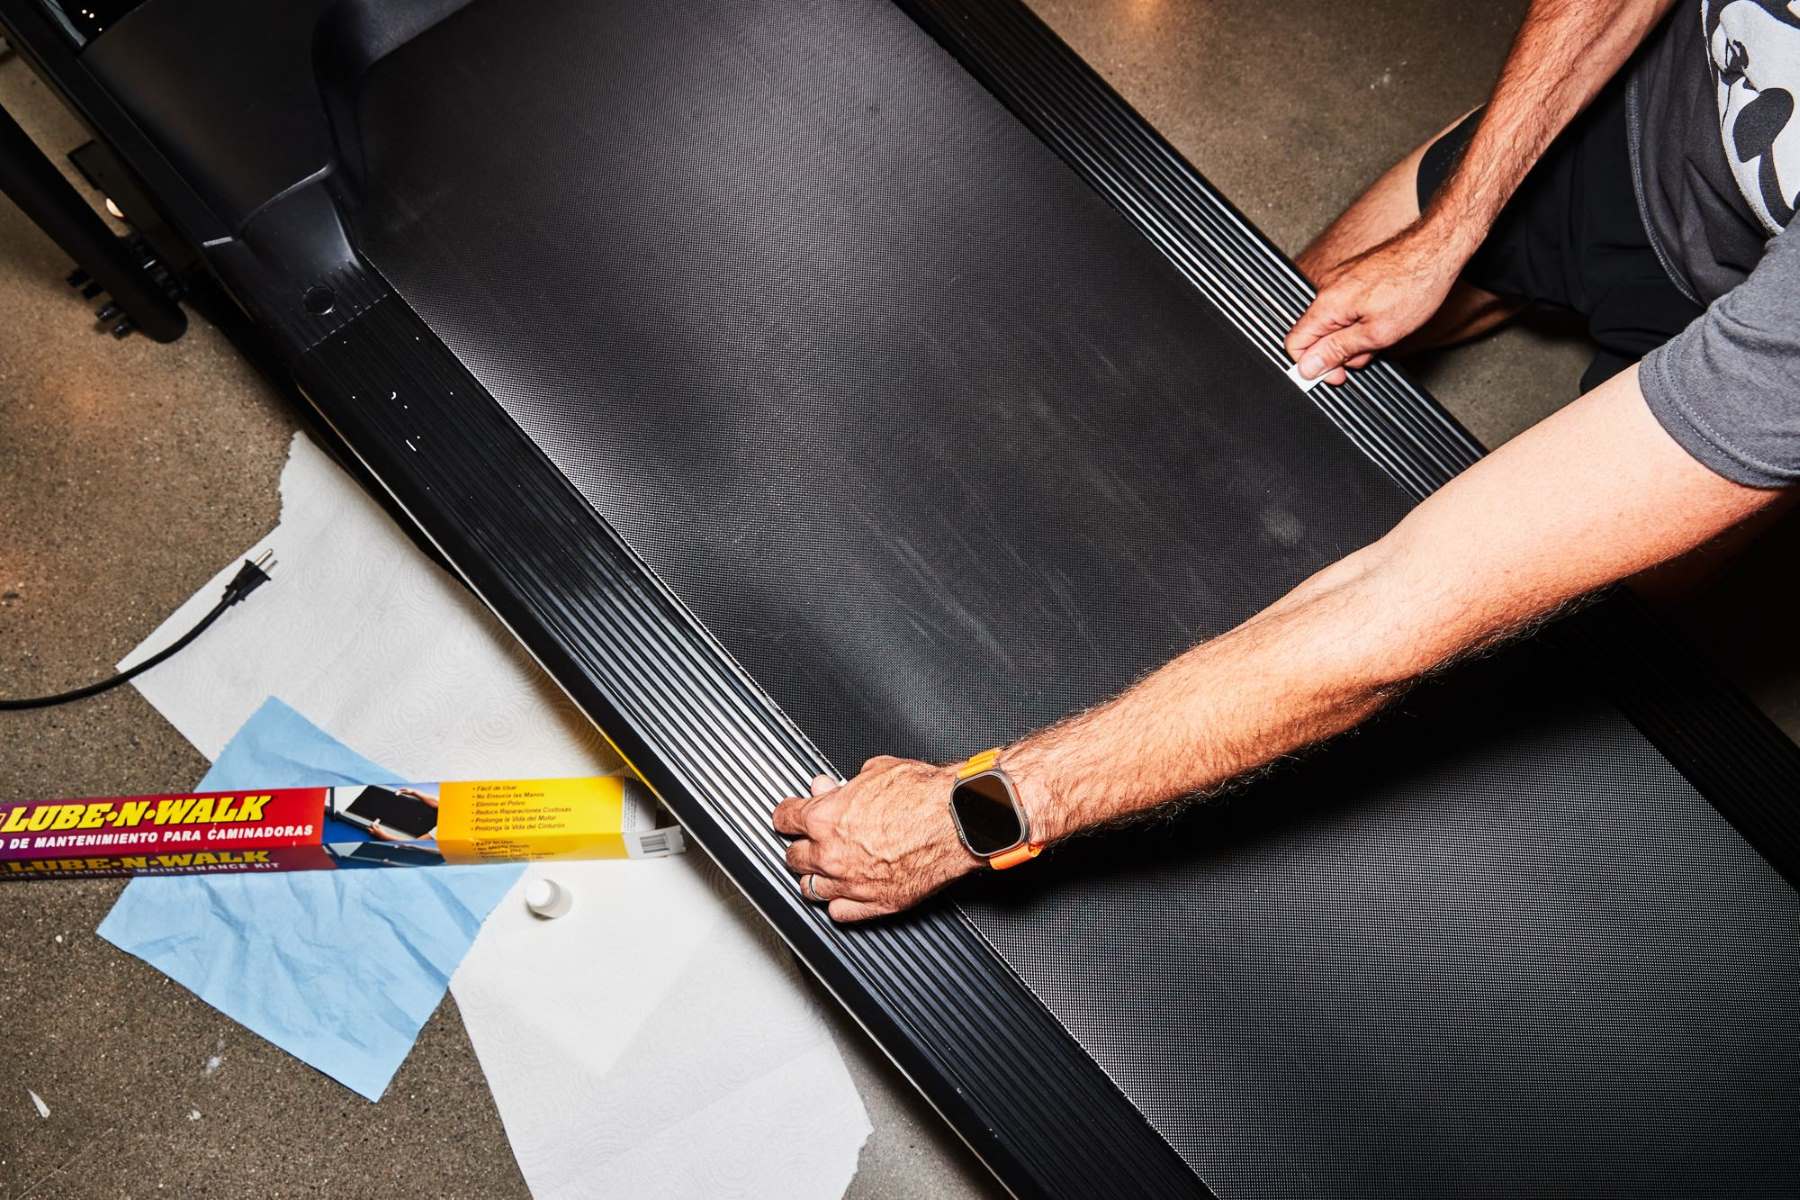
Step 4: Applying the Lubricant
Now that you have identified and accessed the lubrication points on your treadmill, it’s time to apply the lubricant. Follow these steps to ensure proper application:
- Start by reading the manufacturer’s instructions or user manual to determine the recommended amount of lubricant to apply. Over-lubricating can lead to issues such as belt slippage, while under-lubricating may not provide sufficient protection.
- Using the recommended lubricant, apply a small amount directly to the lubrication points. Be careful not to apply too much, as excess lubricant can lead to a messy and ineffective lubrication process.
- If your treadmill has an automatic lubrication system, follow the manufacturer’s instructions for activating the system. This can include adjusting the frequency or duration of the lubricant application.
- Once the lubricant is applied, carefully lower the treadmill belt back into place or reattach the motor cover, ensuring that everything is securely in position.
It’s important to note that different treadmills may have different lubrication requirements. Some models may utilize a silicone-based lubricant, while others may require a specific type of lubricant recommended by the manufacturer. Following the manufacturer’s instructions is crucial to ensure you are using the right lubricant for your treadmill.
By applying the lubricant in the correct amount and according to the manufacturer’s instructions, you are promoting smooth movement and reducing friction on the treadmill’s components. With the lubricant applied, it’s time to move on to the next step: distributing the lubricant evenly.
Step 5: Distributing the Lubricant
Now that you have applied the lubricant to the designated points on your treadmill, it’s important to distribute it evenly for optimal performance. Follow these steps to ensure the lubricant is distributed effectively:
- Begin by manually rotating the treadmill belt to help spread the lubricant across its surface. You can do this by carefully starting the treadmill at a low speed and using your hands to guide the belt in a circular motion.
- Continue rotating the belt for a few minutes to ensure the lubricant is evenly distributed along its entire length. This will help prevent any areas from becoming dry or overly lubricated.
- If your treadmill has an automatic distribution feature, activate it as per the manufacturer’s instructions. This feature usually involves running the treadmill at a low speed for a specific duration to distribute the lubricant evenly.
- Monitor the lubrication process closely, paying attention to any unusual sounds or movements. If you notice any issues, such as belt slippage or uneven distribution, stop the treadmill immediately and reassess the application of the lubricant.
Evenly distributing the lubricant ensures that all moving parts of your treadmill are properly lubricated, reducing friction and promoting smooth operation. Taking the time to distribute the lubricant thoroughly will help prolong the life of your treadmill and enhance its performance.
With the lubricant evenly distributed, it’s time for the final step: testing the treadmill to ensure everything is functioning smoothly.
Step 6: Testing the Treadmill
After completing the lubrication process, it’s important to test your treadmill to ensure that everything is functioning smoothly. Follow these steps to assess its performance:
- Make sure the treadmill is securely plugged into a power source and turned on.
- Start the treadmill at a low speed to observe its operation. Listen for any unusual noises such as squeaks, grinding sounds, or belt slippage. If you notice any abnormalities, stop the treadmill immediately and address the issue.
- Gradually increase the speed of the treadmill, paying attention to the belt’s movement. It should run smoothly and evenly without any signs of hesitation or jerking.
- Walk or run on the treadmill to further assess its performance. Ensure that the belt offers sufficient grip and support, without any slipping or sliding.
- During the test, observe the treadmill’s display, checking that all functions are working correctly, such as speed, distance, and incline (if applicable).
- If you encounter any problems during the test, consult the treadmill’s user manual or contact the manufacturer for troubleshooting assistance. Addressing any issues promptly will help maintain and prolong the life of your treadmill.
Regularly testing your treadmill after the lubrication process allows you to identify and address any potential problems before they worsen. It also ensures that your treadmill is running smoothly and optimally, providing a safe and enjoyable workout experience.
With the treadmill successfully tested and functioning smoothly, you have now completed the maintenance process. Remember to establish a regular maintenance routine for your treadmill, considering factors such as frequency of use and manufacturer recommendations. This will help prevent issues and ensure the longevity of your treadmill.
Conclusion
Congratulations! You have now learned how to properly lubricate a treadmill to ensure its optimal performance and longevity. By following the steps outlined in this article, you can keep your treadmill running smoothly and prevent unnecessary wear and tear on its components.
Remember to always prioritize safety by following the manufacturer’s instructions and taking necessary precautions. Wear appropriate clothing and footwear, unplug the treadmill before maintenance tasks, and use caution when handling any lubricants.
Start by cleaning the treadmill to remove dirt and debris that can hinder the lubrication process. Identify and access the specific lubrication points as indicated in your treadmill’s user manual. Apply the recommended lubricant in the proper amount and distribute it evenly to ensure smooth movement of the components.
Once the lubrication is complete, test the treadmill’s operation, listening for any unusual noises, observing the belt’s movement, and checking the functionality of its display and other features. Address any issues promptly to prevent further damage.
Remember to establish a regular maintenance routine for your treadmill, taking into account factors such as frequency of use and manufacturer recommendations. This will help keep your treadmill in excellent working condition for years to come.
Now that you are equipped with the knowledge and skills to lubricate your treadmill effectively, enjoy your workouts with a smooth, quiet, and reliable machine. Get ready to achieve your fitness goals with ease and comfort!