Featured
How To Center A Treadmill Belt
Modified: January 2, 2024
Discover the step-by-step guide on how to center a treadmill belt. Follow our featured tips to ensure smooth and proper alignment for optimal workout performance.
Introduction
Having a properly centered treadmill belt is crucial for a smooth and effective workout. A misaligned belt can cause discomfort, uneven wear, and even increase the risk of injury. If you notice that your treadmill belt is off-center or not running smoothly, don’t worry. With a few simple adjustments, you can easily center the belt and get back to your fitness routine.
In this article, we will guide you through the process of centering a treadmill belt. We will discuss how to assess the position of the belt, how to adjust the belt tension, and how to align the belt properly. Additionally, we will provide troubleshooting tips for common issues you might encounter along the way.
Before diving into the steps, it’s important to note that each treadmill model may have slightly different adjustment mechanisms. Therefore, we recommend consulting your treadmill’s user manual for specific instructions tailored to your equipment. Nonetheless, the general principles outlined here will apply to most treadmills.
Now, let’s get started and learn how to center a treadmill belt effectively.
Assessing the Position of the Treadmill Belt
Before you can begin the process of centering the treadmill belt, it’s important to assess its current position. Start by turning off the treadmill and ensuring that it is completely unplugged to avoid any accidents. Take a moment to visually inspect the position of the belt. Is it noticeably slanted to one side? Is it rubbing against the edges of the deck?
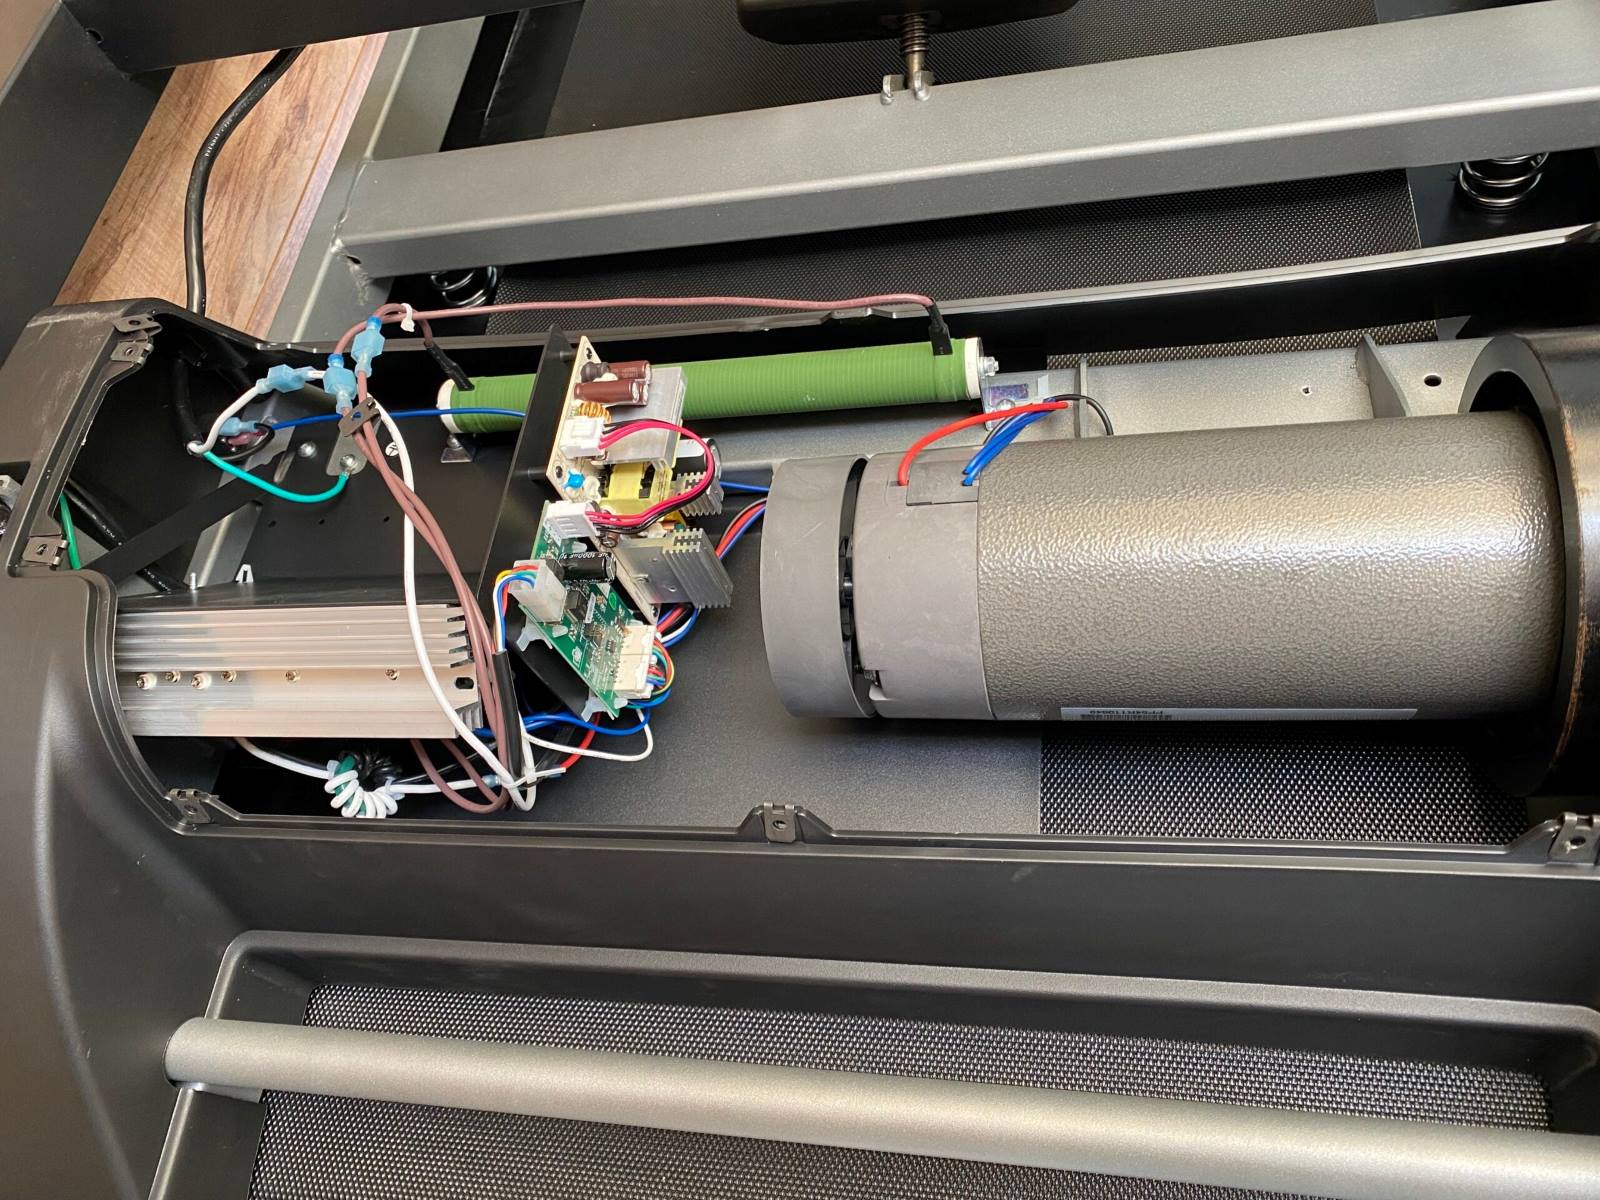
Next, use your hand to run the belt manually. Pay attention to any areas where the belt feels loose, tight, or uneven. This will help you determine the extent of the misalignment and guide your adjustments later on. Additionally, listen for any unusual noises or vibrations that may indicate further issues with the belt or motor.
If you’re unsure whether the belt is aligned correctly, you can use a measuring tool, such as a ruler or tape measure, to measure the distance between the belt and the edges of the treadmill deck. Repeat this measurement at several points along the length of the belt to get an accurate assessment. A consistent gap on both sides generally indicates that the belt is centered properly, while a larger gap on one side suggests misalignment.
Remember to take note of these observations as they will help you make the necessary adjustments in the next steps. By assessing the position of the treadmill belt, you have laid the foundation for centering it effectively.
Adjusting the Belt Tension
One of the main reasons for an off-center treadmill belt is improper tension. If the belt is too loose, it can drift to one side during use. On the other hand, if the belt is too tight, it can cause excessive friction and wear on the motor and belt.
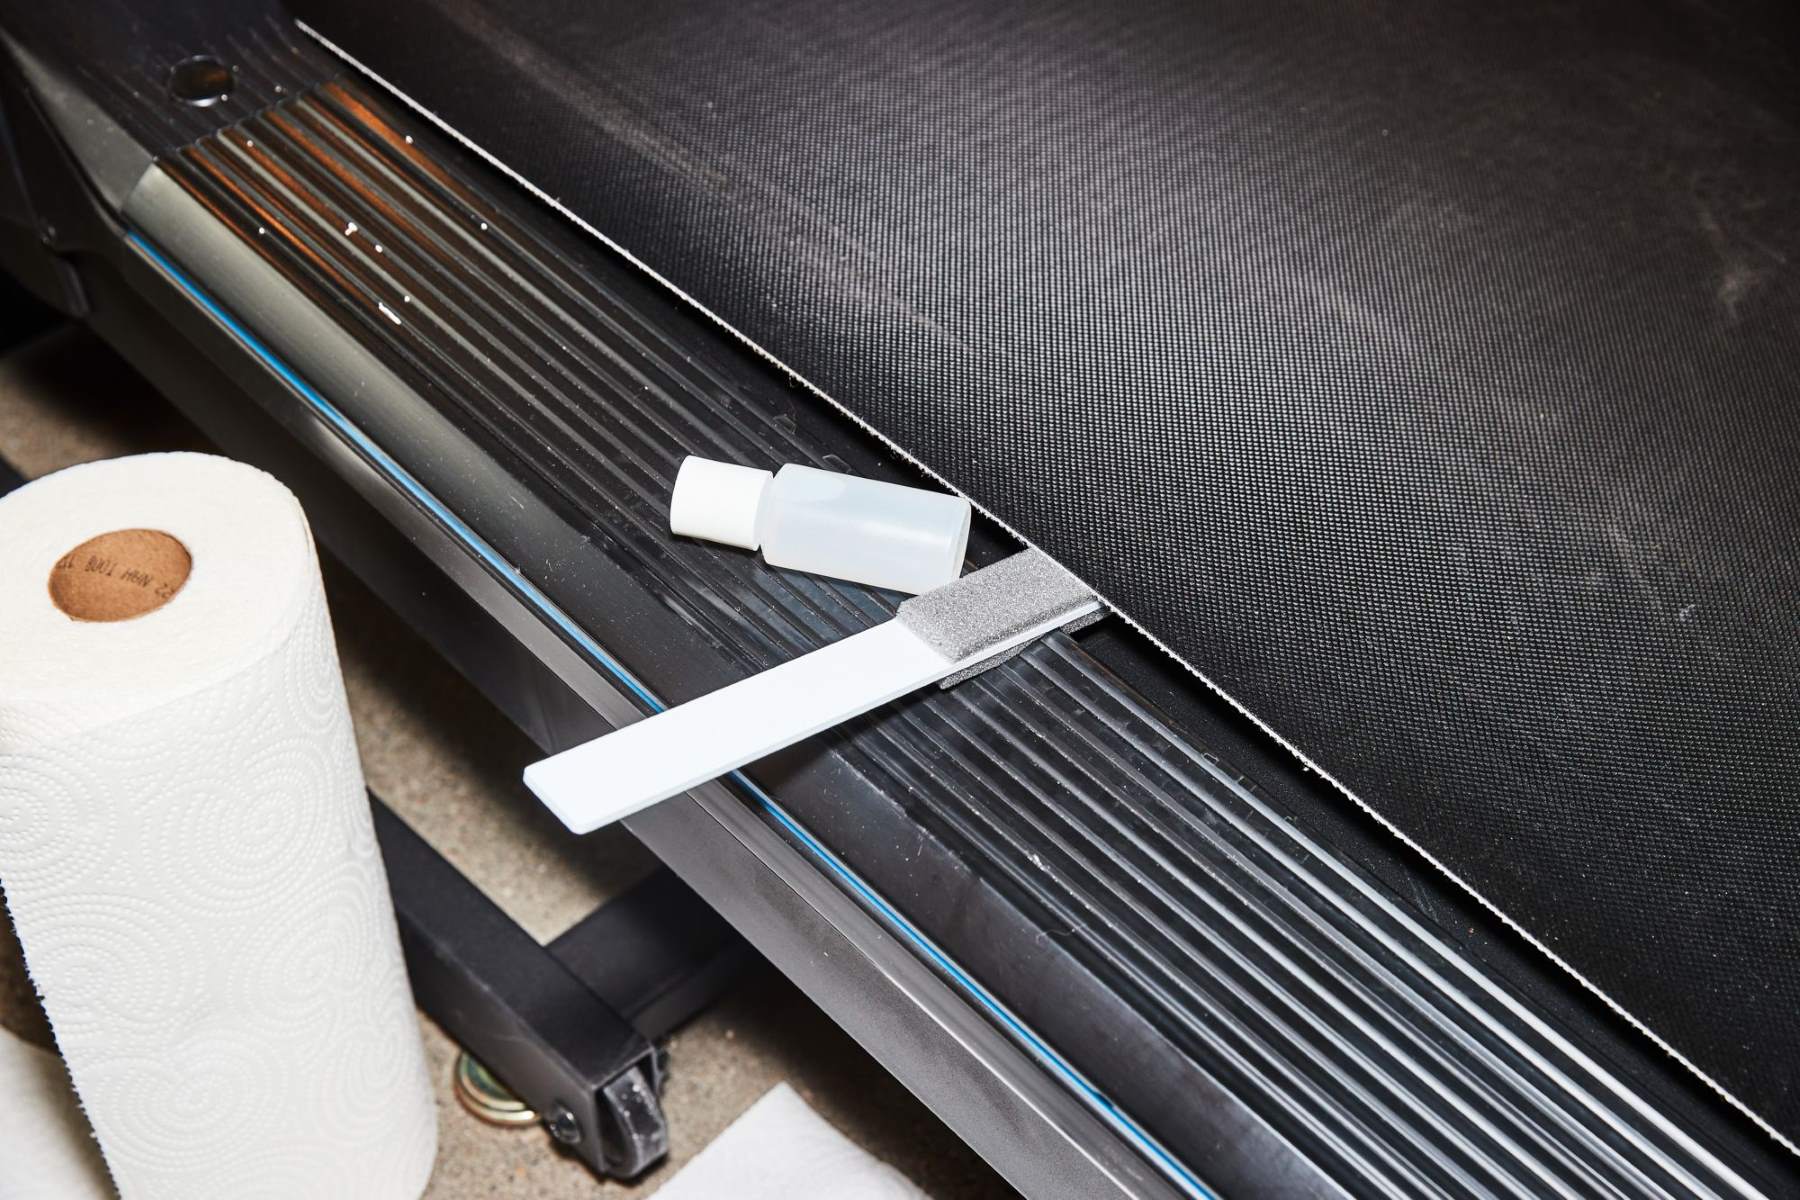
To begin adjusting the belt tension, locate the tension bolts or screws on both sides of the rear roller. These bolts are typically found at the back of the treadmill near the belt. Using the appropriate tool, such as an Allen wrench or screwdriver, slowly rotate the bolts clockwise to tighten the tension or counterclockwise to loosen it.
Make small, incremental adjustments to avoid over-tightening or over-loosening the belt. After each adjustment, turn on the treadmill and run it at a slow speed to test the tension. Observe the belt as it moves and check if it remains centered. If not, continue making slight adjustments until the belt runs smoothly without shifting to one side.
Keep in mind that different treadmill models may have different adjustment mechanisms, such as tension knobs or levers, so refer to your treadmill’s user manual for specific instructions if needed.
Additionally, some treadmills come with an automatic belt tension adjustment feature. If you have this option, consult your user manual to learn how to activate or calibrate it for optimal belt alignment.
By adjusting the belt tension, you can ensure that the treadmill belt remains centered during your workouts, enhancing both safety and performance.
Aligning the Belt
Once you have adjusted the tension of the treadmill belt, the next step is to align it properly. Aligning the belt ensures that it tracks straight and doesn’t drift off to either side during use.
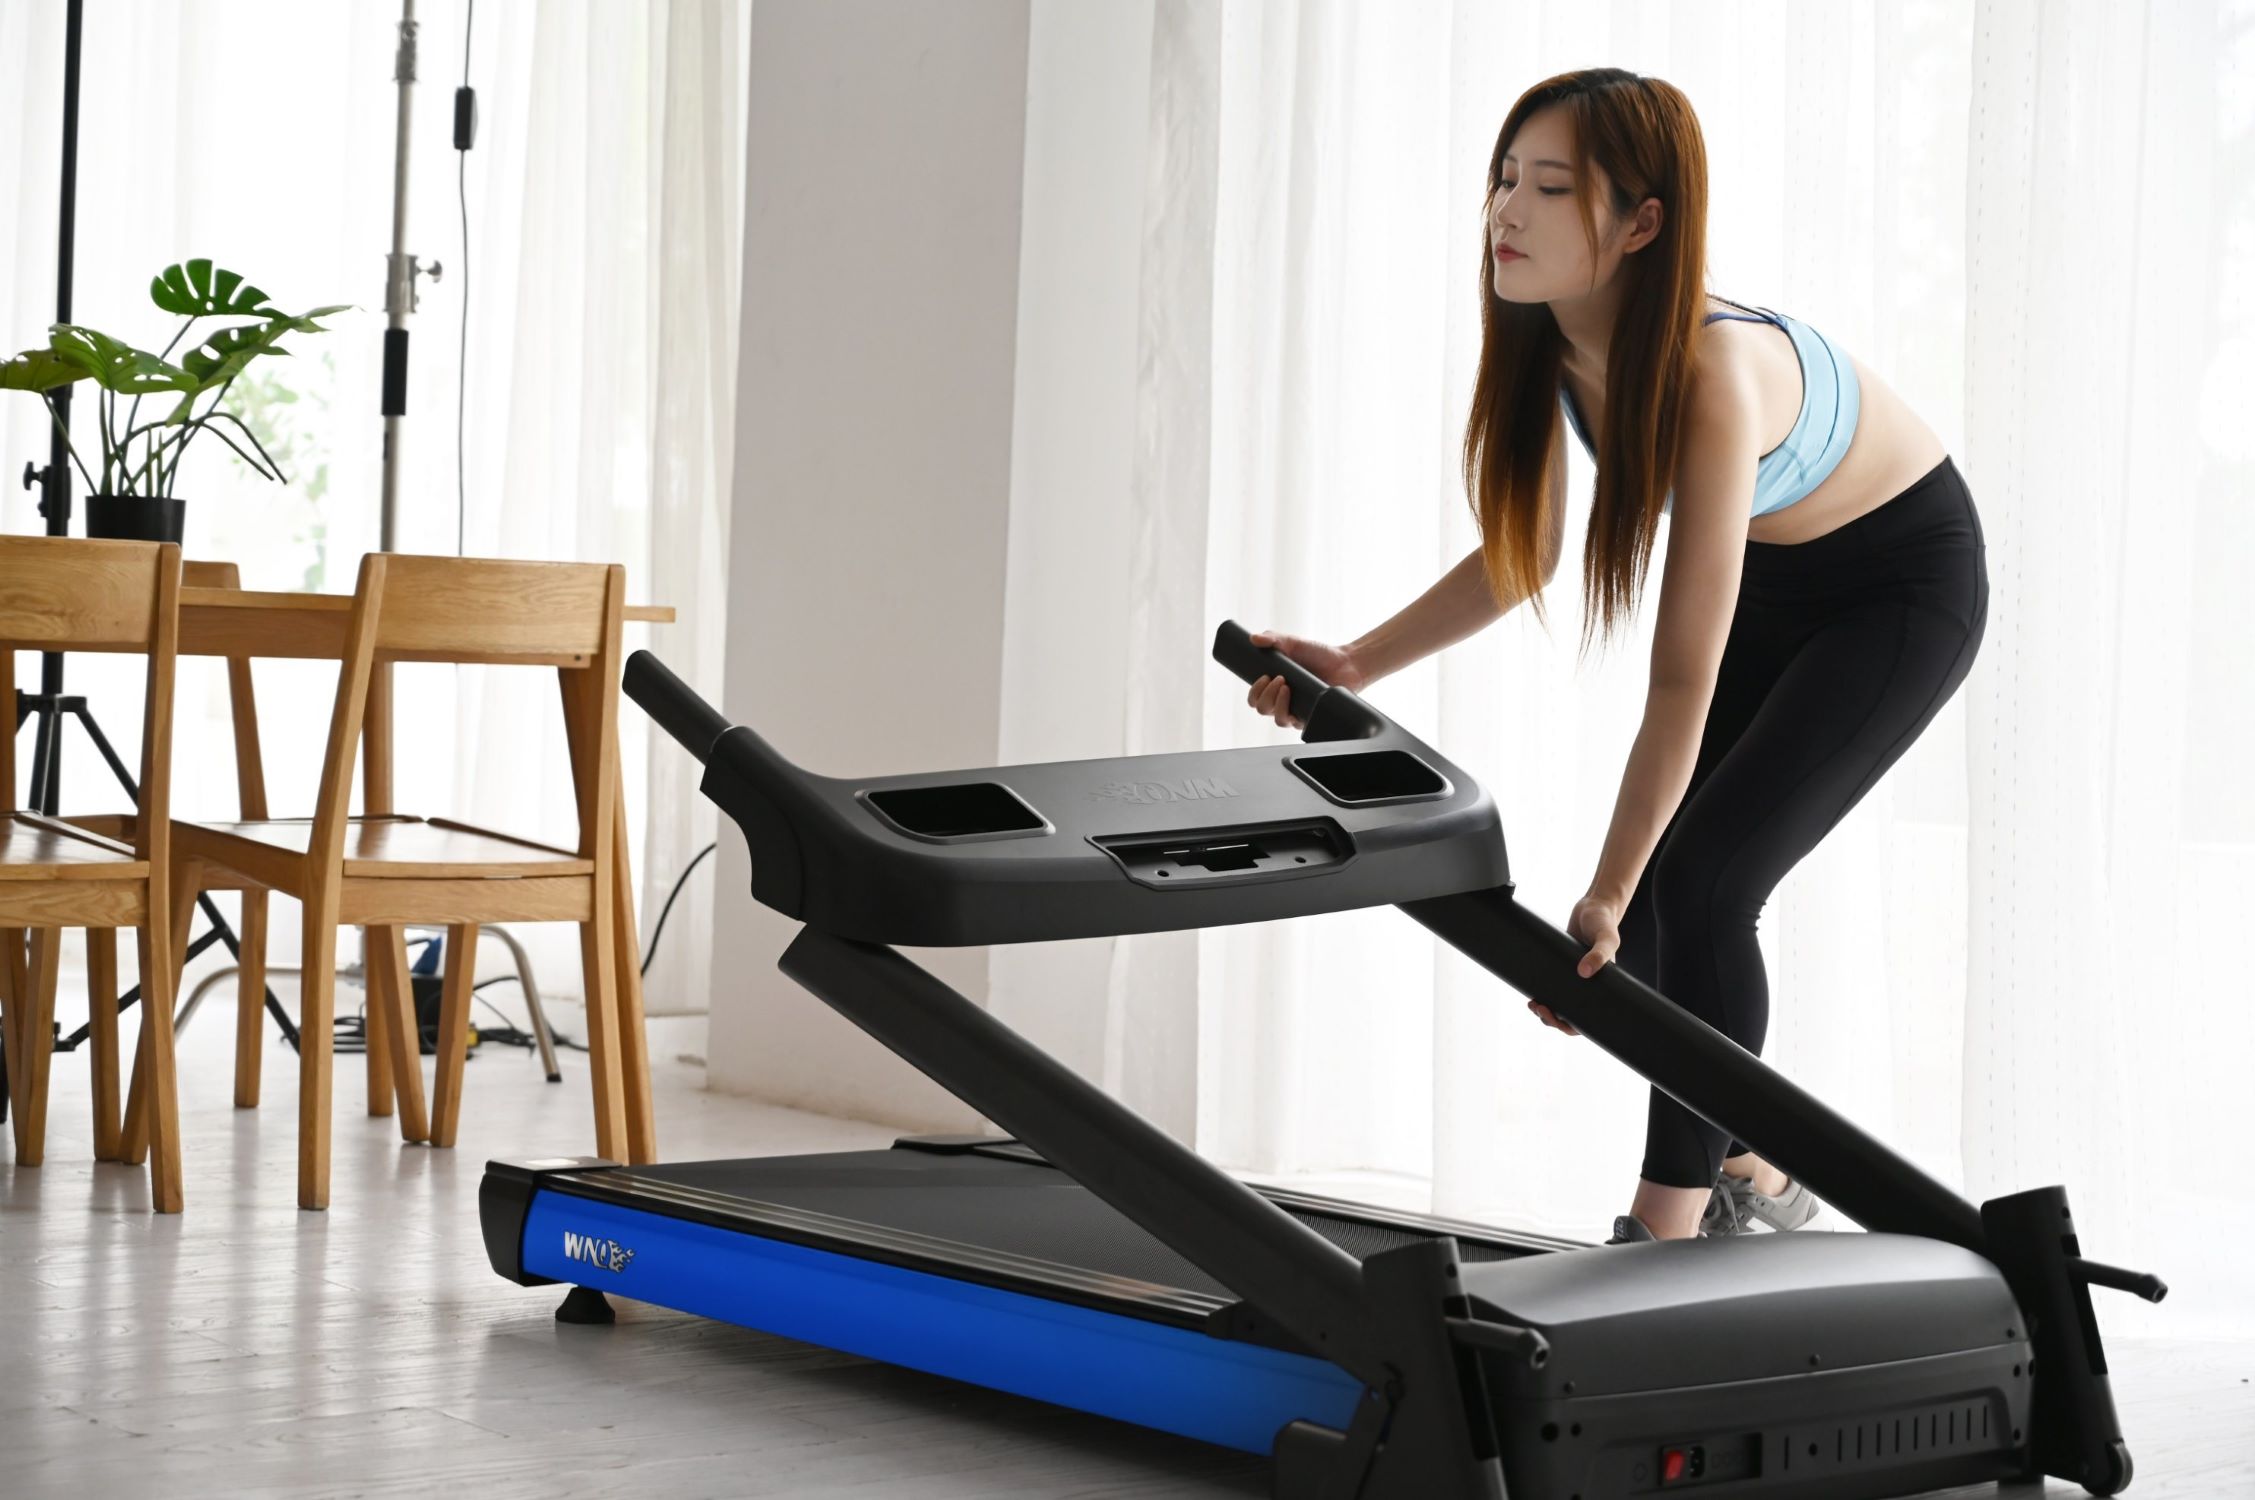
Start by loosening the rear roller bolts on both sides of the treadmill. You can do this by turning the bolts counterclockwise with the appropriate tool. Loosen them just enough to allow for adjustments without losing control over the belt.
With the bolts loosened, stand at the back of the treadmill facing the console. Gently apply pressure on the belt with your foot or hand to move it towards the center of the deck. As you do this, keep an eye on the edges of the belt to ensure it remains parallel to the sides of the treadmill.
Once you’ve centered the belt, tighten the rear roller bolts gradually on both sides. Start with one side, tightening the bolt slightly, then move to the other side and repeat the process. Continue alternating between the two sides until the belt is securely aligned and centered.
After tightening the bolts, check the alignment again by manually running the belt at a slow speed. Observe if it remains centered and doesn’t drift to one side. If you notice any misalignment, repeat the process of loosening the bolts and making necessary adjustments until you achieve a properly aligned belt.
It’s important to note that some treadmills may have additional alignment mechanisms, such as adjustable front rollers or tracking bolts. If your treadmill has these features, refer to the user manual for specific instructions on how to align the belt using these mechanisms.
By aligning the belt correctly, you’ll ensure a smooth and balanced workout experience, reducing the risk of injury and prolonging the lifespan of your treadmill.
Testing the Centering of the Belt
After adjusting and aligning the treadmill belt, it’s essential to test its centering to ensure that your efforts have been successful. Here are a few simple tests you can perform to verify the belt’s position:
- Visual Inspection: Turn on the treadmill and observe the belt as it runs at a slow speed. Stand at a safe distance and check if the belt remains centered without any noticeable drift to either side. Visually inspect the alignment by looking at the edges of the belt and comparing them to the sides of the treadmill deck.
- Walking Test: Step onto the treadmill and walk on it at a moderate pace. Pay attention to how the belt feels under your feet. If the belt is centered properly, it should feel smooth and even without any pulling or unevenness on either side.
- Incline Test: If your treadmill has an incline feature, test the belt’s centering by adjusting the incline to different levels. As the incline changes, observe if the belt remains centered without shifting to one side. If you notice any misalignment, revisit the adjustment and alignment steps to fine-tune the belt’s position.
- Speed Test: Increase the speed of the treadmill and run on it for a few minutes. Pay close attention to the belt’s movement and ensure that it tracks straight without veering off to one side. A properly centered belt should allow for a smooth and stable running experience.
Remember, each test should be performed cautiously and with safety in mind. If you encounter any issues during the testing process, such as excessive belt slippage, loud noises, or persistent misalignment, it may be necessary to seek professional assistance or consult the treadmill manufacturer for further guidance.
By conducting these tests, you can ensure that the treadmill belt is centered and operating optimally, providing you with a comfortable and effective workout.
Troubleshooting Common Issues
While centering a treadmill belt is generally a straightforward process, you may encounter some common issues along the way. Here are a few troubleshooting tips for addressing these problems:
- Belt Slippage: If you notice that the belt slips during use, it may indicate that the tension is too loose. Try tightening the tension bolts slightly to increase the belt’s grip on the deck. Avoid over-tightening as it can cause excessive friction and premature wear.
- Noise or Vibration: Excessive noise or vibration can be caused by uneven belt tension or misalignment. Double-check the tension bolts and ensure they are properly tightened on both sides of the treadmill. If the problem persists, consider realigning the belt and retesting.
- Belt Tracking Issues: If the belt consistently drifts to one side, it may indicate a misalignment problem. Start by loosening the rear roller bolts and realigning the belt as previously described. Tighten the bolts gradually on each side to secure the proper alignment.
- Uneven Belt Wear: If you notice uneven wear on the belt, it could suggest a misalignment issue or improper tension distribution. Realign the belt as needed and ensure that the tension is evenly distributed on both sides of the treadmill. This will help prevent excessive wear and extend the life of the belt.
- Difficulty in Adjustment: If you encounter difficulties while adjusting the tension or aligning the belt, refer to your treadmill’s user manual for specific instructions. Each treadmill model may have its unique adjustment mechanisms and requirements.
If you have followed these troubleshooting tips and still experience issues with the belt centering, it may be necessary to contact the treadmill manufacturer or seek professional assistance. They will be able to provide further guidance and support to resolve any persistent problems.
By troubleshooting common issues, you can overcome challenges that may arise during the process of centering a treadmill belt and ensure a smooth and enjoyable workout experience.
Conclusion
Centering a treadmill belt is an important aspect of treadmill maintenance that ensures a smooth and safe workout experience. By assessing the position of the belt, adjusting the tension, and aligning the belt properly, you can enhance the performance and longevity of your treadmill.
Remember to visually inspect the position of the belt and assess any signs of misalignment. Adjust the tension of the belt by tightening or loosening the tension bolts, making incremental adjustments until the belt runs smoothly. Align the belt by loosening the rear roller bolts and centering it on the treadmill deck, gradually tightening the bolts to secure proper alignment.
After the adjustments, test the centering of the belt through visual inspection, walking, incline, and speed tests. Use these tests to verify that the belt remains centered and tracks straight during different workouts.
If you encounter any issues, such as belt slippage, noise, or vibration, troubleshoot the problem by adjusting the tension, realigning the belt, or seeking professional assistance if needed. Remember to consult your treadmill’s user manual for specific instructions tailored to your equipment.
By following these steps and troubleshooting tips, you can ensure that your treadmill belt is centered and performing optimally, providing you with a comfortable and effective workout every time.