Featured
How To Repair Running Shoes
Published: August 12, 2023
Learn how to repair your running shoes with our featured tutorial. Fixing your shoes is easy and affordable with our step-by-step guide.
Introduction
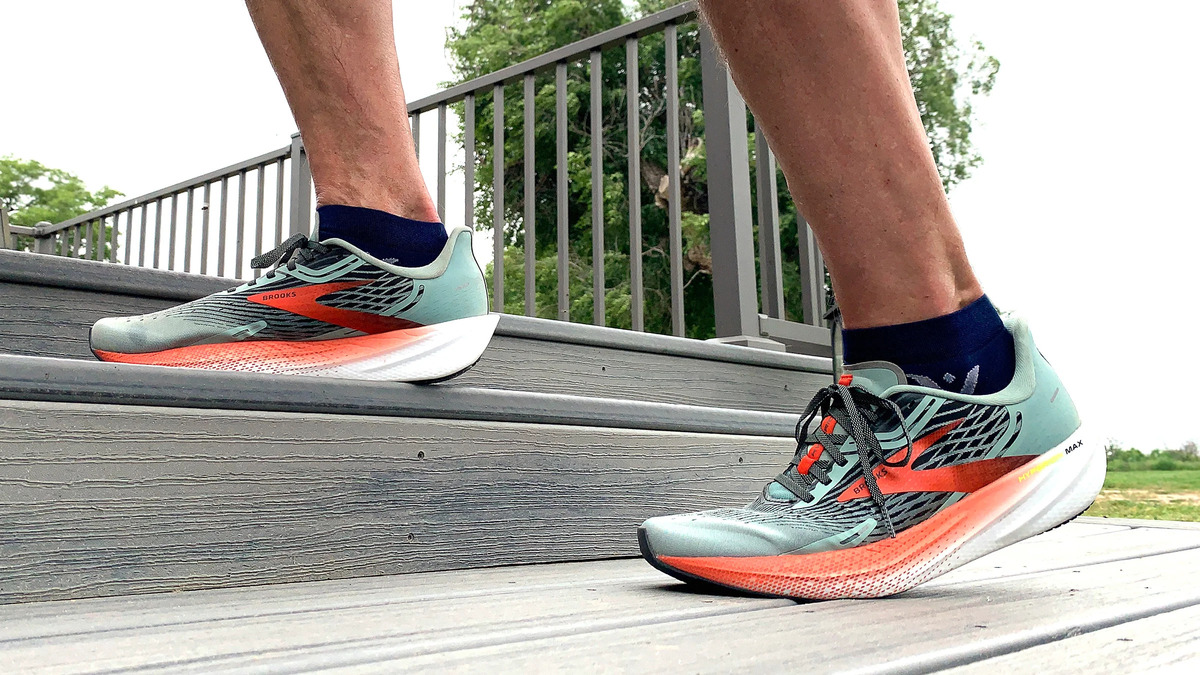
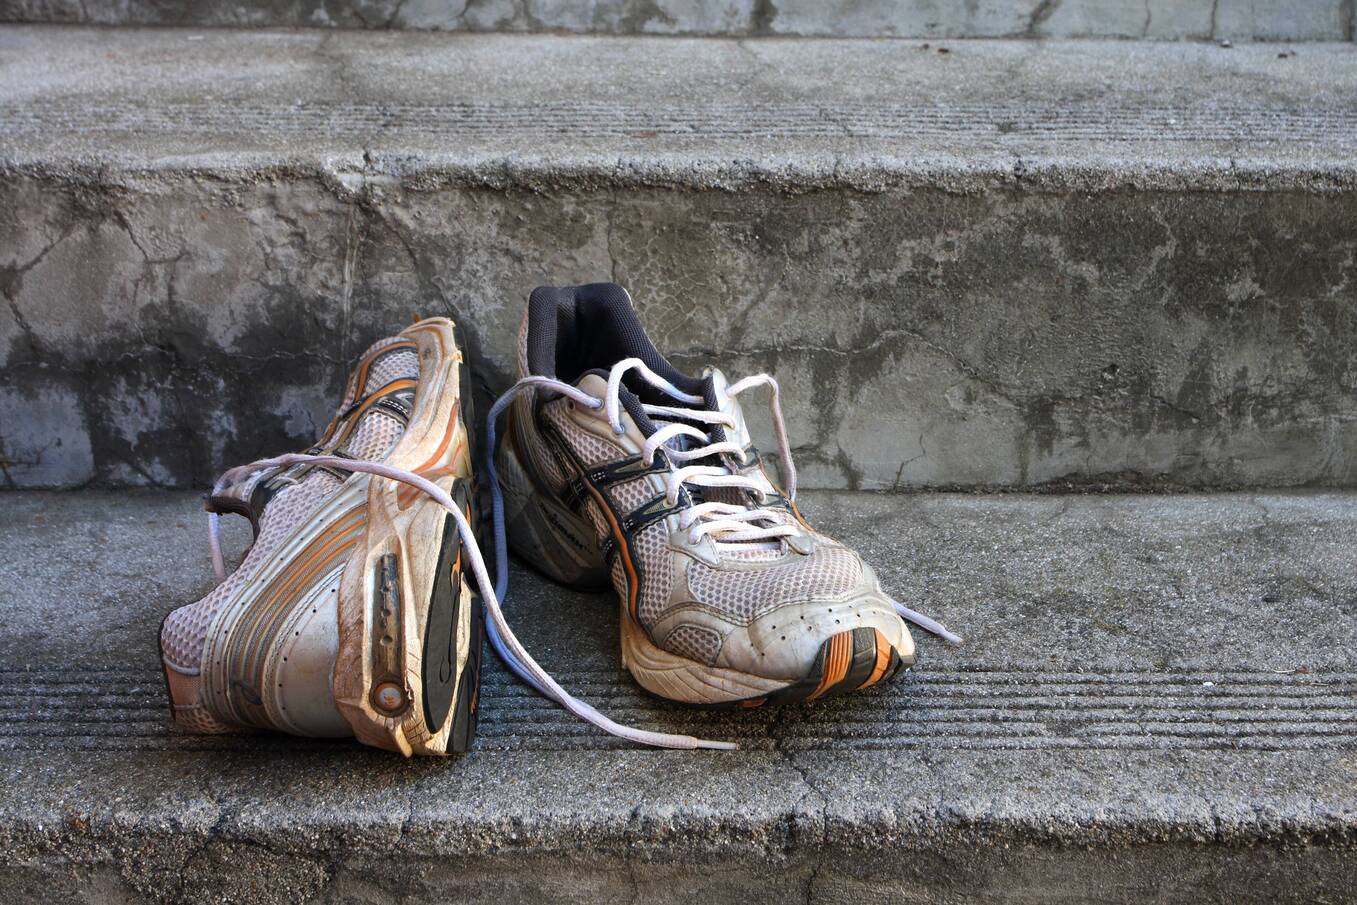
Running shoes are an essential investment for any avid runner or fitness enthusiast. They provide the necessary support, cushioning, and traction to keep you comfortable and prevent injuries during your workouts. However, over time, even the highest-quality running shoes can start to show signs of wear and tear. From worn-out outsoles to tears in the upper, these issues can compromise the performance and lifespan of your beloved running shoes.
Fortunately, with a little bit of time and effort, you can repair your running shoes and extend their life. By following some simple steps and using the right tools and materials, you can fix various common problems like loose soles, worn-out insoles, and tears in the upper. Not only will this save you money by avoiding the need to buy new shoes, but it will also allow you to continue enjoying your favorite pair on your runs.
In this article, we will guide you through the process of repairing your running shoes from start to finish. Whether you have basic sewing skills or are a novice when it comes to DIY repairs, you will be able to follow along and restore your shoes to their former glory. So, let’s dive in and learn how to repair running shoes like a pro.
Tools and Materials Needed
Before you embark on the journey of repairing your running shoes, it’s important to gather all the necessary tools and materials. Having everything on hand will make the repair process smoother and more efficient. Here are the tools and materials you’ll need:
- Old toothbrush or soft brush: This will be used to clean the shoes.
- Mild detergent or shoe cleaner: To effectively remove dirt and grime from the shoes.
- Needle and thread: For stitching repairs.
- Shoe glue or adhesive: To fix loose soles or reattach detached parts.
- Replacement outsoles: If the outsoles are worn out beyond repair, you’ll need to replace them.
- Patches or fabric glue: For repairing tears or holes in the upper.
- Replacement insoles: If the insoles have lost their cushioning or support, it’s time for new ones.
- Pliers: Useful for removing old stitching or hardware.
- Scissors: To trim excess material or cut patches.
- Sandpaper: For smoothing rough edges or surfaces.
- Waterproof spray: To protect your shoes from moisture and prolong their lifespan.
It’s important to note that the specific tools and materials required may vary depending on the extent of the damage and the type of running shoes you have. Additionally, you may need to source specific replacement parts or materials based on the brand or model of your shoes. To ensure a successful repair, carefully assess the damage beforehand and gather all the necessary tools and materials.
Now that you have all your tools and materials ready, it’s time to move on to the next step: assessing the damage.
Step 1: Assessing the Damage
Before you can start repairing your running shoes, it’s important to assess the extent of the damage. This will help you determine the specific repairs needed and ensure that you have all the necessary tools and materials on hand. Here’s how you can assess the damage:
- Examine the outsoles: Check for signs of excessive wear, such as smooth patches or thinning treads. If the outsoles are severely worn out or crumbling, they may need to be replaced.
- Inspect the upper: Look for any tears, holes, or fraying in the upper part of the shoe. Take note of their size and location to determine the best repair method.
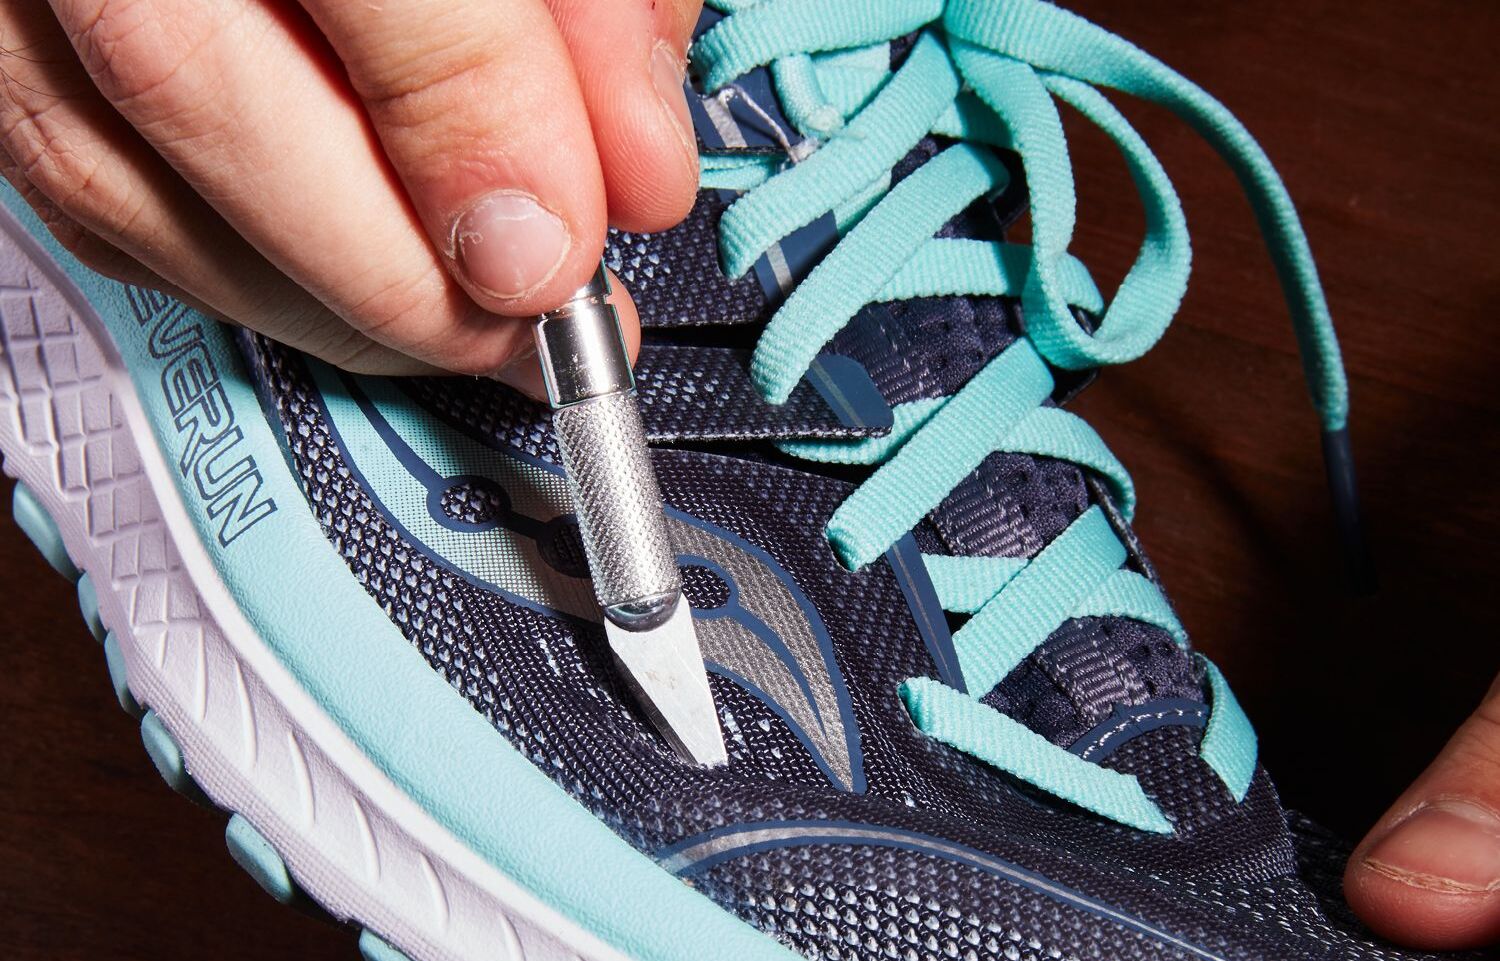
- Check the stitching: Inspect the stitching along the seams and any other areas where the upper is attached to the sole. Look for loose threads or broken stitching that may need to be repaired.
- Evaluate the insoles: Take out the insoles and check their condition. If they have lost their cushioning or support, they will need to be replaced.
- Assess the overall condition: Consider any additional damage or issues with your running shoes, such as loose soles, separated layers, or detached parts. These will require specific repairs to restore the shoes’ functionality.
By thoroughly assessing the damage, you’ll have a clear understanding of what needs to be addressed during the repair process. This will help you prioritize the repairs and gather the appropriate tools and materials. Remember, not all damage can be easily repaired, especially if it’s extensive or affects the structural integrity of the shoe. In such cases, it may be necessary to consult a professional or consider investing in a new pair of running shoes.
Once you have assessed the damage, you’re ready to move on to the next step: cleaning the shoes.
Step 2: Cleaning the Shoes
Before you begin any repairs, it’s important to thoroughly clean your running shoes. Cleaning will remove dirt, grime, and other debris that can affect the adhesive and overall effectiveness of the repair. Here’s how you can clean your shoes:
- Remove the laces and any removable inserts, such as insoles.
- Use an old toothbrush or soft brush to gently scrub the outsoles and uppers. Pay close attention to the areas with visible dirt or stains.
- Prepare a mixture of mild detergent or shoe cleaner with water.
- Dip the brush into the detergent solution and continue scrubbing the shoes. Make sure to clean both the inside and outside of the shoes.
- Rinse the shoes thoroughly with clean water to remove any remaining detergent.
- Wipe off excess water with a clean cloth or towel
- Allow the shoes to air dry completely before moving on to the next step. Avoid using direct heat sources, such as a hairdryer, as it can damage the materials.
Cleaning your shoes not only improves their appearance but also helps ensure that the repairs adhere properly. It’s essential to remove any dirt or residue that may hinder the repair process. Additionally, regular cleaning can help prolong the lifespan of your shoes, keeping them fresh and odor-free.
Once your shoes are clean and fully dry, you’re ready to proceed to the next step based on the specific repairs needed.
Step 3: Replacing Worn-out Outsoles
If your running shoes have worn-out outsoles that no longer provide the necessary traction and support, it’s time to replace them. Here’s how you can replace the worn-out outsoles:
- Remove the old outsoles: Use a sharp knife or scissors to carefully cut away the old outsoles. Take your time and be cautious to avoid damaging the upper or any other parts of the shoe.
- Prepare the new outsoles: If you have purchased replacement outsoles, trace the shape of the old outsoles onto the new ones. Use scissors or a utility knife to cut out the new outsoles to match the shape and size of the original ones.
- Attach the new outsoles: Apply a thin, even layer of shoe glue or adhesive onto the bottom of the shoe’s sole. Press the new outsoles onto the adhesive, making sure they are aligned correctly. Apply firm pressure for a few minutes to ensure a secure bond.
- Allow the adhesive to dry: Follow the drying time specified by the adhesive manufacturer. It’s important to allow the adhesive to fully dry and cure for a strong and long-lasting bond.
Replacing worn-out outsoles can significantly improve the overall performance and safety of your running shoes. With fresh outsoles, you’ll regain the traction and stability needed for your runs. However, it’s essential to ensure proper alignment and secure attachment of the new outsoles to avoid any discomfort or imbalance when wearing the shoes.
Once you have successfully replaced the worn-out outsoles, you can move on to addressing other specific repairs, such as tears or holes in the upper or loose stitching. Each repair contributes to restoring your running shoes’ functionality and extending their lifespan.
Step 4: Repairing Tears or Holes in the Upper
If your running shoes have tears or holes in the upper, it’s crucial to repair them to prevent further damage and maintain the integrity of your shoes. Here’s how you can repair tears or holes in the upper:
- Clean the damaged area: Use a mild detergent and water solution to gently clean the area around the tear or hole. This will help remove any dirt and debris that could interfere with the repair process.
- If the tear or hole is small: Apply a small amount of fabric glue to the edges of the tear or hole and press them together. Hold them in place for a few minutes to allow the glue to dry and bond the fabric. If necessary, you can reinforce the repair by applying a small patch on the inside of the shoe with fabric glue.
- If the tear or hole is larger: Use a patch made of a similar material to the upper, such as a piece of durable fabric or synthetic leather. Cut the patch to fit the size of the tear or hole, ensuring it covers the damaged area completely. Apply fabric glue to the edges of the tear or hole and press the patch onto the glue. Apply firm pressure for a few minutes to allow the glue to bond the patch and the upper.
- Allow the adhesive to dry: Follow the drying time specified by the fabric glue manufacturer. It’s essential to let the glue fully dry to ensure a strong and secure repair.
- Trim any excess material: Once the adhesive is dry, use scissors to carefully trim any excess fabric or patch material, ensuring a neat and seamless repair.
Repairing tears or holes in the upper not only extends the lifespan of your running shoes but also prevents moisture and debris from entering the shoe and affecting your comfort and performance. A well-executed repair will help maintain the structural integrity of the shoe, allowing you to continue enjoying your runs without any discomfort or compromise in functionality.
With the tears or holes in the upper properly repaired, you can now move on to addressing any loose or broken stitching that needs attention.
Step 5: Fixing Loose or Broken Stitching
Loose or broken stitching can weaken the structural integrity of your running shoes and compromise their durability. It’s important to address this issue promptly to prevent further damage. Here’s how you can fix loose or broken stitching:
- Inspect the stitching: Identify the areas where the stitching is loose or broken. Take note of the extent of the damage and the type of stitching used.
- Remove any loose threads: Use a pair of small scissors or tweezers to carefully trim or remove any loose threads around the damaged stitching area.
- Reinforce the existing stitching: If the stitching is still intact but has become loose or weakened, you can reinforce it by sewing over it using a needle and strong thread. Use a backstitch or a whipstitch to secure the loose sections.
- Re-stitch the area: If the stitching is completely broken or missing, you’ll need to restitch the area. Thread a needle with strong thread that matches the color of the existing stitching. Carefully align the edges of the fabric and stitch through both layers, following the original stitch pattern as closely as possible.
- Knot and secure the thread: Once the stitching is complete, tie a knot to secure the thread at the end of the stitching. Make sure the knot is tight and trim any excess thread.
- Inspect the repaired stitching: After fixing the loose or broken stitching, examine the repaired area to ensure that it’s secure and properly aligned. Test the strength of the stitching by gently tugging on it.
Fixing loose or broken stitching is crucial for maintaining the overall structural integrity and longevity of your running shoes. It reinforces the seams and prevents further unraveling, ensuring that your shoes can withstand the demands of your workouts.
With the loose or broken stitching repaired, you can now focus on addressing any issues with worn-out insoles and restoring the cushioning and support of your running shoes.
Step 6: Replacing Worn-out Insoles
Over time, the insoles of your running shoes can lose their cushioning and support, which can impact your comfort and performance. Replacing worn-out insoles is essential to restore the proper cushioning and support to your shoes. Here’s how you can replace the insoles:
- Remove the old insoles: Take out the old insoles from your running shoes. If they are stuck or glued to the shoe, gently pry them out using a flat tool or your fingers.
- Select the new insoles: Choose replacement insoles that match the size and shape of your original insoles. Look for insoles that provide the desired level of cushioning and support for your running needs.
- Trim the new insoles if necessary: If the replacement insoles are slightly larger than your shoe size, you may need to trim them to fit. Use the outline of the original insoles as a guide and carefully cut the new insoles to the appropriate size.
- Insert the new insoles: Place the new insoles into your running shoes, ensuring they are aligned properly and fit snugly. Make any necessary adjustments to ensure a comfortable fit.
Replacing worn-out insoles can greatly improve the comfort and performance of your running shoes. Fresh insoles provide cushioning that absorbs impact and reduces strain on your feet, allowing you to stay comfortable and protected during your runs.
After replacing the insoles, you may notice a significant improvement in the overall feel and support of your shoes. With the cushioning and support restored, you can now move on to the next step to address any concerns with the overall cushioning and support of your running shoes.
Step 7: Restoring Cushioning and Support
As you continue to use your running shoes, the cushioning and support may start to deteriorate over time. Restoring the cushioning and support is crucial for maintaining comfort and preventing potential injuries. Here’s how you can restore the cushioning and support of your running shoes:
- Assess the condition of the midsole: Examine the midsole of your running shoes for any signs of wear or compression. Look for areas where the cushioning feels flat or less responsive.
- If the midsole is compressed or worn out: Consider using specialized restoration products designed to restore cushioning. These products, such as foam inserts, can help revive the midsole by adding support and cushioning.
- Insert the restoration product: Follow the instructions provided with the restoration product to insert it correctly into the midsole of your running shoes. Ensure that it is placed in the areas that need extra cushioning and support.
- Test for comfort: Wear your running shoes with the restoration product and assess the comfort level. Make adjustments if necessary to achieve the desired cushioning and support.
Restoring the cushioning and support of your running shoes is vital for maintaining the overall performance and comfort during your runs. By reviving the midsole, you can ensure that your shoes can continue to absorb impact and provide the necessary support to keep your feet protected.
Once you have restored the cushioning and support, you can move on to addressing any concerns with loose soles and ensuring that they are securely attached.
Step 8: Reattaching Loose Soles
One common issue with running shoes is the detachment or loosening of the soles. This can significantly affect the performance and stability of the shoes. Reattaching the loose soles is crucial to ensure a secure and stable fit. Here’s how you can reattach loose soles:
- Clean and prepare the sole and shoe: Use a mild detergent or shoe cleaner to clean both the sole and the shoe’s outsole area where the sole will be attached. Remove any dirt, debris, or old adhesive.
- Apply adhesive: Apply a suitable shoe glue or adhesive to both the sole and the shoe’s outsole area. Use enough adhesive to form a strong and secure bond.
- Align the sole: Carefully align the sole with the outsole area of the shoe. Ensure proper positioning and alignment before pressing the sole onto the shoe.
- Apply pressure: Apply firm and even pressure on the sole to help the adhesive bond effectively. You can use clamps, heavy books, or any other method that applies consistent pressure. Follow the adhesive manufacturer’s instructions for the recommended drying time.
- Allow the adhesive to cure: After applying pressure, allow sufficient time for the adhesive to cure. This will ensure a strong bond and prevent the sole from detaching again in the future.
Reattaching loose soles is essential for maintaining the structural integrity of your running shoes. It helps restore the shoe’s stability, traction, and overall performance. With a securely attached sole, you can enjoy your runs without any concerns about the sole separating or impacting your gait.
Once you have successfully reattached the loose soles, you can move on to the final step—waterproofing your shoes to protect them from moisture and external elements.
Step 9: Waterproofing the Shoes
Waterproofing your running shoes is essential to protect them from moisture, rain, and other external elements. This step will help prolong the lifespan of your shoes and keep your feet dry and comfortable during wet conditions. Here’s how you can waterproof your shoes:
- Clean the shoes: Ensure that your shoes are clean and free from any dirt or debris before applying waterproofing products. Use a mild detergent or shoe cleaner to clean the shoes if necessary. Allow them to dry completely.
- Choose a waterproofing product: There are various waterproofing products available, such as sprays, waxes, and liquids. Select a product that is suitable for the material of your shoes. Read and follow the instructions provided by the manufacturer.
- Apply the waterproofing product: Apply the waterproofing product evenly on the upper of your shoes, focusing on areas that are more prone to exposure to water, such as the toe box and seams. Use a cloth or sponge to spread the product and ensure thorough coverage.
- Allow the product to dry: Follow the drying time recommended by the manufacturer. It’s important to allow the waterproofing product to fully dry to form a protective barrier on the shoes.
- Test the waterproofing: After the product has dried, test the waterproofing by sprinkling a small amount of water on the shoes. If the water beads up and rolls off the surface, the waterproofing is effective. If the water is absorbed or does not bead up, apply another layer of waterproofing product.
Waterproofing your running shoes helps keep your feet dry, prevent water damage, and maintain the overall quality and performance of the shoes. It’s especially important if you frequently run in wet or rainy conditions or participate in outdoor activities where your shoes may be exposed to water.
With your shoes now repaired, cleaned, and waterproofed, you can confidently hit the trails or pavements, knowing that your running shoes are in excellent condition and ready to support you during your runs.
Conclusion
Repairing your running shoes can extend their lifespan and save you money on buying new pairs. By following the steps outlined in this guide, you can effectively address common issues such as worn-out outsoles, tears or holes in the upper, loose or broken stitching, worn-out insoles, and detached soles. Additionally, waterproofing your shoes can help protect them from moisture and prolong their durability.
Remember, assessing the damage, cleaning the shoes, and gathering the necessary tools and materials are crucial first steps to take. From there, you can proceed with specific repairs, such as replacing worn-out outsoles, fixing tears or holes in the upper, restoring loose or broken stitching, replacing worn-out insoles, reattaching loose soles, and waterproofing the shoes.
Regular maintenance and repairs will not only extend the life of your running shoes but also ensure that they continue to provide the necessary support, cushioning, and traction you need for your runs. Take the time to assess your shoes periodically and perform any necessary repairs to keep your footwear in optimal condition.
With proper care and maintenance, your repaired running shoes will continue to serve you well and provide the comfort and performance you desire. So, grab your tools, gather your materials, and get ready to give your running shoes the attention they deserve!