Home>Misc>Brands>How To Set Up Interval Training On Garmin Vivoactive 4
Brands
How To Set Up Interval Training On Garmin Vivoactive 4
Modified: January 2, 2024
Learn how to set up interval training on your Garmin Vivoactive 4 with ease. Explore the features and benefits of this brand's fitness tracker for optimized workouts.
Introduction
Interval training is a highly effective workout technique that involves alternating periods of high-intensity exercise with periods of rest or low-intensity recovery. This type of training is known for its ability to enhance cardiovascular fitness, increase endurance, and burn calories more efficiently. If you own a Garmin Vivoactive 4 fitness watch, you’re in luck! This advanced device offers a built-in interval training feature that allows you to easily create and customize interval workouts to suit your fitness goals.
Whether you’re a seasoned athlete looking to take your performance to the next level or a fitness enthusiast wanting to add variety to your routine, the Garmin Vivoactive 4 has you covered. In this article, we’ll guide you through the steps to set up interval training on your Garmin Vivoactive 4, helping you make the most of this powerful workout tool.
By incorporating interval training into your fitness regime, you can maximize your workout time and achieve optimal results in a shorter period. The combination of intense bursts of exercise and rest periods challenges your body, boosting your metabolism, improving your cardiovascular capacity, and enhancing your overall endurance. With the Garmin Vivoactive 4’s interval training feature, you have the flexibility to tailor your interval workouts to your specific fitness level and goals.
Whether you’re aiming to increase your running speed, improve your cycling stamina, or simply enhance your overall fitness, interval training can be a game-changer. The Garmin Vivoactive 4, with its advanced tracking capabilities and user-friendly interface, allows you to seamlessly integrate this powerful training technique into your routine.
Understanding Interval Training
Interval training involves alternating between high-intensity exercise and recovery periods. This type of training stimulates your cardiovascular system, helping you improve endurance, speed, and overall fitness. The concept behind interval training is to push your body to its limits during the intense periods, followed by a short recovery phase to allow your heart rate to come down before repeating the cycle.
One of the main benefits of interval training is its ability to boost your metabolism. The intense bursts of exercise increase your heart rate and engage multiple muscle groups, leading to increased calorie burn during and after your workout. This makes interval training an excellent choice for those looking to lose weight or improve body composition.
Additionally, interval training can improve your cardiovascular capacity. By challenging your heart to work at a high intensity, you strengthen your heart muscles, increase its stroke volume, and improve the efficiency with which it pumps blood throughout your body. Over time, this can lead to better overall cardiovascular health and improved endurance for activities such as running, cycling, or swimming.
Interval training is also time-efficient, which is appealing to many people with busy schedules. Compared to traditional steady-state cardio workouts, interval training allows you to get more work done in a shorter amount of time. The intense bursts of exercise push your body to work harder and achieve greater results in a fraction of the time.
It is important to note that interval training can be modified to suit individuals of all fitness levels. Whether you’re a beginner or an experienced athlete, you can adjust the duration and intensity of the work and recovery periods to match your current fitness level and goals. This makes interval training a versatile training technique that can be customized for anyone.
Understanding the ins and outs of interval training is essential before diving into setting it up on your Garmin Vivoactive 4. With the knowledge of how this training method can benefit your overall fitness and performance, you can make the most of your interval workouts and achieve your desired results.
Step 1: Accessing the Training Menu
To begin setting up interval training on your Garmin Vivoactive 4, you’ll need to access the training menu on your device. Follow these simple steps to get started:
- Ensure your Vivoactive 4 is charged and turned on. Tap the touchscreen to wake up the device.
- From the watch face, swipe up or down to access the menu.
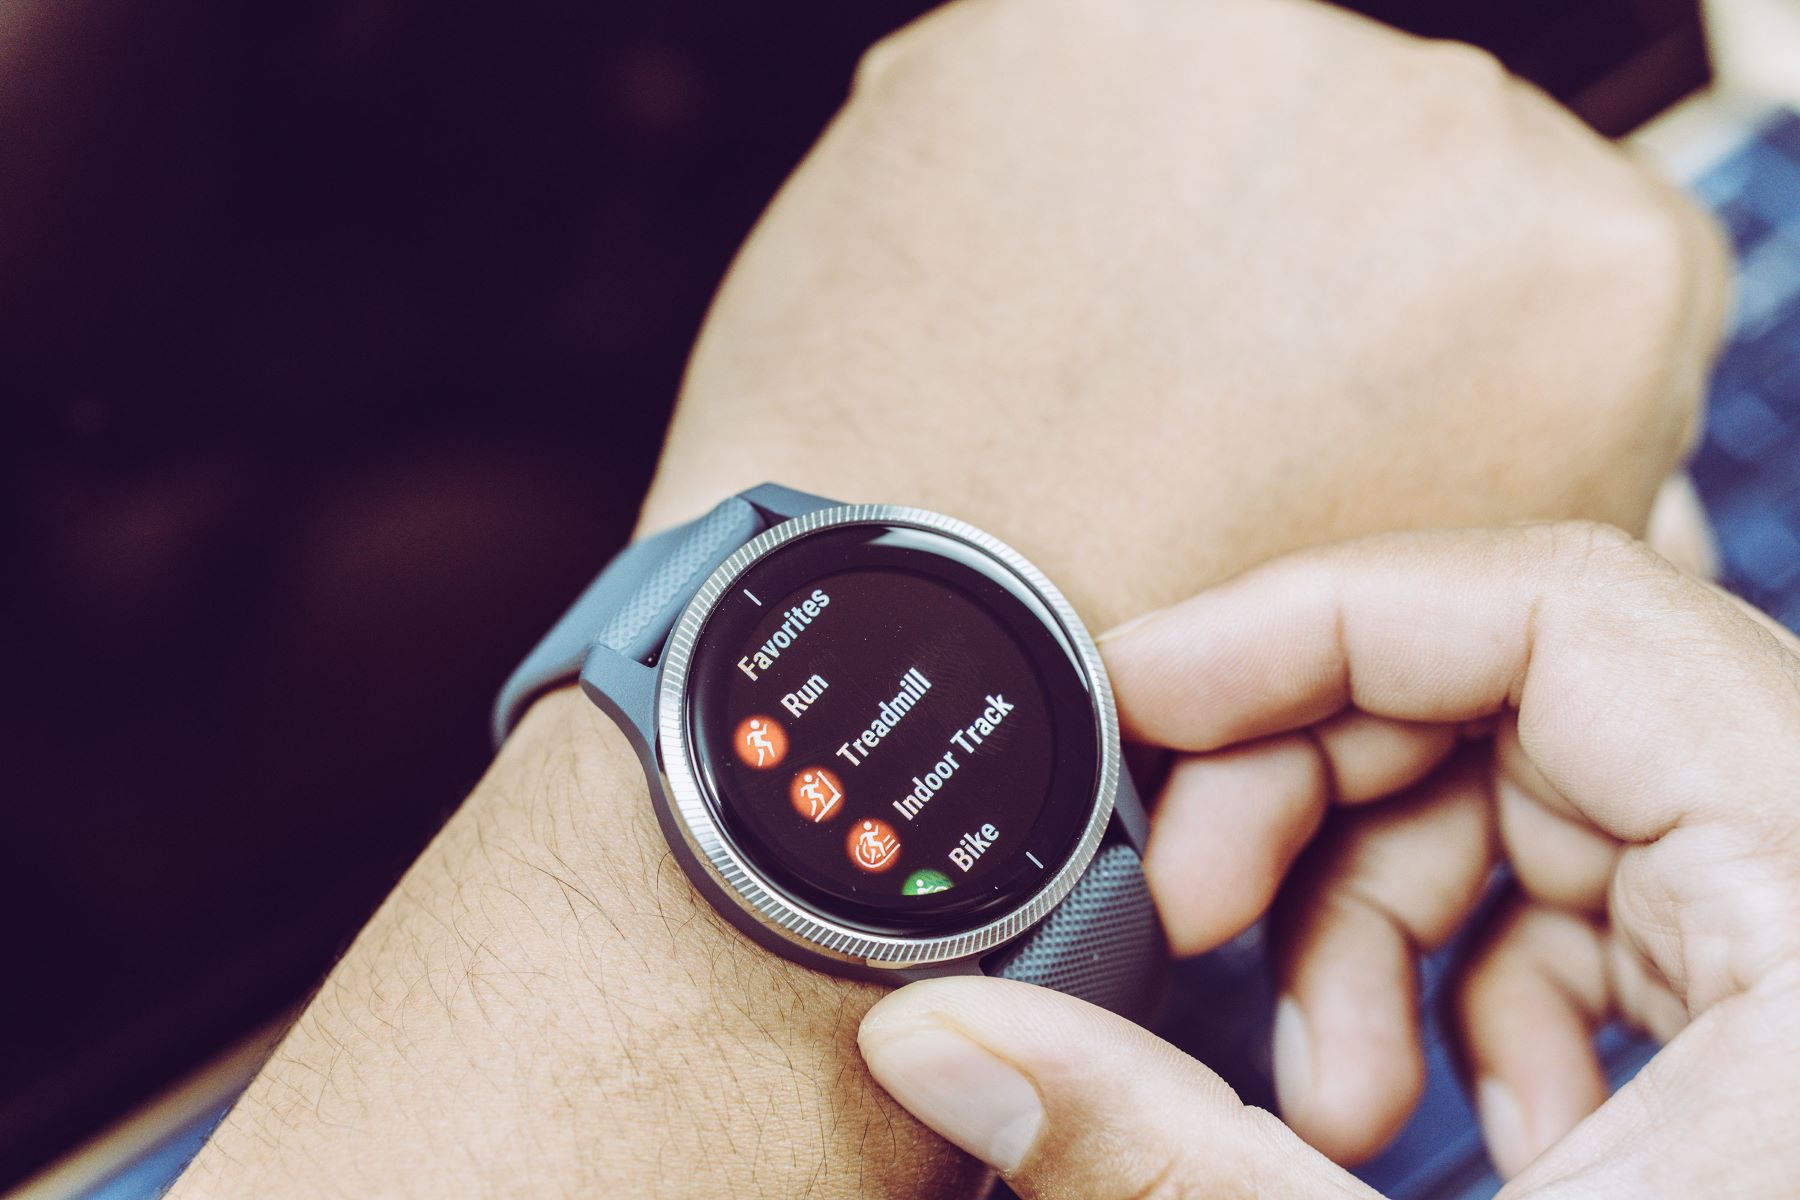
- Scroll through the menu options and locate and select the “Training” option. It is usually represented by an icon with a running figure.
- If needed, enter your passcode or use the fingerprint sensor to authenticate your access to the Training menu.
By accessing the Training menu, you will unlock a range of workout options and features that the Garmin Vivoactive 4 has to offer. This menu is your gateway to creating and customizing challenging interval workouts tailored to your fitness level and goals. With a few more steps, you’ll be on your way to incorporating interval training into your fitness routine with ease and precision.
Step 2: Selecting the Interval Training Option
Once you have accessed the Training menu on your Garmin Vivoactive 4, the next step is to select the Interval Training option. This will allow you to create and customize your interval workouts. Here’s how you can do it:
- From the Training menu, scroll down to find and select the “Interval” option. It is usually represented by an icon with two arrows pointing in opposite directions, symbolizing the alternating nature of interval training.
- On the Interval Training screen, you’ll have the option to either create a new interval workout or select from a list of previously created workouts. If you’re setting up interval training for the first time, choose the “New” option to create a new workout.
By selecting the Interval Training option, you’re tapping into the full potential of your Garmin Vivoactive 4’s capabilities. This feature provides you with the flexibility to design interval workouts that align with your specific fitness goals and preferences. Whether you’re looking to improve your speed, increase your endurance, or simply add variety to your training routine, the Interval Training option will be your key to achieving those goals effectively and efficiently.
Step 3: Setting Up Work and Rest Durations
After selecting the Interval Training option on your Garmin Vivoactive 4, it’s time to set up the work and rest durations for your interval workout. These durations determine the length of time you’ll spend performing high-intensity exercises and the length of time you’ll rest or have a low-intensity recovery period. Follow these steps to customize the work and rest durations:
- On the Interval Training screen, select the option to set the work duration. This is the time during which you’ll be performing high-intensity exercises. You can choose from a variety of time options, ranging from seconds to minutes.
- Select the option to set the rest duration. This is the time period during which you’ll recover or engage in low-intensity exercises. Again, you have the flexibility to choose the duration that suits your preferences.
- Repeat step 2 to set the number of work and rest intervals you want within your workout session. You can choose to have multiple sets of work and rest intervals for an even more challenging workout.
Customizing the work and rest durations allows you to tailor your interval workout to your specific fitness level and goals. If you’re just starting out, you may want to begin with shorter work intervals and longer rest intervals, gradually increasing the intensity as you progress. On the other hand, experienced individuals may opt for longer work intervals with shorter rest periods to push their limits and further enhance their performance.
It’s important to note that the flexibility provided by the Garmin Vivoactive 4 allows you to experiment with different work and rest durations until you find the combination that works best for you. Remember, interval training is all about pushing your boundaries and challenging yourself, while also allowing for adequate recovery to prevent injury and optimize your results.
Step 4: Adding Warm-up and Cool-down Phases
As you progress with setting up your interval training on the Garmin Vivoactive 4, it’s essential to include warm-up and cool-down phases in your workout. These phases help prepare your body for the intense exercise and provide a gradual transition back to a resting state. Here’s how you can add warm-up and cool-down phases:
- On the Interval Training screen, look for the option to add a warm-up phase. This period should consist of low-intensity exercises that gradually increase in intensity to prepare your body for the upcoming workout. Set the duration for your warm-up phase, keeping in mind that it should be shorter than the work intervals.
- Similarly, select the option to add a cool-down phase. This phase allows your body to gradually return to its resting state after the intense workout. Set the duration for your cool-down phase, ensuring it is longer than the work intervals but shorter than the warm-up phase.
By including warm-up and cool-down phases in your interval training, you’re taking proactive steps to protect your body from injury and optimize your performance. A proper warm-up prepares your muscles, joints, and cardiovascular system for the demands of the exercise, while a cool-down allows your heart rate to gradually decrease and promotes recovery.
During the warm-up phase, focus on dynamic stretching exercises, light cardio movements, or sport-specific drills to gently increase your heart rate and warm up your muscles. For the cool-down phase, engage in light cardiovascular activity like walking or cycling, followed by static stretches to improve flexibility and aid in recovery.
Remember, both the warm-up and cool-down phases are essential components of any workout, and they should not be overlooked. By properly incorporating these phases into your interval training on the Garmin Vivoactive 4, you’re setting yourself up for a safer, more effective, and well-rounded workout experience.
Step 5: Selecting the Number of Repetitions
Once you’ve set up the work and rest durations, as well as the warm-up and cool-down phases, the next step in creating your interval training on the Garmin Vivoactive 4 is selecting the number of repetitions. This determines how many times you’ll repeat the cycle of work and rest intervals within your workout session. Follow these steps to customize the number of repetitions:
- On the Interval Training screen, locate the option to select the number of repetitions.
- Depending on your fitness level and goals, choose the desired number of repetitions. You can start with a lower number of repetitions and gradually increase them as you progress and build stamina.
By selecting the appropriate number of repetitions, you can tailor your interval training to match your current fitness level and goals. The number of repetitions can impact the overall intensity and duration of your workout. Fewer repetitions may be suitable for beginners or those looking for shorter sessions, while more repetitions can challenge advanced athletes or individuals aiming for longer and more intense workouts.
It’s important to find the right balance between challenging yourself and avoiding overexertion. It’s better to start with a conservative number of repetitions and gradually increase as your fitness level improves. This will help you prevent excessive fatigue or potential injury, allowing for consistent progress and long-term success in your interval training.
Remember, the Garmin Vivoactive 4 provides you with the flexibility to adjust the number of repetitions based on your preferences. Experiment with different repetitions and listen to your body to find the optimal balance that works for you.
Step 6: Choosing the Target Intensity
As you continue setting up interval training on your Garmin Vivoactive 4, the next crucial step is choosing the target intensity for your workout. The target intensity refers to the level of effort or intensity you aim to reach during each work interval. Follow these steps to customize the target intensity:
- On the Interval Training screen, locate the option to choose the target intensity.
- Select the desired intensity level based on your fitness level, goals, and the type of exercise you’ll be performing. The Garmin Vivoactive 4 offers a range of intensity options, allowing you to match your training to your specific needs.
- If applicable, you may have the option to set different intensity levels for different phases of your interval workout, such as a higher intensity for the work intervals and a lower intensity for the rest intervals.
Choosing the target intensity is crucial to maximize the effectiveness of your interval training. The level of intensity you select determines how challenging the work intervals will be and the physiological responses and adaptations your body will experience.
When setting the target intensity, consider factors such as your current fitness level, heart rate zones, and the specific goals of your workout. If you’re a beginner, it’s recommended to start with a moderate intensity level and gradually increase it as you become more comfortable with the exercises. On the other hand, experienced individuals may aim for higher intensities to continue pushing their limits and making progress.
The Garmin Vivoactive 4 provides the tools and monitoring capabilities to help you maintain your desired intensity throughout your interval training. Whether you choose to monitor your heart rate, pace, or another metric, the device’s features can guide you to stay within your target intensity range.
Remember, the target intensity should challenge you but still be sustainable. It’s important to find the right balance between intensity and recovery to avoid overexertion and allow for proper adaptation and progress.
Step 7: Customizing Additional Settings
As you near the completion of setting up interval training on your Garmin Vivoactive 4, it’s time to customize additional settings to enhance your workout experience. These settings allow you to fine-tune your interval training and tailor it to your specific preferences and needs. Follow these steps to customize additional settings:
- On the Interval Training screen, locate the option to customize additional settings.
- Explore the available settings and adjust them based on your preferences. These settings may include audio alerts, vibration alerts, display options, or even the ability to sync with external sensors.
- Take the time to review each setting and understand how it can enhance your training experience. Consider your personal preferences and the distractions or prompts that will help you stay focused during your workout.
Customizing additional settings allows you to optimize your interval training based on your unique preferences and requirements. The Garmin Vivoactive 4 offers a range of options to accommodate your needs, making it a versatile and customizable fitness companion.
For example, audio and vibration alerts can provide cues during the workout, reminding you to switch between work and rest intervals, or indicating important milestones. These alerts can help you stay focused and maintain the desired intensity throughout the workout. Additionally, display options allow you to customize the data fields you see during the workout, providing real-time feedback on metrics that matter most to you.
Each individual has different preferences and requirements for their interval training. By customizing the additional settings on your Garmin Vivoactive 4, you can create a personalized workout experience that aligns with your goals and motivates you to push your limits.
Take the time to experiment and familiarize yourself with these settings. Explore the available features and find the combination that works best for you. This way, you can make the most of your interval training and enjoy a highly personalized and effective workout session.
Step 8: Starting the Interval Workout
After setting up your interval training on the Garmin Vivoactive 4 and customizing all the necessary settings, you’re now ready to start your interval workout. Follow these final steps to initiate your workout:
- Review all the settings and ensure everything is properly customized according to your preferences.
- Once you’re satisfied with the settings, locate and select the “Start” or “Begin” option on the Interval Training screen.
- The Garmin Vivoactive 4 will initiate the interval workout, starting with the warm-up phase if you included one. Follow the prompts and cues provided by the device to guide you through each work and rest interval.
- During the workout, pay attention to the device’s notifications, such as audio or vibration alerts, to help you transition between intervals smoothly and maintain the desired intensity.
- Continue performing the work and rest intervals as planned, following the predetermined duration and intensity.
- As you reach the end of the workout, the Garmin Vivoactive 4 will guide you through the cool-down phase, gradually bringing your heart rate down and allowing your body to return to a resting state.
- Once the cool-down phase is complete, the workout will be finalized, and you can review your performance and metrics on the device.
Starting the interval workout on the Garmin Vivoactive 4 is an exciting moment as you put your training plan into action. Throughout the workout, the device will provide helpful cues and feedback to ensure you stay on track and make the most of your interval training session.
Remember to stay focused, maintain proper form during exercises, and listen to your body. If at any point you feel discomfort or excessive fatigue, adjust the intensity or duration of the intervals accordingly. The most important thing is to prioritize your safety and enjoyment while pushing yourself to achieve your fitness goals.
Once you have completed the interval workout, take a moment to review your performance and metrics on the Garmin Vivoactive 4. This feedback can provide valuable insights into your progress, allowing you to track your improvements over time and adjust your training plan as needed.
Congratulations! You’ve successfully set up and completed an interval workout on your Garmin Vivoactive 4. By incorporating regular interval training into your fitness routine, you’ll continue to challenge and improve your fitness levels, ultimately achieving your desired goals.
Conclusion
Interval training is a powerful and effective workout technique that can help individuals of all fitness levels improve their overall endurance, increase calorie burn, and boost cardiovascular fitness. With the Garmin Vivoactive 4, setting up and incorporating interval training into your fitness routine has never been easier.
In this article, we have provided a step-by-step guide on how to set up interval training on your Garmin Vivoactive 4 fitness watch. By accessing the Training menu, selecting the Interval Training option, setting up work and rest durations, adding warm-up and cool-down phases, choosing the target intensity, customizing additional settings, and starting the interval workout, you can enjoy a personalized and efficient training session.
Remember, interval training allows you to push your boundaries, improve your performance, and achieve your fitness goals. The Garmin Vivoactive 4 offers a range of features and options to maximize the effectiveness of your interval training, including audio and vibration alerts, customizable display options, and the ability to monitor and analyze your performance.
As with any exercise routine, it’s crucial to listen to your body and tailor your interval training to your fitness level and goals. Over time, you can gradually increase the intensity and duration of your intervals to continue challenging yourself and making progress.
So, whether you’re a seasoned athlete or a fitness enthusiast, take advantage of the interval training feature on your Garmin Vivoactive 4 and unlock the potential for enhanced fitness and performance. Get ready to take your workouts to the next level and reach your fitness goals with the power of interval training.