Featured
How To Activate My IFit Treadmill
Modified: May 22, 2024
Activate your iFit treadmill with our featured guide and start your fitness journey today! Learn how to maximize your workouts and track your progress with iFit's interactive technology.
Introduction
Welcome to the world of iFit, where fitness meets technology to bring you an immersive workout experience. If you’ve recently purchased an iFit treadmill and are excited to get started, you’ve come to the right place. In this article, we will guide you through the process of activating your iFit treadmill, allowing you to unlock a variety of features and access a library of interactive workouts.
Designed to provide you with motivation, guidance, and personalized training plans, iFit is more than just a fitness app – it’s a virtual fitness companion that will help you achieve your health and wellness goals. By activating your treadmill, you can harness the power of iFit’s cutting-edge technology and take your workouts to the next level.
Whether you’re a beginner in the world of fitness or a seasoned athlete, iFit offers something for everyone. From scenic virtual runs through picturesque landscapes to challenging HIIT workouts led by world-class trainers, iFit brings the excitement of the gym right to the comfort of your own home.
So, without further ado, let’s dive into the step-by-step process of activating your iFit treadmill and unlock the full potential of your fitness journey.
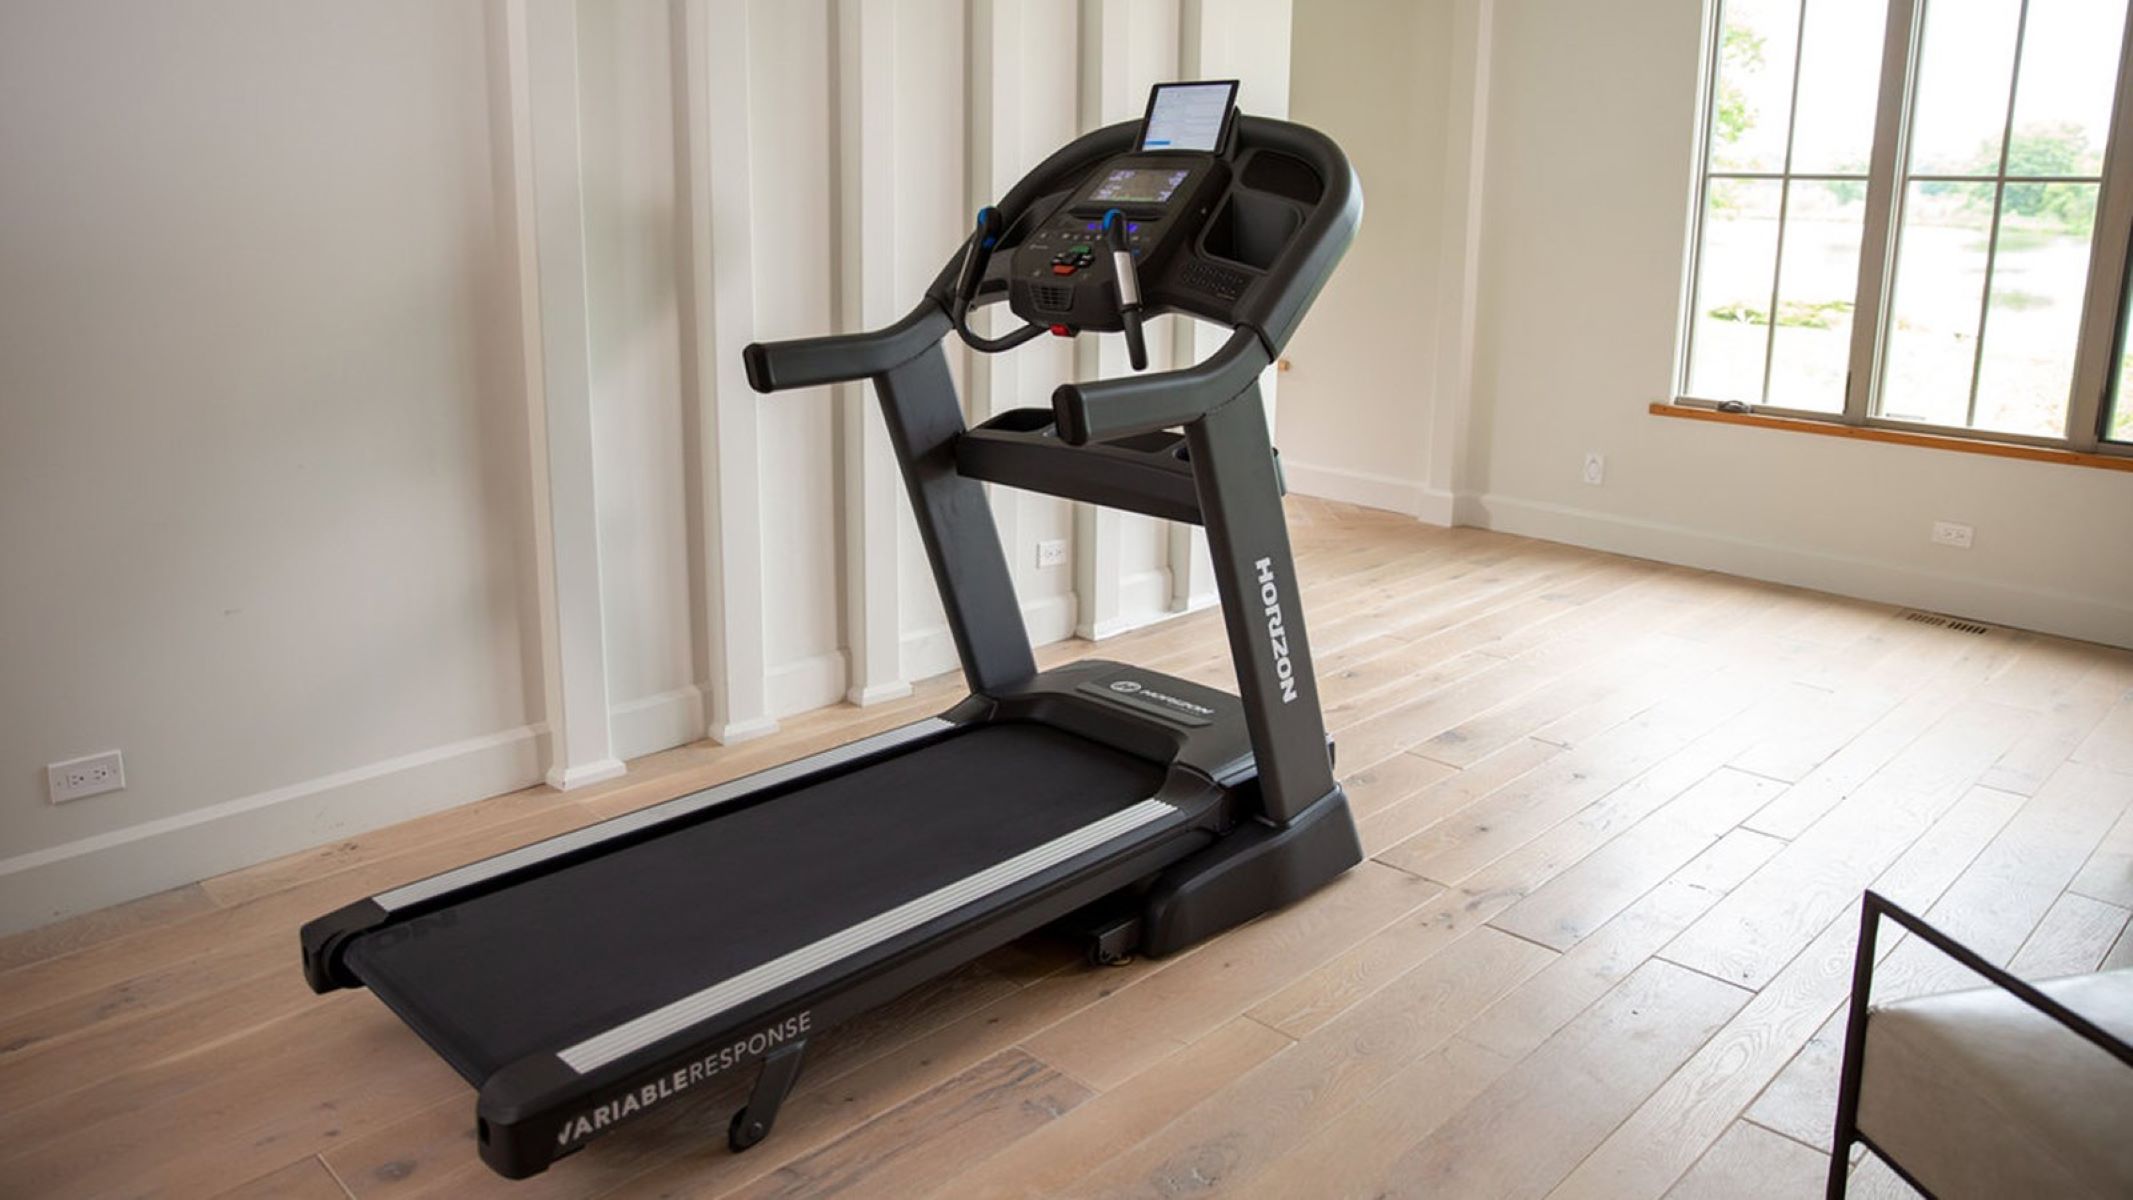
Step 1: Setting Up your iFit Treadmill
Before you can start enjoying the benefits of iFit, you’ll need to set up your treadmill. Follow these simple steps to ensure a smooth and successful setup process.
1. Find a suitable location: Choose a well-ventilated area with enough space for your treadmill. Make sure there is ample clearance on all sides to ensure your safety and comfort during workouts.
2. Assemble the treadmill: Carefully unpack your treadmill and refer to the instruction manual for assembly guidelines. Follow each step to securely attach the various components, such as the console, handrails, and safety key.
3. Check the power source: Ensure that your treadmill is placed near an electrical outlet. Plug the power cord into the designated socket and make sure it is securely connected.
4. Adjust the incline and cushioning: Some iFit treadmills come with adjustable incline options and cushioning settings. Consult the manual to determine how to adjust these features to your desired comfort level.
5. Calibrate the treadmill: Most iFit treadmills offer an automatic calibration feature. This ensures accurate tracking of metrics, such as speed and distance. Follow the instructions in your manual to calibrate your treadmill.
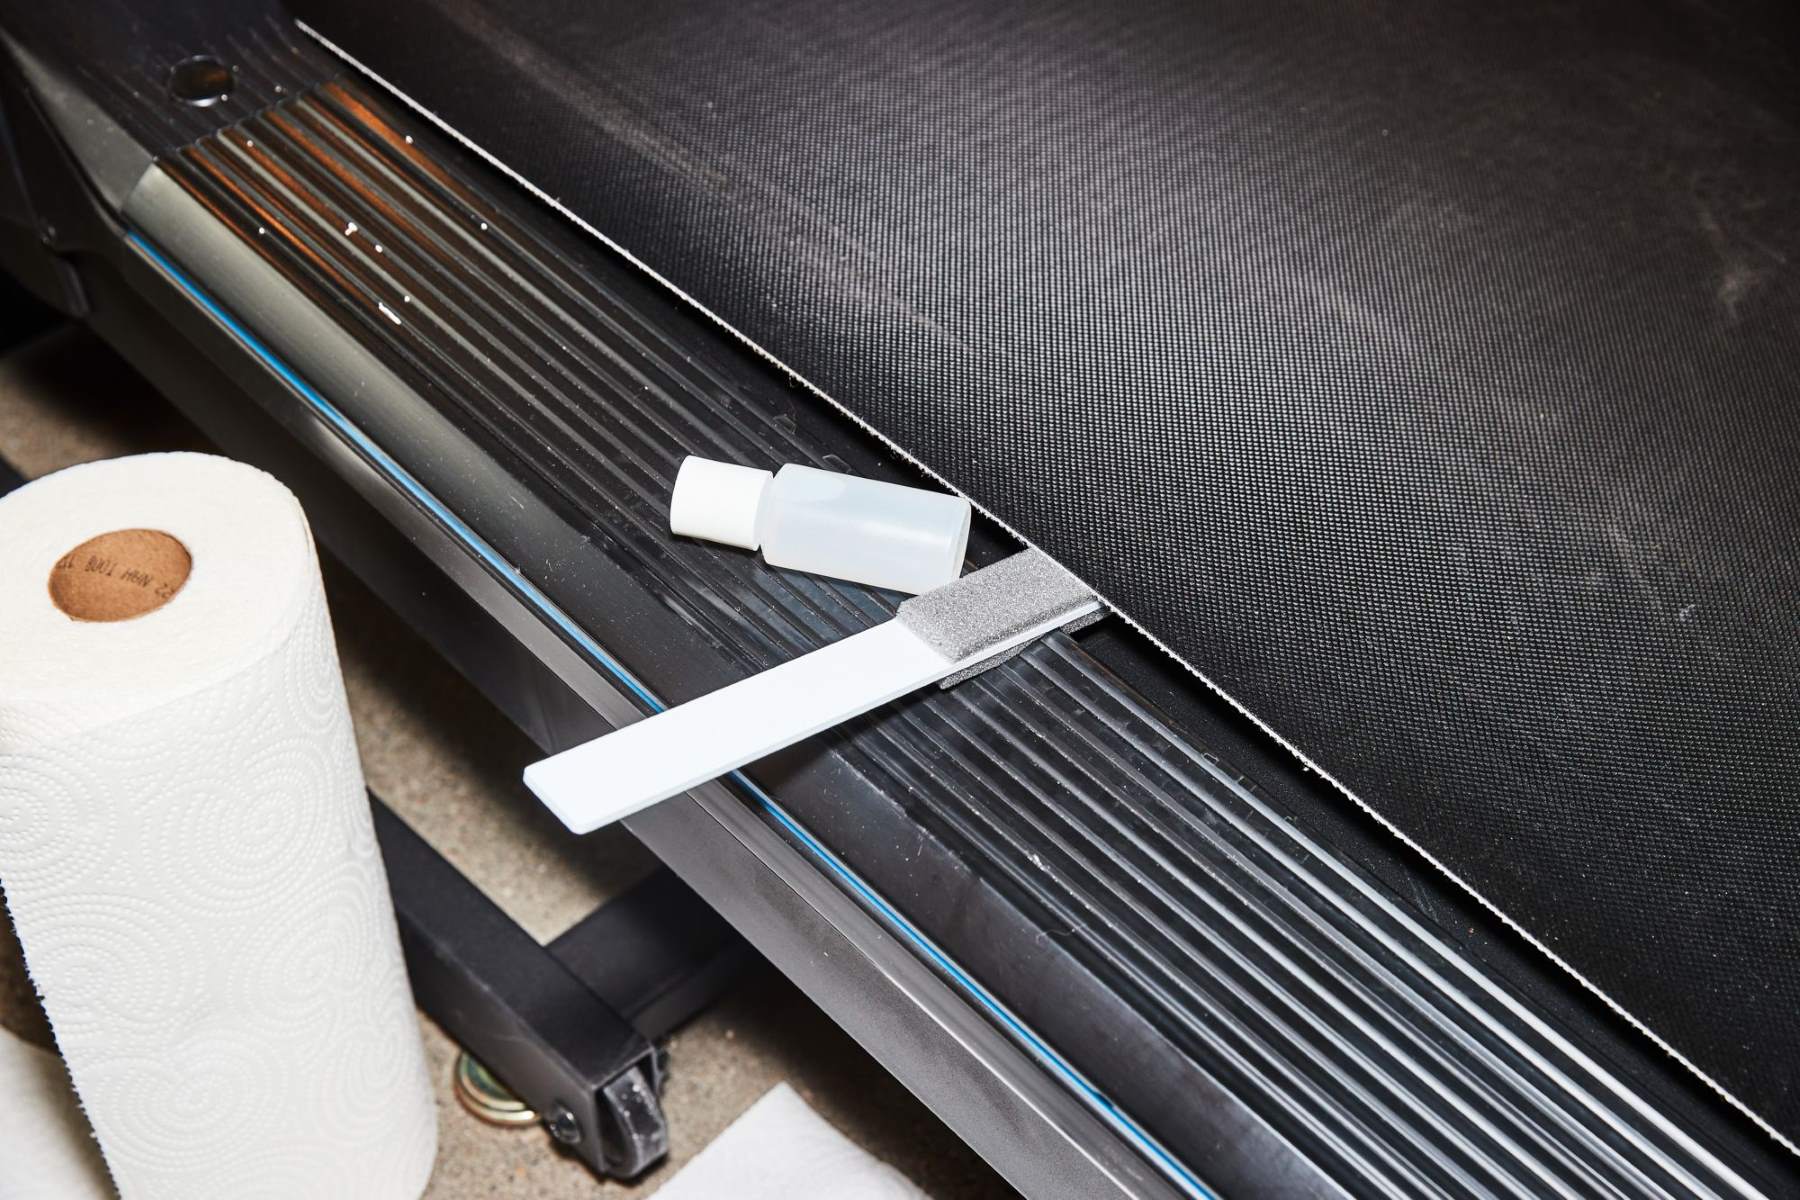
6. Perform a safety check: Double-check that all bolts and screws are tightened and secure. Inspect the handrails, console, and safety key to ensure they are in proper working condition. It’s crucial to prioritize safety before starting any workout routine.
7. Familiarize yourself with the console: Take some time to explore the various buttons and controls on the console. Get acquainted with the different workout modes and settings available to customize your experience.
By following these steps, you’ll have your iFit treadmill set up and ready for action. Once your treadmill is set up, it’s time to move on to the next step – creating an iFit account.
Step 2: Creating an iFit Account
To fully utilize the features of your iFit treadmill, you’ll need to create an iFit account. Follow these steps to get started:
1. Open the iFit app or visit the iFit website: The iFit app is available for both iOS and Android devices. You can also access the iFit website using a web browser.
2. Click on “Create Account” or “Sign Up”: Look for the option to create a new account. It is usually located at the top right corner of the app or website.
3. Provide your personal information: Enter your email address, password, and any other required details. Make sure to create a strong and unique password to protect your account.
4. Agree to the terms and conditions: Read and accept the terms and conditions provided by iFit. It’s important to understand the privacy and usage policies before proceeding.
5. Select a subscription plan: iFit offers different subscription plans based on your fitness goals and preferences. Choose the plan that best suits your needs and budget. Some treadmills may come with a free trial or promotional offer, so take advantage of these opportunities if available.
6. Enter payment details: If required, provide your payment information to proceed with the subscription. iFit accepts various payment methods, including credit cards and PayPal.
7. Confirm your account: Check your email inbox for a confirmation email from iFit. Click on the provided link to verify your account and complete the registration process.
8. Set up your profile: Once your account is confirmed, you’ll be prompted to set up your profile. Upload a profile picture, enter your height, weight, and other relevant information. This data will help iFit personalize and tailor your workouts.
Congratulations! You’ve successfully created your iFit account. Now it’s time to proceed to the next step – connecting your treadmill to Wi-Fi.
Step 3: Connecting your Treadmill to Wi-Fi
In order to access the full range of features and workouts offered by iFit, you’ll need to connect your treadmill to a Wi-Fi network. Follow these steps to establish a stable and reliable connection:
1. Access the settings menu on your treadmill: Depending on the model, you can usually find the settings menu by tapping the gear icon on the console or through the touchscreen controls.
2. Navigate to the network settings: Look for the option that allows you to connect to a Wi-Fi network. This may be labeled as “Wi-Fi,” “Network,” or “Wireless Settings.”
3. Select your Wi-Fi network: A list of available Wi-Fi networks will be displayed on the screen. Choose your network from the list. If prompted, enter your Wi-Fi password using the on-screen keyboard.
4. Wait for the connection: Once you’ve entered the correct password, your treadmill will attempt to connect to the Wi-Fi network. This may take a few moments, so be patient.
5. Confirm the connection: Once your treadmill is successfully connected to the Wi-Fi network, you’ll see a confirmation message on the screen. It may display the Wi-Fi symbol or show the name of the connected network.
6. Test the connection: To ensure a stable connection, try accessing any online features or downloading a sample workout from iFit. If everything is functioning properly, your treadmill is successfully connected to the Wi-Fi network.
Note: If you’re experiencing connectivity issues, make sure your Wi-Fi router is within range of the treadmill, and there are no obstructions that may interfere with the signal. Also, check if any firmware updates are available for your treadmill, as these updates often include improvements to Wi-Fi connectivity.
With your treadmill now connected to Wi-Fi, you’re ready to move on to the next step – activating your treadmill.
Step 4: Activating your Treadmill
After setting up your iFit account and connecting your treadmill to Wi-Fi, it’s time to activate your treadmill. Activating your treadmill will sync it with your iFit account and grant you access to a wide range of interactive workouts and features. Here’s how to complete the activation process:
1. Ensure your treadmill is connected to the internet: Before proceeding with the activation, double-check that your treadmill is successfully connected to the Wi-Fi network. This will ensure a seamless activation process.
2. Launch the iFit app or visit the iFit website: Open the iFit app on your smartphone or tablet, or access the iFit website on your computer. Sign in to your iFit account with the credentials you created during the account setup.
3. Navigate to the activation section: Once you’re logged in, find the activation section in the iFit app or on the website. This section may be labeled as “Activate Treadmill” or similar.
4. Follow the on-screen instructions: The activation process may vary slightly depending on your treadmill model and iFit software version. Follow the prompts on the screen to complete the activation process. This may include entering a unique activation code provided by the app or website.
5. Wait for the activation to complete: After entering the necessary details, allow some time for the activation process to complete. Your treadmill will sync with your iFit account, and any included features or trial memberships will be activated.
6. Test the activation: Once the activation is complete, verify that everything is working correctly. Access a sample workout or navigate through the different features available on your treadmill to ensure they are activated and functioning as expected.
If you encounter any issues during the activation process, consult the troubleshooting section of the iFit app or website for possible solutions. Additionally, reach out to iFit’s customer support for further assistance if needed.
With your iFit treadmill now activated, you’re ready to move on to the next step and start exploring the vast library of workouts and features iFit has to offer.
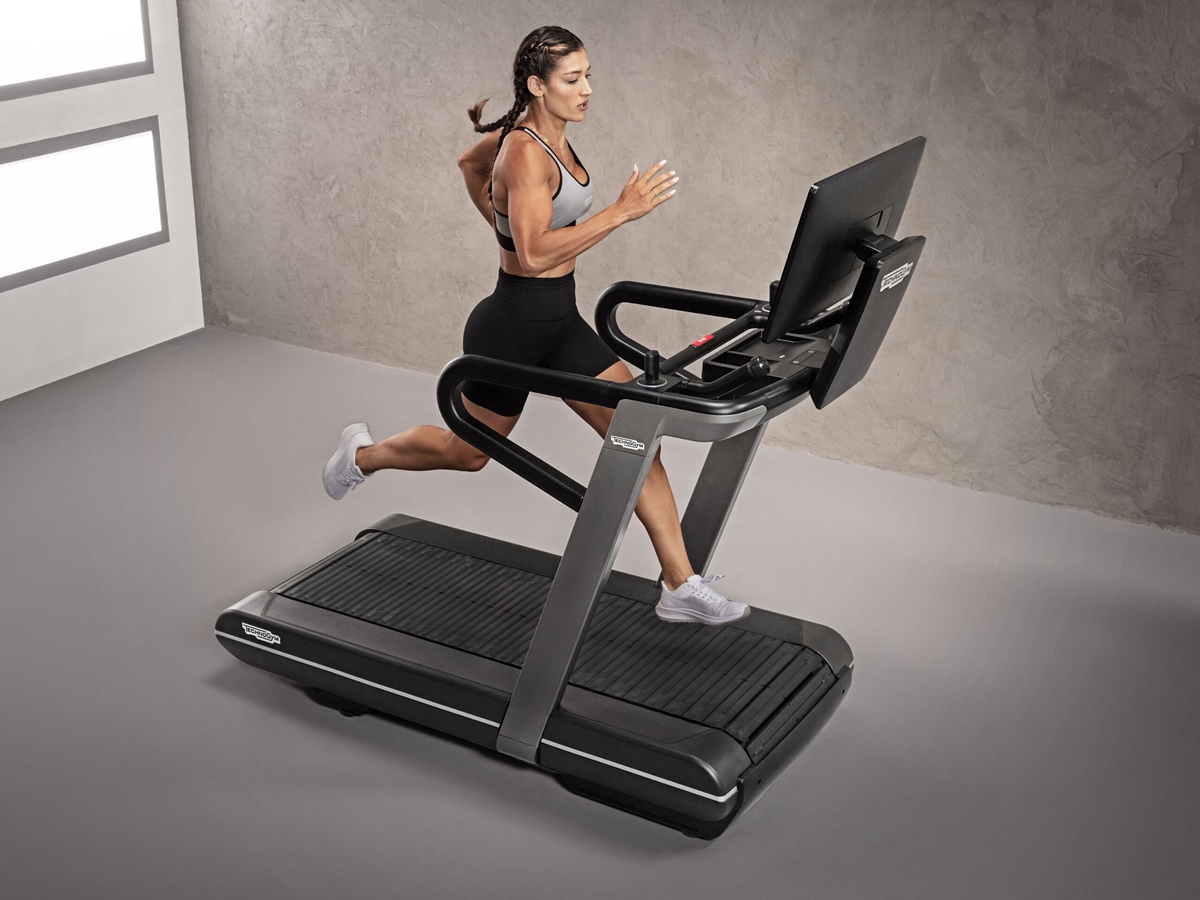
Step 5: Accessing iFit Workouts and Features
Now that your iFit treadmill is activated, it’s time to dive into the exciting world of iFit workouts and features. With iFit, you’ll have access to a wide variety of interactive workouts, personalized training plans, and other engaging features to enhance your fitness journey. Here’s how to access and make the most out of iFit:
1. Explore the workout library: Launch the iFit app on your smartphone or tablet, or access the iFit website on your computer. Navigate to the workout library section, where you’ll find a vast collection of workouts in various categories, such as running, walking, HIIT, strength training, and more.
2. Select a workout: Browse through the available workouts and choose one that aligns with your fitness goals and preferences. You can filter workouts based on duration, difficulty level, trainer, location, and other parameters to find the perfect fit for your needs.
3. Follow along with a trainer: During the workout, you’ll be guided by professional trainers who will provide motivation, instruction, and tips to help you achieve your best performance. Follow their cues, adjust your pace or incline accordingly, and enjoy the immersive experience of working out with a virtual coach.
4. Customize your workouts: iFit allows you to personalize your workouts based on your fitness level and goals. Adjust settings such as speed, incline, duration, and intensity to tailor each workout to your specific needs. You can also save your favorite workouts and create custom playlists for future sessions.
5. Explore additional features: Along with the vast collection of workouts, iFit offers additional features to enhance your fitness experience. These may include virtual races, personalized meal plans, sleep tracking, and more. Take some time to explore these features and incorporate them into your fitness routine.
6. Track your progress: iFit tracks and stores your workout data, allowing you to monitor your progress over time. View statistics such as distance covered, calories burned, and workout duration to stay motivated and track your improvements. Use this feedback to set new goals and challenge yourself.
Remember, consistency is key when it comes to achieving your fitness goals. Make the most out of iFit by regularly engaging in workouts, exploring different trainers and workout styles, and challenging yourself with new routines. The iFit platform provides endless opportunities to keep your fitness journey exciting and dynamic.
With these steps, you’re now equipped with the knowledge to access iFit workouts and features. Embrace the opportunity to elevate your fitness routine and unlock a new level of motivation and engagement with iFit.
Conclusion
Congratulations on successfully setting up and activating your iFit treadmill! You have taken the first step towards a more immersive and personalized fitness journey. By following the steps outlined in this article, you have gained the knowledge to make the most out of your iFit treadmill and its accompanying features.
iFit offers a unique and interactive fitness experience, combining cutting-edge technology with world-class trainers and diverse workout options. From scenic virtual runs in breathtaking locations to challenging HIIT workouts, iFit caters to individuals of all fitness levels and goals.
Remember to explore the vast workout library, customize your workouts, and leverage additional features such as virtual races and personalized meal plans. With regular usage, you’ll be able to track your progress, stay motivated, and continuously challenge yourself to reach new heights in your fitness journey.
Don’t be afraid to push your limits and try new workouts. With iFit, you have access to a wealth of resources and support to help you achieve your fitness goals. Whether you’re looking to lose weight, improve endurance, or simply live a healthier lifestyle, iFit is here to guide and motivate you every step of the way.
So, strap on your running shoes, hop on your iFit treadmill, and embark on a fitness adventure like no other. Activate your iFit treadmill, connect to Wi-Fi, and access an array of engaging and exciting workouts that will transform the way you exercise.
Ready to unleash your potential? Get ready to elevate your fitness routine with iFit – your ultimate fitness companion.