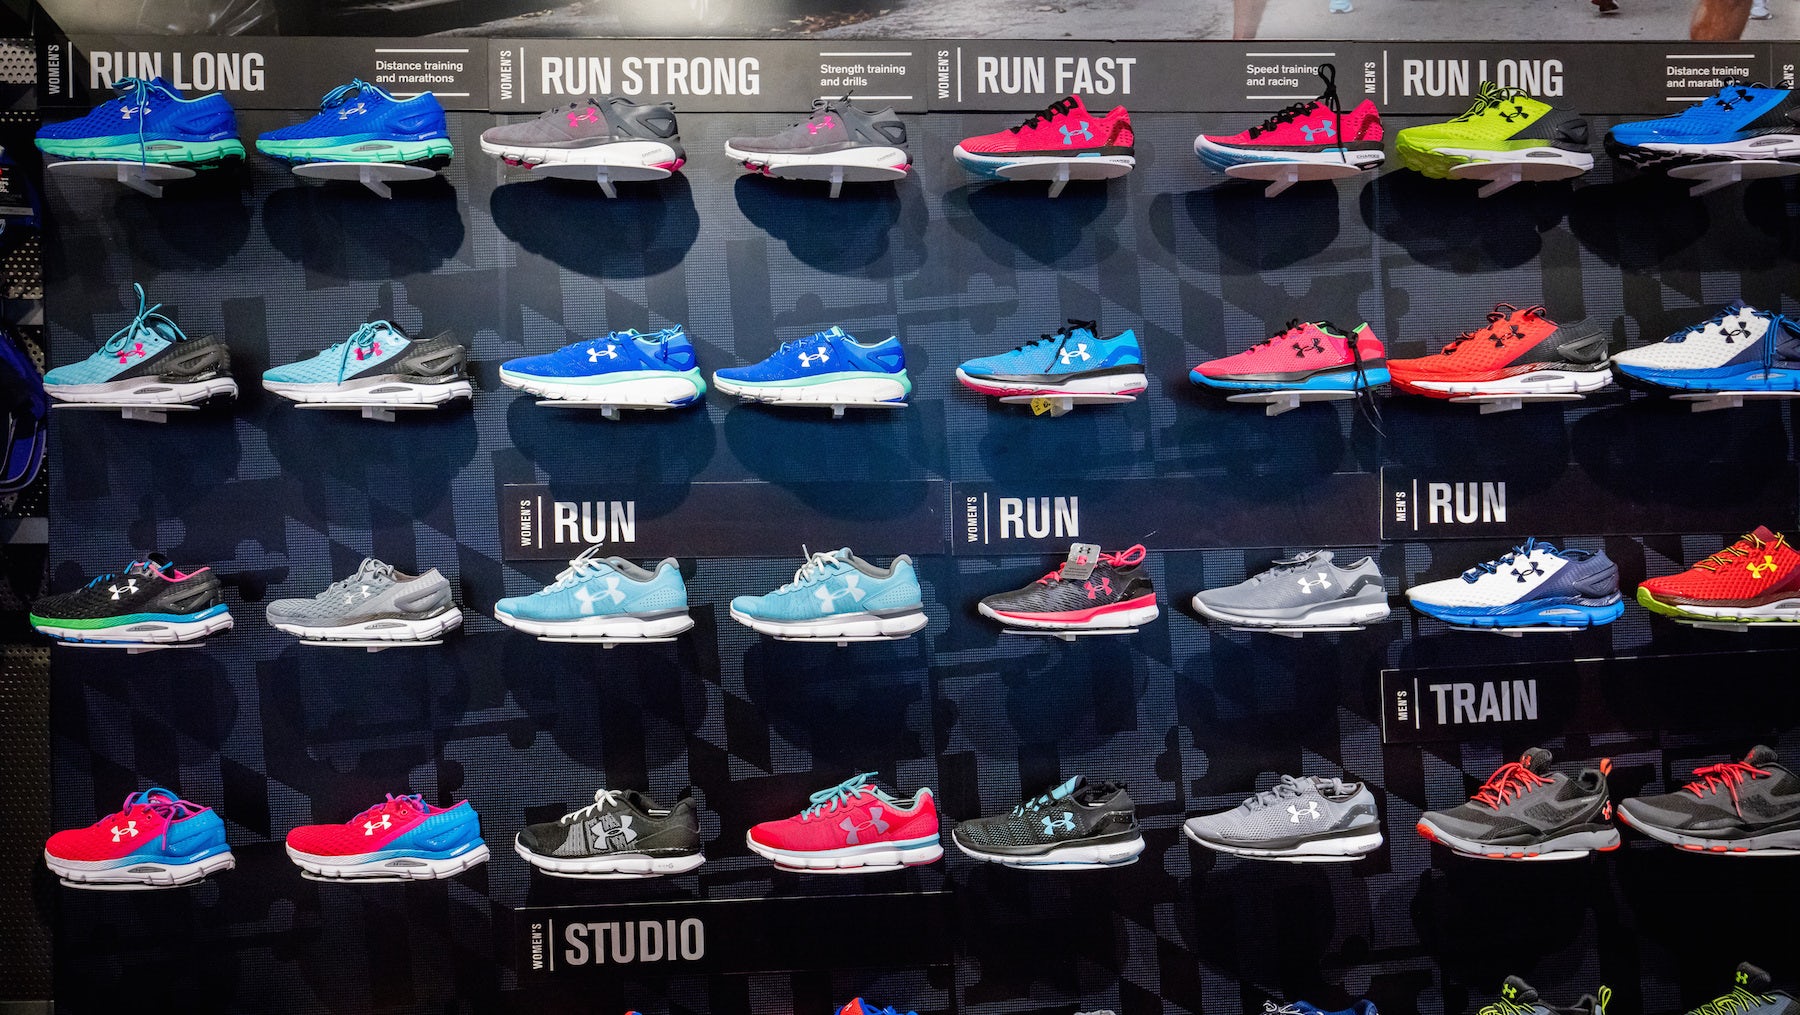
Featured
How To Craft Running Shoes
Modified: May 22, 2024
Discover our featured running shoes and learn how to craft the perfect pair for your next workout. Explore our extensive collection now!
Introduction
In the world of running, having the right pair of shoes is essential for a comfortable and efficient experience. While there are plenty of options available in the market, what if you could customize your own running shoes? Crafting your own running shoes not only gives you the opportunity to design a pair that perfectly suits your style and needs but also allows you to unleash your creativity.
Creating a pair of running shoes from scratch may sound intimidating, but with the right guidance and materials, it can be a rewarding and fun project. Whether you’re a seasoned runner looking for a personalized touch or a beginner interested in diving into the world of shoe design, this step-by-step guide will walk you through the process of crafting your own running shoes.
Before we get started, it’s important to note that crafting running shoes is a highly specialized skill, and this guide is intended for informational purposes only. It’s always a good idea to consult with experts or professionals in the field if you have any questions or concerns.
Materials Needed
Before you begin crafting your own running shoes, it’s important to gather all the necessary materials. Here’s a list of key items you’ll need:
- Shoe lasts (to mold the shape of the shoes)
- Shoe patterns (to cut the fabric according to the desired design)
- Sturdy fabric (such as nylon or polyester) for the upper part of the shoe
- Mesh fabric for breathability and ventilation
- High-quality thread and sewing needles
- Outsole material such as rubber or durable synthetic materials
- EVA foam or cushioning material for the midsole
- Arch support materials
- Elastic or laces for closure
- Adhesive or glue suitable for shoe making
- Scissors, measuring tape, and other basic sewing tools
- Optional: Decorative elements like logos, patterns, or reflective materials
Make sure to choose high-quality materials that are specifically designed for shoe making to ensure the longevity and performance of your custom running shoes.
Step 1: Design and Pattern
The first step in crafting your own running shoes is to design and create a pattern that will serve as a blueprint for your shoe design.
Start by sketching your desired shoe design on paper to help visualize the overall shape, style, and features you want to incorporate. Consider factors such as toe shape, heel height, and any specific elements that align with your running needs.
Once you have a clear idea of your design, it’s time to create a pattern. Shoe patterns determine how the fabric will be cut and assembled to form the shoe. You can find pre-made patterns online or in shoe-making books, or you can even draft your own pattern based on the design you have in mind.
Trace the pattern onto sturdy paper or cardboard, making sure to include all the necessary components such as the upper, tongue, and any overlays or reinforcements. Cut out the pattern pieces carefully, ensuring accuracy and precision.
It’s always a good idea to make a test shoe using inexpensive materials before proceeding with your final design. This will allow you to make any necessary adjustments and ensure a better fit and overall result.
Remember, the design and pattern stage is where you can let your creativity shine. Don’t be afraid to experiment with different shapes, colors, and materials to create a unique and personalized pair of running shoes.
Step 2: Cutting the Fabric and Materials
With the design and pattern ready, it’s time to start working with the fabric and materials for your custom running shoes.
Begin by laying the pattern pieces onto the chosen fabric, making sure to align them with the grain for optimal durability and performance. Use fabric chalk or a fabric pen to trace around the pattern, and then carefully cut out the fabric pieces.
In addition to the main fabric, you may also need to cut pieces from other materials such as mesh fabric for breathability or overlays for extra support. Follow the pattern instructions to know which pieces to cut from which materials.
As you cut the fabric, pay attention to the direction of stretch or any specific fabric markings indicated in the pattern. This will ensure that the shoes fit properly and maintain their structural integrity.
Once you have all the fabric pieces cut, take a moment to organize and label the pieces to avoid confusion during the assembly process.
Remember to work in a clean and well-lit area, using sharp scissors or a rotary cutter for clean and precise cuts. Take your time and be careful to avoid any accidental snags or mistakes.
With the fabric and materials successfully cut, you’re one step closer to bringing your custom running shoes to life.
Step 3: Sewing the Upper Part of the Shoe
Now that you have the fabric pieces cut, it’s time to assemble the upper part of your custom running shoes.
Start by pinning the fabric pieces together according to the pattern instructions. This will help keep the pieces aligned and prevent shifting during the sewing process.
Using a sewing machine or a strong needle and thread, begin stitching the fabric pieces together. Follow the pattern’s sewing lines and instructions, making sure to sew with precision and accuracy.
Pay close attention to the tension of your stitches to ensure that they are secure and strong. Reinforce high-stress areas such as the toe and heel by backstitching or sewing multiple rows of stitches.
If you don’t have access to a sewing machine, you can also hand-stitch the pieces using a sturdy, small stitch. This may take more time and effort, but it can yield equally satisfactory results.
As you sew, try on the shoe periodically to check the fit and make any necessary adjustments. This will help you ensure that the shoe conforms to your foot’s shape and provides the necessary support.
Don’t forget to leave openings for the tongue and any necessary closures, such as a lace or elastic band.
Once the upper part of the shoe is fully sewn, examine your work to ensure that all seams are secure and neat. Trim any loose threads and clean up the edges for a polished appearance.
With the upper part of your custom running shoe complete, you are ready to move on to the next step: attaching the outsole.
Step 4: Attaching the Outsole
Now that you have the upper part of your custom running shoes ready, it’s time to attach the outsole. The outsole provides traction and protection, making it an essential component of any running shoe.
Begin by selecting the appropriate outsole material based on your running needs and preferences. It should be durable, flexible, and able to withstand the impact of running on various surfaces.
Place the shoe last inside the stitched upper part to help maintain the shape of the shoe during the attachment process. Make sure the last is properly aligned and centered.
Using an adhesive suitable for shoe making, apply a thin and even layer to the bottom of the shoe upper and the top of the outsole material. Make sure to follow the adhesive manufacturer’s instructions for the best application and bonding results.
Carefully press the outsole material onto the bottom of the shoe upper, starting from the heel and working your way to the toe. Apply pressure evenly to ensure a secure bond between the two surfaces.
Trim any excess outsole material around the edges of the shoe to achieve a clean and polished look.
Allow the adhesive to dry and cure according to the manufacturer’s instructions. This may take several hours or overnight, so be patient and avoid putting stress on the newly attached outsole during this time.
Once the adhesive has fully cured, remove the shoe last from the shoe. Carefully inspect the attachment of the outsole to ensure that it is secure and properly aligned with the upper part of the shoe.
Congratulations! You’ve successfully attached the outsole to your custom running shoes. Now, it’s time to move on to the next step: adding cushioning and support.
Step 5: Adding Cushioning and Support
Adding cushioning and support is crucial to ensure a comfortable and protective experience while running. In this step, you will incorporate elements that provide cushioning, stability, and arch support to your custom running shoes.
Begin by determining the type and thickness of cushioning material you want to use for the midsole of your shoes. EVA foam is a common choice due to its lightweight and responsive properties. Measure and cut the foam to fit the shape of the shoe’s midsole.
Place the cushioning material inside the shoe, on top of the outsole and beneath the footbed. Make sure it is evenly distributed and properly aligned.
In addition to cushioning, consider adding arch support materials to provide extra stability and prevent excessive pronation or supination. Arch support inserts or insoles can be inserted between the cushioning material and the footbed.
Secure the cushioning and arch support materials in place with adhesive or double-sided tape. Ensure that they are firmly attached and won’t shift or move during activity.
Once the cushioning and support elements are in place, try on the shoes to assess the fit and overall comfort. This will allow you to make any necessary adjustments before proceeding to the final step.
Keep in mind that the cushioning and support should be customized to your specific needs and foot structure. It is essential to find the right balance between comfort, stability, and flexibility to maximize your running experience.
With the addition of cushioning and support, your custom running shoes are now taking shape and nearing completion. The final step will add the finishing touches and bring your creation to life.
Step 6: Final Touches and Finishing
Congratulations, you’re in the final step of crafting your custom running shoes! This step focuses on adding the final touches and ensuring that your shoes are not only functional but also visually appealing.
Start by examining the overall appearance of your shoes. Trim any excess fabric, thread, or adhesive residue to achieve clean lines and a polished look.
If desired, you can personalize your running shoes further by adding decorative elements such as logos, patterns, or reflective materials. These can be applied to the upper part of the shoe using adhesive or by sewing them in place.
Make sure all seams and edges are secure and neatly finished. This will enhance the durability and longevity of your custom running shoes.
Once you’re satisfied with the final touches, give your shoes a final inspection for any loose threads or imperfections. Remove any remaining traces of adhesive or excess materials.
After completing these steps, it’s time to try on your newly crafted running shoes. Go for a test run to assess their comfort, fit, and performance. Pay attention to how they support your feet and whether they meet your expectations.
Remember that crafting your own running shoes is a learning process, and it may take some trial and error to achieve the perfect fit and design. Take note of any areas that could be improved or adjusted for future shoe-making projects.
By following the steps outlined in this guide, you have successfully crafted your own custom running shoes. Not only have you created a unique pair that reflects your style and needs, but you have also gained insights into the art and craftsmanship of shoemaking.
Enjoy your new shoes and the experience of wearing something truly one-of-a-kind on your running adventures!
Conclusion
Crafting your own running shoes is a rewarding and fulfilling experience. By following the steps outlined in this guide, you have gained insight into the intricate process of designing and creating custom footwear.
From designing and pattern-making to cutting the fabric, sewing the upper, attaching the outsole, adding cushioning and support, and adding the final touches, each step contributes to the creation of a unique and personalized pair of running shoes.
Remember, crafting running shoes requires patience, attention to detail, and a willingness to experiment. Don’t be afraid to explore different designs, materials, and techniques to create a pair of shoes that perfectly suits your running style and individuality.
While this guide provides a general overview, it’s important to note that shoemaking is a specialized skill. If you’re serious about creating high-performance running shoes, consider furthering your knowledge through courses or seeking guidance from experienced professionals in the field.
Creating your own running shoes not only allows you to express your creativity but also gives you a deeper appreciation for the craftsmanship behind the shoes you wear. It’s a chance to step out of the box and truly make a statement with your footwear.
So, lace up those custom running shoes you’ve crafted with your own hands, hit the track or the trail, and experience the joy of running in footwear that is truly one-of-a-kind.