
Featured
How To Make Your Own Energy Gels
Published: October 15, 2023
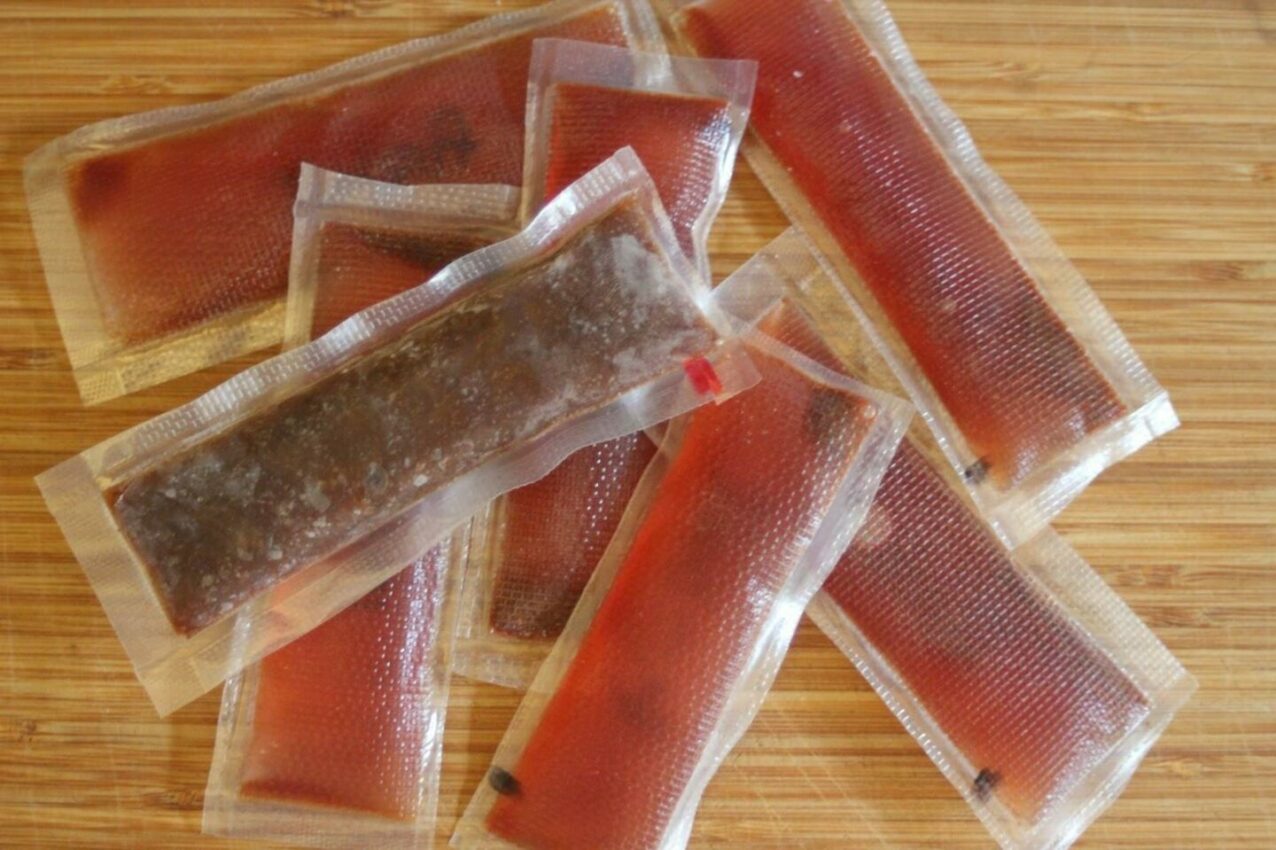
Learn how to create your own energy gels using simple ingredients. Our featured guide provides step-by-step instructions for homemade energy gels.
Introduction
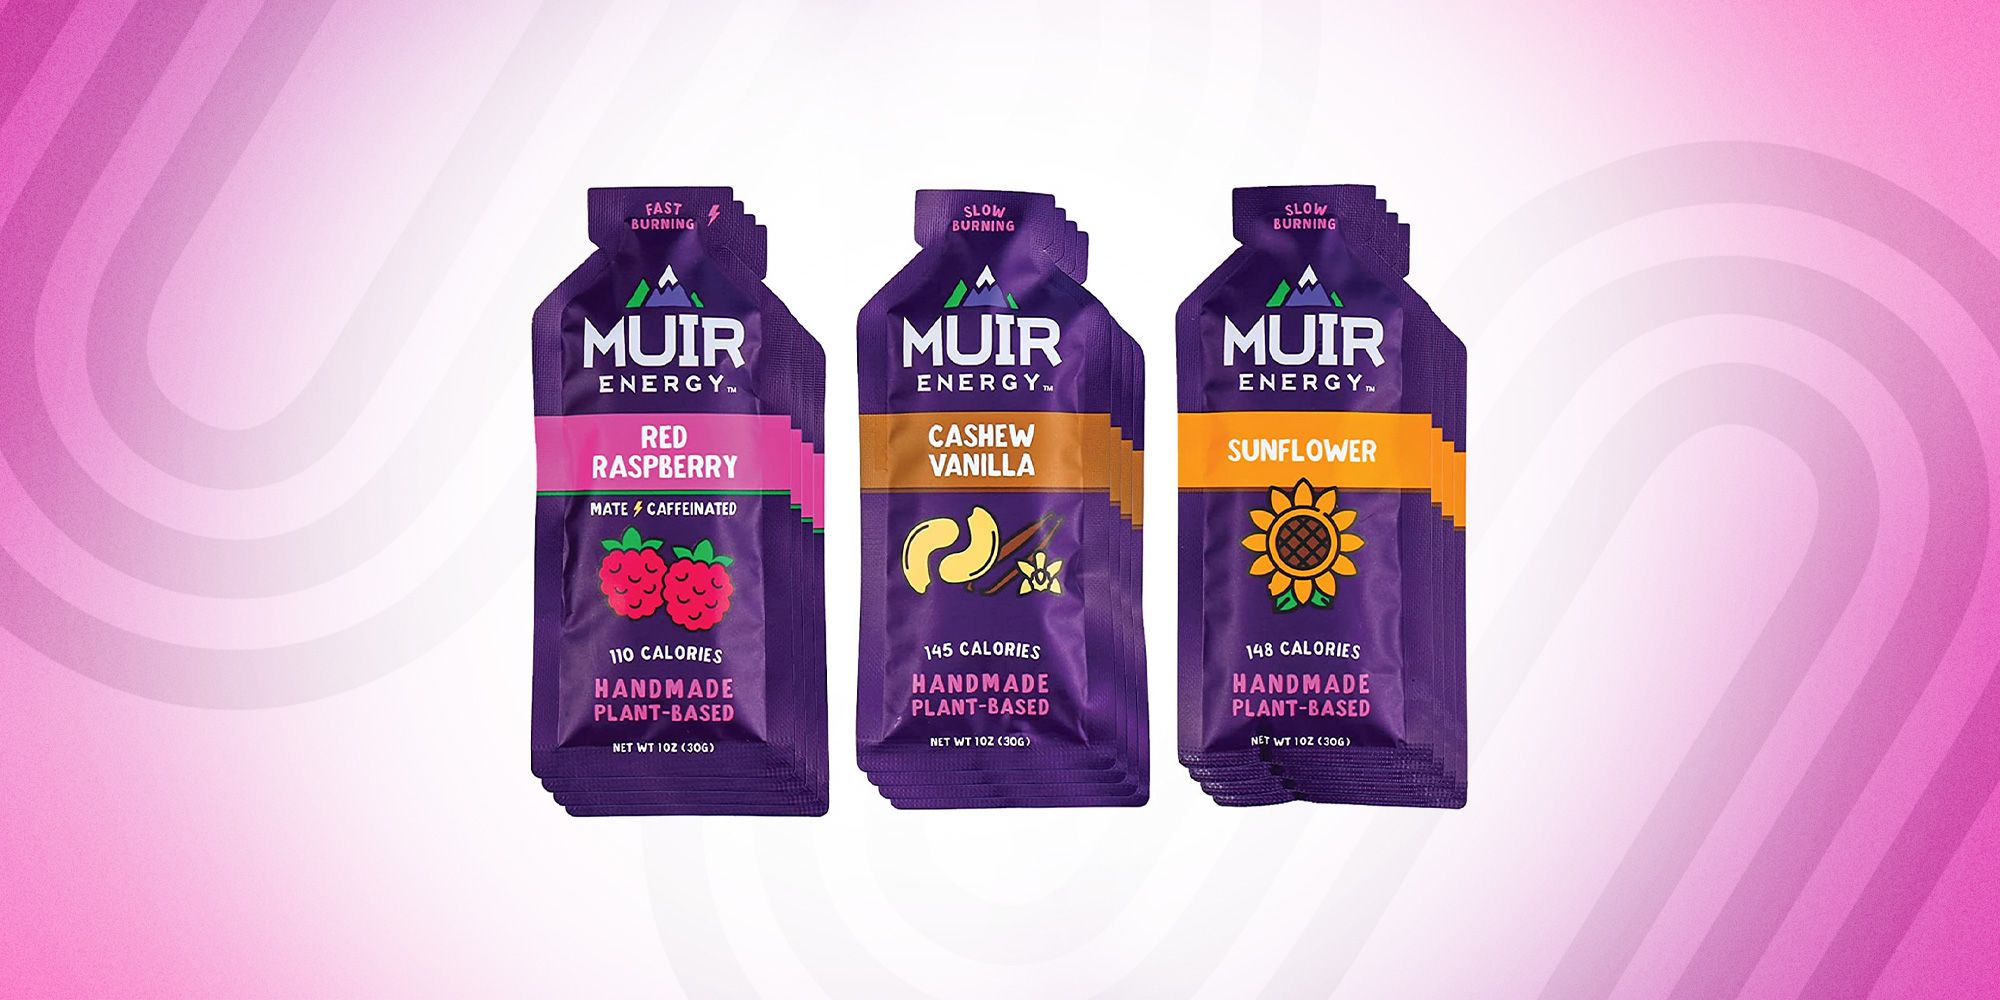
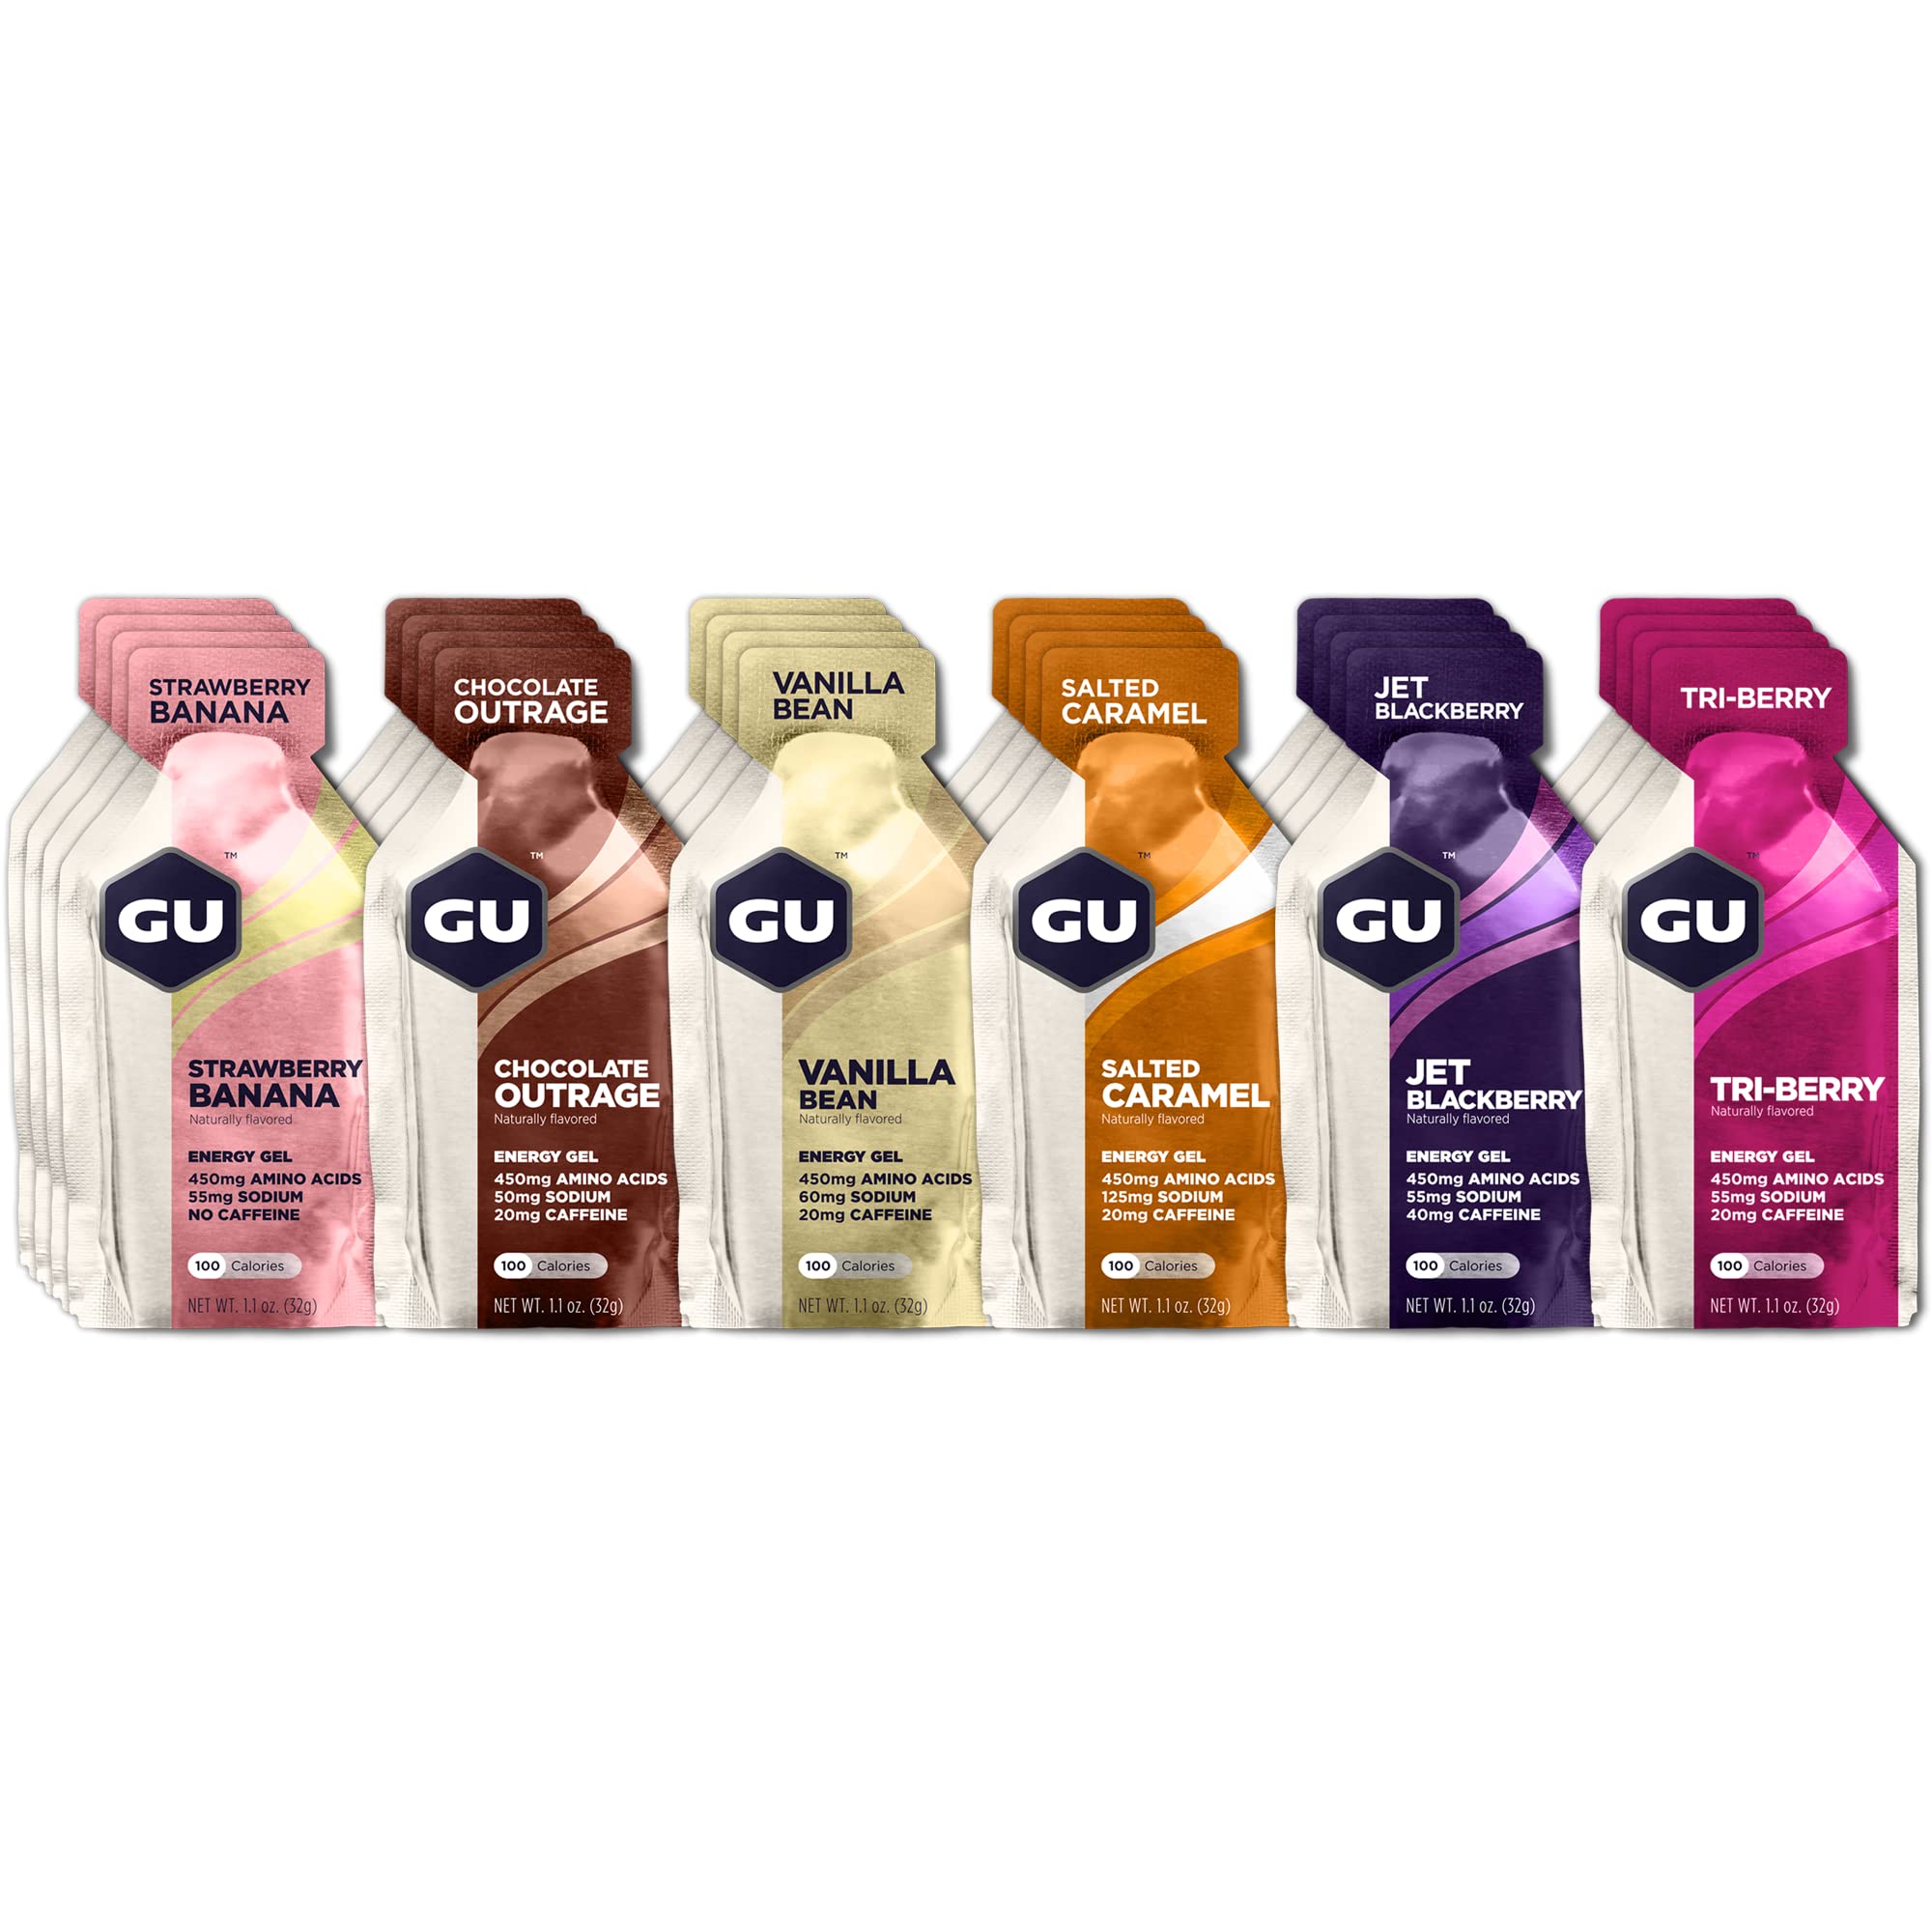
Are you tired of relying on expensive and artificial energy gels to fuel your workouts or outdoor adventures? Why not take matters into your own hands and make your own energy gels? Not only will you have full control over the ingredients, but you can also customize the flavors according to your preferences.
Energy gels are a popular choice among athletes and outdoor enthusiasts for their convenient and quick source of energy. These portable and easy-to-consume packets are packed with carbohydrates, electrolytes, and often caffeine, giving you a boost of energy and improving endurance during intense physical activities.
By making your own energy gels, you can ensure that they are made with wholesome, natural ingredients without any additives or preservatives. Plus, you can experiment with different flavors and textures, making the gel not only functional but also enjoyable to consume.
In this article, we will guide you through the process of making your own energy gels. We will explore various ingredients, flavors, thickening agents, sweeteners, and liquid additions. Follow these simple steps, and you’ll be well-equipped with a batch of homemade energy gels that will power you through your workouts or outdoor adventures.
But before we dive into the details, it’s important to note that while making your own energy gels can be a fun and rewarding experience, it’s essential to consult with a healthcare professional or a registered dietitian to ensure that the ingredients and ratios are suitable for your specific dietary needs and activity levels. Let’s get started!
Ingredients
Before you begin making your own energy gels, gather the necessary ingredients. While the specific ingredients can vary based on personal preferences and dietary needs, here are some common ingredients you may want to consider:
- Carbohydrate Source: Energy gels primarily consist of carbohydrates, which provide the fuel needed for your workouts or outdoor activities. Common carbohydrate sources include maltodextrin, honey, maple syrup, or agave syrup.
- Electrolytes: To replenish the electrolytes lost through sweat, you can add salt or electrolyte powders to your energy gel recipe. This will help maintain proper hydration and prevent muscle cramps.
- Flavorings: Adding flavors to your energy gels can make them more enjoyable to consume. Options include natural extracts like vanilla or almond extract, or fruit purees such as apple, banana, or berry.
- Thickening Agents: To achieve the desired consistency for your energy gels, you may need a thickening agent. Common options include xanthan gum, chia seeds, or tapioca starch.
- Sweeteners: Depending on your taste preferences, you can add natural sweeteners like stevia, coconut sugar, or raw honey to enhance the flavor of your homemade energy gels.
- Liquid Additions: To balance the texture and moisture level, you may need to add liquids to your energy gels. Water, fruit juices, or fruit purees can be used to achieve the desired consistency.
It’s important to note that the quantities and specific ingredients can be adjusted based on personal preferences and dietary needs. Experiment with different combinations to find the perfect ratio and flavor that best suits your needs.
Now that we have a good understanding of the basic ingredients, let’s move on to the next step: preparing the base for your homemade energy gels.
Step 1: Prepare the Base
The base of your energy gel serves as the foundation for the rest of the ingredients. It provides the necessary carbohydrates and texture to make a gel-like consistency. Here’s how to prepare the base:
- Choose your carbohydrate source: Select your preferred carbohydrate source, such as maltodextrin, honey, maple syrup, or agave syrup. Each option has its own taste and nutritional profile, so choose the one that suits your needs.
- Measure the desired quantity: Depending on the number of energy gels you want to make, measure the appropriate quantity of your chosen carbohydrate source. It’s a good idea to start with a small batch until you perfect the recipe.
- Transfer the carbohydrate source to a mixing bowl: Pour the measured quantity of your carbohydrate source into a mixing bowl. This will serve as the base for your energy gel.
- Optional: Add electrolytes: If you prefer to have electrolytes in your energy gels, now is the time to add a pinch of salt or electrolyte powders. This will help replenish your body’s electrolyte levels during intense physical activities.
- Stir until well combined: Use a spoon or a whisk to thoroughly mix the carbohydrate source and electrolytes (if added) together. Ensure that they are evenly incorporated to achieve a smooth consistency.
Once you have prepared the base, you are ready to move on to the next step: adding flavorings to customize your homemade energy gels.
Step 2: Flavoring Options
Now that you have prepared the base for your energy gels, it’s time to add some flavor! Adding flavors to your homemade energy gels will make them more enjoyable to consume during your workouts or outdoor adventures. Here are some flavoring options to consider:
- Natural Extracts: Add a few drops of natural extracts like vanilla, almond, or mint to infuse your energy gels with delightful flavors. These extracts are readily available in most grocery stores and can add a subtle yet satisfying taste to your gels.
- Fruit Purees: For a burst of natural fruit flavors, consider incorporating fruit purees into your energy gel recipe. Use a blender to puree fruits like apple, banana, berry, or mango, and then mix them into your prepared base. This not only adds flavor but can also provide some additional nutritional benefits.
- Cocoa or Carob: If you’re a fan of chocolate or have a sweet tooth, consider adding cocoa powder or carob powder to your energy gels. These ingredients will give your gels a rich, chocolatey taste without adding excessive sweetness. You can adjust the amount based on your preference.
- Spice it up: For those who enjoy a little kick of spice, experiment with adding spices like cinnamon, ginger, or cardamom to your energy gels. These spices not only add flavor but also provide potential health benefits, such as anti-inflammatory properties.
Be sure to taste test your energy gel mixture as you add your chosen flavoring options. Start with a little and gradually add more to achieve the desired intensity. Everyone’s palate is different, so adjust the flavors to suit your personal preferences.
Now that you have added your desired flavors, let’s move on to the next step: thickening agents to achieve the perfect gel-like consistency.
Step 3: Thickening Agents
Thickening agents play a crucial role in giving your homemade energy gels the desired gel-like consistency. They help bind the ingredients together and prevent them from being too runny. Here are some common thickening agents you can use:
- Xanthan Gum: Xanthan gum is a natural thickening agent commonly used in various food products. It is derived from fermented corn sugar and can be used in small quantities to achieve a gel-like consistency for your energy gels.
- Chia Seeds: Chia seeds are not only a source of healthy fats and fiber but also a great thickening agent. When mixed with liquid, chia seeds expand and form a gel-like texture, providing a boost in nutritional content to your energy gels.
- Tapioca Starch: Tapioca starch, derived from cassava plants, is another excellent thickening agent. It helps create a smooth and thick consistency for your energy gels. Be sure to dissolve it properly in the mixture to avoid any clumps.
When using thickening agents, it’s important to follow the recommended quantities and instructions specified on the packaging. Add small amounts at a time and mix well until you achieve the desired texture. Keep in mind that the consistency can vary based on personal preference, so feel free to adjust the quantity of thickening agents to suit your liking.
If you prefer a thinner consistency for your energy gels, you may choose to skip the thickening agents altogether. Ultimately, the goal is to achieve a texture that is easy to consume and transport during your workouts or outdoor activities.
Now that you have added your chosen thickening agent, let’s move on to the next step: selecting the sweeteners to enhance the flavor of your homemade energy gels.
Step 4: Sweeteners
Sweeteners are an important component of energy gels as they not only add a pleasant taste but also provide a quick source of energy. Here are some common sweeteners you can consider adding to your homemade energy gels:
- Stevia: Stevia is a natural, calorie-free sweetener derived from the leaves of the Stevia rebaudiana plant. It adds sweetness without the extra calories or effect on blood sugar levels, making it a popular choice for those looking for low-calorie options.
- Coconut Sugar: Coconut sugar is a natural sweetener made from the sap of coconut palm trees. It has a lower glycemic index compared to regular sugar, meaning it has a less significant impact on blood sugar levels. Coconut sugar adds a subtle caramel-like flavor to your energy gels.
- Raw Honey: If you prefer a more natural sweetener, you can use raw honey. Honey provides natural sugars and adds a rich, sweet taste to your energy gels. Keep in mind that honey is not suitable for vegans and individuals who follow a strict plant-based diet.
The quantities of sweetener to add will depend on personal preference and desired sweetness. Start with a small amount and adjust according to your taste buds. Keep in mind that some flavorings like fruit purees or cocoa powder might already add sweetness to your energy gels, so consider that when determining the amount of sweetener to use.
It’s important to note that while sweeteners add taste, moderation is key. Excessive consumption of sweeteners, even natural ones, can have an impact on blood sugar levels and overall health. Experiment with different sweeteners and find the balance that works best for you.
Now that you have chosen your sweetener, let’s move on to the next step: selecting the liquid additions to achieve the desired texture for your homemade energy gels.
Step 5: Liquid Additions
Liquid additions are essential for achieving the right texture and moisture level in your homemade energy gels. They help bind the ingredients together and make the gels easier to consume. Here are some common liquid additions you can consider:
- Water: Water is the simplest and most common liquid addition for energy gels. It helps create a smooth consistency and provides necessary hydration during physical activities.
- Fruit Juice: Fruit juices can add natural sweetness and flavor to your energy gels. Options like orange juice, apple juice, or berry juice can enhance the taste and provide additional nutrients.
- Fruit Purees: If you have already added fruit purees for flavoring, you can use them as a liquid addition as well. Pureed fruits like apples, bananas, or berries not only help with texture but also contribute to the overall taste and nutritional content of your energy gels.
When adding liquid to your energy gel mixture, start with small amounts and gradually increase until you achieve the desired texture. The ideal consistency should be smooth and easy to squeeze or consume, while not being too runny or watery.
Remember to mix the liquid additions thoroughly with the other ingredients to ensure even distribution. This will result in a well-balanced and delicious homemade energy gel.
Now that you have selected the liquid additions for your energy gels, let’s move on to the final step: mixing and blending to bring all the ingredients together.
Step 6: Mixing and Blending
Now that you have assembled all the ingredients for your homemade energy gels, it’s time to bring them together through mixing and blending. Follow these steps to ensure thorough incorporation of all the flavors and textures:
- Add the flavorings: Start by adding your chosen flavorings to the base mixture. This includes any extracts, fruit purees, or spices you have chosen to customize your energy gels.
- Blend the ingredients: Use a spoon, whisk, or blender to mix the ingredients together. Make sure all the flavorings are evenly distributed throughout the mixture. Take your time to ensure a smooth consistency.
- Add thickening agents: If you have selected any thickening agents such as xanthan gum, chia seeds, or tapioca starch, add them gradually while mixing. Stir well to avoid any clumps and achieve the desired gel-like consistency.
- Adjust sweetness and texture: Taste the mixture and adjust the sweetness or thickness as needed. Add more sweetener if desired or adjust the texture by adding more liquid or thickening agent, depending on your preference.
- Continue blending: Blend the mixture again to incorporate any adjustments you have made. Make sure all the ingredients are well combined and the texture is smooth and consistent.
Take your time during this step to ensure that all the ingredients are thoroughly mixed together. This will ensure that each energy gel you make has a consistent flavor and texture profile.
Once the mixing and blending are complete, your homemade energy gel mixture is ready. It’s time to move on to the final step: storage and usage tips to make the most of your homemade energy gels.
Step 7: Storage and Usage Tips
Now that you have successfully prepared your homemade energy gels, it’s important to know how to store them properly and utilize them effectively during your workouts or outdoor adventures. Here are some storage and usage tips to keep in mind:
- Store in airtight containers: Transfer your energy gels into small, portable containers with airtight lids. This will help maintain their freshness and prevent leakage during transportation.
- Keep refrigerated: If your energy gels contain perishable ingredients like fruit purees or yogurt, it’s best to store them in the refrigerator. This will extend their shelf life and maintain their quality.
- Label and date your containers: To avoid confusion, label each container with the flavor and date of preparation. This will help you keep track of the freshness and ensure you consume them within a reasonable timeframe.
- Pack them for your activities: Before heading out, make sure to pack your homemade energy gels in a convenient and accessible location. This will ensure that you have a quick and effective source of energy during your workouts or outdoor adventures.
- Experiment with consumption: Try different methods of consuming the energy gels during your activities. Squeezing them directly into your mouth, mixing them with water, or spreading them on energy bars are some options to explore. Find the method that works best for you.
- Monitor your body’s response: Pay attention to how your body responds to the homemade energy gels. Note any changes in energy levels, digestion, or performance. This will help you make adjustments to the recipe or quantities to better suit your needs.
- Consult a professional: If you have any dietary restrictions or specific nutritional requirements, it’s important to consult with a healthcare professional or registered dietitian. They can provide guidance and ensure that your homemade energy gels are tailored to your individual needs.
By following these storage and usage tips, you’ll be able to enjoy your homemade energy gels to the fullest, providing the energy and nutrition you need during your physical activities.
Now that you’re equipped with the knowledge and steps to make your own energy gels, it’s time to start experimenting with flavors and ingredients. Enjoy the process of creating customized energy gels that will power your workouts and adventures!
Conclusion
Making your own energy gels can be a rewarding and cost-effective alternative to store-bought options. With the ability to control the ingredients and customize the flavors, you can create energy gels that perfectly suit your preferences and dietary needs. By following the steps outlined in this guide, you can confidently prepare homemade energy gels that will power you through your workouts or outdoor adventures.
Remember to gather the necessary ingredients, including a carbohydrate source, electrolytes, flavorings, thickening agents, sweeteners, and liquid additions. Take the time to prepare the base and incorporate your desired flavors. Consider adding thickening agents to achieve the desired gel-like consistency, and sweeten the gels to your taste. Finally, mix and blend all the ingredients thoroughly to create a smooth and uniform energy gel mixture.
Store your homemade energy gels in airtight containers and refrigerate them if necessary. Ensure that you label and date the containers for easy identification. When using your energy gels during physical activities, experiment with different consumption methods and monitor your body’s response.
As always, it’s important to consider your individual dietary needs and consult with a healthcare professional or registered dietitian if needed. They can provide personalized guidance and ensure that your homemade energy gels align with your specific requirements.
By making your own energy gels, you have the power to fuel your workouts or outdoor adventures with wholesome and natural ingredients. Enjoy the process of creating and refining your recipes, and make the most of the energy and nutrition these homemade gels provide. So, get creative, start experimenting, and enjoy the benefits of homemade energy gels!

