Featured
How To Size A Triathlon Bike
Modified: May 22, 2024
Looking to find the perfect triathlon bike size? Our comprehensive guide features expert tips and advice on sizing your triathlon bike for optimal performance. Featured in-depth analysis and top recommendations for all skill levels!
Introduction
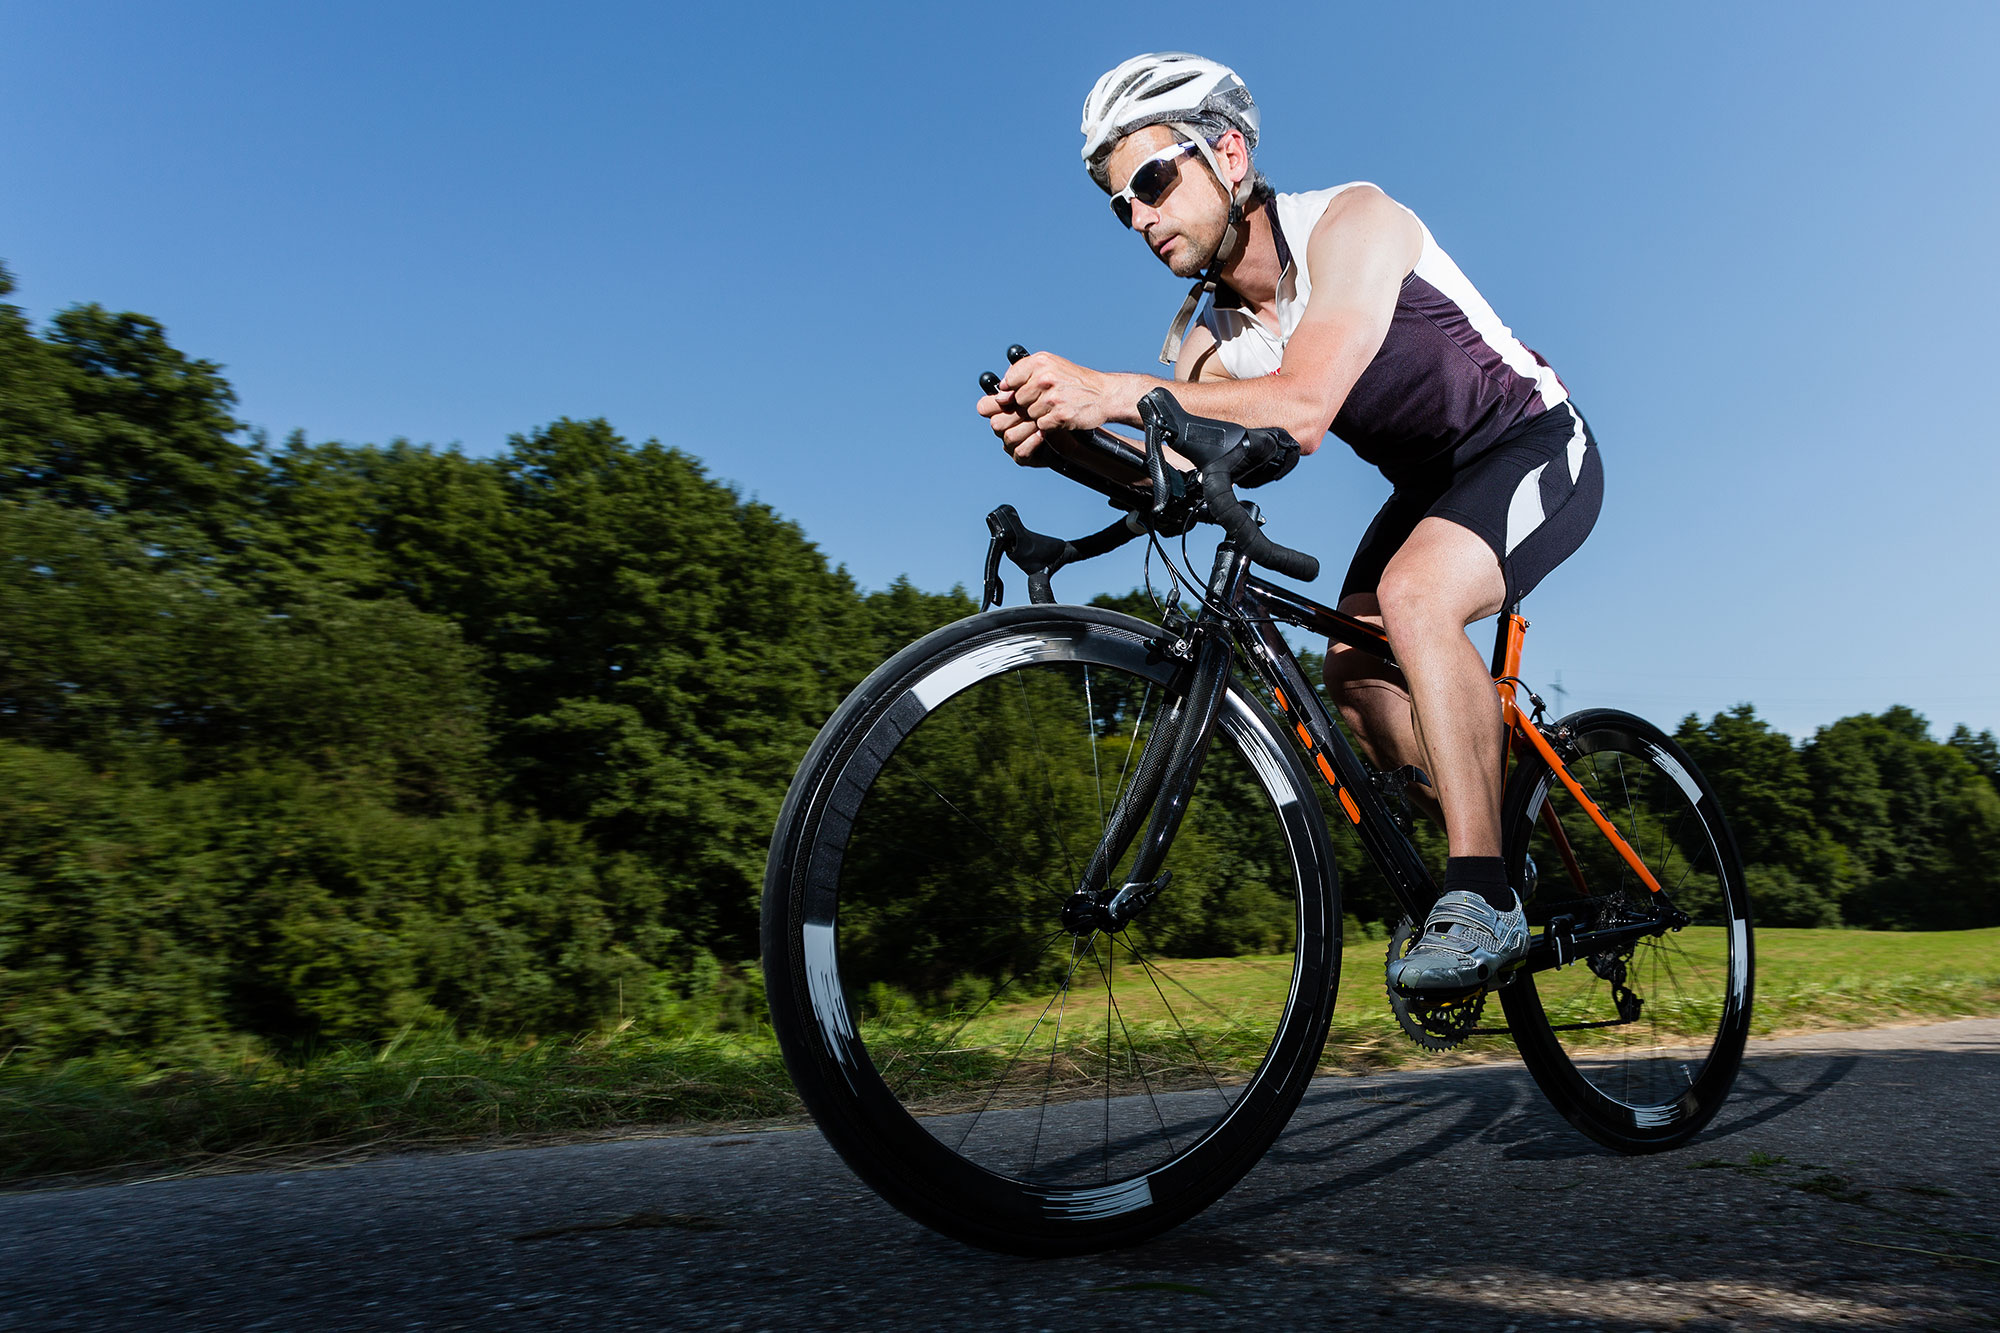
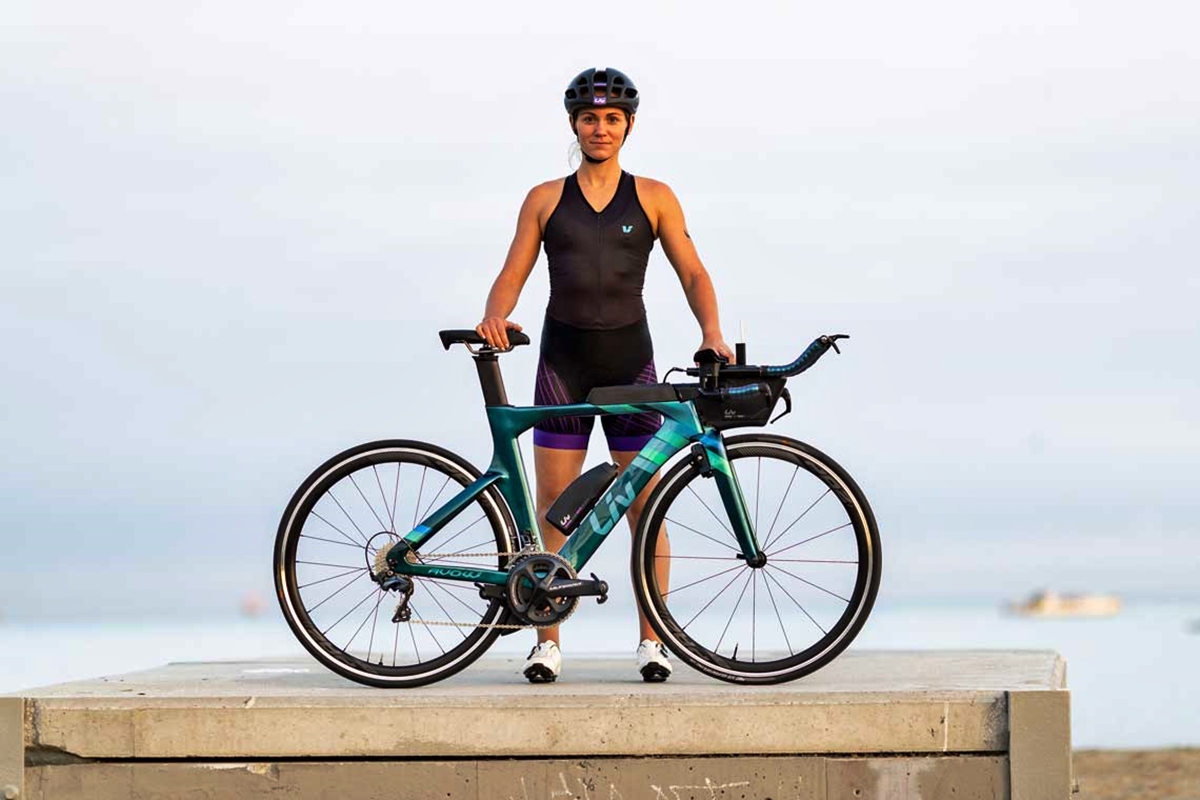
Welcome to the world of triathlon! Whether you are a seasoned athlete or a beginner, one of the key components to a successful race is having the right equipment. And when it comes to triathlon, having a properly sized bike is paramount. The right bike size not only ensures optimal performance, but also helps prevent discomfort, fatigue, and injury during training and racing.
Proper bike sizing is the process of finding the right frame size and adjusting various components of the bike to fit your body and riding style. This ensures that you are in the most efficient and comfortable position to maximize your power output and aerodynamics.
In this article, we will guide you through the step-by-step process of sizing a triathlon bike. From determining your ideal frame size to selecting the correct stem length, we will cover all the important factors that contribute to a well-fitted triathlon bike. So, let’s dive in and take the first step towards finding your perfect ride!
Importance of Proper Bike Sizing
Proper bike sizing is not just about aesthetics or following a general guideline. It plays a crucial role in your comfort, performance, and overall enjoyment of the sport. Let’s explore the key reasons why proper bike sizing is of utmost importance:
- Optimal Performance: A properly sized bike allows you to achieve optimal power transfer and efficiency. When your bike fits correctly, you can generate more power with each pedal stroke, resulting in improved speed and performance on the road or during a race.
- Prevent Discomfort and Injury: Riding a bike that is too small or too big for you can lead to discomfort and even injuries. An ill-fitting bike can cause issues like knee pain, back pain, numbness in the hands, and neck strain. By ensuring proper bike sizing, you can minimize the risk of these problems and ride comfortably for longer durations.
- Efficient Aerodynamics: Triathlon is a sport that demands efficiency in terms of aerodynamics. A well-fitted bike allows you to maintain a more streamlined and aerodynamic position, reducing wind resistance and helping you slice through the air with ease. This can significantly improve your overall race performance.
- Stability and Control: A properly sized bike provides better stability and control, especially during technical sections or descents. When you are in the correct position, you can maneuver the bike more effectively, enabling you to tackle corners, turns, and obstacles with confidence.
- Enhanced Comfort: Comfort is key when it comes to endurance sports like triathlon. A well-fitted bike ensures that you are in a comfortable riding position, reducing strain on your body and allowing you to maintain your form for longer distances. This is especially important during long training rides and races.
By understanding the importance of proper bike sizing, it becomes clear that investing time and effort into finding the right fit is essential for every triathlete. Now that you recognize the benefits, let’s move on to the practical steps involved in sizing a triathlon bike.
Body Measurements for Bike Sizing
Before we dive into the actual process of bike sizing, it is important to gather a few key body measurements. These measurements will serve as a starting point in determining the appropriate frame size and adjusting the bike’s components to fit your unique body proportions. Here are the essential body measurements for bike sizing:
- Inseam Length: This is the distance from the ground to your crotch, measured while wearing your cycling shoes. It helps determine the ideal frame size and saddle height.
- Reach: Reach refers to the distance from the tip of your saddle to the handlebars. It influences your riding position and can be adjusted by selecting the right stem length.
- Arm Length: Measuring the length of your arm from shoulder to wrist provides insights into your reach and determines the appropriate handlebar width.
- Torso Length: Torso length determines the ratio of your upper body to your legs. It helps determine the ideal frame geometry and position on the bike.
- Shoulder Width: Shoulder width is important for selecting the correct handlebar width, ensuring that your arms are in a comfortable and natural position while riding.
These measurements are the foundation for properly sizing a triathlon bike. You can either measure them yourself using a tape measure or seek assistance from a professional bike fitter who will have the necessary tools and expertise to ensure accurate measurements.
Once you have gathered the required body measurements, you are ready to move on to the next step in the bike sizing process, determining your ideal frame size.
Step 1: Determine Your Ideal Frame Size
Determining the correct frame size is the foundation of proper bike sizing. A frame that is too small or too big for your body can result in discomfort, inefficiency, and potential injury. Here’s how you can determine your ideal frame size:
- Inseam Measurement: Start by measuring your inseam length, which is the distance from the ground to your crotch while wearing cycling shoes.
- Use Frame Size Chart: Consult a frame size chart specific to the brand and model of the bike you’re considering. Frame size charts typically provide a range of inseam lengths and corresponding frame sizes. It’s important to note that different brands may have slightly different sizing standards, so always refer to the specific brand’s chart.
- Consider Your Riding Style: Your riding style and goals will also impact frame size selection. If you prefer a more aggressive and aerodynamic position, you may opt for a slightly smaller frame size. Conversely, if you prioritize comfort and endurance, you may choose a slightly larger frame size.
- Test Ride: If possible, test ride a few bikes with different frame sizes to get a feel for what size suits you best. This can help you determine your comfort and preference when it comes to frame size.
Keep in mind that frame size is just the starting point of bike sizing. It serves as a general guideline to help narrow down your options. The other components of the bike, such as handlebars, saddle height, and stem length, will also need to be adjusted to achieve a proper fit.
Once you have determined your ideal frame size, you can move on to the next steps of the bike sizing process, which involve adjusting various components to fine-tune the fit and optimize your riding experience.
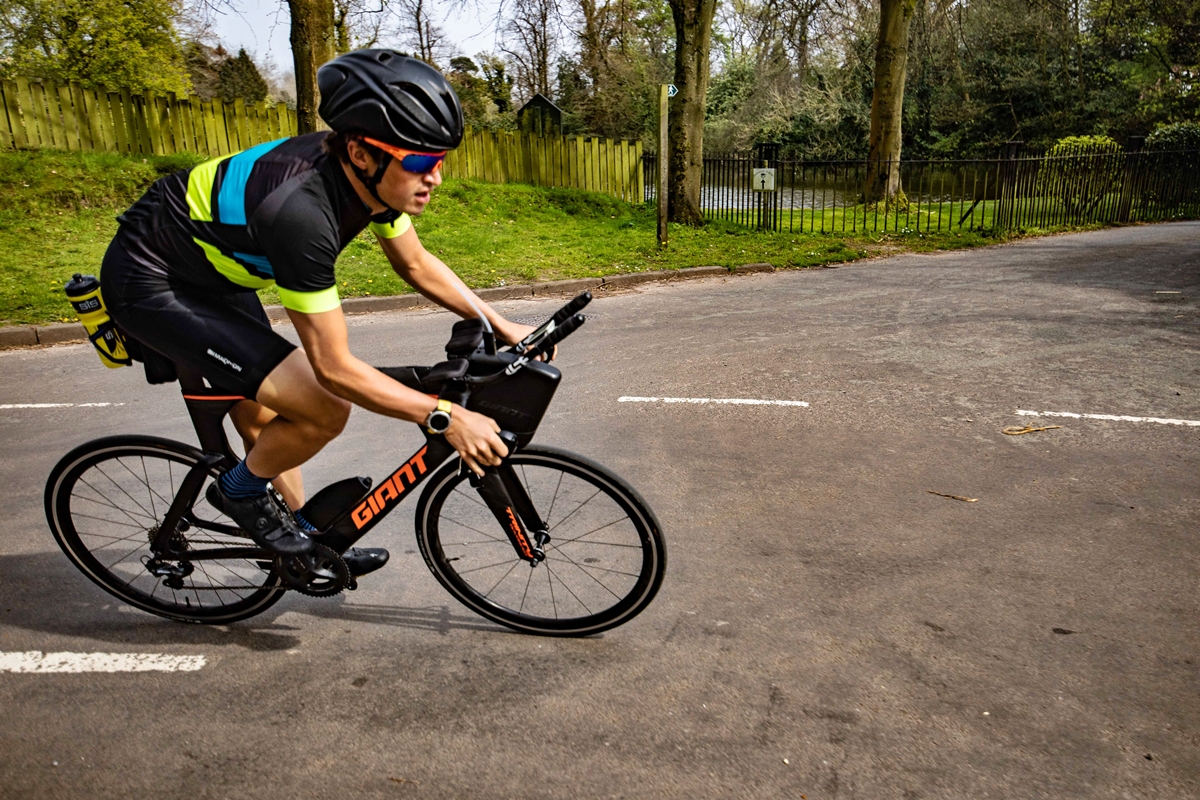
Step 2: Choose the Right Handlebar Width
Choosing the right handlebar width is crucial for comfort and control while riding your triathlon bike. The handlebars serve as your main point of contact and play a significant role in your riding position and overall handling. Here’s how to select the correct handlebar width:
- Aim for Shoulder Width: As a general rule, your handlebar width should closely match your shoulder width. This allows for a natural and comfortable position, ensuring your arms are in alignment with your shoulders when gripping the handlebars.
- Consider Riding Style: Your riding style and preferences also influence handlebar width selection. If you prefer a more aerodynamic and aggressive position, a narrower handlebar may be suitable. Alternatively, if you prioritize stability and comfort, a wider handlebar may provide better control.
- Test Different Widths: If possible, test ride bikes with different handlebar widths to determine which feels most comfortable and allows for optimal control. You want to find a width that allows your hands to comfortably grip the handlebars without feeling too cramped or stretched.
- Consult with a Professional: For more precise guidance, consider consulting with a professional bike fitter. They can assess your body proportions, riding style, and goals to recommend the ideal handlebar width for your specific needs.
Once you have chosen the appropriate handlebar width, make sure to adjust the handlebar position and angle to further optimize your comfort and control on the bike. Small adjustments in handlebar position can have a big impact on your riding experience, so take the time to fine-tune this component of your triathlon bike.
Now that you have chosen the right handlebar width, let’s move on to the next step: adjusting the saddle height.
Step 3: Adjusting the Saddle Height
The correct saddle height is crucial for proper bike fit and efficient power transfer while cycling. Adjusting the saddle height ensures that your legs can fully extend without overstraining or compromising your biomechanics. Here’s how to adjust the saddle height:
- Start with a Rough Estimate: As a starting point, set your saddle height so that your leg is almost fully extended with a slight bend in the knee at the bottom of the pedal stroke.
- Measure Your Inseam: Measure your inseam length from the ground to your crotch while wearing your cycling shoes, and apply a formula or use an online calculator to determine your initial saddle height. Different formulas may vary, but a common one is multiplying your inseam by 0.883.
- Test and Refine: Take your bike for a ride and pay attention to how your legs feel. If your knees are excessively bent at the bottom of the pedal stroke or if you feel like you’re reaching too far for the pedals, adjust the saddle height accordingly.
- Seek Professional Guidance: For more precise adjustments, consider consulting with a professional bike fitter. They can assess your pedaling technique, riding style, and body proportions to help you find the optimal saddle height for your specific needs.
Remember, the goal of adjusting the saddle height is to find a sweet spot where your leg extension is comfortable, efficient, and allows for proper muscle engagement. Properly adjusting the saddle height not only enhances your power output but also reduces the risk of knee pain and other issues related to improper bike fit.
Now that you have adjusted the saddle height, let’s move on to the next step: positioning the saddle fore/aft.
Step 4: Positioning the Saddle Fore/Aft
Positioning the saddle fore/aft (front and back) is another essential aspect of bike sizing. The correct saddle position can significantly impact your comfort, power transfer, and overall riding experience. Here’s how to position the saddle fore/aft:
- Find a Neutral Position: Start by positioning your saddle in a neutral position, where the nose of the saddle is parallel to the ground. This is a good starting point for most riders.
- Consider the KOPS Method: The KOPS (Knee Over Pedal Spindle) method is a common guideline for saddle positioning. This method suggests aligning the forward knee cap with the center of the pedal axle. This helps ensure proper knee alignment and optimal power transfer.
- Test and Fine-tune: Go for a ride and pay attention to how the saddle position feels. If you notice any discomfort, such as excessive pressure on the hands or numbness in the pelvic area, make small adjustments to the saddle position until you find a comfortable and balanced position.
- Seek Professional Assistance: If you’re unsure about the optimal saddle position or want more precise adjustments, consider consulting with a professional bike fitter. They have the expertise and tools to assess your body mechanics and make precise adjustments to optimize your saddle position.
The goal of positioning the saddle fore/aft is to achieve a balanced position that allows for efficient power transfer, proper knee alignment, and optimal comfort. Small adjustments in saddle position can have a big impact on your riding experience, so take the time to find the sweet spot that works best for you.
With the saddle position dialed in, let’s move on to the next step in the bike sizing process: selecting the correct stem length.
Step 5: Selecting the Correct Stem Length
Choosing the correct stem length is essential for achieving optimal bike fit and comfort. The stem length determines your reach to the handlebars and influences your riding position. Here’s how to select the right stem length:
- Consider Your Riding Style: Your riding style and preferences play a significant role in stem length selection. If you prefer a more aggressive and aerodynamic position, a shorter stem may be appropriate. Conversely, if you prioritize stability and comfort, a longer stem may be more suitable.
- Test Different Lengths: If possible, try out different stems with varying lengths to determine which provides the most comfortable and natural reach to the handlebars. Consider factors such as your arm length, riding posture, and overall riding experience.
- Seek Professional Advice: For a more precise fit, consult with a professional bike fitter. They can assess your body proportions, riding style, and goals to recommend the ideal stem length based on your specific needs.
- Adjust as Needed: Once you have selected the appropriate stem length, make fine adjustments to the stem position and angle to further optimize your riding experience. Small changes can have a significant impact, so take the time to fine-tune the stem position.
Finding the right stem length is crucial for achieving a comfortable and efficient riding position. It helps ensure that your upper body is properly aligned with the bike, reducing strain on your back, shoulders, and arms. By selecting the correct stem length, you can improve your control, handling, and overall enjoyment while riding.
Now that you have chosen the correct stem length, let’s move on to the next step: finding the best crank length.
Step 6: Finding the Best Crank Length
The crank length refers to the length of the crank arms on your bike’s crankset. It plays a crucial role in determining your pedaling efficiency and overall comfort. Finding the best crank length for your body proportions can greatly enhance your riding experience. Here’s how to find the optimal crank length:
- Consider Your Leg Length: Your leg length is an important factor when determining the appropriate crank length. Longer legs may benefit from longer crank arms, while shorter legs may find shorter crank arms more comfortable.
- Take Your Riding Style into Account: Your riding style and goals can influence crank length selection. For triathletes seeking a more aerodynamic position, shorter crank arms may be preferred. On the other hand, endurance riders may opt for longer crank arms to maximize power output.
- Test Different Crank Lengths: If possible, test ride bikes with different crank lengths to determine which length feels most comfortable and natural for your pedaling motion. Pay attention to factors such as knee alignment, cadence, and overall pedaling efficiency.
- Consult with a Professional: For a more precise fitting, consider consulting with a professional bike fitter. They can assess your body proportions, riding style, and goals to recommend the ideal crank length based on your specific needs.
Finding the best crank length is crucial for maintaining optimal biomechanics and pedaling efficiency. It can help reduce unnecessary strain on your legs, enhance power transfer, and improve overall comfort on long rides or during races.
Once you have determined the best crank length, you are one step closer to achieving a perfectly sized triathlon bike. However, there is one more important consideration to make: considering aero positioning. Let’s explore this final step in the bike sizing process.
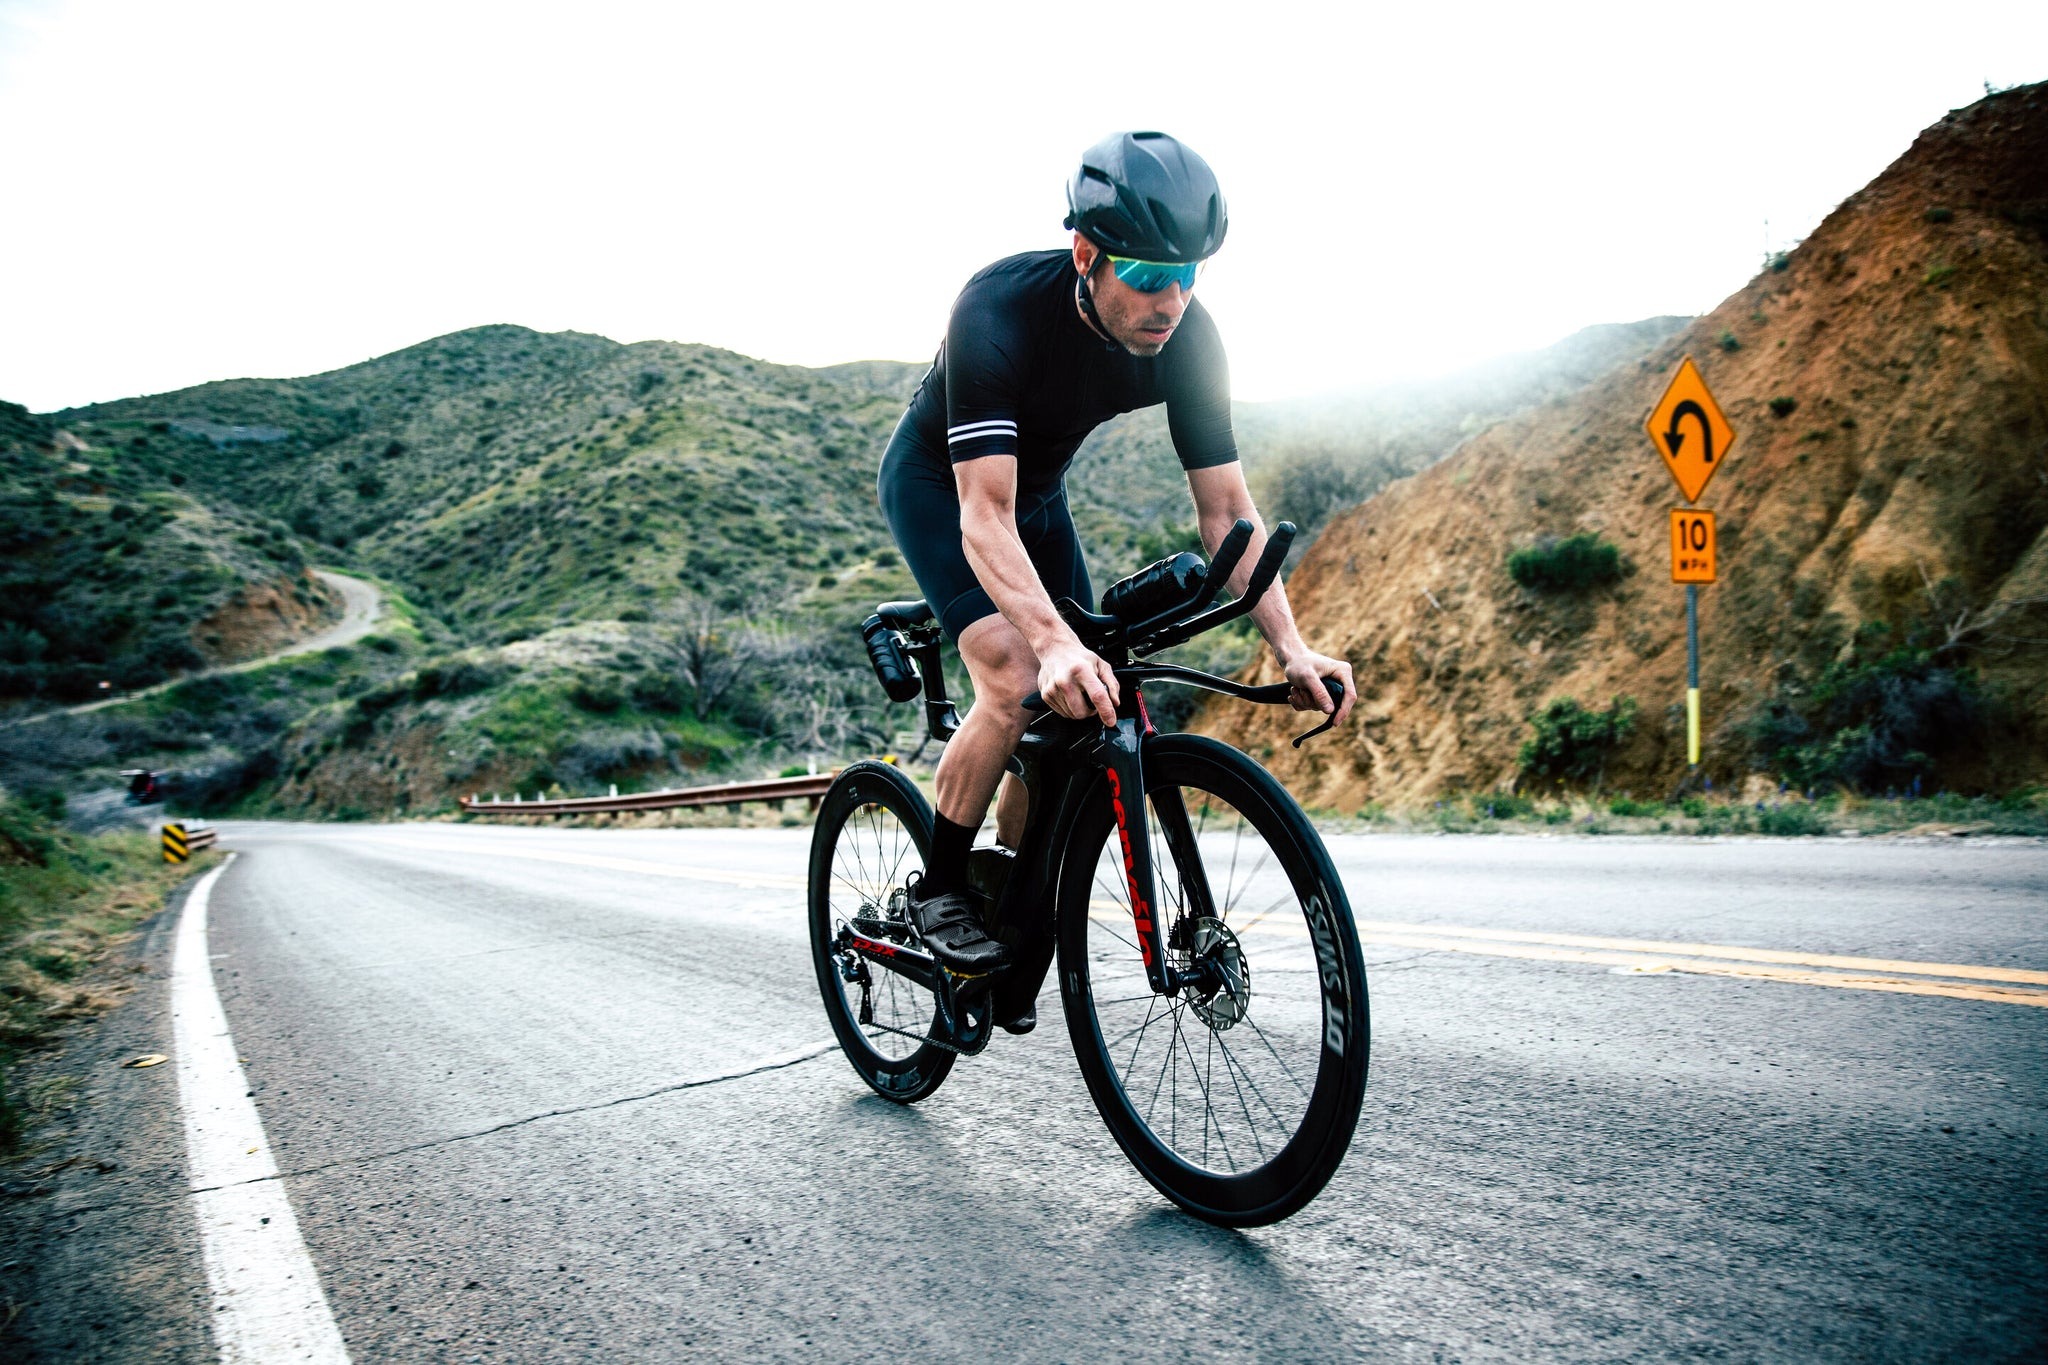
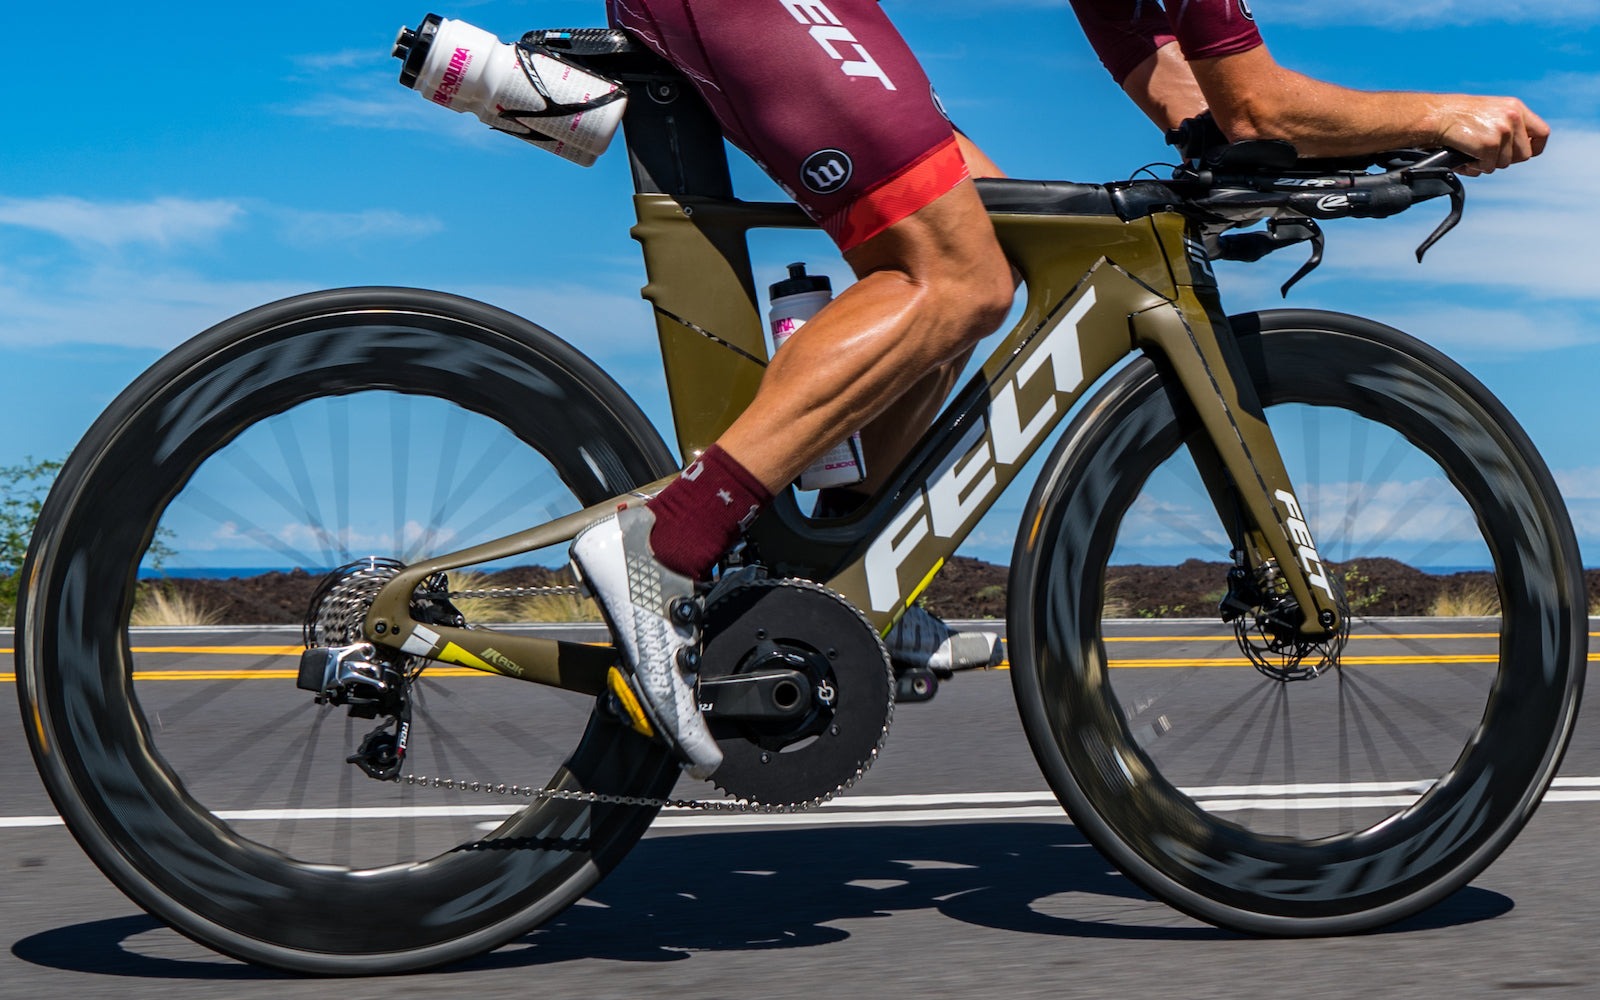
Step 7: Considering Aero Positioning
When it comes to triathlon racing, aerodynamics play a significant role in performance. Achieving an optimal aerodynamic position on your bike can help reduce wind resistance and improve your overall speed. Here’s what you need to consider when it comes to aero positioning:
- Frame Geometry: The frame geometry of your triathlon bike can heavily influence your ability to achieve an aerodynamic position. Triathlon-specific bike frames are designed with a more aggressive geometry, including a steeper seat tube angle and shorter top tube, allowing for a more aerodynamic riding position.
- Handlebar Positioning: Adjusting the position of your handlebars can significantly impact your aerodynamics. Triathlon-specific handlebars, such as aerobars, allow you to adopt a more streamlined position, reducing your frontal area and minimizing wind resistance. Experiment with different positions to find the one that allows you to maintain good control and comfort while being aerodynamic.
- Saddle Position: Proper positioning of your saddle can also contribute to your aerodynamics. A more forward saddle position can help you achieve a better hip angle and a more aerodynamic posture. However, it is important to strike a balance between aerodynamics and comfort, as an extremely aggressive position can lead to discomfort and loss of power.
- Testing and Refining: Once you have made adjustments to your bike’s geometry and handlebar and saddle positions, it is important to test and refine your aero position. Go for test rides and pay attention to your speed, power output, and overall comfort. Make necessary adjustments to find the optimal balance between aerodynamics and efficiency.
- Seek Expert Advice: Consulting with a professional bike fitter or aero specialist can provide valuable insights into achieving an optimal aero position. They can assess your body mechanics and provide recommendations tailored to your specific needs and goals.
Remember, achieving an aerodynamic position is a balance between reducing wind resistance and maintaining comfort and control. Strive to find the position that maximizes your aerodynamics without sacrificing power output or jeopardizing your comfort on long rides.
Now that you have considered aero positioning, you have completed the final step in the bike sizing process. You’re ready to hit the road with a properly sized and optimized triathlon bike!
Conclusion
Congratulations! You have reached the end of the bike sizing journey for your triathlon bike. By following the steps outlined in this guide, you have learned the importance of proper bike sizing and how it can enhance your performance, comfort, and overall enjoyment of the sport.
Starting with body measurements, you gathered the necessary information to determine your ideal frame size. Understanding how to choose the right handlebar width, adjust the saddle height, position the saddle fore/aft, select the correct stem length, find the best crank length, and consider aero positioning are all integral components of achieving a well-fitted triathlon bike.
Remember that bike sizing is not a one-size-fits-all approach. Each individual has unique body proportions, riding style, and preferences. Consulting with a professional bike fitter can provide additional guidance and expertise, ensuring that your bike is perfectly tailored to your needs.
Having a properly sized bike sets you up for success in your training sessions and races. It allows you to maximize power transfer, find comfort in your riding position, and improve your aerodynamics. With an optimized bike fit, you can focus on pushing your limits and achieving your triathlon goals.
So, take your newfound knowledge and apply it when selecting or adjusting your triathlon bike. Enjoy the journey, embrace the process of finding the perfect fit, and let your properly sized bike become your trusty companion on your triathlon adventures!