Featured
How To Walk On A Treadmill
Modified: August 19, 2023
Learn the best techniques and tips for walking on a treadmill. Get featured on your fitness journey with our expert guide.
Introduction
Welcome to the world of treadmill walking – a convenient and effective way to stay active and fit. Whether you’re a beginner or a seasoned treadmill user, this article will guide you through the proper techniques and tips for an optimal walking experience. Treadmill walking offers numerous benefits, including cardiovascular conditioning, calorie burning, and improved overall fitness. Plus, it’s a great option when the weather isn’t cooperating or you prefer the convenience of exercising indoors.
Before we dive into the specifics of walking on a treadmill, it’s important to note that safety should be your top priority. Always consult with your healthcare provider before starting any new exercise program, especially if you have any pre-existing health conditions or concerns.
In this article, you’ll learn the proper foot placement, how to adjust the speed, find your pace, maintain proper posture, use the handlebars effectively, and even monitor your heart rate. So, let’s lace up our shoes and get ready to conquer the treadmill!
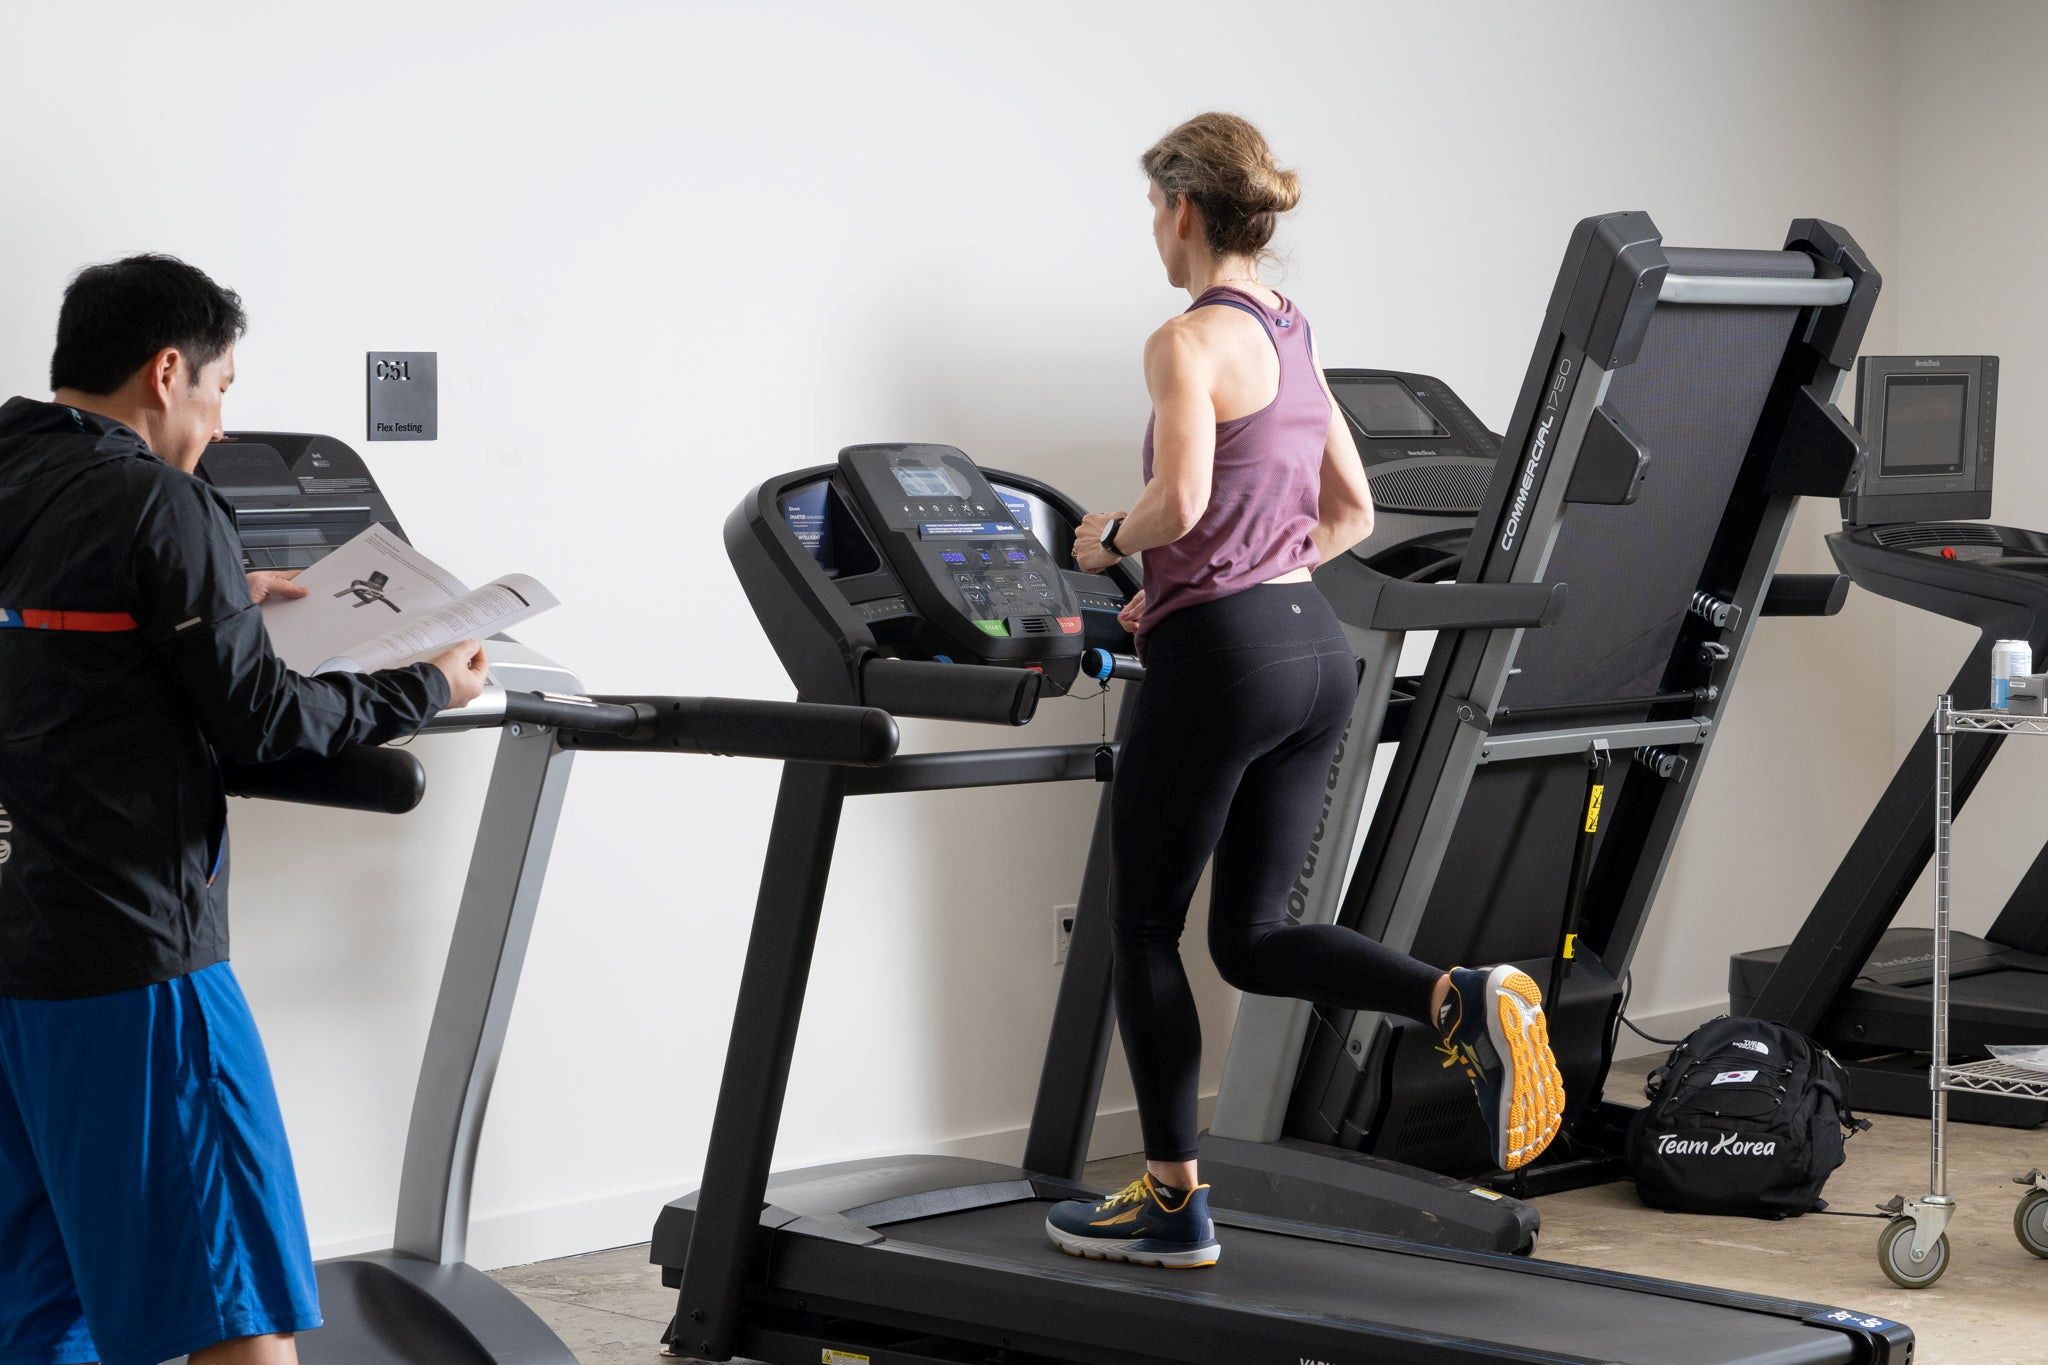
Getting Started
Before you step onto the treadmill, there are a few things you should do to ensure a safe and comfortable workout. First, make sure you are wearing appropriate athletic shoes that provide good support and cushioning. This will help reduce the risk of injury and provide a stable foundation for your feet.
Next, familiarize yourself with the treadmill’s console and controls. Take a moment to read the user manual or ask a gym staff member for guidance if you’re using a treadmill at a fitness center. Understanding how to start and stop the treadmill, adjust the speed and incline, and access any additional features will make your workout experience smoother.
Once you are comfortable with the treadmill’s controls, it’s time to adjust the settings to your liking. Start by setting the speed to a low level, around 2-3 mph, and the incline to 0%. This will allow you to ease into your workout and gradually increase the intensity as you feel more comfortable.
Lastly, it’s a good idea to have a water bottle and towel nearby for hydration and sweat management. Staying hydrated throughout your workout is essential, and having a towel on hand will help you stay comfortable as you start to build up a sweat.
With these preparations in place, you’re now ready to step onto the treadmill and begin your walking workout. Let’s move on to the next section to learn about proper foot placement.
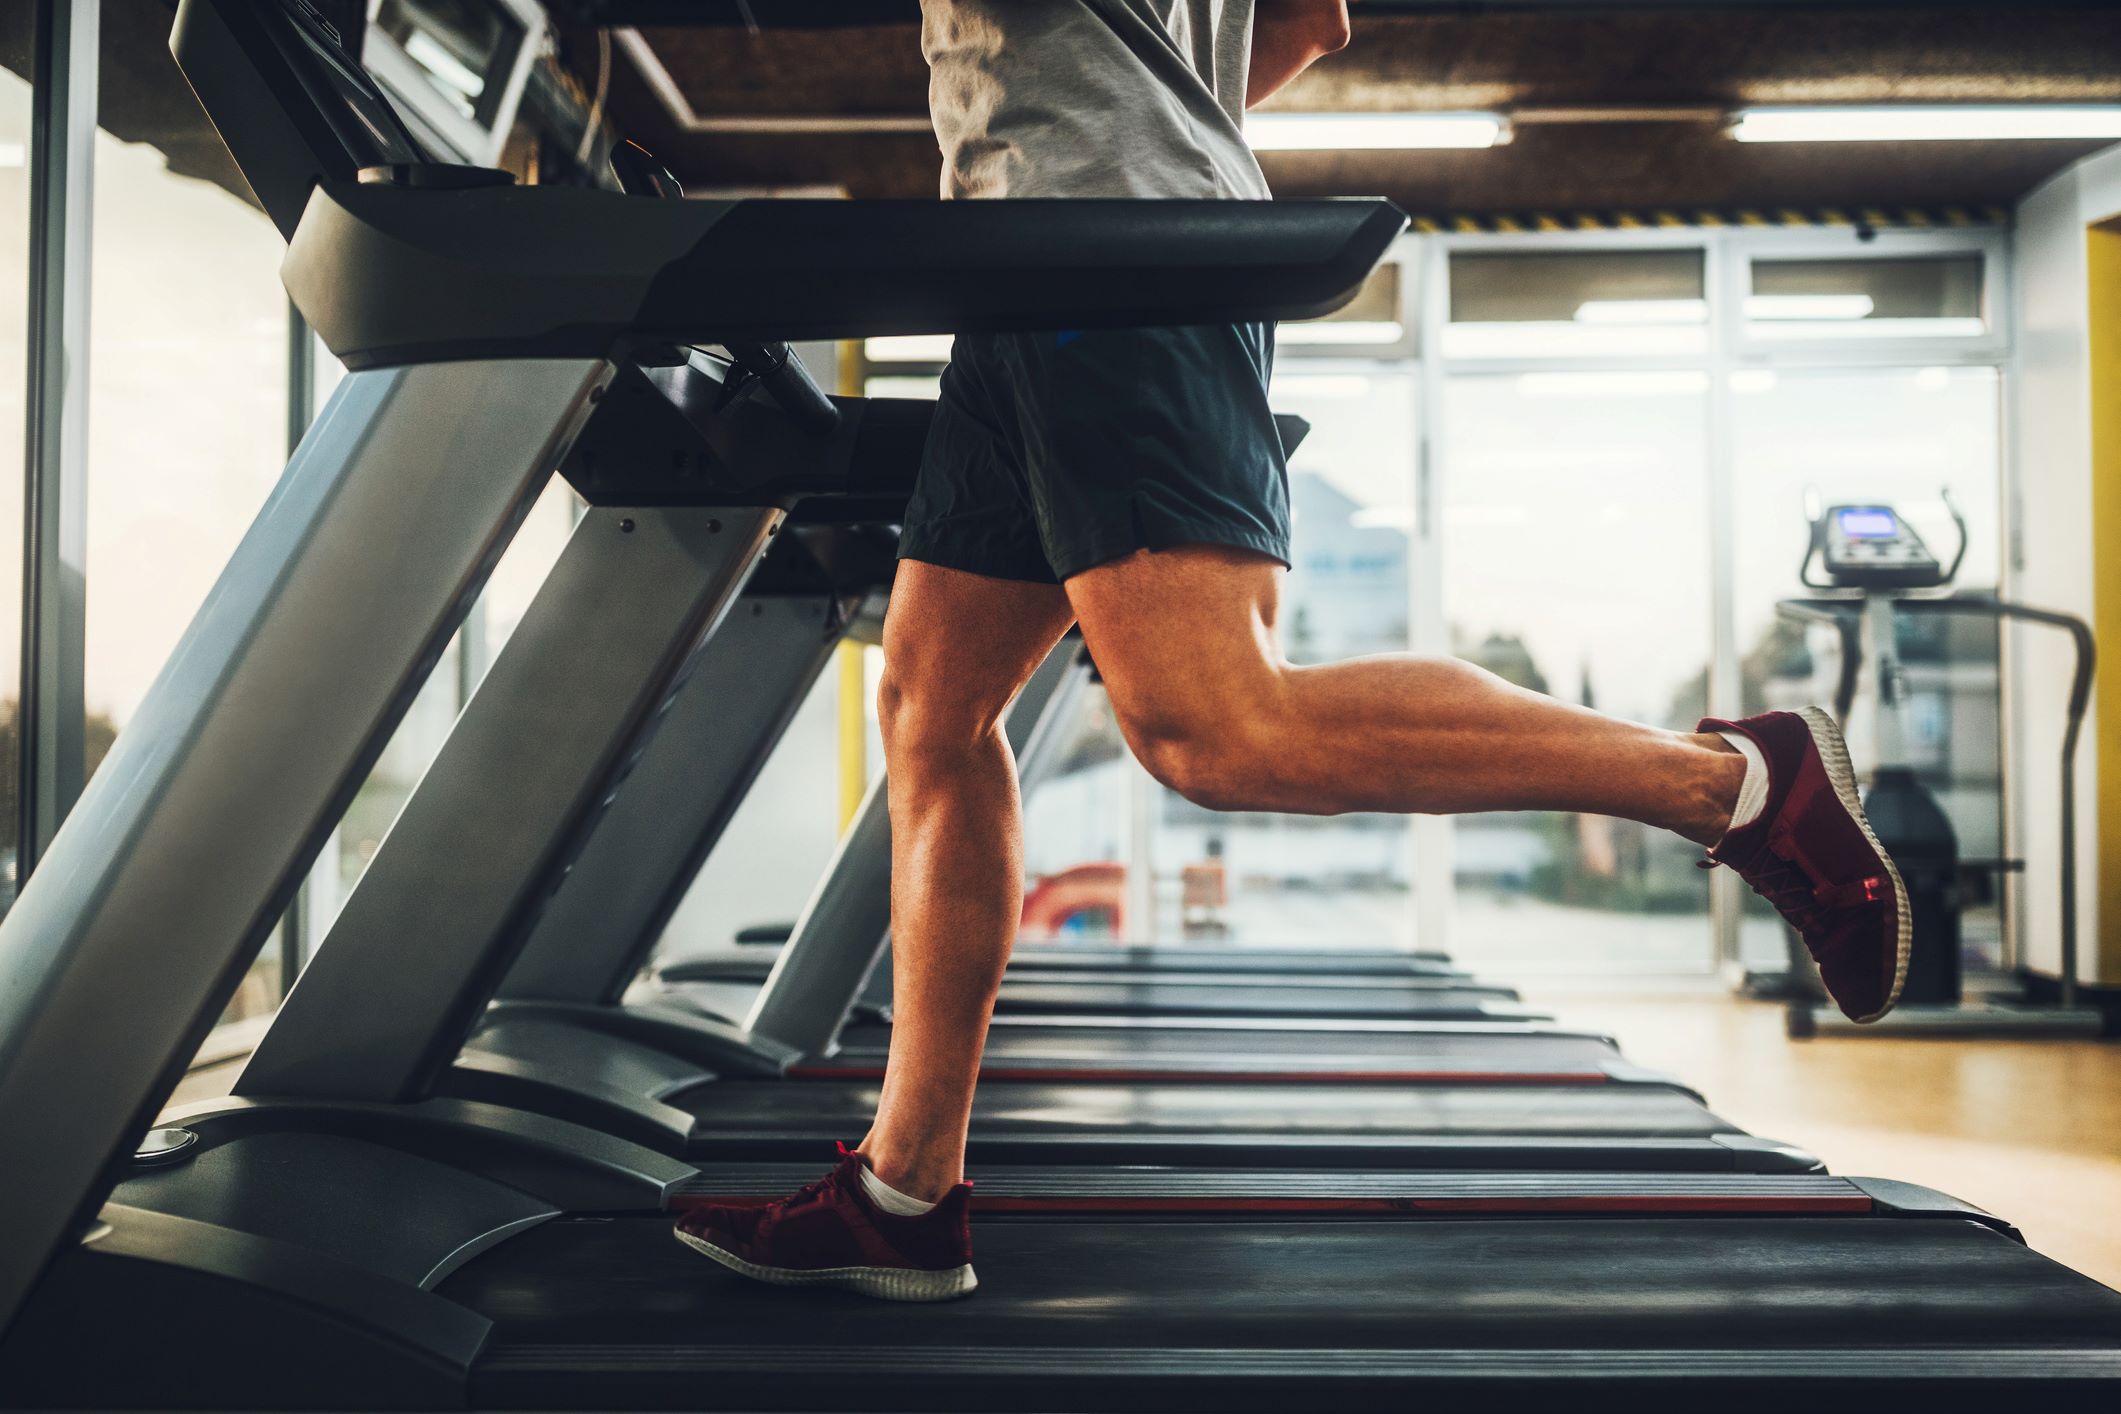
Proper Foot Placement
When walking on a treadmill, the way you position your feet is crucial for maintaining balance, stability, and reducing the risk of injury. Here are some tips for achieving proper foot placement:
1. Place your feet shoulder-width apart: Start by positioning your feet parallel to each other, about hip-width or shoulder-width apart. This width provides a stable base and allows for a natural stride.
2. Land on your midfoot: Aim to land on the middle part of your foot, between your heel and toes. This helps to distribute the impact evenly and reduces stress on your joints.
3. Avoid heel striking: Striking the treadmill with your heel can lead to discomfort and potential injury. Instead, focus on a smoother stride and aim to land with a more flat-footed technique.
4. Maintain a neutral foot position: Keep your feet in a straight and neutral position, avoiding excessive inward or outward rolling. This promotes proper alignment and helps prevent strain on your ankles and knees.
5. Make sure your toes are relaxed: Keep your toes loose and relaxed as you walk. Gripping the treadmill with your toes can lead to tension and discomfort, so allow them to move naturally with each step.
Remember, practice makes perfect. It may take a few walks to get comfortable with the proper foot placement, but over time, it will become second nature. Take a moment to check your foot positioning periodically throughout your workout to ensure you maintain the correct form.
Now that you have mastered the art of proper foot placement, let’s move on to the next section and explore how to adjust the speed on the treadmill.
Adjusting the Speed
Controlling the speed of your treadmill is essential for customizing your walking workout to suit your fitness level and goals. Most treadmills offer options to adjust the speed manually or through pre-set programs. Here’s how you can effectively adjust the speed:
1. Manual speed control: If you prefer to have full control over your speed, look for the manual speed control buttons or a speed dial on the treadmill’s console. Increase or decrease the speed gradually based on your comfort level and fitness goals.
2. Pre-set programs: Many treadmills come with pre-set programs that automatically adjust the speed at specific intervals. These programs are designed to provide variety and challenge during your workout. Explore the available programs on your treadmill and select the one that matches your desired intensity level.
When adjusting the speed, it’s important to start at a pace that is comfortable for you. If you’re a beginner, begin with a slower speed and gradually increase it as you build endurance and confidence. If you’re an experienced walker, you can start at a higher speed, but always listen to your body and make adjustments as needed.
As you increase the speed, focus on maintaining good form and posture. Keep your head up, shoulders relaxed, and engage your core muscles. A controlled arm swing can also help increase your momentum and assist in maintaining balance.
Remember, it’s not about reaching the highest speed possible, but finding a pace that challenges you without sacrificing your form or safety. Consistency and gradual progression are key to a successful treadmill walking routine.
Now that you know how to adjust the speed, let’s move on to the next section and discover how to find your perfect pace on the treadmill.
Finding Your Pace
Finding the right pace for your treadmill walk is essential for achieving maximum benefits from your workout. Your pacing should be comfortable yet challenging enough to elevate your heart rate and increase your endurance. Here are some tips to help you find your perfect pace:
1. Start with a warm-up: Begin your treadmill session with a 5-10 minute warm-up at a slower speed. This allows your muscles to gradually loosen up and prepares your body for the more intense activity to come.
2. Listen to your body: Pay attention to how your body feels as you walk. You should be able to maintain a conversation without feeling too out of breath. If you’re unable to speak comfortably, slow down the pace slightly.
3. Use your perceived exertion: Rate your effort on a scale of 1 to 10, with 1 being very easy and 10 being maximum exertion. Aim to walk at a pace that feels like a 5-6 on this scale, which indicates a moderate level of intensity.
4. Monitor your heart rate: If you have access to a heart rate monitor, use it to gauge your intensity level. Your target heart rate during a moderate-intensity workout should be around 50-70% of your maximum heart rate. Consult with a fitness professional or use an online calculator to determine your target heart rate zone.
5. Gradually increase the pace: Once you have found a comfortable starting pace, gradually increase the speed as you progress through your workout. Aim to challenge yourself without overexerting. Keep in mind that it’s better to start slowly and build up gradually than to start too fast and have to slow down or stop prematurely.
Remember, finding your pace is a personal journey. It may take some trial and error to discover the speed that allows you to maintain good form and reach your desired fitness goals. Be patient with yourself and focus on making progress at a pace that feels both comfortable and challenging.
Now that you’ve found your pace, it’s time to move on to the next section and learn about maintaining proper posture while walking on a treadmill.
Maintaining Proper Posture
When walking on a treadmill, maintaining proper posture is key to maximizing the effectiveness of your workout and minimizing the risk of injury. Good posture ensures that your muscles are properly engaged and aligned, allowing for optimal efficiency and balance. Follow these guidelines to maintain proper posture while walking on a treadmill:
1. Stand tall: Keep your head up, shoulders relaxed, and spine straight. Imagine a string attached to the top of your head pulling you upwards. Avoid slouching or rounding your shoulders, as this can cause strain on your neck and upper back.
2. Engage your core: Activate your abdominal muscles by drawing your belly button towards your spine. This helps stabilize your torso and maintain a strong posture throughout your walk.
3. Relax your arms: Let your arms swing naturally as you walk, bent at a 90-degree angle. Avoid tensing your shoulders or clenching your fists. The swinging motion of your arms helps with balance and propels you forward.
4. Keep your hips aligned: Ensure that your hips are parallel to the treadmill belt. Avoid leaning forward or backward, as this can strain your lower back. Your center of gravity should be maintained over your feet for stability.
5. Take shorter steps: Stride length can affect your posture and overall walking form. Aim for shorter, quicker steps rather than long, exaggerated strides. This reduces the impact on your joints and helps maintain balance.
Remember to periodically check your posture throughout your walk. It’s easy to become fatigued and start to slouch, so make a conscious effort to readjust and realign your body as needed.
Maintaining proper posture not only improves the effectiveness of your workout, but it also helps prevent injuries and discomfort. By practicing good posture habits on the treadmill, you’ll carry these habits into your everyday activities and improve your overall posture and spinal health.
Now that you know how to maintain proper posture, let’s move on to the next section and explore the use of handlebars while walking on a treadmill.
Using the Handlebars
Handlebars can provide stability and support while walking on a treadmill, especially if you’re a beginner or have concerns about balance. However, it’s important to use them correctly to avoid compromising your posture and engaging the appropriate muscles. Here are some tips for using the handlebars effectively:
1. Lightly grip the handlebars: Avoid gripping the handlebars tightly or leaning heavily on them. Instead, lightly rest your hands on the bars for balance while allowing your upper body to move naturally. This helps engage your core and maintain proper posture.
2. Keep your arms relaxed: Make sure your arms are relaxed and not locked or tense while holding onto the handlebars. This allows for a natural swinging motion of your arms, which helps with balance and propels you forward.
3. Focus on lower body engagement: While using the handlebars can provide stability, remember that the primary focus is on your lower body. Keep your legs and hips engaged as you push off with each step, using the handlebars as minimal support.
4. Gradually decrease reliance on handlebars: As you become more comfortable and confident with your balance, try to gradually reduce your reliance on the handlebars. This will help improve your core strength, stability, and overall walking technique.
5. Utilize interval training: If you’re looking to challenge yourself, consider utilizing interval training. This involves alternating between periods of walking with and without using the handlebars. It adds variety to your workout and helps you develop better balance and coordination.
Remember that using the handlebars is a personal choice, and it’s okay to adjust your grip or usage based on your comfort level and fitness goals. The key is to find the right balance between utilizing the handlebars for stability and engagement of your lower body muscles.
Now that you know how to use the handlebars effectively, let’s move on to the next section and explore the benefits of adding incline or decline to your treadmill walking routine.
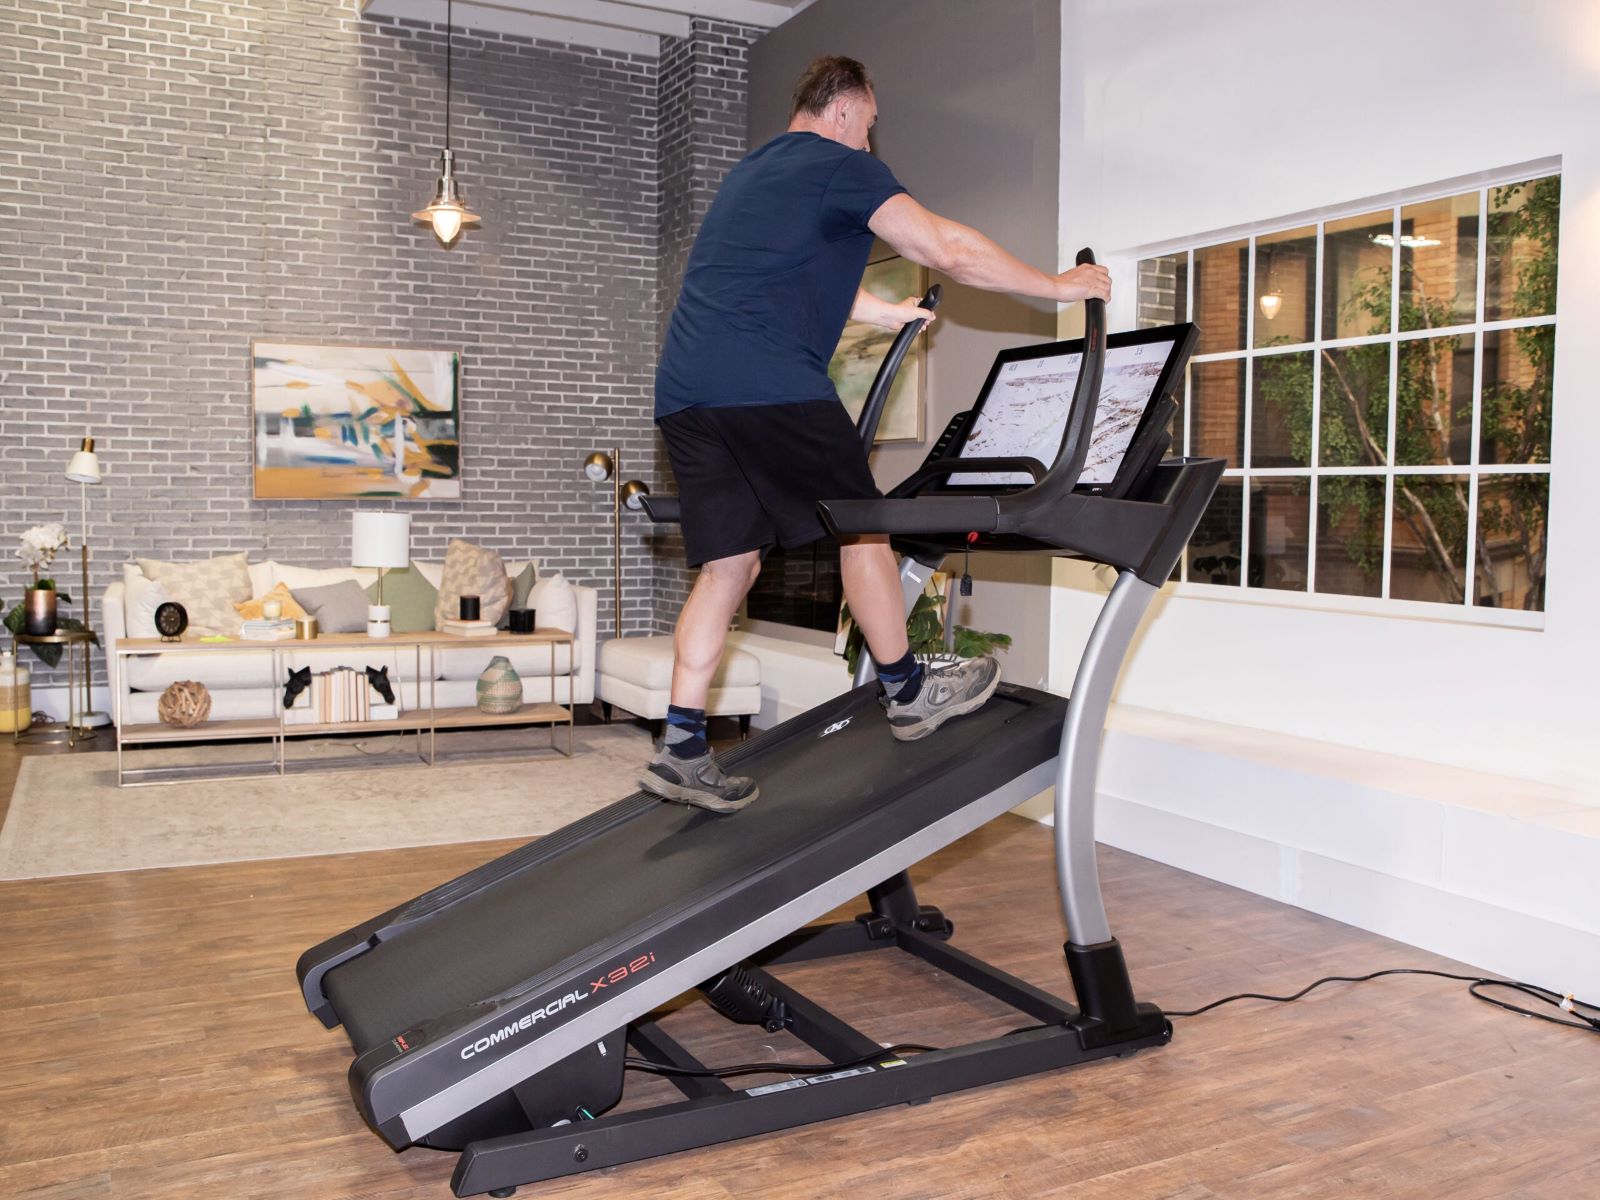
Adding Incline or Decline
One of the benefits of using a treadmill is the ability to adjust the incline or decline to mimic different walking terrains. Adding incline or decline to your treadmill walking routine can provide various benefits and make your workout more challenging and effective. Here’s how you can incorporate incline or decline into your treadmill walking:
1. Incline benefits: Walking on an incline engages different muscle groups, primarily targeting your glutes, hamstrings, and calves. It increases the intensity of your workout, burns more calories, and helps strengthen your lower body. Begin by setting a slight incline, gradually increasing it as you feel more comfortable and stronger.
2. Decline benefits: Walking on a decline focuses on different muscle groups, particularly your quads and shins. It can help improve your overall balance and stability by engaging different leg muscles. Start by setting a small decline and gradually increase it as your body adapts to the challenge.
3. Vary your incline and decline: To keep your workouts interesting and continue challenging your body, explore different incline and decline levels during your treadmill walks. Try intervals of flat surfaces, gentle slopes, and steeper grades to simulate real-world walking conditions.
4. Listen to your body: Pay attention to how your body feels when walking on an incline or decline. If you’re new to these variations, start with a lower intensity and gradually increase it over time. Always listen to your body and adjust the incline or decline based on your comfort level and fitness goals.
Remember that adding incline or decline to your treadmill walking routine should be gradual and suitable for your fitness level. It’s important to focus on maintaining proper form and posture, even with the added challenge. Engage your core, keep your head up, and avoid leaning excessively on the handlebars.
Adding incline or decline to your treadmill walking routine provides a great way to spice up your workout and target different muscles. It adds variety, increases intensity, and helps you reach your fitness goals more effectively.
Now that you know how to incorporate incline or decline, let’s move on to the next section and explore how you can monitor your heart rate during your treadmill walks.
Monitoring Heart Rate
Monitoring your heart rate during treadmill walking is an effective way to gauge your exercise intensity and ensure you’re working within your target heart rate zone. Keeping track of your heart rate can help you optimize your workout and achieve your fitness goals. Here’s how you can monitor your heart rate during your treadmill walks:
1. Use a heart rate monitor: Invest in a heart rate monitor device or use the built-in heart rate monitor feature on your treadmill, if available. These devices measure your heart rate in real-time, providing accurate data on your exercise intensity. Wear the monitor according to the instructions and review the readings periodically during your workout.
2. Utilize the talk test: An easy and free way to monitor your exercise intensity is through the talk test. If you’re able to carry on a conversation comfortably, without gasping for air, you’re likely in a moderate-intensity zone. If you’re struggling to speak or can only manage short sentences, it indicates a higher intensity level.
3. Know your target heart rate zone: Determine your target heart rate zone based on your age and fitness level. This zone represents the range where you’ll achieve the desired cardiovascular benefits. You can find heart rate zone charts online or consult with a fitness professional to establish your target zone.
4. Monitor perceived exertion: Pay attention to how you feel during your treadmill walk. Rate your perceived exertion on a scale from 1 to 10, with 1 being very light and 10 being maximum effort. Aim to maintain an exertion level around 5-7 for a moderate-intensity workout.
Remember that everyone’s target heart rate zone will vary, so it’s important to establish your own baseline and adjust it based on your fitness level, health condition, and personal goals. Regular monitoring of your heart rate during your treadmill walk will help you stay on track and make necessary adjustments to your workout intensity.
Now that you know how to monitor your heart rate, let’s move on to the next section and explore the importance of cooling down after your treadmill walk.
Cooling Down
After completing your treadmill walk, it’s essential to properly cool down to gradually bring your heart rate, breathing, and body temperature back to normal. Cooling down allows your body to transition from exercise to a resting state and promotes recovery. Here are some key steps to include in your cool-down routine:
1. Slow down gradually: Instead of abruptly stopping, gradually reduce the speed and incline of the treadmill. This gradual decrease in intensity helps your body adjust and prevents blood pooling in your legs, reducing the risk of dizziness or feelings of faintness.
2. Walk at a slower pace: Continue walking at a slower pace for approximately 5-10 minutes. This helps your body gradually return to its resting state while still promoting blood flow and muscle recovery.
3. Incorporate gentle stretches: Perform gentle stretching exercises to help relax and lengthen your muscles. Focus on major muscle groups such as your calves, hamstrings, quadriceps, and lower back. Hold each stretch for 15-30 seconds and remember to breathe deeply during the stretches.
4. Hydrate: Replenish the fluids lost during your workout by drinking water or a sports drink. Staying hydrated is crucial for regulating body temperature and aiding in the recovery process.
5. Reflect and relax: Take a moment to reflect on your workout and how you feel. It’s a great time to practice mindfulness or deep breathing exercises to help calm your mind and relax your body.
The cool-down phase is just as important as the warm-up and exercise itself. It allows your body to gradually transition back to a resting state, reduces muscle soreness, and helps prevent potential post-workout discomfort or injuries.
Now that you understand the importance of cooling down, you can conclude your treadmill walking session with this essential step. Congratulations on completing your treadmill walk!
Conclusion
Congratulations on completing this comprehensive guide to walking on a treadmill! By following the tips and techniques outlined in this article, you have gained valuable knowledge on how to make the most of your treadmill walking workouts.
Remember, as with any form of exercise, safety should always be a priority. Consult with your healthcare provider to ensure that treadmill walking is suitable for your individual needs and fitness level.
From getting started with proper foot placement and adjusting the speed to finding your pace, maintaining proper posture, and utilizing the handlebars effectively, you now have a solid foundation for a rewarding treadmill walking routine.
Additionally, you learned about the benefits of adding incline or decline, monitoring your heart rate, and the importance of cooling down after your workouts. These aspects will help you progress and improve your fitness while keeping your body safe and injury-free.
Remember to stay consistent with your treadmill walking routine and challenge yourself gradually over time. Whether you’re looking to improve cardiovascular fitness, burn calories, or increase your overall health and well-being, treadmill walking can be a fantastic exercise option.
So, lace up your shoes, hop on that treadmill, and enjoy the benefits of this convenient and effective form of exercise. Happy walking!