Featured
How To Go Downhill On Cross Country Skis
Modified: August 18, 2023
Learn how to master the technique of going downhill on cross country skis with our featured guide. Discover the secrets to a thrilling and exhilarating experience on the slopes.
Introduction
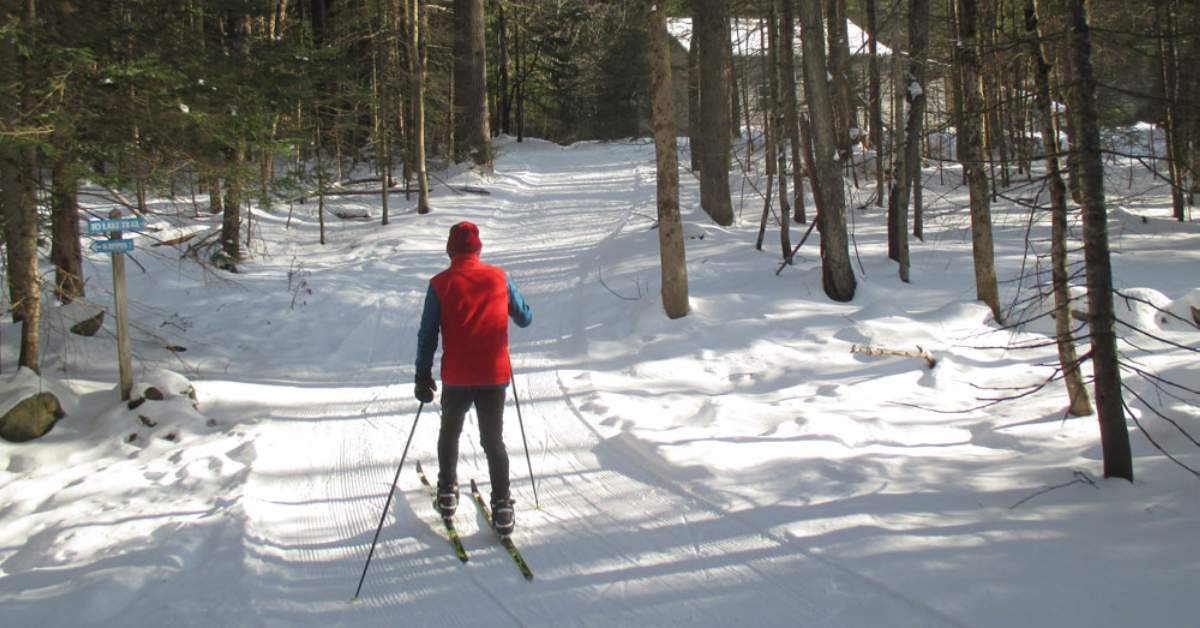
Welcome to the exhilarating world of downhill skiing on cross country skis! The thrill of gliding effortlessly down a snow-covered slope, surrounded by stunning mountain landscapes, is an experience like no other. Whether you are a beginner or an experienced skier, mastering the art of downhill skiing on cross country skis can add a new dimension to your skiing adventures.
Unlike traditional alpine skiing, which relies on ski lifts and groomed slopes, downhill skiing on cross country skis offers a unique blend of athleticism and exploration. It allows you to venture off the beaten path and discover untouched areas of the mountains. It’s a great way to challenge yourself physically while immersing yourself in the beauty of nature.
Before you hit the slopes, it’s important to understand that downhill skiing on cross country skis requires a slightly different set of skills and techniques compared to traditional alpine skiing. This article will guide you through the essential steps to successfully navigate downhill terrain on cross country skis.
In the following sections, we will discuss how to choose the right equipment for downhill skiing on cross country skis, the proper body positioning to maintain balance and control, and the various techniques to help you navigate downhill slopes effectively. We will also explore the importance of using poles, balancing techniques, and safety tips to ensure a safe and enjoyable downhill skiing experience.
Whether you are a beginner looking to venture into downhill skiing on cross country skis or an experienced skier wanting to refine your skills, this article will provide you with the information you need to make the most of your downhill adventures. So, let’s get started and discover the thrilling world of downhill skiing on cross country skis!
Choosing the Right Equipment
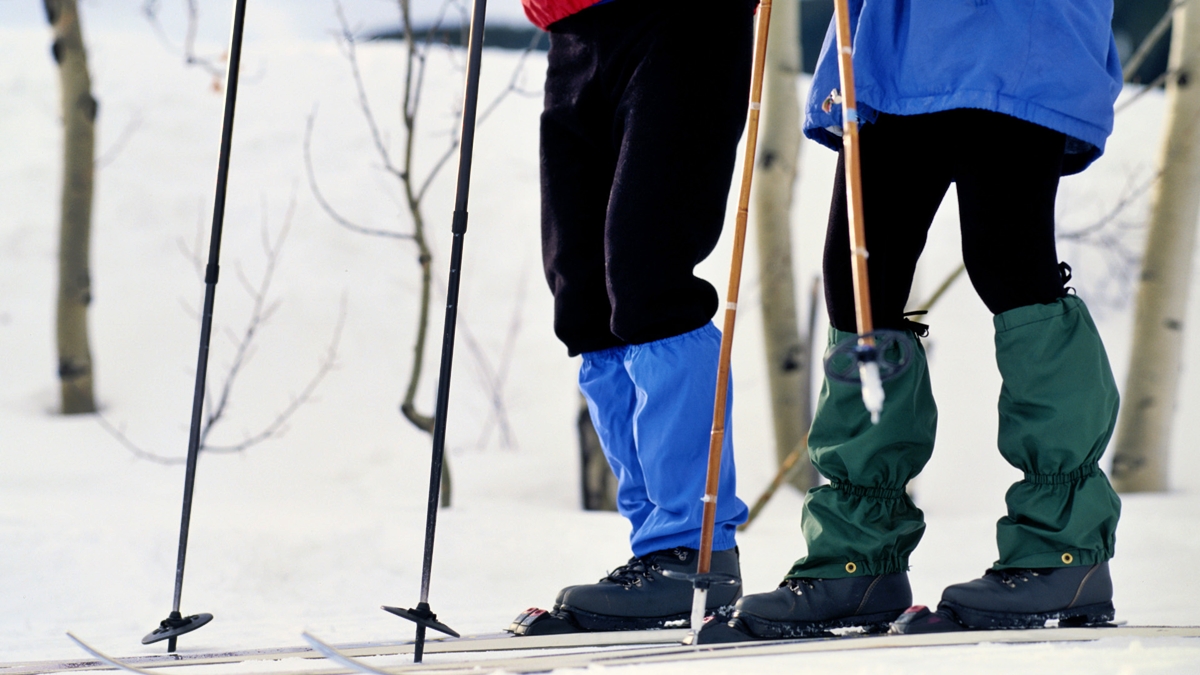
When it comes to downhill skiing on cross country skis, selecting the right equipment is crucial for both performance and safety. Here are some factors to consider when choosing the right gear:
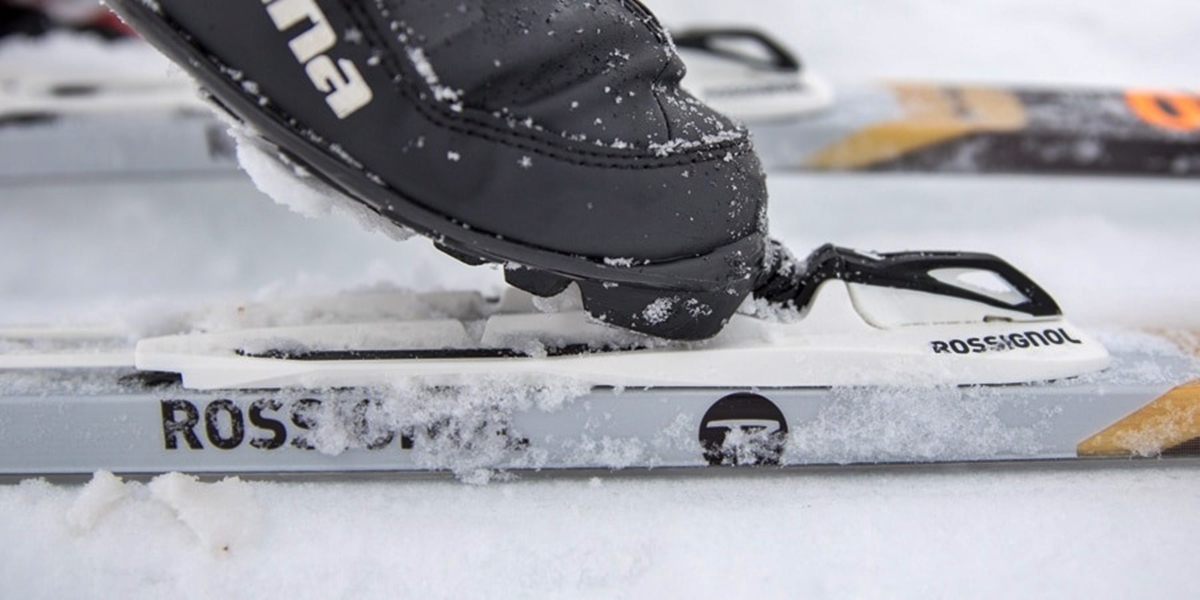
- Skis: Opt for downhill-specific cross country skis that are wider and more stable than traditional skis. Look for models with metal edges that provide better grip and control on icy slopes. The length of your skis should be based on your weight and skiing ability. Consult with a professional at a ski shop to ensure you get the right size.
- Bindings: Choose bindings that are compatible with your boots and provide a secure connection to your skis. Look for adjustable bindings that allow you to customize the tension based on your preference and skiing style.
- Boots: Invest in comfortable and supportive boots that fit properly. Your boots should provide good ankle support and have a stiff sole to transfer energy efficiently to your skis. Avoid boots that are too tight or too loose, as they can affect your control and stability.
- Poles: Opt for durable and lightweight poles that are the right length for your height. When standing upright with your arms extended, the pole grips should reach your armpits. Adjustable poles are a great option as they can be easily customized for various skiing conditions.
- Safety Equipment: Don’t forget about safety gear! Wear a helmet to protect your head from potential impact, and consider using knee and elbow pads for extra protection. Additionally, make sure to carry a whistle and a small first aid kit in case of emergencies.
It’s important to note that renting equipment is a viable option if you’re new to downhill skiing on cross country skis or just want to give it a try. Renting allows you to test different gear and find what works best for you before making a purchase. If you decide to rent, ensure that the equipment is in good condition and fits you properly.
By selecting the right equipment for downhill skiing on cross country skis, you’ll enhance your performance on the slopes and have a safer and more enjoyable experience overall. Take the time to research and consult with professionals to find the gear that suits your skill level and skiing goals.
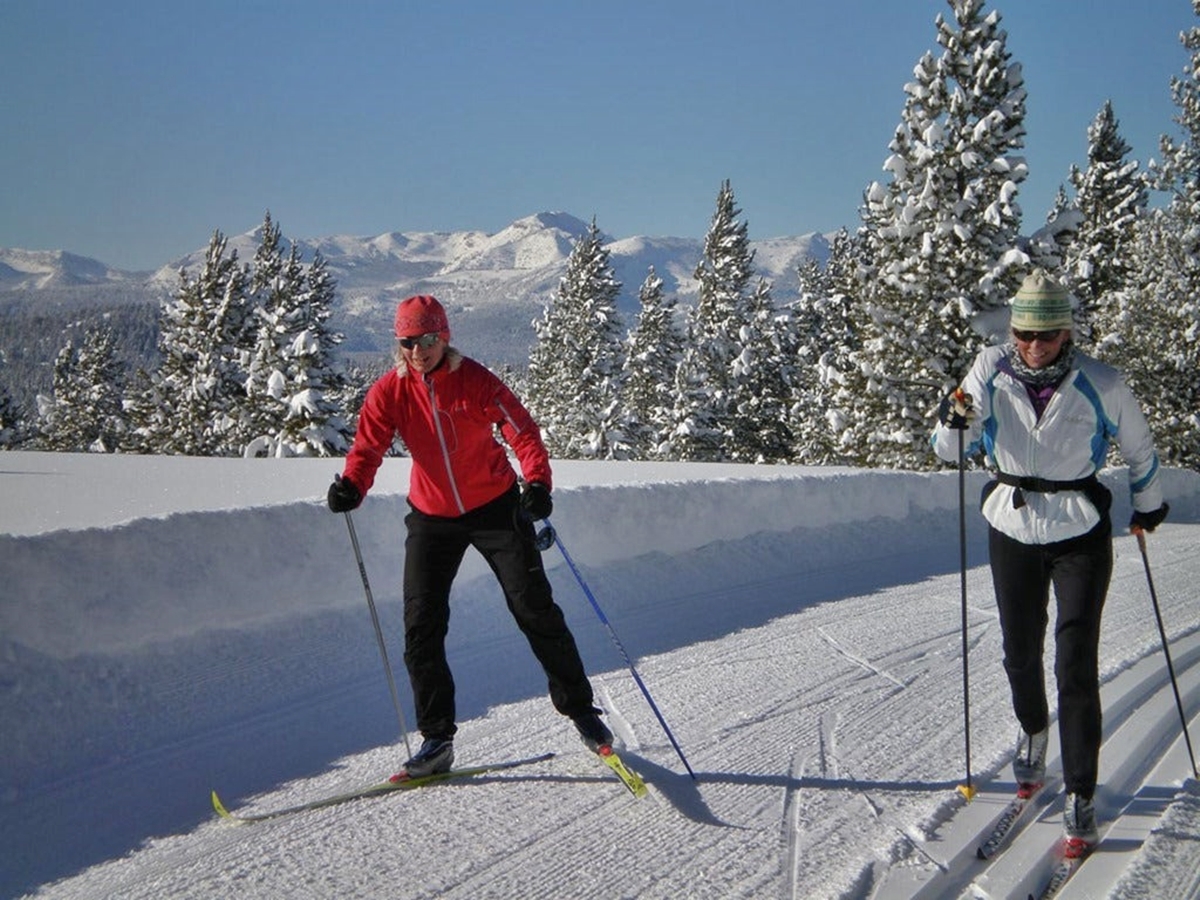
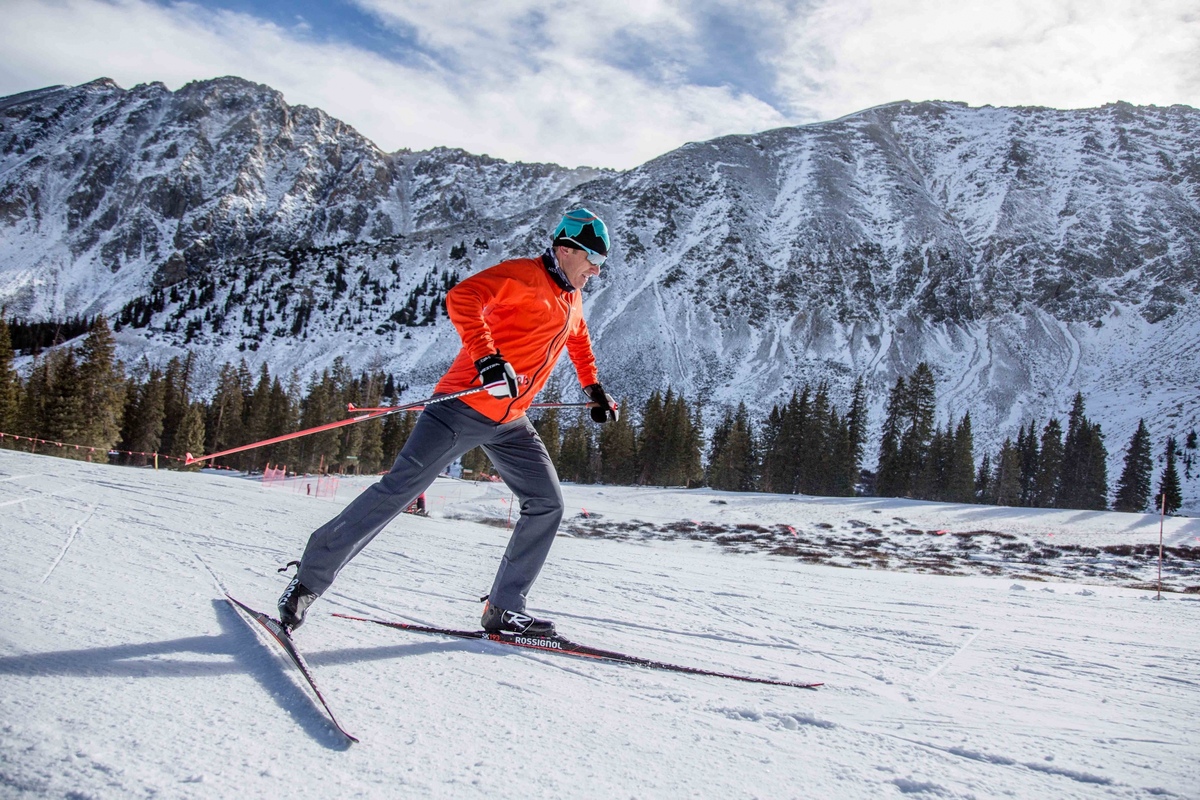
Proper Body Positioning
Having the correct body positioning is essential for maintaining balance and control while downhill skiing on cross country skis. Here are some key tips to help you achieve proper body positioning:
- Balance: Keep your weight centered and evenly distributed between both skis. Avoid leaning too far forward or backward, as this can throw off your balance and make it harder to control your skis. Imagine a string pulling you up from the top of your head to help maintain an upright posture.
- Knees and Hips: Bend your knees slightly to create a strong and stable base. This will help absorb shocks and maintain your balance on uneven terrain. Your hips should be slightly pushed forward, which will allow you to engage your leg muscles effectively and enhance your control.
- Arms and Hands: Keep your arms relaxed and slightly bent at the elbows. Allow them to move naturally and fluidly as you navigate downhill slopes. Your hands should be positioned in front of you, level with your hips, and slightly wider than shoulder-width apart.
- Head and Gaze: Keep your head up and looking forward, rather than looking down at your skis. This will help you anticipate upcoming terrain and adjust your body position accordingly. Your gaze should be focused several feet ahead of you, allowing you to react quickly to any changes in the slope.
- Core Engagement: Engage your core muscles to maintain stability and control. A strong core will help you react quickly to changes in terrain and maintain a balanced posture. Imagine a strong core as the center of your stability, allowing your movements to be controlled and fluid.
Remember to be mindful of your body positioning throughout your downhill skiing adventure. By practicing proper body alignment and maintaining a strong and stable posture, you’ll have better control over your movements and enjoy a smoother and more dynamic skiing experience.
It’s important to note that mastering proper body positioning takes time and practice. Start with easy slopes and gradually build up to more challenging terrain as you become comfortable with the fundamentals. Don’t be afraid to seek guidance from an instructor who can provide personalized feedback and help you refine your body position.
With consistent practice and attention to proper body positioning, you’ll develop the muscle memory and skills necessary to confidently navigate downhill slopes on cross country skis.
Mastering the Snowplow Technique
The snowplow technique, also known as the wedge or plow, is a fundamental skill in downhill skiing on cross country skis. It involves creating a V-shape with your skis to control speed and maintain stability. Here’s how to master the snowplow technique:
- Starting Position: Stand with your feet shoulder-width apart and parallel, but with your toes pointing slightly inward. This will naturally create a V-shape with the tips of your skis.
- Weight Distribution: Shift your weight slightly forward onto the balls of your feet. This will help initiate the snowplow movement and engage your edges for better control.
- Applying Pressure: Gradually press your knees outward and gently apply pressure to the inside edges of your skis. This action causes the skis to form a wider V-shape, creating resistance against the snow and slowing down your forward movement.
- Controlling Speed: To slow down or stop, increase the pressure on the inside edges of your skis, ensuring you maintain an equal amount of pressure on both sides. This will widen the snowplow stance and further decrease your speed.
- Turning: To turn while maintaining the snowplow position, simply apply more pressure to the inside edge of the ski on the side you wish to turn towards. This will cause the ski to carve a curved path, allowing you to navigate the slope.
- Gradually Release: As you complete the turn or need to increase your speed, gradually release the pressure on the inside edges of your skis. This will bring your skis back parallel and allow you to resume a more neutral skiing position.
As you practice the snowplow technique, be sure to focus on fluid movements and maintaining a balanced posture. Start on gentle slopes and gradually progress to steeper terrain as your confidence and proficiency improve. Remember, mastering the snowplow technique is a building block for more advanced skiing skills, so take your time to perfect it.
It’s also helpful to take lessons from a qualified instructor who can provide guidance and feedback. They will help you fine-tune your technique and develop good habits from the start, ensuring a solid foundation for your downhill skiing journey.
By mastering the snowplow technique, you’ll have better control over your speed and be able to navigate downhill slopes with confidence and precision on cross country skis.
Practicing the Telemark Turn
The Telemark turn is a versatile and dynamic downhill skiing technique that can add style and fluidity to your cross country skiing experience. It involves a lunge-like movement that engages both legs and allows for efficient turns on various types of terrain. Here’s how to practice the Telemark turn:
- Starting Position: Begin in a parallel stance with your skis hip-width apart and your weight evenly distributed.
- Lead Leg: Choose a lead leg, typically the one you feel more comfortable skiing on, and slightly extend it forward.
- Lunge: Shift your weight onto your lead leg and bend both knees, lowering your body into a lunge-like position. Your rear leg should remain straight but not locked.
- Edge Engagement: Edge your lead ski by pressing its inside edge into the snow. This will allow for better control and initiate the turn.
- Carve the Turn: As you maintain the lunge position, guide your skis in the desired direction using the pressure and edge engagement of your lead ski. The rear ski will naturally follow the lead ski’s path.
- Weight Transfer: Once you complete the turn, transfer your weight back onto both skis and return to a parallel stance. This will prepare you for the next turn.
It’s important to note that practicing the Telemark turn requires balance, coordination, and core strength. Start by mastering the basic technique on gentle slopes and gradually progress to more challenging terrain as you become comfortable. The Telemark turn is particularly effective on ungroomed trails, steep slopes, or when navigating tight spots.
To enhance your technique, consider taking lessons from a qualified instructor who can provide valuable guidance and feedback. They can help you refine your movements and ensure proper form, allowing you to execute the Telemark turn with fluidity and precision.
Remember, mastering the Telemark turn takes time and practice. Be patient with yourself and celebrate each small improvement. The more you practice, the more natural and effortless the movement will become.
By incorporating the Telemark turn into your downhill skiing repertoire on cross country skis, you’ll be able to navigate diverse terrain with grace, control, and a touch of flair.
Controlling Speed with the Stem Christie
The stem christie technique is a valuable skill for controlling speed while downhill skiing on cross country skis. It involves using a combination of snowplow and parallel turns to navigate slopes with varying gradients. Here’s how to use the stem christie technique:
- Snowplow Initiation: To start the stem christie, begin with a snowplow or wedge turn. Position your skis into a V shape, with the tips slightly apart and the tails close together. This will provide both stability and control as you slow down.
- Weight Transfer: Shift your weight onto your downhill ski, which is the ski on the side you intend to turn towards. This will initiate the stem christie and help guide your movement.
- Parallel Turn Transition: As you transfer your weight, gradually release the pressure on the inside edge of your uphill ski while maintaining the snowplow on the downhill ski. This will allow your skis to naturally align parallel to each other.
- Edge Engagement: Engage the edges of both skis on the snow by pressuring the corresponding edges. This will provide added control and allow you to carve the turn with precision.
- Carve the Turn: Complete the turn by simultaneously applying more pressure to the inside edge of your downhill ski while gradually shifting your weight from the uphill ski to the downhill ski. This will guide both skis through a smooth and controlled turn.
- Repeat and Progress: Continue practicing the stem christie technique by linking snowplow turns and parallel turns together. As your confidence and skills improve, aim for smoother transitions between the two and gradually increase your speed.
By using the stem christie technique, you’ll have better control over your speed and be able to navigate slopes with confidence and ease. It is particularly useful when the terrain becomes steeper or requires more precise turning.
Remember, practicing on gentle slopes and gradually progressing to steeper terrain will help you refine your technique. Focus on smooth weight transfers and maintaining a good balance while executing the stem christie. Taking lessons from a qualified instructor can also provide valuable guidance and help you improve your skills more effectively.
As you become more comfortable with the stem christie technique, you’ll be able to smoothly link turns, control your speed, and enjoy the thrill of downhill skiing on cross country skis in a safe and controlled manner.
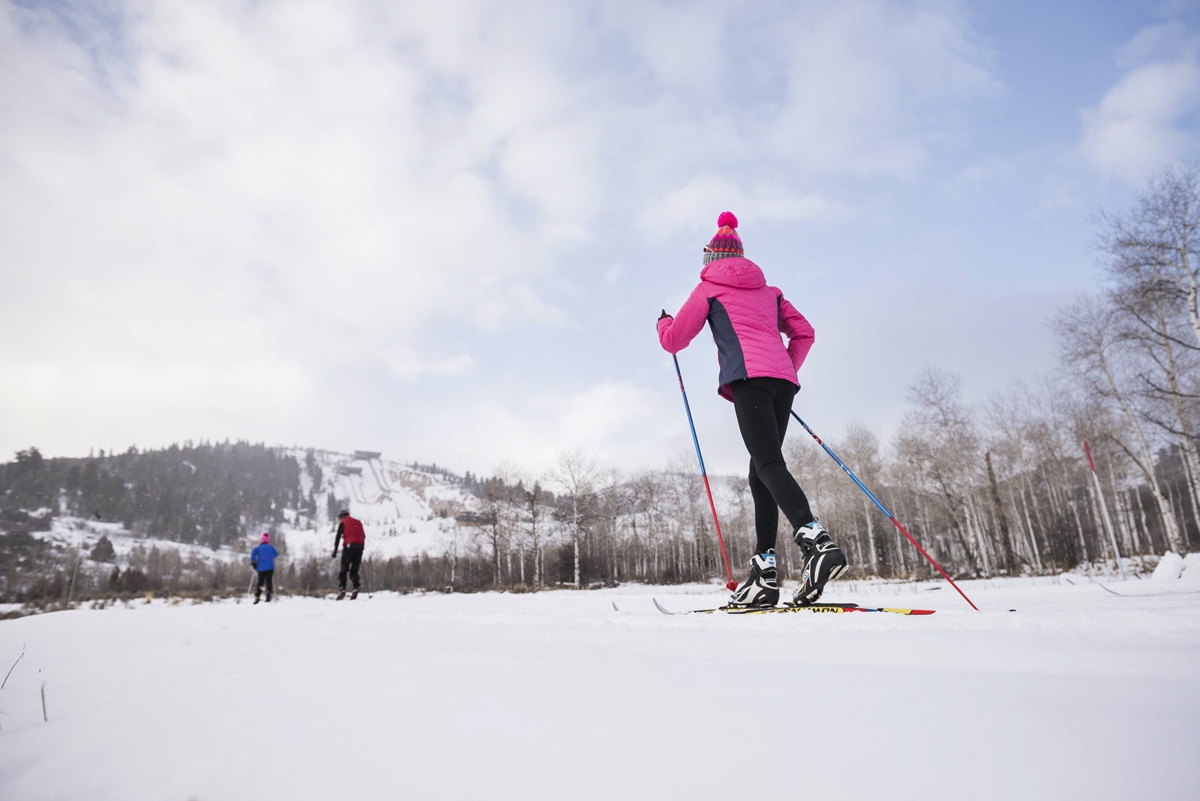
Balancing Techniques for Downhill Skiing
Balancing is a critical aspect of downhill skiing on cross country skis. Proper balance allows you to maintain control, react to changing terrain, and navigate slopes with confidence. Here are some key balancing techniques to help you improve your downhill skiing skills:
- Flex and Extend: Practice flexing and extending your legs to adjust to the terrain. Flex your legs when encountering bumps or uneven surfaces, allowing your skis to absorb the impact. Extend your legs when skiing on smoother terrain, maintaining a stable and balanced position.
- Stay Centered: Keep your weight centered over your skis. Avoid leaning too far forward or backward, as this can disrupt your balance and lead to loss of control. Imagine a vertical line extending from your head down through the center of your body, ensuring your weight is evenly distributed within that line.
- Engage Your Core: Your core muscles play a crucial role in maintaining balance. Keep your abdominal muscles engaged to stabilize your torso and support your movements. A strong core will help you respond effectively to changes in the terrain and maintain stability throughout your descent.
- Use Your Arms: Your arms can aid in maintaining balance and stability. Keep them relaxed, slightly bent at the elbows, and in front of your body. Allow them to move naturally, counterbalancing your movements as needed. This will help you stay upright and maintain a strong, balanced position.
- Eyes Forward: Keep your gaze focused ahead and avoid looking down at your skis. Looking ahead allows you to anticipate changes in the terrain and adjust your body position accordingly. It also provides a better sense of balance and helps you maintain a confident and stable posture.
- Practice One-Legged Balance: Improve your balance and stability by practicing one-legged balance exercises off the slopes. Stand on one leg and hold the position for 30 seconds to build strength and stability in your legs and core. Repeat on the other leg. This exercise will translate to better balance while skiing downhill.
Remember, mastering balancing techniques takes practice and patience. Start with easier slopes and gradually progress to more challenging terrain as your skills improve. Focus on maintaining a strong and stable position while being responsive to changes in the slope.
Taking lessons from a qualified instructor can be highly beneficial in honing your balancing skills. They can provide personalized feedback, offer specific exercises, and help you identify areas for improvement.
By incorporating these balancing techniques into your downhill skiing on cross country skis, you’ll greatly enhance your stability, control, and confidence on the slopes.
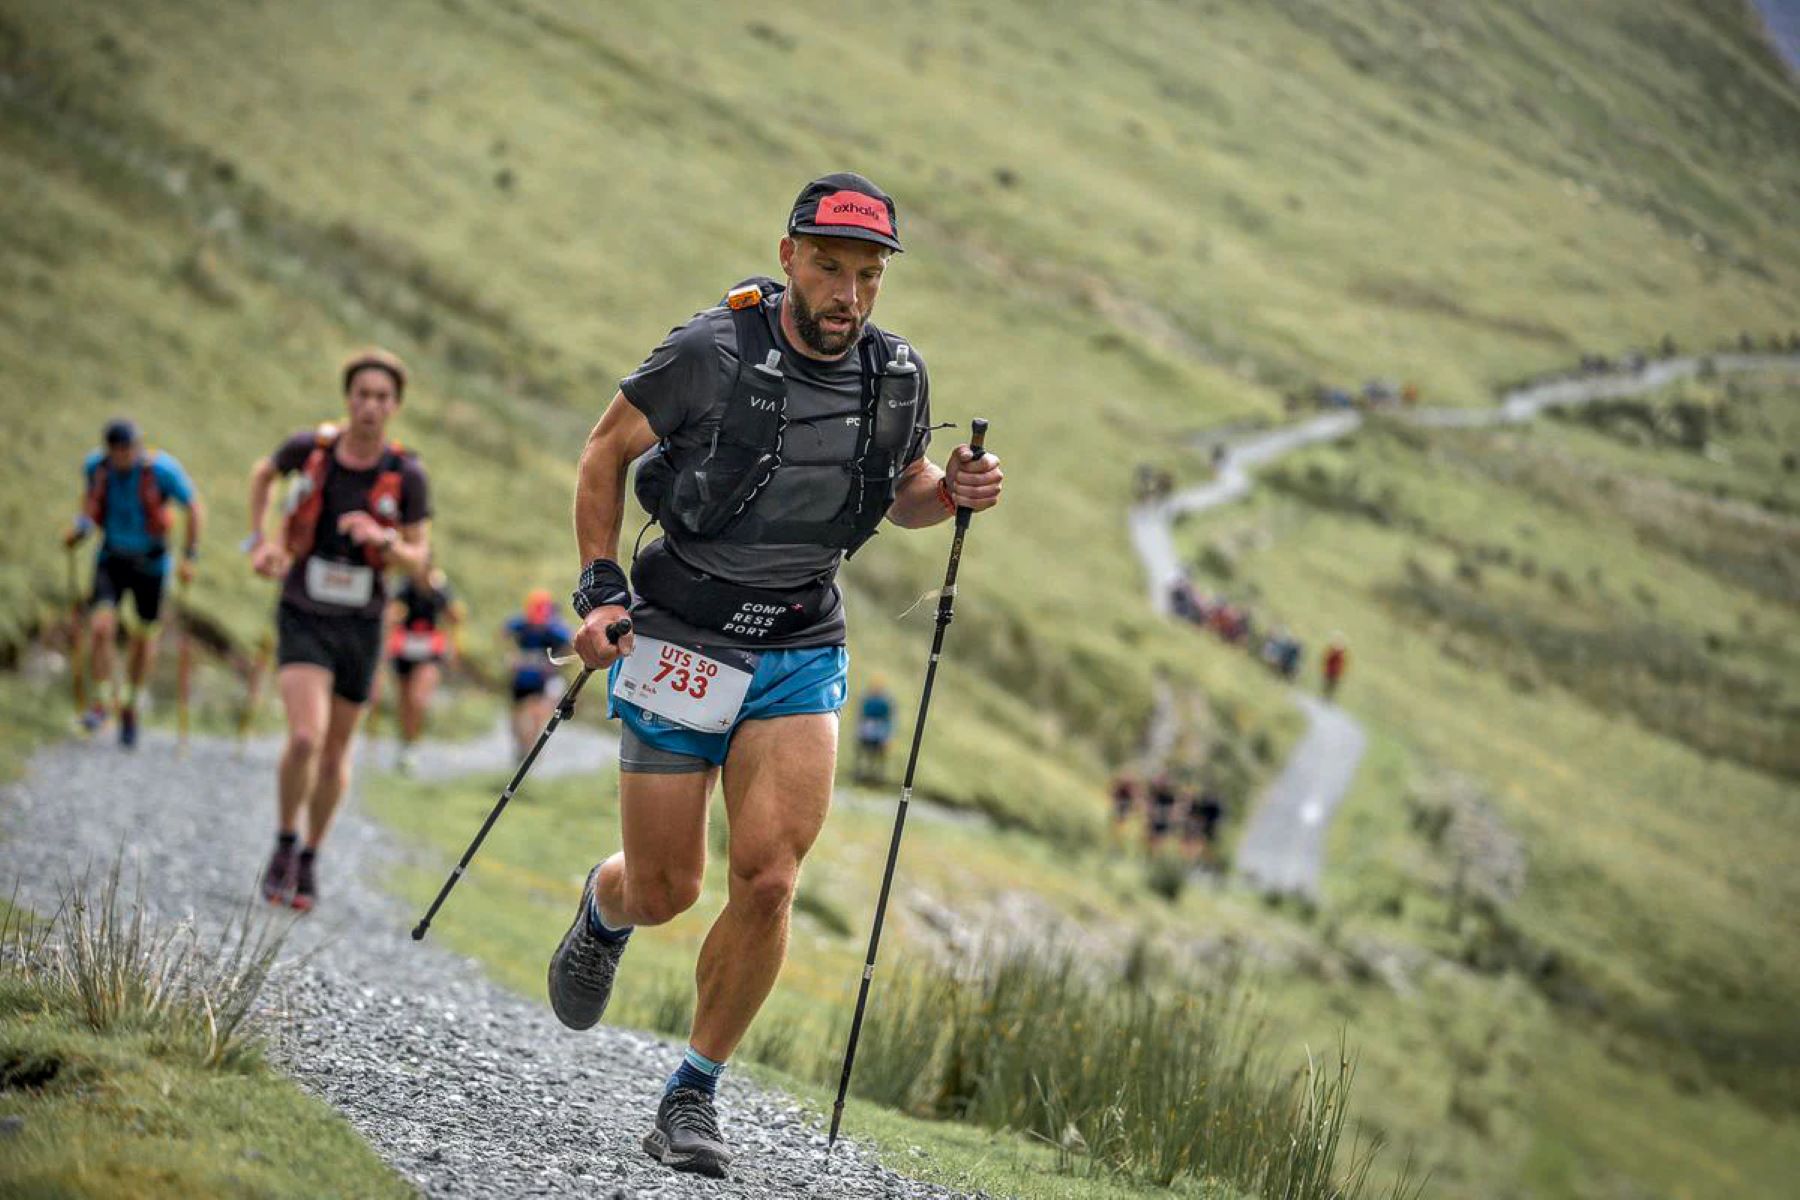
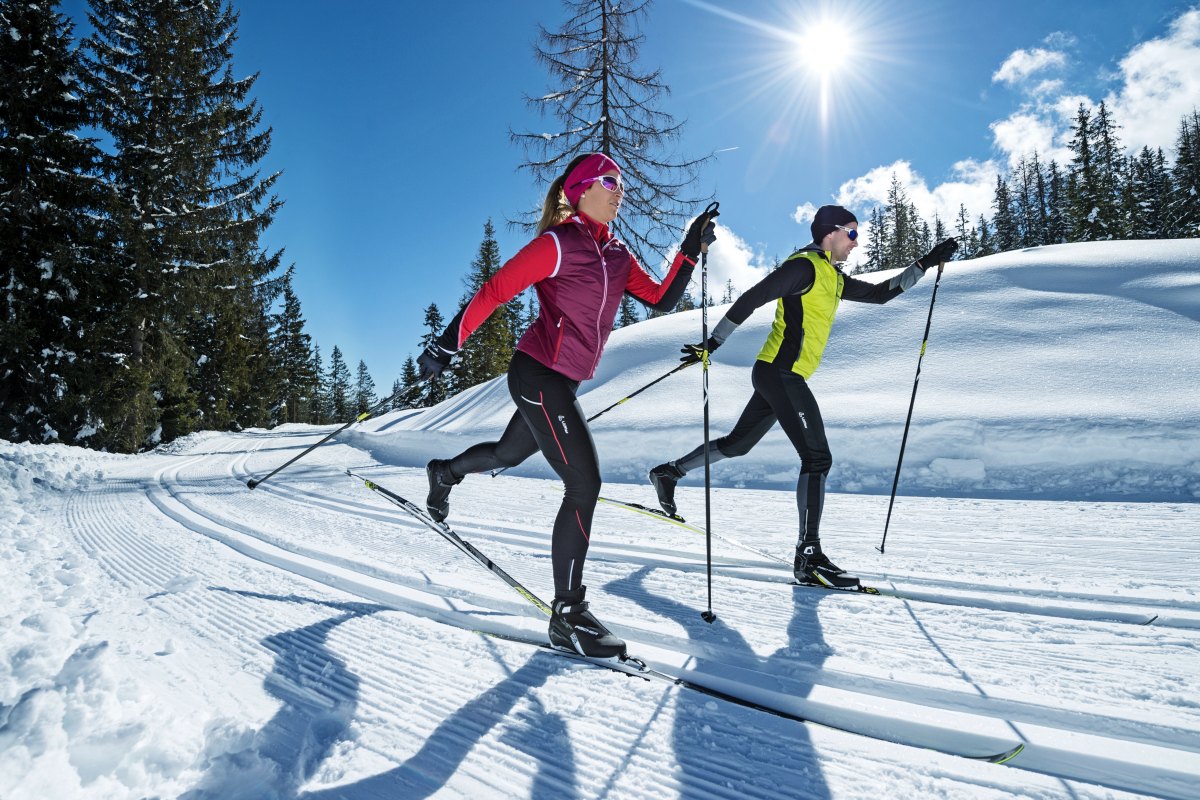
Using Poles Effectively
When downhill skiing on cross country skis, proper use of poles can significantly enhance your performance and efficiency on the slopes. Poles provide stability, help with balance, aid in propulsion, and assist in turning. Here are some tips for using your poles effectively:
- Grip Placement: Hold the pole grips firmly but not too tightly. Place your hands through the straps from underneath and then grip the poles. This allows for a secure hold while still being able to release your grip if necessary.
- Timing and Coordination: Coordinate your pole plants with your turns. As you begin to initiate a turn, plant the pole on the outside of the turn. This will help with balance and provide additional support as you execute the turn.
- Timing and Coordination: Coordinate your pole plants with your turns. As you begin to initiate a turn, plant the pole on the outside of the turn. This will help with balance and provide additional support as you execute the turn.
- Timing and Coordination: Coordinate your pole plants with your turns. As you begin to initiate a turn, plant the pole on the outside of the turn. This will help with balance and provide additional support as you execute the turn.
- Propelling Forward: Use your poles to push off the snow and propel yourself forward. As you plant the poles, apply pressure and push backward to generate power and momentum. This will help you maintain speed and glide more efficiently on the downhill sections.
- Timing and Coordination: Coordinate your pole plants with your turns. As you begin to initiate a turn, plant the pole on the outside of the turn. This will help with balance and provide additional support as you execute the turn.
- Timing and Coordination: Coordinate your pole plants with your turns. As you begin to initiate a turn, plant the pole on the outside of the turn. This will help with balance and provide additional support as you execute the turn.
- Timing and Coordination: Coordinate your pole plants with your turns. As you begin to initiate a turn, plant the pole on the outside of the turn. This will help with balance and provide additional support as you execute the turn.
- Timing and Coordination: Coordinate your pole plants with your turns. As you begin to initiate a turn, plant the pole on the outside of the turn. This will help with balance and provide additional support as you execute the turn.
- Timing and Coordination: Coordinate your pole plants with your turns. As you begin to initiate a turn, plant the pole on the outside of the turn. This will help with balance and provide additional support as you execute the turn.
- Timing and Coordination: Coordinate your pole plants with your turns. As you begin to initiate a turn, plant the pole on the outside of the turn. This will help with balance and provide additional support as you execute the turn.
By using your poles effectively, you’ll improve your stability, enhance your turning ability, and maximize your efficiency on the slopes. Remember to practice coordination between your pole plants and turns, as this will greatly contribute to your overall performance.
It’s also important to choose poles that are the correct length for your height. While standing with your skis on, your elbows should be at a 90-degree angle when holding the poles near the baskets.
Finally, take lessons from a qualified instructor to learn proper pole technique and receive personalized feedback. They can provide guidance on pole placement, timing, and coordination to help you optimize your use of poles while downhill skiing on cross country skis.
With consistent practice and the effective use of poles, you’ll have enhanced control, improved propulsion, and a more enjoyable skiing experience.
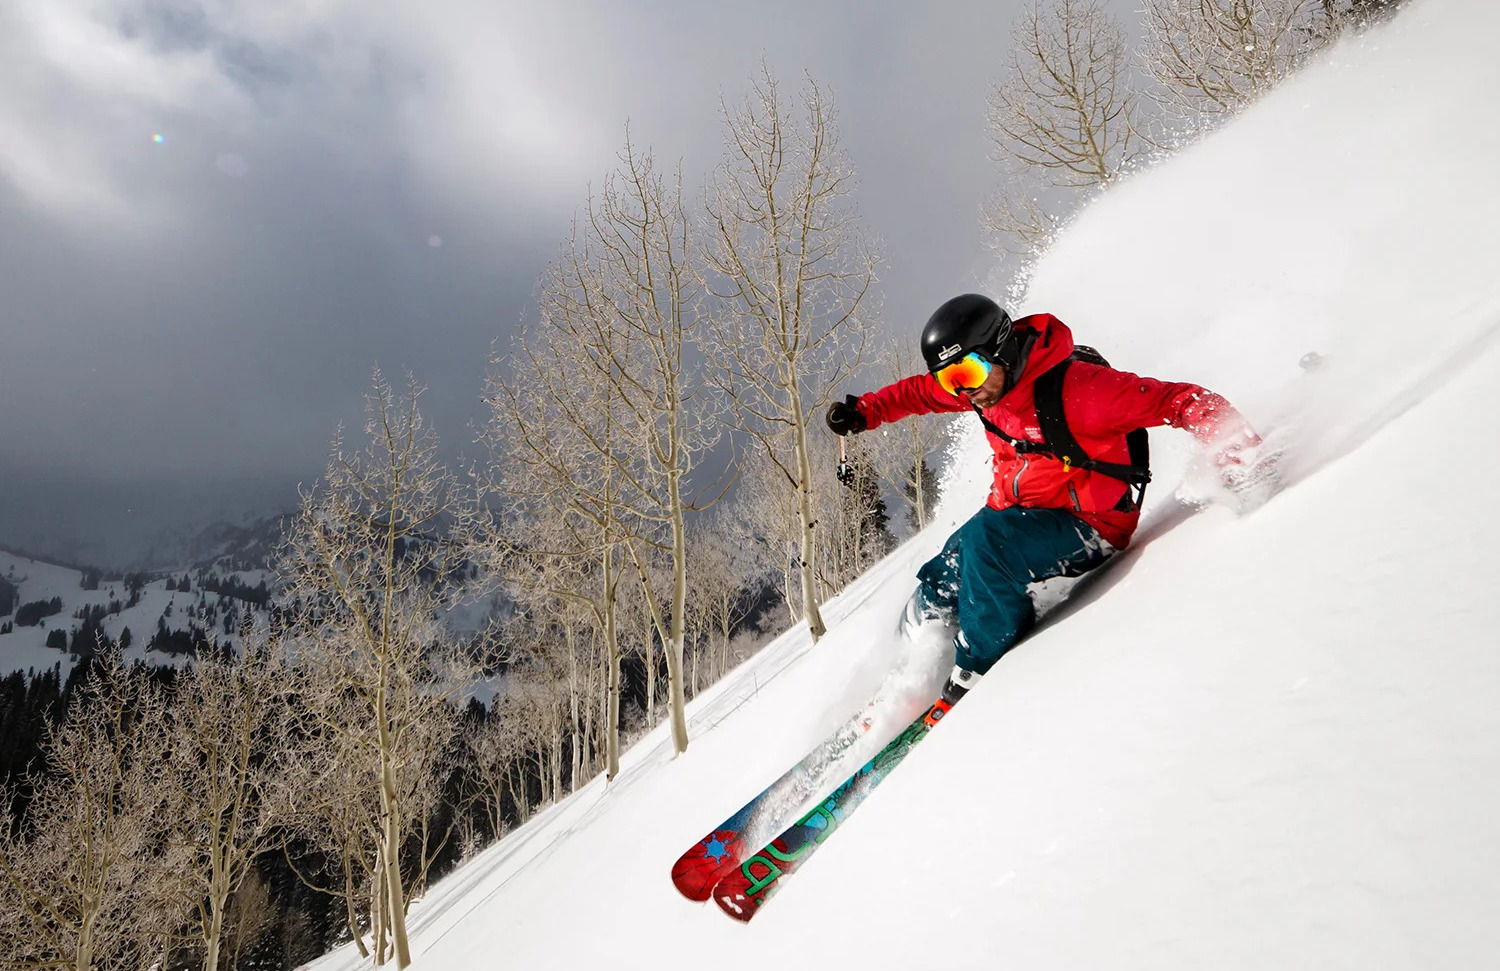
Safety Tips for Downhill Skiing
Downhill skiing on cross country skis can be an exhilarating and enjoyable experience, but it’s important to prioritize safety on the slopes. Here are some essential safety tips to keep in mind:
- Wear Proper Gear: Always wear a helmet to protect your head from potential impacts. Dress in layers and choose clothing that is waterproof and insulated to keep you warm and dry. Wear goggles or sunglasses to shield your eyes from snow glare and ensure good visibility.
- Check the Weather Conditions: Prior to hitting the slopes, check the weather forecast and be aware of any inclement weather conditions. High winds, heavy snowfall, or other adverse weather can impact skiing conditions and your safety.
- Stay on Designated Trails: Stick to marked trails and slopes that are suitable for your skill level. Venturing off-piste or into closed areas can be dangerous due to potential hazards such as hidden rocks, trees, or avalanche-prone areas.
- Ski with a Buddy: Whenever possible, ski with a partner or in a group. This ensures that someone is aware of your whereabouts and can assist in case of an emergency. If skiing alone, inform someone about your plans and expected return time.
- Observe the Skier’s Responsibility Code: Familiarize yourself with and follow the skier’s responsibility code. This code outlines guidelines for safe skiing practices, such as giving right of way to downhill skiers, not stopping in narrow or blind spots, and skiing in control at all times.
- Be Mindful of Others: Be aware of other skiers around you and respect their space. Avoid sudden stops or unpredictable movements that may lead to collisions or accidents. When passing, make sure to give ample space and communicate your intentions.
- Stay Hydrated and Take Breaks: Drink plenty of water and stay hydrated throughout your skiing session. Take regular breaks to rest and refuel, as fatigue can impair your judgment and increase the risk of accidents.
- Know and Observe Lift Safety Guidelines: Take the time to familiarize yourself with lift safety guidelines. Pay attention while getting on and off the ski lifts, follow the instructions of the lift operators, and ensure that you are prepared for boarding and disembarking safely.
- Learn and Practice Proper Falling Techniques: If you do fall, try to maintain a relaxed posture and aim to fall on your side instead of straight forward or backward. Keep your limbs loose and avoid bracing for impact, as this can lead to injuries.
- Follow Avalanche Safety Measures (if applicable): If skiing in an area prone to avalanches, take the necessary precautions. Carry avalanche safety equipment such as a beacon, shovel, and probe, and ensure you have basic knowledge of avalanche rescue techniques.
Remember, safety should always be your top priority when downhill skiing on cross country skis. By following these safety tips, you can minimize the risk of accidents, enjoy your skiing experience to the fullest, and return home safely.
Conclusion
Downhill skiing on cross country skis offers a thrilling and exhilarating way to explore the slopes while embracing the beauty of nature. By following the tips and techniques outlined in this article, you can enhance your skills, improve your control and balance, and have a safe and enjoyable skiing experience.
Choosing the right equipment is the first step in downhill skiing on cross country skis. Ensure that your skis, bindings, boots, and poles are suited to your skill level and the terrain you’ll be tackling. Practice proper body positioning to maintain balance and control, and master techniques like the snowplow, Telemark turn, and stem christie to navigate downhill slopes effectively.
Balance is key in downhill skiing, so develop techniques to flex and extend your legs, engage your core, and use your arms for stability. Use your poles effectively to assist in turning, controlling speed, and propelling forward. Always prioritize safety by wearing appropriate gear, staying on designated trails, skiing with a buddy, and observing the skier’s responsibility code.
Remember to check weather conditions, take breaks to rest and hydrate, and practice proper falling techniques. If skiing in avalanche-prone areas, familiarize yourself with avalanche safety measures, carry the necessary equipment, and stay informed about current conditions.
Throughout your skiing journey, continuous practice, patience, and instruction from qualified professionals can greatly enhance your skills and overall enjoyment. Whether you are a beginner or an experienced skier, there is always room to improve and refine your technique.
So, get out there, embrace the thrill of downhill skiing on cross country skis, and explore the winter wonderland with confidence and joy. Stay safe, have fun, and create unforgettable memories on the slopes!