Featured
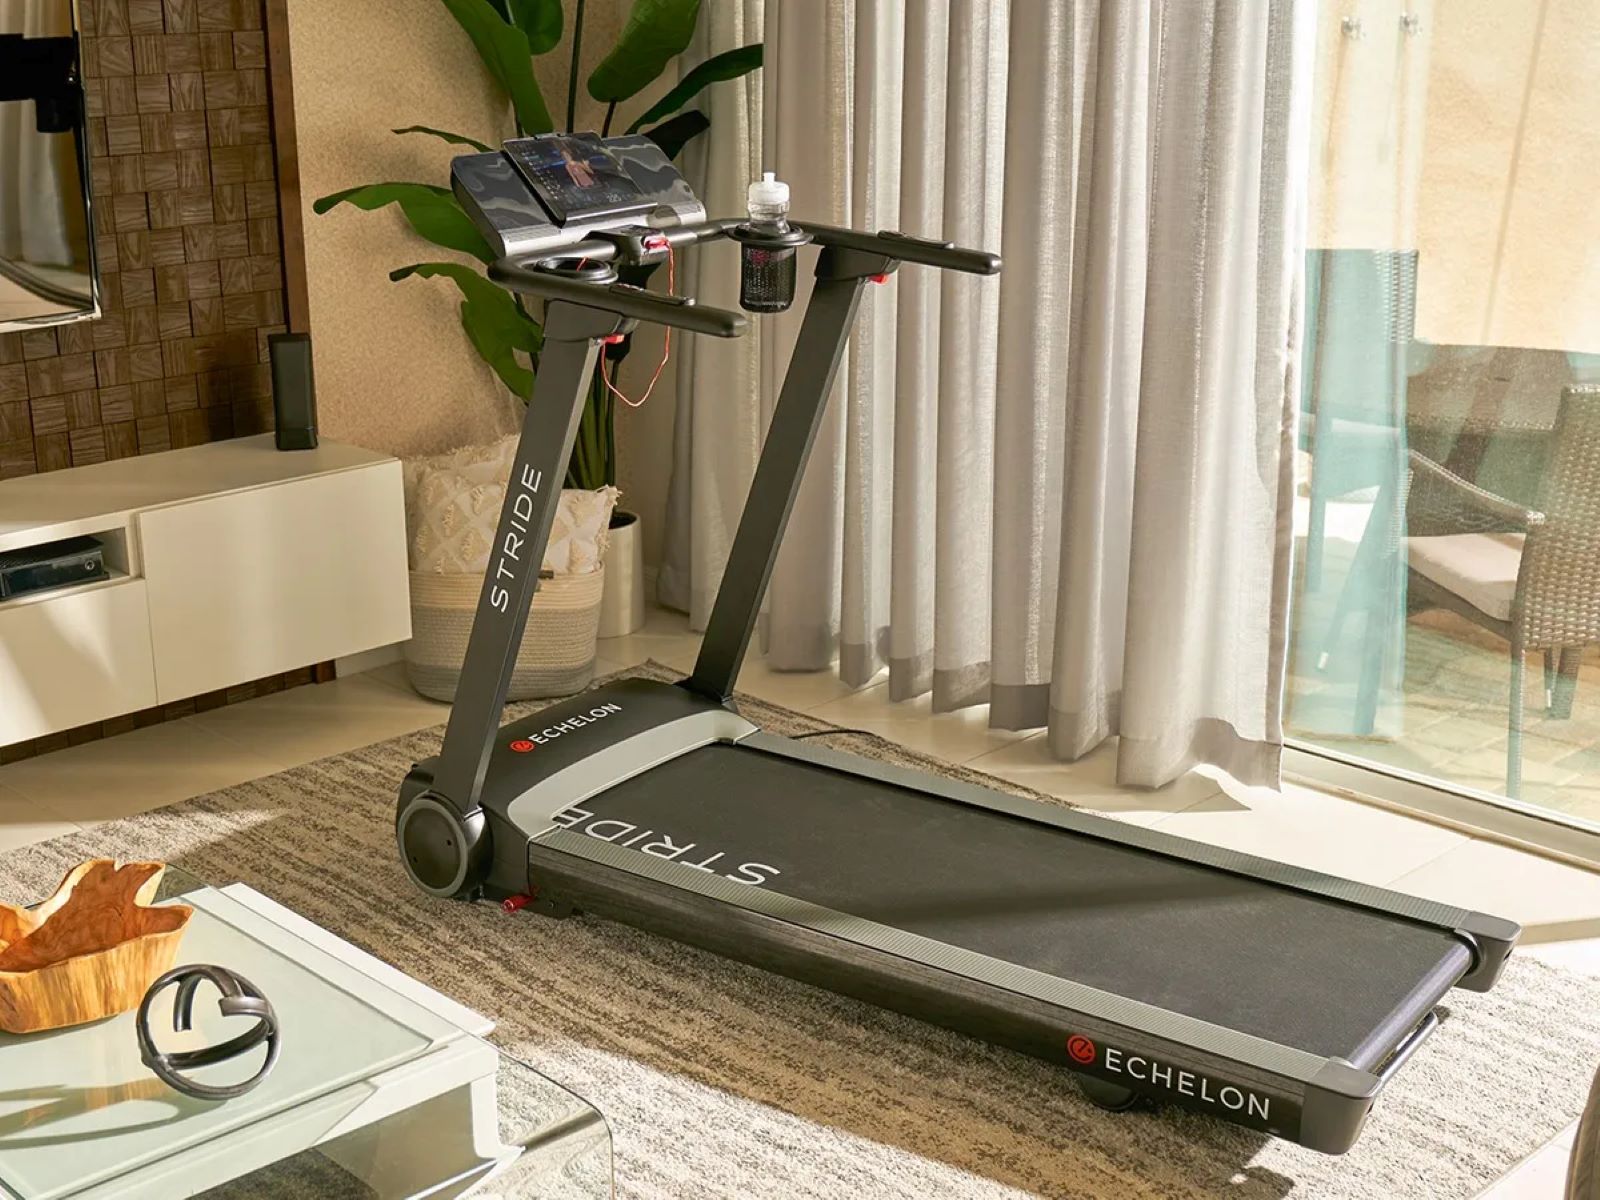
How To Level A Treadmill
Published: August 12, 2023
Learn the step-by-step process of leveling your treadmill for optimal performance. Discover the featured techniques to ensure a stable and safe workout.
Introduction
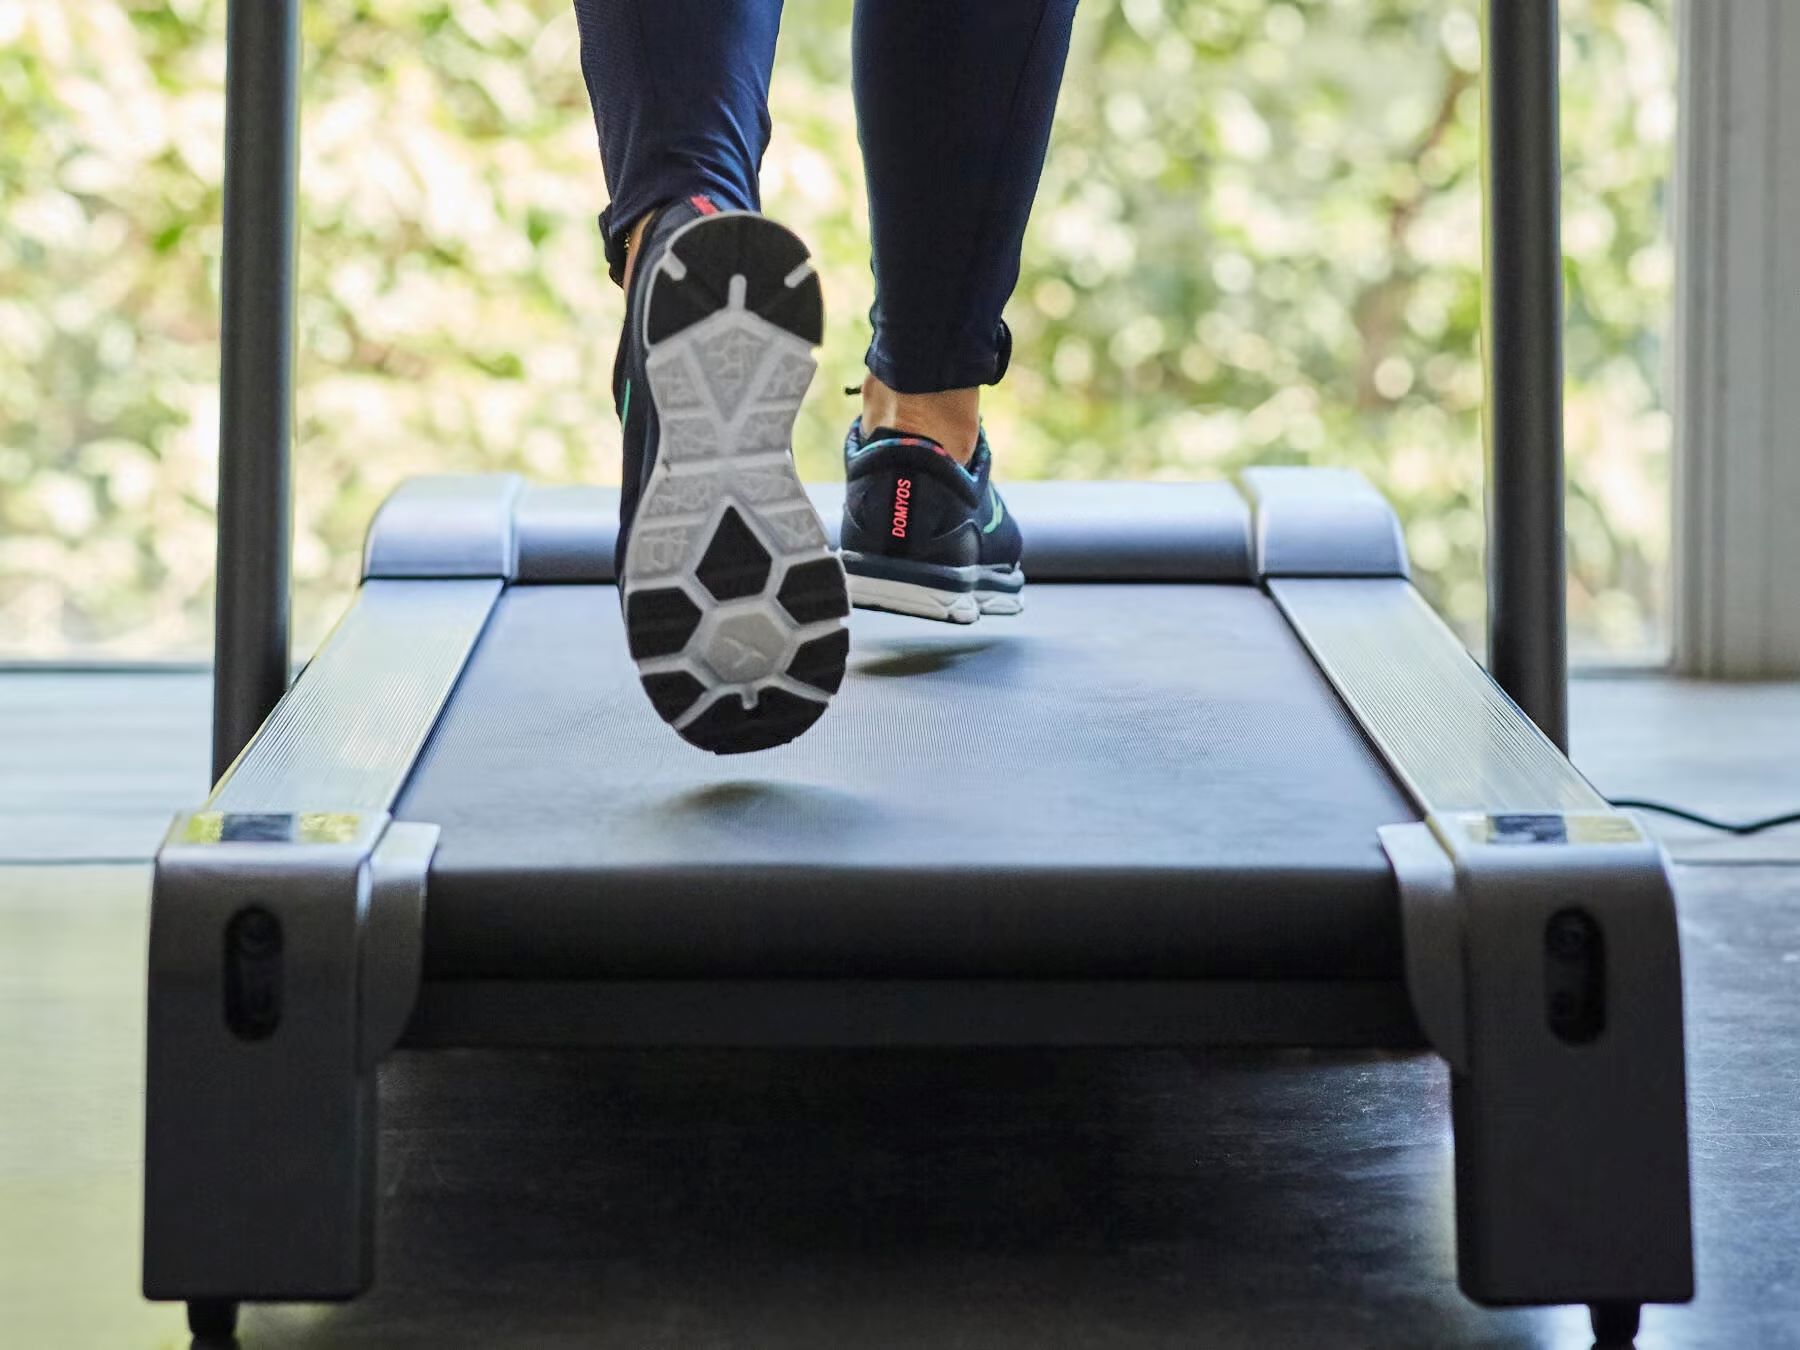
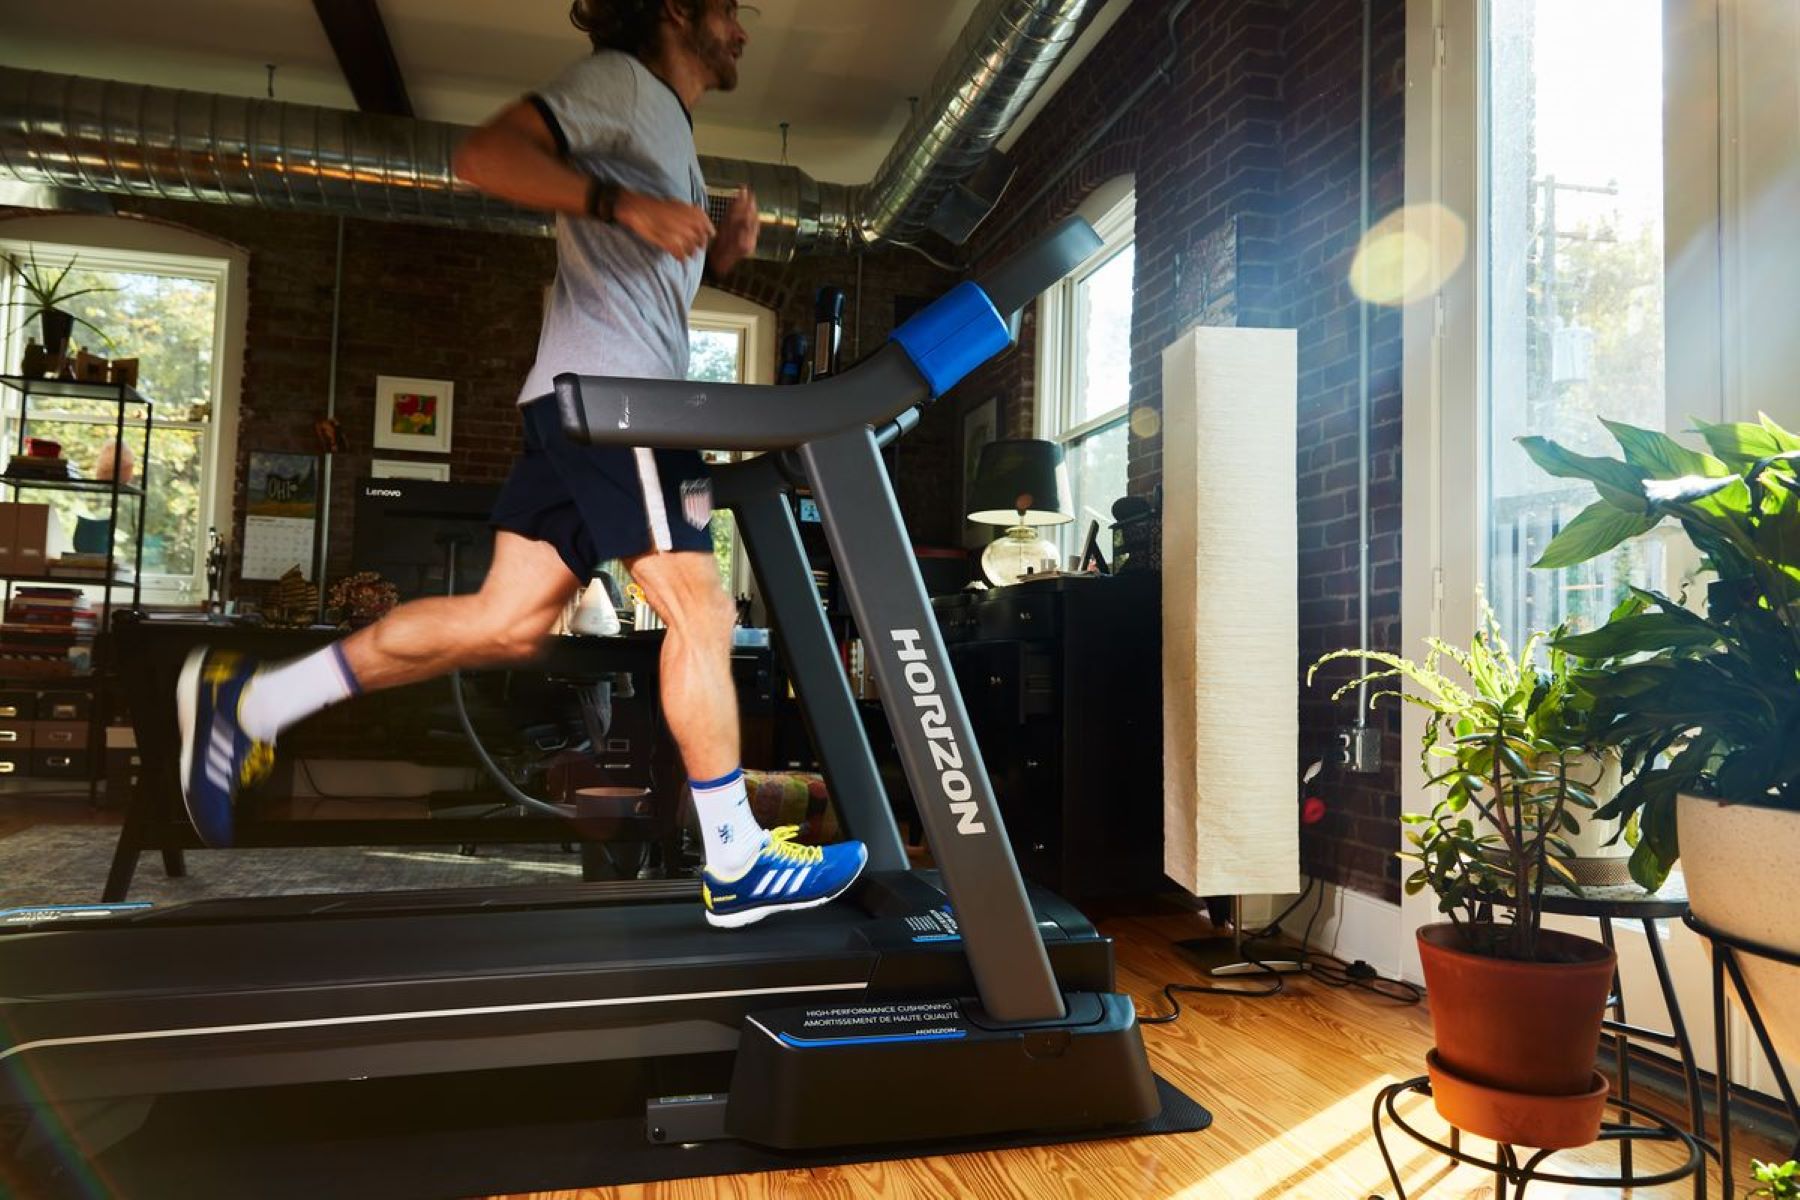
Welcome to our comprehensive guide on how to level a treadmill! Whether you’ve just purchased a brand-new treadmill or noticed that your current one is uneven, maintaining proper leveling is crucial for a safe and effective workout. A level treadmill not only ensures that you enjoy a comfortable running or walking experience but also prevents unnecessary strain on your joints and muscles, reducing the risk of injury.
In this article, we will walk you through the step-by-step process of leveling your treadmill to perfection. You don’t need to be a handyman or have advanced technical skills to accomplish this task. With a little patience and guidance, you’ll be able to enjoy your workouts on a properly leveled treadmill in no time!
Before we dive into the specific steps, it’s important to note that not all treadmills are created equal. Different models may have slightly different leveling mechanisms, so be sure to consult your treadmill’s user manual for manufacturer-specific instructions. However, the general principles we will outline here apply to most treadmills on the market.
So, let’s get started! In the following sections, we will explore the key steps involved in leveling your treadmill. These steps include preparing the area, checking the level, adjusting the rear leveling feet, adjusting the front leveling feet, and finally, rechecking the level. By following these instructions, you will be able to achieve a level surface for your treadmill and ensure a more enjoyable and effective workout experience. Let’s dive in!
Step 1: Preparing the Area
Before you start leveling your treadmill, it’s vital to prepare the area where the treadmill will be placed. A well-prepared space will make it easier to achieve a level surface and maintain stability during your workouts. Here are the key steps to follow:
- Clean the floor: Begin by clearing the floor of any debris, dust, or dirt. A clean surface will ensure that the treadmill sits evenly and doesn’t wobble.
- Select a suitable location: Choose a location in your home that is spacious enough to accommodate the treadmill. Ensure that there is ample room on all sides to allow for easy access and movement.
- Level the floor: If you notice that the floor is uneven, it’s a good idea to level it before placing the treadmill. This can be done by adding shims or leveling compound to the low spots or using a sander to smooth out any bumps.
- Use a protective mat: Consider placing a protective mat underneath the treadmill. Not only will this prevent the treadmill from scratching the floor, but it will also provide a bit of extra cushioning to reduce noise and vibration.
- Check for stability: Make sure the floor is stable and doesn’t have any structural issues that could affect the treadmill’s stability. Avoid placing the treadmill on an excessively soft or unstable surface.
Remember, a stable and clean environment is the foundation for a properly leveled treadmill. Taking the time to prepare the area before starting the leveling process will ensure the best possible results and prevent any potential problems down the road.
Step 2: Checking the Level
Once you’ve prepared the area, it’s time to check the level of your treadmill. This step will help you determine the extent to which the treadmill needs adjustment. Follow these instructions:
- Ensure the treadmill is on a flat surface: Place the treadmill in its designated location, making sure it is positioned on a flat and level surface. Avoid placing it on an inclined or uneven area, as this will affect the accuracy of your level check.
- Adjust the incline: If your treadmill has an adjustable incline feature, set it to zero. This will ensure that the treadmill deck is parallel to the ground during the leveling process.
- Place a level on the treadmill deck: Take a bubble level, a small tool with a liquid-filled vial, and place it on the treadmill deck’s surface. Position it lengthwise or widthwise, depending on the manufacturer’s instructions or personal preference.
- Check the bubble: Look at the bubble inside the level. If the bubble is centered between the lines, it means that the treadmill is perfectly level. However, if the bubble leans towards one side, it indicates that the treadmill is uneven and requires adjustment.
- Take note of the unevenness: Keep track of which side of the treadmill the bubble leans towards. This will help you identify which leveling feet need adjustment later on.
By checking the level of your treadmill, you’ll have a clear understanding of how much adjustment is needed to achieve a level surface. This step serves as a starting point for the subsequent steps, where you will make the necessary adjustments to bring the treadmill to a perfectly level position. Remember, it’s essential to accurately assess the level to ensure a safe and comfortable workout experience.
Step 3: Adjusting the Rear Leveling Feet
After checking the level of your treadmill, it’s time to make the necessary adjustments to ensure proper leveling. In this step, we will focus on adjusting the rear leveling feet. Follow these instructions:
- Locate the rear leveling feet: Check the back of your treadmill for the presence of leveling feet. These are typically adjustable feet that can be turned to raise or lower the rear end of the treadmill.
- Use a wrench or Allen wrench: Depending on the design of your treadmill, you may need either a regular wrench or an Allen wrench to adjust the leveling feet. Refer to your treadmill’s user manual for the appropriate tool.
- Adjust one side at a time: Start with the side that the bubble of the level indicated was higher. Use the wrench to turn the corresponding rear leveling foot counterclockwise to raise the treadmill or clockwise to lower it. Make small adjustments at a time to ensure precision.
- Check the level again: After making the adjustments to the rear leveling feet, place the level on the treadmill deck and check the bubble. Repeat the process until the bubble is centered and the treadmill is level.
- Repeat for the other side: Once you have successfully adjusted one side, move on to the other side using the same procedure. Make incremental adjustments and check the level until both rear leveling feet are properly set.
By adjusting the rear leveling feet of your treadmill, you are taking the necessary steps to achieve a level surface. This ensures that your treadmill is stable and offers a safe and comfortable workout experience. Remember to make small adjustments and recheck the level after each adjustment to ensure accuracy.
Step 4: Adjusting the Front Leveling Feet
Once you have adjusted the rear leveling feet of your treadmill, it’s time to focus on the front leveling feet. These feet play a crucial role in achieving a properly leveled surface. Follow these instructions to make the necessary adjustments:
- Locate the front leveling feet: Look at the front of your treadmill and identify the adjustable leveling feet. These are usually located near the front end and can be turned to raise or lower the front of the treadmill.
- Use a wrench or Allen wrench: Depending on the make and model of your treadmill, you may need a wrench or an Allen wrench to adjust the front leveling feet. Refer to your treadmill’s user manual for the correct tool to use.
- Start with the side indicated by the level: Begin with the side that the level indicated was higher. Use the wrench to turn the corresponding front leveling foot counterclockwise to raise the front or clockwise to lower it.
- Check the level again: After making adjustments to the front leveling foot, place the level on the treadmill deck and check the bubble. Continue to adjust the front leveling feet, making small and precise changes until the bubble is centered and the treadmill is level.
- Repeat for the other side: Once you have leveled one side, repeat the process for the other side. Make incremental adjustments to the front leveling feet and check the level until both sides are properly leveled.
Adjusting the front leveling feet of your treadmill is crucial for achieving a stable and level surface. By following these steps, you ensure that your treadmill is secure and provides an optimal environment for your workouts. Remember to take your time, make small adjustments, and double-check the level after each adjustment to achieve the desired level surface.
Step 5: Rechecking the Level
Once you have adjusted both the rear and front leveling feet of your treadmill, it’s time to recheck the level to ensure that it is properly balanced. Follow these final steps:
- Place the level on the treadmill deck: Position the level lengthwise or widthwise on the treadmill deck, just as you did in the initial level check.
- Check the bubble: Take a moment to observe the bubble inside the level. If it is centered between the lines, congratulations! Your treadmill is now properly leveled. However, if the bubble is still leaning towards one side, further adjustments may be needed.
- Make additional adjustments: If the level indicates that the treadmill is still not level, go back and repeat the appropriate steps for adjusting the leveling feet. Focus on the side indicated by the level, and make small, incremental adjustments until the bubble is centered.
- Repeat the level check: After making additional adjustments, place the level back on the treadmill deck and check the bubble again. Continue this process until the bubble is centered, signifying a level position.
- Ensure stability: Once the treadmill is level, gently rock it back and forth to test its stability. If it feels secure and does not wobble or shift, you have successfully leveled your treadmill!
Rechecking the level of your treadmill is an essential final step to confirm that it is properly balanced. Taking the time to ensure accurate leveling will provide a safe and comfortable workout experience. Remember to be thorough and make any necessary adjustments until the treadmill is perfectly level.
Conclusion
Congratulations! You have successfully learned how to level a treadmill. By following the step-by-step instructions provided in this guide, you can ensure a safe and enjoyable workout experience. Keep in mind the importance of a leveled treadmill, as it prevents joint strain and reduces the risk of injury.
Remember to follow these key steps:
- Prepare the area by cleaning the floor, selecting a suitable location, leveling the floor if necessary, and using a protective mat.
- Check the level of the treadmill by placing a bubble level on the treadmill deck and adjusting the incline to zero.
- Adjust the rear leveling feet using a wrench or Allen wrench, focusing on the higher side indicated by the level.
- Adjust the front leveling feet following the same procedure, starting with the higher side.
- Recheck the level by placing the level on the treadmill deck and making any additional adjustments if needed.
By ensuring that your treadmill is properly leveled, you will experience a smoother, more comfortable workout. Remember to regularly check the level and make any necessary adjustments to maintain optimal performance. Consult your treadmill’s user manual for any specific instructions or additional guidance.
Now that you are equipped with the knowledge of how to level a treadmill, you can confidently set up your treadmill and enjoy your workouts with stability and ease. Happy exercising!