Featured
How To Make Your Own Activewear
Modified: January 22, 2024
Discover how to create your own stylish and functional activewear with our featured tutorial. Save money and customize your workout gear today!
Introduction
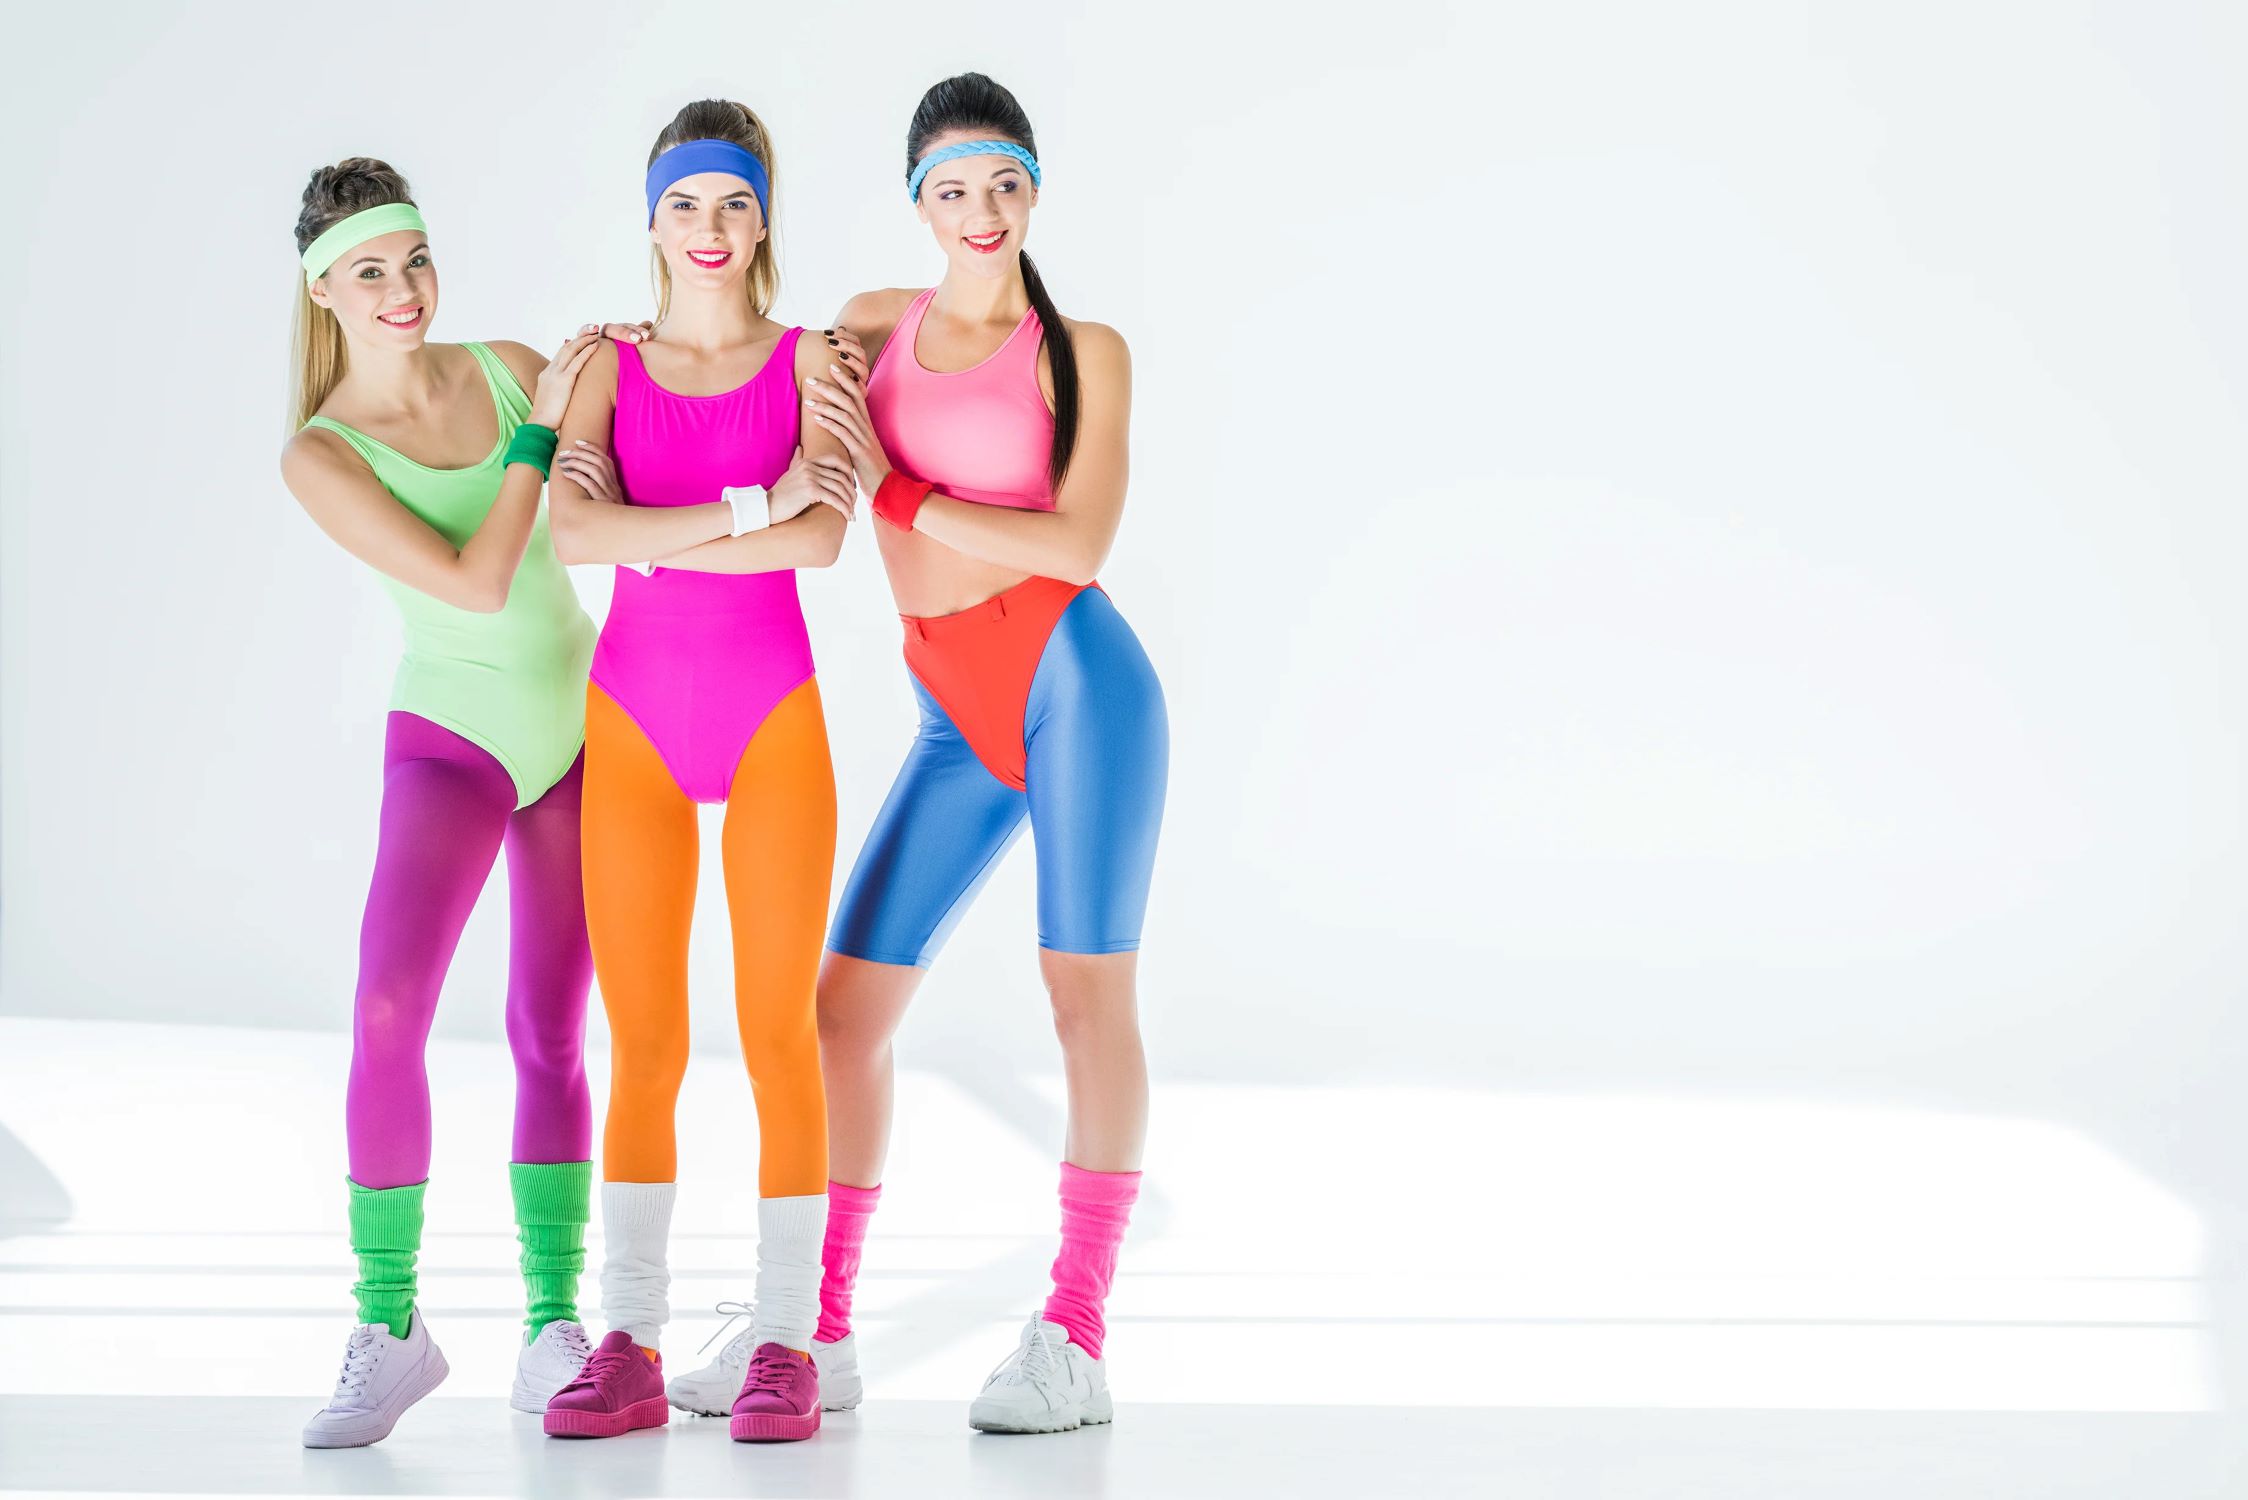
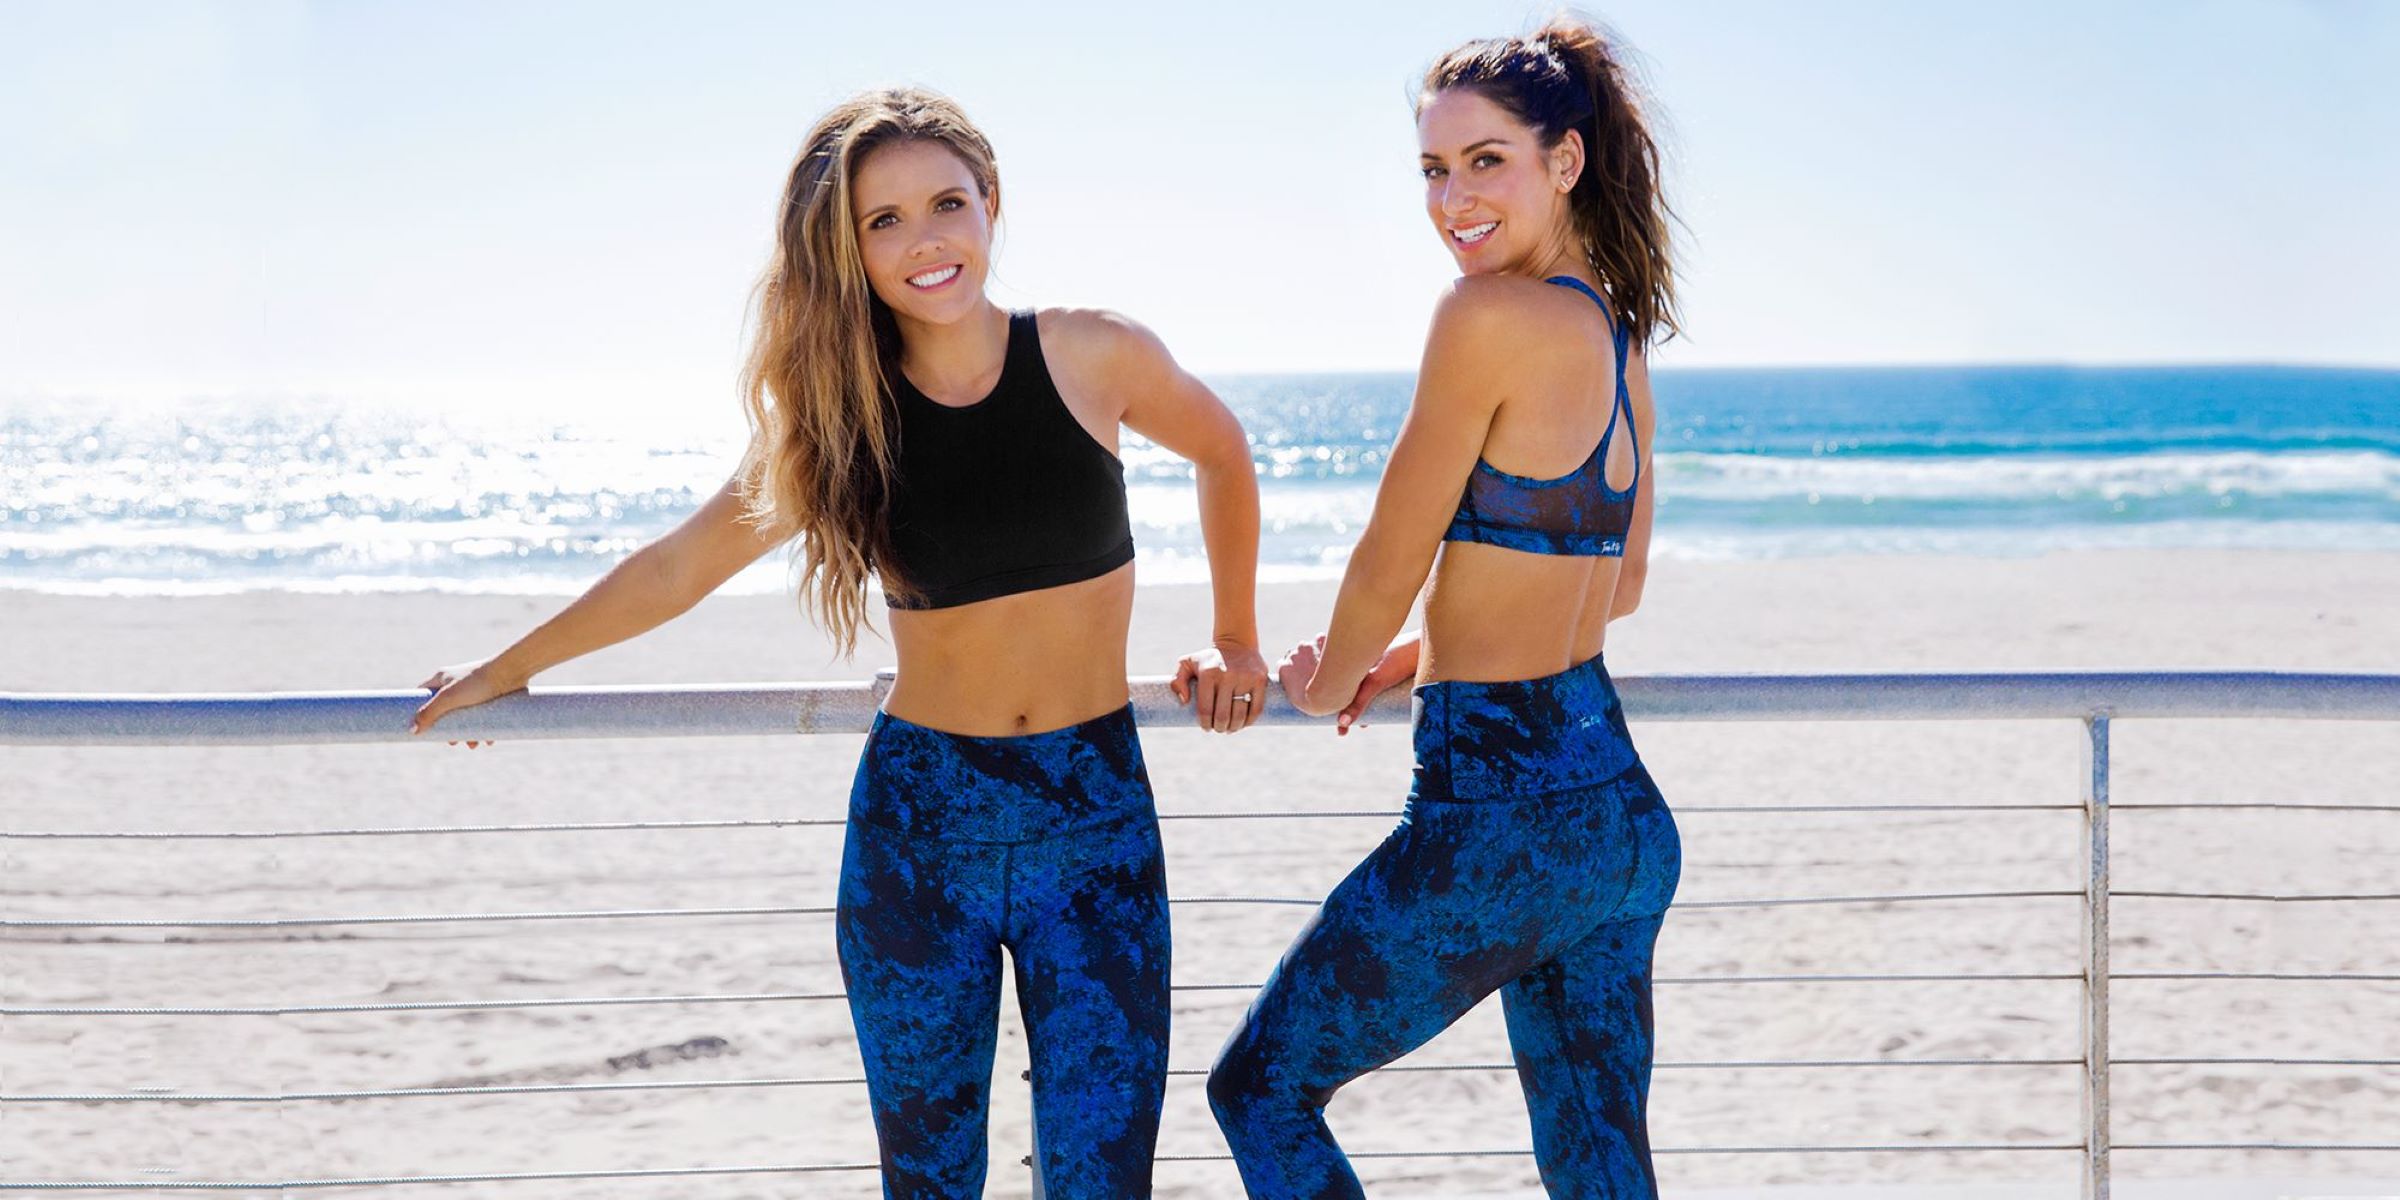
Have you ever wanted to have your own unique activewear? Activewear is not only comfortable to wear during exercise or physical activities but can also be a reflection of your personal style. Making your own activewear allows you to choose the fabrics, designs, and fit that suit your preference and body shape.
In this article, we will guide you through the process of creating your own activewear from scratch. We will cover everything from choosing the right fabrics to adding the finishing touches. Whether you’re a beginner or an experienced seamstress, following these steps will help you create a garment that fits you perfectly and makes you feel confident during your workouts or outdoor activities.
Creating your own activewear not only gives you control over the design and fit, but it can also save you money compared to buying high-end activewear brands. With a little bit of effort, you can create stylish and functional activewear that meets your specific needs and preferences.
So, if you’re ready to unleash your creativity and embark on a fun and rewarding project, let’s dive into the world of making your own activewear!
Choosing the Right Fabrics
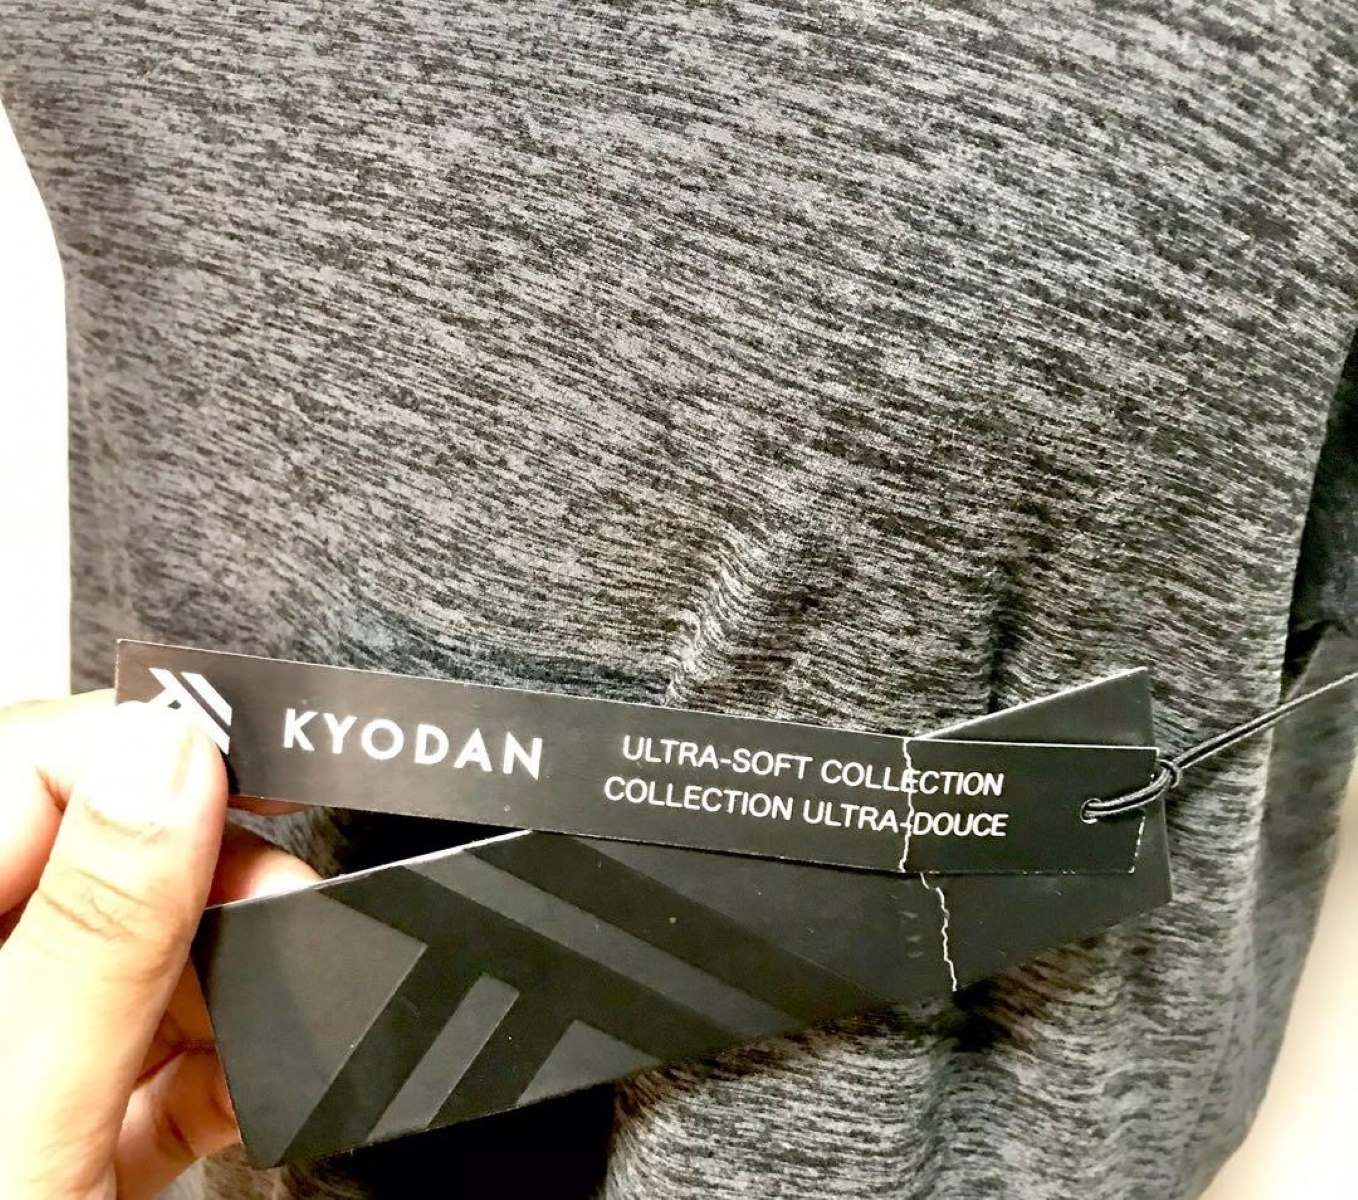
When it comes to activewear, selecting the right fabrics is crucial for ensuring comfort, breathability, and functionality. Here are some factors to consider when choosing fabrics for your DIY activewear:
– Moisture-wicking: Look for fabrics that have moisture-wicking properties, such as polyester blends or fabrics with a high percentage of nylon. These fabrics will help keep you dry by wicking away sweat from your skin.
– Stretch and recovery: Opt for fabrics with good stretch and recovery, like spandex or elastane blends. These fabrics will allow for ease of movement and ensure that your activewear retains its shape even after repeated use.
– Breathability: Choose fabrics that allow air circulation to prevent overheating during workouts. Some breathable fabric options include mesh, bamboo, or certain types of performance knits.
– Durability: Consider fabrics that are durable and can withstand the rigors of physical activity. Fabrics like nylon or polyester blends are known for their strength and resistance to wear and tear.
– Comfort: Prioritize comfort by selecting fabrics that feel soft and smooth against your skin. Fabrics with a brushed finish or those that are moisture-wicking can provide added comfort during intense workouts.
– Color and print: Don’t forget to choose fabrics with colors or prints that you love! Adding a pop of color or a unique pattern can make your activewear more visually appealing and showcase your personal style.
When purchasing fabrics for your DIY activewear, it’s a good idea to visit a fabric store in person so you can feel the fabric and determine its stretch and texture. Online shopping can be convenient, but it can sometimes be difficult to accurately gauge the feel and quality of the fabric without physically touching it.
Overall, choosing the right fabrics will significantly impact the performance and comfort of your activewear. Take your time to explore different options and find the fabrics that best meet your needs and preferences.
Selecting a Pattern or Design
Once you have chosen the fabrics for your DIY activewear, the next step is to select a pattern or design. The pattern will serve as the blueprint for cutting and sewing your garment. Here are some tips to help you in the selection process:
– Check your skill level: Consider your sewing skills and choose a pattern that matches your expertise. There are patterns available for all skill levels, from beginner-friendly ones with simple construction to advanced patterns with more complex features.
– Consider the garment type: Determine what type of activewear you want to make, whether it’s leggings, sports bras, tanks, or shorts. Look for patterns that specifically cater to the type of garment you want to create.
– Look for size options: Ensure that the pattern comes in a size range that accommodates your measurements. Some patterns offer multiple size options, while others require adjustments for a perfect fit.
– Explore design details: Take a close look at the design details of the pattern, such as seam lines, pocket options, and style variations. Choose a pattern that aligns with your vision and desired aesthetic.
– Read reviews: Before purchasing a pattern, read reviews from other sewists who have used it. They can provide insights into the pattern’s fit, instructions, and any potential challenges you may encounter.
– Consider customization: If you want to add your own personal touch to the design, look for patterns that allow customization or modifications. This could include adding length or altering the neckline, for example.
Furthermore, don’t be afraid to mix and match patterns or experiment with your own design ideas. By combining elements from different patterns or incorporating your creative flair, you can create a truly one-of-a-kind piece.
Remember that the pattern you choose will guide the construction of your activewear, so take the time to find one that aligns with your vision and sewing abilities. Don’t be afraid to step out of your comfort zone and try new designs that inspire you.
Taking Accurate Body Measurements
Before you start cutting and sewing your activewear, it is crucial to take accurate body measurements. This step ensures that your garment fits you perfectly and allows for easy adjustments if needed. Here are some tips for taking precise body measurements:
– Use a flexible measuring tape: A flexible measuring tape is essential for accurately measuring various parts of your body. Avoid using a rigid ruler or fabric tape measure, as they may not provide accurate measurements.
– Measure over fitted garments: When taking measurements, wear fitted clothing or undergarments to ensure the most accurate results. Avoid measuring over bulky or loose clothing, as it can affect the measurements.
– Have someone assist you: Enlist the help of a friend or family member to assist in measuring certain areas, such as the bust or back. They can ensure that the tape is positioned correctly and give you a more accurate measurement.
– Stand naturally: Stand in a relaxed and natural posture when taking measurements. Avoid slouching or tensing your muscles, as it can affect the accuracy of the measurements.
– Double-check measurements: After taking each measurement, double-check to ensure accuracy. It’s better to spend a little extra time to get precise measurements than to end up with ill-fitting activewear.
– Take essential measurements: The key measurements for activewear include bust, waist, hips (if applicable), inseam, and length measurements. Depending on the pattern or design, there may be additional measurements needed, such as thigh or upper arm circumference.
Ensure that you record your measurements accurately and keep them somewhere easily accessible. Having your measurements readily available will make future projects more efficient, as you won’t need to remeasure for each garment.
Remember, the success of your DIY activewear project relies on accurate measurements, so take your time and be thorough. Precise measurements will result in a garment that fits you well and provides optimal comfort during your workouts.
Cutting and Marking the Fabrics
After taking accurate body measurements, it’s time to move on to the next step: cutting and marking the fabrics for your DIY activewear. This step requires precision and attention to detail to ensure proper fit and alignment. Here’s how to go about cutting and marking your fabrics:
– Pre-wash and iron your fabrics: Before cutting, it’s important to pre-wash your fabrics according to their care instructions. This step prevents shrinkage later on. Once washed and dried, iron your fabrics to remove any wrinkles or creases.
– Lay out the pattern pieces: Lay out your pattern pieces on the fabric, following the pattern instructions. Pay attention to grainlines, fold lines, and any pattern markings indicated on the pattern pieces.
– Pin or weigh down the pattern pieces: Secure the pattern pieces to the fabric either by using sewing pins or fabric weights. Make sure the pattern pieces lay flat and do not shift during the cutting process.
– Trace or cut the pattern pieces: Depending on your personal preference and the type of fabric, you can either trace around the pattern pieces with fabric chalk or tailor’s pencil, or cut directly along the pattern lines. Remember to cut with precision and follow the specified size and length markings.
– Transfer any additional pattern markings: Use tailor’s chalk, marking pens, or tailor’s tacks to transfer any additional pattern markings onto the fabric, such as darts, notches, or placement lines for pockets or zippers. These markings will assist you during the sewing process.
– Label the fabric pieces: To stay organized, label each fabric piece according to the pattern instructions or write down any specific details you need to remember, such as “Front,” “Back,” or “Right Leg.”
During the cutting and marking process, take your time and work carefully to ensure accuracy. Double-check everything before cutting to avoid any mistakes that can compromise the fit and construction of your activewear.
Once you have finished cutting and marking your fabrics, you are ready to move on to the exciting part: sewing your DIY activewear!
Sewing the Garment
Now that your fabrics are cut and marked, it’s time to bring your DIY activewear to life by sewing the garment. Follow these steps to ensure a successful sewing process:
– Read and understand the instructions: Take the time to carefully read and understand the sewing instructions provided with your pattern. Familiarize yourself with the construction steps, seam allowances, and any specific techniques required.
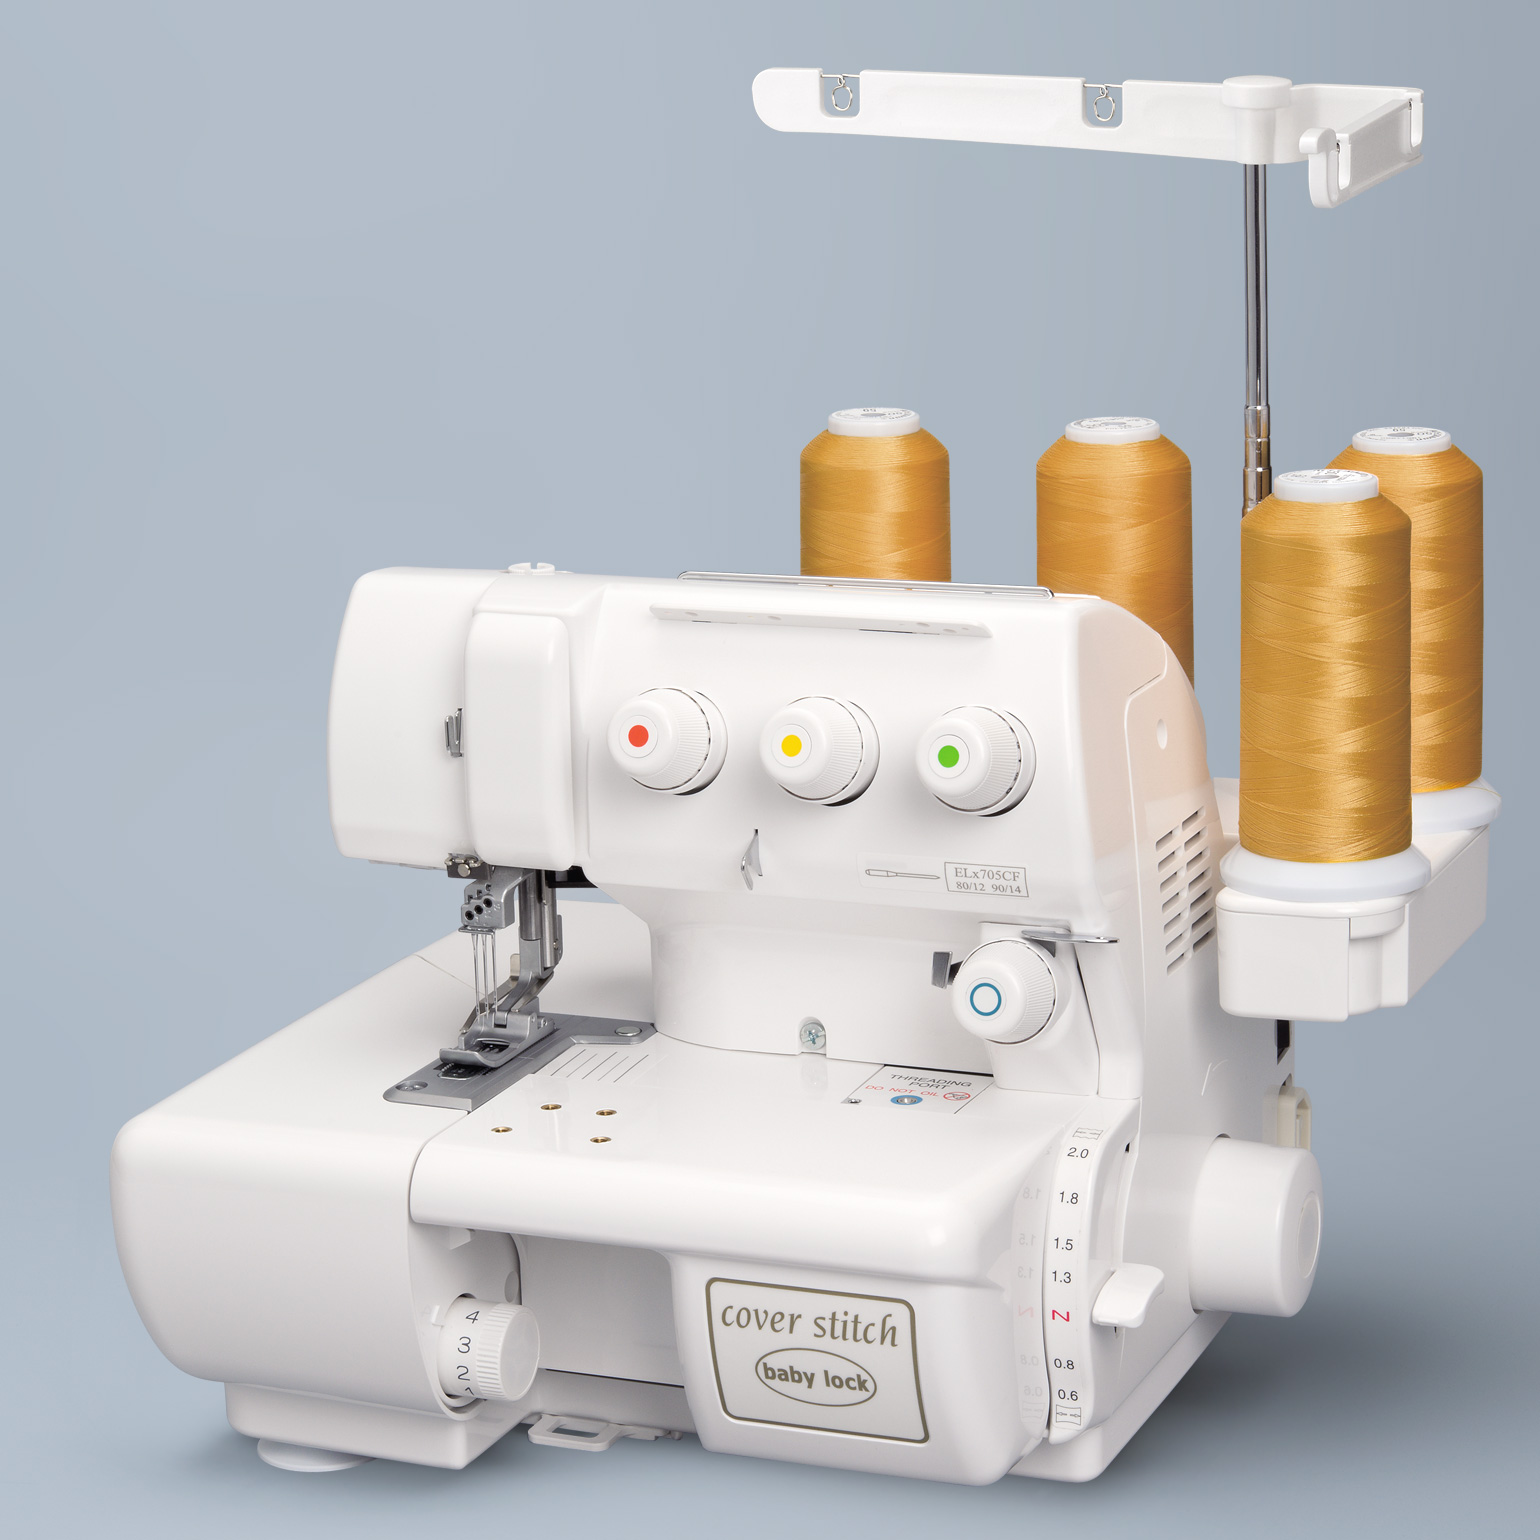
– Prepare your sewing machine: Ensure that your sewing machine is in good working condition and ready for use. Thread the machine with the appropriate thread color and attach the correct sewing machine foot for the type of stitching required.
– Follow the order of construction: Start sewing your garment according to the order of construction outlined in the instructions. This typically involves sewing the main seams first, such as side seams or inseams, before moving on to smaller details like hems or waistbands.
– Pin and/or baste as needed: Use sewing pins or basting stitches to temporarily hold fabric pieces together before permanently stitching them. This helps to ensure accurate alignment and prevents shifting during sewing.
– Take your time and sew accurately: Sew slowly and pay attention to detail as you stitch. Take care to sew straight seams, pivot at corners, and backstitch at the beginning and end of each seam to secure the stitches.
– Press as you go: Press your seams and finished garment parts as you sew. This helps ensure neat and professional-looking results. Use an appropriate heat setting for your fabric and press with an up-and-down motion, avoiding dragging or distorting the fabric.
– Try on and make fit adjustments: Once you have sewn the main seams, try on the garment to check the fit. Make any necessary adjustments, such as taking in the side seams or shortening the length. It’s better to make these alterations before proceeding with the final finishing steps.
Throughout the sewing process, be patient and take your time. Don’t hesitate to consult sewing resources or tutorials if you encounter unfamiliar techniques or have questions. Sewing your own activewear allows for customization and personalization, so enjoy the process and feel proud of your handmade creation.
Adding Finishing Touches
As you near the completion of your DIY activewear project, it’s time to add those final finishing touches that will elevate the look and functionality of your garment. These details not only contribute to the overall aesthetics but also ensure durability and comfort. Here are some key finishing touches to consider:
– Topstitching: Consider adding decorative or functional topstitching to your activewear. This stitching provides extra reinforcement to seams and adds a professional touch to the finished garment.
– Elastic or drawstrings: Depending on the design, you may need to add elastic or drawstrings to your activewear. Elastic helps secure waistbands or leg openings, while drawstrings provide adjustability and a personalized fit.
– Hemming: Finish off the edges of your activewear by hemming them. Depending on the fabric and design, you can choose between a double-fold hem, a rolled hem, or a coverstitch hem. Experiment with different techniques to find the one that suits your garment best.
– Hardware: Consider adding hardware details like snaps, buttons, or zippers to your activewear. These elements can serve both functional and aesthetic purposes, adding style and convenience to your garment.
– Reflective accents: If you plan on wearing your activewear in low-light conditions, consider incorporating reflective accents. These can be sewn-on reflective strips or custom details that enhance visibility and safety.
– Labeling: Add a personalized touch to your activewear by attaching labels or tags. You can create custom labels with your brand name or sew in care labels to ensure proper garment care.
Remember to consult your pattern instructions for specific finishing details and techniques that are appropriate for your activewear design. These final touches will enhance the overall appearance and functionality of your garment, making it ready for use in your favorite activities. Take your time and pay attention to detail as you add these finishing touches to ensure professional-looking results.
Trying on and Making Adjustments
Once you have completed the sewing and finishing of your DIY activewear, it’s essential to try it on and make any necessary adjustments for the perfect fit. Trying on your garment allows you to assess its comfort, functionality, and aesthetic appeal. Here’s what you should keep in mind during this phase:
– Examine the fit: Put on your activewear and assess how it fits on your body. Pay attention to areas such as the bust, waist, hips, and inseams. Note any areas where the fit may be too loose or too tight.
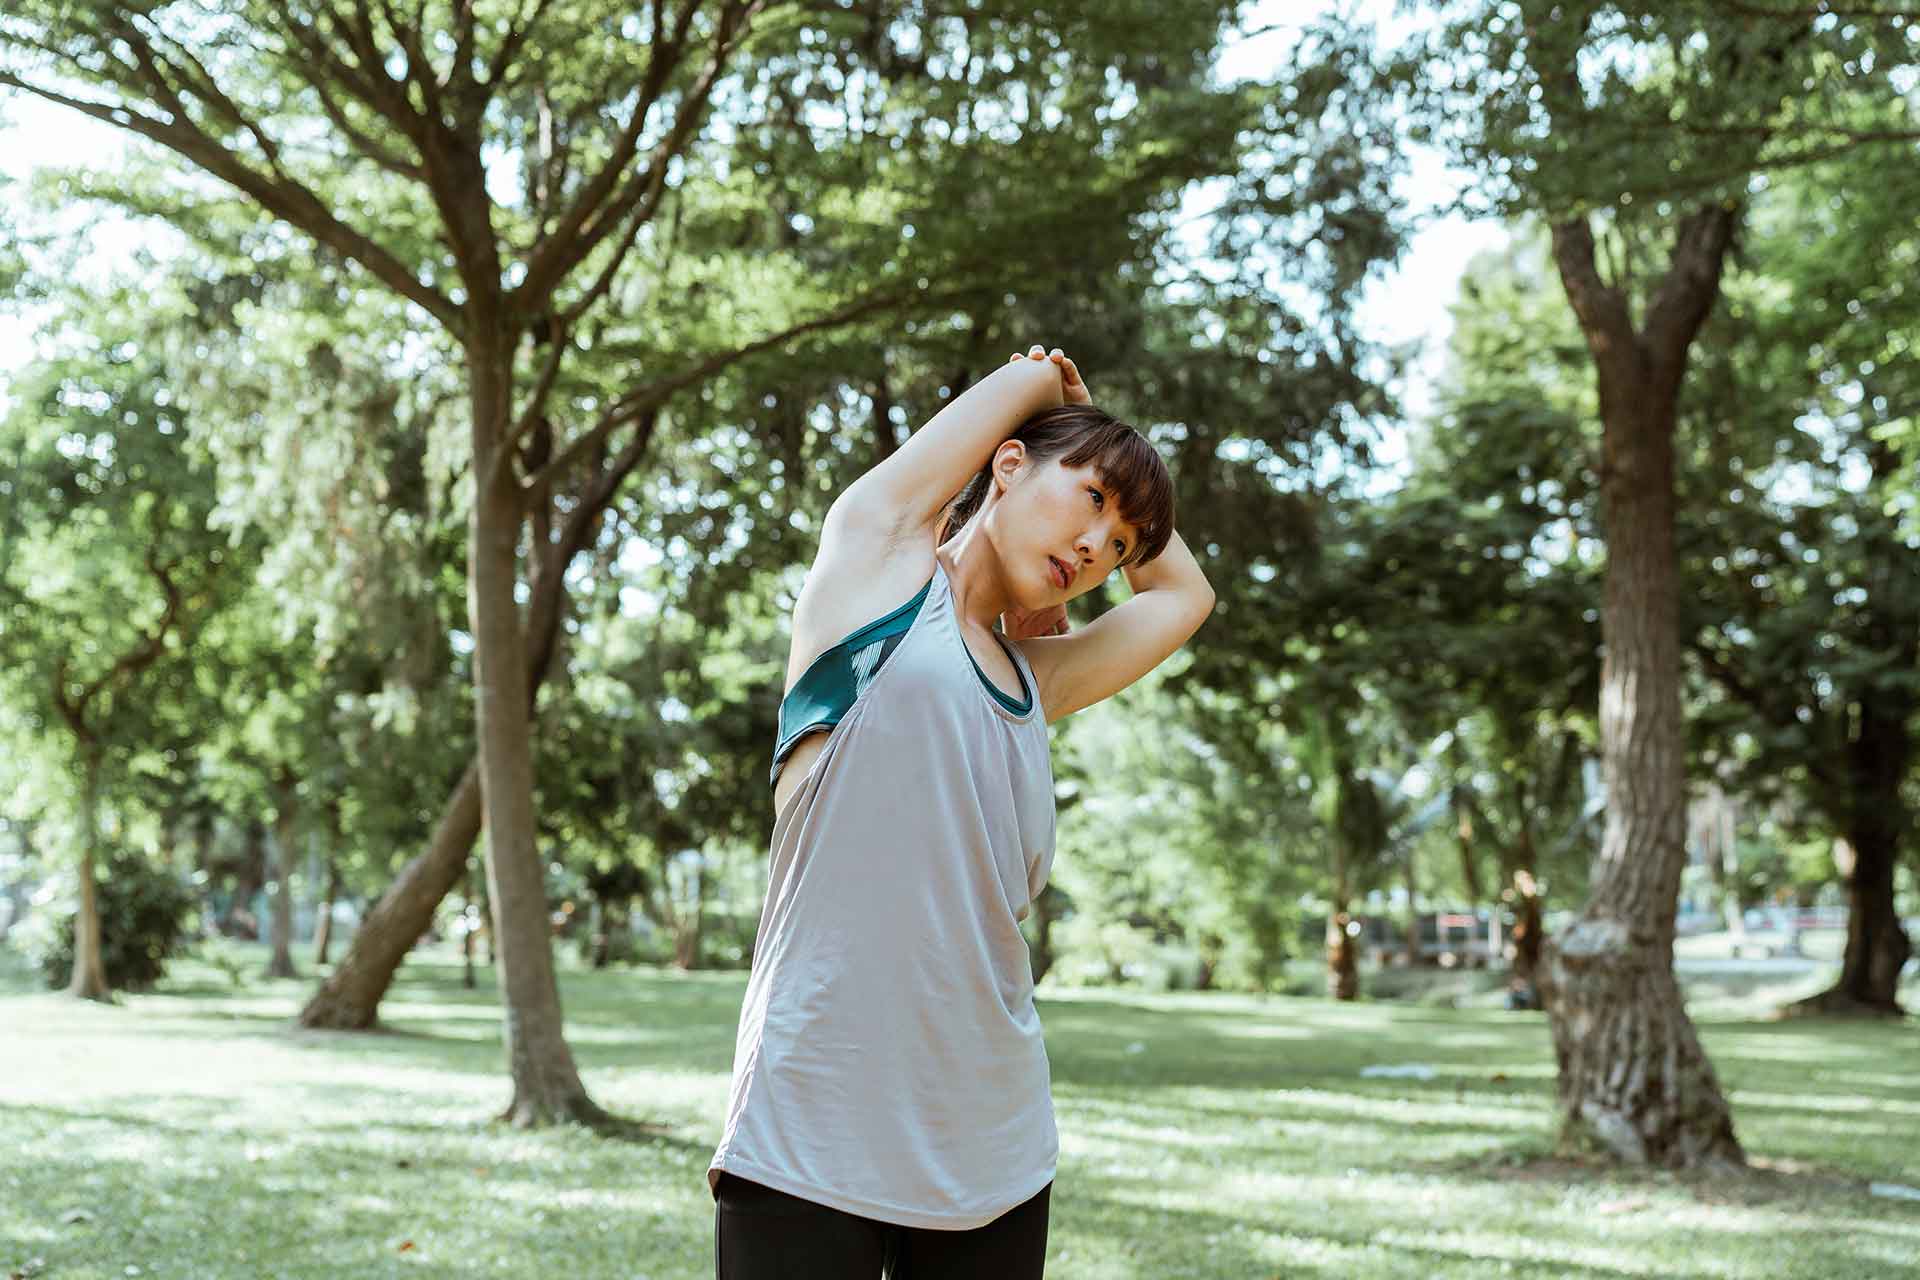
– Check for ease of movement: Move around and perform some light exercises in your activewear to ensure it allows for ease of movement. Test out different ranges of motion to ensure that the garment doesn’t restrict your ability to exercise comfortably.
– Make fit adjustments: If you notice any fit issues, such as excess fabric or tightness in certain areas, you may need to make adjustments. This can involve taking in or letting out seams, adjusting the length, or altering the elastic or drawstring placement.
– Take accurate notes: As you try on the garment and identify areas that need adjustment, take note of the changes you wish to make. This will guide you when making alterations later on.
– Consult sewing resources: If you are uncertain about how to make specific fit adjustments, consult sewing resources such as books, online tutorials, or forums. These sources can provide guidance on common fit issues and how to address them.
– Make the necessary alterations: Using your notes as a guide, make the required fit adjustments to ensure your activewear fits you perfectly. Remember to take your time and be precise when making these alterations.
By trying on your activewear and making the necessary fit adjustments, you can ensure that your garment not only looks great but also provides optimal comfort and functionality. The extra effort put into refining the fit will result in activewear that you love to wear during your workouts or physical activities.
Caring for Your Activewear
Proper maintenance and care are essential to keep your DIY activewear in the best condition possible. By following a few simple guidelines, you can prolong the lifespan of your garments and ensure they continue to perform and look their best. Here are some tips for caring for your activewear:
– Follow the care instructions: Always refer to the care instructions provided with the fabric and follow them meticulously. These instructions will tell you the appropriate washing temperature, whether it should be hand or machine washed, and if it can be tumble dried or should be air-dried.
– Wash after each use: It’s important to wash your activewear after each use to remove sweat, dirt, and bacteria that may have accumulated during your workout. This helps to maintain the fabric’s integrity and prevents odors from setting in.
– Use a gentle detergent: Opt for a mild, non-abrasive detergent specifically formulated for activewear or delicate fabrics. Avoid using bleach or fabric softeners, as they can damage the fibers and compromise the garment’s performance.
– Turn garments inside out: Before washing, turn your activewear inside out. This helps to protect any printed or decorated areas, as well as preserve the colors and prevent fading.
– Wash with similar colors: Sort your activewear by color and wash similar items together to prevent color bleeding or transfer. This is especially important for bright or dark-colored garments.
– Avoid excessive heat: When drying your activewear, it’s best to air dry them or use a low-temperature setting on your dryer. High temperatures can cause shrinkage, damage elastic fibers, and affect the overall shape and fit of the garment.
– Store properly: When not in use, store your activewear in a clean and dry place. Avoid hanging your garments for long periods of time, as this can distort their shape. Instead, fold them neatly or lay them flat to maintain their integrity.
– Inspect for damage: Regularly inspect your activewear for any signs of wear, tears, or loose seams. Attend to any repairs promptly to prevent further damage and prolong the lifespan of your garments.
By following these care instructions, you can keep your DIY activewear looking and performing its best for years to come. Taking care of your garments will also save you money in the long run, as they will require fewer replacements. Treat your handmade activewear with care, and it will continue to support you during your workouts and outdoor activities.
Conclusion
Congratulations, you have successfully embarked on the journey of creating your own activewear! By choosing the right fabrics, selecting patterns, taking accurate measurements, cutting and marking the fabrics, sewing the garment, adding finishing touches, making fit adjustments, and caring for your activewear, you have created a custom-made piece that is both functional and unique.
Designing and making your own activewear allows you to express your personal style, ensure a perfect fit, and unleash your creativity. Whether you’re a beginner or an experienced seamstress, the process of making activewear can be fulfilling and rewarding.
Remember to take your time, be patient, and enjoy the process. Each step, from choosing the fabrics to adding the finishing touches, contributes to the creation of a garment that not only looks good but also performs well during your workouts or outdoor activities.
Now that you have completed your DIY activewear, it’s time to put it to use and enjoy the benefits of wearing something you have crafted with your own hands. Embrace the confidence and comfort that come with wearing activewear tailored to your preferences and body shape.
So, go out there, hit the gym, hit the trails, or engage in your favorite physical activities with pride and excitement as you showcase your handcrafted activewear. Happy sewing and keep embracing your creative spirit!