
Featured
How To Sew Activewear
Published: August 12, 2023
Discover the top tips and tricks for sewing your own activewear. Stay on-trend with our featured designs and create stylish, functional garments for your active lifestyle.
Introduction
Are you ready to take your sewing skills to the next level? Then it’s time to dive into the world of activewear! Sewing your own activewear allows you to create comfortable and stylish pieces that are tailored to your specific needs and preferences. Whether you’re into running, yoga, or simply enjoy the athleisure trend, having the ability to sew your own activewear opens up a whole new world of possibilities.
When it comes to activewear, fit, durability, and functionality are key. By sewing your own activewear, you have the power to customize these aspects to suit your body and exercise routine. Not to mention, you can select high-quality fabrics that offer moisture-wicking properties and four-way stretch for optimal comfort.
In this article, we will walk you through the process of sewing activewear from start to finish. From choosing the right fabric to adding functional features, we’ll cover all the essential steps needed to create your own professional-grade activewear. Whether you’re a beginner or a seasoned sewist, this guide will equip you with the knowledge and skills necessary to produce garments that not only look great but also perform flawlessly.
So, dust off your sewing machine, gather your tools, and get ready to embark on an exciting journey of creating unique and functional activewear pieces. Whether you’re aiming for leggings, sports bras, or even jackets, this guide will give you the confidence and know-how to bring your activewear dreams to life. Let’s get started!
Choosing the Right Fabric
When it comes to sewing activewear, selecting the right fabric is crucial. You want a fabric that strikes the perfect balance between comfort, breathability, and durability. Here are some factors to consider when choosing fabric for your activewear projects:
- Moisture-wicking: Look for fabrics that have moisture-wicking properties. These fabrics are designed to draw sweat away from the body, keeping you dry and comfortable during intense workouts.
- Four-way stretch: Activewear requires fabrics that can stretch in all directions, allowing for ease of movement. Look for fabrics with a four-way stretch, such as nylon spandex blends or polyester spandex blends.
- Breathability: Ensure that the fabric is breathable and allows air to circulate. This is particularly important for activities that involve a lot of sweating, as it helps in regulating body temperature.
- Compression: If you prefer activewear with a compression fit, consider fabrics with built-in compression properties. These fabrics provide support to your muscles and can enhance your performance.
- Durability: Activewear goes through a lot of wear and tear, so choose fabrics that are durable and can withstand frequent washing and stretching without losing their shape or color.
Common fabric options for activewear include nylon, polyester, spandex, and blends of these materials. It’s also worth exploring sustainable options such as recycled polyester or organic cotton for eco-conscious activewear projects. Remember to check the fabric’s weight and thickness as well, as these factors can affect the comfort and functionality of the garment.
Before making your final fabric selection, it’s always a good idea to do a stretch test and check the opacity of the fabric. Stretch the fabric in different directions to ensure that it has enough elasticity for your intended activewear design. Additionally, hold the fabric against the light to see if it is see-through, especially for leggings or tops where opacity is crucial.
By carefully considering these factors and testing the fabric, you can ensure that you choose the right fabric for your activewear project. Remember, the fabric you choose plays a significant role in the comfort, performance, and longevity of your finished garment.
Essential Tools and Equipment
Before you dive into sewing activewear, it’s important to have the right tools and equipment on hand. Here are some essential items you’ll need:
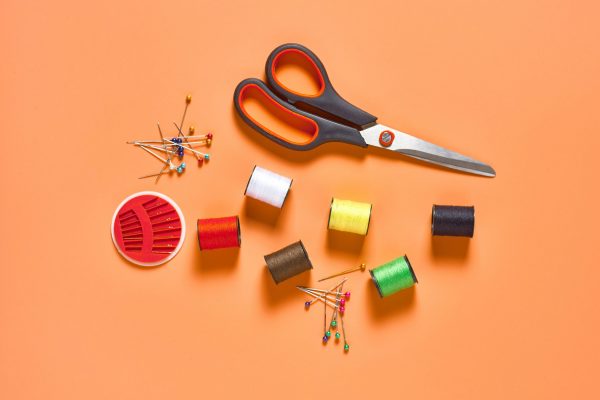
- Sewing Machine: A good quality sewing machine is essential for sewing activewear. Look for a machine that has stretch stitch options and adjustable settings to accommodate different fabric types.
- Needles: Use ballpoint or stretch needles specifically designed for knit fabrics. These needles have a rounded tip that slides between the knit fibers without damaging or snagging the fabric.
- Thread: Choose a high-quality polyester or nylon thread that matches the color of your fabric. This type of thread has elasticity and durability, which is essential for activewear that undergoes frequent stretching and movement.
- Cutting Tools: Invest in a pair of sharp fabric scissors or rotary cutter for cutting out your pattern pieces accurately. Additionally, have a pair of small scissors or thread snips for trimming threads and a seam ripper for any necessary seam adjustments.
- Measuring Tools: A tape measure, clear ruler, and a set of tailor’s chalk or washable fabric markers will come in handy for measuring and marking your fabric before cutting.
- Elastic: Depending on your project, you may need elastic bands for waistbands, leg openings, or underbust support. Choose elastic bands specifically designed for activewear to ensure comfort and durability.
- Optional Accessories: Other optional tools and equipment include a walking foot attachment for your sewing machine to help with smooth feeding of stretch fabrics, fabric weights or pins to keep the fabric in place during cutting, and a serger or overlock machine for professional-looking seam finishes.
Having the right tools and equipment ensures that your sewing process goes smoothly and that your finished activewear garments are of excellent quality. While it may be tempting to cut corners or use generic tools, investing in good-quality tools will make a noticeable difference in your sewing experience and the final result.
Before you begin your activewear project, make sure your sewing machine is in good working condition and that you have all the necessary tools and materials ready. Having everything at hand will allow you to focus on the sewing process without unnecessary interruptions.
Preparing and Cutting the Pattern
One of the essential steps in sewing activewear is preparing and cutting the pattern. This process ensures that your garment fits correctly and looks professional. Here’s how to do it:
1. Choose the Right Size: Start by selecting the size of the pattern that corresponds to your body measurements. It’s important to take accurate measurements and compare them to the pattern’s size chart to ensure a proper fit.
2. Preparing the Pattern: Carefully review the pattern instructions and layout guide provided with the pattern. This will help you determine how to arrange the pattern pieces on your fabric and how much fabric you’ll need. Make sure to transfer any markings from the pattern onto the fabric using tailor’s chalk or fabric markers.
3. Cutting the Fabric: Place the pattern pieces on your fabric according to the layout guide. Pay attention to the grainline marked on the pattern pieces to ensure that the fabric stretches in the right direction. Pin the pattern pieces to the fabric or use fabric weights to secure them. Carefully cut around the edges of the pattern pieces, following the designated size and shape.
4. Marking Notches and Darts: Use small snips or tailor’s chalk to mark notches, dart points, and any other important reference points on the fabric. These markings will help you align and sew the pieces together accurately.
5. Transferring Pattern Information: After cutting the fabric, it’s essential to transfer any additional information from the pattern, such as seam allowances, pattern markings, or grainline indicators. This can be done using tailor’s chalk, transfer paper, or basting stitches.
Accuracy is key during the pattern cutting phase, as any errors can affect the fit and overall look of your activewear garment. Take your time and double-check your cutting against the pattern to ensure that you’ve accurately cut all the necessary pieces.
Remember to keep the pattern intact and neatly fold and store any unused pieces. This will allow you to reuse the pattern for future activewear projects or make size adjustments as needed.
Assembling the Garment
With your fabric cut and all necessary markings transferred, it’s time to assemble your activewear garment. Follow these steps to ensure a seamless construction:
1. Follow the Instructions: Carefully read and understand the pattern instructions before starting. The instructions will guide you through each sewing step and provide valuable tips and techniques specific to the garment you’re making.
2. Start with the Seams: Begin by sewing the main seams of the garment, such as the side seams and inseams for leggings or the shoulder and side seams for tops. Use a stretch stitch or a narrow zigzag stitch to allow the seams to stretch along with the fabric.
3. Seam Finishes: Consider using seam finishes like zigzag stitches, overlocking, or flat-felled seams to ensure the longevity and neatness of your activewear garment. These finishes prevent fraying and provide a professional look, especially when using fabric that has a tendency to fray.
4. Inserting Elastic: If your pattern calls for elastic, carefully follow the instructions to insert it in the designated areas, such as waistbands, leg openings, or underbust areas. Pay attention to any specific measurement guidelines provided in the pattern instructions.
5. Hemming: Finish the bottom edges of your garment using a stretch stitch or a twin needle hem. Alternatively, you can fold the fabric under and use a zigzag stitch to create a narrow hem. Ensure that the hem is even and secure.
6. Try It On: Once the major construction is complete, try on the garment to check the fit and make any necessary adjustments. It’s better to make adjustments at this stage rather than when the garment is fully finished.
7. Final Touches: Lastly, sew any additional details, such as pockets, decorative topstitching, or trimmings, as specified in the pattern instructions. This adds a personal touch to your activewear garment and enhances its overall aesthetic.
Remember to take your time and sew with precision, ensuring that all seams are straight and secure. Assembling the garment is a crucial step in creating activewear that not only looks professional but also functions optimally during physical activities.
Once you’ve finished assembling the garment, give it a final press with an iron to smooth out any wrinkles and enhance the overall appearance. Your activewear garment is now ready for the final finishing touches!
Adding Functional Features
Activewear is not just about style, but also about functionality. Adding functional features to your garments can enhance their performance and make them more versatile for different activities. Here are some key features you can consider incorporating into your activewear:
- Pockets: Adding pockets to your activewear allows you to conveniently carry small items like keys, cards, or your phone while exercising. Consider adding hidden or zippered pockets that won’t interfere with your movements.
- Built-in Support: For activewear tops like sports bras or tank tops, consider adding built-in support. This provides added comfort and stability during high-impact activities. You can use elastic bands, shelf bras, or even sew-in cups for extra support and coverage.
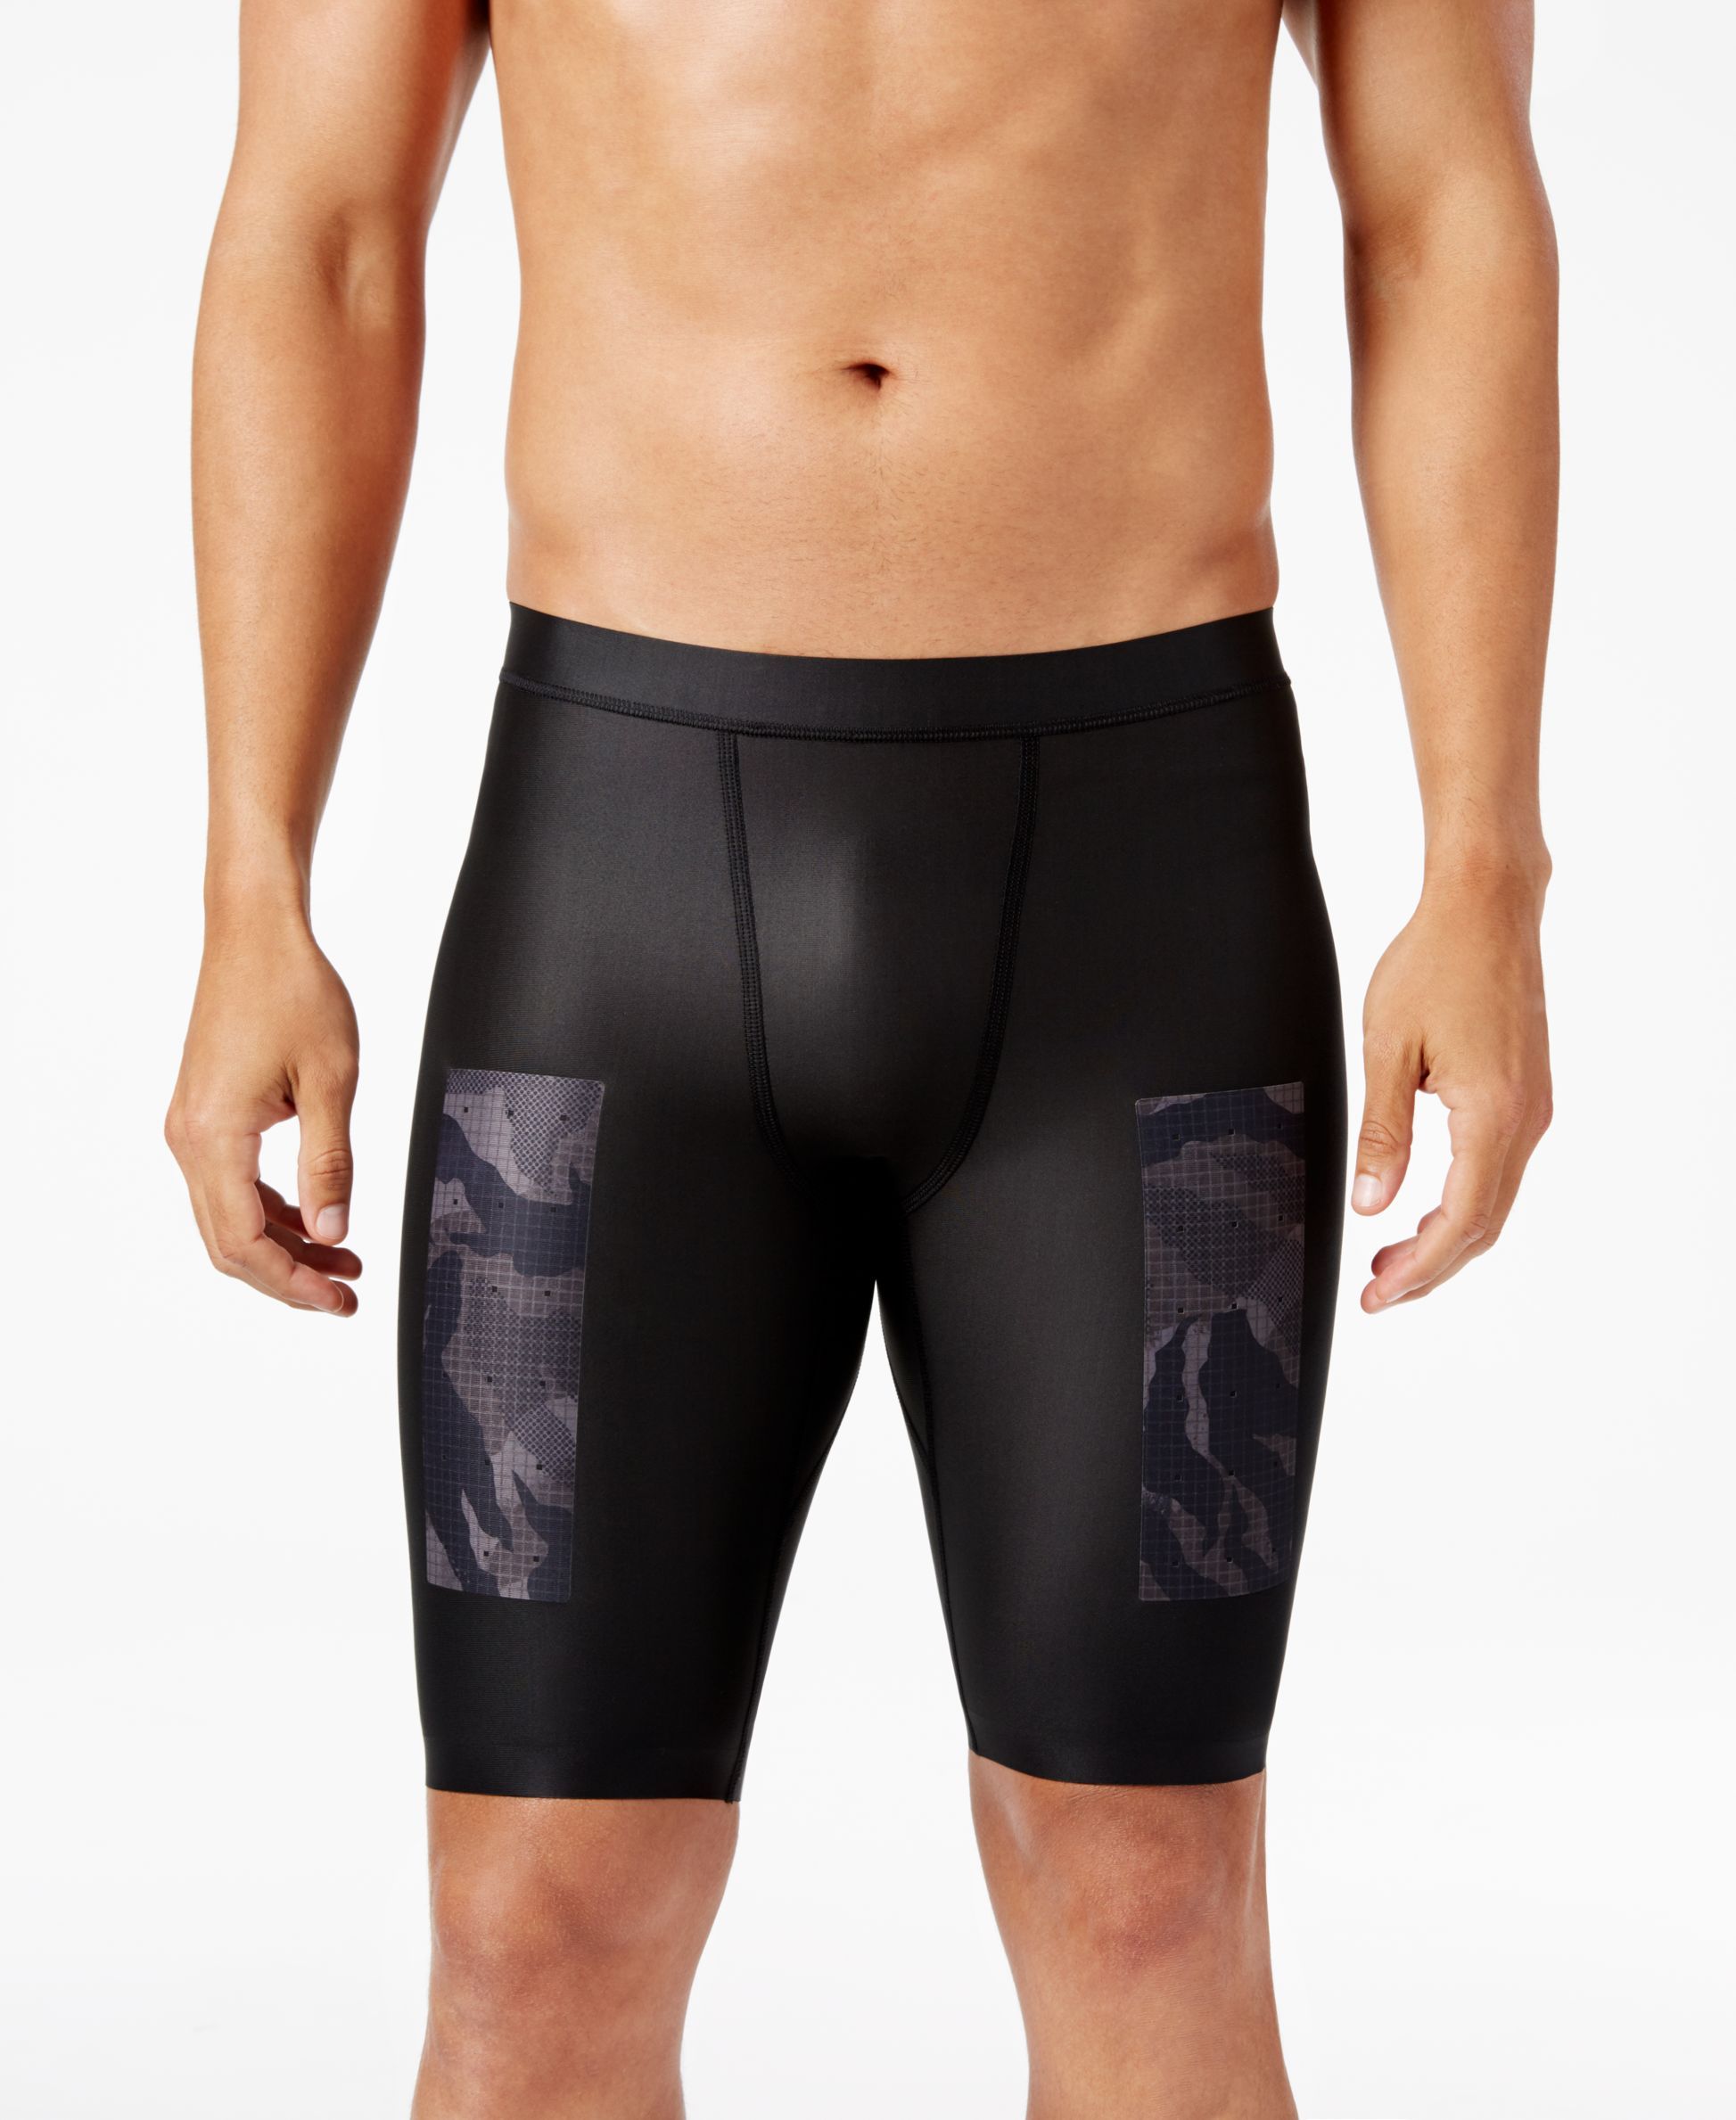
- Reflective Details: If you plan to exercise outdoors, consider adding reflective details to your activewear. Reflective trims or patches enhance visibility during low-light conditions, adding a safety feature to your garments.
- Adjustable Straps or Waistbands: Including adjustable features like straps or waistbands can customize the fit of your activewear to your preference. This allows you to modify the garment’s tightness or support level based on your needs.
- Breathable Panels: Incorporate mesh or breathable fabrics in specific areas of your activewear, such as underarms or back panels. These panels improve airflow and ventilation, keeping you cool and comfortable during intense workouts.
- Gussets: Consider adding gussets to areas that require increased mobility and flexibility, like the crotch of leggings or sleeves on tops. Gussets allow for a wider range of motion and prevent strain on the fabric.
When adding functional features, it’s important to carefully plan and integrate them into your design. Follow the pattern instructions or consult online resources for techniques on how to incorporate these features seamlessly.
Remember to choose materials that are compatible with the functional features you want to include. For example, use high-quality elastic for adjustable waistbands or moisture-wicking fabric for sweat-prone areas like underarms. Compatibility between functional features and fabric ensures that your activewear performs at its best.
By adding these functional features, you’ll not only elevate the performance of your activewear but also customize it to your specific needs and preferences. It’s the little details that make a big difference in creating activewear that supports you in your active lifestyle.
Sewing Techniques for Activewear
Sewing activewear requires the use of specialized techniques that are different from traditional garment sewing. These techniques ensure that your activewear is durable, comfortable, and able to withstand the demands of physical activity. Here are some essential sewing techniques to master for sewing activewear:
- Stretch Stitch: Most activewear fabrics have stretch, so using a stretch stitch is crucial. Set your sewing machine to a stretch stitch or narrow zigzag stitch, which allows the seams to stretch with the fabric.
- Use a Ballpoint Needle: Knit fabrics, commonly used in activewear, require a ballpoint needle. This type of needle slides between the knit fibers without damaging or snagging the fabric, resulting in smooth and even stitches.
- Stretchy Thread: Consider using stretch nylon or polyester threads. These threads have some stretch and give, which is essential for activewear that needs to move and stretch with your body.
- Staystitching: Staystitching is a technique used to stabilize curved or stretchy fabric edges. It prevents distortion and stretching while you handle and sew the fabric. Use a regular straight stitch just inside the seam allowance to secure the fabric edges.
- Elastic Application: When sewing elastic, use a stretch stitch or zigzag stitch to attach it to the fabric. Stretch the elastic slightly as you sew to ensure a snug fit and to allow for the fabric’s stretch.
- Thumbhole Cuffs: Thumbhole cuffs are a popular detail in activewear. To create them, cut a small slit in the cuff fabric and finish the edges. Fold the edges inward and stitch in place, leaving a small opening for your thumb.
- Flatlock Stitch: The flatlock stitch is often used in activewear for joining seams and creating flat, non-bulky seams. This stitch is achieved by overlapping the fabric edges and sewing a narrow, zigzag stitch along the seam.
These sewing techniques will help you achieve professional-looking activewear garments that are comfortable and durable. Be sure to practice these techniques on scrap fabric before applying them to your actual project.
Additionally, always refer to the pattern instructions for specific sewing techniques unique to your chosen pattern. The instructions will provide guidance on using these techniques effectively and integrating them into your activewear sewing process.
Remember, sewing activewear requires attention to detail and precision. Take your time, maintain even tension while sewing, and test the stitch and stretch of the fabric as you go. With practice, you’ll become more confident in these specialized sewing techniques.
Finishing Touches
Once the main construction of your activewear garment is complete, it’s time to add those final touches that will elevate the overall look and functionality. These finishing touches can make a significant difference in the fit, durability, and aesthetic appeal of your activewear. Here are some essential finishing touches to consider:
- Topstitching: Adding topstitching not only enhances the visual appeal, but it also adds strength and stability to your seams. Use a stretch stitch or a twin needle to achieve neat and even topstitching along hems, seams, and other prominent areas of the garment.
- Labeling: Consider adding a label or tag to personalize your activewear. You can use woven labels, fabric markers, or even embroidery to add a professional touch. Labeling not only adds a stylish detail but also helps distinguish your handmade activewear from store-bought ones
- Final Fittings and Adjustments: Before fully finishing your garment, try it on again to ensure the fit is perfect. Make any necessary adjustments, such as taking in or letting out seams, adjusting strap lengths, or tweaking hems. This final fitting ensures that your activewear fits comfortably and flatters your body.
- Clean Finishing: Trim any loose threads, press your garment with an iron to remove any wrinkles, and give it a final inspection for any small adjustments it may need. Pay attention to the small details, as they can make a big difference in the finished look of your activewear.
- Care Instructions: Lastly, include care instructions specific to the fabric used for your activewear. This will help maintain the longevity and performance of the garment over time. Follow the fabric manufacturer’s recommendations, such as washing at specific temperatures, avoiding fabric softeners, or air drying.
Finishing touches add that extra level of professionalism and ensure that your activewear not only looks great but also performs at its best. Take the time to pay attention to these details, as they contribute to the overall quality of your handmade activewear.
Remember, activewear is designed to withstand intense physical activities and frequent washing. By applying the right finishing touches, you can ensure that your activewear remains durable and comfortable after each use.
After adding the finishing touches, step back and admire your completed activewear garment. You can feel proud knowing that you’ve created a unique, functional, and stylish piece that caters to your specific needs and preferences.
Tips for a Professional Finish
Creating activewear that looks and feels professional requires attention to detail and careful execution. Here are some tips to help you achieve a polished and high-quality finish:
- Take Your Time: Sewing activewear requires precision, so don’t rush the process. Take your time to ensure accurate cutting, precise stitching, and careful finishing. This will result in a garment that looks meticulously made.
- Use the Right Tools and Materials: Invest in good-quality tools, such as sharp fabric scissors, a reliable sewing machine, and appropriate needles and threads. Also, choose high-quality fabrics that are specifically designed for activewear to achieve a professional finish.
- Test Stitches and Tensions: Before sewing your actual project, test stitches and tensions on scrap fabric to ensure the desired results. This will help you determine the optimal settings for your sewing machine and avoid any unwanted surprises on your final garment.
- Press as You Go: Pressing your seams and finished edges as you sew is crucial for achieving professional-looking results. Use a pressing cloth and an appropriate heat setting to prevent any damage or shine on the fabric.
- Pay Attention to Seam Allowances: Accurate and consistent seam allowances contribute to a clean and professional finish. Use a seam gauge or a ruler with clear markings to measure and mark your seam allowances, and be diligent in sewing along those lines.
- Trim Excess Seam Allowances: Trimming excess seam allowances reduces bulk and helps your garment lie flat. Use sharp fabric scissors to carefully trim away excess fabric, being mindful not to cut into the stitches or fabric layers.
- Finish Seams Neatly: Consider finishing your seams with appropriate techniques like zigzag stitching, overlocking, or flat-fell seams. This prevents fraying and adds a professional touch to your garment. Choose the technique that suits your fabric and personal preference.
- Consult Online Resources and Tutorials: If you encounter any sewing challenges or want to learn new techniques, take advantage of the wealth of online resources and tutorials available. Watching video demonstrations or reading detailed guides can further enhance your sewing skills.
- Practice and Experiment: Don’t be afraid to practice and experiment with sewing techniques and finishes. The more you sew activewear, the more comfortable and skilled you will become. Over time, you’ll develop your own tricks and techniques to achieve that professional finish.
Remember, achieving a professional finish takes practice and attention to detail. Embrace the learning process, continue to refine your skills, and don’t be discouraged by any mistakes or setbacks along the way.
By incorporating these tips and applying patience and precision to your sewing, you’ll be able to create activewear garments that not only look professionally made but also provide optimum comfort and durability.
Conclusion
Congratulations! You’ve now learned how to sew activewear like a pro. By following the steps outlined in this guide, you have equipped yourself with the knowledge and skills necessary to create high-quality, comfortable, and stylish activewear garments that are tailored to your specific needs and preferences.
Choosing the right fabric, gathering essential tools and equipment, preparing and cutting the pattern accurately, assembling the garment with precision, adding functional features, incorporating specialized sewing techniques, applying finishing touches, and following tips for a professional finish—all these aspects contribute to the successful creation of activewear that not only looks great but also performs flawlessly during physical activities.
Remember that sewing activewear is a continuous learning process. With practice, you’ll become more proficient and confident in your skills. Don’t hesitate to experiment with different fabrics, patterns, and design elements to further personalize your activewear creations.
By sewing your own activewear, you have the power to customize fit, choose high-quality fabrics, and add functional features that suit your active lifestyle. Not only does this save you money in the long run, but it also allows your creativity to shine through in your wardrobe.
So, whether you’re looking to make leggings, sports bras, or even outerwear like jackets or hoodies, take the time to plan, prepare, and execute your activewear projects with care and attention to detail. The end result will be garments that you can be proud of—garments that provide the perfect blend of comfort, style, and functionality.
Now, it’s time to put your newfound knowledge into practice. Grab your sewing machine, gather your materials, and get ready to sew your way to a fantastic activewear wardrobe!
