Featured
How To Turn On A Sole Treadmill
Modified: August 19, 2023
Learn how to turn on and operate your featured Sole treadmill with our step-by-step guide. Improve your fitness routine with this easy-to-use equipment.
Introduction
Welcome to the world of fitness and wellbeing! If you’re the proud owner of a Sole treadmill, you’re in for a fantastic cardiovascular workout experience. Treadmills are an excellent way to stay fit and healthy, whether you’re a seasoned runner or just beginning your fitness journey.
In this article, we’ll walk you through the process of turning on your Sole treadmill and getting started with your workout. From adjusting the speed and incline to selecting a workout program and monitoring your progress, we’ll cover all the steps to ensure you have a safe and effective workout.
Before we jump in, it’s essential to prioritize your safety. Please note that this article is not a substitute for reading the owner’s manual that comes with your Sole treadmill. It is crucial to familiarize yourself with the specific safety precautions and guidelines outlined in the manual to avoid any accidents or injuries.
Now, let’s dive in and learn how to turn on your Sole treadmill and get ready for an incredible workout!
Safety Precautions
Prioritizing your safety is of utmost importance when using any exercise equipment, including a Sole treadmill. Here are some essential safety precautions to keep in mind before you start your workout:
- Read the manual: Familiarize yourself with the owner’s manual that comes with your Sole treadmill. It contains vital safety information specific to your machine. Ensure you understand all the instructions and guidelines before using the treadmill.
- Consult your healthcare provider: If you have any medical conditions or concerns, it is always a good idea to consult with your healthcare provider before starting a new exercise routine.
- Clear the area: Make sure the space around the treadmill is free from any obstacles that may cause tripping or accidents. It is recommended to have at least 6 feet of clearance around the treadmill.
- Wear appropriate attire: Choose comfortable clothing and supportive shoes specifically designed for exercise to ensure stability and minimize the risk of injury.
- Warm-up: Prior to hopping on the treadmill, it is crucial to warm up your body with some light stretching or a short warm-up routine. This helps prepare your muscles for the workout and reduces the risk of strains or pulls.
- Start slow: If you’re new to using a treadmill or haven’t exercised in a while, it’s important to start at a comfortable pace. Gradually increase the intensity and duration of your workout over time.
- Stay hydrated: Keep a water bottle nearby and stay hydrated throughout your workout. Take small sips of water during breaks to prevent dehydration.
- Listen to your body: Pay attention to any signs of discomfort or pain during your workout. If you experience any unusual symptoms, stop exercising and seek medical advice if necessary.
- Use safety features: Familiarize yourself with the safety features on your Sole treadmill, such as the emergency stop button. Ensure it is easily accessible in case of any emergencies or accidents.
- Keep children and pets away: To avoid accidents, make sure children and pets stay at a safe distance from the treadmill while it’s in use.
By following these safety precautions, you can create a safe and enjoyable workout environment as you start your fitness journey with your Sole treadmill.
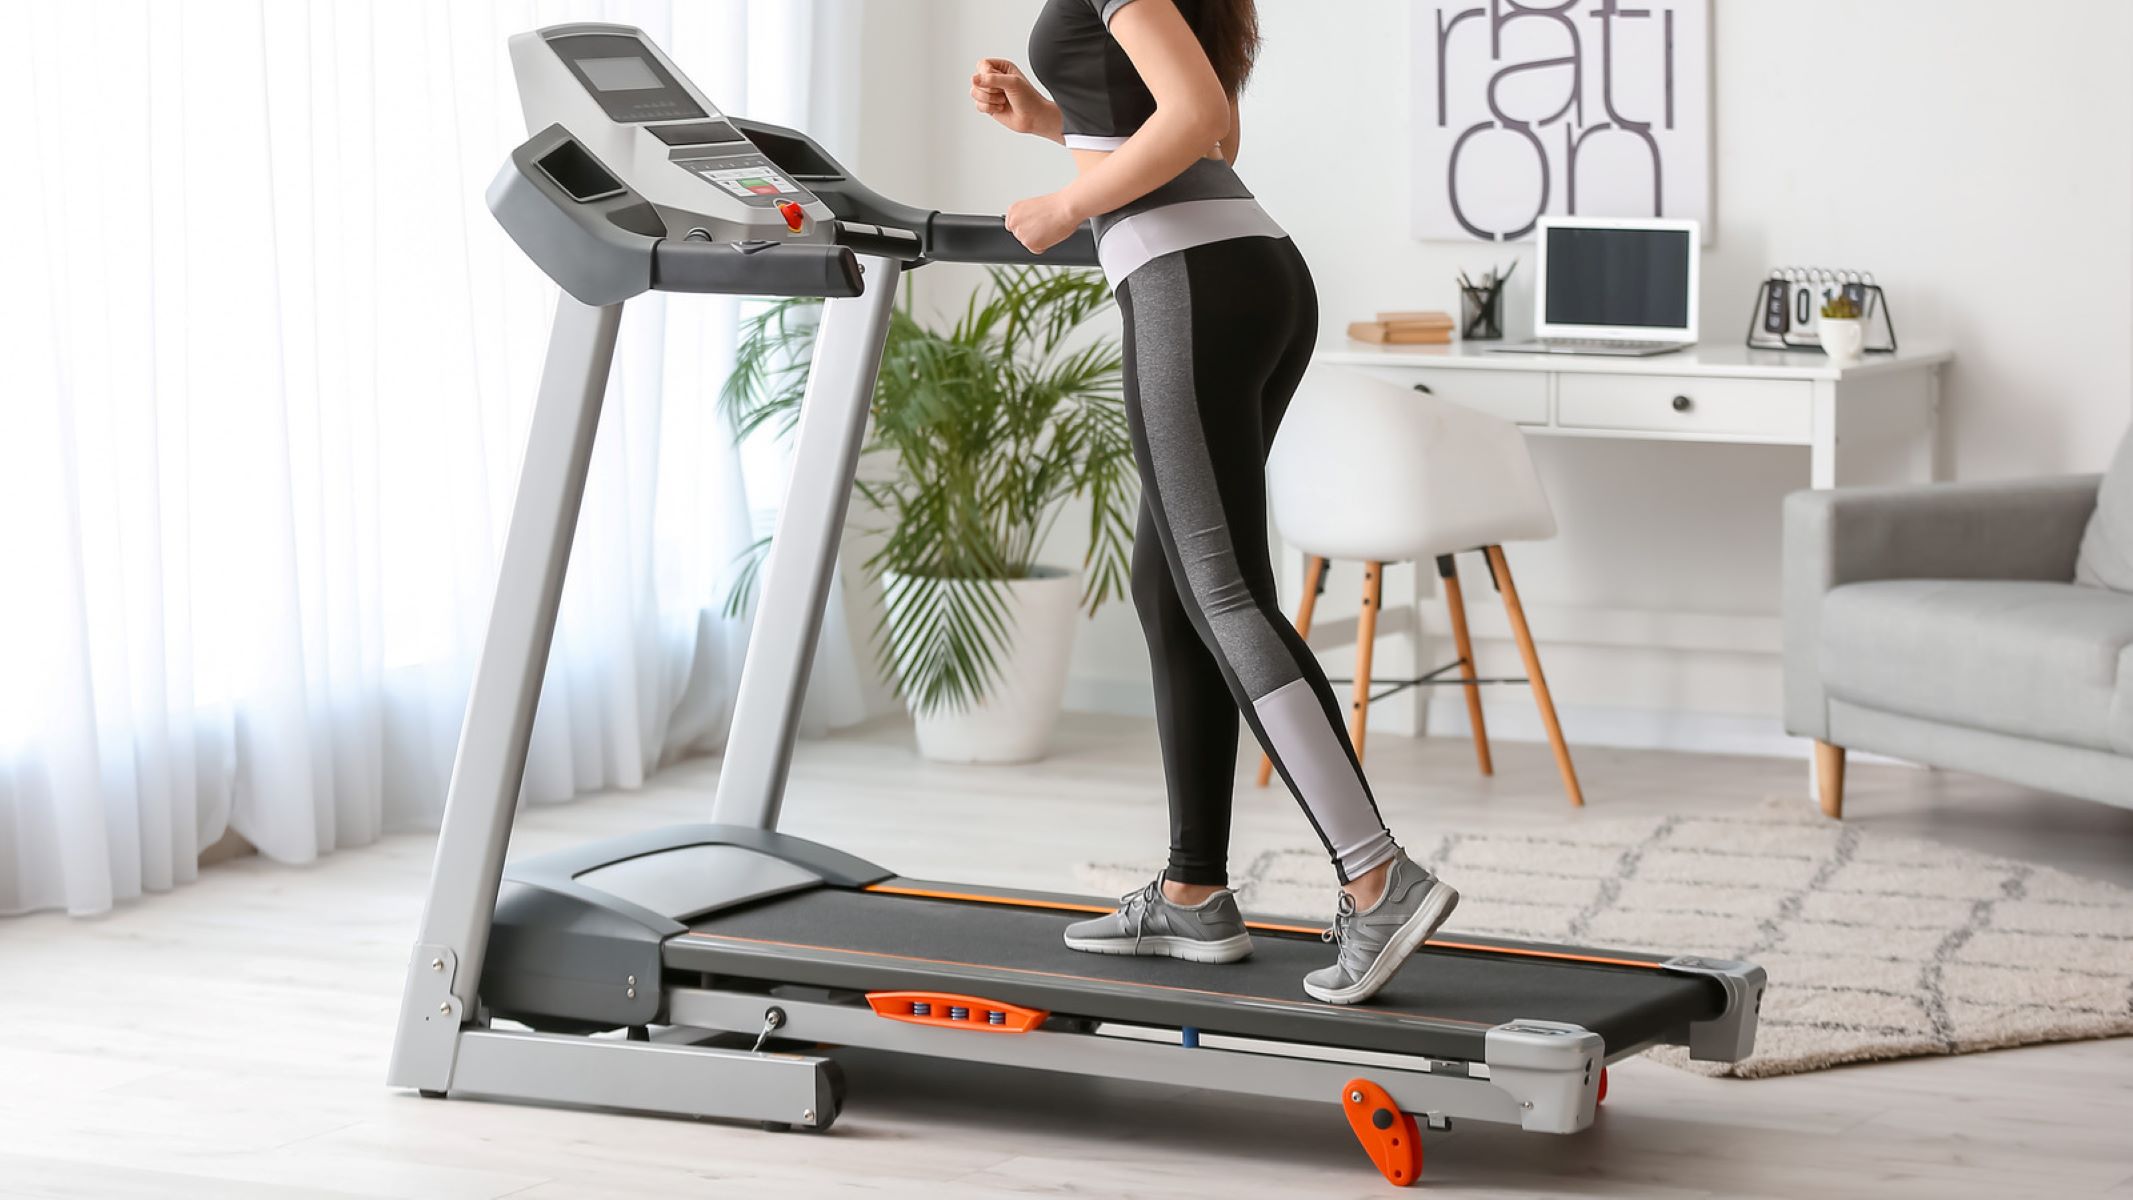
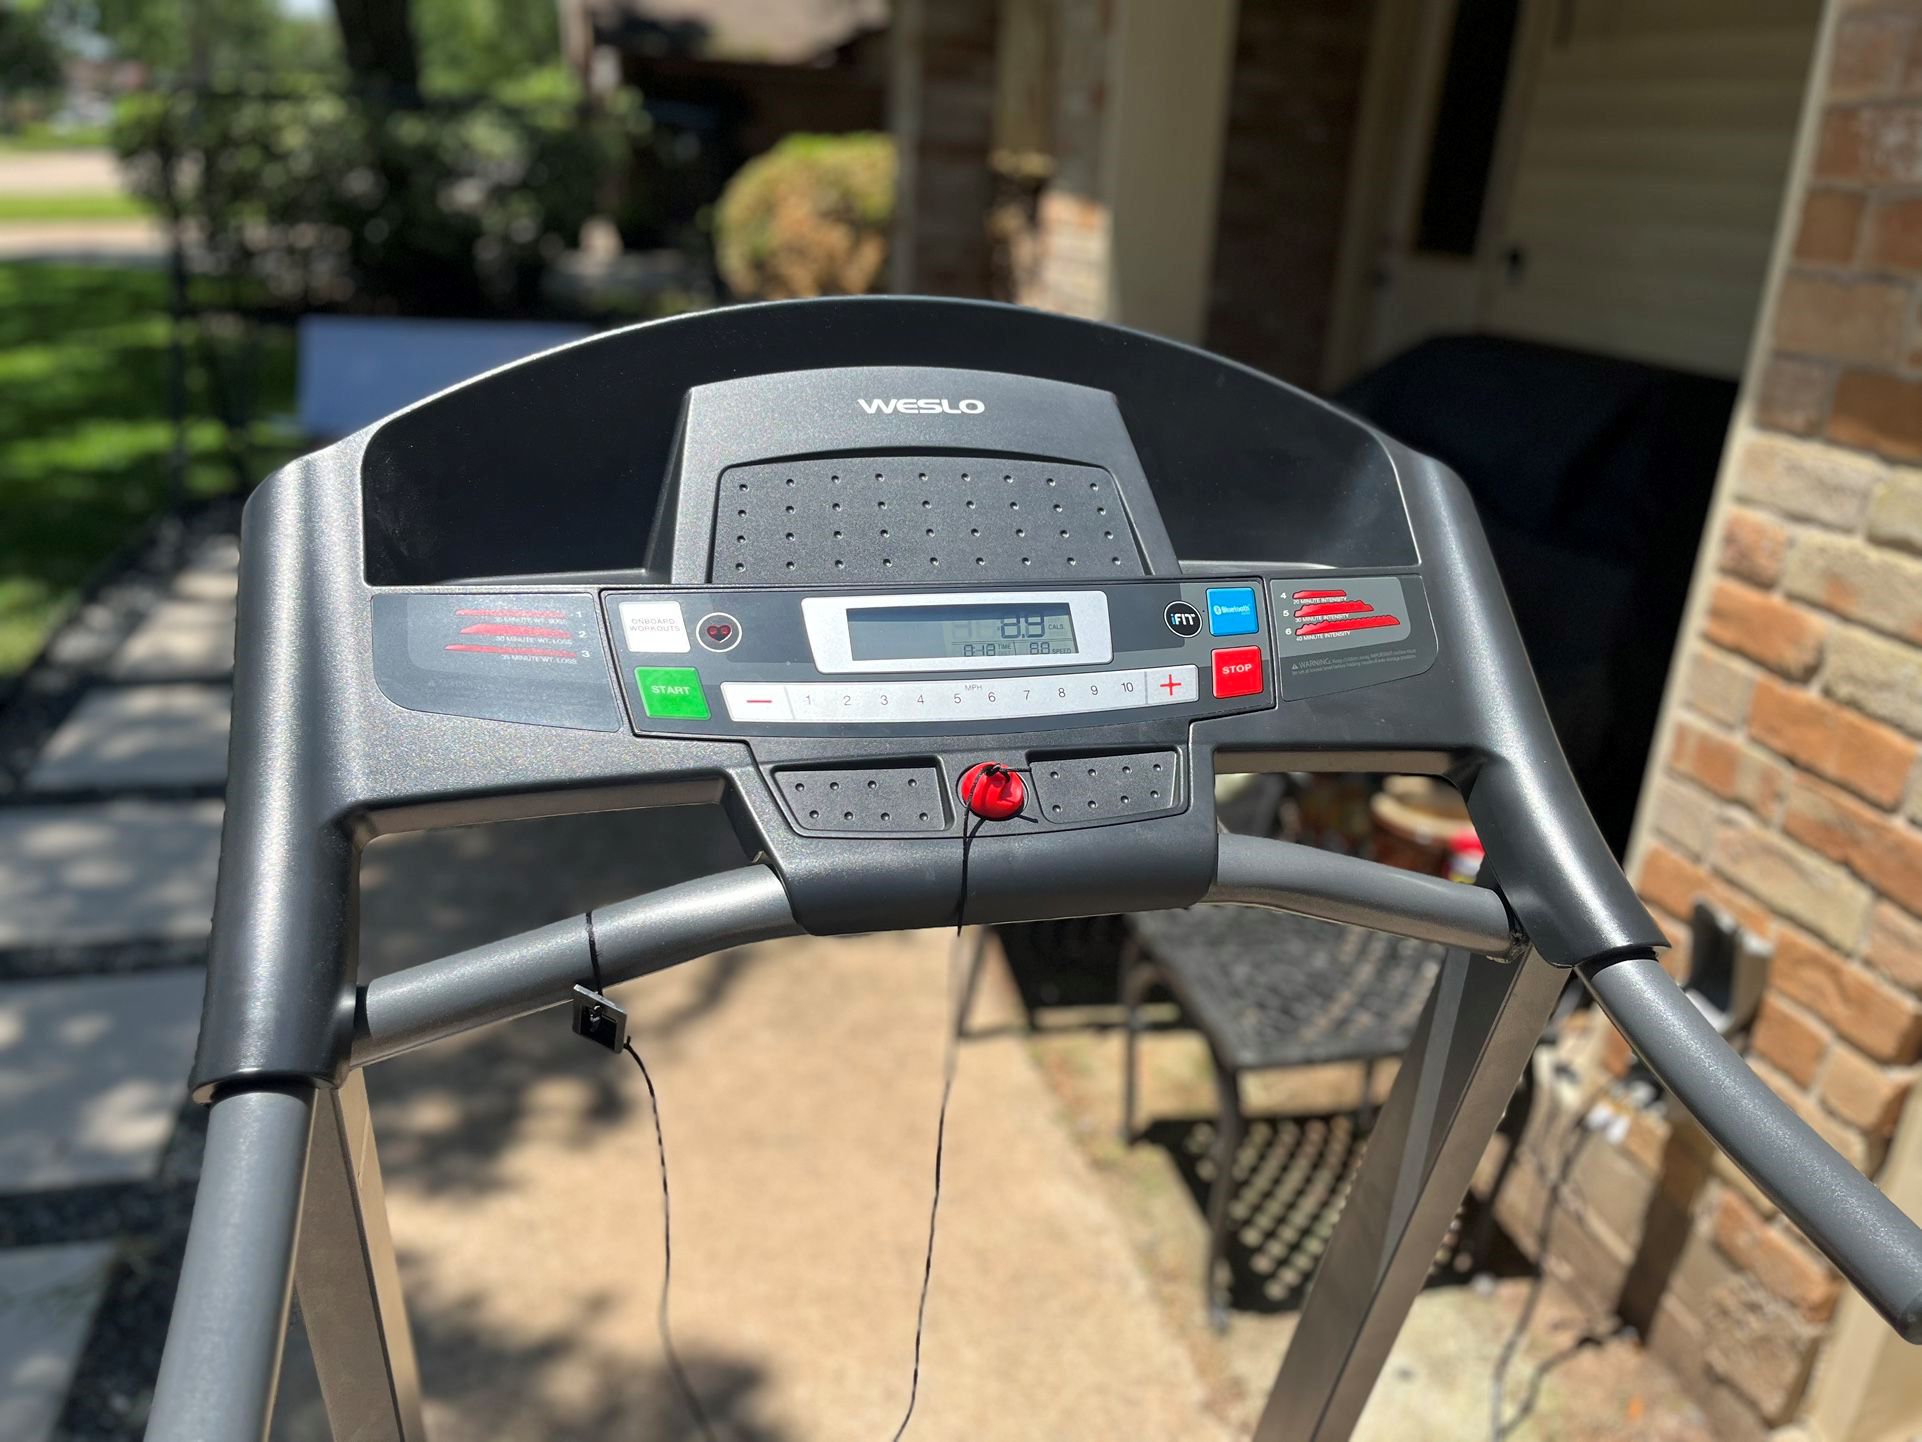
Step 1: Powering On the Treadmill
Before you can start using your Sole treadmill, you need to power it on. Follow these steps to ensure a smooth start:
- Locate the power switch: The power switch is usually located at the front or side of the treadmill. Look for a switch labeled “Power” or a power symbol.
- Check the power source: Ensure that the treadmill is connected to a power source. Plug the power cord into a grounded outlet or use the appropriate power adapter if required.
- Flip the switch: Once you’ve confirmed the power source, flip the power switch to the “On” position. You may hear a beep or see the console light up, indicating that the treadmill is receiving power.
- Wait for initialization: After turning on the treadmill, it will go through an initialization process. This may take a few seconds or up to a minute, depending on the model. During this time, the console may display the Sole logo or other startup messages.
- Adjust the settings: Once the treadmill is powered on and initialized, you can adjust the settings according to your preferences. This includes selecting the language, setting the time, or customizing the display metrics.
- Reset if necessary: If there are any error messages or issues displayed on the console, consult the owner’s manual for troubleshooting instructions. Some treadmills may require a reset procedure to resolve minor glitches.
- Prepare for the workout: Now that your Sole treadmill is powered on and ready, take a moment to securely attach the safety clip to your clothing. This clip is designed to automatically stop the treadmill if you accidentally lose your balance or step off the machine.
After completing these steps, your Sole treadmill should be powered on and ready for use. It’s time to step on and get moving!
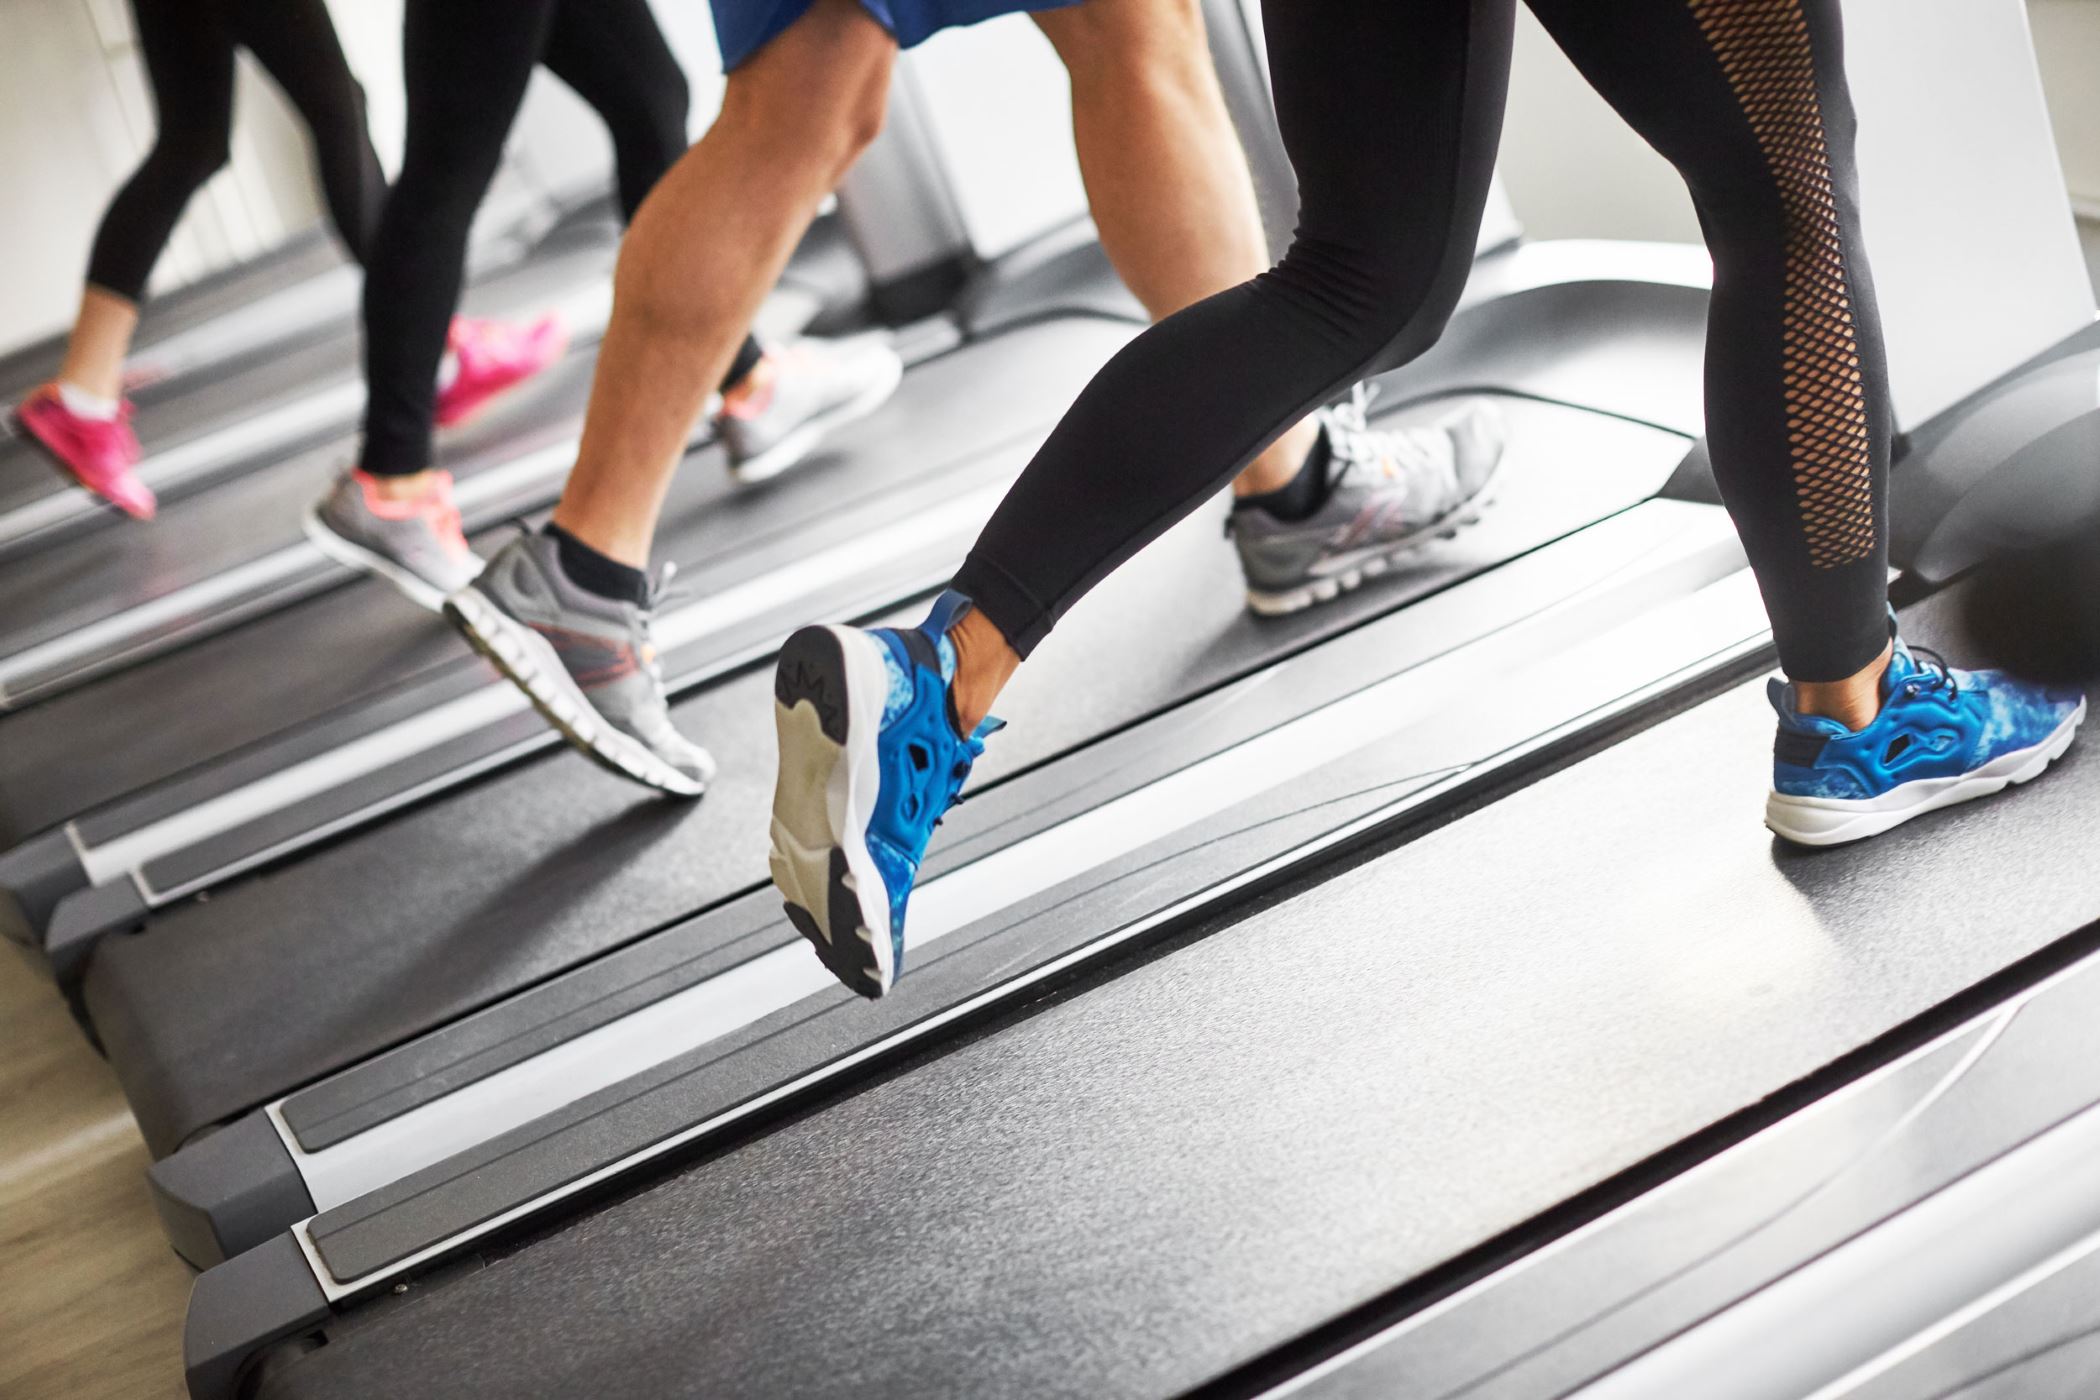
Step 2: Adjusting the Speed and Incline
Once your Sole treadmill is powered on, you can start adjusting the speed and incline settings to customize your workout. Here’s how:
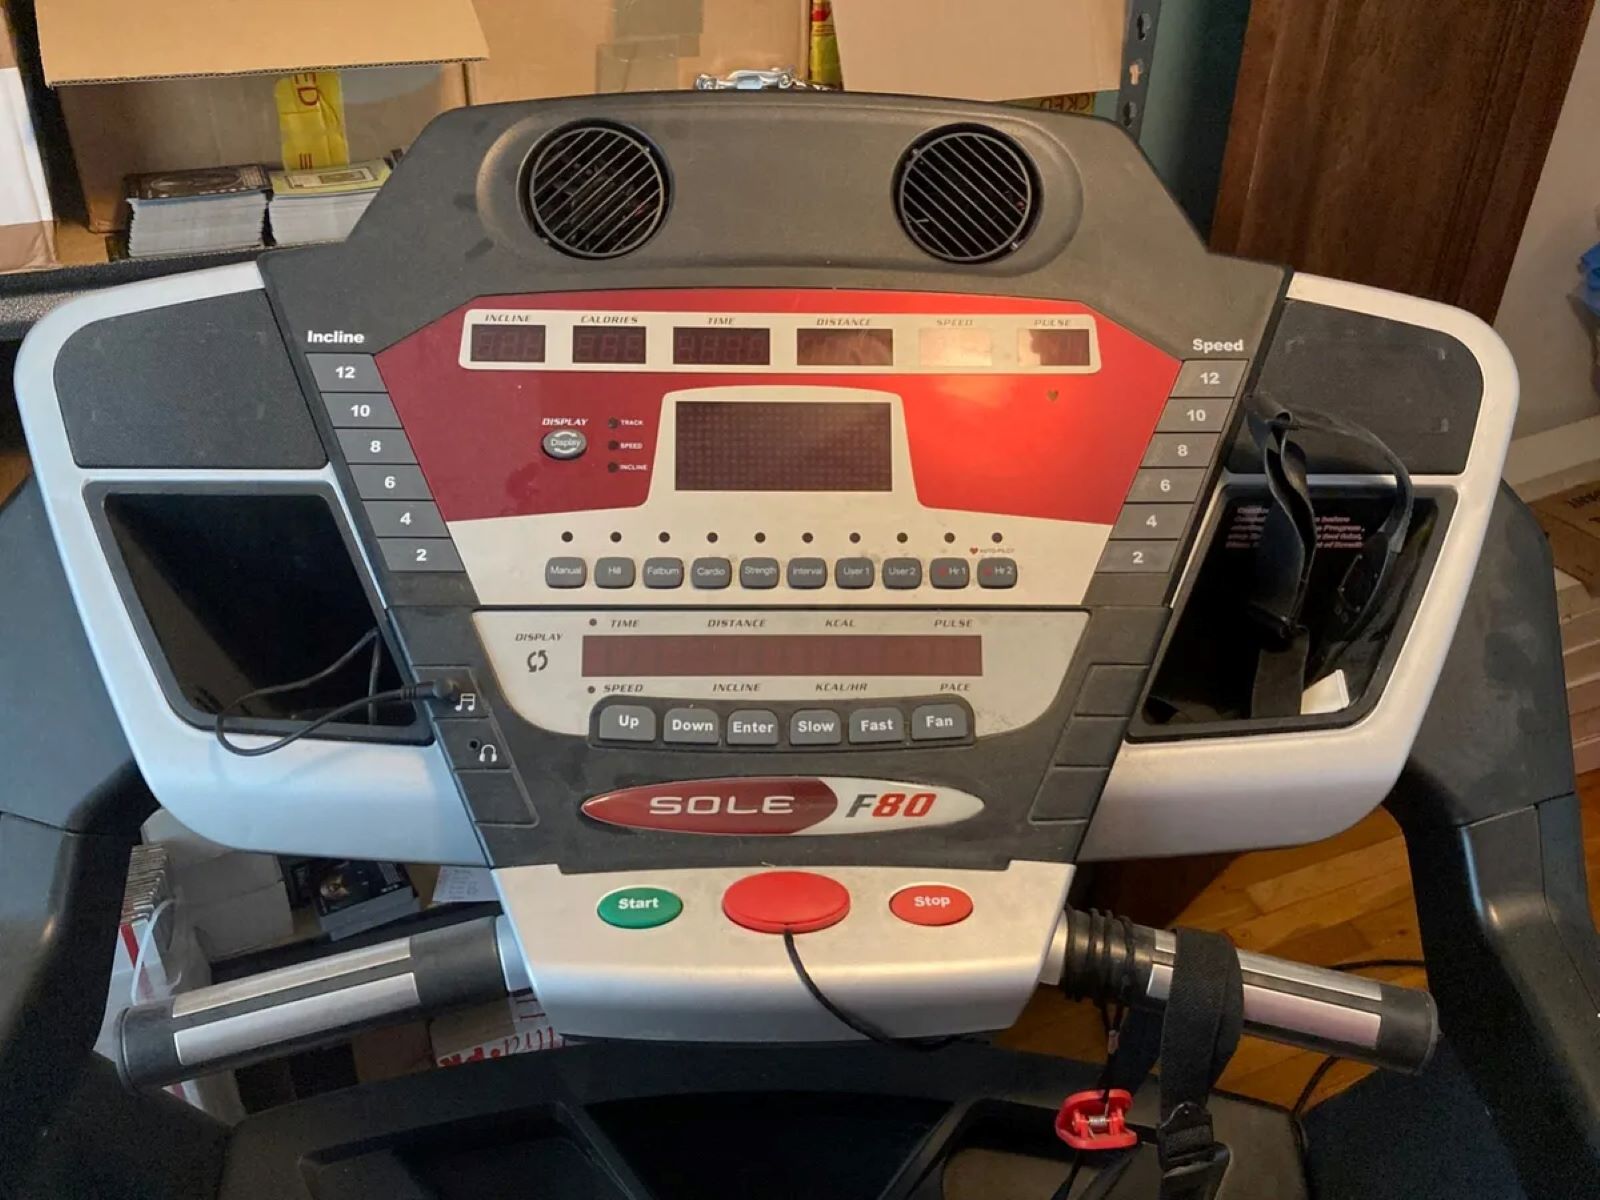
- Familiarize yourself with the controls: Take a moment to become acquainted with the console and the buttons or touchscreen controls that adjust the speed and incline. Read the owner’s manual to understand the specific layout of your treadmill’s controls.
- Increment and decrement buttons: Most treadmills have separate buttons or controls to increase or decrease the speed and incline. These buttons are typically labeled with arrows pointing up or down.
- Gradually increase the speed: Start by setting the treadmill to a comfortable walking or jogging speed. Press the increment button to increase the speed in small increments until you reach your desired pace.
- Adjust the incline: If you’re looking for an extra challenge or want to simulate uphill terrain, adjust the incline of the treadmill. Press the incline increment button to raise the incline level gradually. To decrease the incline, press the incline decrement button.
- Use pre-set programs: Many Sole treadmills also come with pre-set workout programs that automatically adjust the speed and incline settings for a varied and challenging workout. Experiment with the different workout programs to find the one that suits your fitness goals.
- Listen to your body: Pay attention to how your body feels as you adjust the speed and incline. It’s important to find a balance that challenges you without causing discomfort or strain. If you feel overwhelmed, reduce the intensity or take a break.
- Customize your workout: Some Sole treadmills offer the option to save custom workouts based on your preferences. Explore the features of your specific model to personalize your exercise routine.
Remember, it’s essential to start at a comfortable pace and gradually increase the speed and incline as you become more accustomed to your workout. Challenge yourself, but always listen to your body and adjust the settings accordingly.
Step 3: Selecting a Workout Program
Your Sole treadmill offers a variety of workout programs designed to target specific fitness goals. Follow these steps to select a workout program that suits your needs:
- Explore the program options: Familiarize yourself with the available workout programs on your Sole treadmill. These may include options for weight loss, interval training, hills, cardio, and more.
- Read the program descriptions: Each program typically has a brief description that outlines the goals and intensity level. Take the time to read these descriptions and choose a program that aligns with your fitness goals and preferences.
- Select your desired program: Once you’ve identified a program that interests you, use the treadmill’s controls to navigate and select it. This may involve pressing the program button and using the incremental buttons to scroll through the options.
- Adjust the duration: Some treadmill programs allow you to specify the duration of your workout. Use the controls to set the desired time, or follow the default duration if it fits your schedule and fitness level.
- Start the program: Once you’ve made your selections, press the start button or follow the on-screen prompts to begin the chosen program. The treadmill will automatically adjust the speed and incline according to the program’s pre-set parameters.
- Monitor your progress: As you work out, pay attention to the program display on the console. It will show details like elapsed time, distance covered, calories burned, and more. Monitoring your progress can help you stay motivated and track your achievements.
- Modify as needed: If at any point during the program you feel that the intensity is too high or too low, most treadmills allow you to manually adjust the speed or incline as you go. Listen to your body and make modifications as necessary.
- Complete the program: Once you’ve finished the program, the treadmill will typically prompt you to cool down or enter a post-workout mode. Follow the instructions and gradually reduce the speed and incline to bring your heart rate back to a resting state.
Selecting a workout program on your Sole treadmill can add variety and challenge to your exercise routine. Experiment with different programs to keep your workouts interesting and to continuously progress towards your fitness goals.
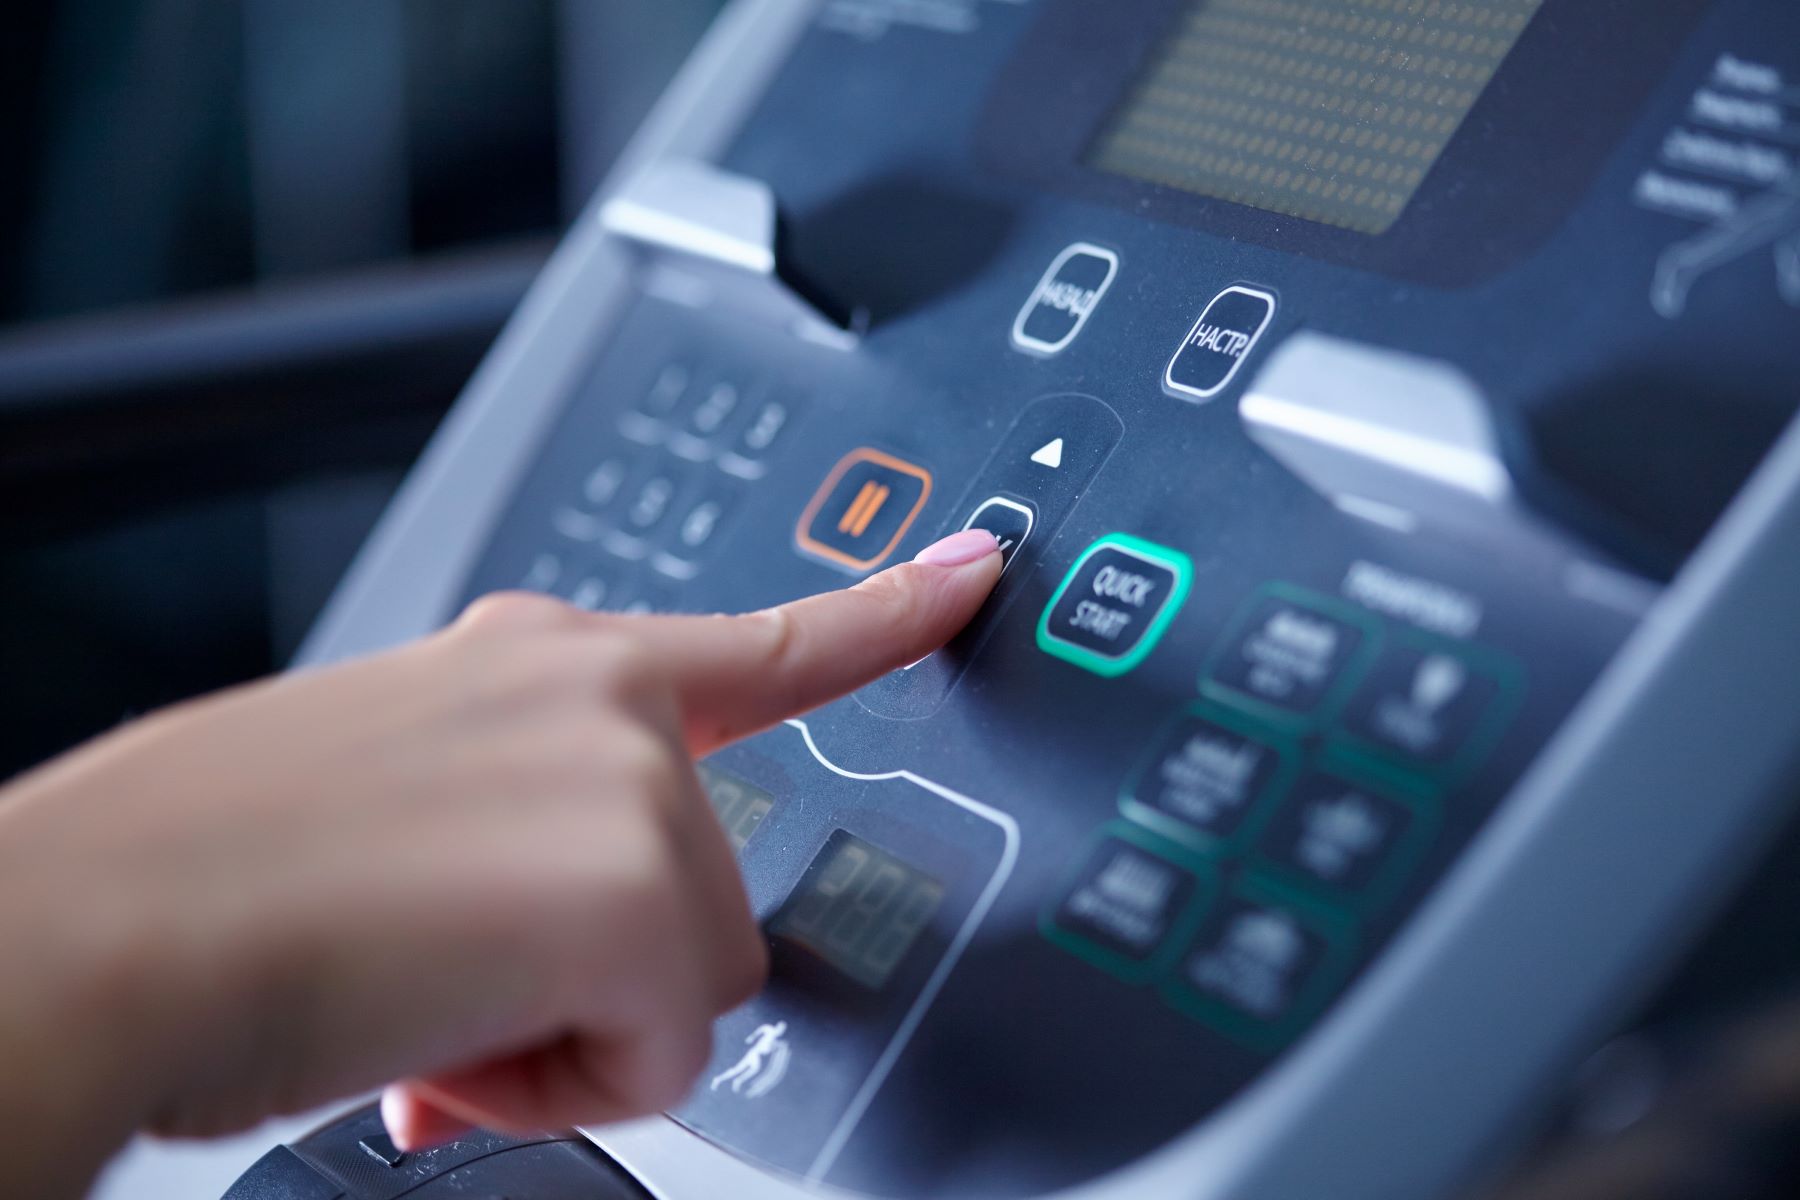
Step 4: Using the Quick Start Feature
If you prefer a simpler and more straightforward workout experience on your Sole treadmill, the Quick Start feature is perfect for you. Here’s how to use this convenient feature:
- Locate the Quick Start button: Look for a button labeled “Quick Start” on the console of your Sole treadmill. It is usually prominently placed and easy to find.
- Prepare for the workout: Before starting, make sure you have securely attached the safety clip to your clothing. This clip ensures that the treadmill stops if you accidentally lose your balance or step off the machine.
- Step on the treadmill: Once you’re ready, step onto the treadmill and position yourself near the center of the running belt. Ensure you’re standing upright and maintaining a natural stride.
- Press the Quick Start button: Once you’re in position, press the Quick Start button on the console. The treadmill will immediately start moving at a default speed and incline setting.
- Adjust the speed and incline: If the default settings are not suitable for your fitness level or desired intensity, use the speed and incline increment buttons to make adjustments. Increase or decrease the speed and incline gradually until you find the right settings for your workout.
- Monitor your progress: As you exercise, keep an eye on the console display to track important metrics like elapsed time, distance covered, and calories burned. This information can help you stay motivated and gauge the effectiveness of your workout.
- Modify as needed: If, at any point during your workout, you feel the need to adjust the speed or incline, simply use the appropriate buttons on the console to make the changes. Listen to your body and tailor the settings to suit your preferences and capabilities.
- Finish your workout: When you’re ready to conclude your workout, gradually reduce the speed and incline until you reach a comfortable level. Slowly cool down by walking or lightly jogging on the treadmill for a few minutes.
- Use other features: While the Quick Start feature offers a simple and quick workout option, don’t forget to explore other features and programs on your Sole treadmill for additional variety and challenges.
The Quick Start feature on your Sole treadmill provides a hassle-free way to get moving quickly without having to select a specific program. It’s a convenient option for those days when you want to jump on the treadmill and start exercising right away.
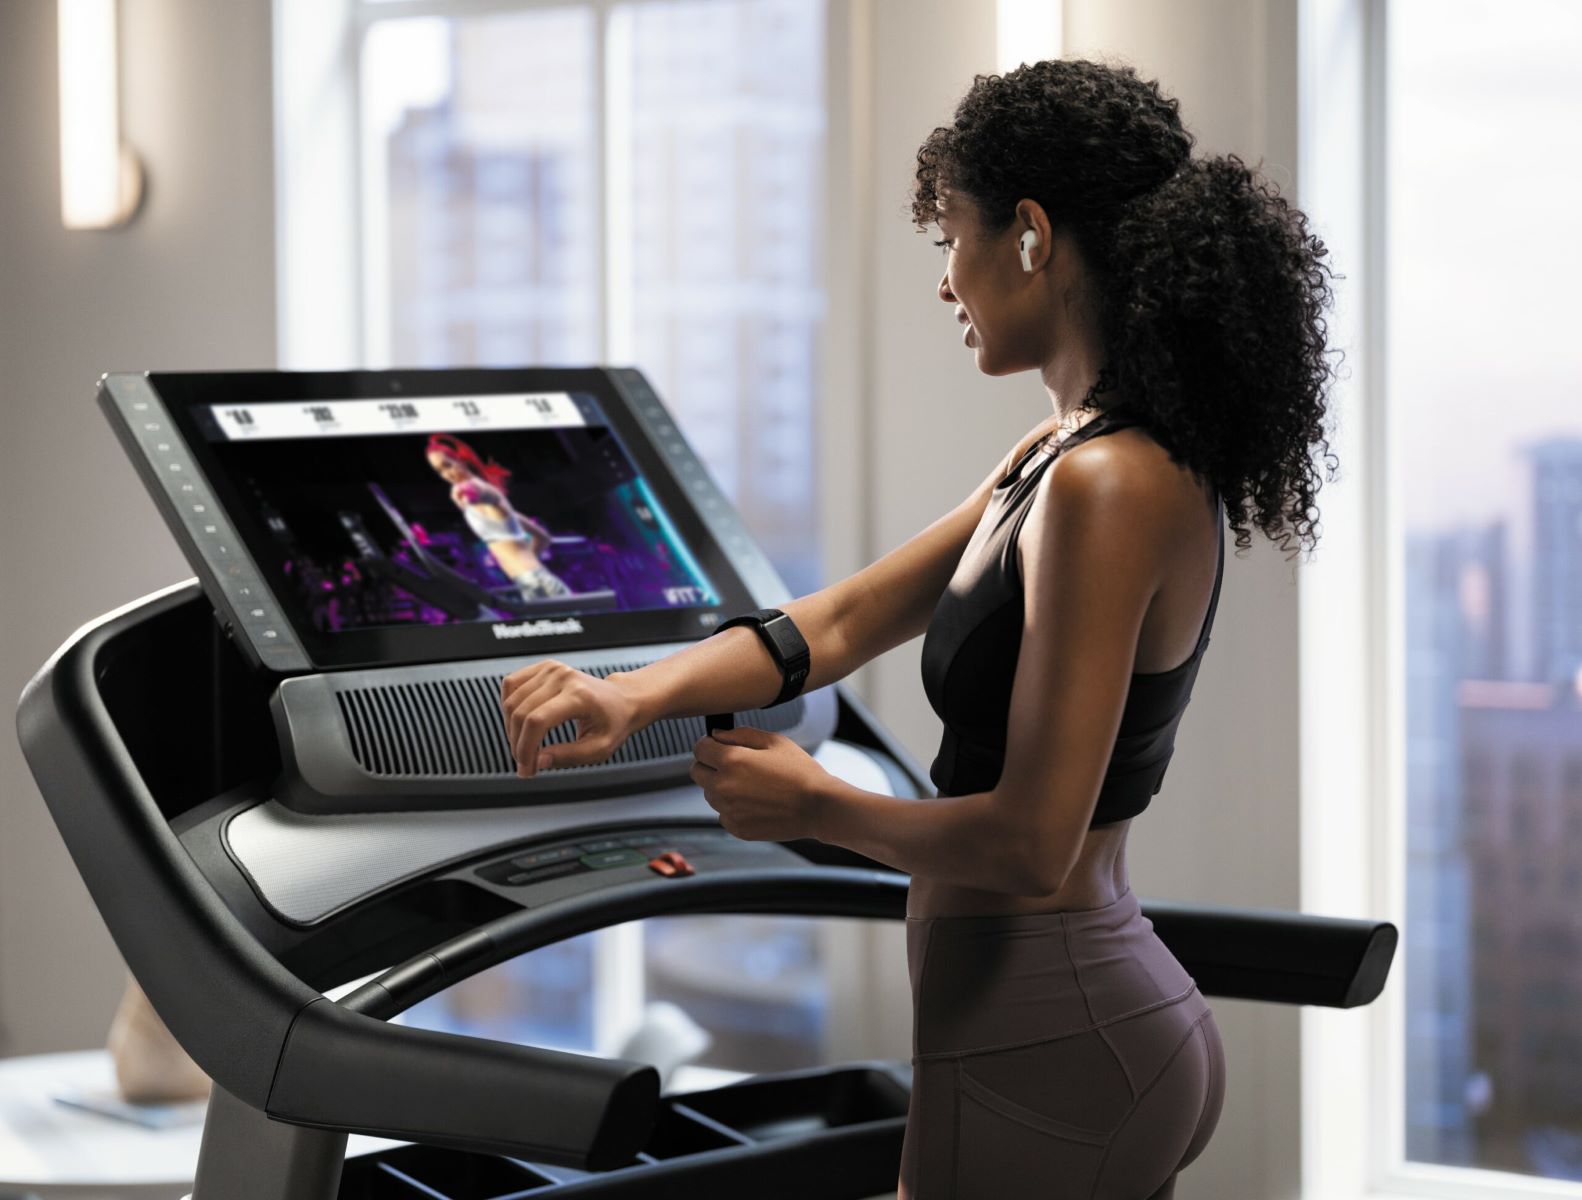
Step 5: Monitoring Your Progress
Monitoring your progress during your workout is an essential part of staying motivated and tracking your fitness journey. With your Sole treadmill, you have access to various features and metrics to help you monitor your progress effectively:
- Console display: Pay attention to the information displayed on the console throughout your workout. It will typically show metrics like elapsed time, distance covered, speed, incline, calories burned, and heart rate (if you’re wearing a compatible heart rate monitor).
- Pulse grip sensors: Many Sole treadmills are equipped with pulse grip sensors on the handlebars. By placing your hands on the sensors, you can monitor your heart rate during your workout. This information can help you gauge the intensity of your exercise and ensure you’re staying within your target heart rate zone.
- Wireless heart rate monitor: If you prefer a more accurate and convenient way to monitor your heart rate, consider using a wireless heart rate monitor. This device can be worn on your wrist or chest and provides real-time heart rate data directly to the treadmill’s console.
- Workout data tracking: Some Sole treadmills offer the option to track and save your workout data. This allows you to review your progress over time and see improvements in key performance indicators like speed, distance, and calories burned.
- Mobile apps and fitness trackers: If you prefer a more comprehensive approach to tracking your progress, consider connecting your Sole treadmill to compatible mobile apps or fitness trackers. This can provide additional insights, analysis, and even allow you to share your achievements with friends and the fitness community.
- Set goals and challenges: Utilize the progress monitoring features to set personal goals and challenges for yourself. Whether it’s improving your distance, beating your previous time, or burning a specific number of calories, having goals to work towards can keep you motivated and engaged throughout your workouts.
- Record your achievements: Celebrate your milestones and achievements by keeping a workout journal or taking note of your progress. This can serve as a source of inspiration and a reminder of how far you’ve come on your fitness journey.
By actively monitoring your progress, you can stay motivated, adjust your workouts accordingly, and take pride in the improvements you make over time on your Sole treadmill. Embrace the data and use it as a tool to propel you towards your fitness goals.
Step 6: Cooling Down and Turning Off the Treadmill
As you near the end of your workout on your Sole treadmill, it’s essential to properly cool down and shut down the machine. Follow these steps to ensure a safe and efficient cooldown process:
- Reduce the speed and incline: Gradually decrease the speed and incline settings on the treadmill to bring your heart rate back to a resting state. It’s important not to abruptly stop exercising, as this can cause dizziness or lightheadedness.
- Continue walking or lightly jogging: Maintain a lower intensity for a few minutes to allow your body to gradually transition from a higher intensity workout to a state of rest. This helps prevent blood from pooling in your lower extremities.
- Focus on deep breathing: Take deep breaths and focus on slowing down your breathing as you cool down. This helps bring oxygen back into your muscles and aids in the recovery process.
- Hydrate: Drink some water or a sports drink to replenish fluids lost during your workout. Staying hydrated is crucial for optimal recovery and maintaining overall health.
- Stretch: After completing your cool-down, spend a few minutes incorporating some stretching exercises. Focus on the major muscle groups that were engaged during your workout. Stretching helps improve flexibility and reduces the risk of muscle soreness.
- Powering off the treadmill: Once you’ve cooled down and stretched, it’s time to power off the treadmill. Look for the power switch, typically located at the front or side of the machine, and turn it to the “Off” position.
- Unplug the treadmill: To conserve energy and prevent any potential electrical hazards, unplug the treadmill from the power source. This step is especially important if you have children or pets in the house.
- Wipe down the treadmill: Take a moment to clean the treadmill’s running surface, handles, and console area with a damp cloth or towel. This helps remove any sweat or grime and keeps your treadmill in good condition.
- Store the safety clip: Safely remove and store the safety clip in a designated location. This ensures it is readily available for your next workout session.
By following these steps, you can conclude your workout session on your Sole treadmill in a safe and efficient manner. Make cooldown and powering off the treadmill a routine part of your exercise regimen to maintain the longevity and effectiveness of your machine.
Conclusion
Congratulations on learning how to turn on your Sole treadmill and navigate through a successful workout! By following the steps outlined in this article, you can confidently power on your treadmill, adjust the settings, select a program, and monitor your progress.
Remember to always prioritize safety by familiarizing yourself with the owner’s manual, wearing appropriate attire, and clearing the area around the treadmill. Take advantage of the features and programs offered by your Sole treadmill to customize your workouts and keep them challenging and engaging.
Whether you’re a beginner or a seasoned fitness enthusiast, using a treadmill like Sole can provide an excellent cardiovascular workout and help you achieve your fitness goals. Monitor your progress, set personal milestones, and celebrate your achievements as you embark on your fitness journey.
Lastly, don’t forget the importance of a proper cooldown and powering off the treadmill. Slowly bring your heart rate back to a resting state, stretch your muscles, and shut down the machine to ensure its longevity and safety.
So, what are you waiting for? Step onto your Sole treadmill, power it on, and enjoy the benefits of a fantastic workout that can lead you to a healthier and happier lifestyle!