Home>Misc>Featured>How To Use A Treadmill Motor For A Wind Generator
Featured
How To Use A Treadmill Motor For A Wind Generator
Modified: January 2, 2024
Learn how to repurpose a treadmill motor and turn it into a powerful wind generator. Explore our featured guide on using treadmill motors for renewable energy!
Introduction
Harnessing renewable energy sources has become increasingly important in our efforts to reduce our dependence on fossil fuels and mitigate the impact of climate change. Wind energy is one of the most viable and accessible forms of renewable energy, and wind turbines are commonly used to convert the power of the wind into electricity. While commercial wind turbines can be expensive, there is an alternative solution that allows you to create your own wind generator at a fraction of the cost using a treadmill motor.
Treadmill motors are powerful and durable, making them ideal for repurposing as wind turbine generators. By following the steps outlined in this article, you can transform a treadmill motor into a fully-functional wind generator that produces clean, sustainable energy.
In this comprehensive guide, we will walk you through the process of using a treadmill motor for a wind generator. We will cover everything from gathering the necessary materials to testing and troubleshooting your DIY wind generator. Whether you are an experienced DIY enthusiast or just starting out, this guide will provide you with valuable insights and step-by-step instructions to help you succeed in your wind energy project.
Not only will building your own wind generator help you save money on electricity bills, but it will also contribute to a greener and more sustainable future. Imagine the satisfaction of knowing that you are generating your own renewable energy while reducing your carbon footprint. So, let’s get started on this exciting journey of harnessing the power of the wind with a treadmill motor-based wind generator.
Step 1: Gathering the necessary materials
Before starting your wind generator project, it is essential to gather all the necessary materials. By planning ahead and having everything you need, you can streamline the process and avoid unnecessary delays. Here are the materials you will need to collect:
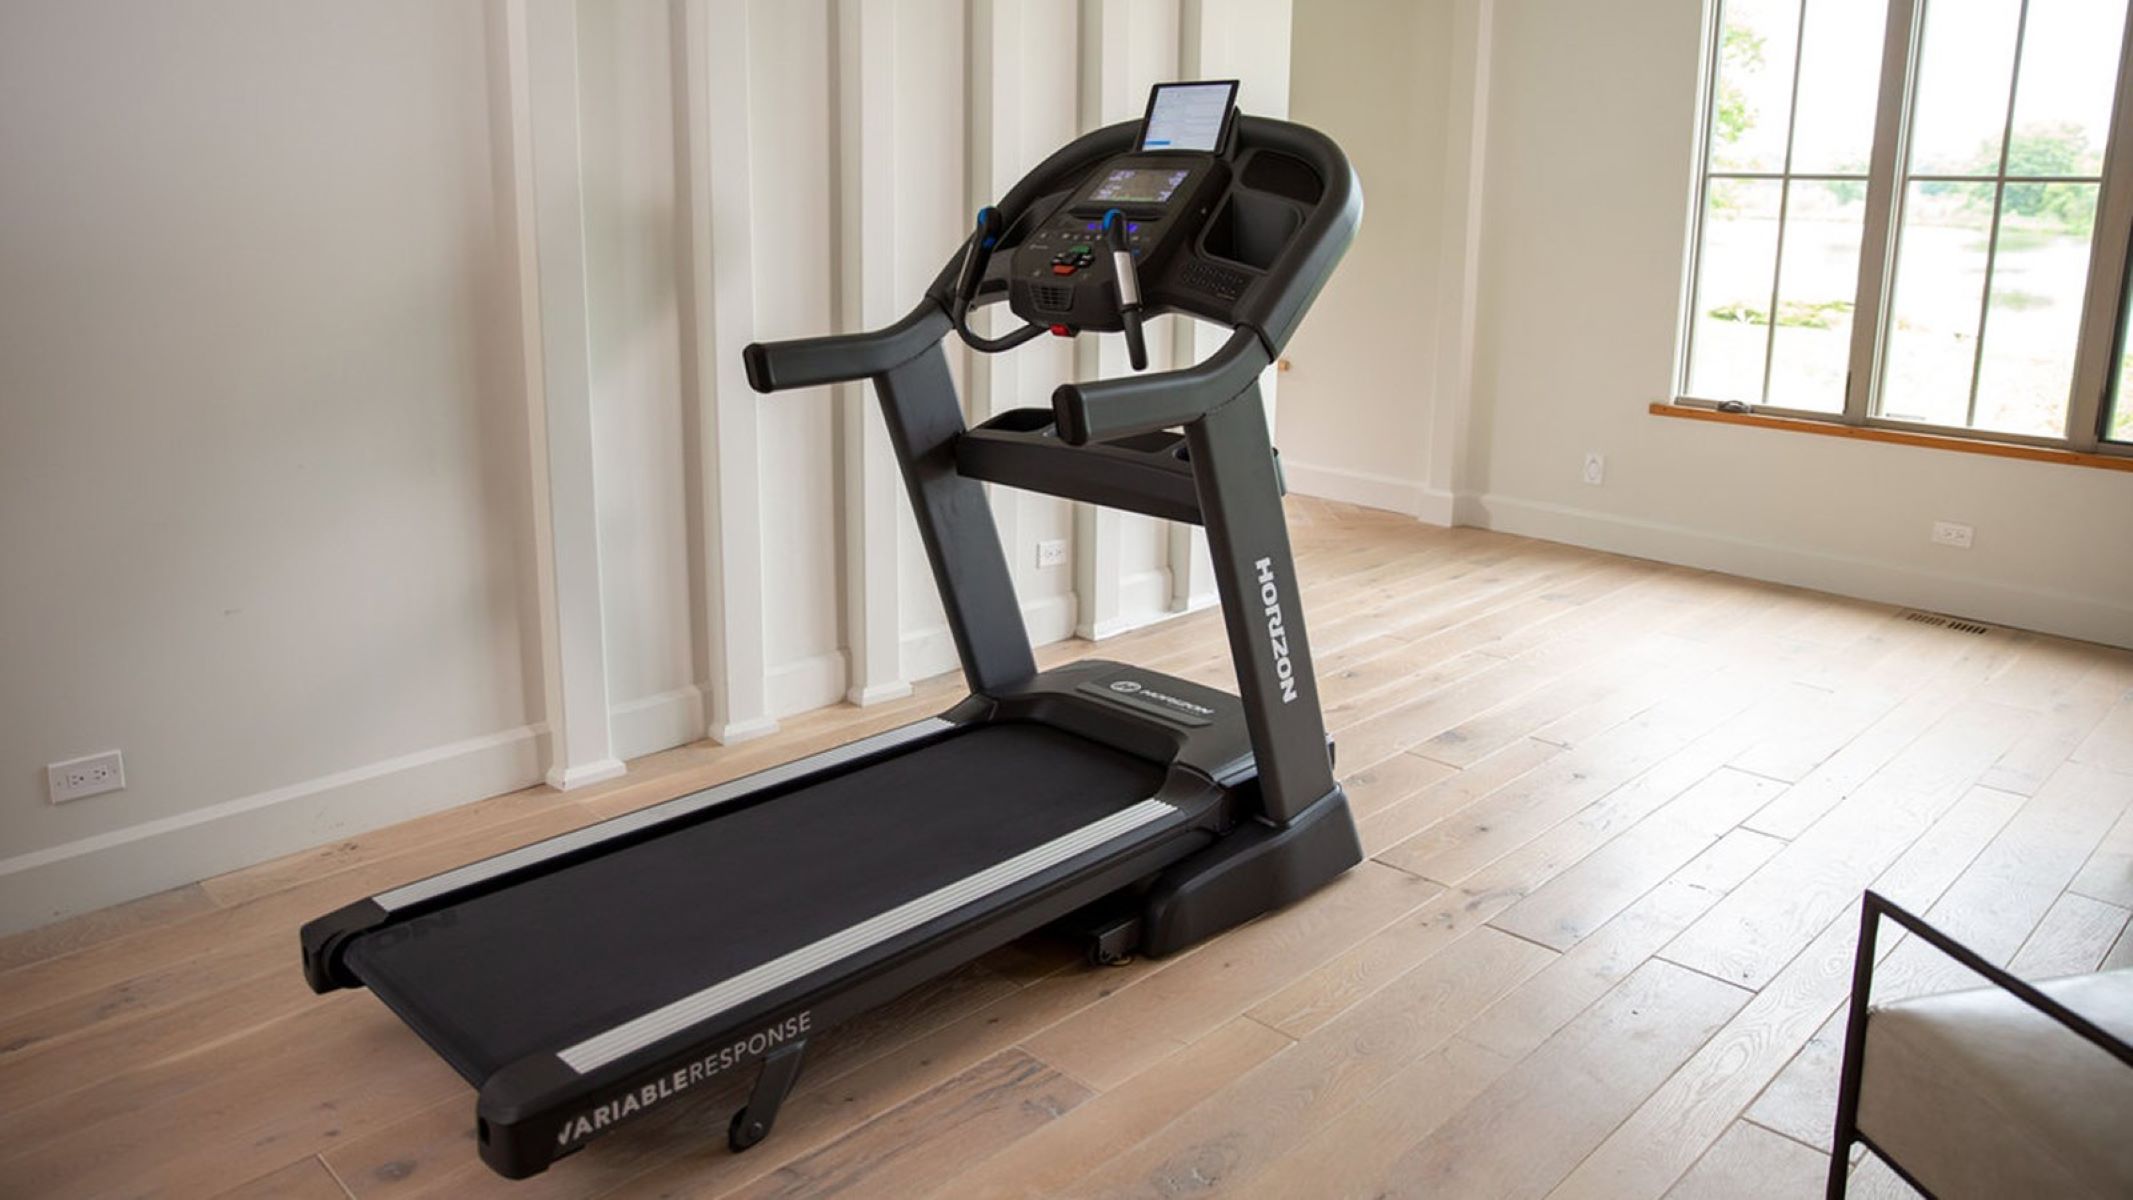
- Treadmill motor: The heart of your wind generator, the treadmill motor will serve as the generator that converts wind energy into electrical power. Look for a used treadmill motor, ensuring it is in good working condition. Higher horsepower motors typically produce more energy.
- Treadmill controller: This component regulates the speed and power output of the motor. It ensures that the generator operates optimally under varying wind conditions. The controller can often be salvaged from the treadmill or purchased separately.
- Wind turbine hub: The hub connects the wind turbine blades to the motor’s shaft. It needs to be sturdy and capable of withstanding high winds. Consider using a standard bicycle hub or a custom-made hub specifically designed for wind turbines.
- Wind turbine blades: The blades capture the wind’s energy and turn it into rotational motion. You can purchase pre-made blades or make your own using various materials such as wood or PVC pipe. Ensure that the blades are aerodynamically designed for optimal wind capture.
- Tower or pole: Depending on the size of your wind generator, you will need a tower or pole to mount it. The tower should be strong enough to withstand strong winds and tall enough to maximize wind exposure, ideally at least 30 feet high.
- Charge controller: This device regulates the electrical current flowing from the wind generator to the battery bank or power grid. It prevents overcharging and protects the batteries from damage.
- Battery bank: If you plan to store the generated energy, you will need a battery bank to store the excess power for later use. Deep-cycle batteries, typically used in renewable energy systems, are an excellent choice.
- Power inverter: If you intend to convert the direct current (DC) power from the wind generator into alternating current (AC) for use in your home or appliances, a power inverter is necessary. Choose an inverter that suits your power requirements.
Once you have gathered all the required materials, you are one step closer to building your own wind generator. The next step will focus on how to prepare the treadmill motor for use in your wind turbine system.
Step 2: Preparing the treadmill motor for use
Now that you have gathered all the necessary materials, it’s time to prepare the treadmill motor for use as the generator in your wind turbine system. This step involves removing the motor from the treadmill and making necessary adjustments. Here’s what you need to do:
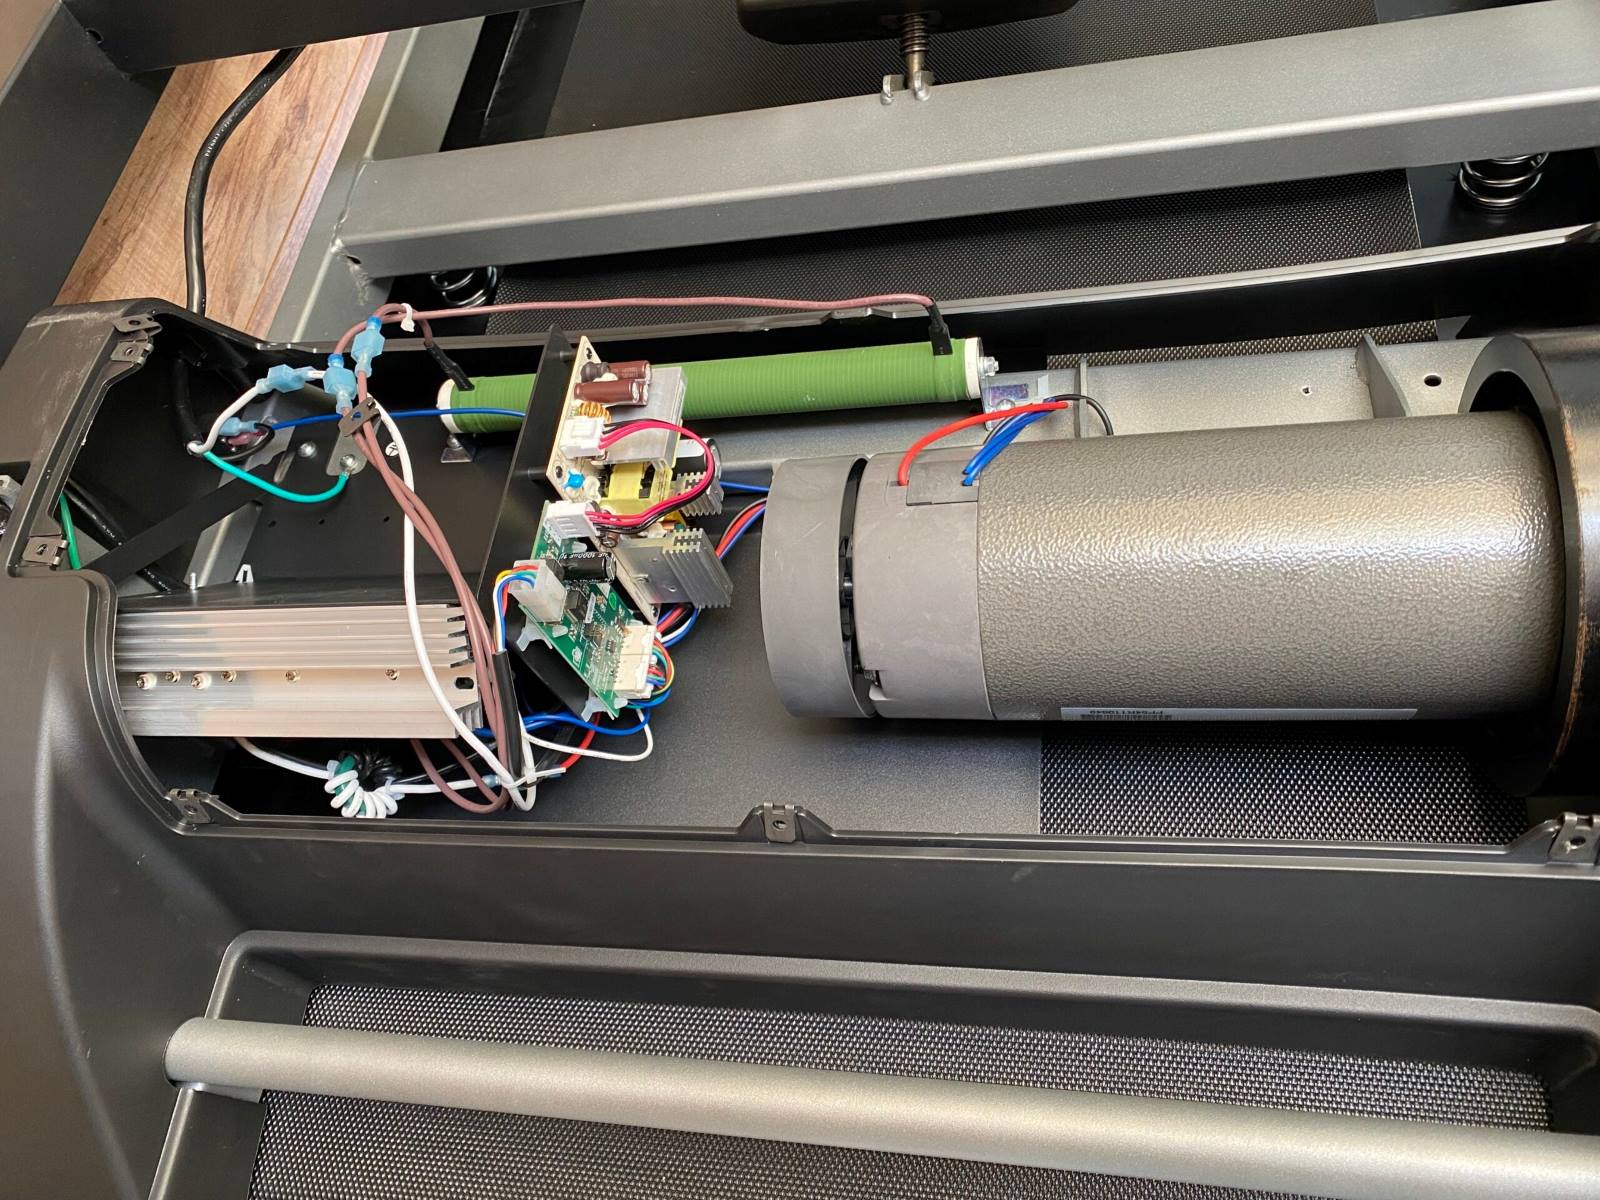
- Disconnect the motor: Start by disconnecting the treadmill motor from the treadmill itself. Carefully follow the manufacturer’s instructions or consult online resources for guidance specific to your treadmill model. Make sure to disconnect all the wires and cables connected to the motor.
- Clean and inspect: Once the motor is disconnected, clean it thoroughly to remove any dirt or debris. Inspect the motor for any signs of damage or wear and tear. Check the bearings and brushes, and replace them if necessary.
- Remove the flywheel: In some cases, you may need to remove the flywheel attached to the motor. The flywheel is a heavy spinning disc that provides stability and smooth operation. Use the appropriate tools to carefully detach the flywheel from the motor shaft.
- Modify the wiring: Depending on the specific treadmill motor, you may need to modify the wiring to prepare it for use as a wind generator. This step may involve removing unnecessary wiring, connecting the motor to the controller, or making other adjustments as needed. Refer to the motor’s documentation or seek guidance from experienced wind generator builders.
- Inspect the voltage and RPM ratings: Before proceeding, take note of the motor’s voltage and RPM (rotations per minute) ratings. These specifications will help you determine the appropriate wind turbine and design for optimal performance. These details can usually be found on the motor’s label or in the product documentation.
Once you have completed these steps, your treadmill motor should be prepared for use in your wind generator system. In the next step, we will cover how to build the wind turbine blades, an essential component that captures the wind’s energy.
Step 3: Building the wind turbine blades
Now that you have prepared the treadmill motor, the next important step in building your wind generator is constructing the wind turbine blades. The blades play a crucial role in capturing the wind’s energy and converting it into rotational motion. Here’s how you can build your own wind turbine blades:
- Choose a material: Select a suitable material for your wind turbine blades. Common options include wood, PVC pipe, or composite materials. Ensure that the chosen material is lightweight, sturdy, and able to withstand the forces of the wind.
- Determine the shape and size: Wind turbine blades come in various shapes and sizes. The optimal shape is typically aerofoil-shaped, similar to an airplane wing. Consider using online resources or software to calculate the ideal blade shape and size based on factors such as wind speed, rotor diameter, and desired power output.
- Cut the blades: Use a saw or other cutting tools to shape the material into the desired blade form. Carefully follow the measurements and design specifications to ensure consistency across all the blades.
- Add aerodynamic features: To enhance performance, you can add aerodynamic features such as twists or curves to the blade design. These features reduce drag and increase efficiency by ensuring that the blades maintain an optimal angle of attack with the wind.
- Balance the blades: It is crucial to ensure that each blade is properly balanced. Imbalances can lead to vibrations and reduced performance. You can achieve balance by removing material from heavier areas or adding weights to lighter areas until each blade is evenly balanced.
- Paint or coat the blades: Apply a protective coating, such as paint or varnish, to seal and protect the blades from weathering and damage caused by exposure to the elements. This step will prolong the lifespan of the blades and maintain their performance over time.
Building the wind turbine blades requires careful attention to detail and precision. Take your time to measure, cut, and shape each blade correctly. Remember, well-designed and balanced blades are essential for optimal performance and energy generation.
In the next step, we will explore how to mount the treadmill motor and blades onto a tower or pole, bringing us one step closer to completing our wind generator system.
Step 4: Mounting the treadmill motor and blades
With the wind turbine blades constructed, it’s time to mount the treadmill motor and blades onto a tower or pole. The mounting process ensures that the wind turbine is securely positioned to capture the maximum amount of wind energy. Follow these steps to effectively mount the motor and blades:
- Choose a suitable location: Select a location that offers a consistent source of wind. Ideally, the site should be elevated and free from obstructions that could disrupt the wind flow. Consider local wind patterns and consult wind maps or experts to determine the optimal location for your wind generator.
- Install the tower or pole: Erect the tower or pole according to the manufacturer’s instructions or engineering specifications. Ensure that the foundation is sturdy and capable of supporting the weight and forces of the wind turbine system. If needed, seek professional assistance to ensure proper installation.
- Mount the motor on the tower or pole: Position the treadmill motor on the tower or pole, ensuring that it is securely fastened. Use appropriate brackets, clamps, or custom mounting systems to ensure stability. Pay attention to the motor’s orientation, aligning it in a way that maximizes wind exposure.
- Attach the wind turbine hub: Connect the wind turbine hub to the motor’s shaft. The hub serves as the connection point between the blades and the motor, transferring the rotational motion. Use appropriate fasteners, such as bolts or screws, to firmly attach the hub to the motor.
- Install the wind turbine blades: Attach the wind turbine blades to the hub, evenly spacing them around the hub’s circumference. Ensure that they are securely fastened and properly aligned. Use caution during this step to avoid injury and ensure that the blades are properly balanced.
- Adjust the blade pitch: Adjust the pitch of the wind turbine blades to optimize their angle of attack with the wind. This adjustment can maximize energy capture and increase efficiency. Consult technical resources or seek guidance from experienced wind turbine builders for proper blade pitch adjustments.
By following these steps, you will have successfully mounted the treadmill motor and wind turbine blades onto a tower or pole. The next step will guide you on connecting the wind turbine to a power system, allowing you to harness the energy generated by the wind.
Step 5: Connecting the wind turbine to a power system
Once you have mounted the wind turbine on a tower or pole, the next step is to connect it to a power system to utilize the energy generated by the wind. This step involves linking the wind turbine to a charge controller, battery bank, and potentially a power inverter. Here’s how you can connect your wind turbine to a power system:
- Connect the wind turbine to the charge controller: Use appropriate wiring to connect the output from the wind turbine to the charge controller. The charge controller regulates the power flow, ensuring safe and efficient charging of the battery bank. Follow the instructions provided with the charge controller for proper wiring connections.
- Link the charge controller to the battery bank: Connect the output of the charge controller to the battery bank. This connection allows the battery bank to store the energy generated by the wind turbine. Use appropriate wiring and follow the manufacturer’s instructions for the correct wiring configuration.
- Install a power inverter (if necessary): If you plan to use the wind turbine’s energy for powering AC appliances or feeding electricity into the grid, install a power inverter. The inverter converts the DC energy from the battery bank into AC power. Select an inverter that matches your power requirements and follow the manufacturer’s instructions for installation and wiring.
- Ensure proper grounding: Proper grounding is essential for safety and optimal system performance. Follow electrical codes and guidelines to install grounding electrodes and connect the wind turbine, charge controller, and other components to the grounding system.
- Test the electrical connections: Once all the components are connected, carefully inspect all the electrical connections for accuracy and tightness. Use a multimeter to test the voltage and continuity of the circuits. Pay attention to proper polarity and ensure that all connections are secure and properly insulated.
Connecting the wind turbine to a power system requires careful attention to detail and adherence to electrical safety guidelines. Take your time to understand the wiring diagrams and instructions provided with the components. If you are unsure or uncomfortable with electrical work, consult a qualified electrician for assistance.
In the next step, we will explore how to test and troubleshoot the wind generator to ensure optimal performance and efficiency.
Step 6: Testing and troubleshooting the wind generator
After completing the installation and connection of your wind generator, it is crucial to test and troubleshoot the system to ensure its proper functionality and optimal performance. Here are the essential steps to test and troubleshoot your wind generator:
- Perform a visual inspection: Start by visually inspecting the wind generator system for any loose connections, damaged components, or signs of wear and tear. Check the blades, motor, wiring, and supporting structures for any potential issues.
- Test the wind turbine in open air: Choose a windy day to conduct a test run of the wind turbine in open air. Monitor the rotation of the blades and ensure smooth and consistent rotation. Observe any unusual vibrations, noises, or irregularities that may indicate a problem.
- Measure power output: Use an appropriate device, such as a multimeter or wattmeter, to measure the power output of the wind generator. Compare the measured output to the expected power output based on the wind speed and turbine specifications. This measurement will give you an indication of the system’s performance.
- Monitor battery charging: Check the charge status and performance of the battery bank. Ensure that the charge controller is functioning correctly and properly charging the batteries. Monitor the voltage and charge levels over time to ensure optimal charging and battery health.
- Check for wind direction alignment: Observe the wind direction and ensure that the wind turbine is properly aligned with the prevailing winds. If necessary, adjust the yaw mechanism or position of the wind turbine to optimize wind capture.
- Address any issues: If you notice any issues during the testing phase, such as low power output, excessive vibrations, or mechanical problems, it is essential to address them promptly. Refer to the manufacturer’s guidelines or seek assistance from experts to troubleshoot and resolve any problems.
Regular monitoring and maintenance of your wind generator system are important to ensure its long-term efficiency and reliability. Keep a log of the system’s performance, including power output, wind speeds, and any observations, to track its operation and identify any trends or patterns that may require attention.
With proper testing and troubleshooting, you can address any potential issues and optimize the performance of your wind generator system, allowing you to harness clean and renewable wind energy effectively.
Conclusion
Building a wind generator using a treadmill motor offers a cost-effective and environmentally friendly way to harness wind energy and generate electricity. By following the steps outlined in this guide, you can transform a treadmill motor into a functional wind generator, empowering you to reduce your carbon footprint and save on energy costs.
Throughout the process, we covered the essential steps, including gathering the necessary materials, preparing the treadmill motor, constructing the wind turbine blades, mounting the motor and blades, connecting the wind generator to a power system, and testing and troubleshooting the system for optimal performance.
Building your own wind generator allows you to become more self-sufficient and less reliant on conventional energy sources. Not only can you save money on electricity bills in the long run, but you also contribute to a greener and more sustainable future. Additionally, maintaining and troubleshooting the system gives you a deeper understanding of renewable energy technology.
Remember to consider safety as a priority throughout the entire process. If you are uncertain about any aspect of the project or uncomfortable with electrical work, consult a professional or experienced wind generator builder for assistance.
By harnessing the power of the wind through a DIY wind generator, you take a significant step towards a more sustainable and eco-friendly lifestyle. So, gather the materials, get your hands dirty, and embrace the satisfaction of generating clean energy from the wind with your very own wind generator!