Brands
How To Unfold Nordictrack Treadmill
Modified: August 19, 2023
Discover the best Nordictrack treadmill brands and learn how to unfold them easily. Start your fitness journey today with our helpful guide.
Introduction
Welcome to this comprehensive guide on how to unfold a NordicTrack treadmill. NordicTrack is a well-known brand in the fitness industry, offering high-quality and innovative exercise equipment. Folding treadmills have become increasingly popular due to their space-saving design, allowing users to conveniently store them when not in use. However, unfolding a treadmill can sometimes be a bit challenging if you are not familiar with the process.
In this article, we will provide you with step-by-step instructions on how to safely and effectively unfold your NordicTrack treadmill. We will also discuss the tools and materials you will need for this task. Whether you are a seasoned fitness enthusiast or a beginner looking to set up your home gym, this guide will help you get your treadmill up and running in no time.
Before we dive into the details, it is important to note that the specific steps may vary slightly depending on the model of your NordicTrack treadmill. We recommend referring to the user manual provided with your treadmill for any model-specific instructions or precautions. Safety should always be a top priority when operating any exercise equipment, so make sure to follow each step carefully and exercise caution throughout the process.
Tools and Materials Needed
Before you begin unfolding your NordicTrack treadmill, gather the following tools and materials to ensure a smooth and efficient process:
- Screwdriver: Depending on your treadmill model, you may need a screwdriver to loosen or tighten certain components.
- Owner’s Manual: Keep the owner’s manual handy as it contains model-specific instructions and safety information.
- Cleaning Cloth: Having a clean cloth nearby will allow you to wipe down any dust or debris that may have accumulated during storage.
- Space: Make sure you have enough open space to safely unfold and set up the treadmill. Clear the area of any obstacles or hazards that could interfere with the process.
- Assistance: Depending on the weight and size of your treadmill, having someone to assist you can be helpful when it comes to maneuvering and positioning the equipment.
By having these tools and materials ready, you will be well-prepared for the unfolding process and can address any minor adjustments or maintenance tasks that may be required along the way. It’s always better to have everything you need at hand rather than scrambling to find items in the middle of the setup.
Step 1: Safety Precautions
Before proceeding with the unfolding process, it is crucial to prioritize safety. Taking the necessary precautions will help prevent accidents, injuries, and damage to the treadmill or surrounding areas.
Here are some essential safety precautions to keep in mind:
- Read the Manual: Familiarize yourself with the safety guidelines and instructions provided in the owner’s manual. Every treadmill model may have specific safety precautions that you need to be aware of.
- Clear the Area: Ensure that the area around the treadmill is free from any obstructions, such as furniture, cords, or other objects. This will allow for safe movement and prevent tripping hazards.
- Secure the Treadmill: If your treadmill has a locking mechanism, make sure it is engaged before attempting to unfold it. This will prevent accidental unfolding during the setup process.
- Wear Proper Attire: Put on comfortable workout clothes and appropriate footwear to ensure stability and traction while handling the treadmill.
- Check for Damages: Inspect the treadmill for any visible damages, such as broken parts or loose screws, before unfolding it. A damaged treadmill can pose safety risks and may require professional assistance for repair.
- Use Proper Lifting Techniques: If the treadmill is heavy, lift with your legs and not your back to avoid strain or injury. Enlist the help of a partner if needed.
- Keep Children and Pets Away: Ensure that children and pets are at a safe distance from the unfolding process. This will minimize the risk of accidents or injuries.
- Disconnect Power: If your treadmill is plugged into an electrical outlet, disconnect the power cord before unfolding. This will eliminate the risk of electric shocks or malfunctions.
By following these safety precautions, you can minimize the risks associated with unfolding and setting up your NordicTrack treadmill. Safety should always be the top priority to ensure an injury-free and efficient process.
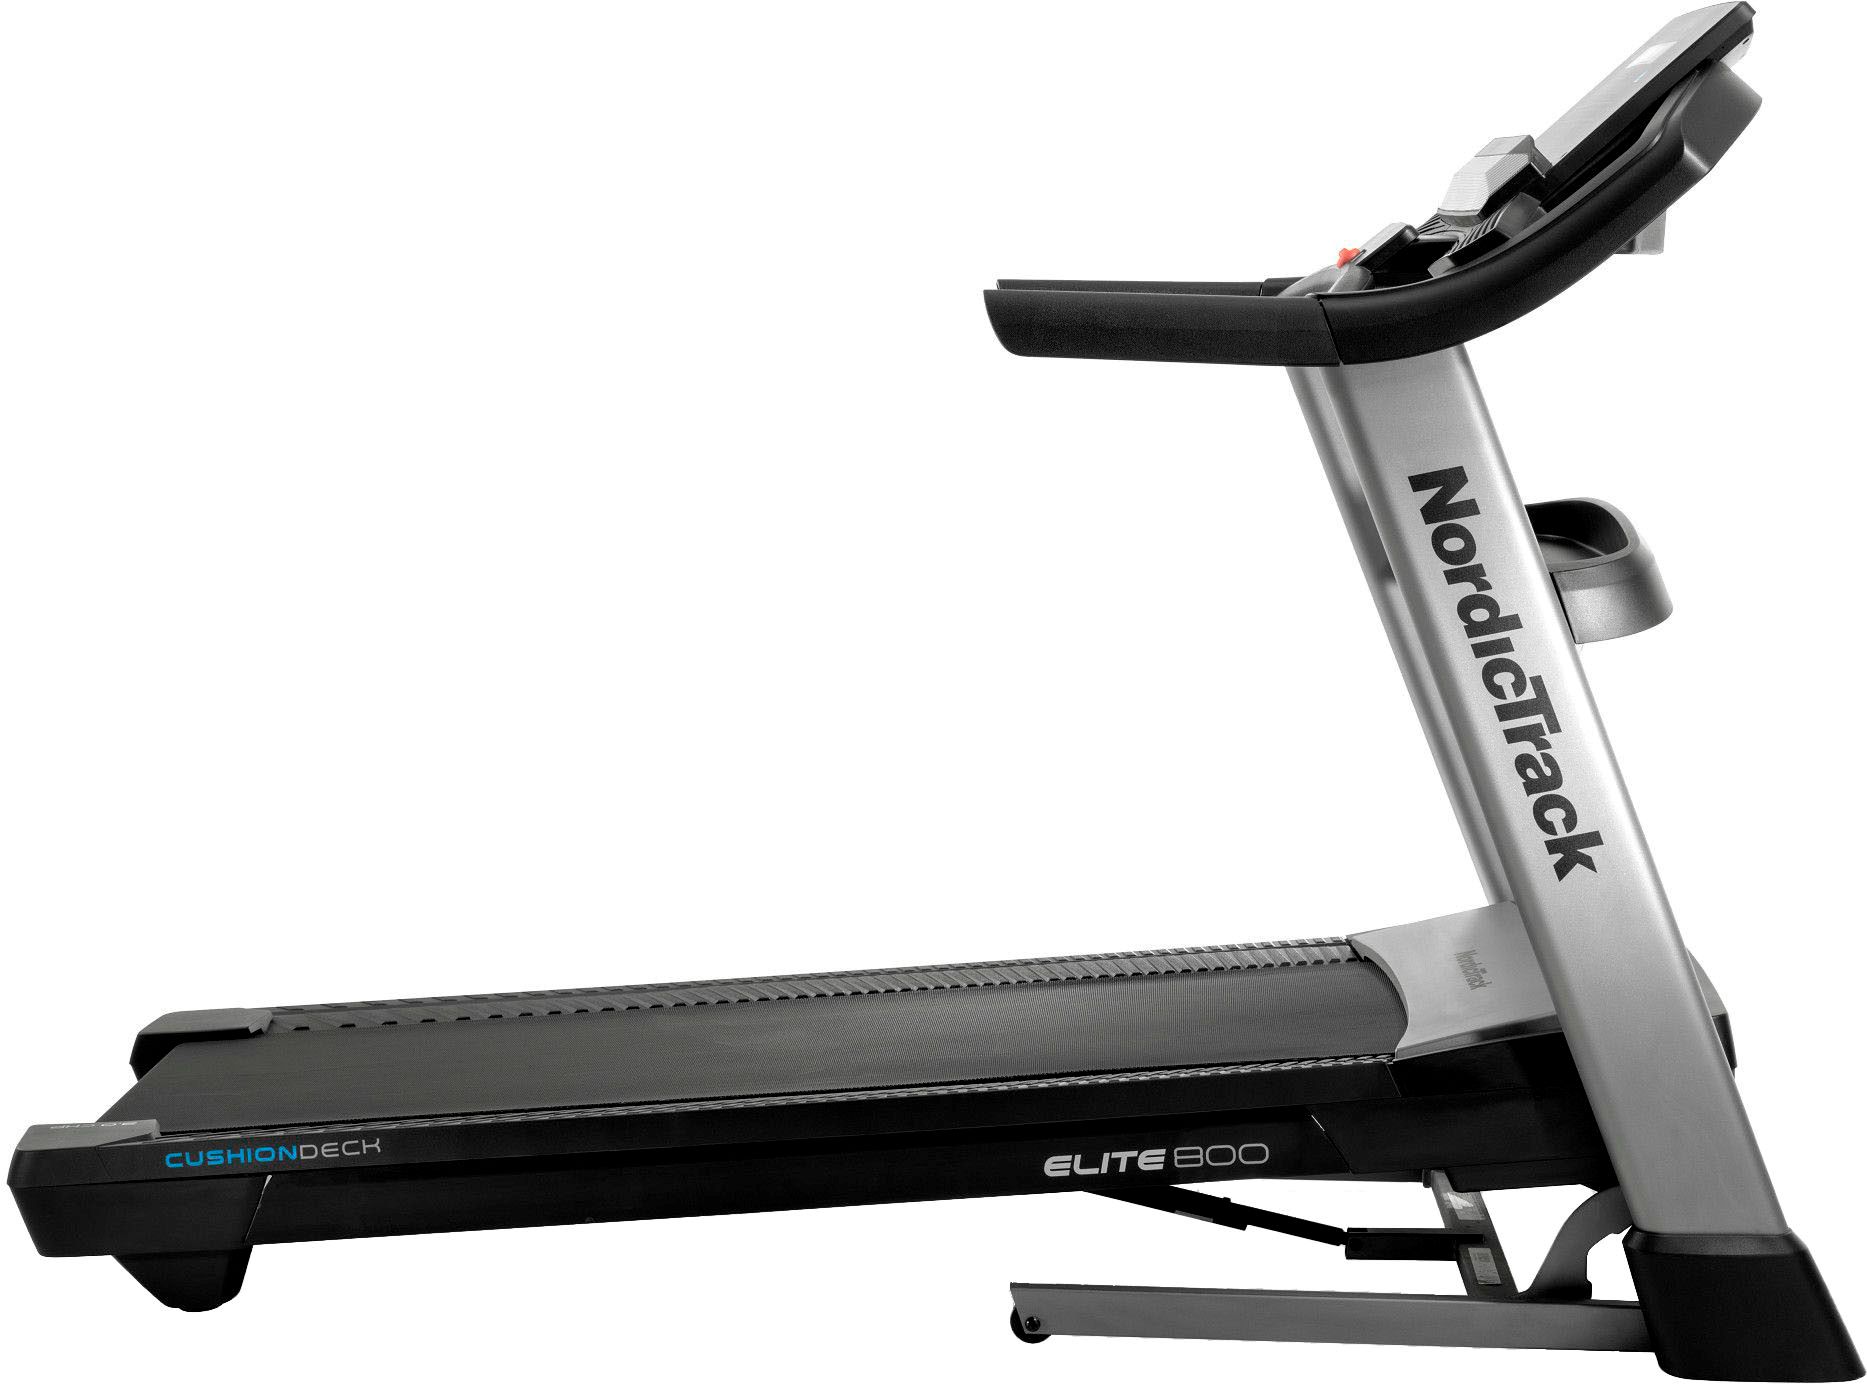
Step 2: Familiarize Yourself with the Treadmill
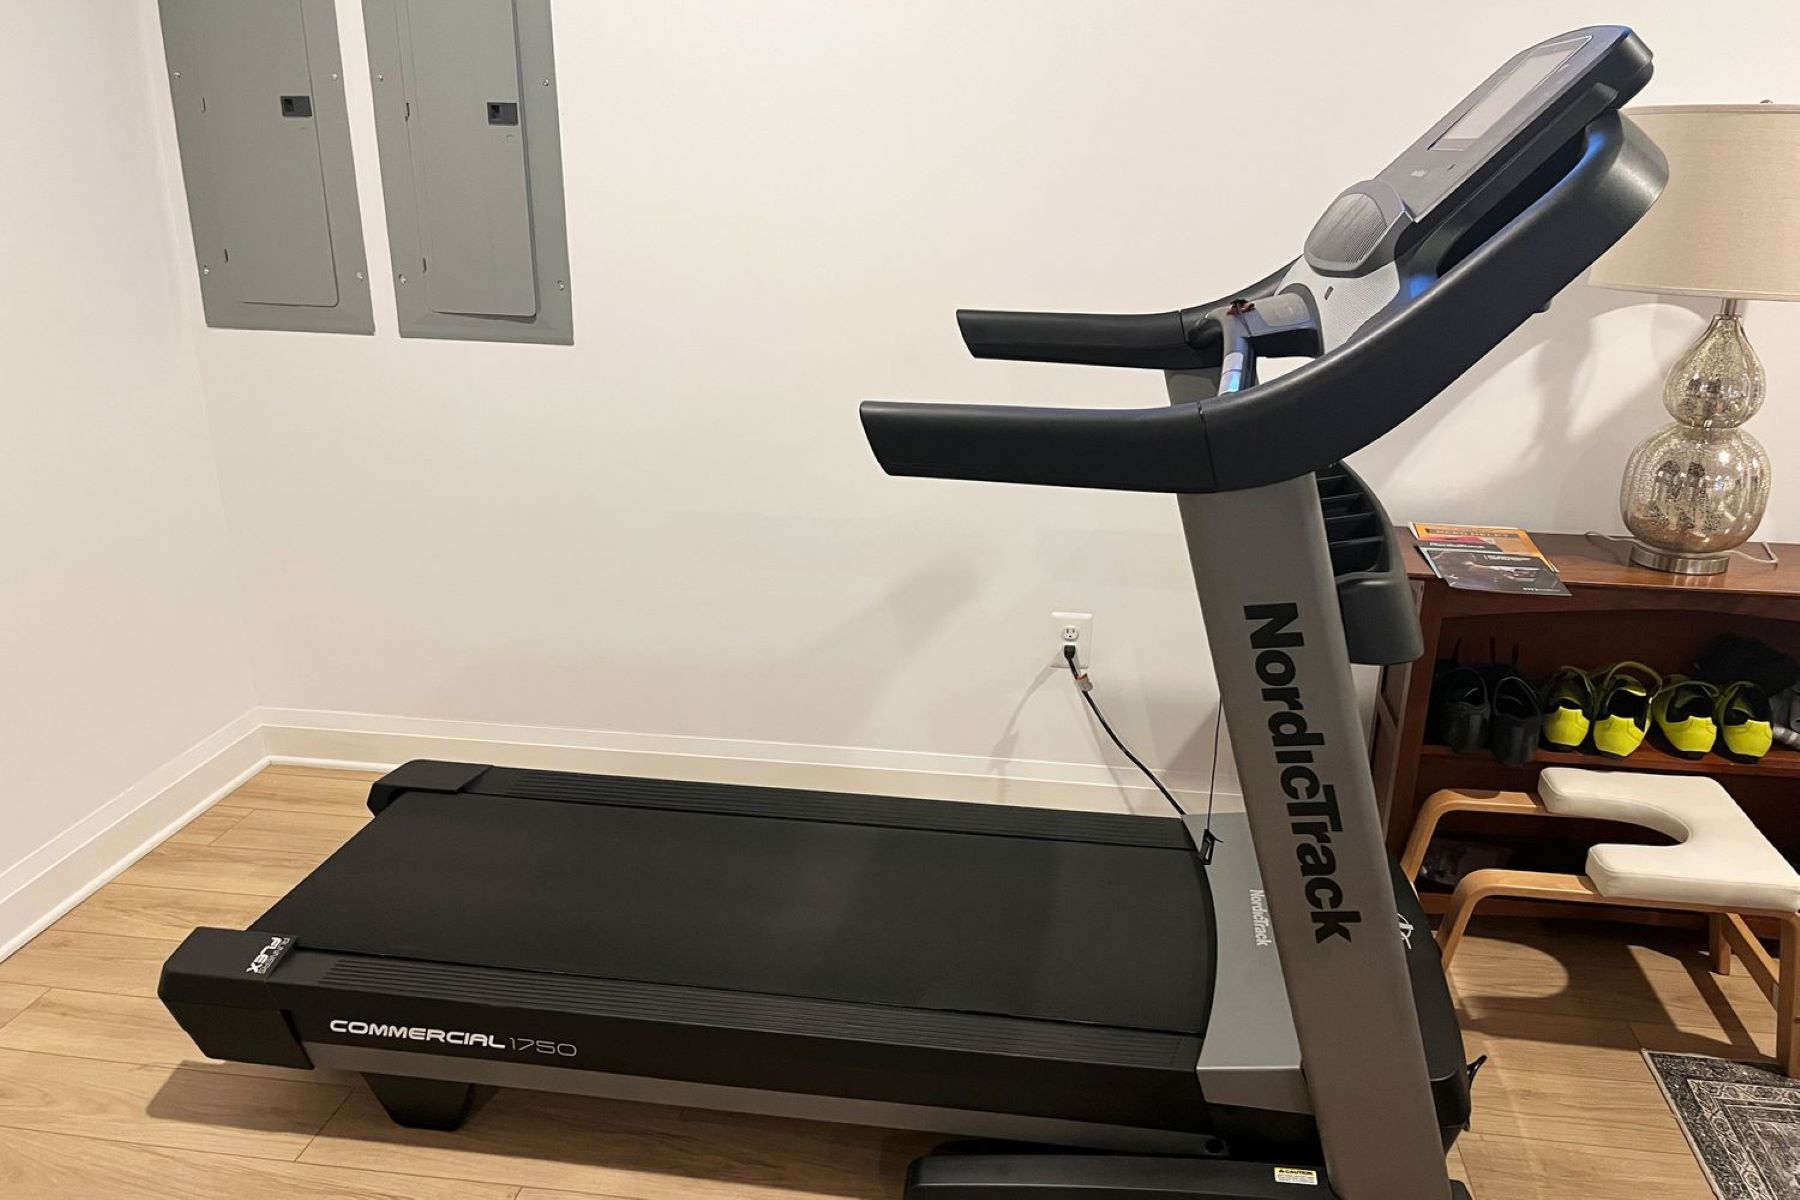
Before you begin the unfolding process, it is important to take a few moments to familiarize yourself with the various components and features of your NordicTrack treadmill. This will help you understand how the treadmill is designed to unfold and function, making the setup process much smoother.
Here are some key elements of the treadmill to become acquainted with:
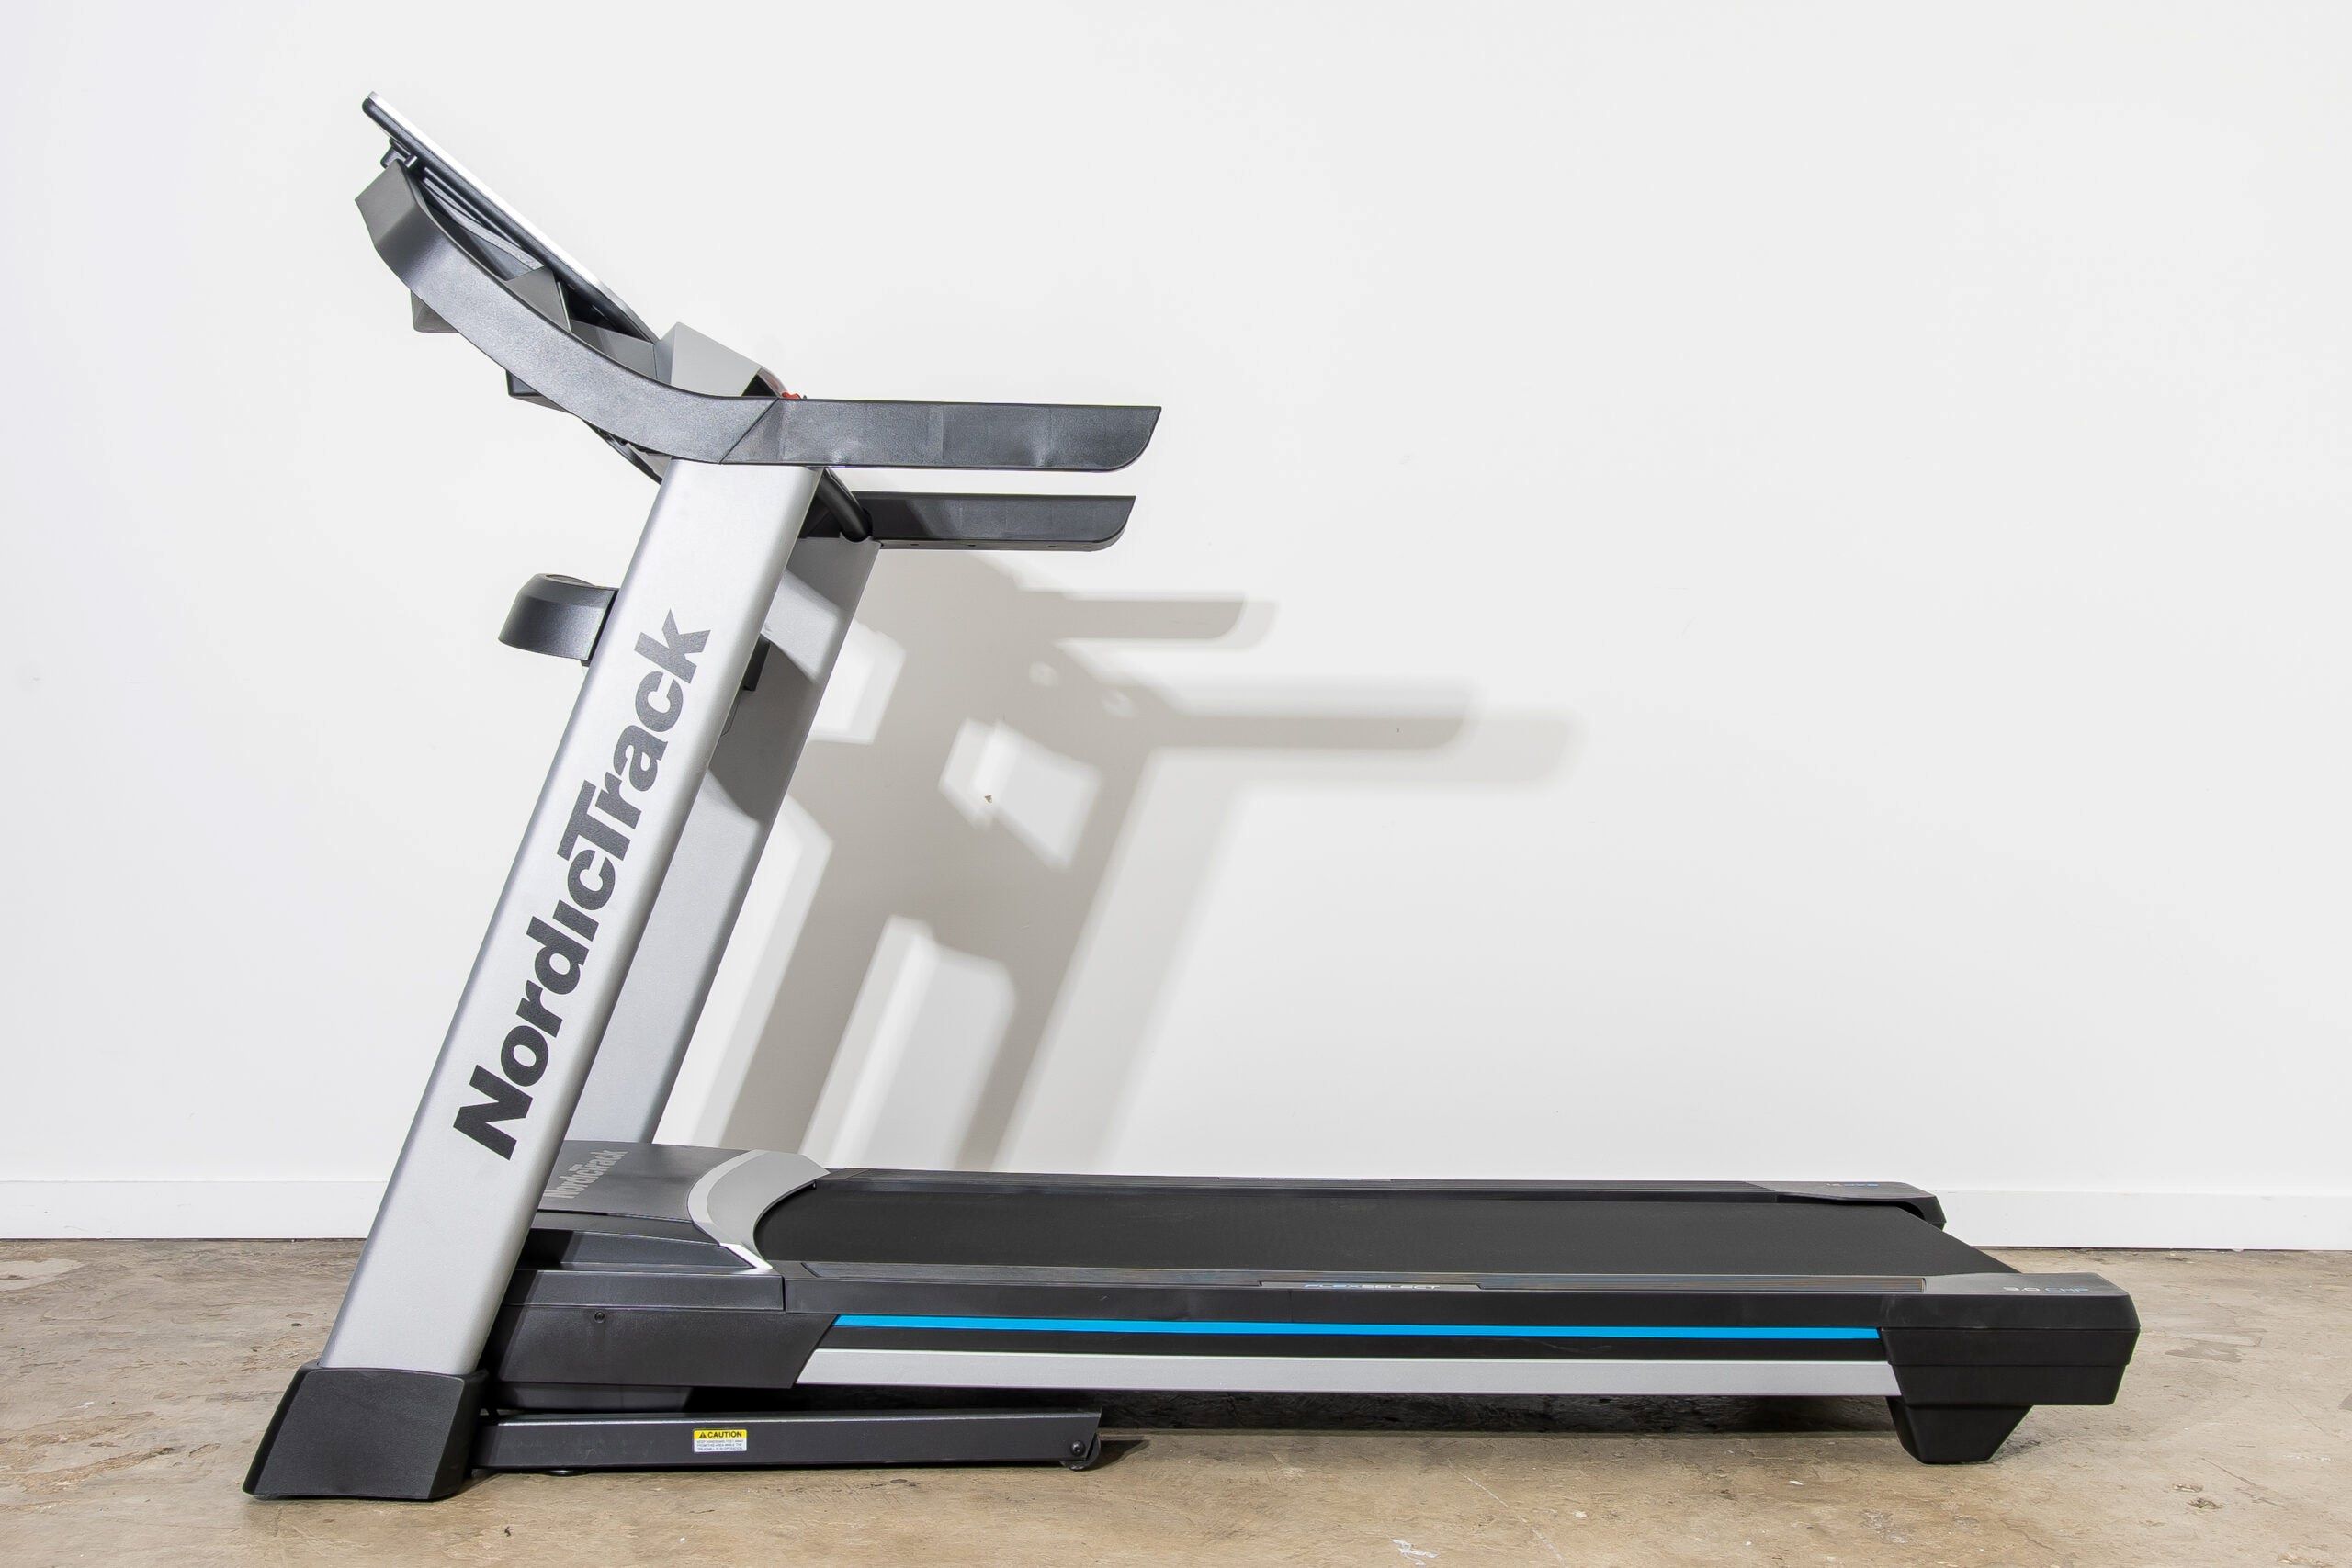
- Folding Mechanism: Take note of the specific folding mechanism of your treadmill. Some models feature a hydraulic folding system, while others may have a manual latch or lock. Understanding how your treadmill folds and unfolds will enable you to manipulate it correctly during the setup process.
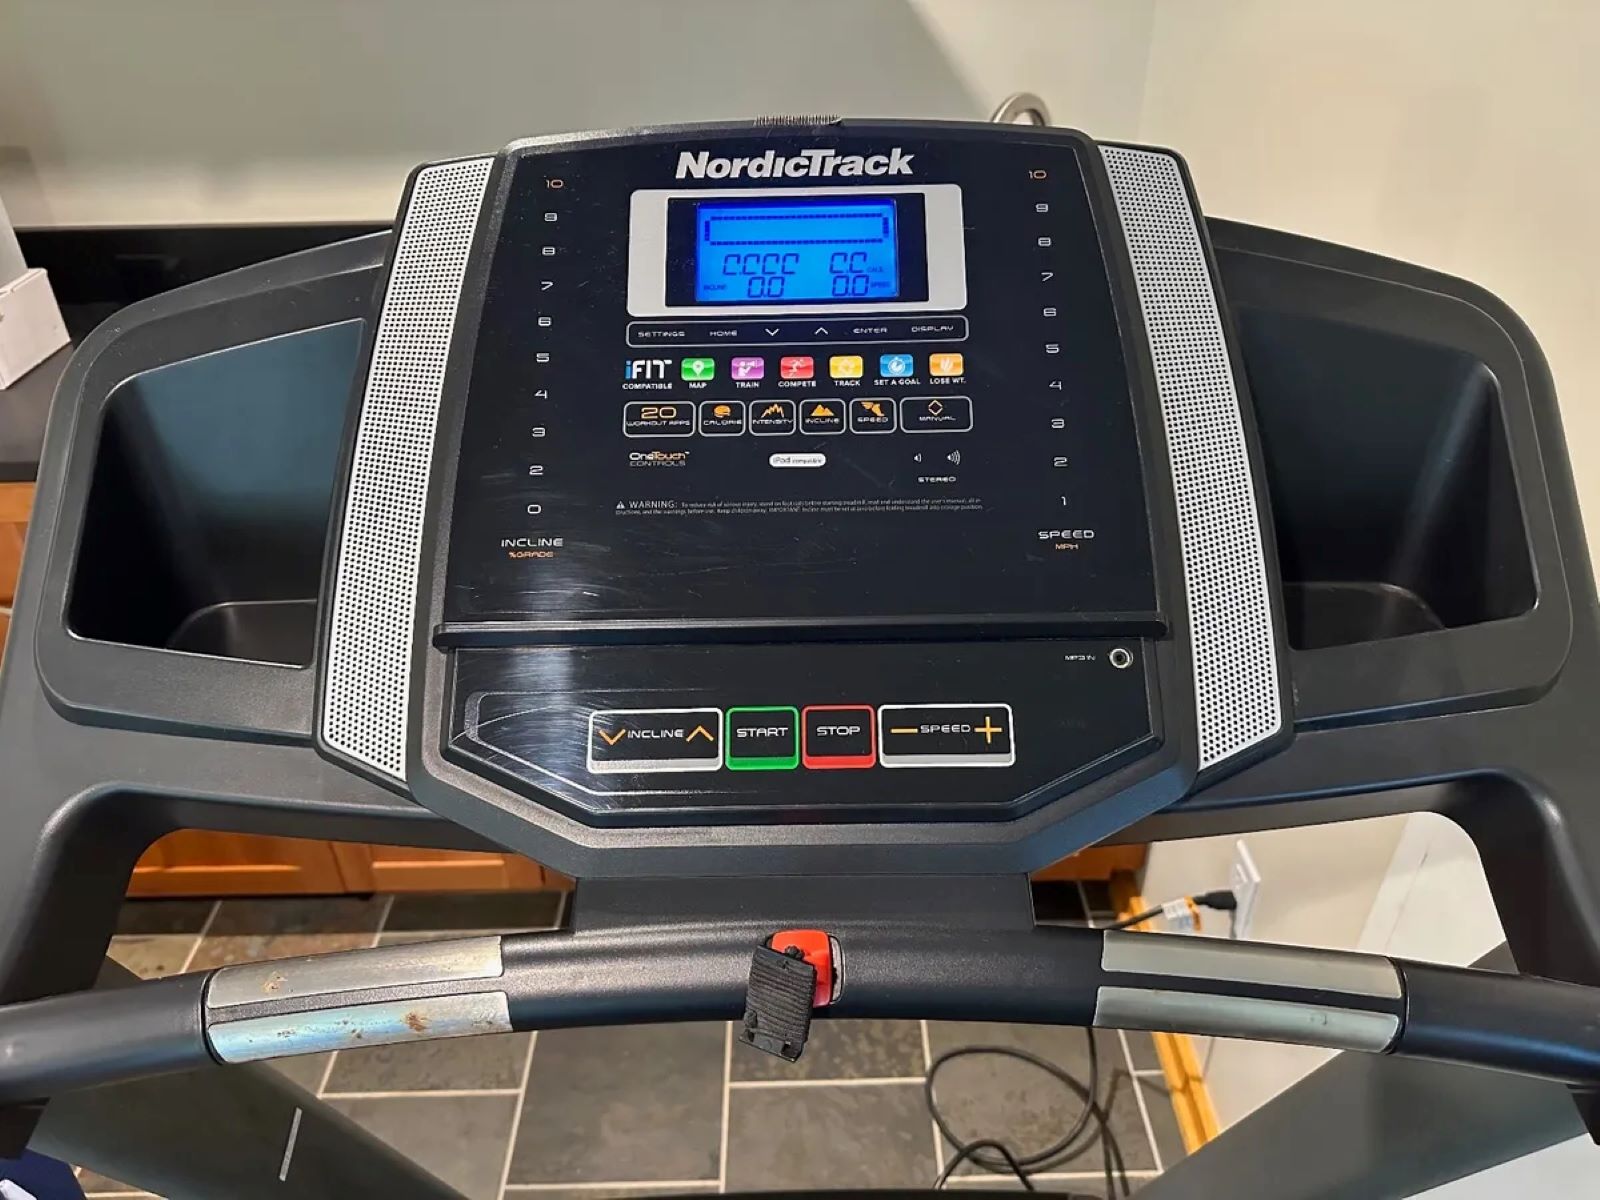
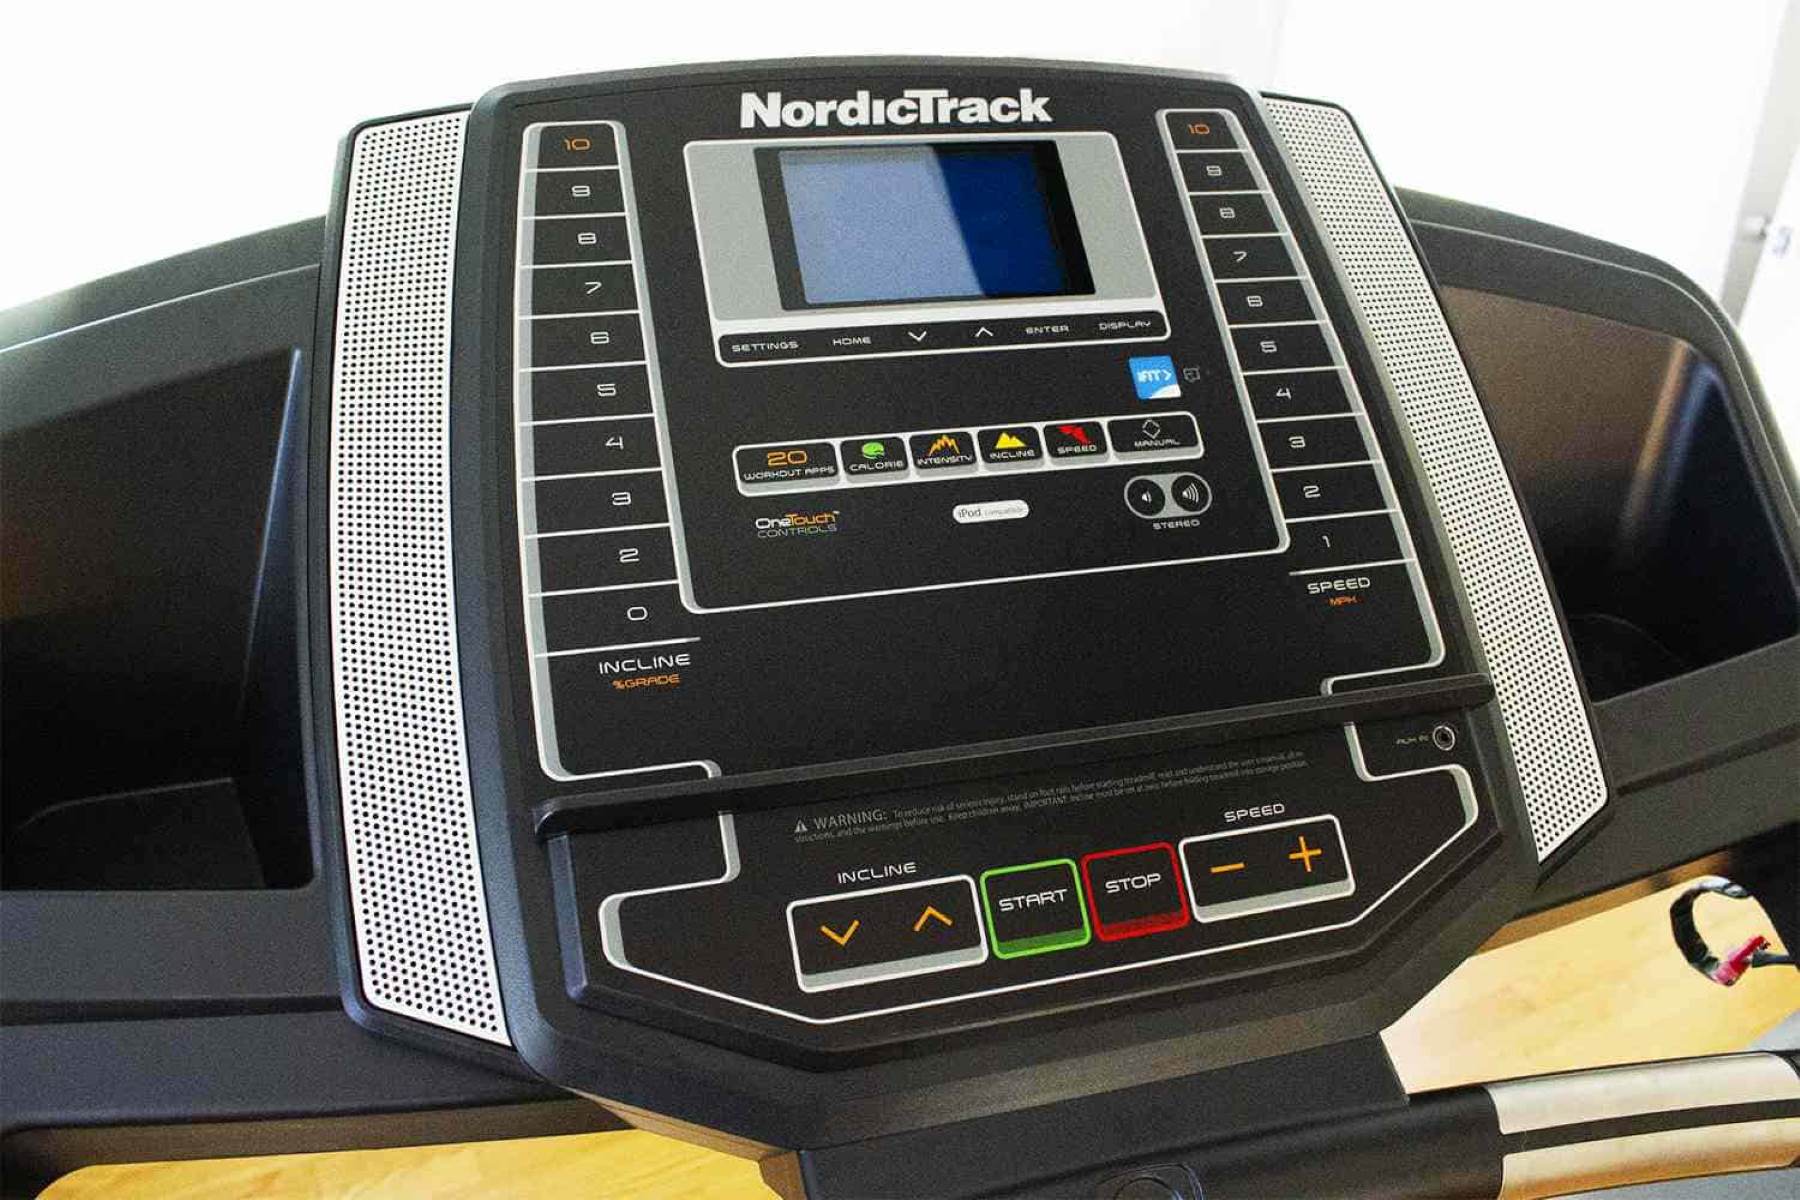
- Console and Controls: Familiarize yourself with the console layout and control panel. Take note of the buttons, programs, and display screen. Understanding the console will make it easier to adjust settings and operate the treadmill once it is unfolded.
- Safety Key: Locate the safety key or emergency stop button, usually attached to a cord. This feature is designed to ensure safety during use and should be properly secured before unfolding the treadmill.
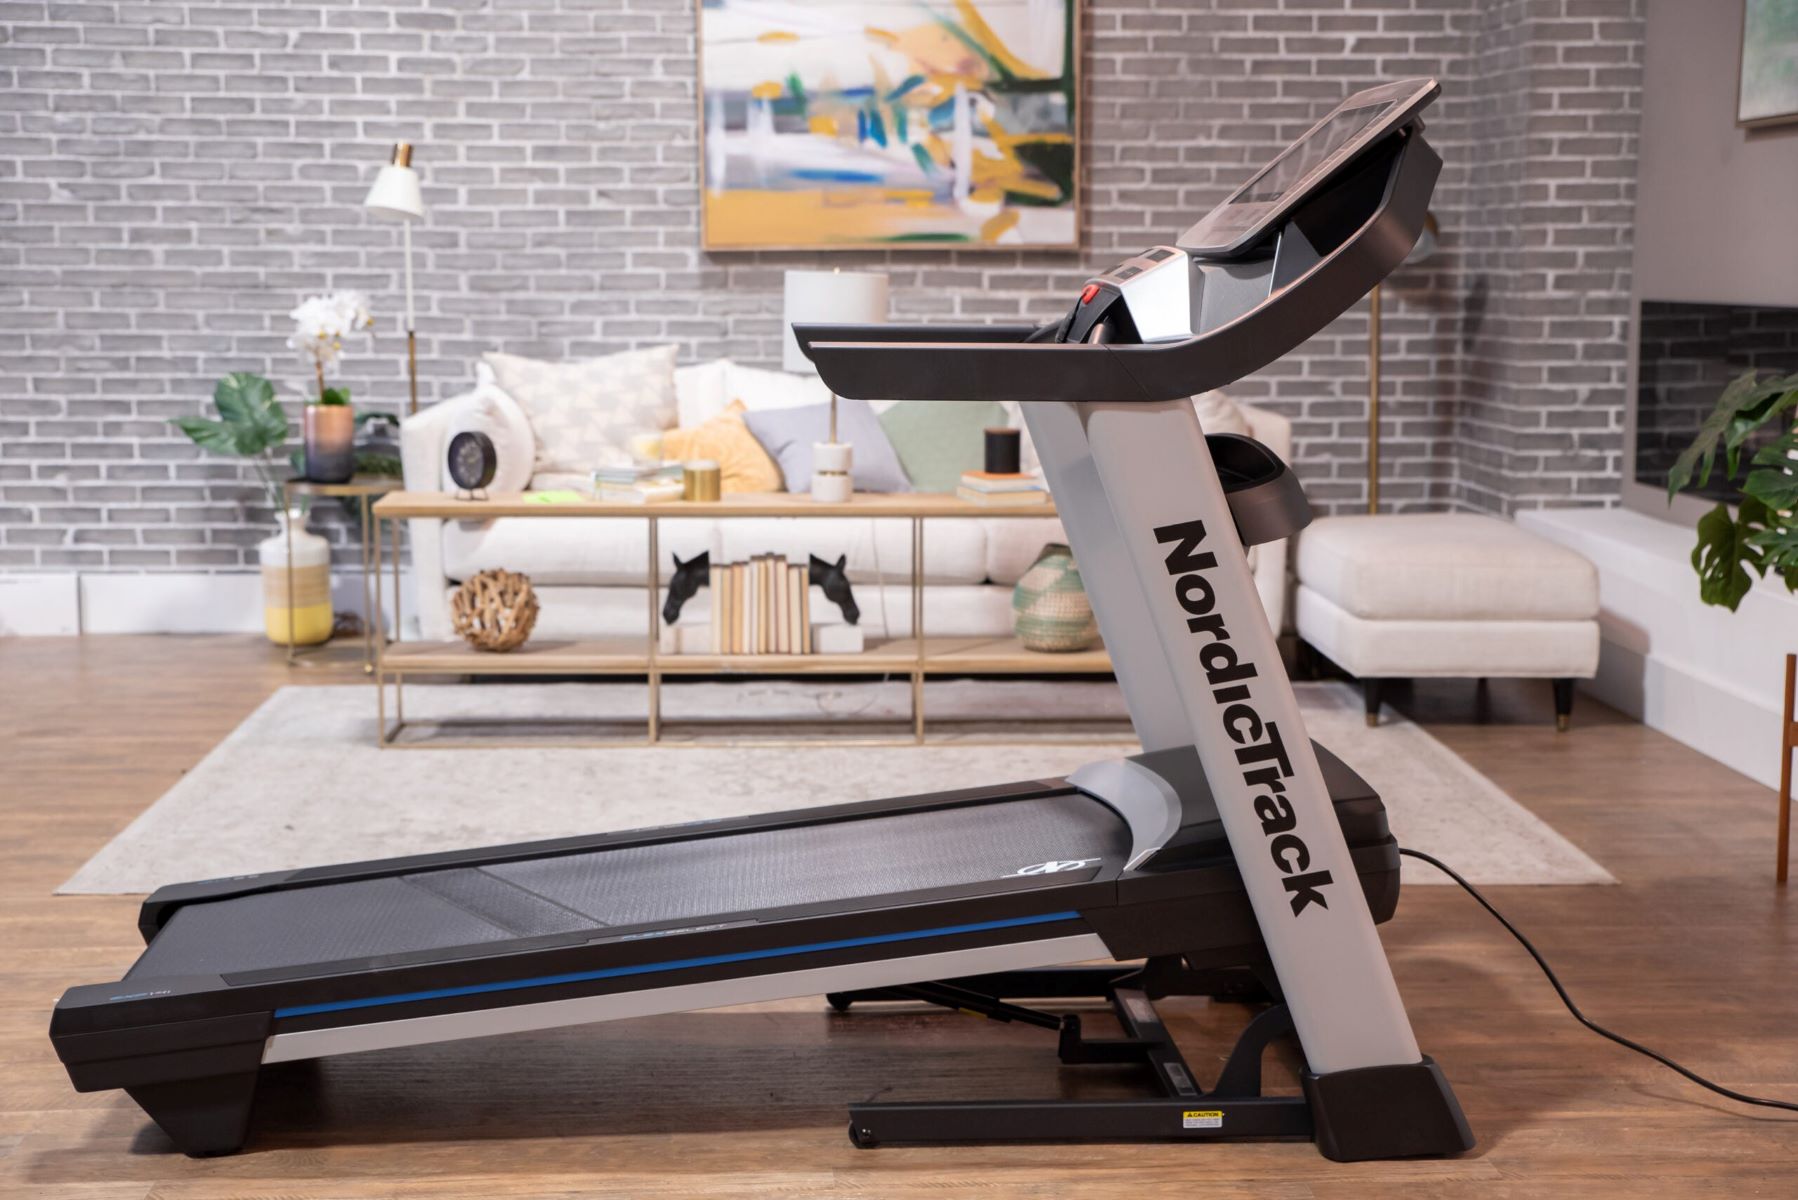
- Handles and Handrails: Identify the handles and handrails of the treadmill. These are essential for maintaining balance and stability while using the machine. Understanding their position and purpose will be helpful during setup and subsequent workouts.
- Accessory Tray: Many treadmills come with an accessory tray or holders for your water bottle, phone, or other items. Take note of these features and ensure they are properly secured during setup.
By familiarizing yourself with these components, you will have a better understanding of how the treadmill unfolds and operates. This knowledge will enable you to navigate the setup process more confidently and efficiently.
Step 3: Unfolding the NordicTrack Treadmill
Now that you have taken the necessary safety precautions and familiarized yourself with the treadmill, it’s time to unfold it. Follow these step-by-step instructions to unfold your NordicTrack treadmill:
- Position the Treadmill: Place the treadmill in the desired location, ensuring there is enough space to fully unfold it. Make sure the area is clear of any obstacles or hazards that could interfere with the unfolding process.
- Release the Lock: If your treadmill has a locking mechanism, locate it and disengage the lock. This may involve pressing a release button, turning a knob, or pulling a lever, depending on the model.
- Begin Unfolding: Hold onto the frame or handrails of the treadmill and gently start to unfold it. Use steady and controlled movements, allowing the treadmill to open up slowly. Avoid any sudden or forceful actions that could cause damage.
- Continue Unfolding: As you unfold the treadmill, ensure that the frame remains balanced and stable. Keep a firm grip on the handrails and use your other hand to guide the unfolded sections, if needed.
- Extend the Tread Base: Once the treadmill is partially unfolded, carefully extend the tread base until it is fully open and flat. Make sure it locks securely in place.
- Secure Any Latches or Locks: Some treadmills may have additional latches or locks to secure the unfolded position. If your treadmill has any, locate them and ensure they are properly engaged to prevent accidental folding during use.
- Double-Check Stability: Before moving on to the next step, take a moment to ensure that the unfolded treadmill is stable and steady. Check for any wobbling or unevenness and make any necessary adjustments.
Remember to proceed carefully and take your time while unfolding the treadmill. Rushing or being overly forceful can result in damage to the equipment or potential injury. If you encounter any difficulties during the process, consult your owner’s manual or contact NordicTrack customer support for assistance.
Step 4: Adjusting and Locking the Console
Once you have successfully unfolded your NordicTrack treadmill, the next step is to adjust and lock the console. This will ensure that the console is properly positioned and secure during your workouts. Follow these instructions to adjust and lock the console:
- Locate the Console Adjustment Lever: Look for the console adjustment lever, usually located at the base of the console or on the frame. This lever allows you to adjust the angle of the console for optimal viewing and accessibility.
- Adjust the Console Angle: Gently lift the console or push it forward to adjust the angle. Find a position that provides a clear view of the display screen and comfortable access to the controls. Experiment with different angles to find the most suitable position for your height and preference.
- Lock the Console: Once you have found the desired angle, locate the console locking mechanism. It may be a lever, knob, or button that you need to engage to secure the console in place. Follow the instructions in your owner’s manual to ensure the locking mechanism is properly engaged.
- Test the Stability: After locking the console, give it a gentle shake to test its stability. It should feel secure and not wobble or shift during the shaking. If you notice any instability, double-check the console adjustment and locking to ensure they are done correctly.
- Plug in the Power Cord (If Applicable): If your treadmill requires a power source, plug in the power cord at this stage. Make sure the cord is safely routed away from the treadmill and any moving parts.
By adjusting and locking the console, you ensure a comfortable and stable setup for your workouts. The console should be positioned in a way that allows you to easily access and navigate the treadmill’s features and programs. Take the time to find the right angle and lock it securely to avoid any distractions or inconvenience during your workouts.
Step 5: Secure the Treadmill in Place
After unfolding and adjusting the console, the next step is to secure the treadmill in its designated spot. This will prevent any unwanted movement or instability during your workout sessions. Follow these steps to secure your NordicTrack treadmill:
- Position the Treadmill: Ensure that the treadmill is in the desired location and aligned properly. Make any necessary adjustments to center it or position it as desired.
- Level the Treadmill: Use a level tool to check if the treadmill is level. Adjust the feet or leveling screws underneath the treadmill until it is even and balanced. This will prevent any rocking or wobbling during use.
- Engage the Transport Wheels (If Applicable): Some treadmills have transport wheels that allow for easy mobility. If your treadmill has this feature, make sure the wheels are disengaged or locked in place to prevent unintended movement during use.
- Secure the Treadmill Base: Check if your treadmill has a locking mechanism to secure the base. It may involve engaging a latch or locking pin to keep the base stable and in place.
- Check for Stability: Give the treadmill a gentle shake to ensure that it is stable and doesn’t wobble or move excessively. If you notice any instability, double-check the leveling and locking mechanisms to ensure they are properly engaged.
Securing your treadmill in place is essential for a safe and effective workout experience. It will provide the stability and support needed for you to exercise comfortably. Take the time to make any necessary adjustments and ensure that everything is locked and level before you start using your NordicTrack treadmill.
Step 6: Double-Checking for Safety
Before you start using your NordicTrack treadmill, it is crucial to double-check for safety measures to ensure a safe and smooth workout experience. Taking a few extra moments to verify the safety precautions will help prevent accidents and ensure optimal performance. Follow these final steps to double-check for safety:
- Inspect Cables and Wires: Check all cables and wires connected to the treadmill, including the power cord and any audio or video cables. Make sure they are not frayed, damaged, or tangled in any way. If you notice any issues, replace or repair them as necessary.
- Check the Safety Key: Locate the safety key and ensure it is securely attached to your clothing. This key is designed to stop the treadmill in case of an emergency. In the event that you need to stop quickly, the safety key will disconnect and halt the treadmill’s operation.
- Clear the Area: Double-check that the area around the treadmill is clear of any objects, obstacles, or debris. This includes making sure there are no loose items such as clothing, towels, or water bottles that could get caught in the treadmill’s moving parts.
- Review User Manual: Take a moment to review the user manual for any additional safety tips or guidelines specific to your NordicTrack treadmill model. Familiarize yourself with the recommended usage guidelines, maintenance instructions, and any warnings related to the use of the treadmill.
- Proper Attire: Ensure that you are wearing appropriate workout attire, including supportive athletic shoes with a non-slip sole. Avoid loose clothing or anything that may interfere with your movement on the treadmill.
- Start Slowly: When you’re ready to begin your workout, start at a slow pace to warm up and familiarize yourself with the treadmill’s settings and controls. Gradually increase the speed and intensity as you become more comfortable and confident using the treadmill.
By double-checking these safety measures, you can minimize the risk of accidents or injuries while using your NordicTrack treadmill. Safety should always be a priority, so take the time to ensure that everything is in order before you embark on your fitness journey.
Conclusion
Congratulations! You have successfully unfolded your NordicTrack treadmill and taken the necessary steps to ensure safety and stability. By following the step-by-step instructions provided in this guide, you can now enjoy a convenient and effective workout experience from the comfort of your own home.
Remember, safety should always be a top priority when operating any exercise equipment. Take the time to read and understand the user manual specific to your treadmill model, as it contains valuable information on safety guidelines and usage instructions. It’s important to pay attention to any model-specific features, adjustments, or precautions that are outlined in the manual.
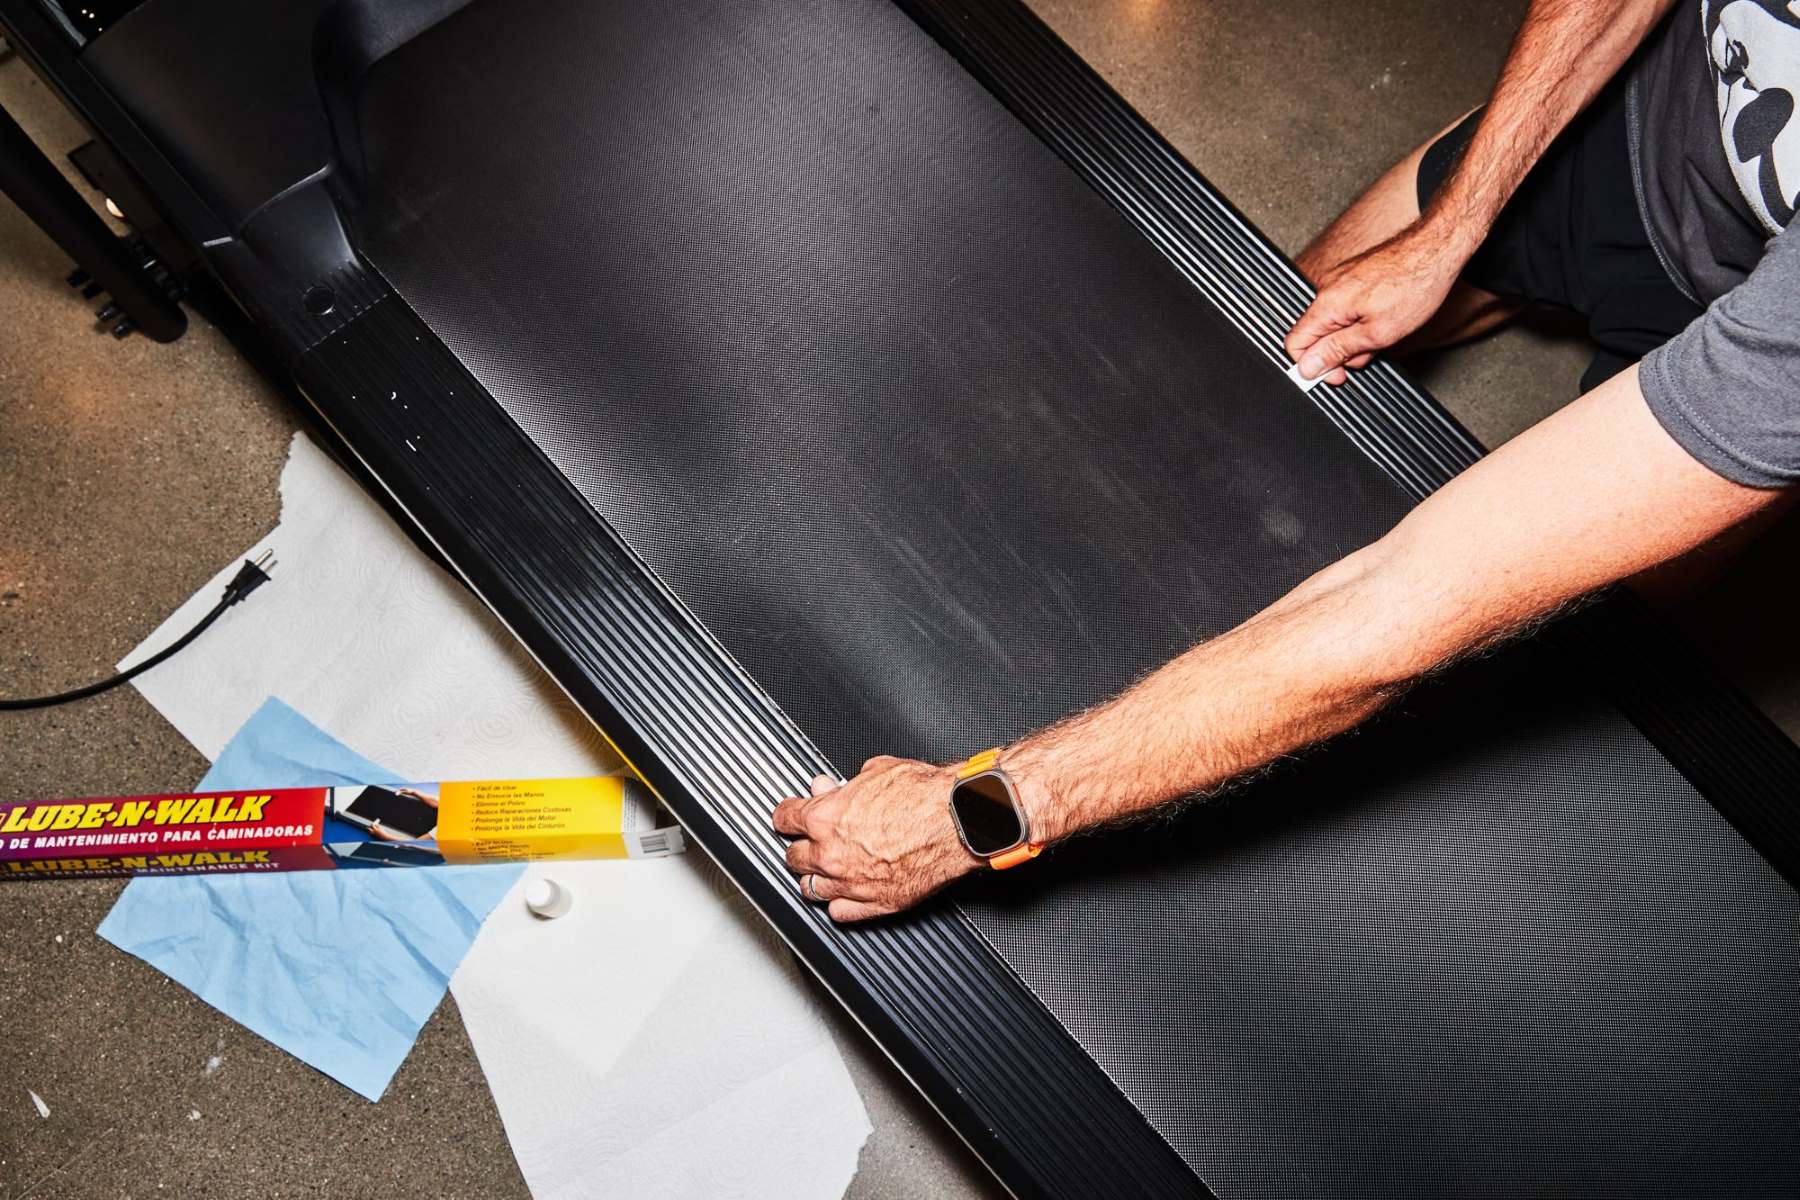
Additionally, maintaining your treadmill’s regular maintenance schedule is essential to keep it in optimal condition and prolong its lifespan. Clean the equipment regularly, lubricate the belt as recommended, and conduct periodic inspections to ensure all parts are in good working order.
With your unfolded NordicTrack treadmill ready for action, you can now enjoy the numerous benefits of regular exercise, from improving cardiovascular health to increasing strength and endurance. Remember to start slowly and gradually increase the intensity of your workouts as your fitness level improves.
Whether you are a beginner or an experienced fitness enthusiast, having a home treadmill provides convenience and flexibility in achieving your fitness goals. With proper setup and regular use, your NordicTrack treadmill will be an invaluable tool in maintaining a healthy and active lifestyle.
So go ahead, step onto your treadmill, and start your fitness journey. Unfold, adjust, and secure your NordicTrack treadmill, and enjoy the benefits of a rewarding and effective workout routine in the comfort of your own home.