Featured
How To Make A Cross Country Ski Trail
Published: August 12, 2023
Discover the steps to create your own cross country ski trail with this featured guide. Learn everything from equipment selection to trail grooming for an unforgettable skiing experience.
Introduction
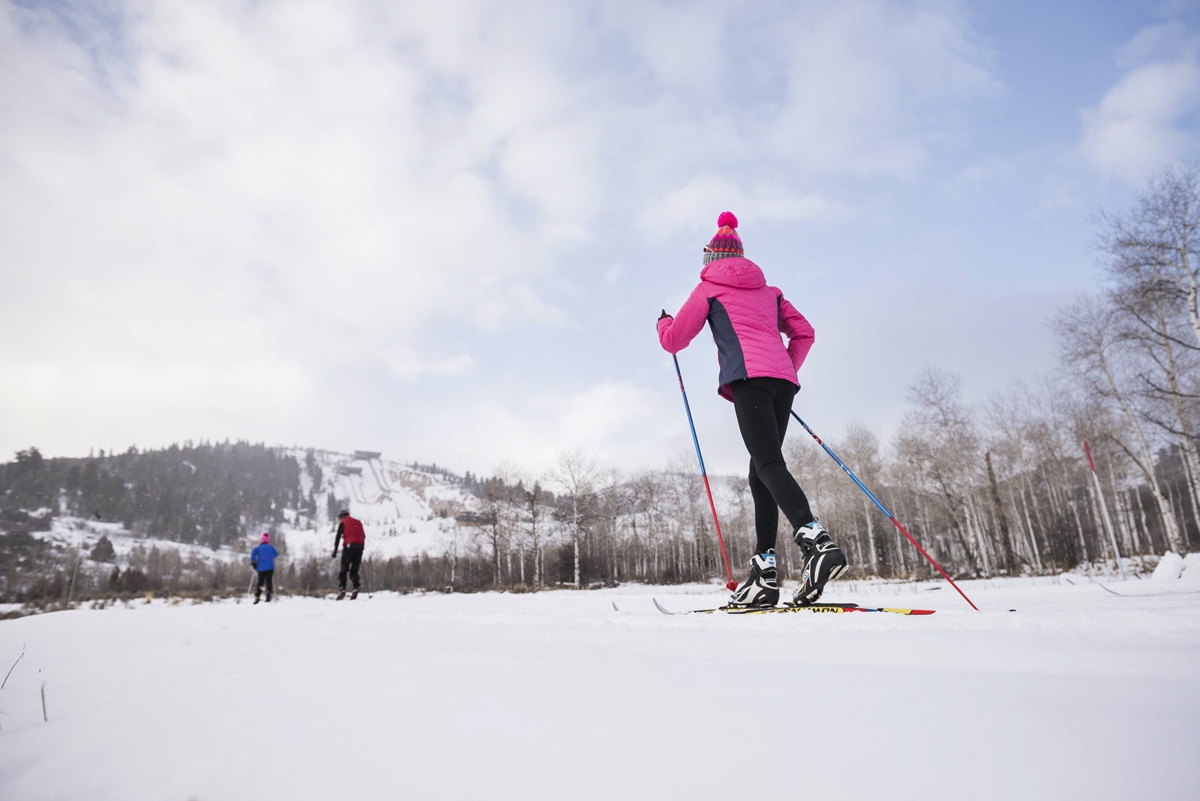
Welcome to the world of cross-country skiing! If you’re an outdoor enthusiast looking for a new adventure, creating your own cross-country ski trail can be an exciting and rewarding project. Whether you’re a landowner with a large property or part of a community looking to promote winter activities, having a dedicated trail for cross-country skiing allows enthusiasts to enjoy the sport in a safe and controlled environment.
Designing and constructing a cross-country ski trail requires careful planning and attention to detail. In this article, we will guide you through the process step by step, from choosing the right location to adding the finishing touches. So, grab your skis and let’s get started on this thrilling journey!
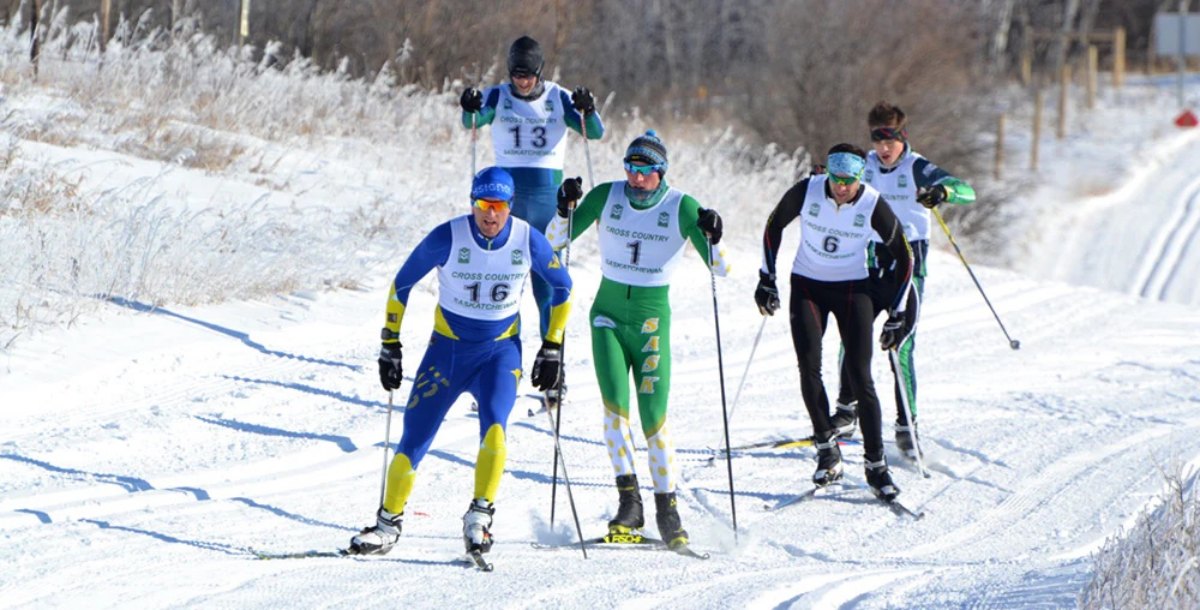
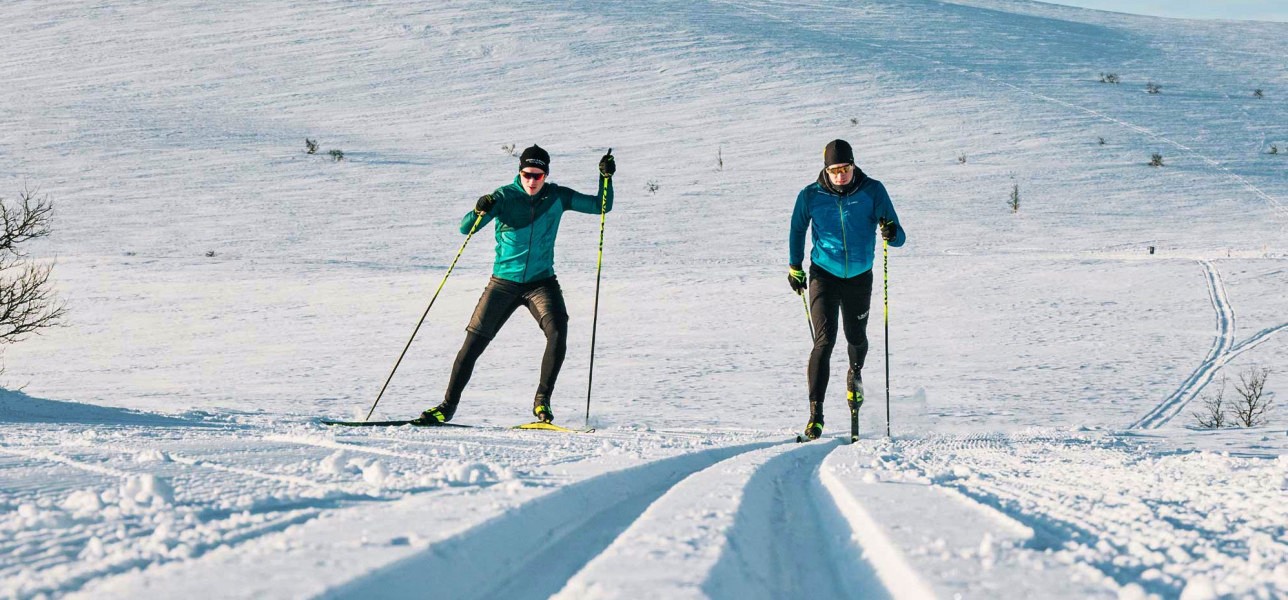
Before diving into the details, it’s important to understand the two main types of cross-country skiing: classic skiing and skate skiing. Classic skiing involves using specially designed skis and poles to slide along a groomed track, while skate skiing involves a skating motion on wider, groomed trails. When creating your ski trail, you’ll need to consider both types and plan accordingly.
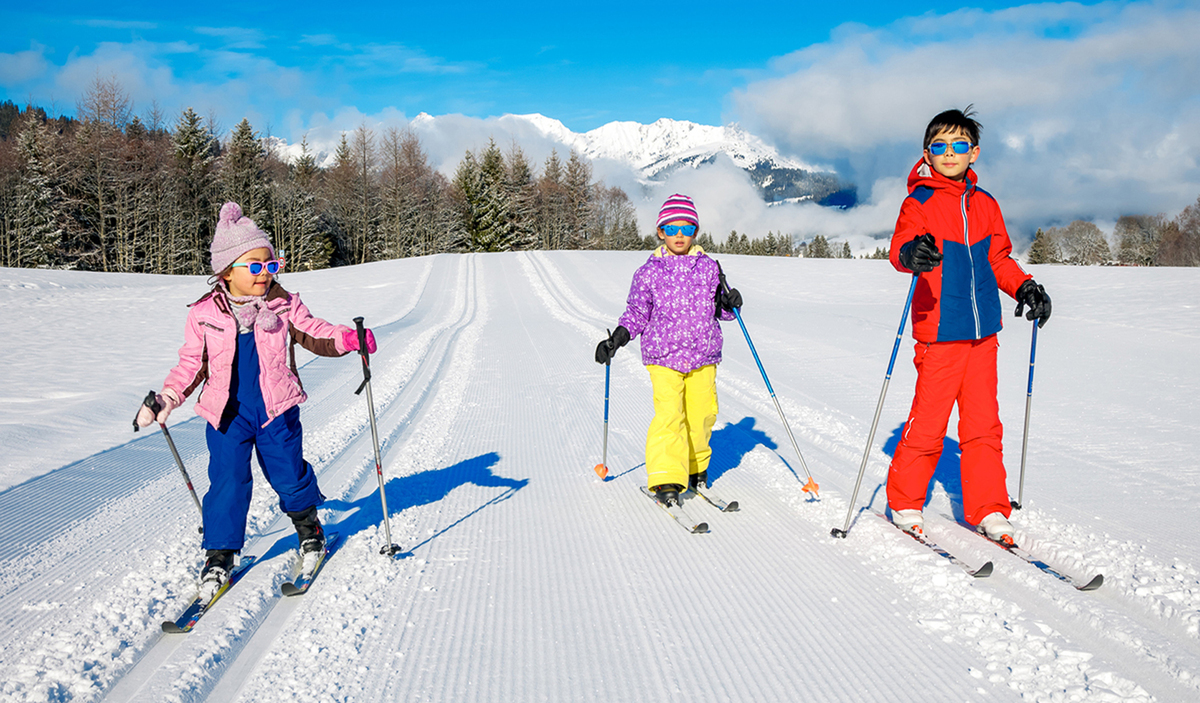
No matter what your skill level or budget, creating a cross-country ski trail can provide hours of fun and enjoyment for you, your family, and your friends. It’s also a great way to stay active and explore the beauty of nature during the winter months.
In the next sections, we will delve into the specifics of choosing the right location, clearing the trail, marking and mapping, creating the base layer, establishing classic tracks and tracks for skate skiing, adding signage, and trail maintenance. By the end of this guide, you’ll have all the information you need to create your very own cross-country ski trail.
Choosing the Right Location
When it comes to creating a cross-country ski trail, choosing the right location is crucial. The terrain, accessibility, and natural surroundings all play a role in determining the success of your trail. Here are some key factors to consider when selecting a location:
- Terrain: Look for areas with a mixture of flat and gently sloping terrain. Steep hills are not ideal for cross-country skiing, as they can be challenging and potentially hazardous. Additionally, areas with natural obstacles such as trees and rocks can add to the visual appeal of the trail.
- Accessibility: Pick a location that is easily accessible for skiers. Consider proximity to parking areas, nearby roads, and amenities such as restrooms or warming huts. If your trail is open to the public, ensuring that it is easily reached by skiers of all ages and abilities is essential.
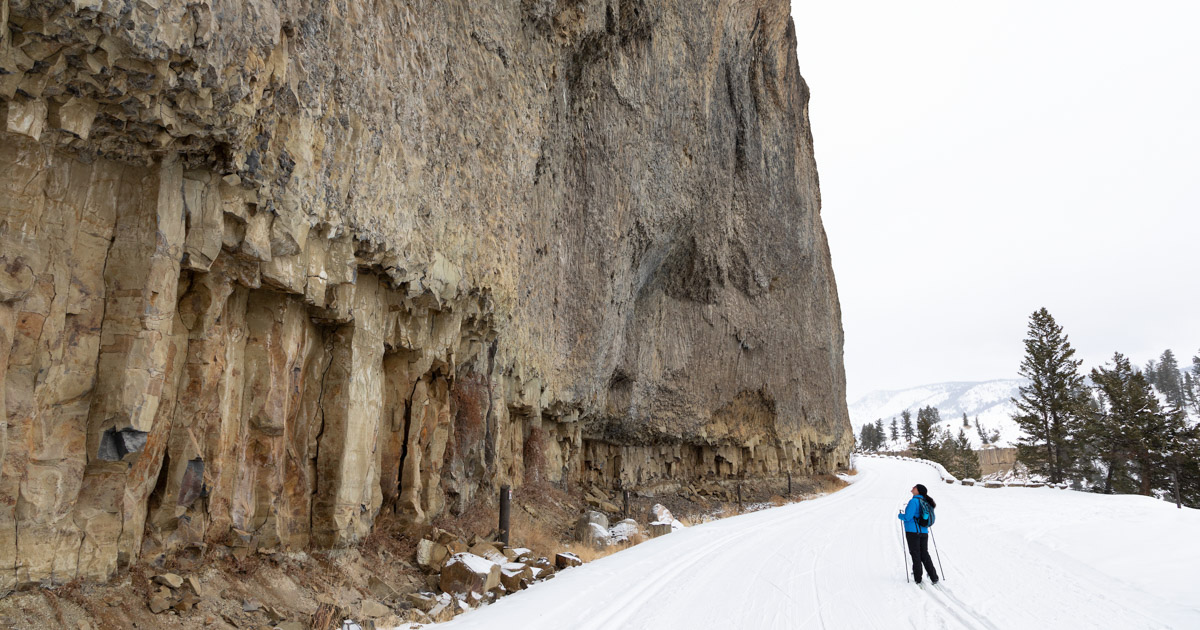
- Natural Surroundings: Take advantage of the natural beauty around you. Look for areas with scenic views, forests, or bodies of water. A well-designed trail that incorporates the natural surroundings can enhance the overall skiing experience.
- Land Ownership: Make sure you have permission from the landowner to create a ski trail. If you’re using public land, contact the appropriate authorities or local government to obtain any necessary permits or permissions. Don’t forget to consider liability and insurance implications as well, especially if the trail will be open to the public.
In addition to these factors, consider the climate and snow conditions in your chosen location. Areas with consistent snowfall and cold temperatures throughout the winter season are ideal for cross-country skiing. This ensures that your trail will have a longer skiing season and better snow conditions.
By carefully selecting the right location for your cross-country ski trail, you’ll be setting the foundation for a successful and enjoyable skiing experience. Once you have determined the location, it’s time to move on to the next step: clearing the trail.
Clearing the Trail
Now that you have chosen the perfect location for your cross-country ski trail, it’s time to clear the path. Clearing the trail involves removing any obstacles, such as fallen trees, branches, rocks, or debris, to create a smooth and safe skiing surface. Here are the steps to follow for clearing the trail:
- Assess the trail: Walk the planned trail route and assess the area for any potential hazards or obstacles. Take note of any large rocks, trees, or other barriers that need to be cleared.
- Gather the right tools: Depending on the size and complexity of the trail, you will need a variety of tools. These may include a chainsaw, hand saw, pruning shears, and a shovel. Make sure all tools are in good working order before starting.
- Remove fallen trees and branches: Clear any fallen trees or large branches that obstruct the trail. Use caution when using a chainsaw and ensure you have proper safety equipment and training if necessary.
- Trim overhanging branches: Trim any low-hanging or protruding branches that may impede skiers’ movement along the trail. Pay special attention to branches that may cause injury or hinder skiers’ ability to ski comfortably.
- Clear the trail surface: Rake or shovel away any debris, leaves, or rocks from the trail surface. You want to create a smooth and even surface for skiers to glide on.
- Ensure proper drainage: Clear any drainage ditches or culverts along the trail to prevent water from pooling and causing icy patches. This will improve the overall safety and enjoyment of the trail.
Remember to be mindful of the natural surroundings and avoid disturbing sensitive ecosystems. If you encounter any protected flora or fauna during the clearing process, adjust the trail route accordingly to minimize impact.
Clearing the trail can be a physically demanding task, so don’t hesitate to ask for help from fellow skiers or volunteers. Once the trail is cleared, you’re ready for the next step: marking and mapping the trail.
Marking and Mapping the Trail
Now that you have cleared your cross-country ski trail, it’s time to mark and map it. Properly marking and mapping the trail is crucial for skiers to navigate and enjoy the trail safely. It also helps ensure that the trail remains consistent and easily identifiable throughout the season. Here are the steps to follow for marking and mapping the trail:
- Plan your trail markers: Decide on the type of trail markers you will use. Common options include colored flags, reflectors, painted markers on trees, or signage. Consider using markers that are easily visible in various weather conditions.
- Place the markers: Strategically place the markers along the trail, ensuring they are visible from a distance and easily identifiable. Use a combination of markers, such as directional arrows, to guide skiers along the correct path.
- Map the trail: Create a detailed map of the trail, including important landmarks, intersections, and any points of interest. This map can be used for reference and shared with skiers to familiarize themselves with the trail.
- Add distance markers: Consider adding distance markers along the trail. This helps skiers track their progress and plan their skiing routes. Distance markers can be placed at regular intervals, such as every kilometer or half-mile.
- Include trail rules and safety information: Install signage that provides skiers with important trail rules, safety information, and emergency contact numbers. This helps promote a safe and enjoyable skiing experience for everyone.
- Maintain the trail markers: Regularly inspect and maintain the trail markers to ensure they remain in good condition. Replace any damaged or missing markers to avoid confusion or getting lost on the trail.
Mapping and marking the trail not only enhances the skiing experience but also contributes to the safety and organization of the trail. Skiers will appreciate the clear guidance and easy navigation provided by well-placed and maintained markers.
With the trail now marked and mapped, it’s time to move on to the next step: creating the base layer for your ski trail.
Creating the Base Layer
Creating a solid base layer is essential for the longevity and quality of your cross-country ski trail. The base layer provides a smooth and firm surface for skiers to glide on, enhancing their overall skiing experience. Here are the steps to follow for creating the base layer:
- Prepare the trail surface: Ensure the trail surface is free from rocks, roots, and other debris that may hinder the creation of a solid base layer. Use rakes or shovels to clear any remaining obstacles.
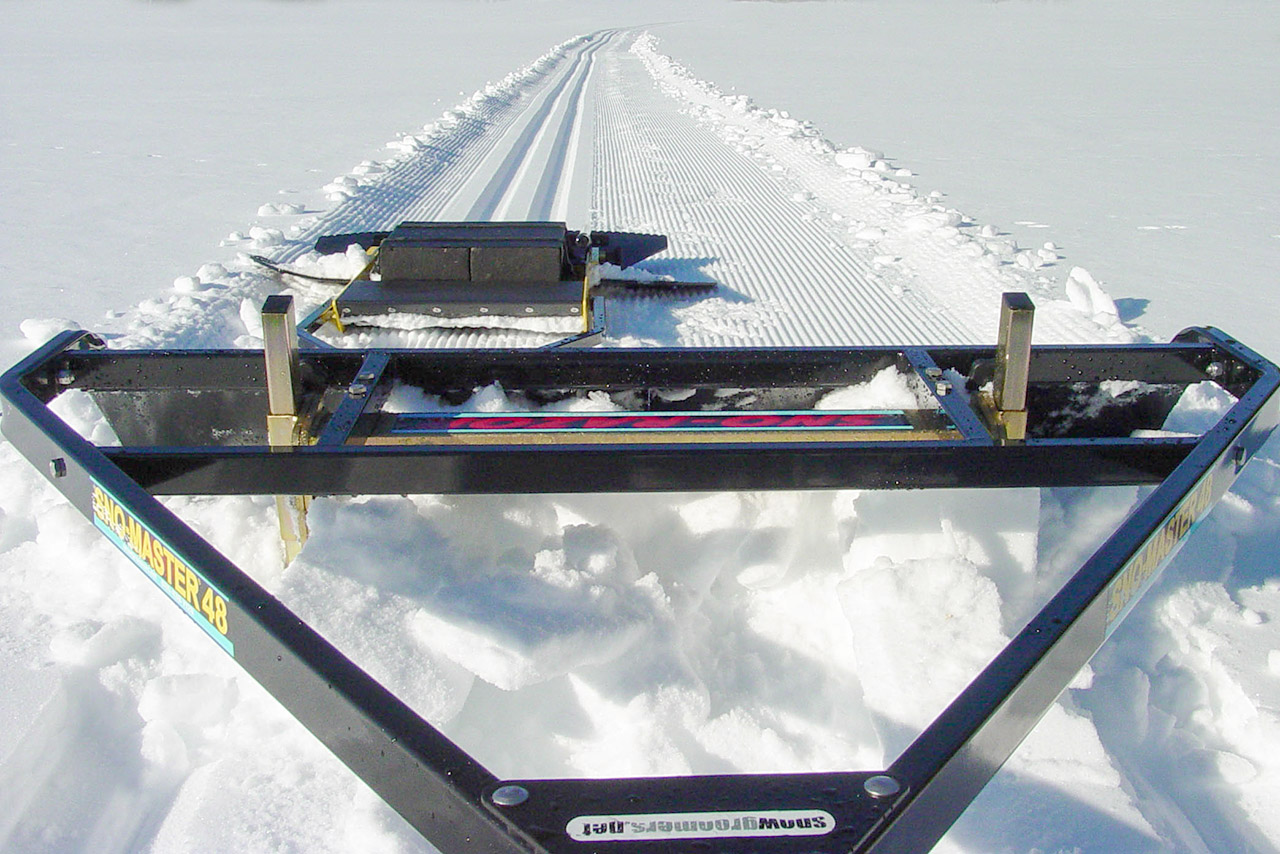
- Compact the snow: If your trail is covered in snow, use a snow compactor or groomer to pack down the snow. This helps create a firm and even base layer. If there isn’t enough natural snow, consider using a snow machine or contacting a professional grooming service.
- Level the surface: Use a snow groomer, drag, or other grooming equipment to level the trail surface. This helps remove any uneven bumps or ridges, providing an optimal skiing surface.
- Trackset for classic skiing: For classic skiing, use a tracksetter or specialized equipment to create parallel tracks along the trail. These tracks act as guides for skiers and enhance their grip and stability while skiing.
- Groom for skate skiing: For skate skiing, use a grooming attachment or grooming machine to create a smooth and firm surface. This allows skiers to execute their skating technique effectively.
- Regular maintenance: Throughout the skiing season, regularly maintain and groom the base layer to keep it in optimal condition. This includes smoothing out any bumps or indentations caused by skier traffic or changing weather conditions.
Creating a well-maintained base layer is key to providing skiers with a consistent and enjoyable skiing experience. Skiers will appreciate the effort that goes into maintaining the trail and the smooth surface that allows them to glide effortlessly.
Now that you have established the base layer for your ski trail, it’s time to move on to the next steps: establishing the classic track and setting tracks for skate skiing.
Establishing the Classic Track
Creating a well-defined classic track is an essential part of designing a cross-country ski trail. The classic track provides a designated path for skiers using the classic skiing technique, allowing them to efficiently glide and propel themselves forward. Here are the steps to follow for establishing the classic track:
- Choose the appropriate width: The width of the classic track depends on the type of skiing and the average skier’s skill level. Generally, a classic track width of around 60-70cm (24-28 inches) is suitable for most skiers.
- Use a tracksetter: A tracksetter is a specialized grooming implement that creates parallel tracks in the snow. Attach the tracksetter to a grooming machine and carefully guide it along the trail to create the classic tracks.
- Space the tracks: Ensure that the classic tracks are evenly spaced and parallel to each other. The spacing will depend on the type of skiing and the snow conditions. Typically, tracks are spaced around 40-50cm (16-20 inches) apart.
- Groom and maintain the classic tracks: Regularly groom the classic tracks to keep them in optimal condition. Use a track maintenance implement or drag to smooth out any bumps or irregularities caused by skier traffic or changing snow conditions.
Establishing a well-maintained classic track enhances the skiing experience for classic skiers. The defined tracks provide stability, control, and improved technique for skiers of all levels. Skiers will appreciate the opportunity to enjoy the trail and hone their classic skiing skills.
With the classic track established, it’s time to move on to the next step: setting tracks for skiers using the skate skiing technique.
Setting Tracks for Skate Skiing
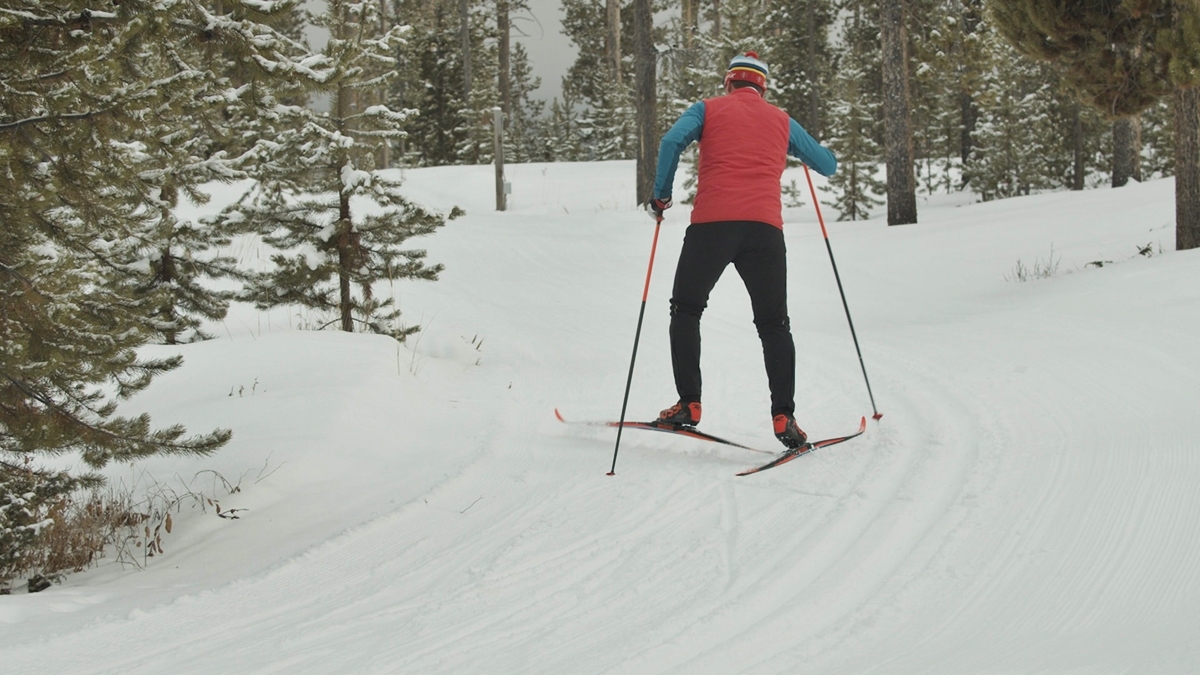
Setting tracks for skate skiing is an important step in designing a cross-country ski trail. Unlike classic skiing, skate skiing involves a skating motion on a wider, groomed trail. Setting tracks for skate skiing provides skiers with a smooth and even surface to execute their skating technique. Here are the steps to follow for setting tracks for skate skiing:
- Choose the right width: The width of the skate skiing tracks depends on factors such as the type of snow, the skill level of the skiers, and the type of grooming equipment available. Typically, skate skiing tracks are wider than classic tracks, ranging from 80-120cm (31-47 inches).
- Groom the trail: Use a grooming machine or attachment to create a smooth and firm surface for skate skiing. Pay attention to any uneven bumps or ridges and ensure the trail is leveled and compacted.
- Set the tracks: Use a specialized grooming implement, such as a tracksetting template or snow groomer, to create parallel tracks that skaters can ski within. The tracks should be evenly spaced and well-formed, allowing skiers to maintain their balance and execute their skating technique comfortably.
- Maintain the skate skiing tracks: Regularly groom and maintain the skate skiing tracks to keep them in optimal condition. Smooth out any imperfections caused by skier traffic or changing weather conditions. This will ensure an enjoyable and seamless skating experience.
Setting proper tracks for skate skiing is crucial for accommodating skiers who prefer this technique. The well-defined tracks provide a clear path and a consistent surface, allowing skaters to glide smoothly and efficiently. Skiers will appreciate the opportunity to skate freely and explore the trail using their preferred skiing technique.
Now that you have set the tracks for both classic and skate skiing, it’s time to add the finishing touches to your cross-country ski trail: signage and trail maintenance.
Adding Signage and Trail Maintenance
Adding signage and implementing a trail maintenance routine are essential for the long-term success and safe operation of your cross-country ski trail. Clear signage helps skiers navigate the trail and provides important information, while regular maintenance ensures that the trail remains in optimal condition. Here are the steps to follow:
- Install trail signage: Place signage at key points along the trail, such as trailheads, intersections, and areas with potential hazards. Include information about trail rules, safety guidelines, emergency contact numbers, and any specific regulations that skiers need to be aware of.
- Keep signage visible: Ensure that all signage remains visible throughout the skiing season. Clear away any snow build-up or debris that may obstruct the signs. Regularly inspect the signage to make sure it is in good condition and replace any that are damaged or missing.
- Implement a trail maintenance routine: Establish a regular schedule for trail maintenance to keep the trail in optimal condition. This includes grooming the base layer, resetting and maintaining the classic and skate skiing tracks, and removing any new obstacles that may have appeared on the trail.
- Monitor trail conditions: Keep an eye on changing weather conditions and adjust your maintenance efforts accordingly. If there is heavy snowfall or other weather events, additional grooming may be required to keep the trail safe and accessible for skiers.
- Engage volunteers and skiers: Encourage skiers or local community members to volunteer their time to help with trail maintenance and upkeep. This can create a stronger sense of community ownership and ensure that the trail is well-maintained throughout the season.
- Regularly communicate trail updates: Keep skiers informed of any changes or updates to the trail. Utilize social media, email lists, or a trail website to share trail conditions, upcoming events, or any other relevant information that may be of interest to skiers.
By adding signage and implementing a robust trail maintenance routine, you are enhancing the overall skiing experience and ensuring the safety of skiers. Regular maintenance and clear communication help create a positive reputation for your trail and attract more skiers to enjoy the beauty of cross-country skiing.
With the addition of signage and a dedicated trail maintenance plan, your cross-country ski trail is now complete. Skiers can fully immerse themselves in the enjoyment of the sport while exploring the natural beauty of the trail you have created.
Conclusion
Congratulations! You have successfully learned how to create a cross-country ski trail from start to finish. By choosing the right location, clearing the trail, marking and mapping, creating a solid base layer, establishing the classic track, setting tracks for skate skiing, and adding signage and trail maintenance, you have created a safe and enjoyable space for cross-country skiing enthusiasts.
Building a cross-country ski trail requires careful planning, attention to detail, and a commitment to ongoing maintenance. While it may be a challenging endeavor, the rewards are abundant. Skiers of all ages and skill levels will appreciate the opportunity to explore the beauty of nature while staying active during the winter months.
Remember to be mindful of natural surroundings, obtain necessary permissions and permits, and consider liability and insurance implications if the trail is open to the public. Engage the support of volunteers and fellow skiers to help with trail maintenance and ensure the long-term success of your trail.
Creating a cross-country ski trail is not only about the physical aspects but also about fostering a sense of community and providing a space for skiers to connect with nature. Embrace the beauty and tranquility of cross-country skiing as you embark on this exciting journey.
So, grab your skis, invite your friends and family, and enjoy the thrill of gliding through the winter wonderland on your very own cross-country ski trail. Happy skiing!